To avoid these ads, REGISTER NOW!

Norb's BMW/Audi Double Garage

bonecrrusher

Well-known member
Joined
Aug 18, 2011
Messages
578
Location
Charlotte, NC
Nice upgrade!

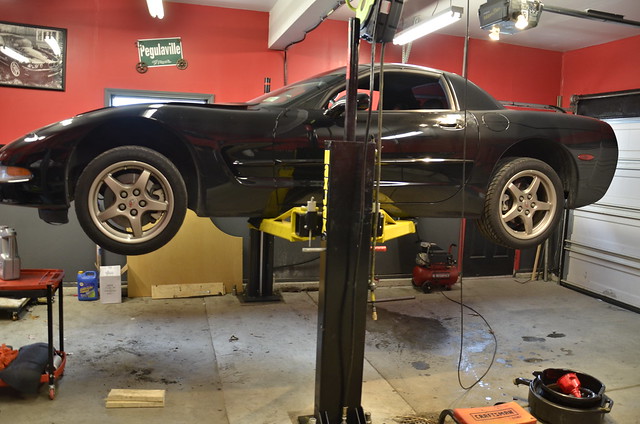
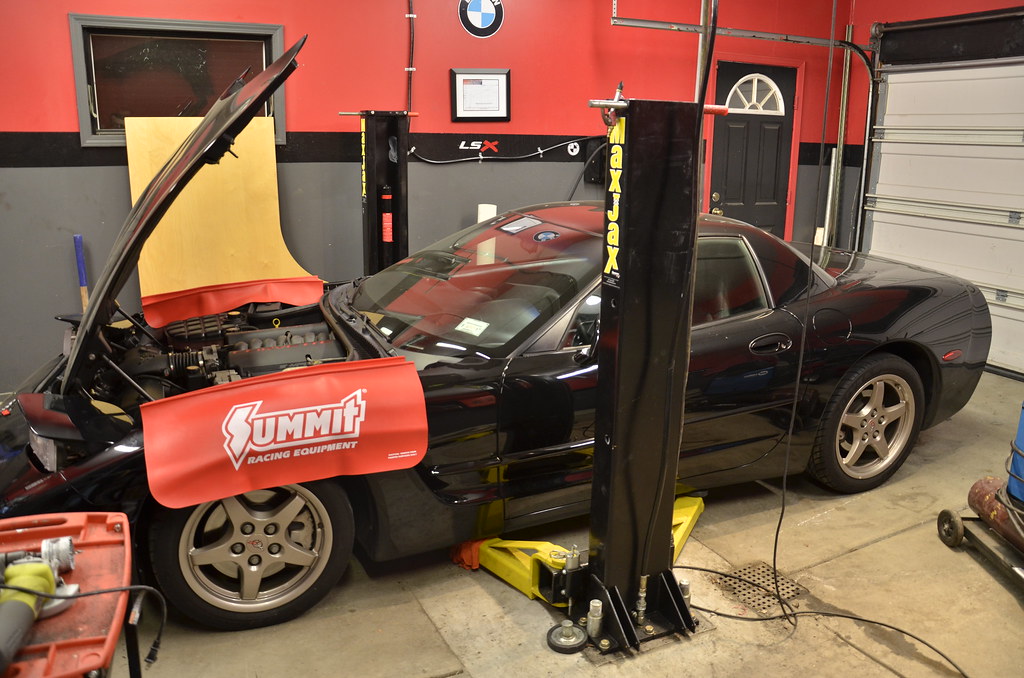
If you decided to lower it - you might need a set of Race Ramps scale weights to pull up on - and get the Maxjax arms under it.

22534698547_77d9561645_b.jpg
 
To avoid these ads, REGISTER NOW!
OP
N

nsogiba

Well-known member
Joined
Jan 16, 2013
Messages
232
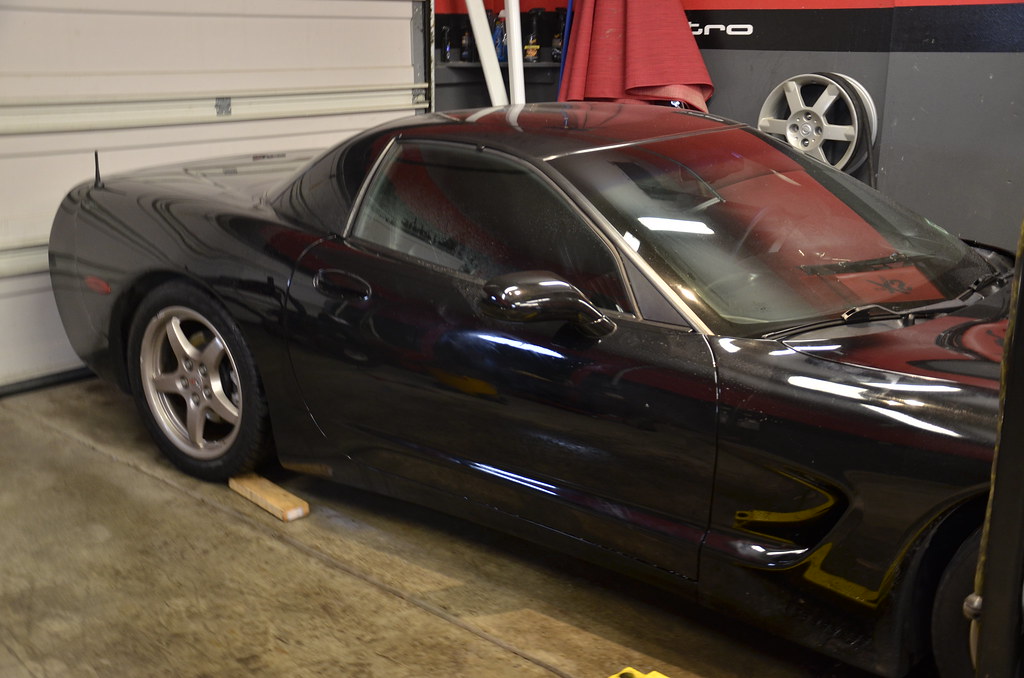
^ I hope I won't need them, but this car was lowered by the first owner (it's fairly low) so it may have trouble. I will find out tonight. My jacking pucks were delivered today along with a bunch of other maintenance parts.
 

Power Sedan

Well-known member
Joined
Nov 15, 2015
Messages
287
Location
SE Wisconsin
Stellar find, and congrats on the new vette purchase! I enjoyed this thread, starting reading the beginning during lunch, and finished this evening. Lots of cool photos, loved how you still found humor during casthrophic events with the "thumbs down". My wife and I bought a little SRT6 coupe last year to zip around in during summer months, gotta have something fun!

Just curious, what is the load limit on the MJ?

Thanks for sharing!
 
OP
N

nsogiba

Well-known member
Joined
Jan 16, 2013
Messages
232
Stellar find, and congrats on the new vette purchase! I enjoyed this thread, starting reading the beginning during lunch, and finished this evening. Lots of cool photos, loved how you still found humor during casthrophic events with the "thumbs down". My wife and I bought a little SRT6 coupe last year to zip around in during summer months, gotta have something fun!

Just curious, what is the load limit on the MJ?

Thanks for sharing!

Glad you enjoyed it! I learned a while ago that it's important to remember that this is all just a hobby, and that as long as my family and I are happy and healthy, that's all that counts. Everything else is just a bonus. If you want another fun read, see my signature for a link to my old BMW build thread.

I think MaxJax limit is 6K as mentioned, I've never put a vehicle over 4K on it and don't plan to.
 

Serj_DMR

Member
Joined
Mar 4, 2015
Messages
22
Location
Simi Valley, CA
Just curious, what is the load limit on the MJ?

Thanks for sharing!


Power Sedan,

The weight capacity on the unit is 6,000 lbs. Anything under that and you are good to go. Case in point, one of my favorite things to show, I have attached a photo of an old Hummer on the MaxJax. They weigh in at 5800-5900 when they are stripped to stock. Zero complaints from this customer. :rocker:

Feel free to PM me or call me at the number below if you have further questions.

-Serj
 

Attachments

  • HMMWV.jpg
    HMMWV.jpg
    124 KB · Views: 57
OP
N

nsogiba

Well-known member
Joined
Jan 16, 2013
Messages
232
^ Thanks. I hope everyone else is enjoying it as much as I am! Trying to take this one slower, not modify it as much, and spend more time driving it.

I guess I will throw my C5 progress in here

I took it out fer a rip last night and drove it to work this morning. Seriously daily-able.

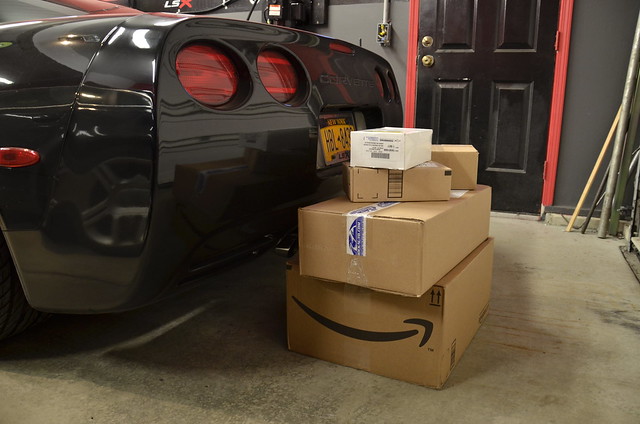
Placed some orders last night:

TR55 plugs
GMPP Red plug wires
a shitload of oil filters (at $3 a pop for OEM AC Delco parts you can't go wrong)
wiper blades
air filter and fuel filter
hood lip seal (weatherstripping)
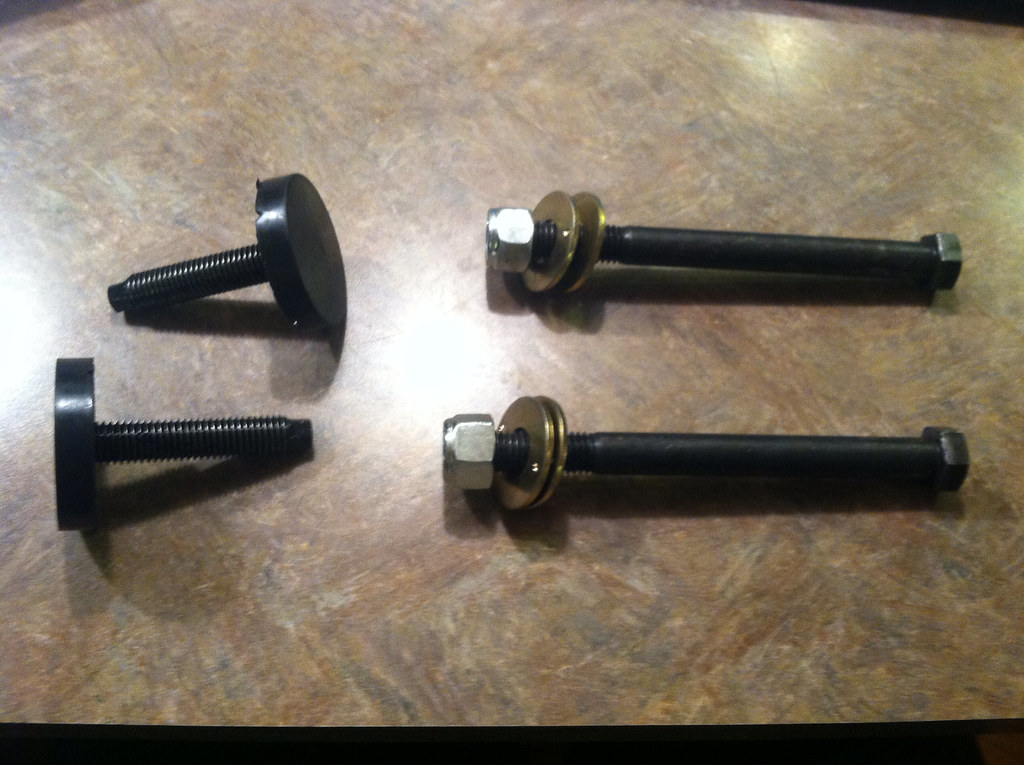
4x leave-in jacking pucks so i can get this pig up on the lift
some interior trim pieces that the PO broke
stubby antenna

once the jacking pucks come in I plan on doing plugs, wires, engine oil + filter, trans fluid, diff fluid, fuel filter. The motor has an ever so slight miss while sitting at a light, and based on looking at most of the stuff under the hood I'm guessing the plugs and wires are original. I also need to order the LCM5 column lock bypass - even though the column lock was replaced/serviced multiple times over the past couple years.

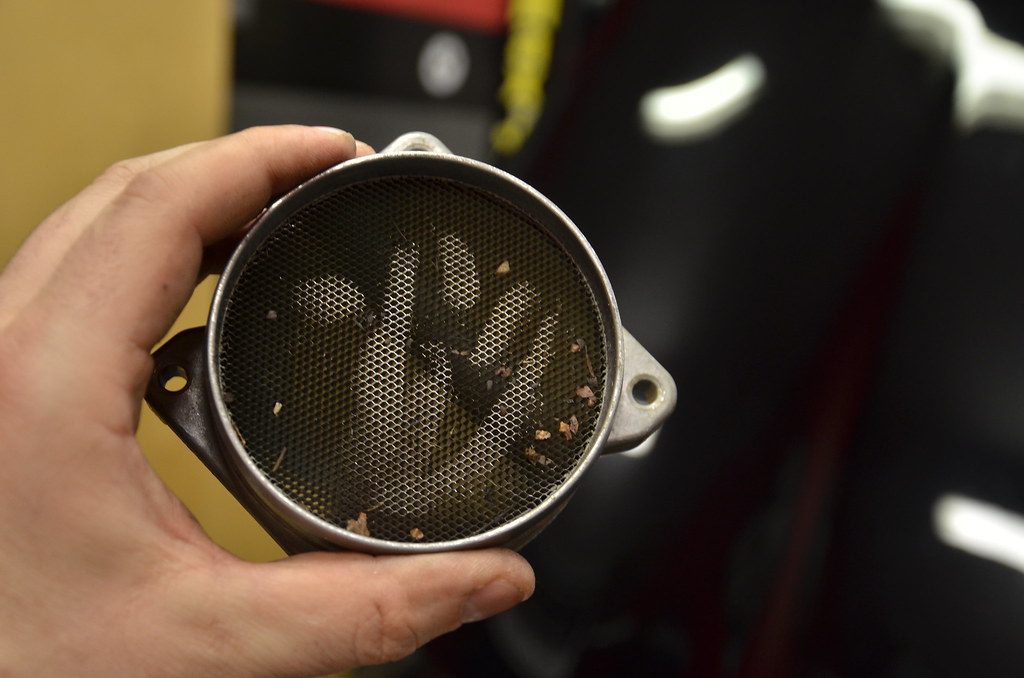
I did the zip tie mod to the intake last night and it definitely is a big improvement on the **** dyno. I took apart the whole snorkel/"power duct" to inspect it and am glad I did. bunch of leaves, dust, and general grime came out of the pre-filter area, and the MAF screen had last seen daylight circa 2000.

_DSC4652 by Norbert Ogiba, on Flickr

The marks are just from me gently rubbing my finger on the screen face. Luckily the screened portion is removeable from the heated wire element so I gave it a hot soapy bath with a toothbrush, rinsed out the lower airbox, and put the whole thing back together.


Finally I pulled the codes - looks like the majority are history codes - I need to check the listing and see what they're all for.


I'll definitely try to. I only made it to a few events last summer with my BMW but enjoyed every one. Love the atmosphere and setting.

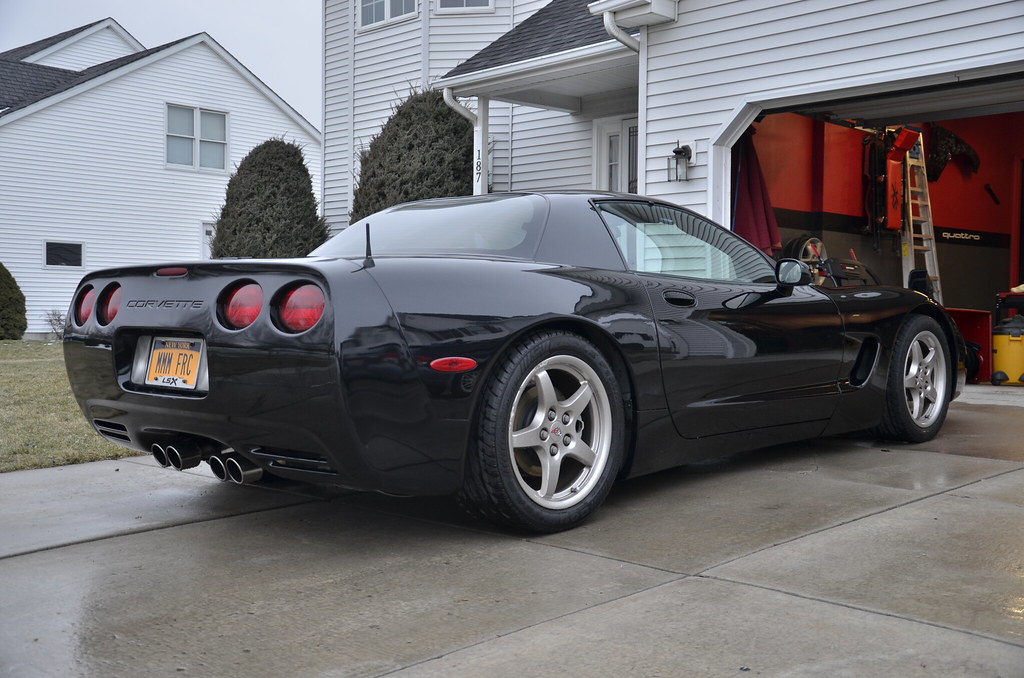
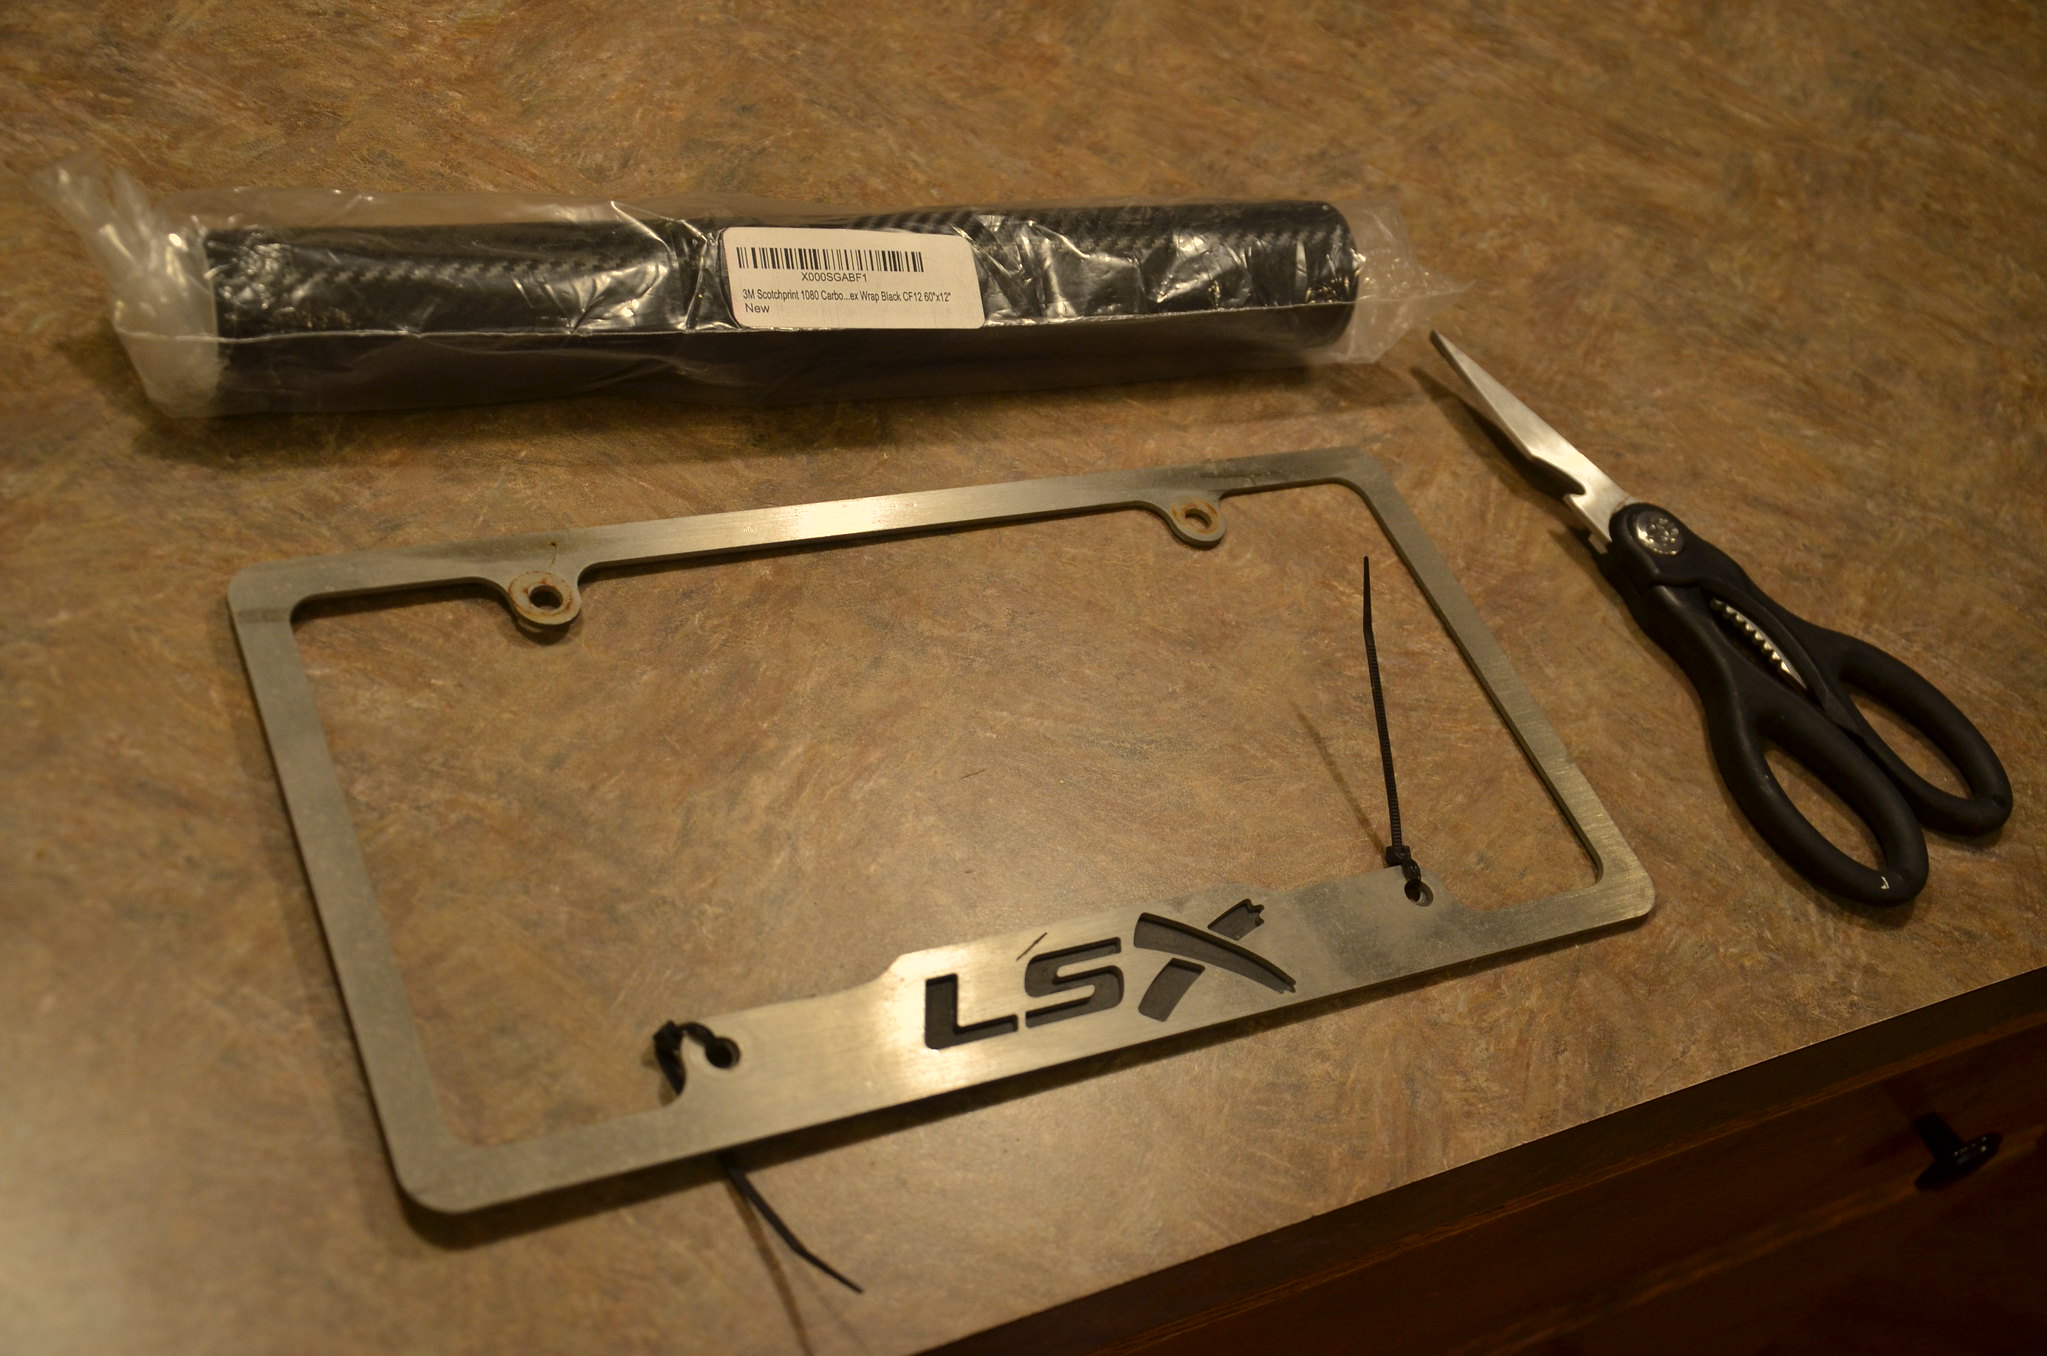
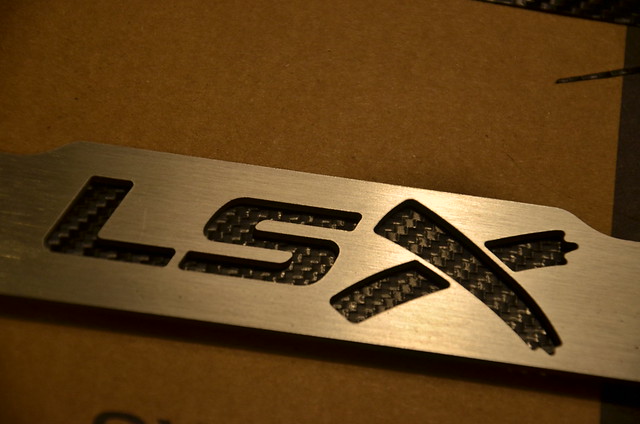
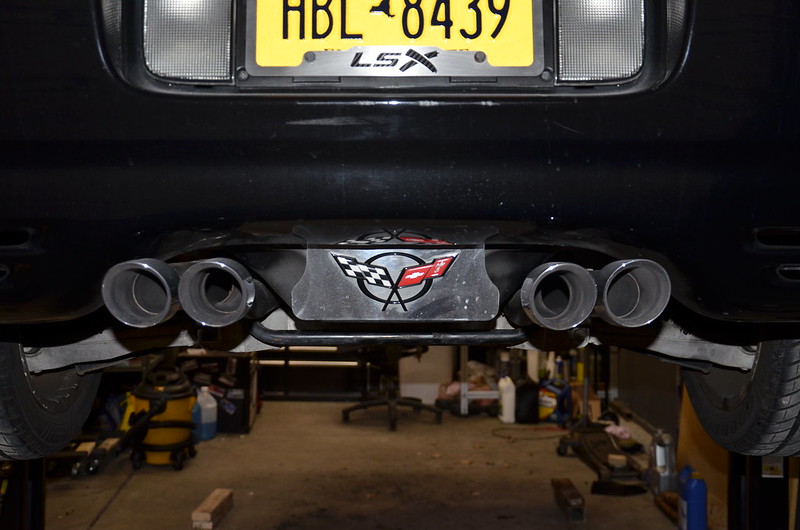
Time to resurrect my old LSX stainless license plate frame, which lived a life of glory and burnouts and commutes on my 6.0 LSX BMW.

_DSC4656 by Norbert Ogiba, on Flickr

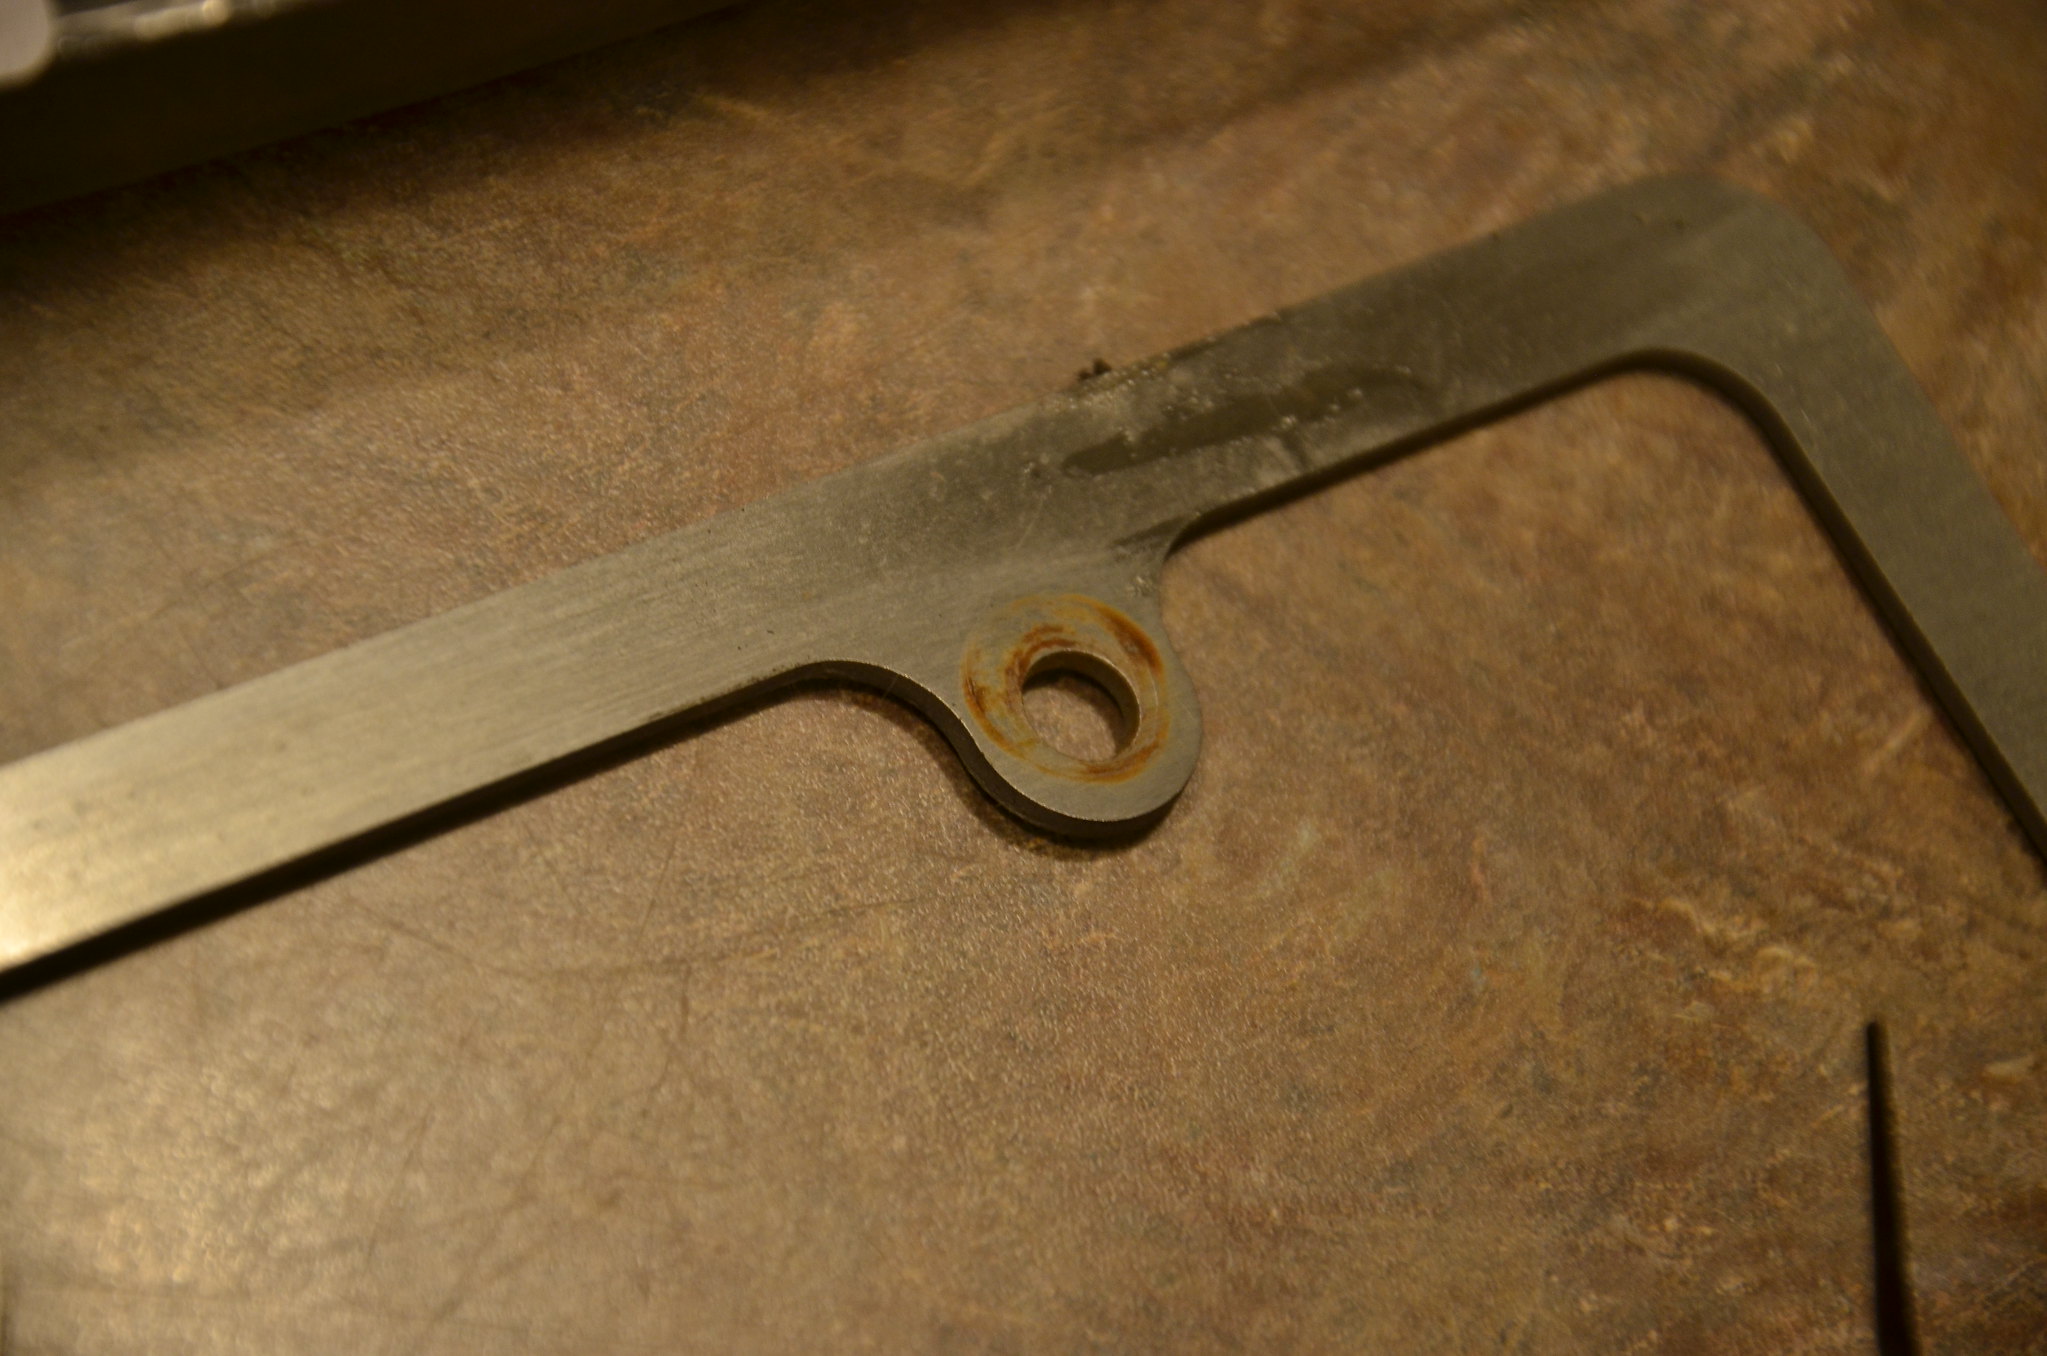
the mild hardware on the BMW plate had left its mark on the stainless plate frame. not good.

_DSC4657 by Norbert Ogiba, on Flickr

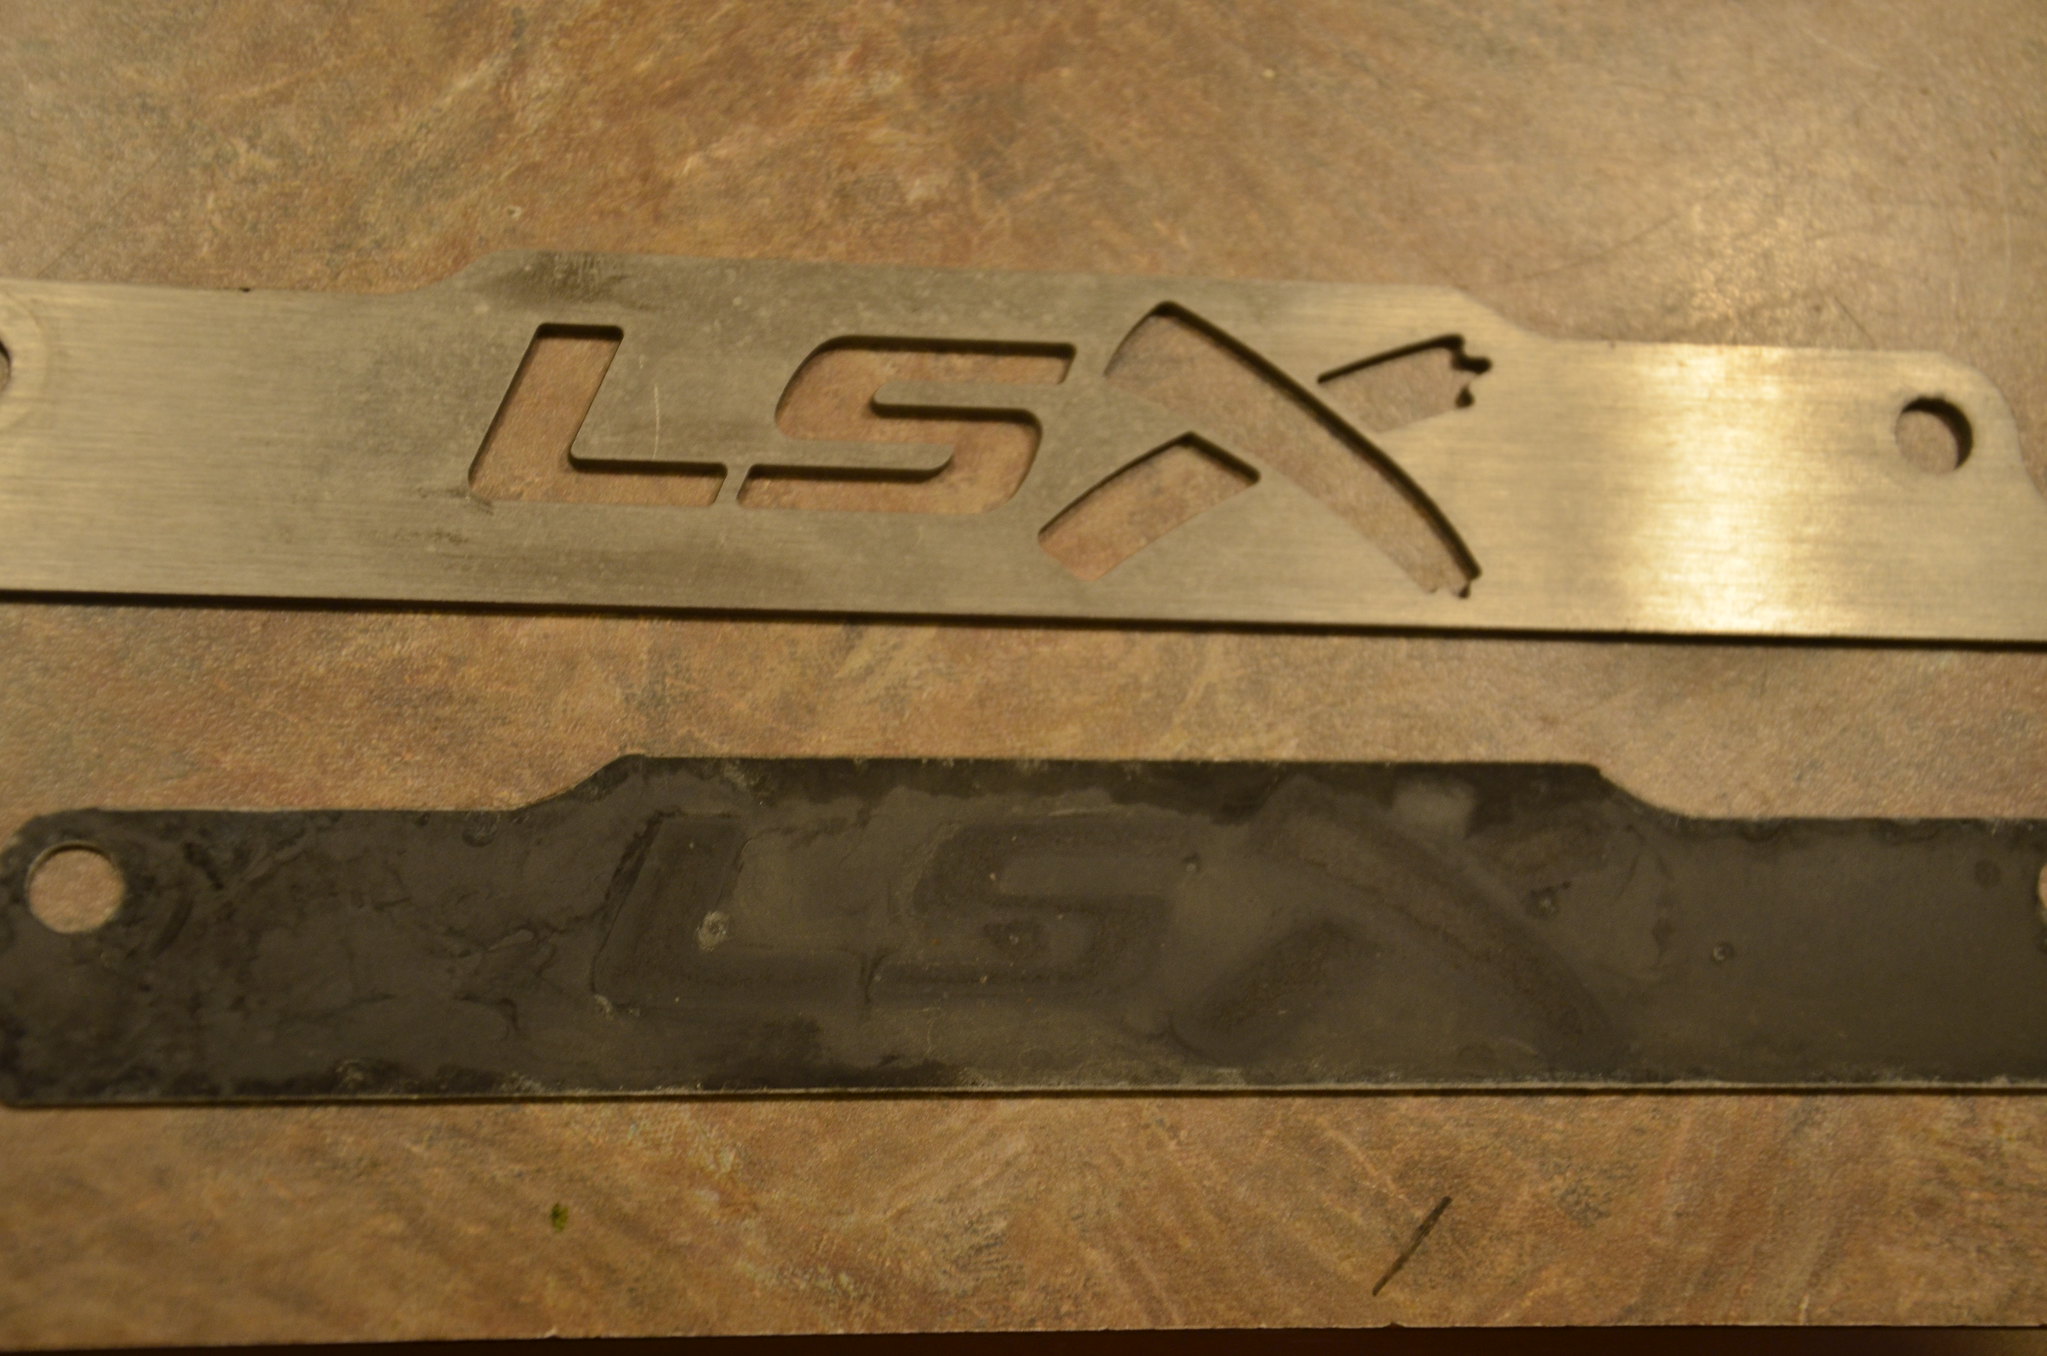
the black background to the LSX nameplate had seen some mileage too.

_DSC4658 by Norbert Ogiba, on Flickr

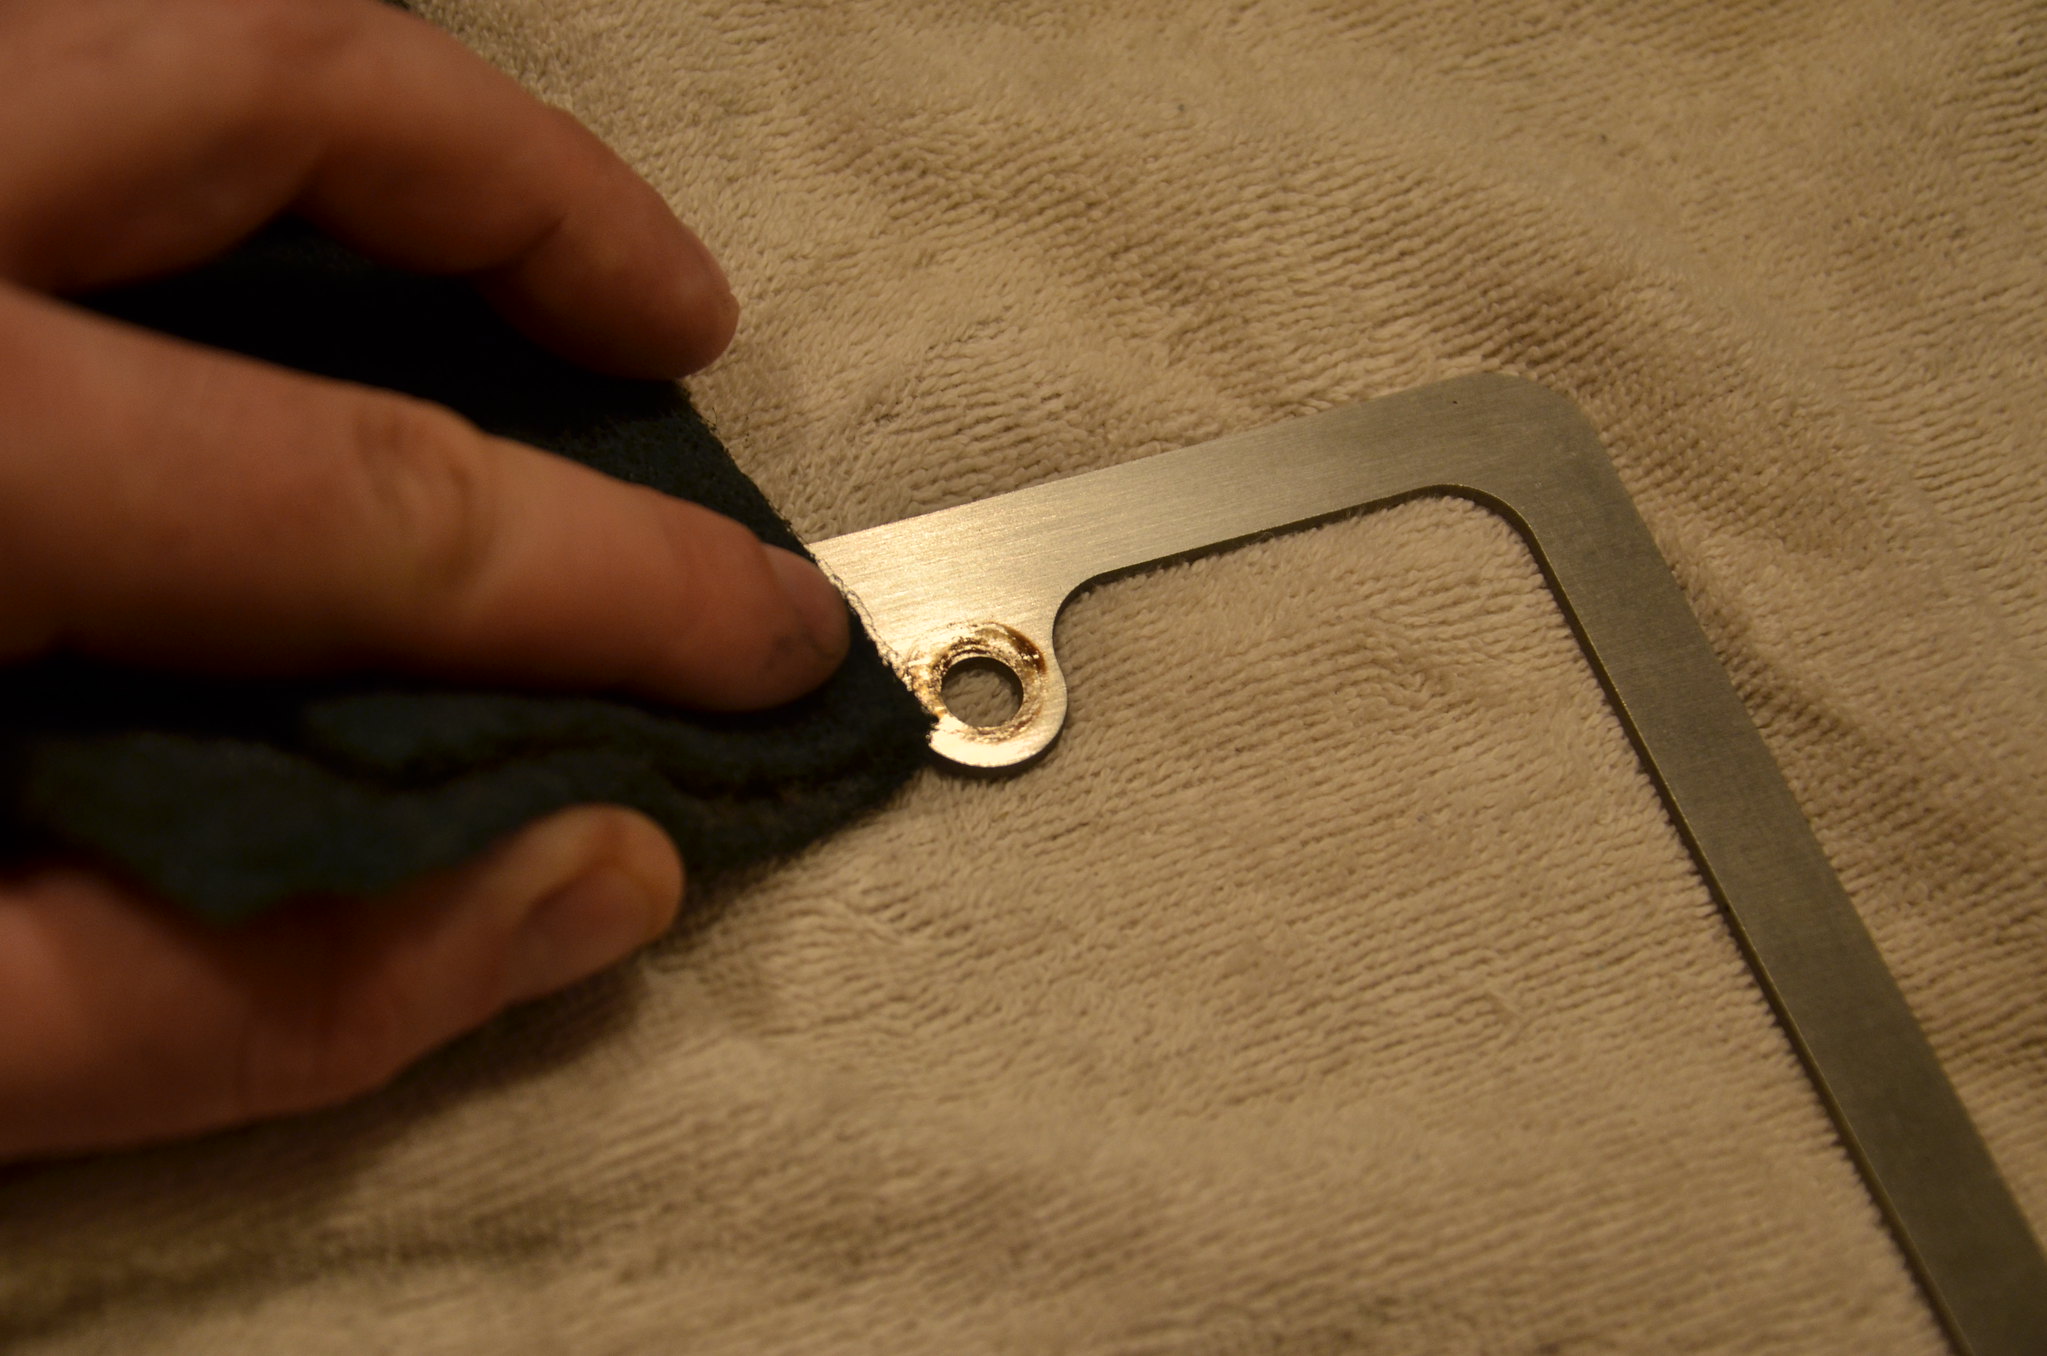
a brillo pad made quick work of the staining

_DSC4659 by Norbert Ogiba, on Flickr

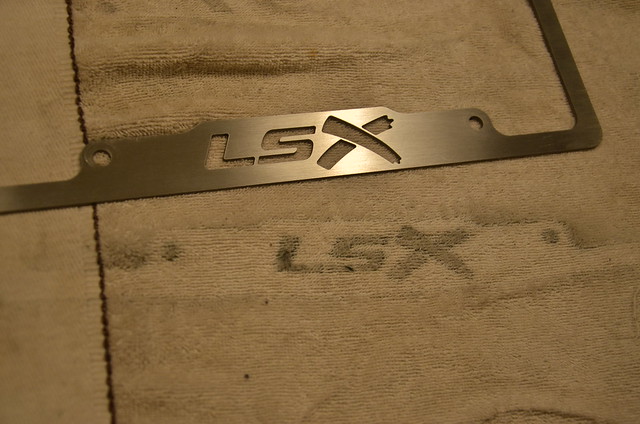
I ran the brillo pad over the whole surface of the stainless plate frame for good measure, the wife definitely won't be happy about the outline left on her kitchen towels from all the dirt and corrosion removed. I thought this was pretty funny

_DSC4660 by Norbert Ogiba, on Flickr

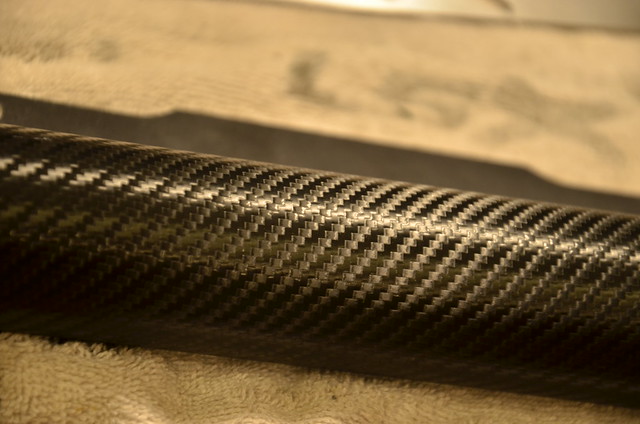
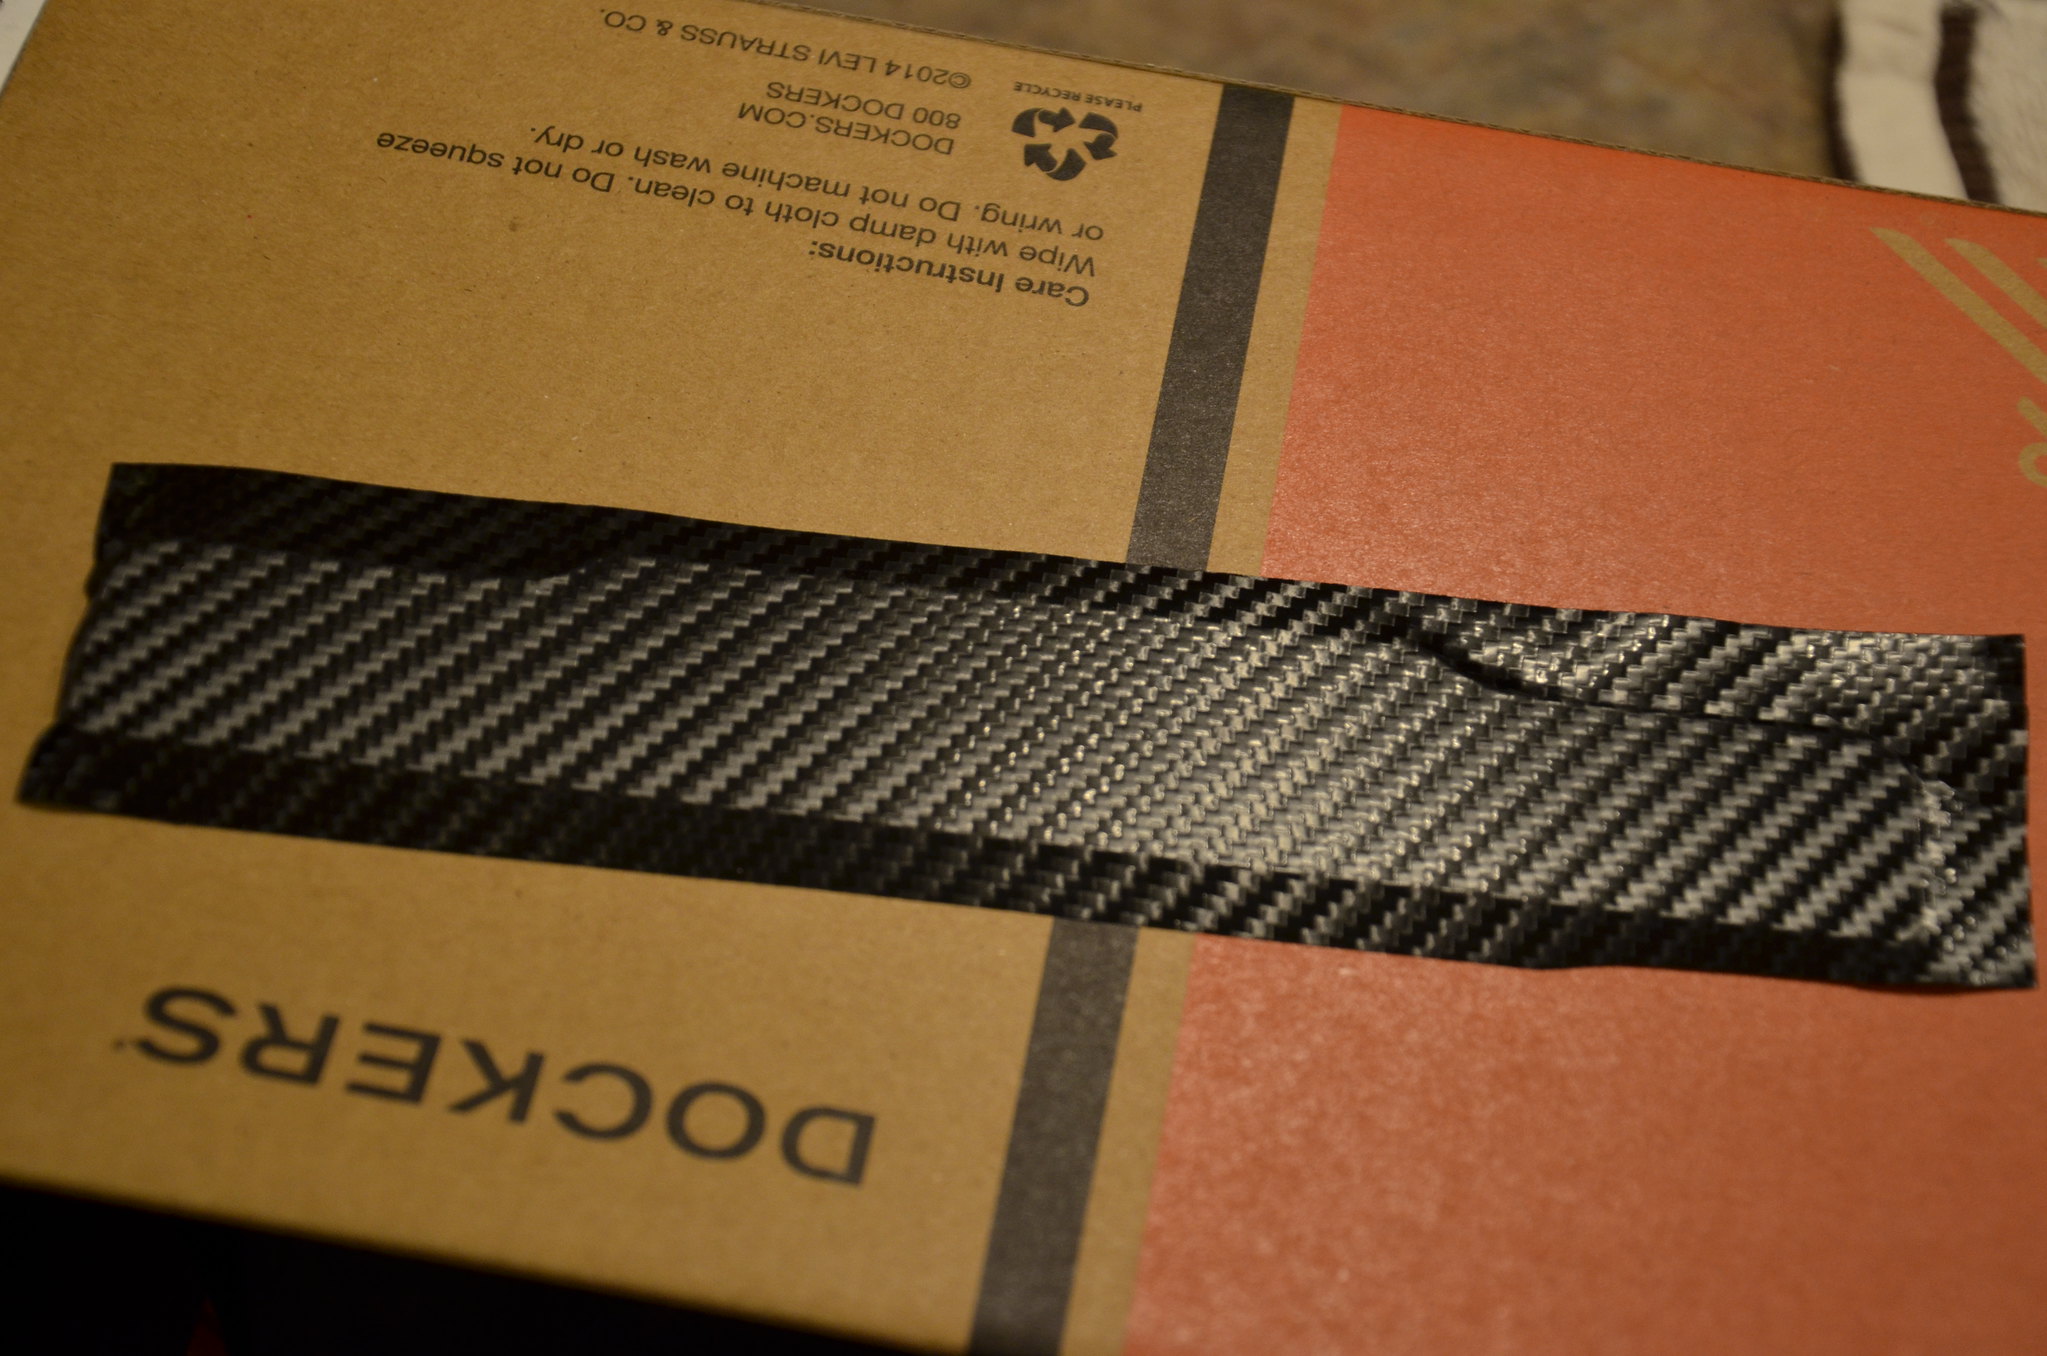
the solution for everything is carbon fiber (3M wrap)

_DSC4664 by Norbert Ogiba, on Flickr

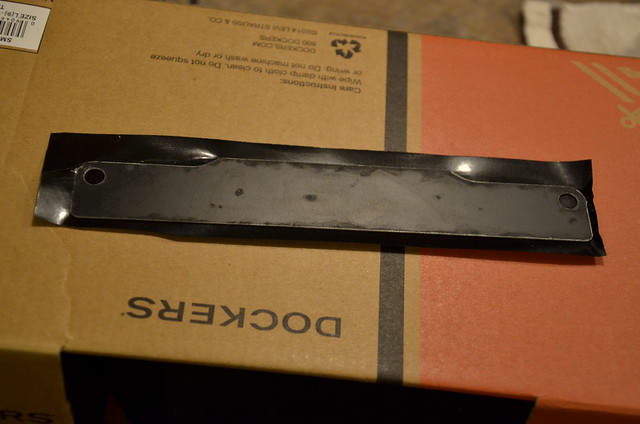
lay the background against the vinyl wrap

_DSC4665 by Norbert Ogiba, on Flickr

work the edges out with your fingers for a smooth finish

_DSC4666 by Norbert Ogiba, on Flickr

to be continued - need to go grab another beer! :rock::cheers:
 
OP
N

nsogiba

Well-known member
Joined
Jan 16, 2013
Messages
232
continuing

ok, so work out the edges, trim it, and put it behind the plate frame - now we're talking

_DSC4668 by Norbert Ogiba, on Flickr

ok - let's get serious - no more cosmetic BS - time to get dirty

_DSC4670 by Norbert Ogiba, on Flickr

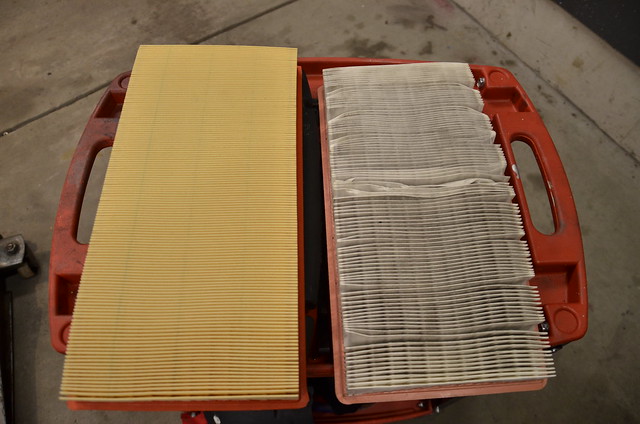
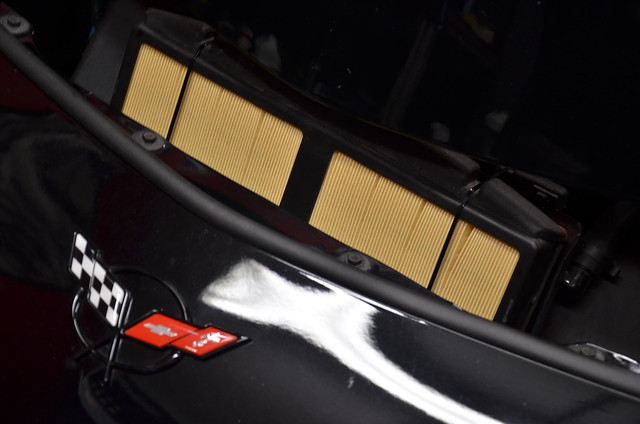
I am a big fan of cheap/free mods that return REAL gains, so the zip tie mod was in order. the existing air filter had seen better days.

_DSC4671 by Norbert Ogiba, on Flickr

this should breathe just a bit better.

_DSC4673 by Norbert Ogiba, on Flickr

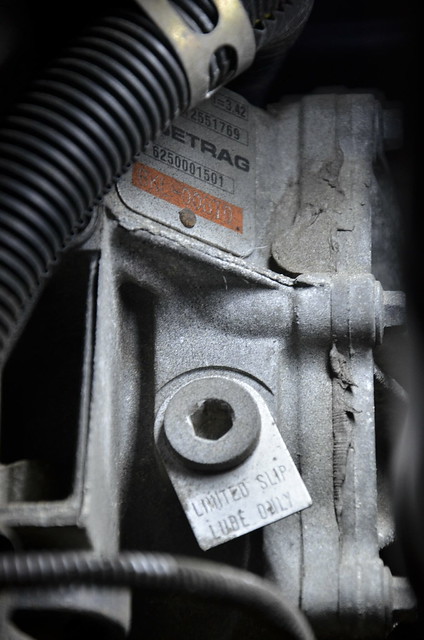
I am a big advocate of starting fresh on maintenance history so I decided to start fresh on all drivetrain fluids, starting with the differential.

_DSC4674 by Norbert Ogiba, on Flickr

The diff oil MAY have been changed - not sure. At 105K I'd rather not take a chance
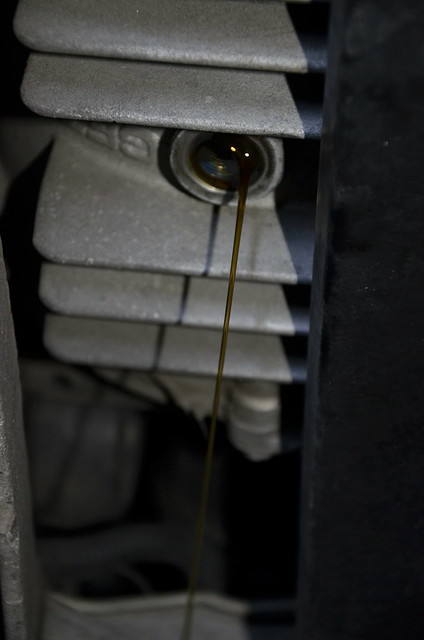
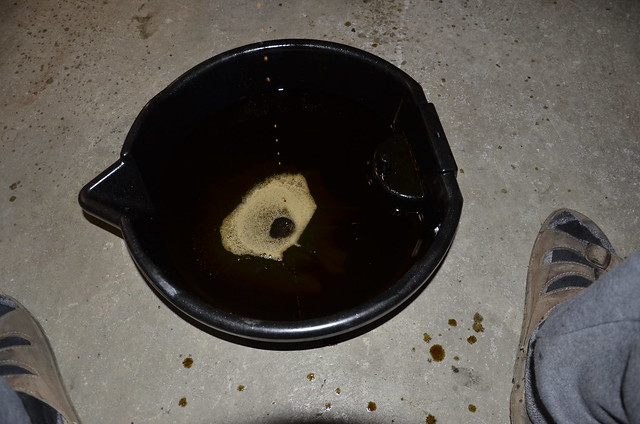
_DSC4676 by Norbert Ogiba, on Flickr

What came out wasn't too bad in all honesty. A bit dark but overall clean with no particulate
_DSC4678 by Norbert Ogiba, on Flickr

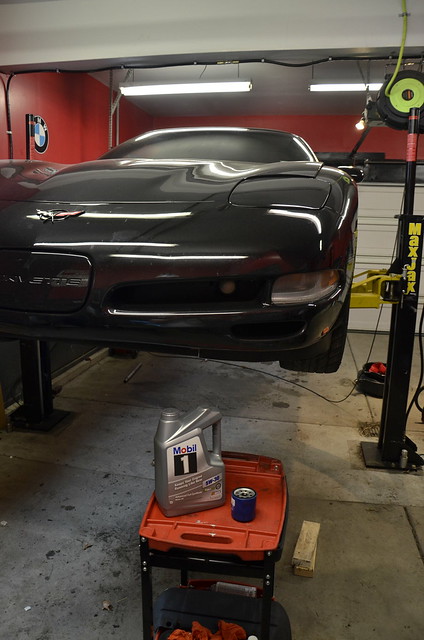
I also changed the trans fluid (T56) with new Dex III, no pics. What came out (again) wasn't bad, but wanted to start fresh. Finally, a fresh oil change with 5W30 Mobil 1 Full Syn. and AC Delco Filter rounded out the fluid changes.


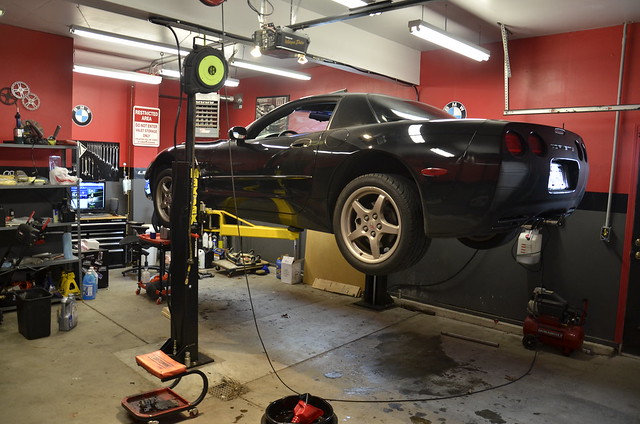
the MaxJax lift makes things a bit easier

_DSC4679 by Norbert Ogiba, on Flickr

_DSC4680 by Norbert Ogiba, on Flickr

Oil and Filter
_DSC4681 by Norbert Ogiba, on Flickr

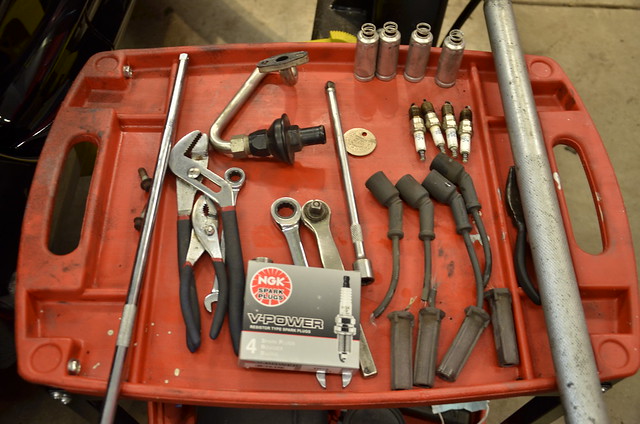
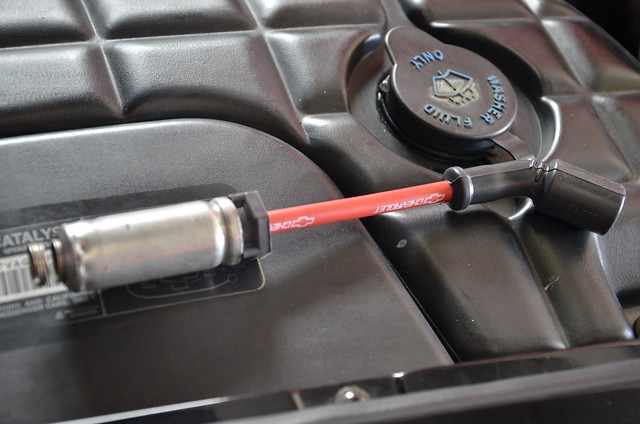
Rounded out the maintenance with new TR55 spark plugs and Red Chevrolet Performance Plug Wires

_DSC4682 by Norbert Ogiba, on Flickr

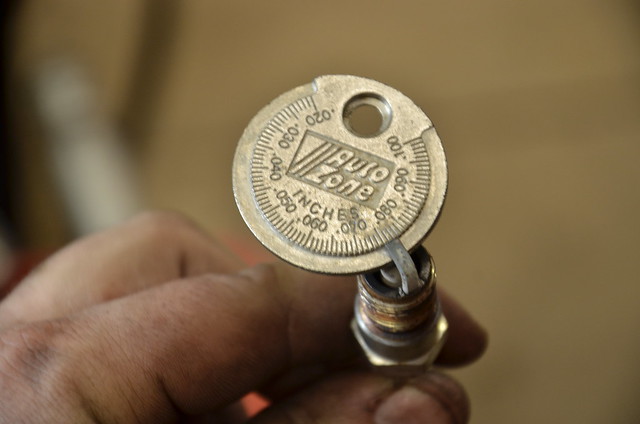
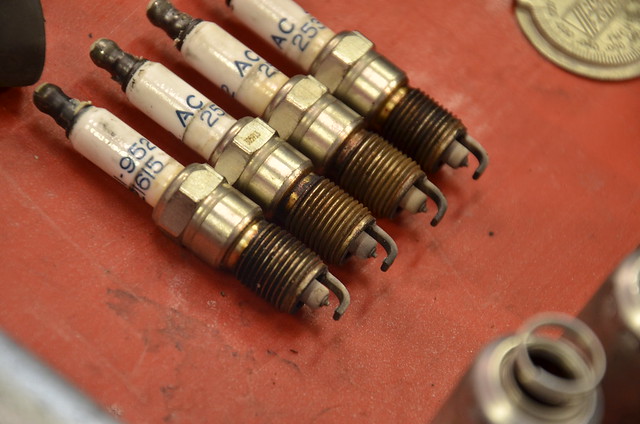
The old plugs looked so - so, but the gap on them was abysmal - up to .075" on the worst ones
_DSC4683 by Norbert Ogiba, on Flickr

Driver's side 1 3 5 7

_DSC4686 by Norbert Ogiba, on Flickr

Workspace

_DSC4684 by Norbert Ogiba, on Flickr

105K worth of use
_DSC4686 by Norbert Ogiba, on Flickr

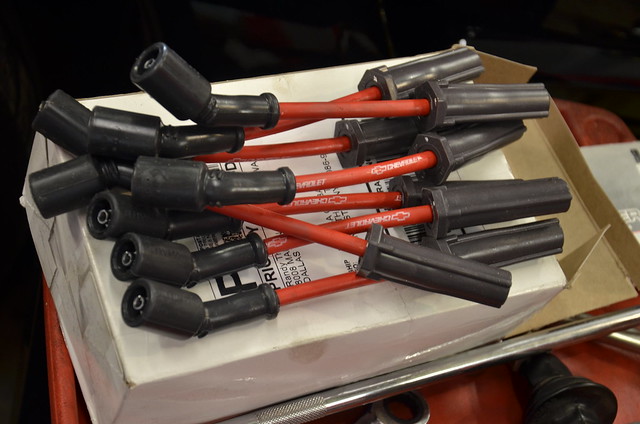
new red GM Performance Wires
_DSC4687 by Norbert Ogiba, on Flickr

Luckily, I was able to reuse all the stamped metal heat shields for all the new wires.

Took the wife to the driving range and hit a couple buckets of balls. Car ran flawlessly. Tomorrow is Super Bowl Sunday - before I head to the father - in - laws, plan on washing the exterior, vacuuming inside, and cleaning the "udders" inside the engine compartment. Saw quite a bit of buildup while inspecting everything on the lift!

forgot to add the pic of the stock heat shields on the new wires

_DSC4689 by Norbert Ogiba, on Flickr

Super Bowl Sunday: spent a couple hours cleaning the musty smell out of the interior. vacuumed, cleaned glass, cleaned seats, cleaned dashboard/door panels, everything got a coat of armorall/leather conditioner and a quart of febreze spray. now it's inhabitable.

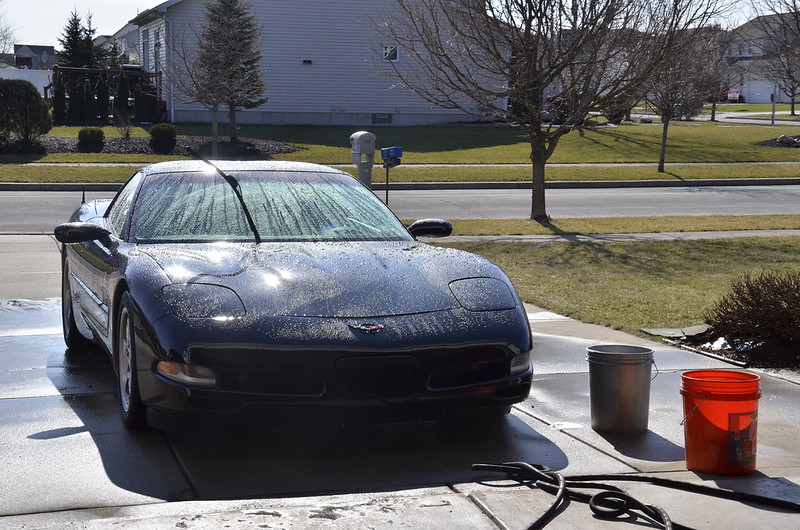
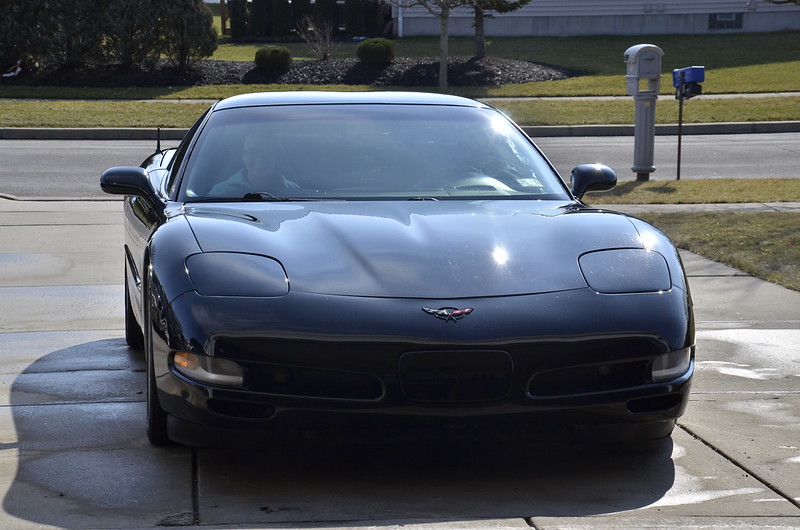
quick wash on the exterior. paint correction to come in a month or so
_DSC4690 by Norbert Ogiba, on Flickr

_DSC4691 by Norbert Ogiba, on Flickr

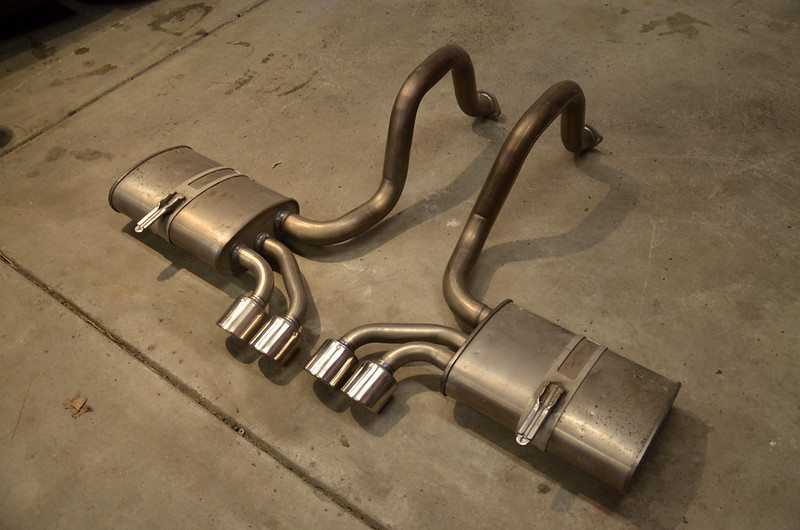
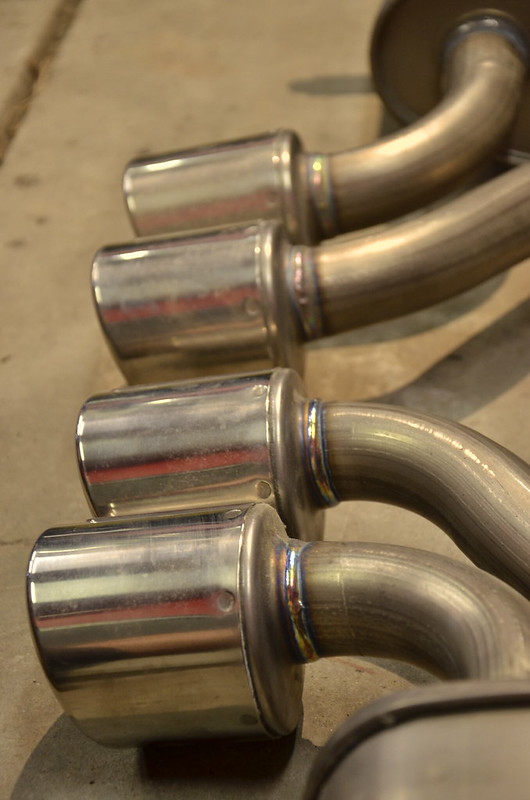
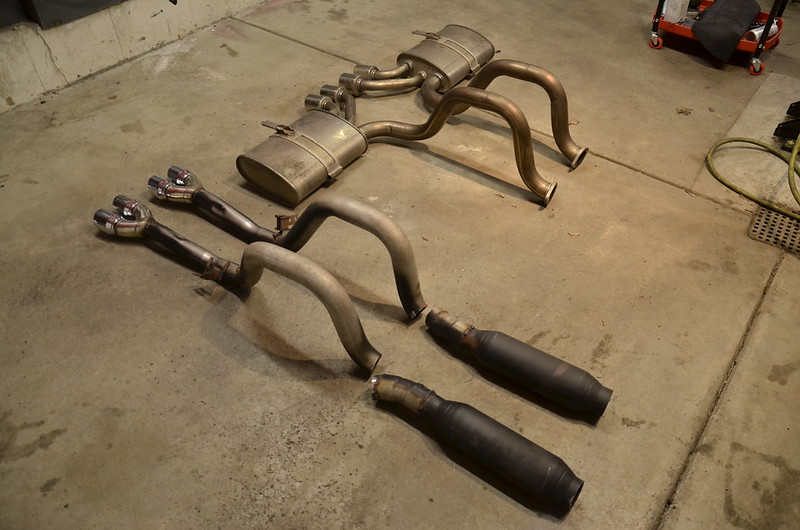
took a ride out to Rochester to grab Z06 Ti's

_DSC4692 by Norbert Ogiba, on Flickr

_DSC4695 by Norbert Ogiba, on Flickr

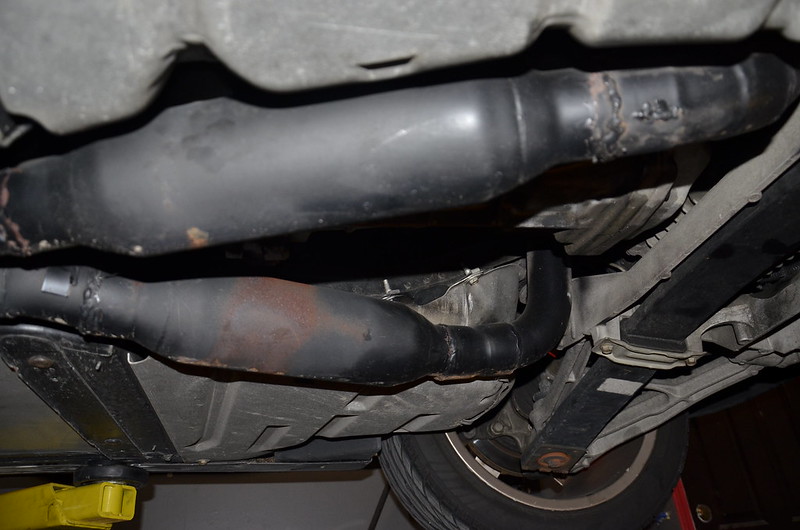
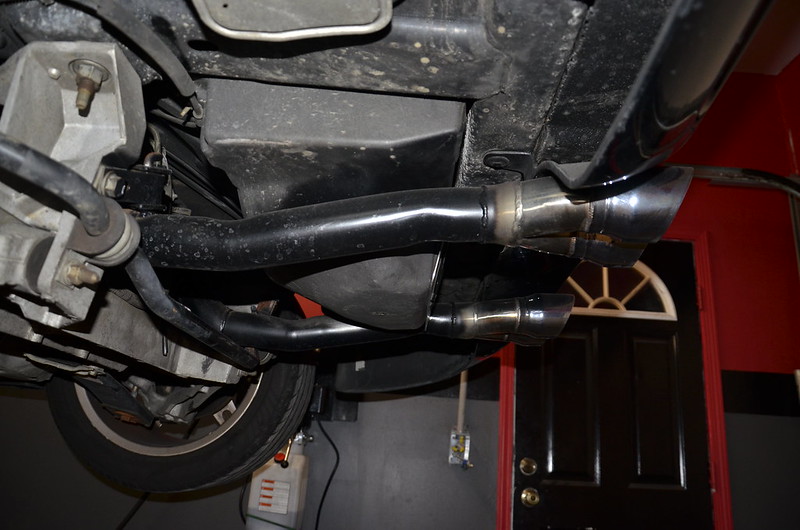
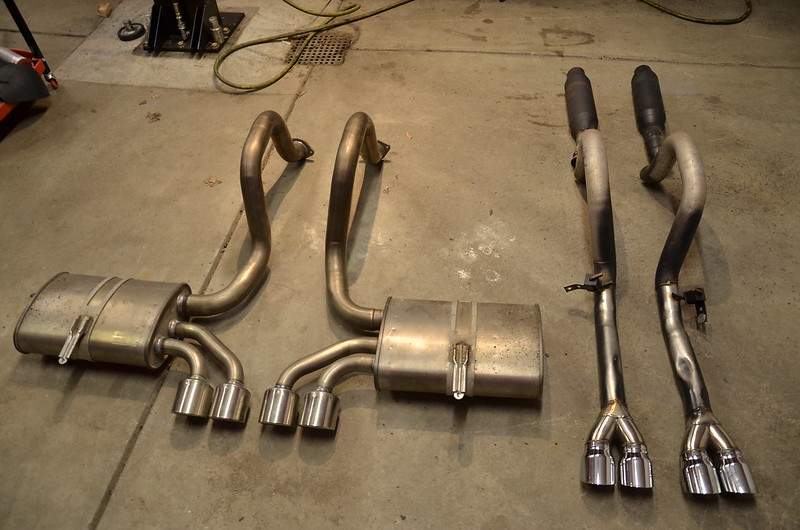
the "custom" exhaust needed to go. the shop that did the work was nice enough to weld in the bullets where the old flanges used to be, making the system one piece from the header flange to the tips. wouldn't be a problem if the exhaust didn't loop up over the axle. the bullets sounded okay when you romped on it but otherwise droned around town pretty badly.

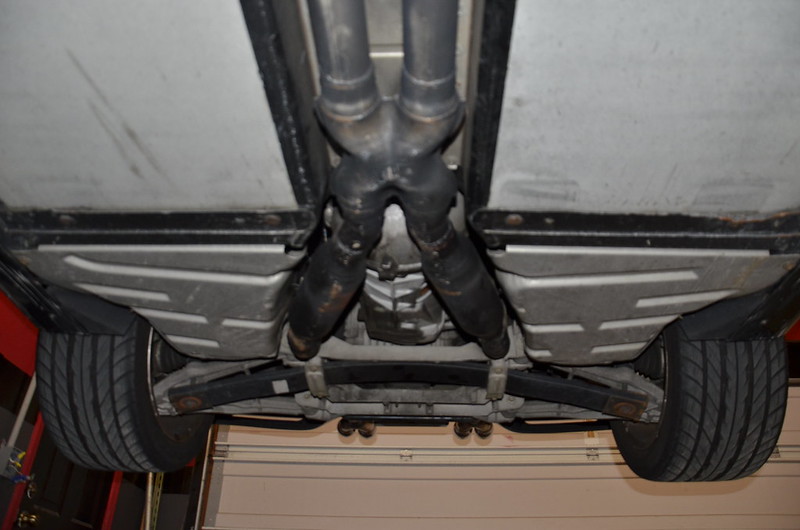
The h-pipe was long gone, replaced by this x-pipe, which will stay


_DSC4698 by Norbert Ogiba, on Flickr

generic bullets in all their exhaust shop **** glory

_DSC4699 by Norbert Ogiba, on Flickr

snaking over to the tips
_DSC4700 by Norbert Ogiba, on Flickr

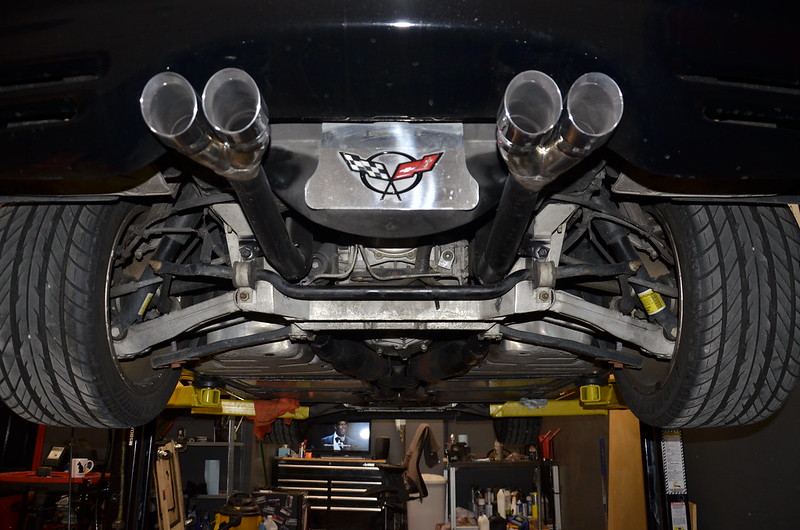
Tip alignment wasn't amazing, and the tip diameter seemed out of place and too far apart between sides
_DSC4703 by Norbert Ogiba, on Flickr

_DSC4704 by Norbert Ogiba, on Flickr

chop chop. out they come

_DSC4705 by Norbert Ogiba, on Flickr

_DSC4706 by Norbert Ogiba, on Flickr

Blank slate
_DSC4708 by Norbert Ogiba, on Flickr

pipes and flanges get in tomorrow, I need to mock up the mufflers and align the tips - then connect them to the existing x-pipe
 
OP
N

nsogiba

Well-known member
Joined
Jan 16, 2013
Messages
232
bringing us up to todayish

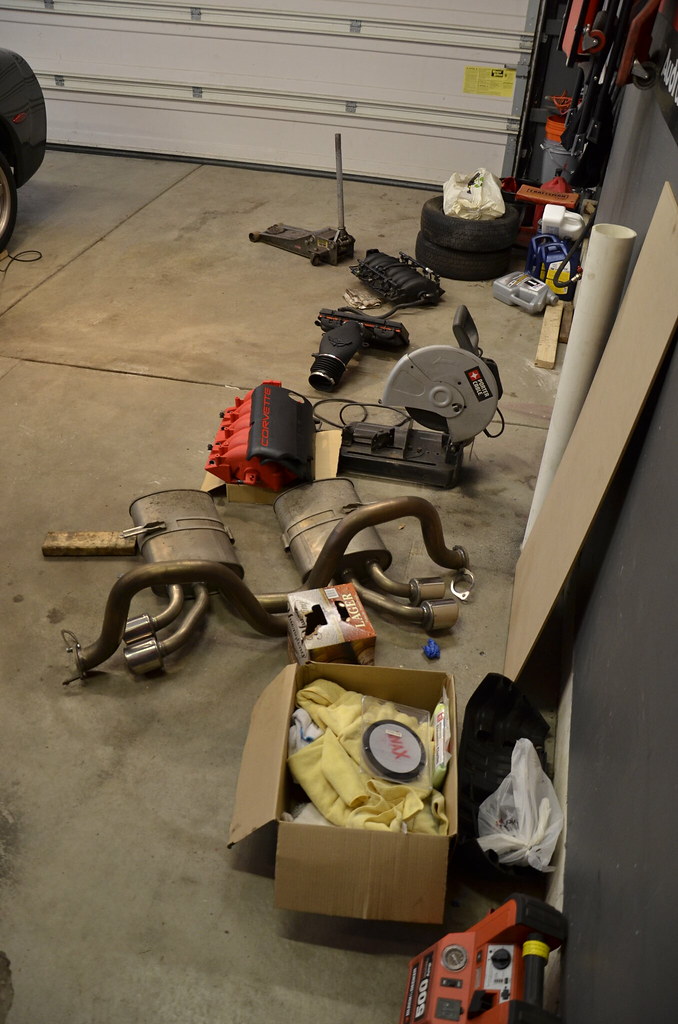
slow but steady progress. I dusted off the welder, chop saw, and unpackaged the mandrel bend and flanges that came in.

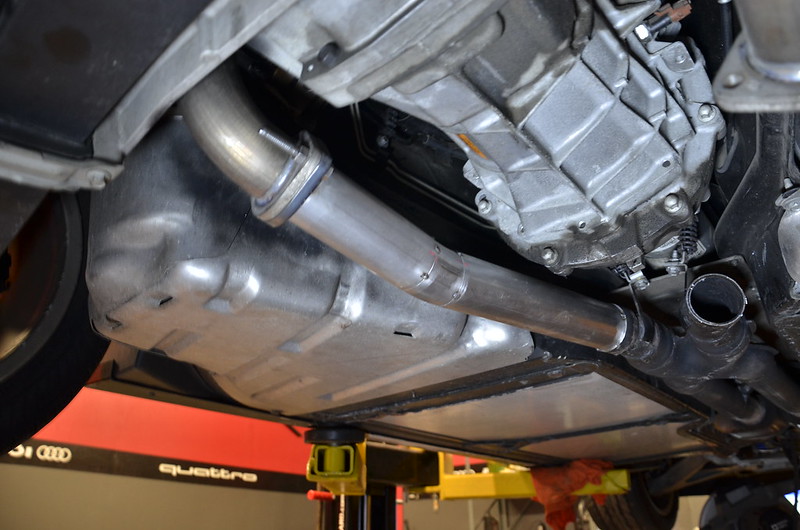
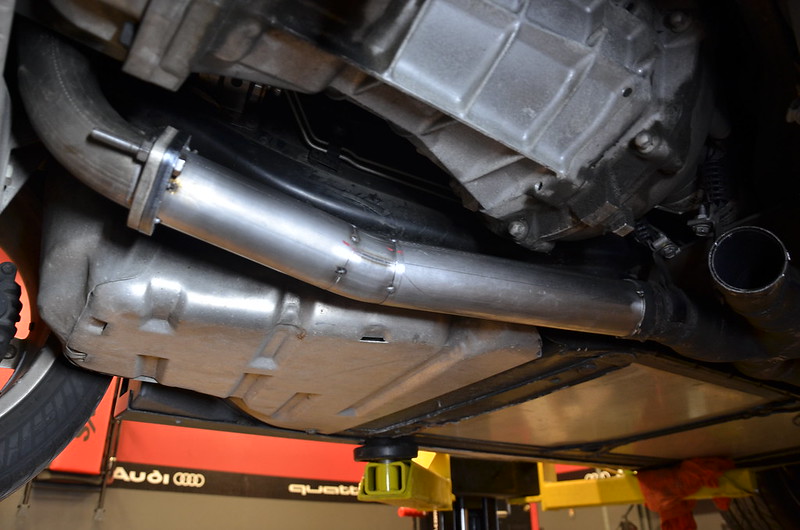
First I installed the Ti muffler on the driver's side, getting the tip level, and then held the front flange in place with a jack and a 2x4.

Now that point A and point B were fixtured I connected the dots. The blank flange bolted to the muffler flange gave me a lot of leeway and made it fairly easy.

All tacked up:

_DSC4710 by Norbert Ogiba, on Flickr

_DSC4712 by Norbert Ogiba, on Flickr

Now I need to repeat the process for the passenger side.


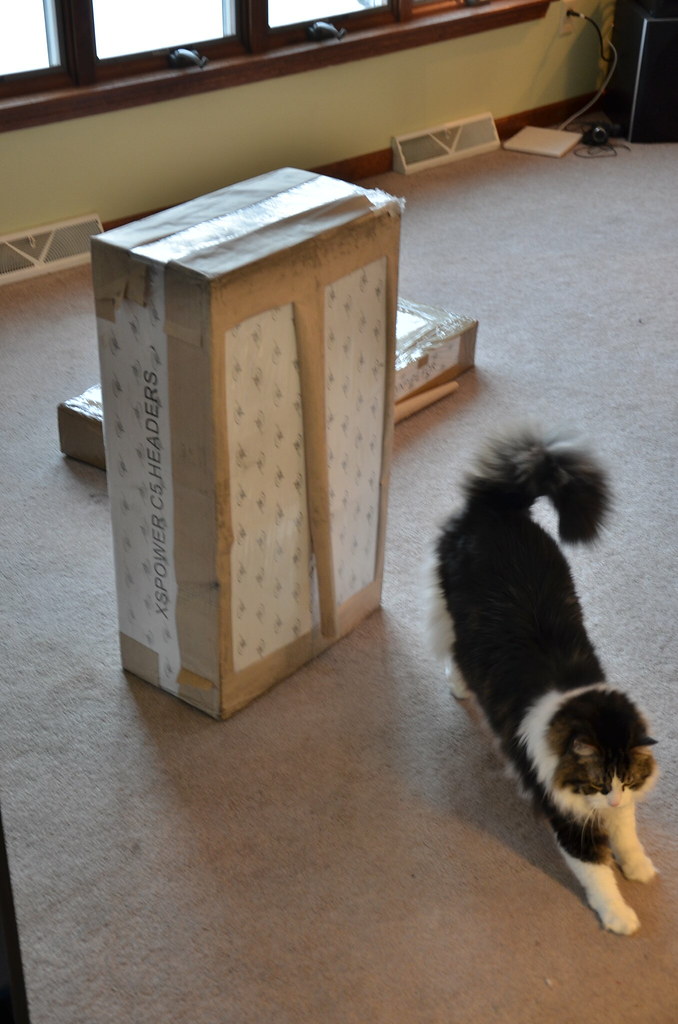
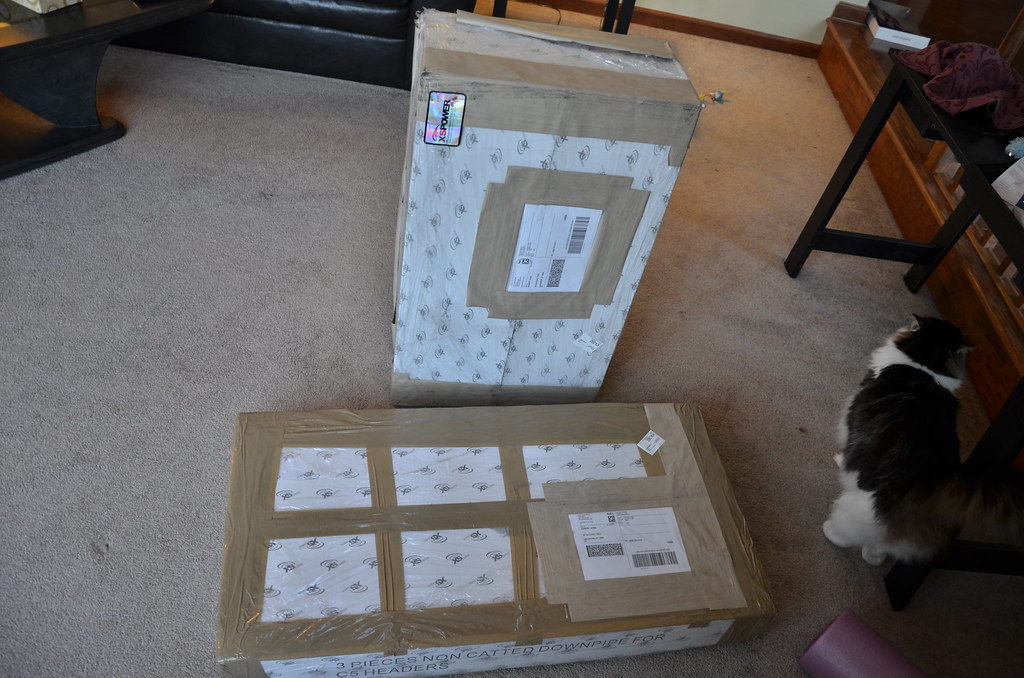
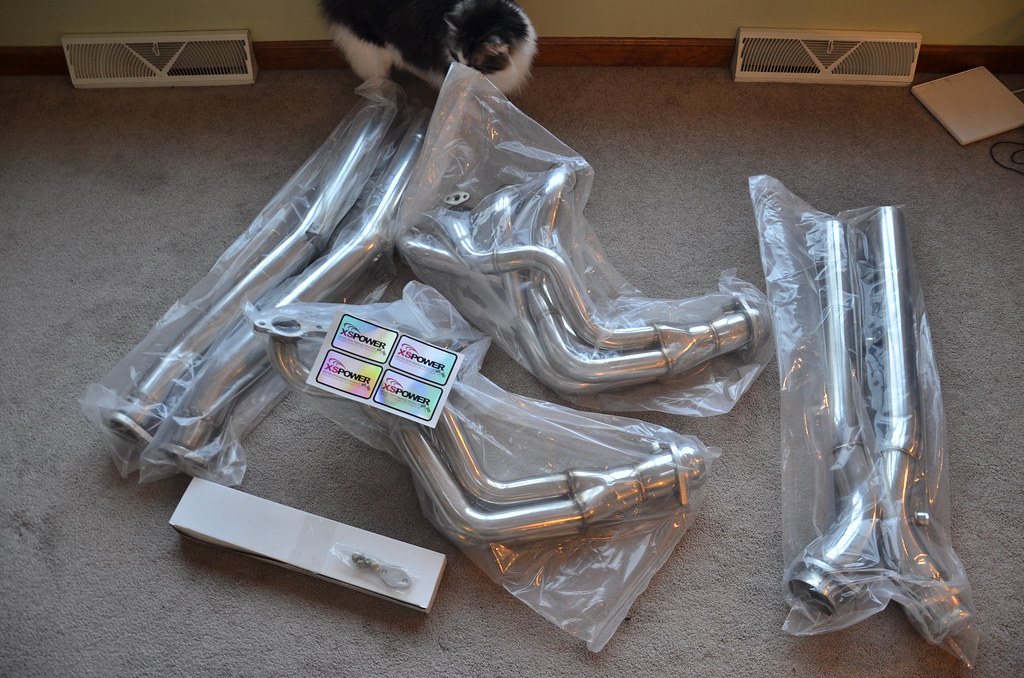
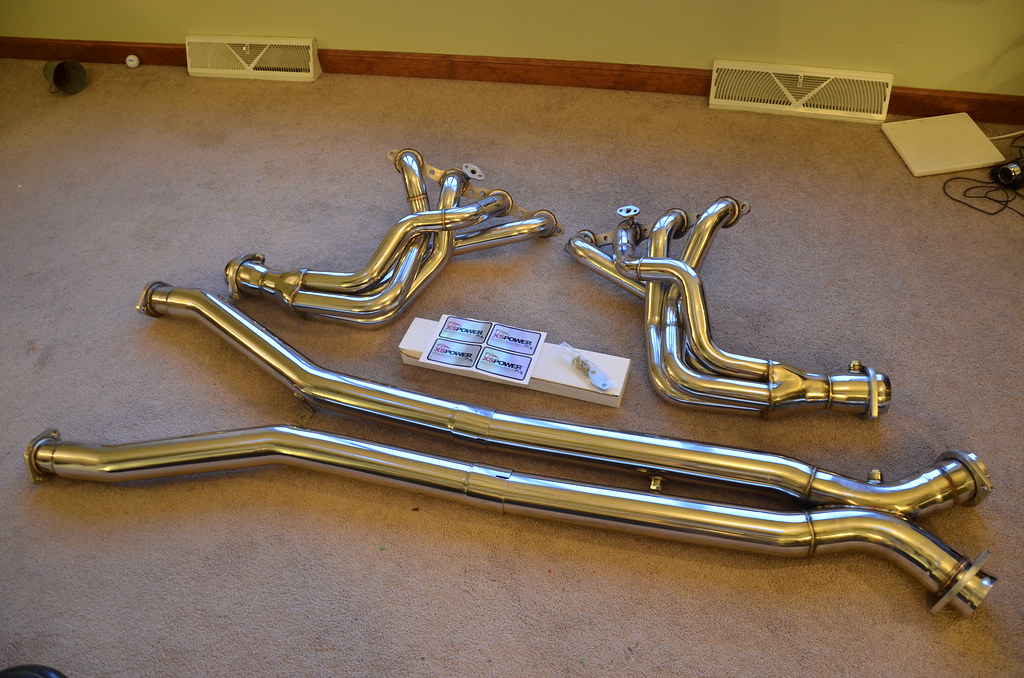
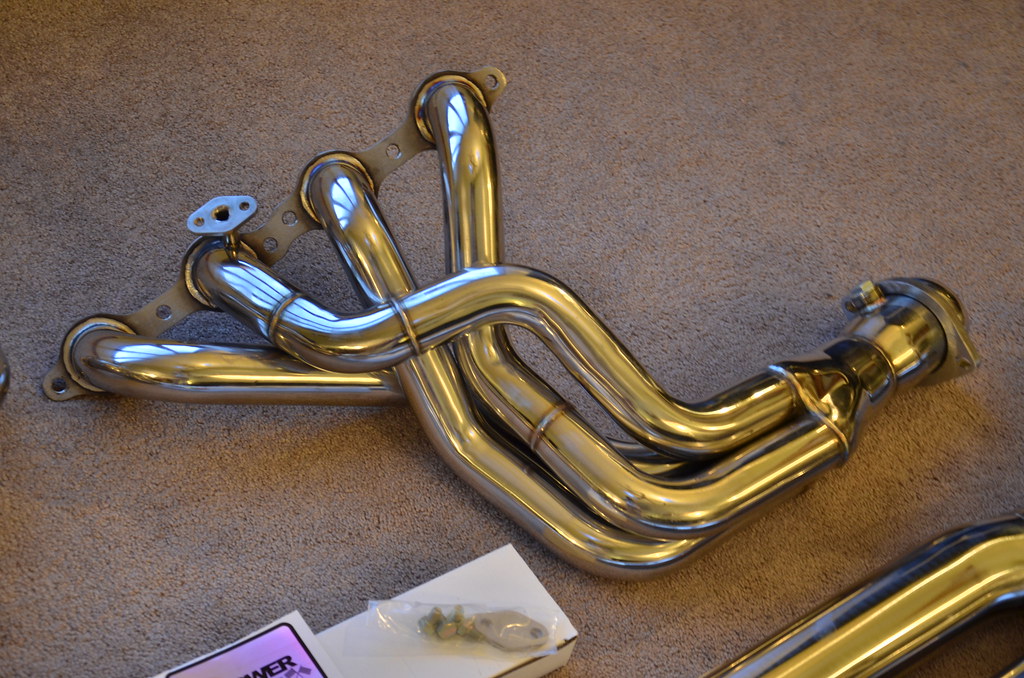
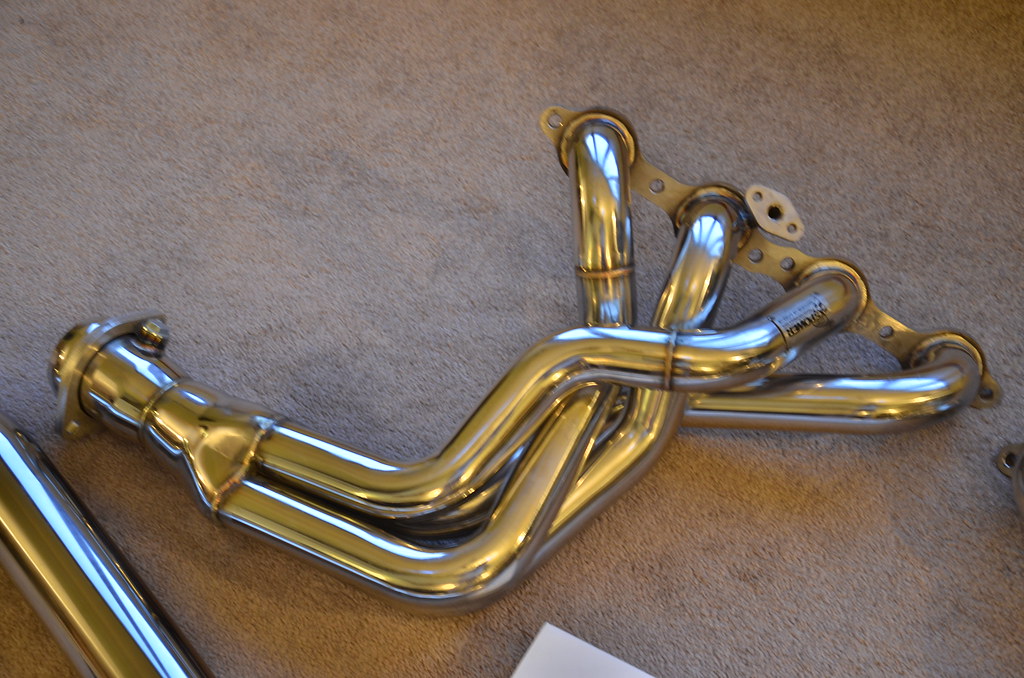
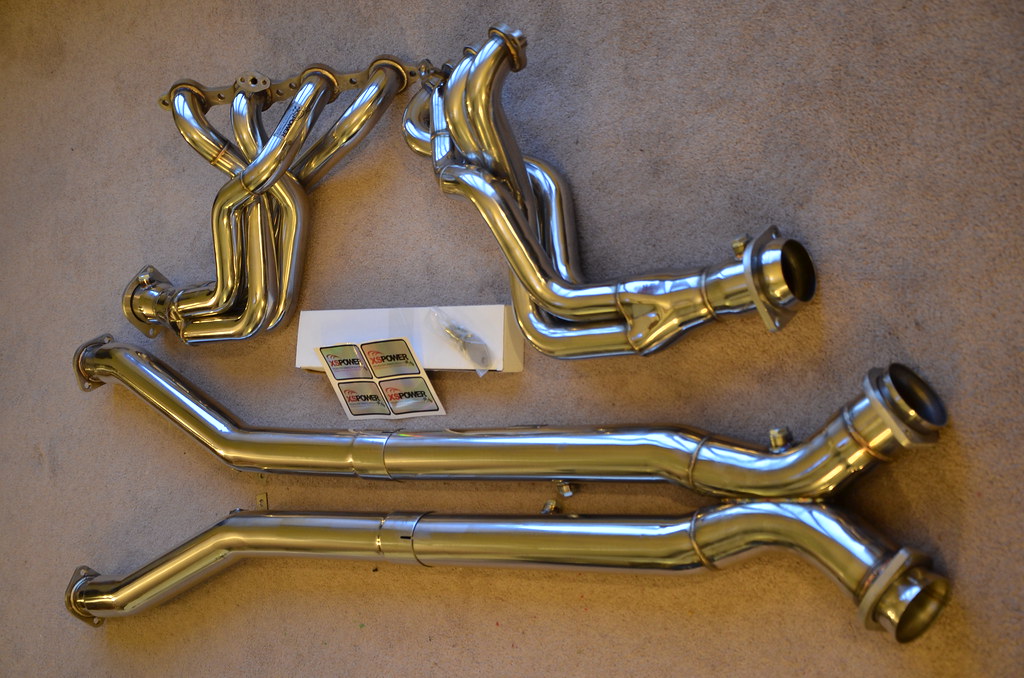
Longtubes came in much earlier than expected! I ordered them Sunday night and they were waiting for me Thursday afternoon. Not bad for a company that is closed this week and didn't expect to ship til next.

Boxes were wrapped up nicely. Cat was looking over the boxes, unfortunately I got the catless model, sorry lil guy

_DSC4721 by Norbert Ogiba, on Flickr

_DSC4723 by Norbert Ogiba, on Flickr

_DSC4725 by Norbert Ogiba, on Flickr

_DSC4726 by Norbert Ogiba, on Flickr

_DSC4727 by Norbert Ogiba, on Flickr

_DSC4728 by Norbert Ogiba, on Flickr

_DSC4729 by Norbert Ogiba, on Flickr

I didn't look too closely at the fabrication quality yet but initial impressions are good. We will see how the fitment is, I have heard good things.

Starting the install. The midpipes were already removed since I had been repairing the stock ones
_DSC4730 by Norbert Ogiba, on Flickr

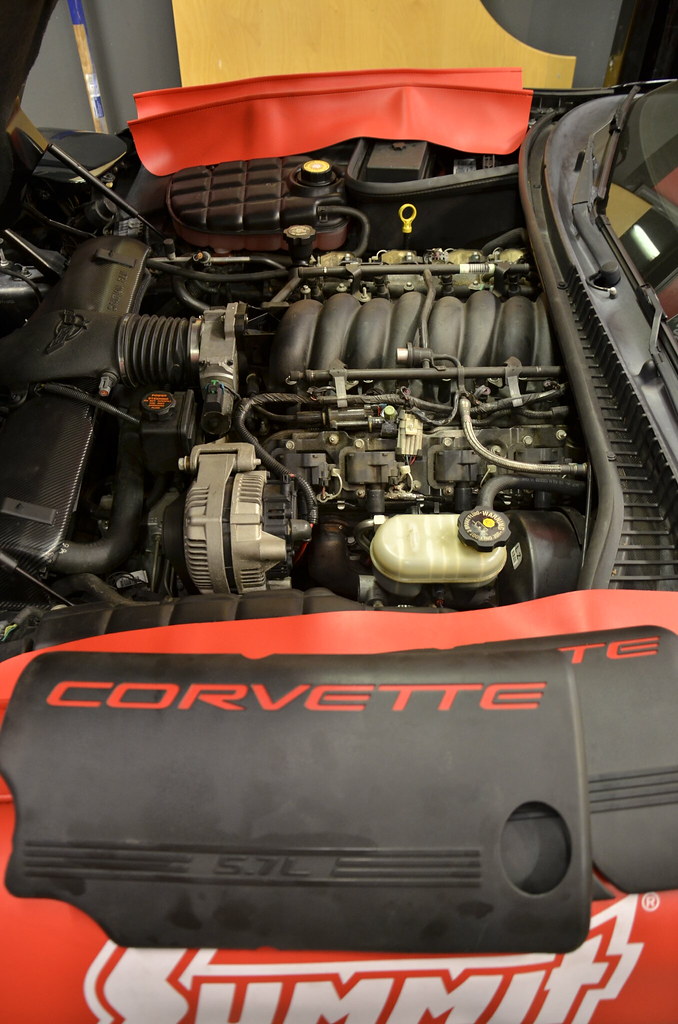
Fuel Rail Covers off. I need to scrub these things in some hot soapy water.
_DSC4731 by Norbert Ogiba, on Flickr

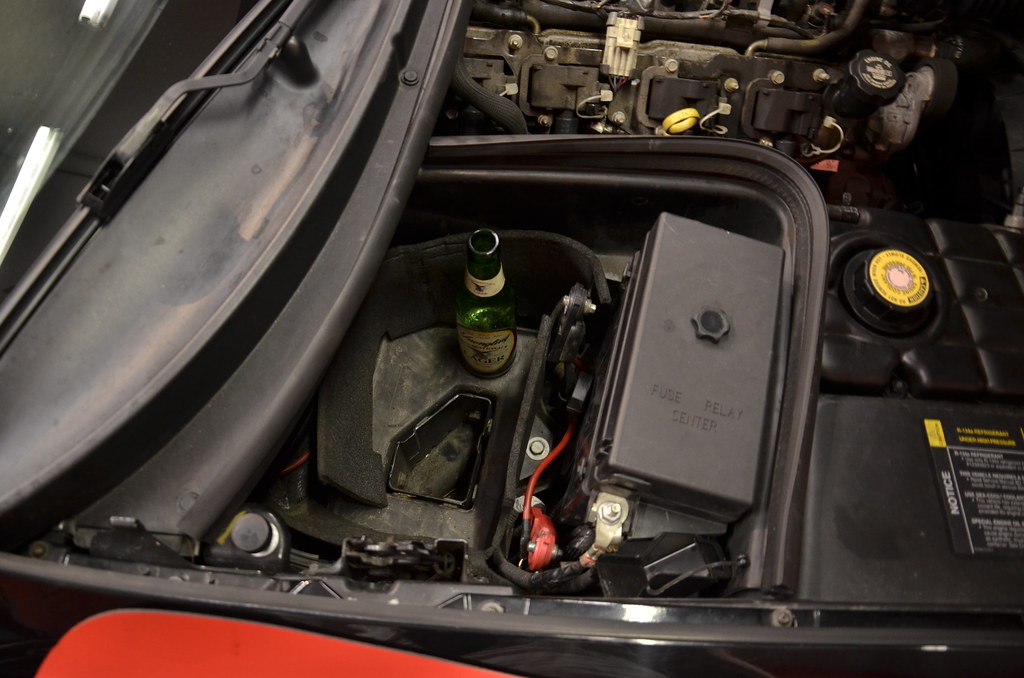
Battery disconnected and removed.
_DSC4734 by Norbert Ogiba, on Flickr

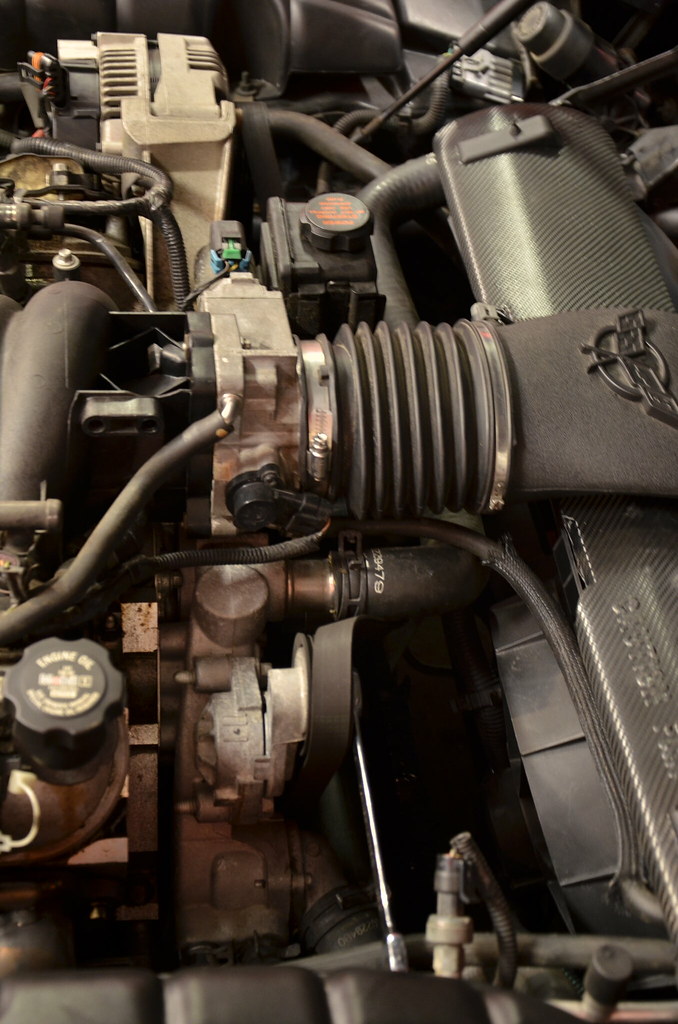
Belt de-tensioned. Also note that I wrapped the radiator cover in 3M CF vinyl. Started wrapping the headlight bezels as well.
_DSC4735 by Norbert Ogiba, on Flickr

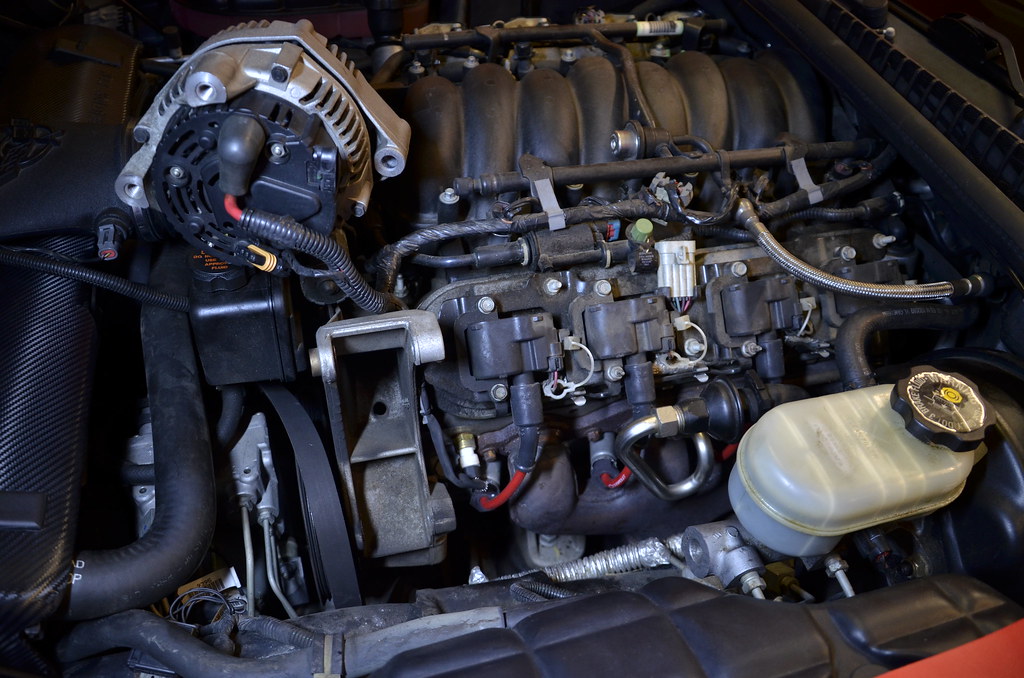
Alternator removed and placed aside (I didn't remove the big battery positive terminal)
_DSC4737 by Norbert Ogiba, on Flickr

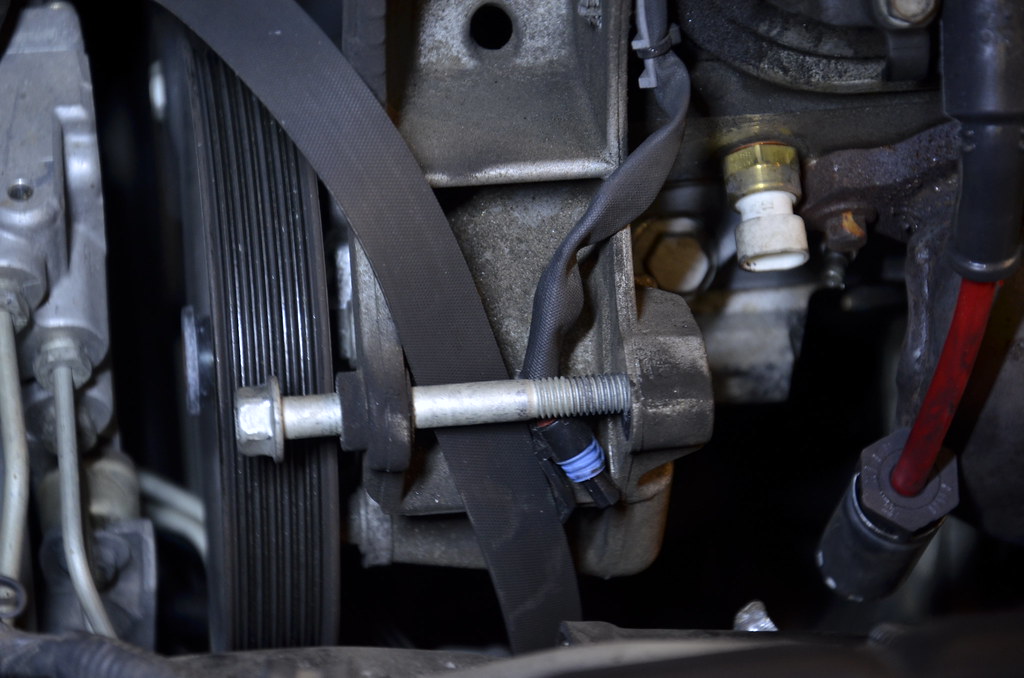
There's not a lot of room by the accessories so rather than remove the belt completely I just tucked it in the alt bracket so that it'll be easy to slip on later.
_DSC4738 by Norbert Ogiba, on Flickr

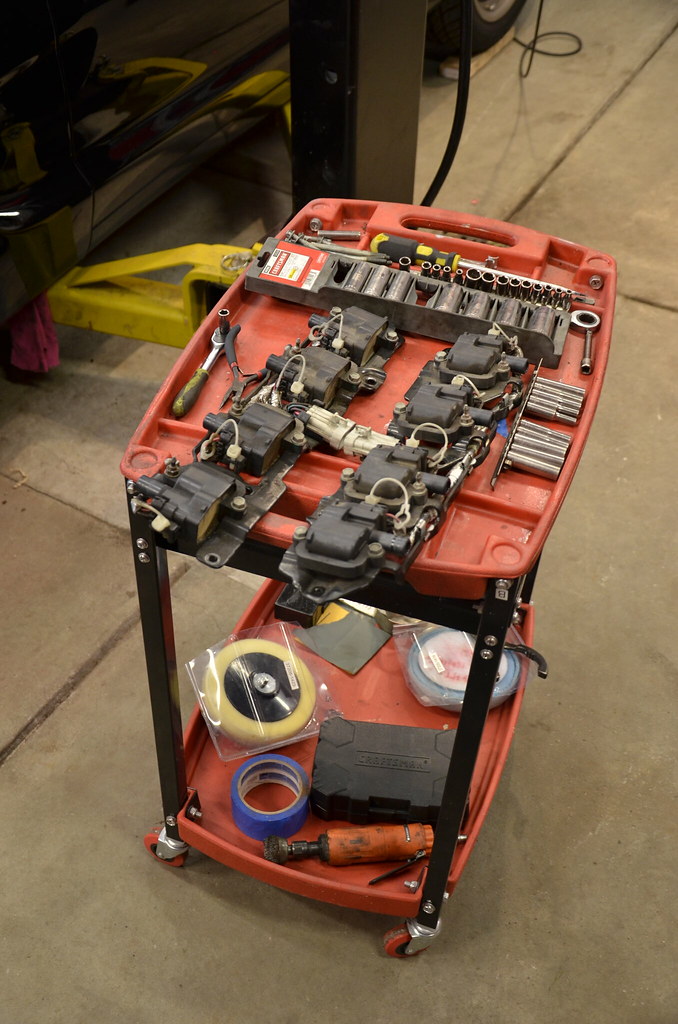
Driver's coils and AIR stuff removed. I'll probably end up pulling both valve covers and scrubbing them clean
_DSC4740 by Norbert Ogiba, on Flickr

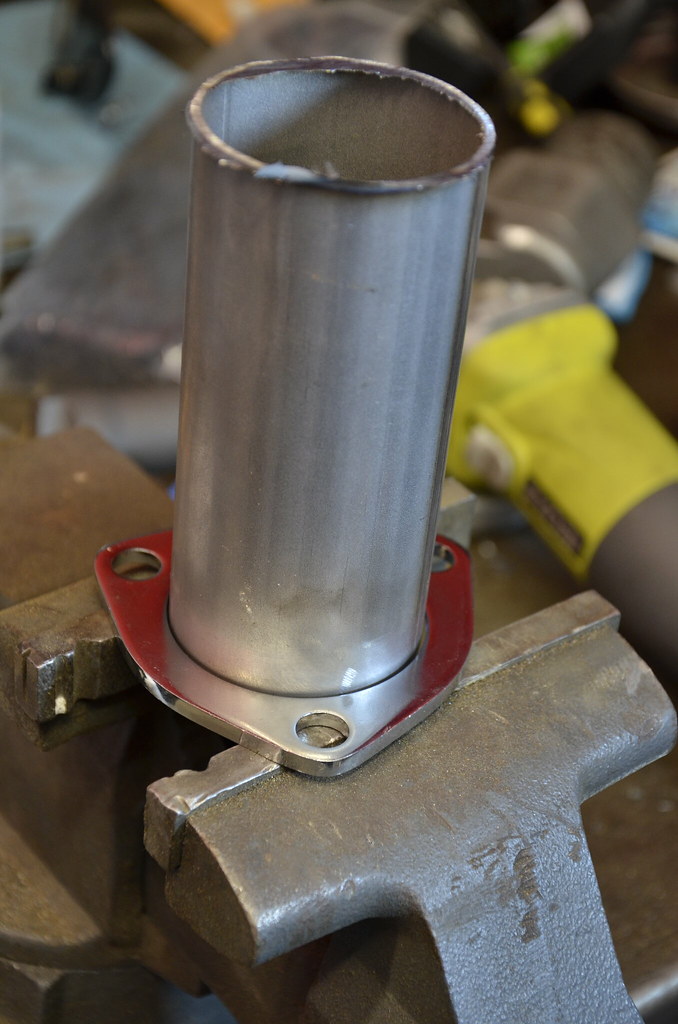
Also started fabbing the cutout pipes that will be welded to the x-pipe. Need to deburr and tack this flange (the cutout valve and turndown will bolt to the flange)
_DSC4714 by Norbert Ogiba, on Flickr

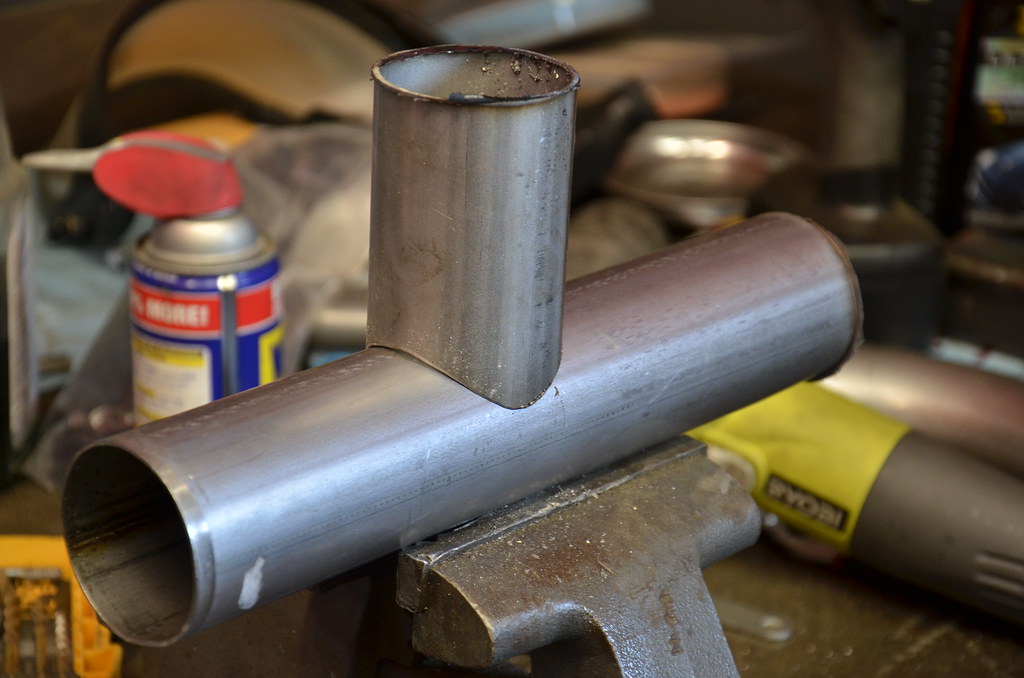
saddle cut with a hole saw. I may need to cut it with a 3" hole saw to saddle to the new x-pipe properly
_DSC4720 by Norbert Ogiba, on Flickr
 
OP
N

nsogiba

Well-known member
Joined
Jan 16, 2013
Messages
232
time for headers

been busy. installed the headers over the weekend

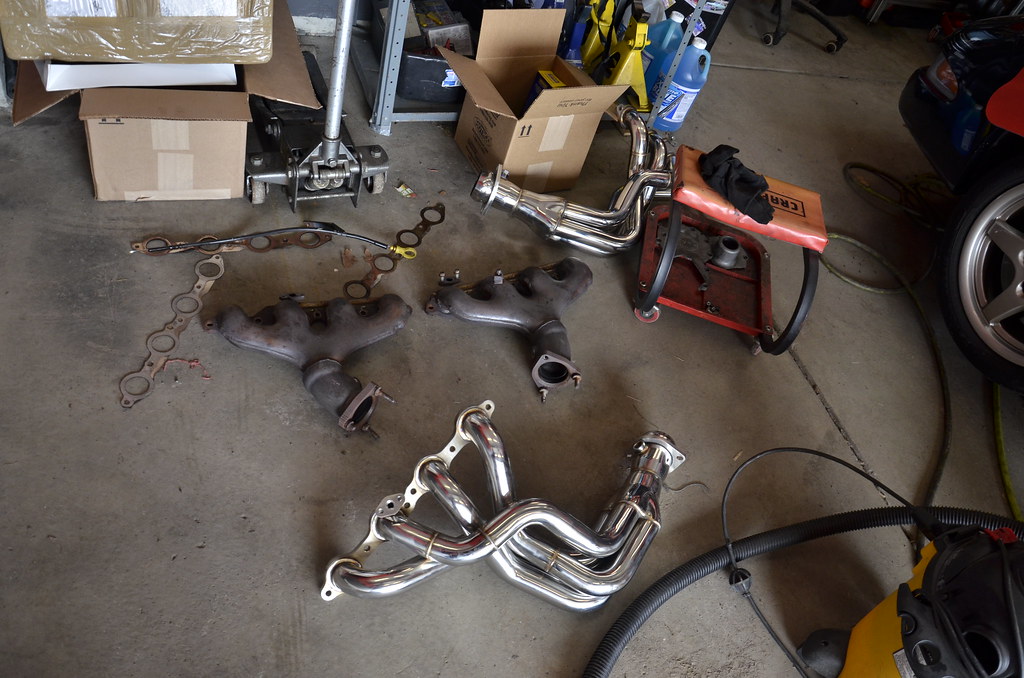
got the old stuff out, came out pretty easy

_DSC4741 by Norbert Ogiba, on Flickr

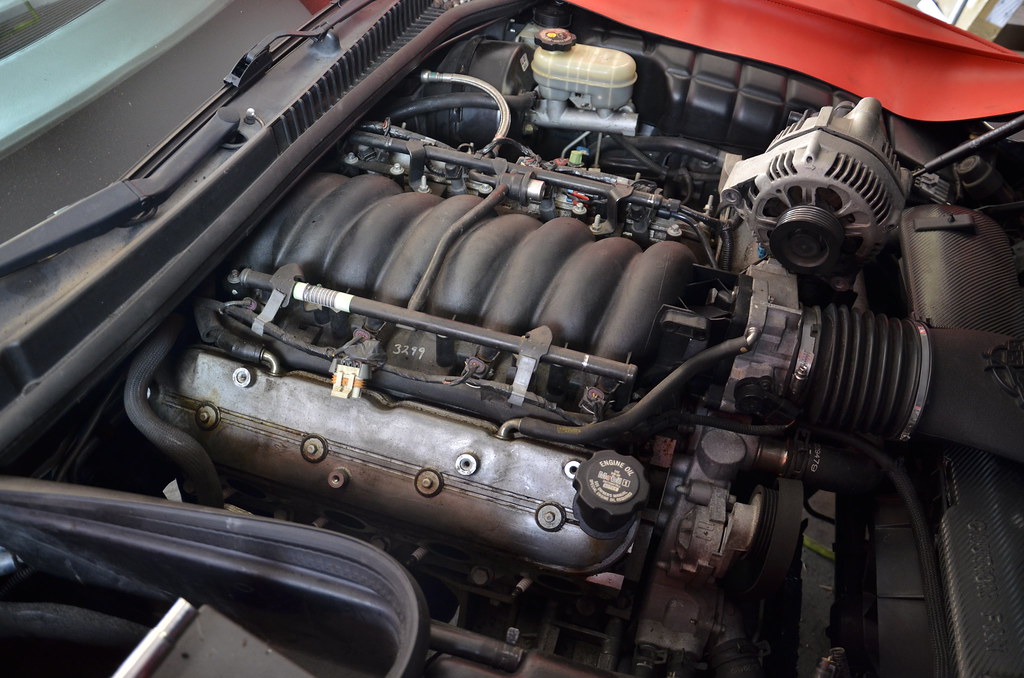
shop vac'd and cleaned the valve covers, 16 years of grime
_DSC4742 by Norbert Ogiba, on Flickr

_DSC4743 by Norbert Ogiba, on Flickr

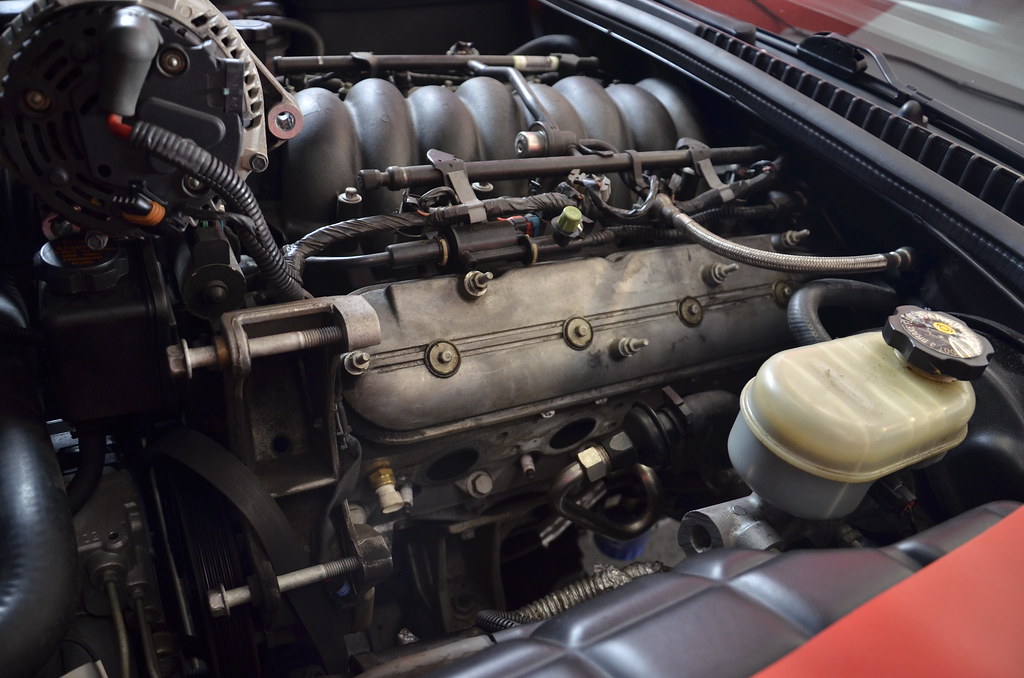
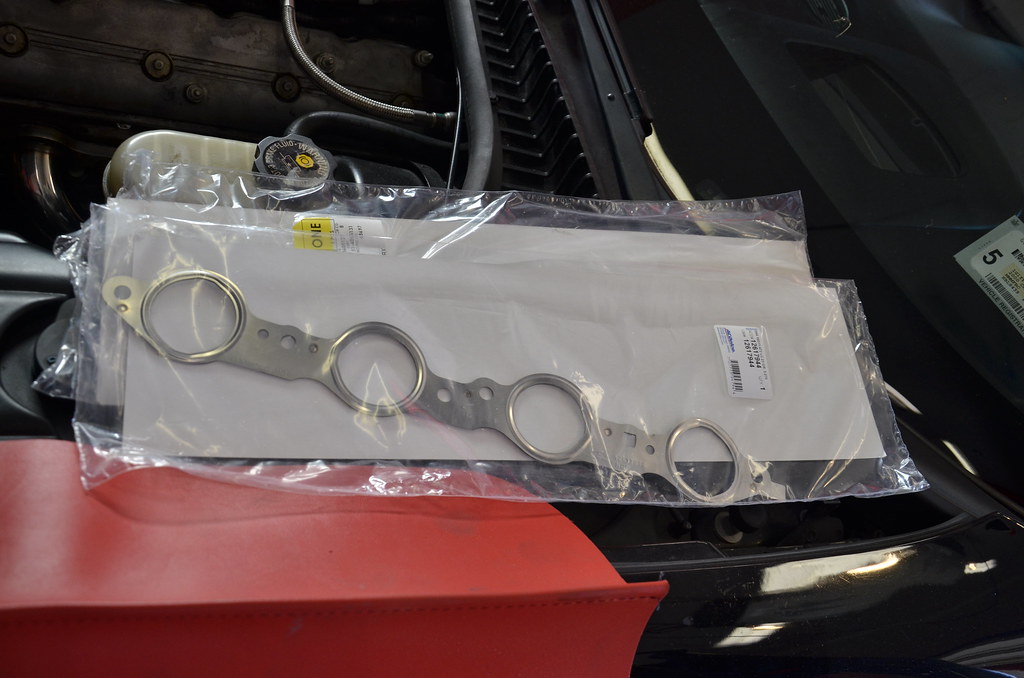
dropped by the dealer around the corner for some new MLS gaskets. I thought the ones that came with the headers would be the crappy imported perforated metal/paper type by they also seemed to be of the MLS construction. Never had a bad experience with the OEM GM gaskets though so they went in.

_DSC4744 by Norbert Ogiba, on Flickr

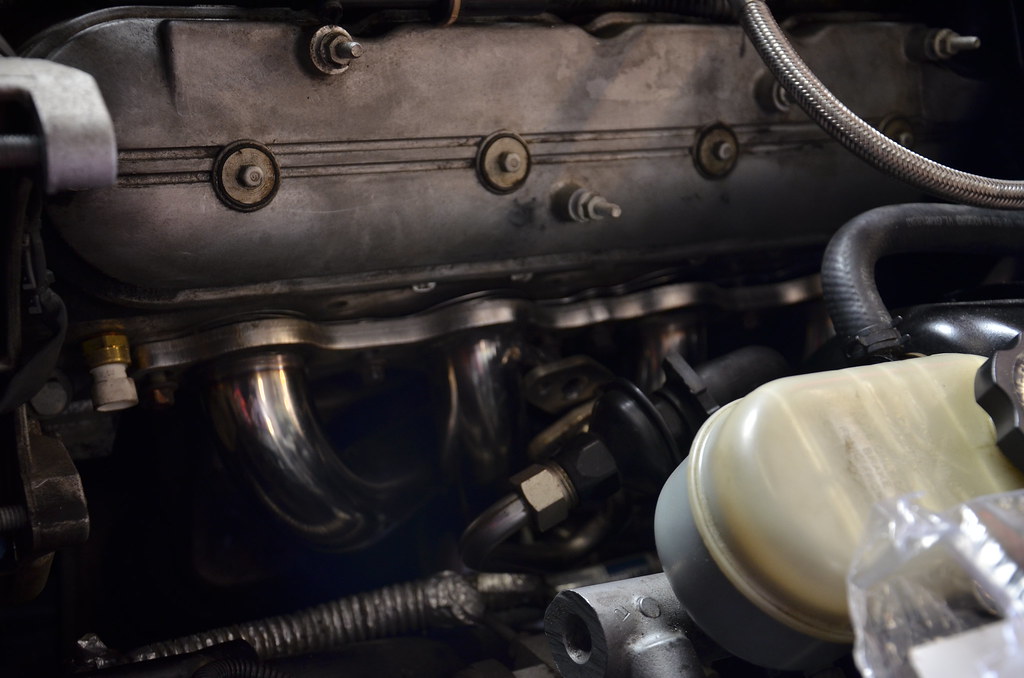
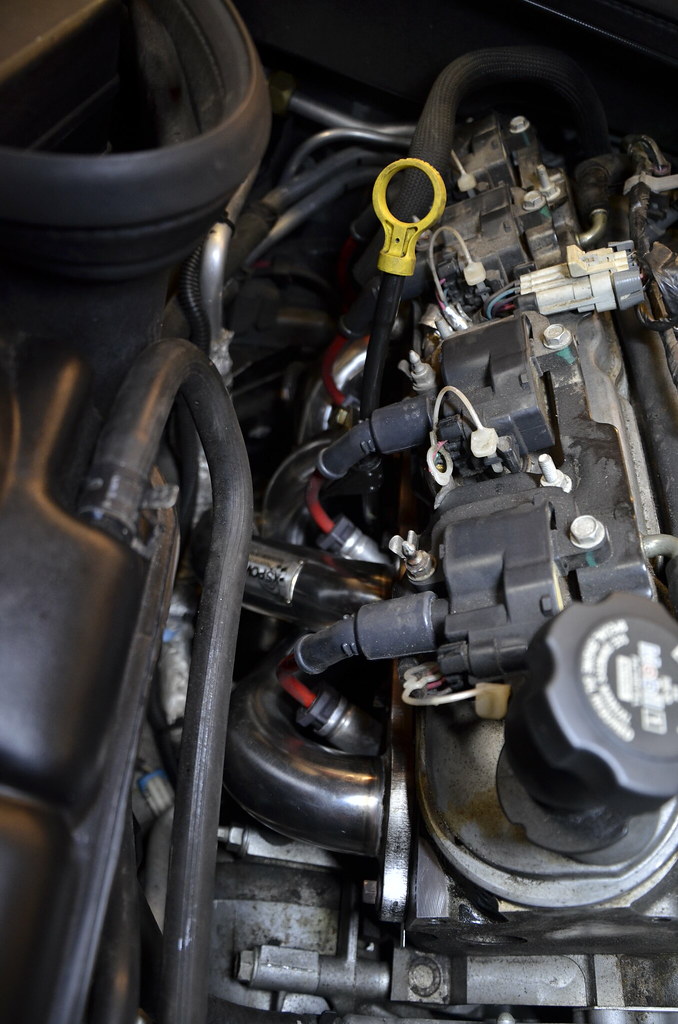
at this point I dropped the hammer and got the longtubes in. they fought me at first but I finally wrestled them in. It's a tight fit on both sides for sure. Had to grind a portion of bellhousing on the driver's side and slid those in from the bottom. On the passenger side they went in from the top after removing the starter and dipstick.


_DSC4745 by Norbert Ogiba, on Flickr

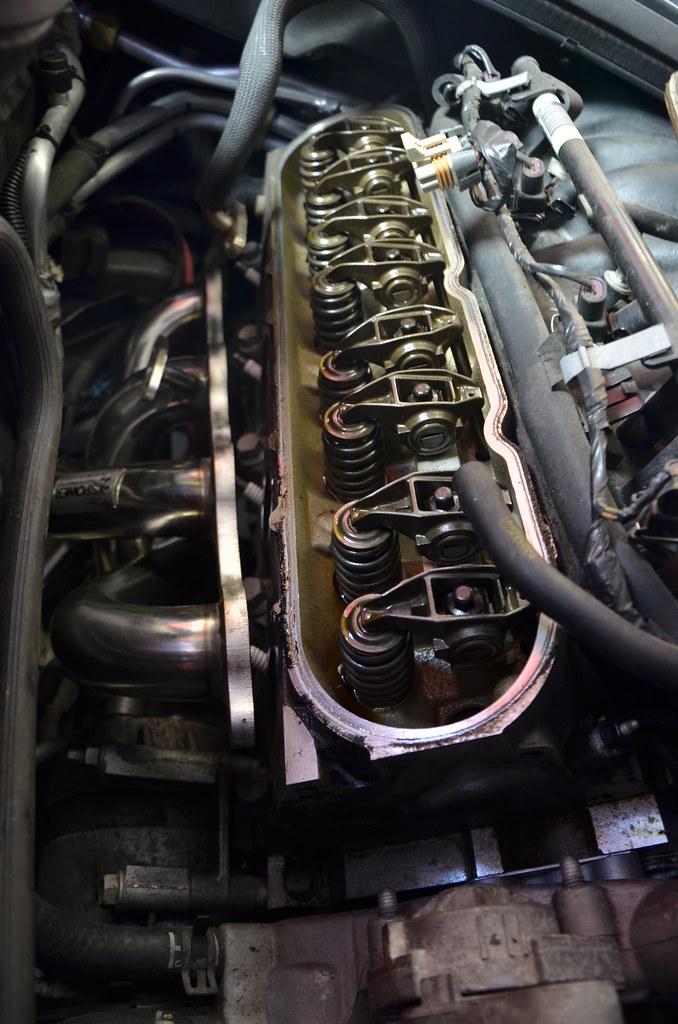
on the passenger side the valve cover had to come off to make some room. good time to inspect the valvetrain, very clean for 105K.

_DSC4746 by Norbert Ogiba, on Flickr

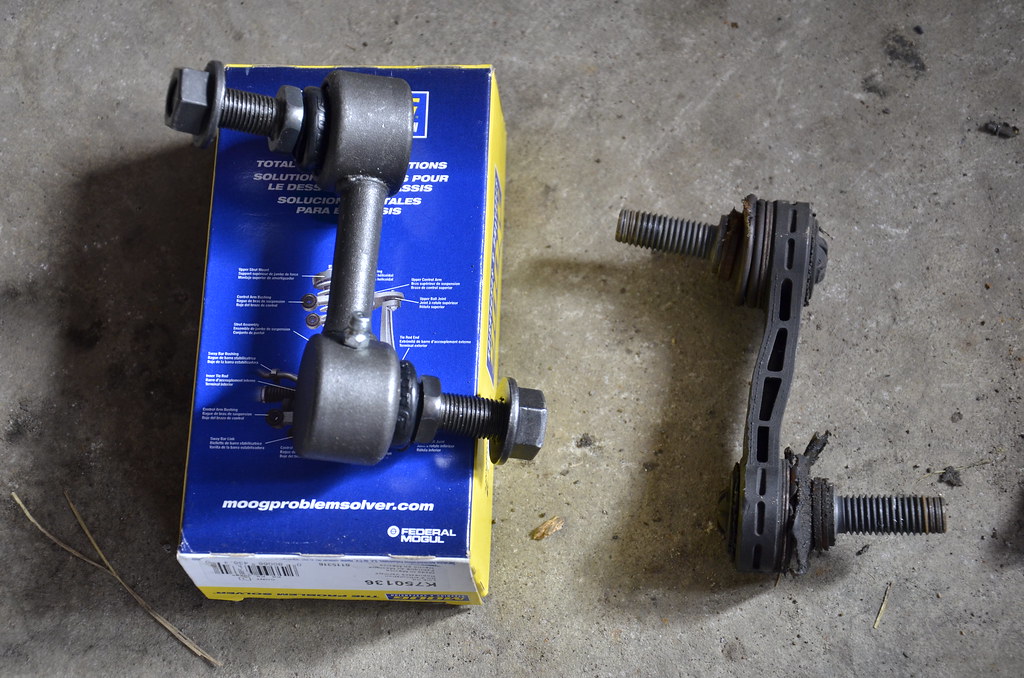
while removing the rear sway bar end links to make room for installing the Z06 Ti's the looked to be trashed, so I picked up metal construction, beefy Moog replacements with nice grease fittings for serviceability.

_DSC4747 by Norbert Ogiba, on Flickr

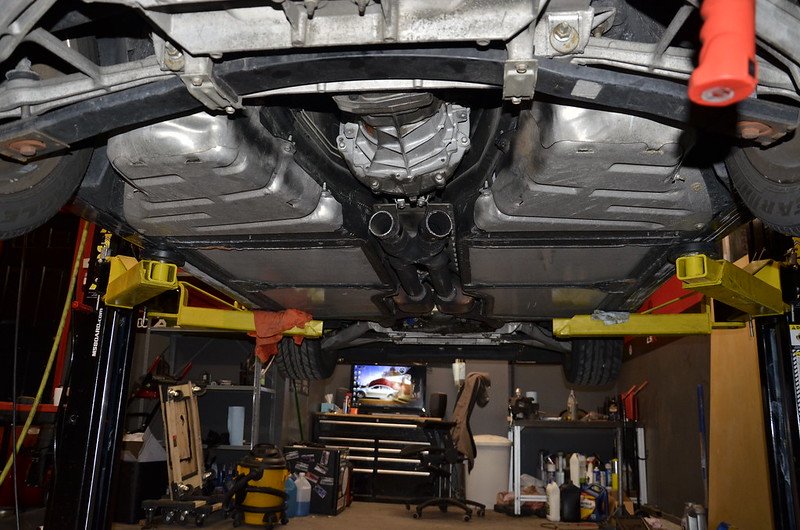
with the headers loosely bolted in I installed the x pipe and intermediate pipes underneath and connected everything. Everything tucked up nicely, no problems. Finally I tightened down the headers, x pipe, intermediates, and axleback. Before wrapping up the install I cleaned everything with IPA so that any fingerprints/grease wouldn't get burned onto the pipes and look bad.

_DSC4748 by Norbert Ogiba, on Flickr

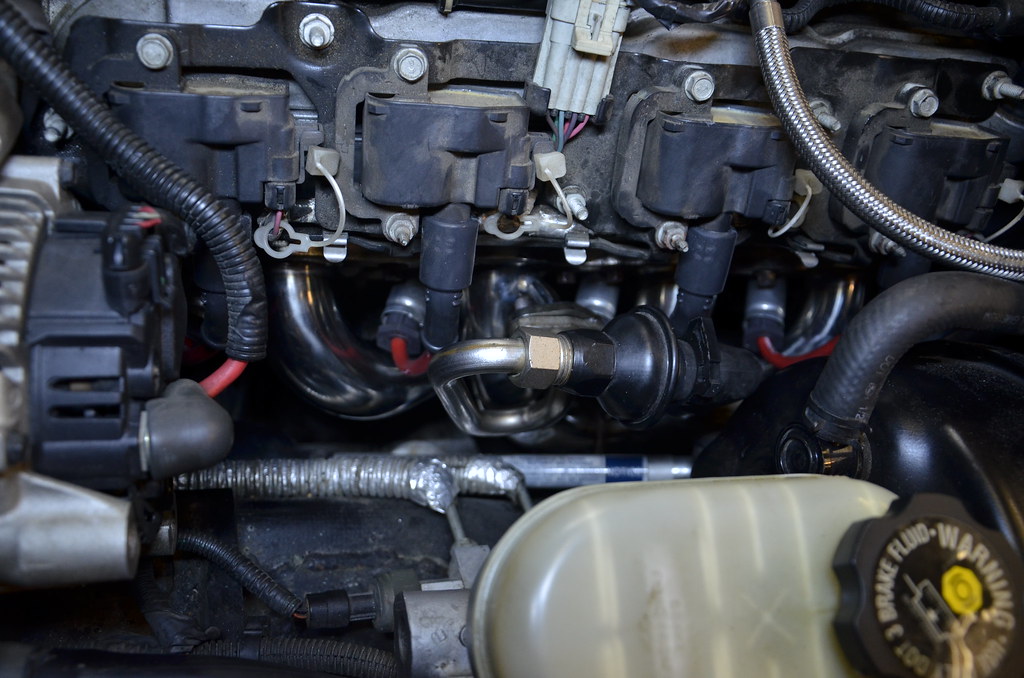
Coil packs, wires, AIR **** all back in.

_DSC4749 by Norbert Ogiba, on Flickr

_DSC4750 by Norbert Ogiba, on Flickr

Wire clearance on one of the passenger side primaries was closer than I'd like, but I've put a couple hundred miles on so far with no issue. I'm really glad I kept the factory metal heat shields

_DSC4751 by Norbert Ogiba, on Flickr


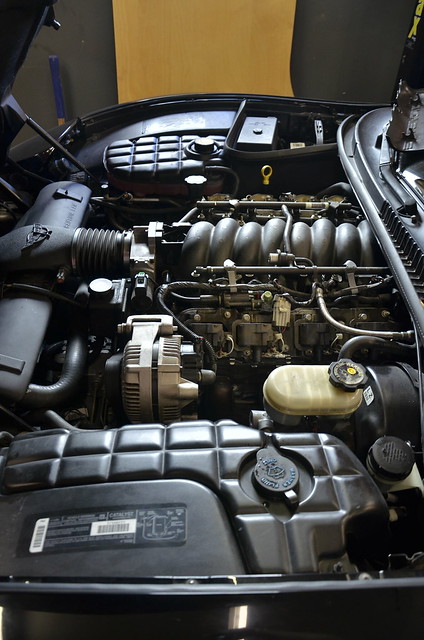
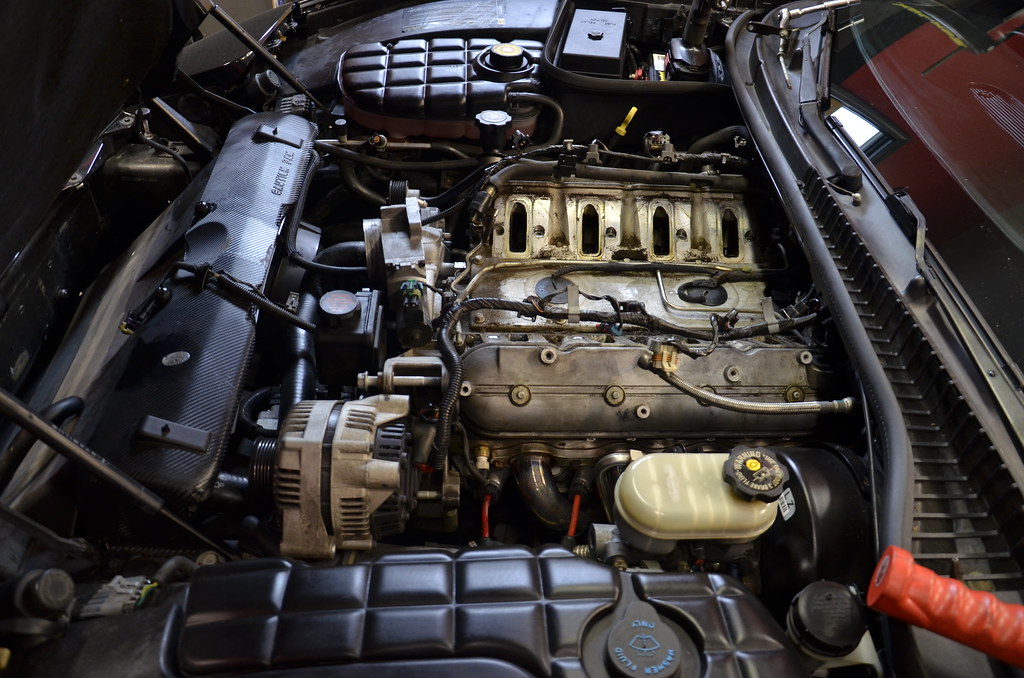
rather than upgrade to the newer 01-04 dipstick I made the older version work by bolting to the AIR fitting. the AIR won't be around for long, will wait until I install the LS6 intake before tuning

_DSC4752 by Norbert Ogiba, on Flickr

Fired her up, checked for leaks, the band clamps on the intermediate pipes ****, so I'll replace those with proper quality ones

pipes getting nice and golden with heat, paid off to wipe them down

_DSC4755 by Norbert Ogiba, on Flickr

_DSC4756 by Norbert Ogiba, on Flickr

Looks stock otherwise, fuel rail covers are off to get scrubbed
_DSC4757 by Norbert Ogiba, on Flickr

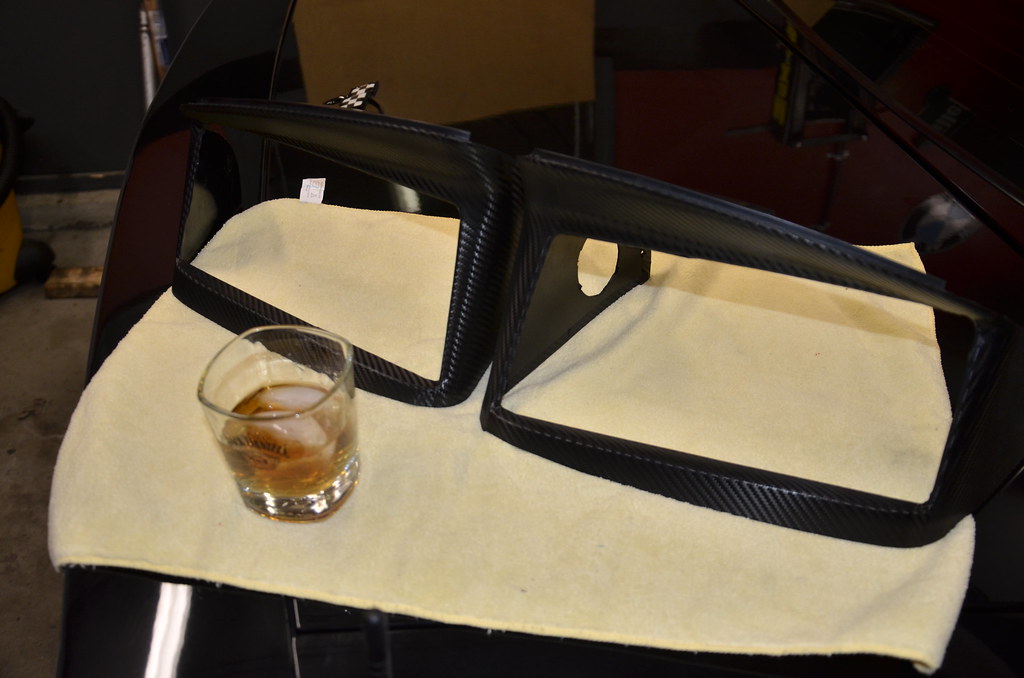
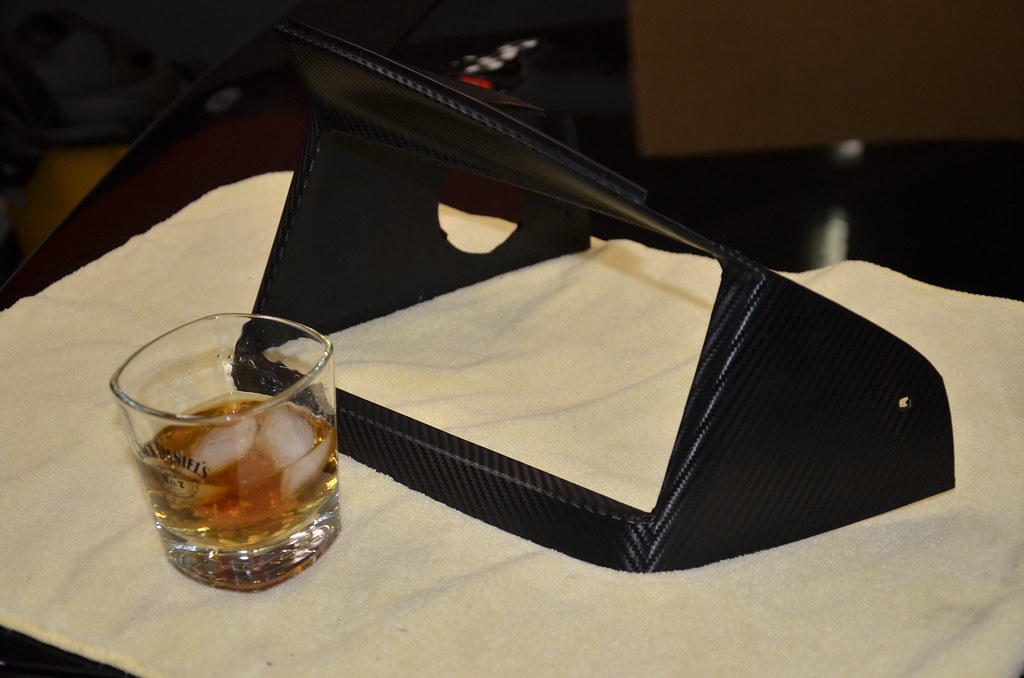
removed the headlight bezels and wrapped in Carbon Fiber Vinyl, with a well earned treat
rather than upgrade to the newer 01-04 dipstick I made the older version work by bolting to the AIR fitting. the AIR won't be around for long, will wait until I install the LS6 intake before tuning

_DSC4752 by Norbert Ogiba, on Flickr

Fired her up, checked for leaks, the band clamps on the intermediate pipes ****, so I'll replace those with proper quality ones

pipes getting nice and golden with heat, paid off to wipe them down

_DSC4755 by Norbert Ogiba, on Flickr

_DSC4756 by Norbert Ogiba, on Flickr

Looks stock otherwise, fuel rail covers are off to get scrubbed
_DSC4757 by Norbert Ogiba, on Flickr

removed the headlight bezels and wrapped with Carbon Fiber Vinyl, ended that night with a treat

_DSC4759 by Norbert Ogiba, on Flickr

_DSC4760 by Norbert Ogiba, on Flickr

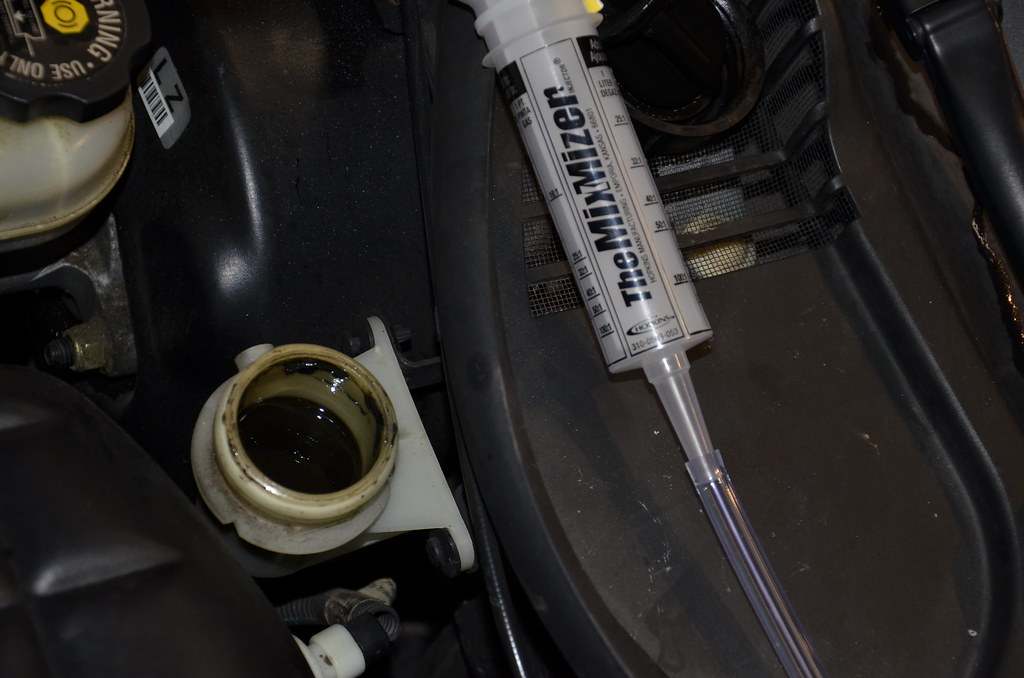
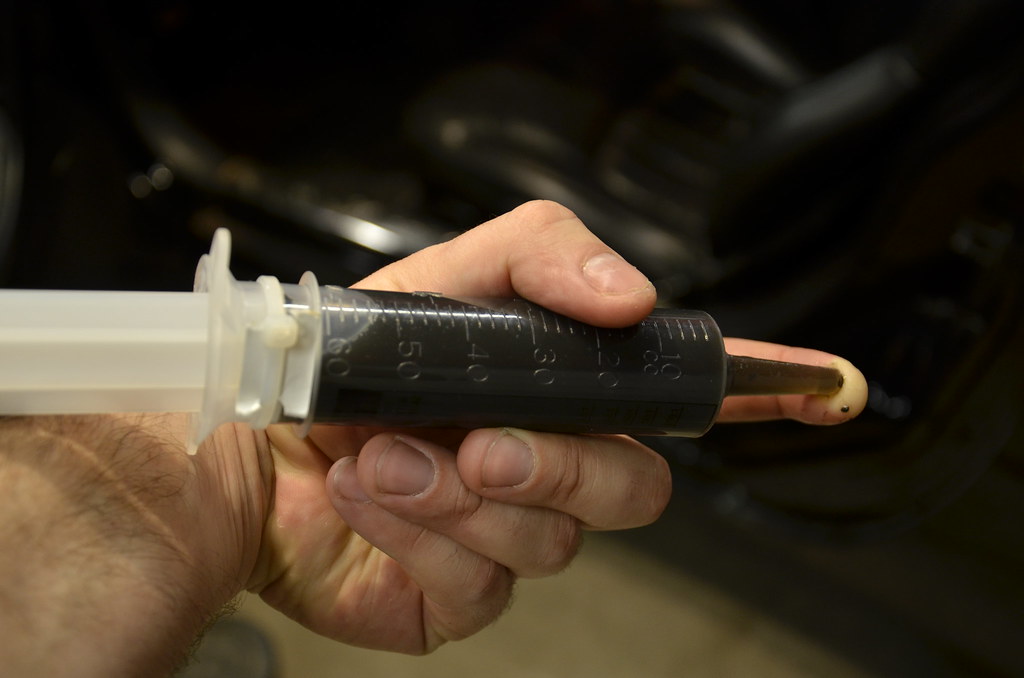
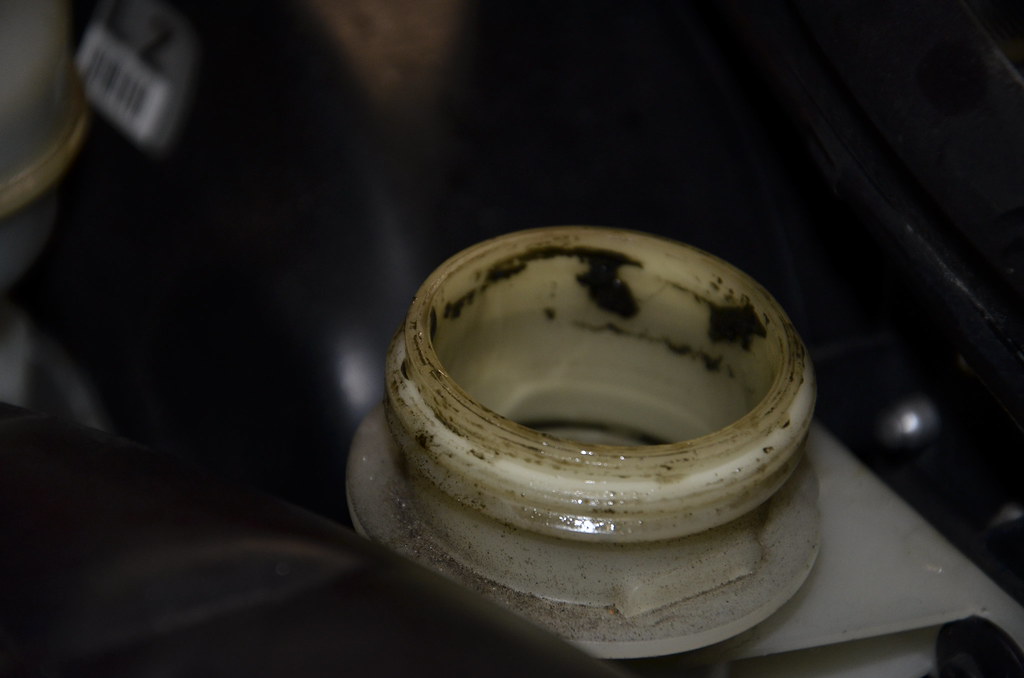
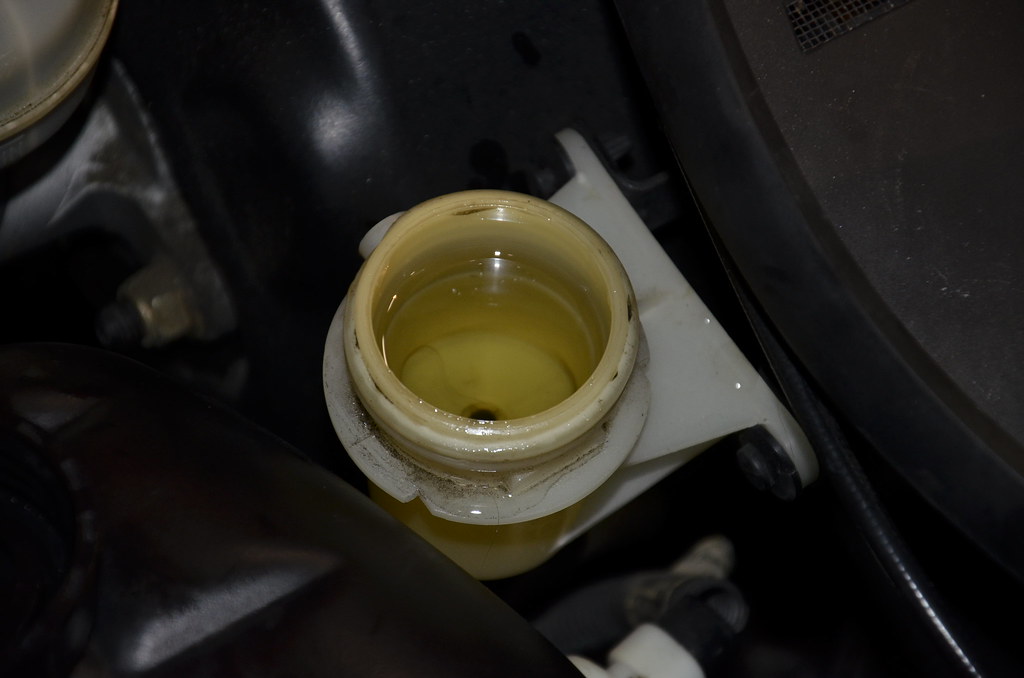
Finished up by doing the Ranger method for clutch fluid. Put 100 miles on it Sunday in the countryside, clutch went to the floor after a couple gear changes at very high RPM. Hopefully this helps.

Fluid definitely original
_DSC4763 by Norbert Ogiba, on Flickr

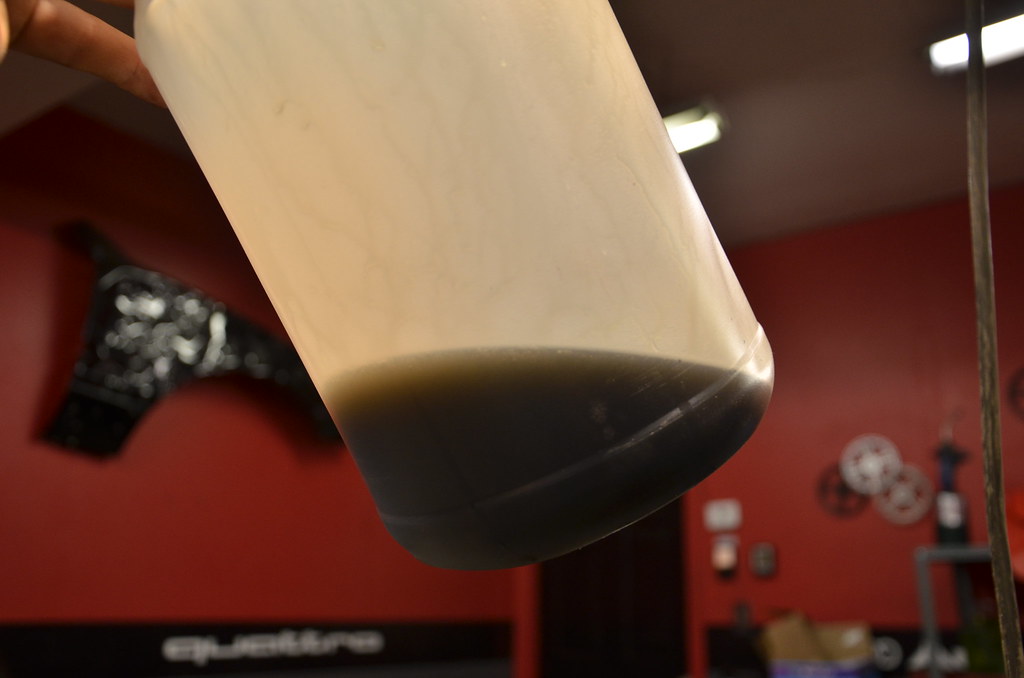
totally opaque
_DSC4764 by Norbert Ogiba, on Flickr

_DSC4767 by Norbert Ogiba, on Flickr

getting there
_DSC4769 by Norbert Ogiba, on Flickr

Final product of what was removed
_DSC4770 by Norbert Ogiba, on Flickr

More to come this week, I'm working on installing an AUX connection for my phone with Bluetooth capability
 

bonecrrusher

Well-known member
Joined
Aug 18, 2011
Messages
578
Location
Charlotte, NC
Thats a ton of work.

My C6 has that same triangle shape in the frame under the battery tray - not sure what that is for.

I tried one burnout - and the clutch stuck to the floor.

I have since cleaned out my clutch fluid reservoir every 6 months using that same method - and not had an issue.

I like the LSX CF plate mod!
 
OP
N

nsogiba

Well-known member
Joined
Jan 16, 2013
Messages
232
Thats a ton of work.

My C6 has that same triangle shape in the frame under the battery tray - not sure what that is for.

I tried one burnout - and the clutch stuck to the floor.

I have since cleaned out my clutch fluid reservoir every 6 months using that same method - and not had an issue.

I like the LSX CF plate mod!

I don't know either (if you're talking about the one in the middle of the tray). The smaller trapezoidal shape to the right is the hold down, that was not holding down my battery. I figured mine was a strap over the top like 99% of all other setups, so I thought it was missing. But once I pulled the battery out it made sense that someone was just too lazy to bolt it down properly. So I'm good now!

I cleaned the fluid and I think it's a bit better but not cured. I did some runs in Mexico with a friend in an M5 and the pedal went to the floor again after some very high rpm blasts. Before I drop the money on a tick master I want to try out some ideas with the clutch over center spring - remove it, and add in a return-assist spring.

Here's another update:

Few buddies sent me this, got a chuckle out of it

photo 1 by Norbert Ogiba, on Flickr

I found this guy on ebay, used to love building these as a kid, kinda cool that now I own a car that I can have a model of
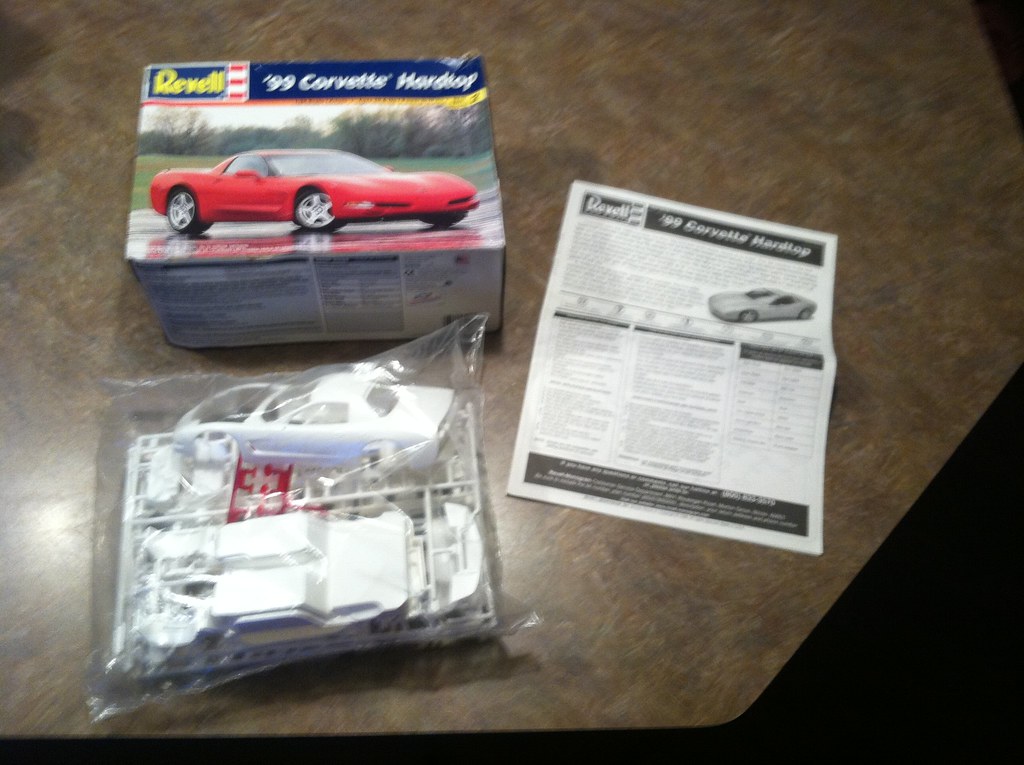
photo 3 by Norbert Ogiba, on Flickr

So I was on the fence about the body side moldings but decided to pull them off and I'm really glad I did. It cleaned up the body lines a ton. Spent a couple hours Saturday doing it

Off to Wallyworld to get supplies. I am driving this thing every chance I get!
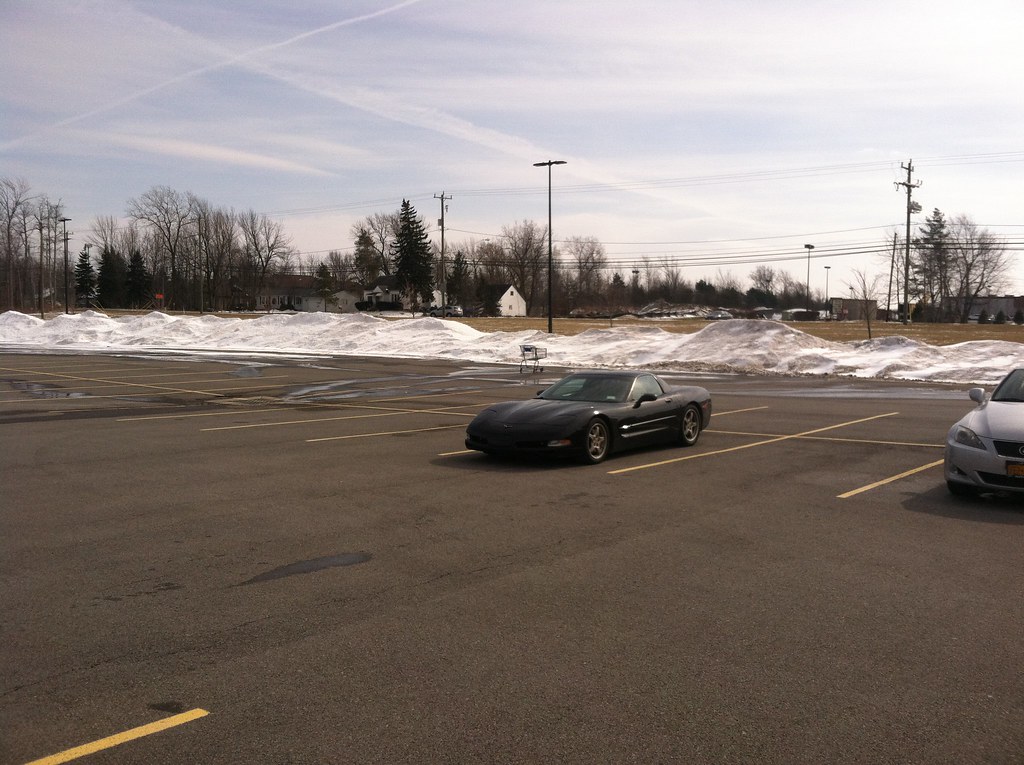
photo 2 by Norbert Ogiba, on Flickr
_DSC4774 by Norbert Ogiba, on Flickr

Rinse her down with hot water to soften the tape a bit and clean any dirt and grime off

_DSC4776 by Norbert Ogiba, on Flickr

This piece came off with very minimal effort, surprisingly
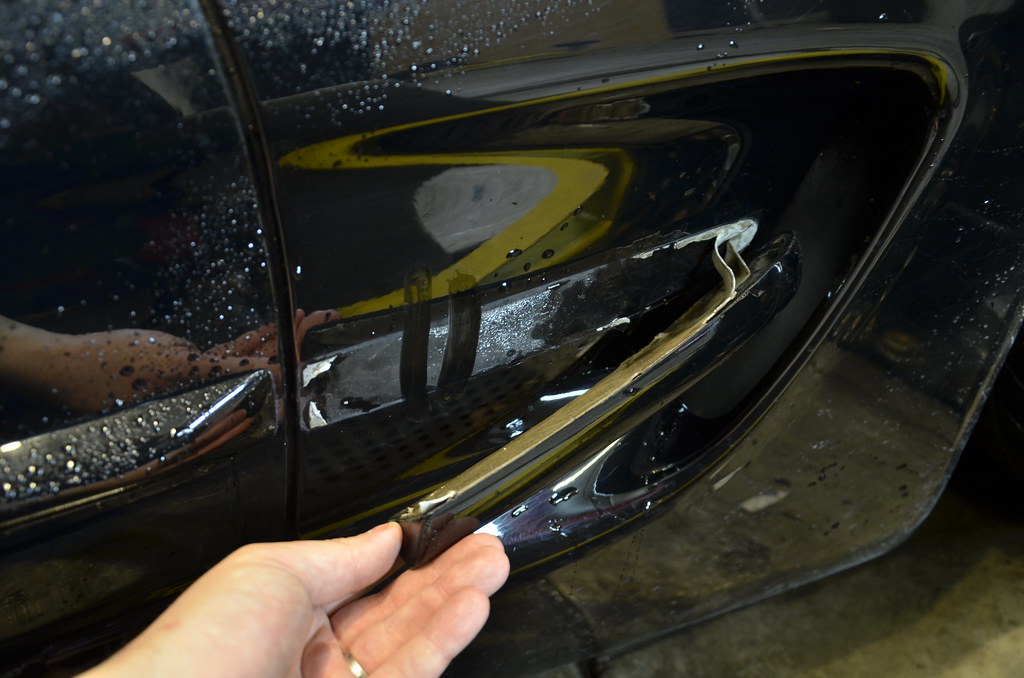
_DSC4777 by Norbert Ogiba, on Flickr

Glue came off easily too. Not the case for the rest of the doors
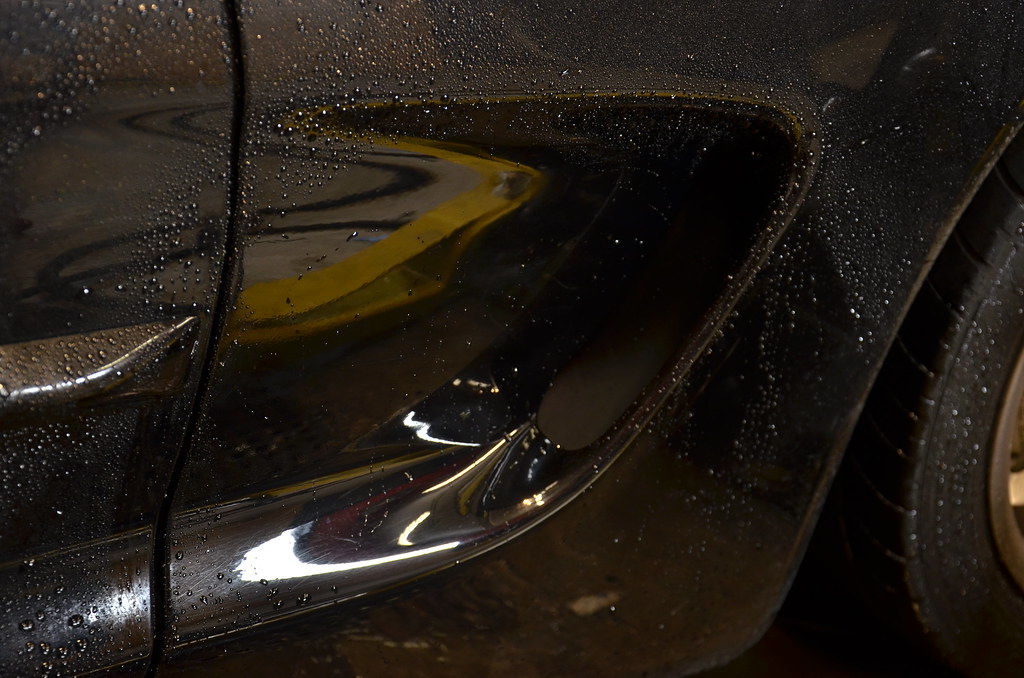
_DSC4778 by Norbert Ogiba, on Flickr

Time to start flossin' baby
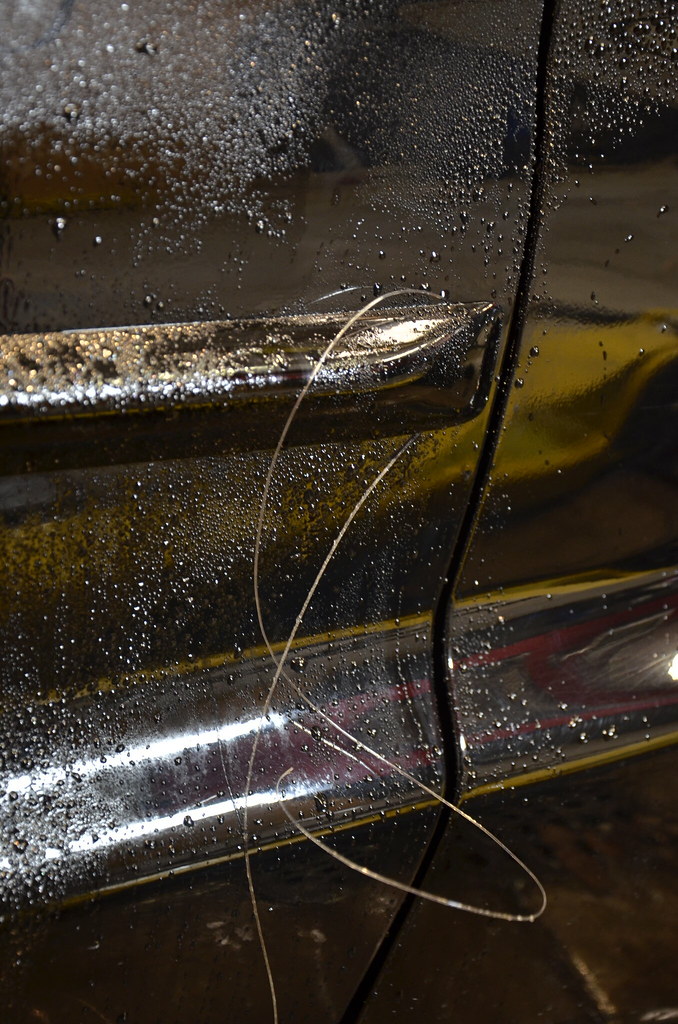
_DSC4780 by Norbert Ogiba, on Flickr

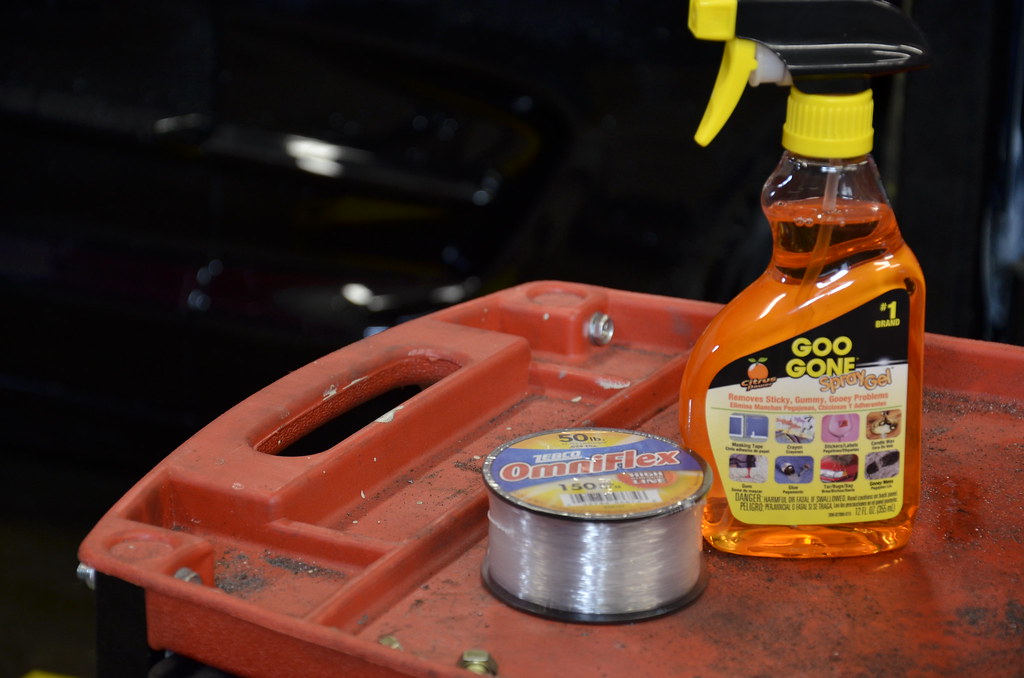
So the glue on the door is miserable soft foamy stuff, I spent about half an hour peeling chunks off with my fingernails before I had enough. off to the store to buy this bad boy which was the best thing since sliced bread and craft beer.
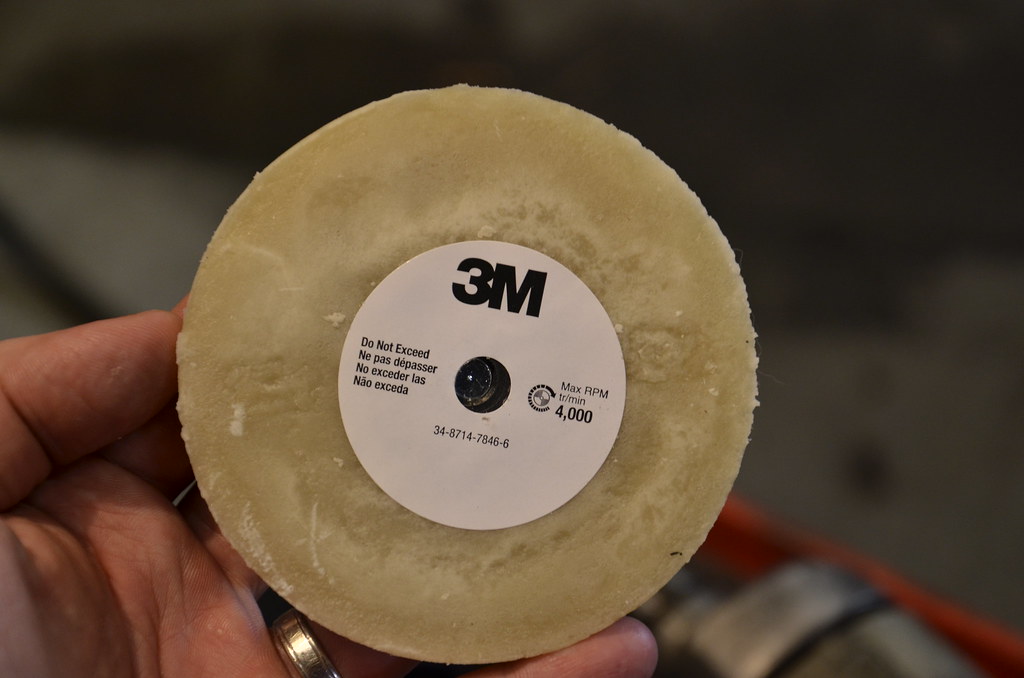
_DSC4782 by Norbert Ogiba, on Flickr

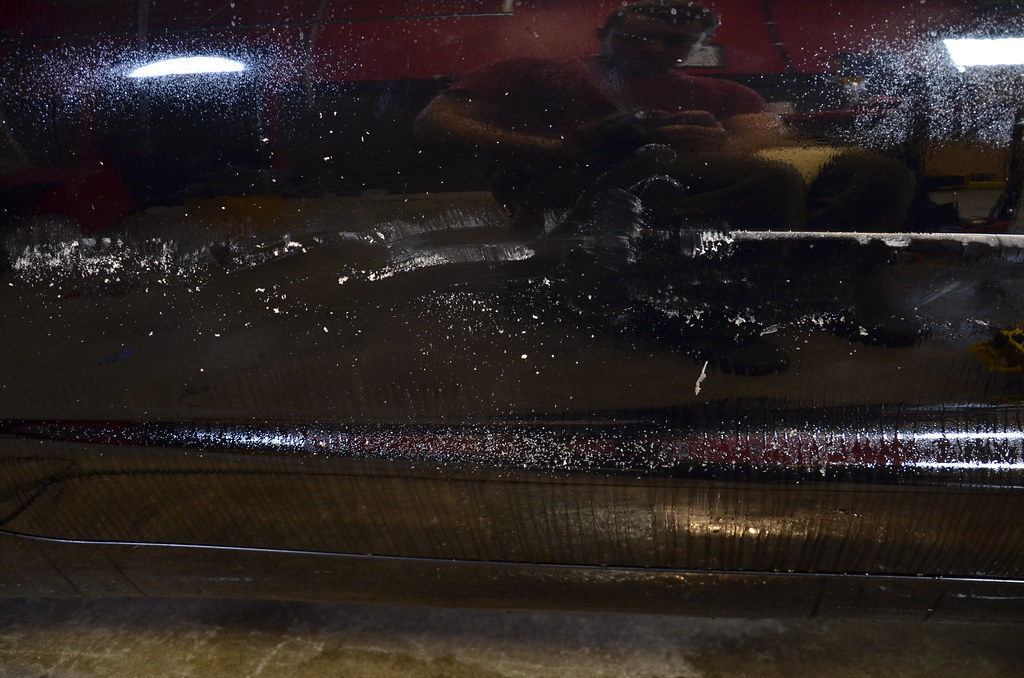
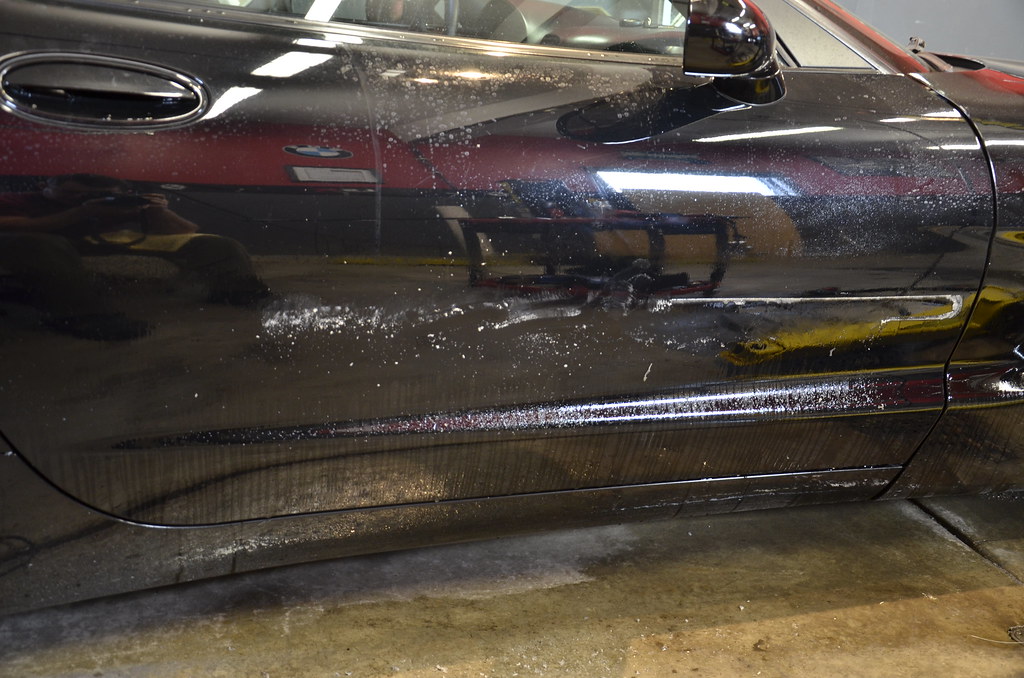
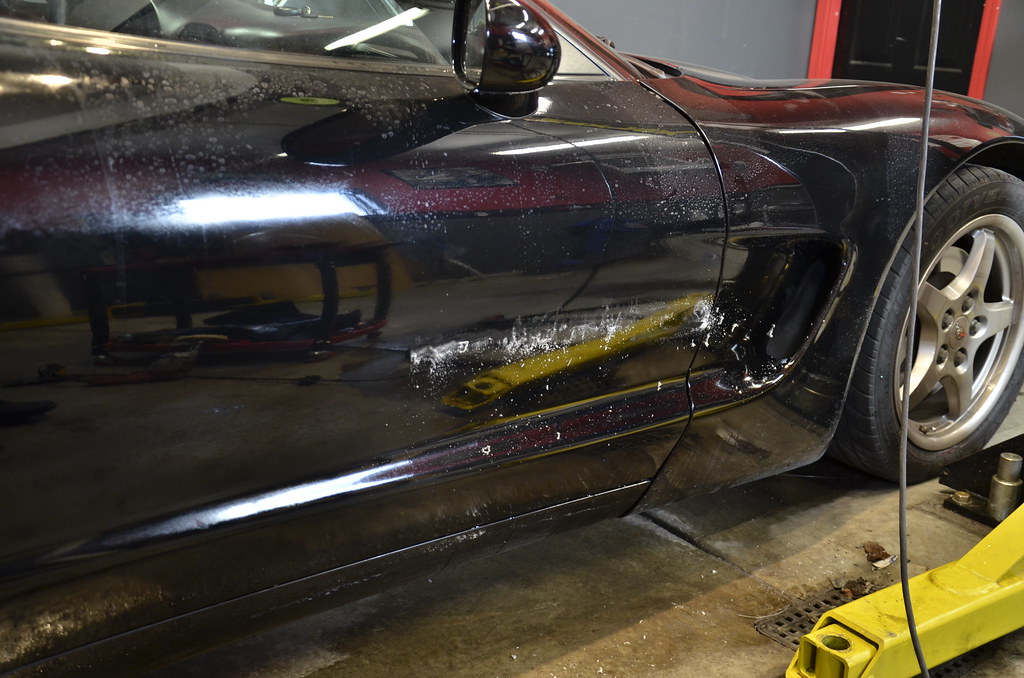
Very effective but leaves a pretty nasty mess of wax, foam, and dust behind. Worth every single penny
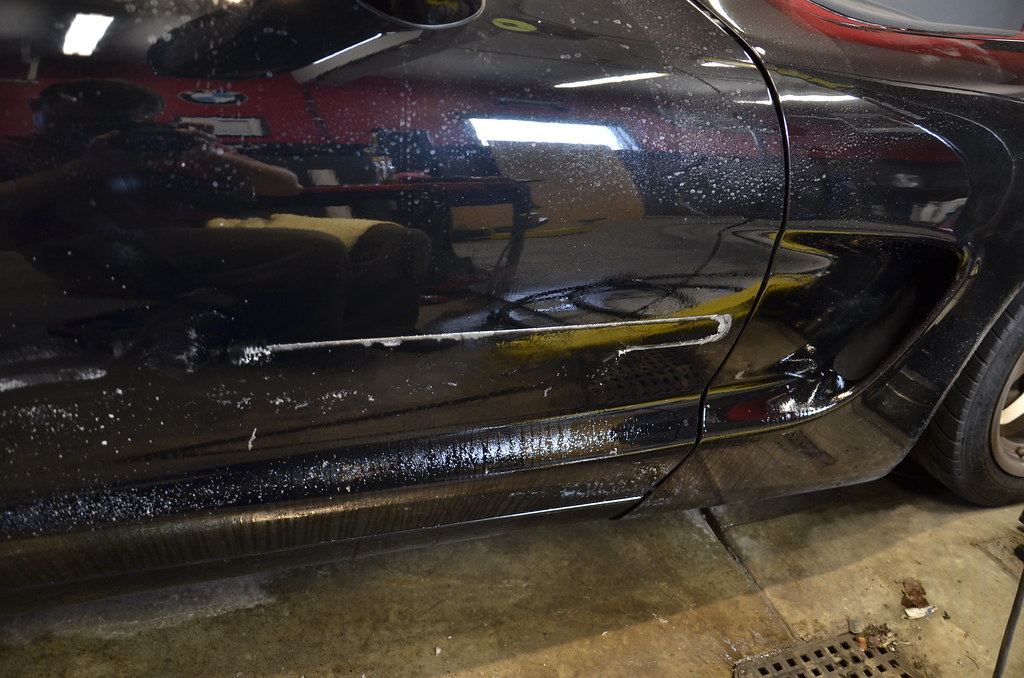
_DSC4783 by Norbert Ogiba, on Flickr

_DSC4784 by Norbert Ogiba, on Flickr

_DSC4785 by Norbert Ogiba, on Flickr

_DSC4786 by Norbert Ogiba, on Flickr

Quick wipe down with a microfiber looked great but there was still an imprint of adhesive around the perimeter
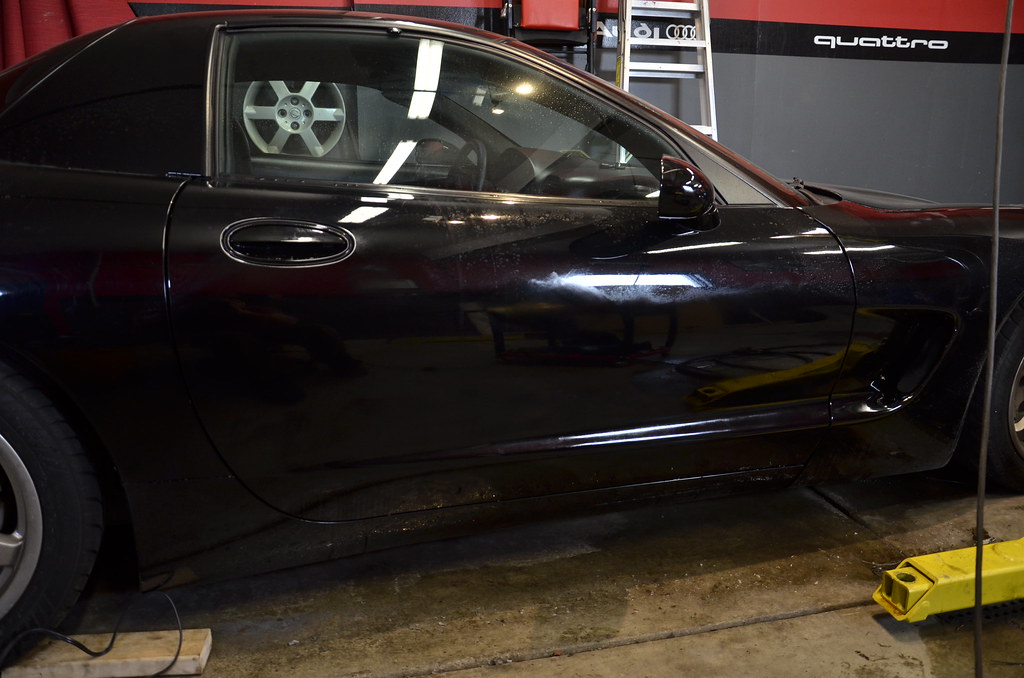
_DSC4787 by Norbert Ogiba, on Flickr

I read about horror stories where guys with brightly colored cars down south (read: sun-baked) had a big shade difference when removing theirs. Mine was a NE car stored in a a garage so it was barely visible, especially on a black car. Anyhow out came the DA

_DSC4787 by Norbert Ogiba, on Flickr
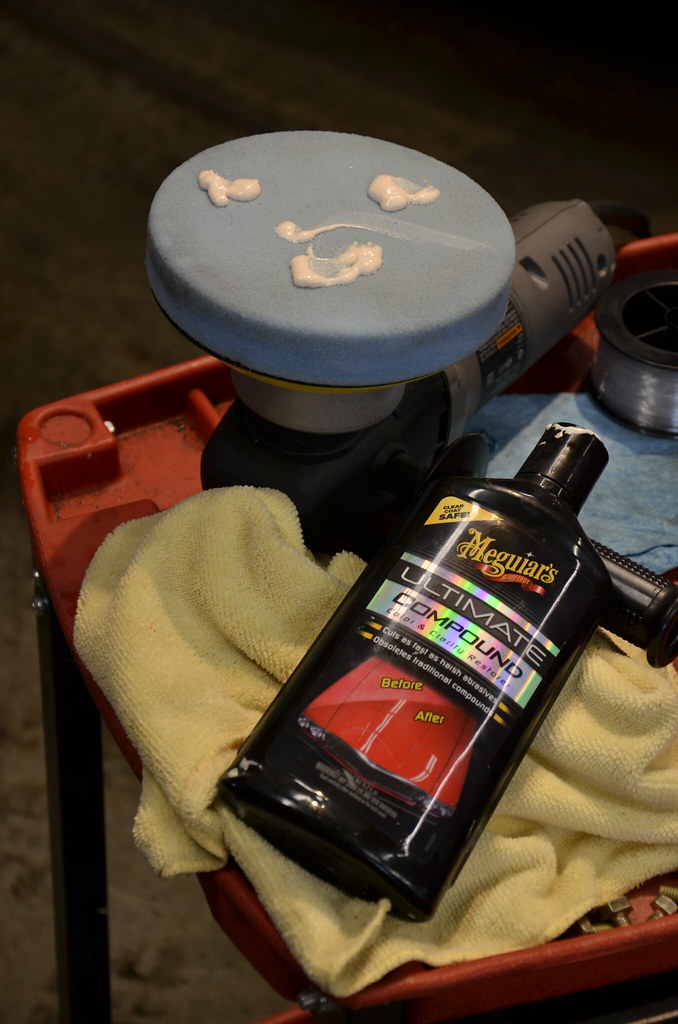
_DSC4788 by Norbert Ogiba, on Flickr

_DSC4789 by Norbert Ogiba, on Flickr

Pulled it out for a quick wash, looks a ton better
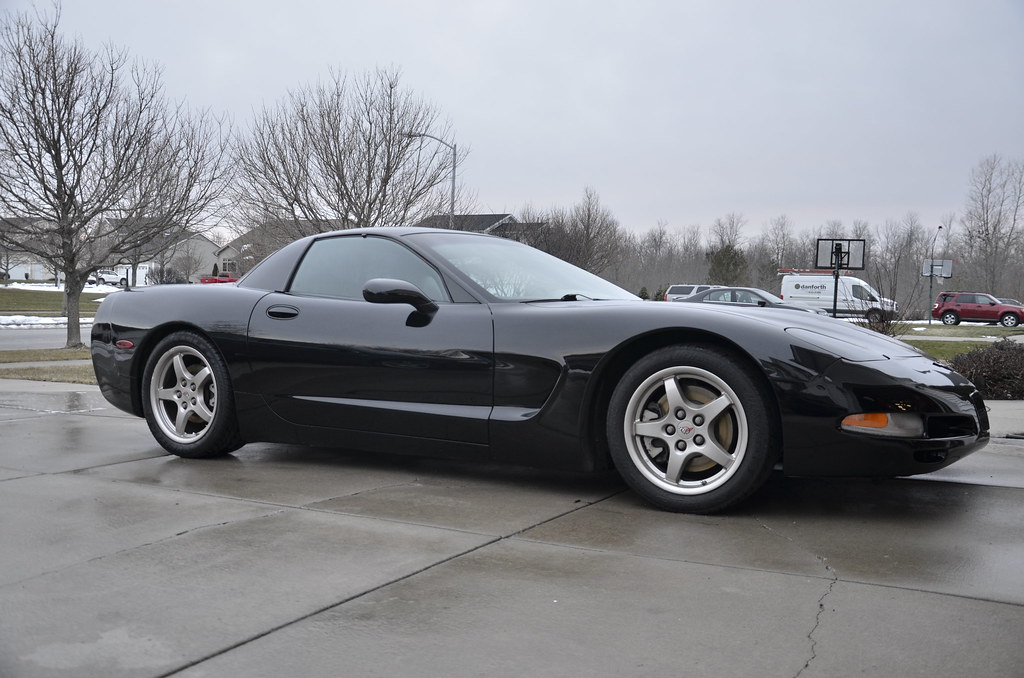
_DSC4790 by Norbert Ogiba, on Flickr

_DSC4791 by Norbert Ogiba, on Flickr

_DSC4792 by Norbert Ogiba, on Flickr

So I finished out the evening by visiting a friend in Rochester an hour away, chasing my buddy in his M5 the whole way. We did a couple of rips and the car was a blast but the clutch hydraulics will definitely need attention. I had the typical C5 problem of a soft clutch pedal after a couple hard shifts. Already did the Ranger method to clean the clutch fluid and honestly it didn't do squat, so I'll have to do some homework to see what's next.

photo 4 by Norbert Ogiba, on Flickr

Depending on the weather this week I might start on the cutouts, stay tuned

I spent the last couple days building a 1:24 scale model of my car - it's pretty damn accurate minus a few small details. I have a good idea for a mini scale "exhibit" of my car/lift. Pics to come.

Also, my LCM5 column lock unit shows up today - so I'll snap some pics of that.
 

GDPossehl

Well-known member
Joined
Sep 23, 2014
Messages
450
Location
Atlanta, GA
Lots of attention to detail there. That exhaust upgrade looks great.

I wonder if it needs a new slave cylinder with that kind of mileage. I replaced mine at 98k when I did a C6 clutch upgrade and have not had pedal problems in the last 50k. Have only topped off the stock master cylinder once. (04 CTS-V)
 
Last edited:
OP
N

nsogiba

Well-known member
Joined
Jan 16, 2013
Messages
232
Lots of attention to detail there. That exhaust upgrade looks great.

I wonder if it needs a new slave cylinder with that kind of mileage. I replaced mine at 98k when I did a C6 clutch upgrade and have not had pedal problems in the last 50k. Have only topped off the stock master cylinder once. (04 CTS-V)

A new slave probably wouldn't hurt. The PO had a clutch put in at 45K and I'm at 106K now. If (when) it needs a clutch I plan to replace slave, TOB, pilot, and pressure plate/disc/flywheel, along with anything else it needs. BUT, the clutch seems to have plenty of life left, so I'm trying to hit the low hanging fruit before pulling apart a "good" working setup.
 

Power Sedan

Well-known member
Joined
Nov 15, 2015
Messages
287
Location
SE Wisconsin
The Corvette is coming along nicely, love all the attention to detail you've invested!

Have you ever tried that Meguiars Air Re-Fresher? I had the same issue with a musky crayon odor inside the 05 SRT6 I purchased last year. A gentlemen on the XF Forums suggested this to me, and it worked phenomenal! Best $5 investment purchase I've ever made. Sort of has a new car scent once again.
 
OP
N

nsogiba

Well-known member
Joined
Jan 16, 2013
Messages
232
I will have to look into that. Even after a thorough clean and vacuum, and a fresh linen air freshener, the smell is still barely lingering. Thanks for the tip!
 

bonecrrusher

Well-known member
Joined
Aug 18, 2011
Messages
578
Location
Charlotte, NC
I just swapped in an LS7 clutch disk/pressure plate, input bearing, slave cylinder, Tick Speed Bleeder, ARP bolts all the way around - and it drive like stock. I put a couple hundred miles on it and have not had an issue.

I'm wrapping up my E-force install - and getting tuned on 3/14.
I'll let you know how it holds up.
 

kerryt1

Well-known member
Joined
Feb 12, 2009
Messages
324
Location
Oklahoma
A new slave probably wouldn't hurt. The PO had a clutch put in at 45K and I'm at 106K now. If (when) it needs a clutch I plan to replace slave, TOB, pilot, and pressure plate/disc/flywheel, along with anything else it needs. BUT, the clutch seems to have plenty of life left, so I'm trying to hit the low hanging fruit before pulling apart a "good" working setup.

Had a similar scenario and the Ranger method helped but didn't eliminate the issue. I ended up putting in a new clutch (Monster Level 2), lightweight flywheel, and new hydraulics along with the Tick adjustable master and speed bleeder. The adjustable master and lightweight flywheel were borderline transformative. My point is merely that it's worth the effort to just replace it all.
 

GDPossehl

Well-known member
Joined
Sep 23, 2014
Messages
450
Location
Atlanta, GA
I've had good luck with odor absorbers. My first car was lightly smoked in before I got it and had some lingering smoke smell. Some frequent windows down driving and an odor absorber behind the drivers seat took care of that pretty quickly. The citrus smell only lasted a week or two.
Group_25_Item_1_Odor_Control_Solid_Odor_Absorbers_Energizing_Citrus_3_Pack_mid.jpg
 
To avoid these ads, REGISTER NOW!

dubber

Well-known member
Joined
Dec 31, 2012
Messages
5,326
Location
Canada's Capital
Nice work on the trim removal. I unfortunately only learned of that 3M product after i did the same thing on my old VW GLI.
 
OP
N

nsogiba

Well-known member
Joined
Jan 16, 2013
Messages
232
Let's start with some guest appearances...

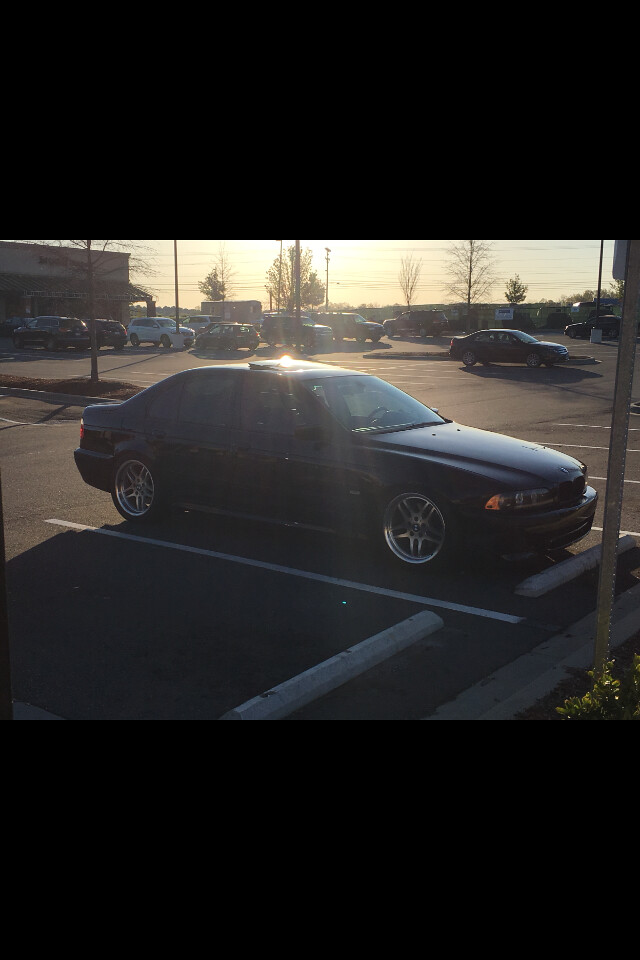
The new owner of my old car is enjoying it - he is finishing up the little things that I never got around to - electric cutouts, tint, etc. Weird seeing it with different plates on it

IMG_1388 by Norbert Ogiba, on Flickr

IMG_1387 by Norbert Ogiba, on Flickr

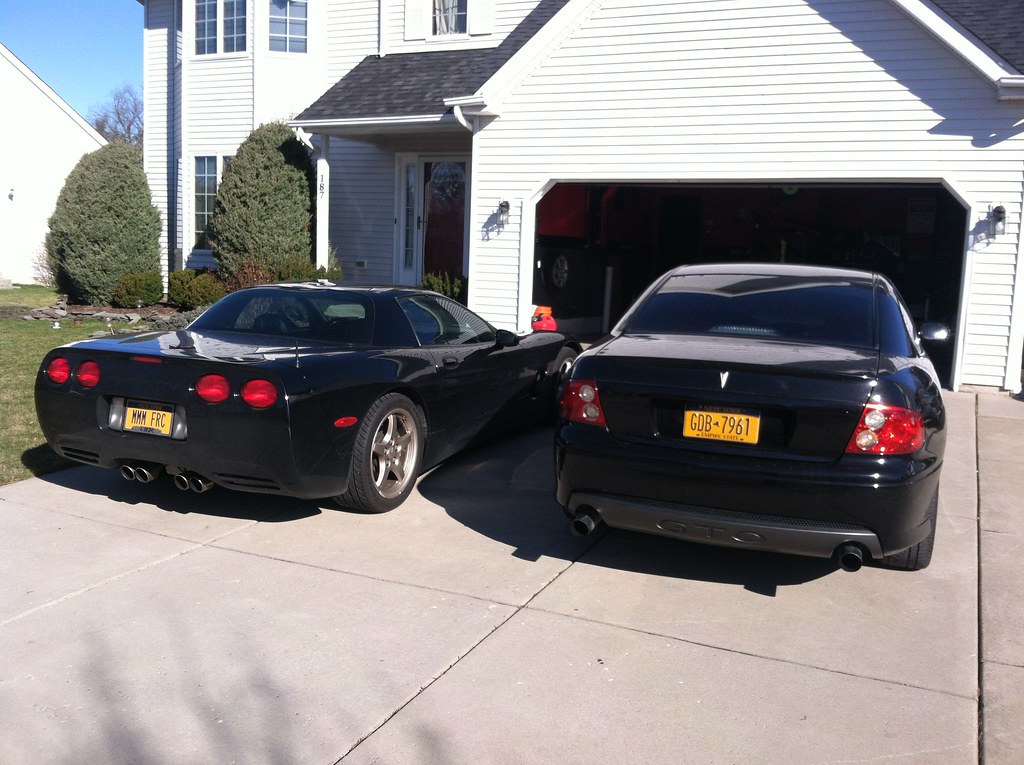
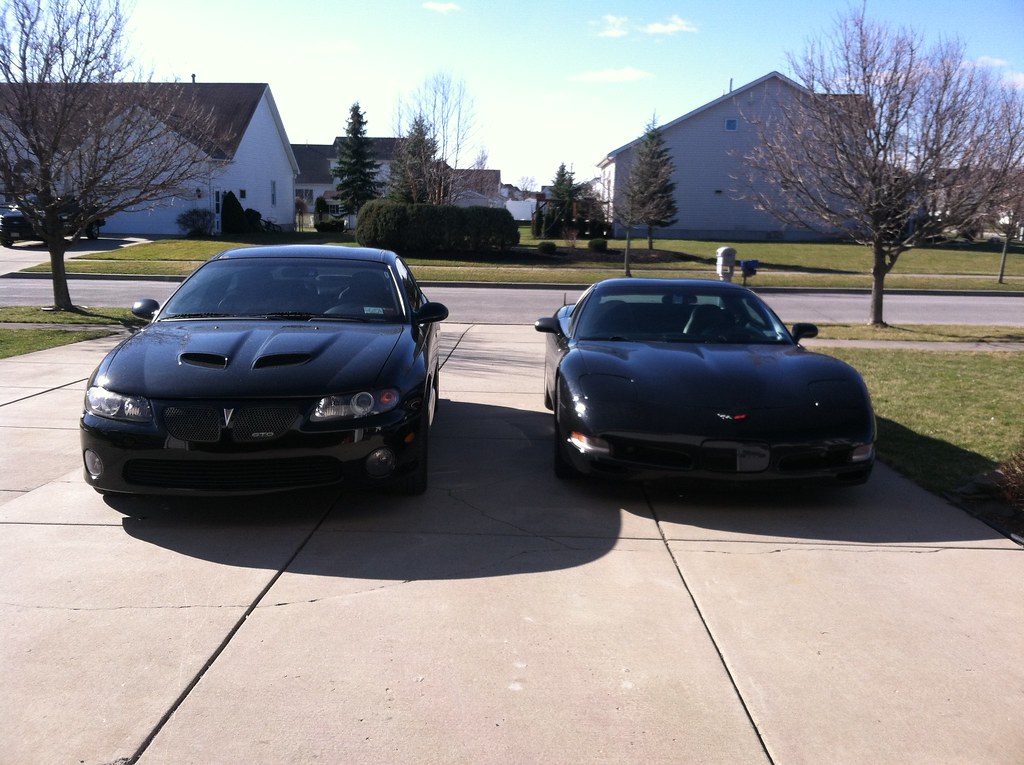
A friend stopped over last weekend for some work on his goat

IMG_1378 by Norbert Ogiba, on Flickr

IMG_1377 by Norbert Ogiba, on Flickr

Back to your regularly scheduled ****...just been driving this thing to work on every nice day we get

image by Norbert Ogiba, on Flickr

Couple small updates

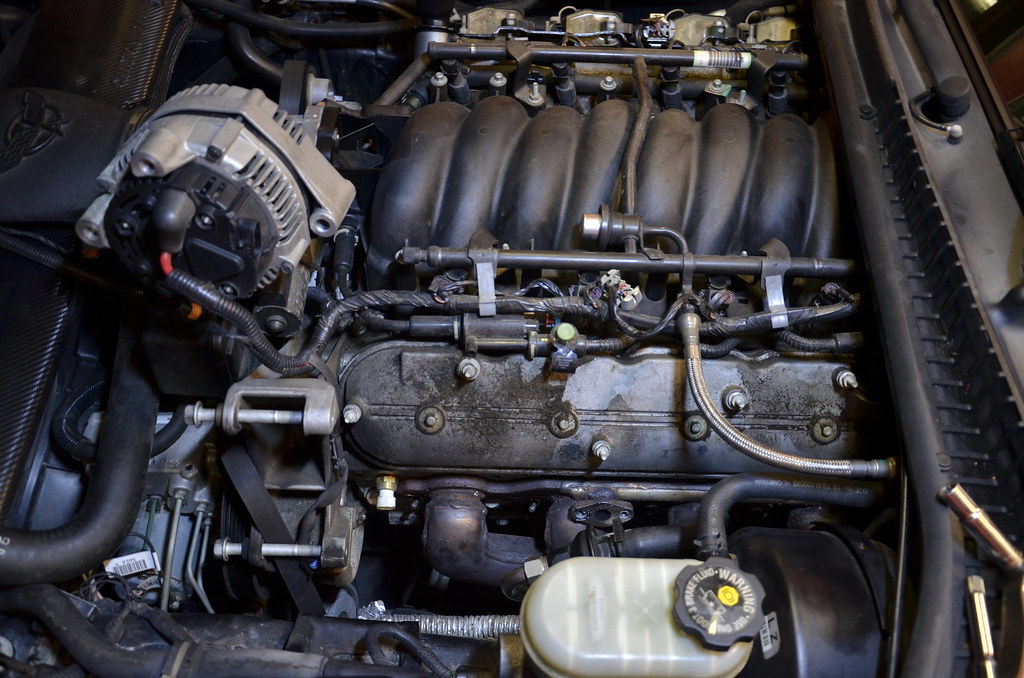
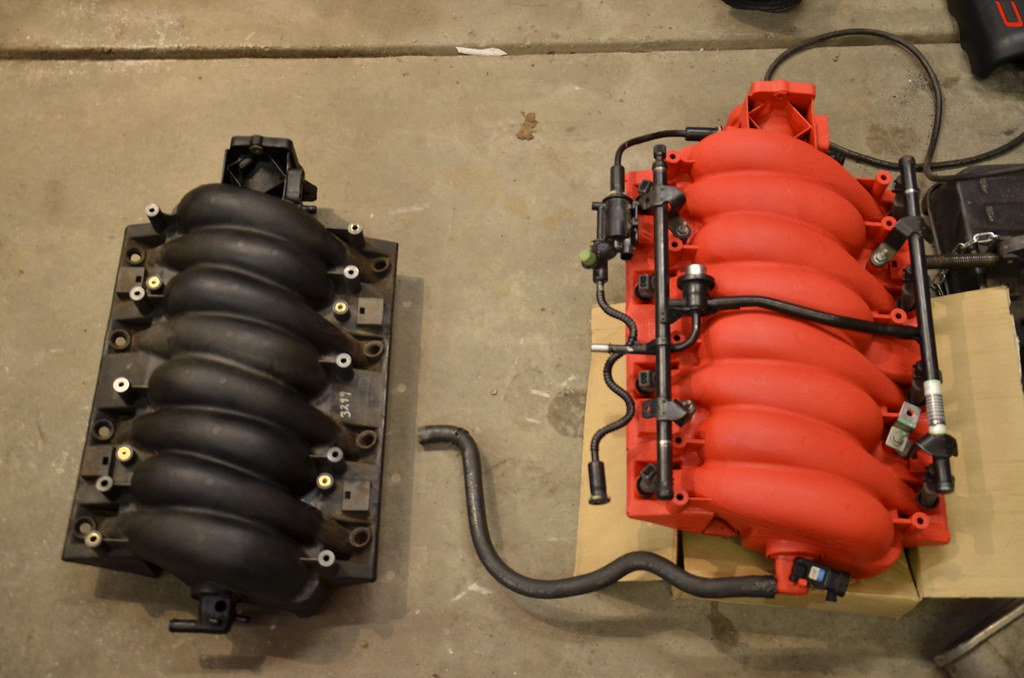
Needed to get the car inspected and it was throwing a bunch of codes after the longtube install, so shut off those codes via HPTuners and also raised the rev limit to 6500 (from 6200) in anticipation of the last couple of bolt-ons I'm going to do. Picked up new LS6 OEM valve springs, 16 new seals, and an LS6 intake manifold. When it's all apart I will finish deleting the AIR system, should clean up the engine bay a bit.

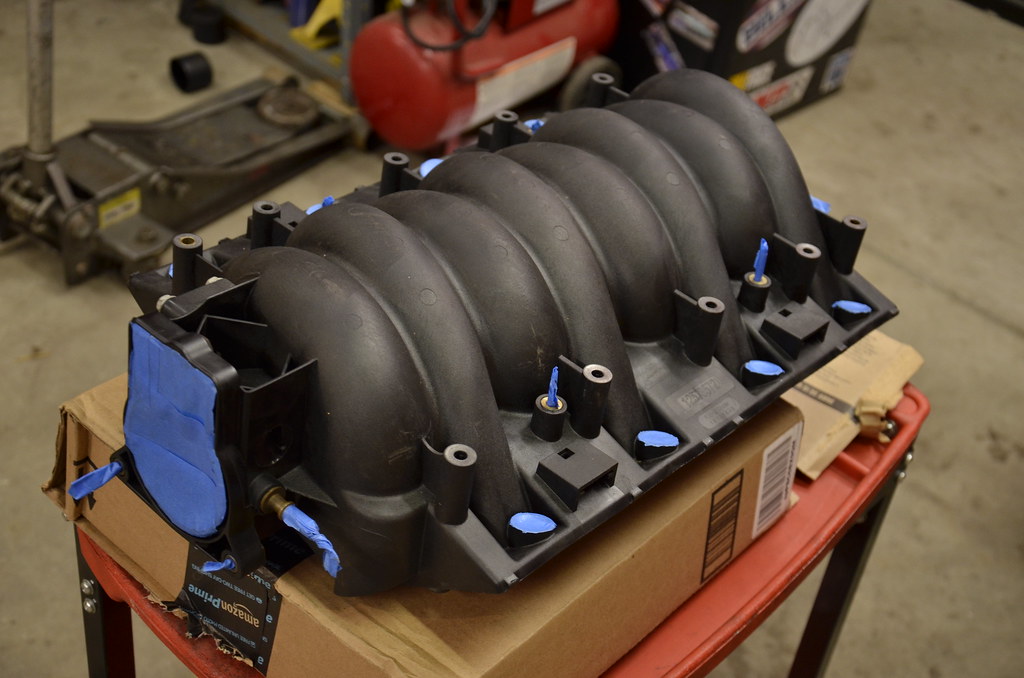
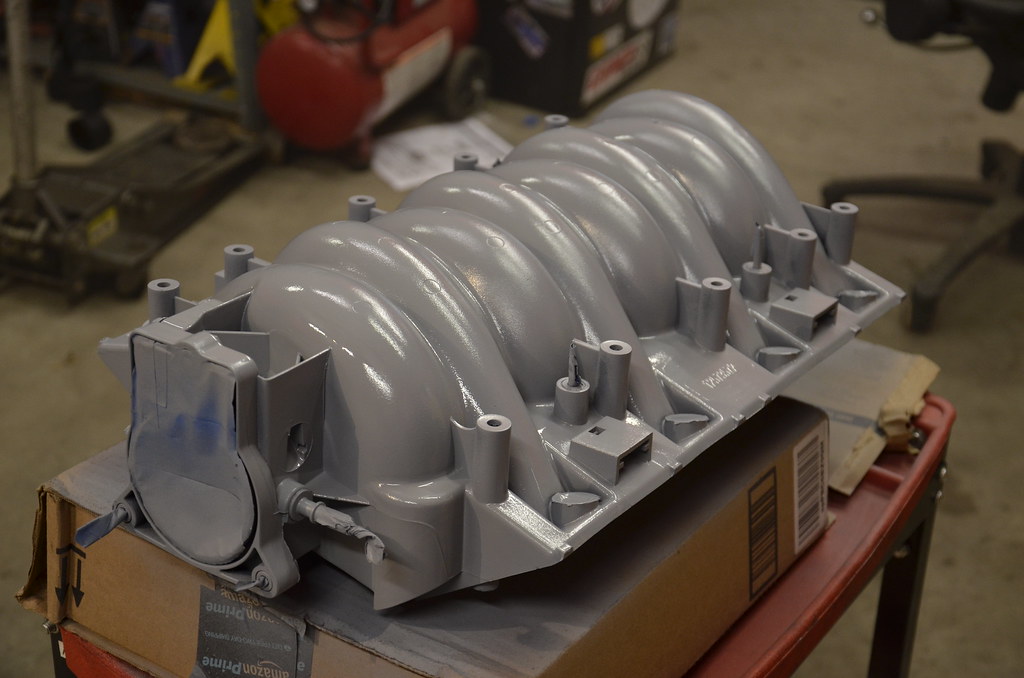
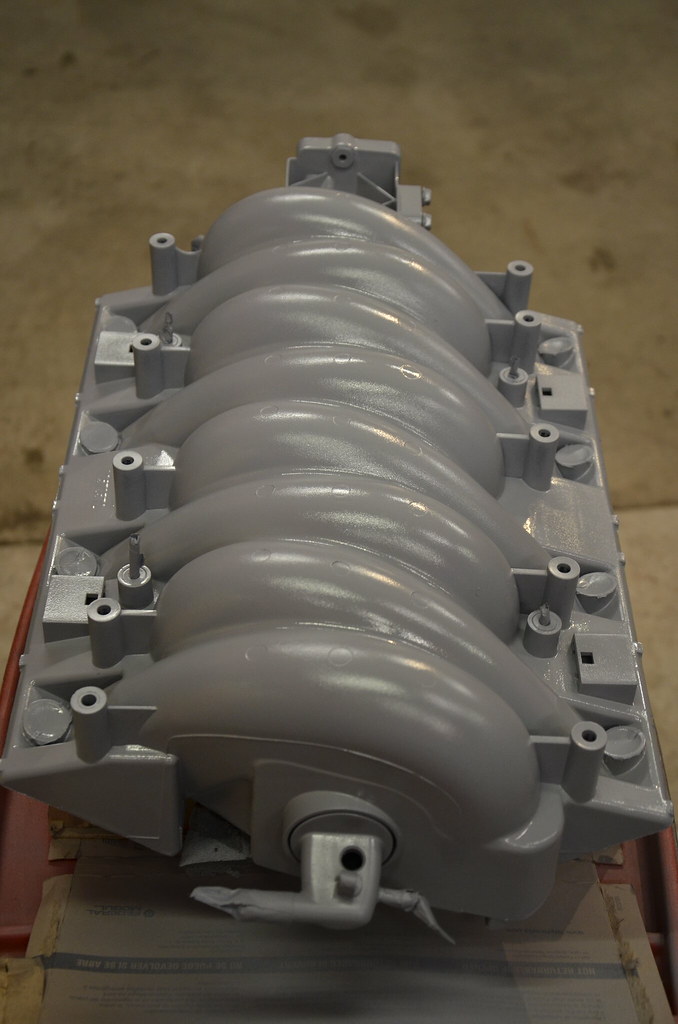
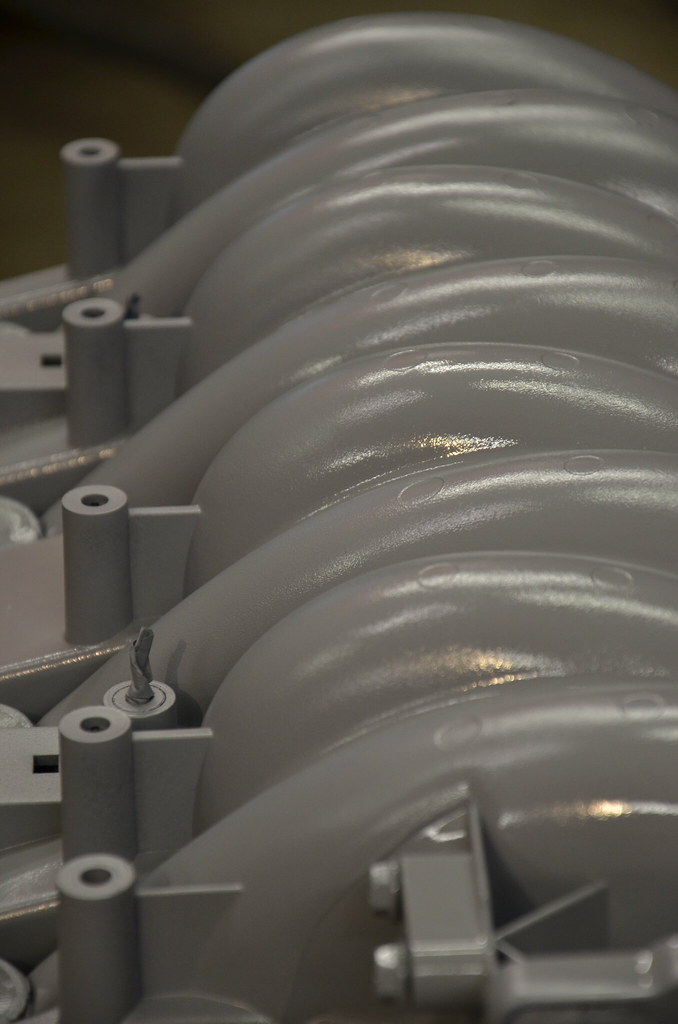
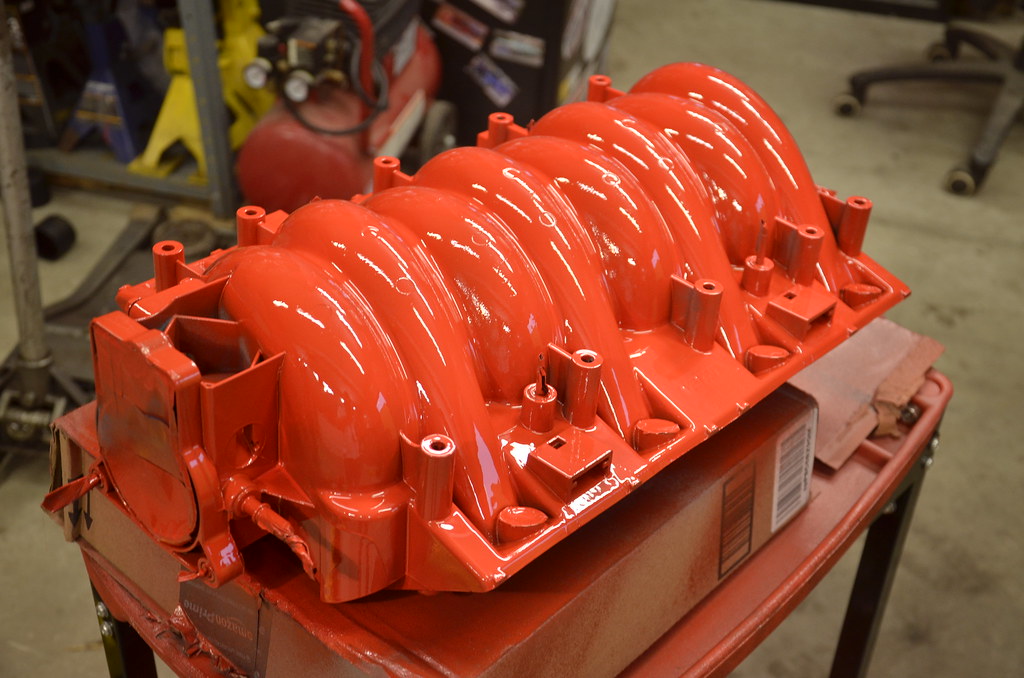
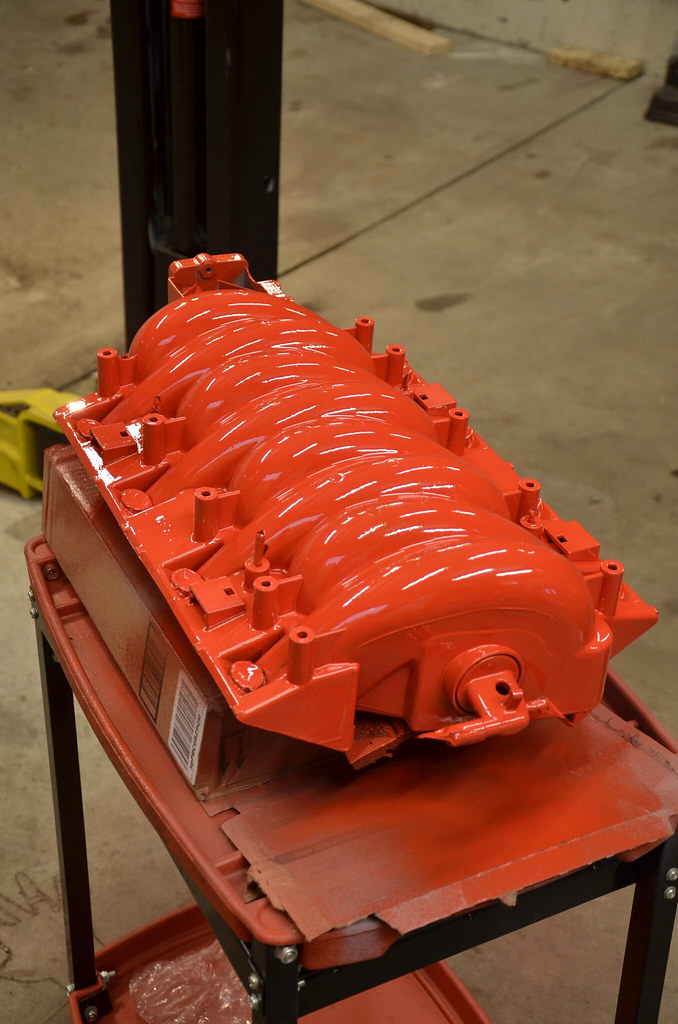
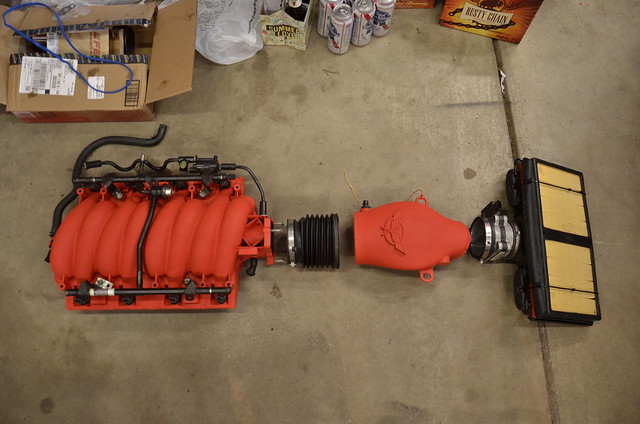
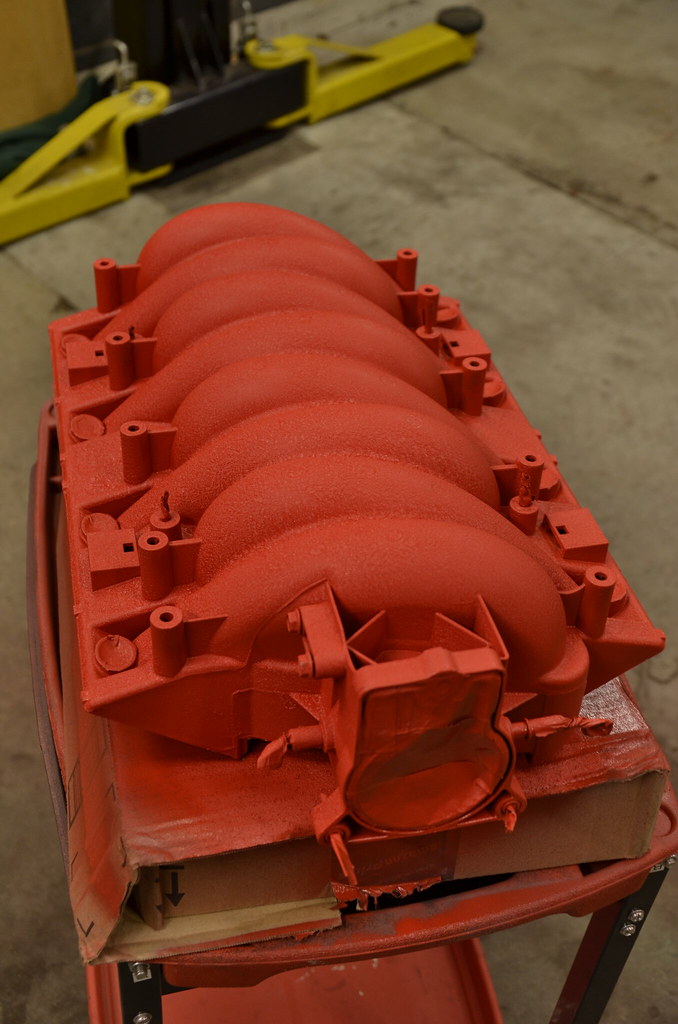
I am not a fan of mimicking trim packages that the car didn't come with (aka putting red fuel rail covers from a Z06 on this car) but I wanted something different in the engine bay, so the LS6 intake will be getting paint. Starting off with deep clean, masking off the usual parts, and then primer. Final color will be a wrinkle red. Might do the air bridge too if I like how it turns out.

Ready for paint:
_DSC4907 by Norbert Ogiba, on Flickr

Primer:
_DSC4908 by Norbert Ogiba, on Flickr

_DSC4909 by Norbert Ogiba, on Flickr

_DSC4910 by Norbert Ogiba, on Flickr

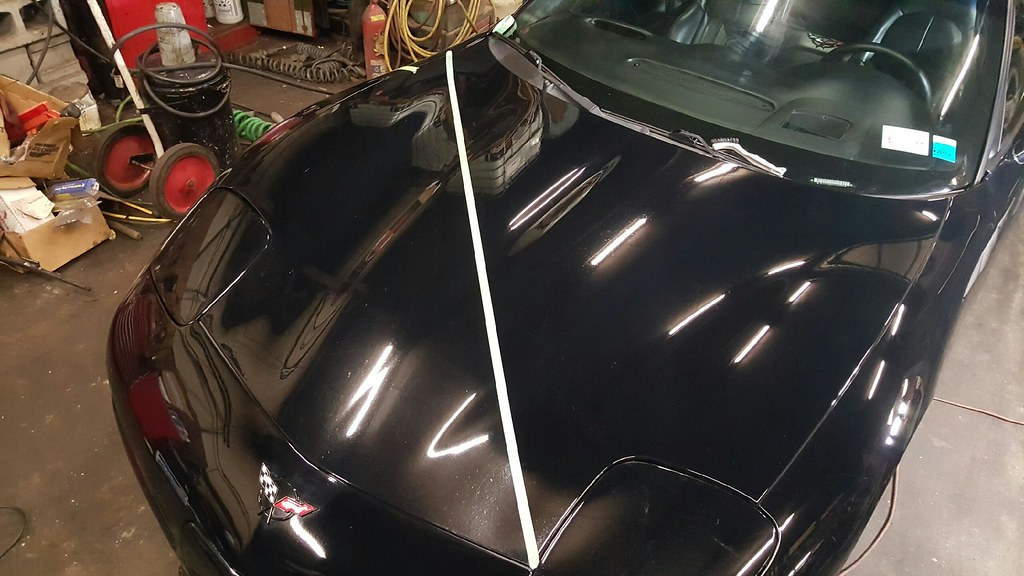
Buddy of mine asked me if I was interested in a paint correction - he wanted to show my car in his booth at http://www.buffalomotorama.com/ . I am not a big "show" person but this is a pretty cool opportunity. I will snap some pics this weekend when I go to the show. He worked wonders on the BMW so I'm sure the Vette will turn out great as well.

Check out his site.
https://www.facebook.com/sheerluxe.detailing/

IMG_1394 by Norbert Ogiba, on Flickr

IMG_1384 by Norbert Ogiba, on Flickr

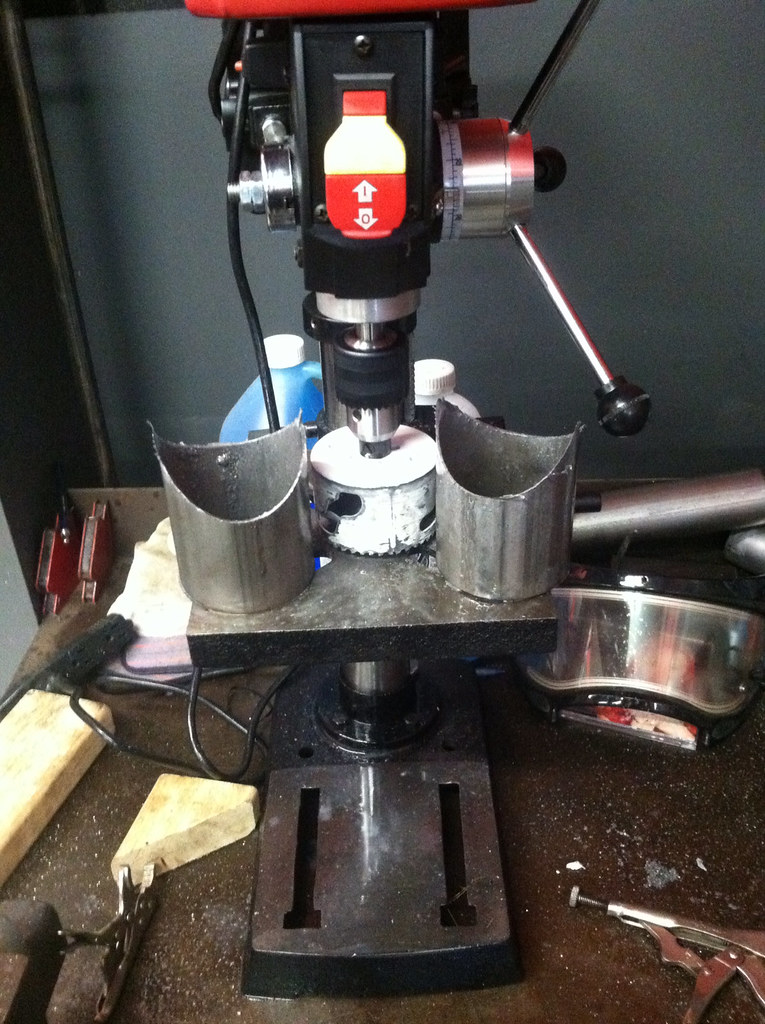
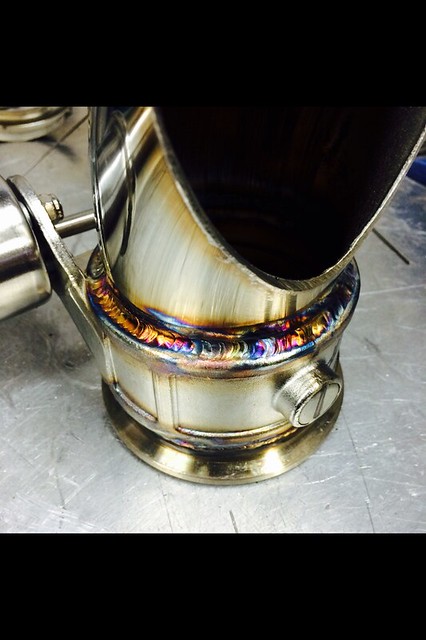
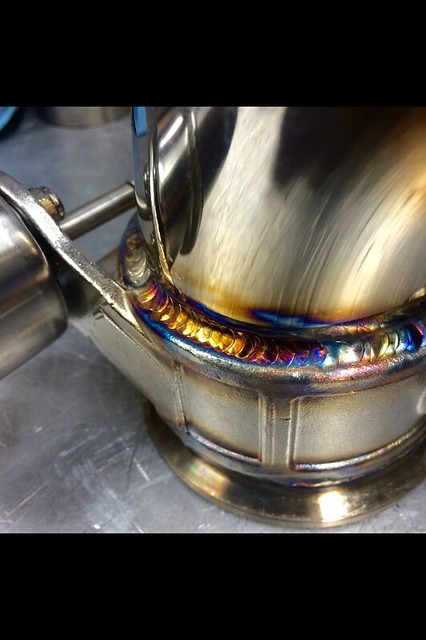
Also started working on some cutouts. Picked up a drill press, don't know how I went without one all these years. Poor hole saw got its brains beat out by the stainless but the end result is nice.

image by Norbert Ogiba, on Flickr

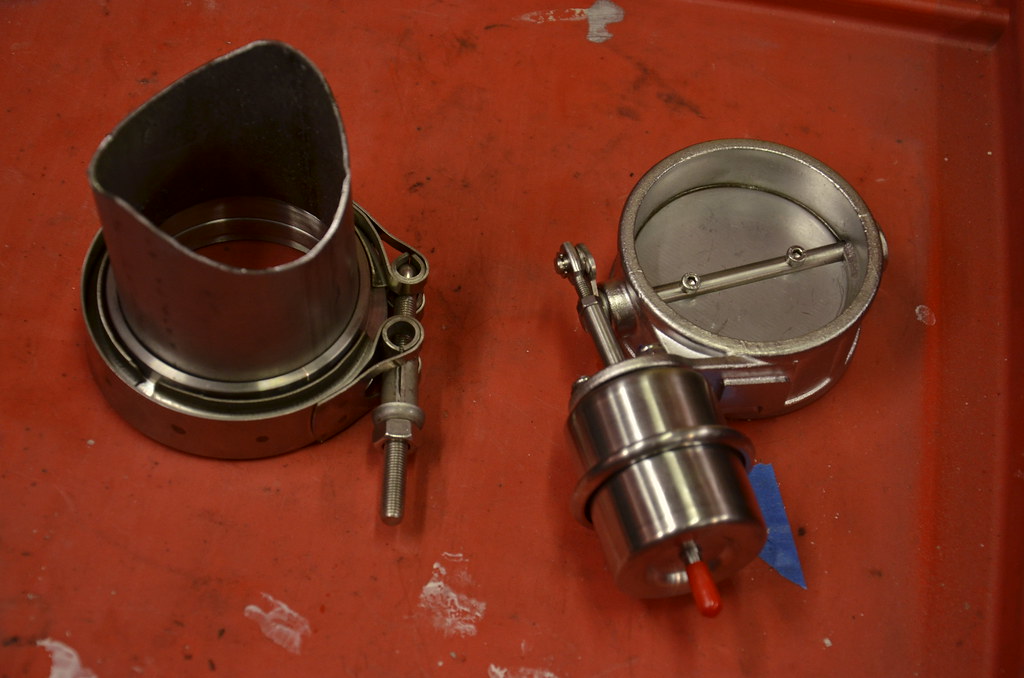
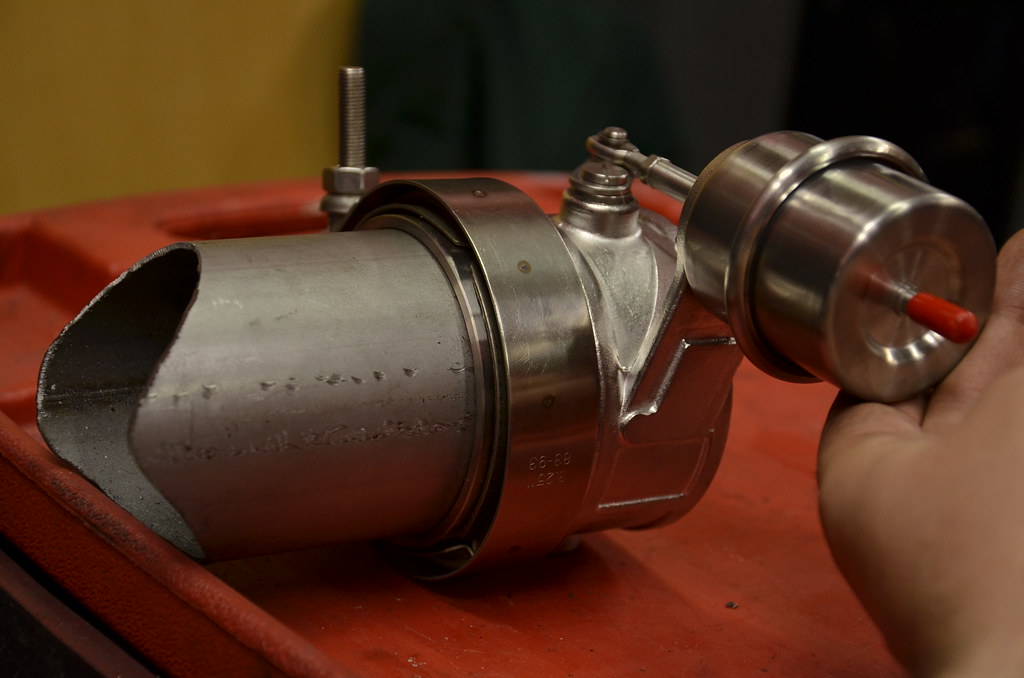
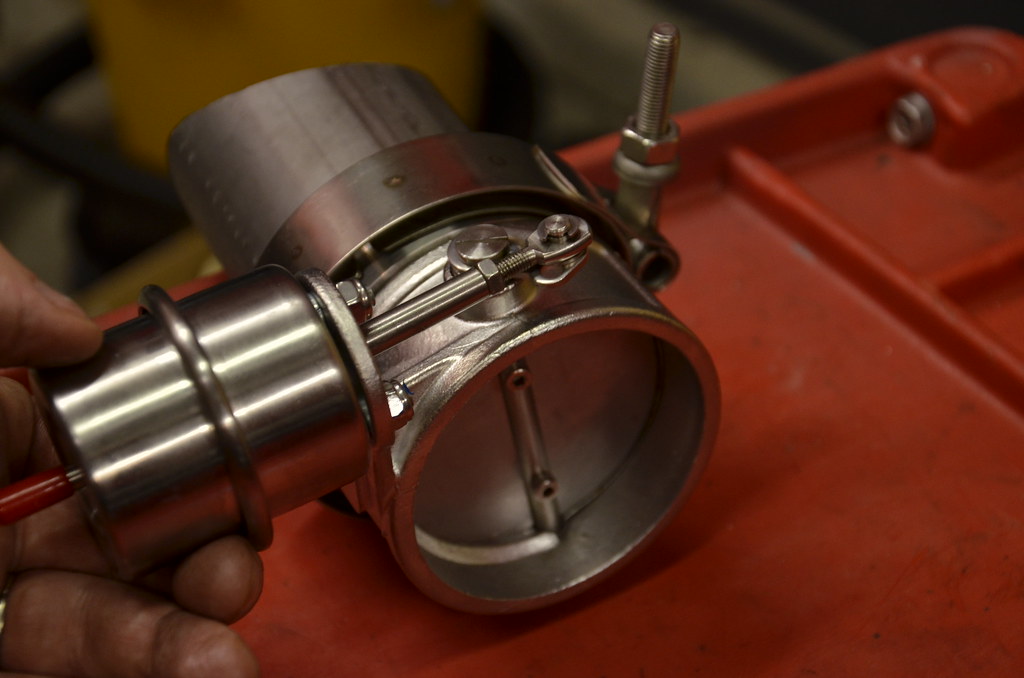
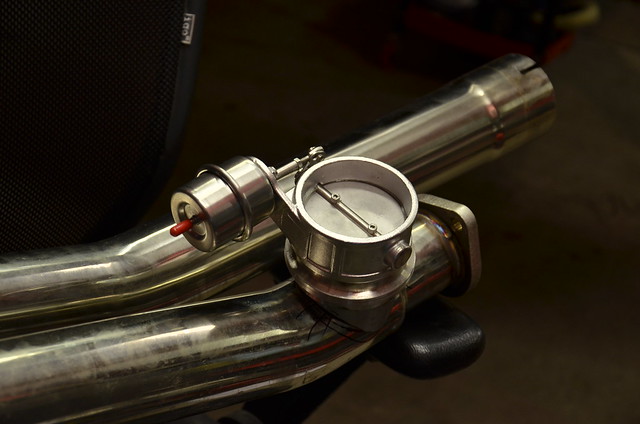
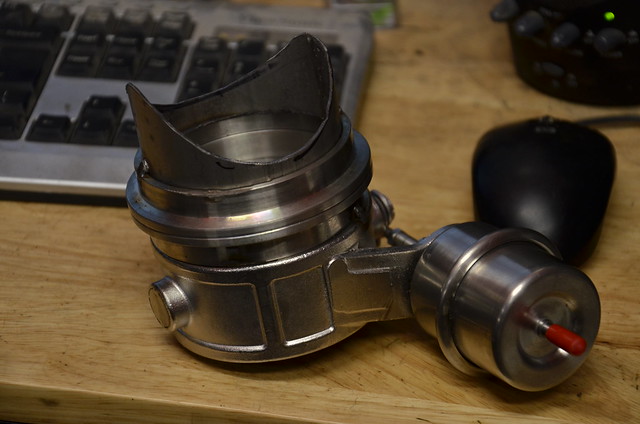
I am going to try something different on the cutouts. I ran an electric QTP some years ago and wasn't happy with the operation, reliability, etc. The motor crapped out on me and the vendor told me I had to buy a new one as they didn't sell parts. So I picked up some vacuum actuated *********** 3" units off the chinese ebay wannabe site to try to put together my own "NPP" option. There is another Corvette guy using these for muffler modifications with success so I have high hopes. I haven't yet figured out how I want to control them, but am thinking about using some old EGR vacuum solenoids to control the valves on demand. We'll see.
 
OP
N

nsogiba

Well-known member
Joined
Jan 16, 2013
Messages
232
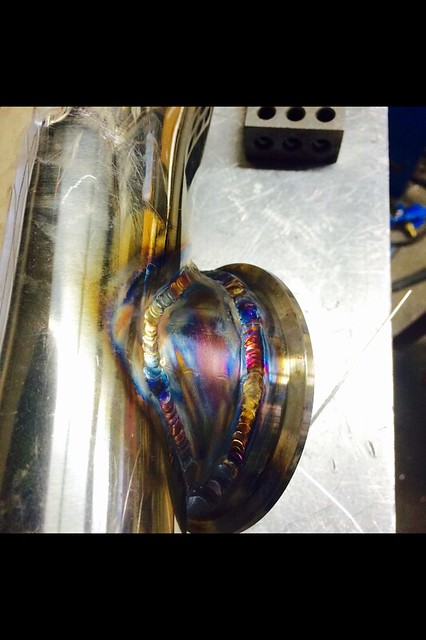
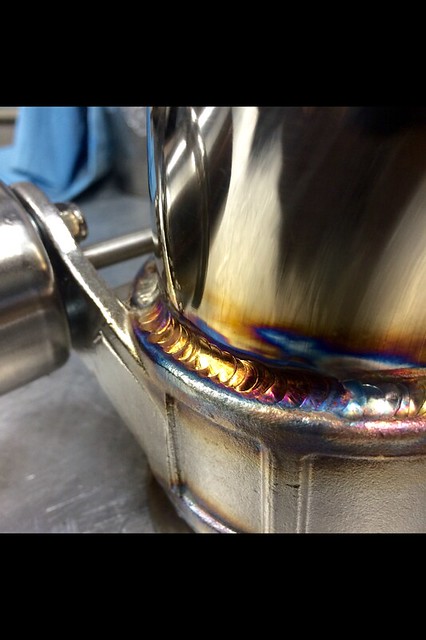
I bought some V-bands as well so I can remove them for service, gonna tack it all together and have someone else TIG it together. Anyone feel like gluing it together for me?*@#$

My QTP just didn't stand up to the year round elements, the motor crapped out after about 6 months. Vendor told me I couldn't replace any parts, so it's been sitting in the basement ever since.*@#$

For the new cutouts, I do plan on using a check valve for sure. I purchased valves that are normally closed. The NPP cutouts on all the newfangled GM stuff are normally open, and as soon as a vacuum is applied, they slam shut. This means they're open on cold start, and when vacuum builds a few seconds later, they shut. I did not want this situation since I leave for work early in the morning and wanted to maintain some sanity for my neighbors. I could have gotten around this by using a check valve and a vacuum canister but that's added complexity, and I have no idea if the vacuum canister would hold a charge for sitting a week at a time (which is a reality if we have a couple days of nasty weather). The last item that turned me off from the normally open was that in the event of any vacuum fitting/line failure the valves would fail open, and I'd have to drive around with the car stupidly loud until I got it fixed. I would much rather they fail in the normally closed position.


Check valve:*@#$
http://www.amazon.com/gp/product/B000C982H2/?tag=atomicindus08-20


Vacuum can (if needed)*@#$
http://www.amazon.com/dp/B000COB8FA/?tag=atomicindus08-20


The only thing that I would have liked to have using the normally open system would be the feature of the engine vacuum on idle and light driving conditions to keep the valve shut, and then valves opening up when you hammer on it, removing vacuum. It makes for a nice "automatic" mode but again I wanted the failsafe to be in the closed position.


The red paint showed up so it was time to let the inner ricer out. had a couple local Flying Bison craft brews to pre-dull the brain for the paint fumes and went to town. I miss doing these small quick jobs, they are great fun.*@#$

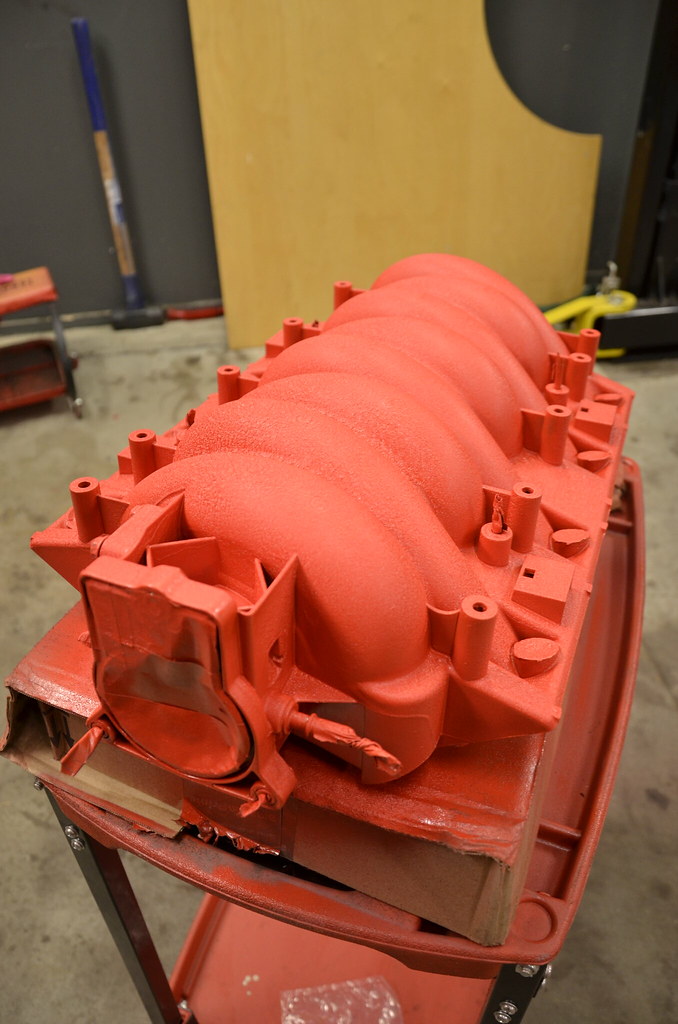
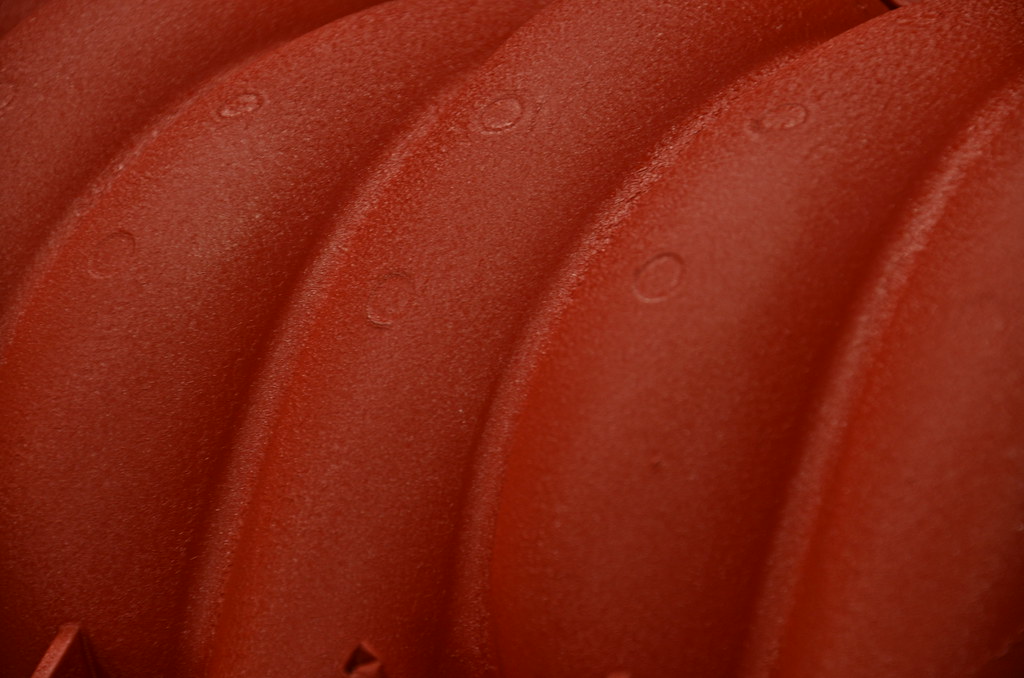
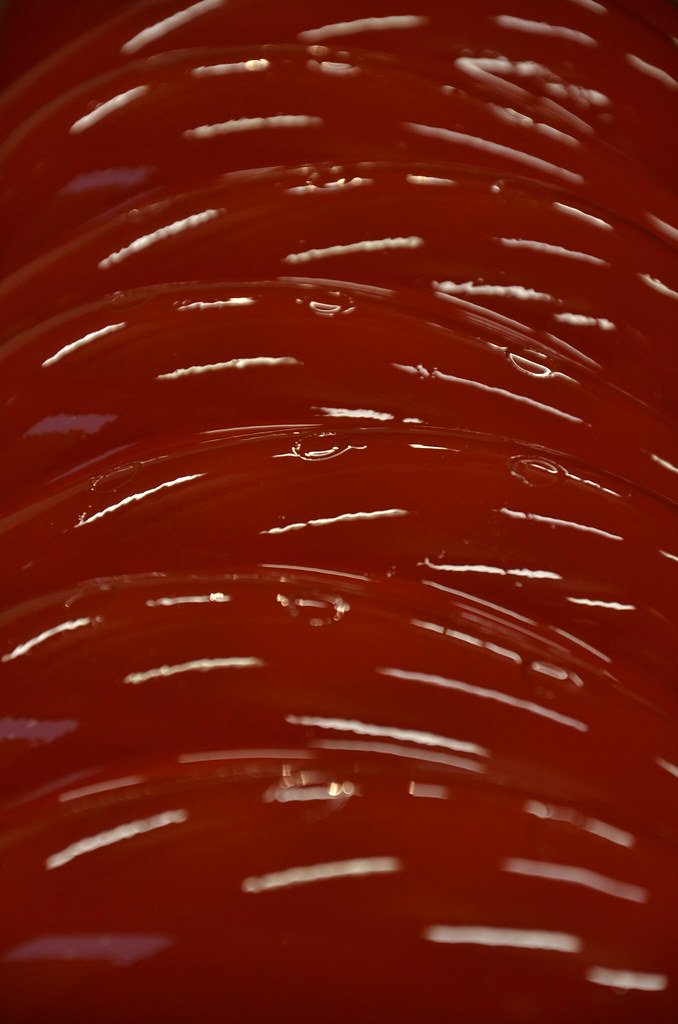
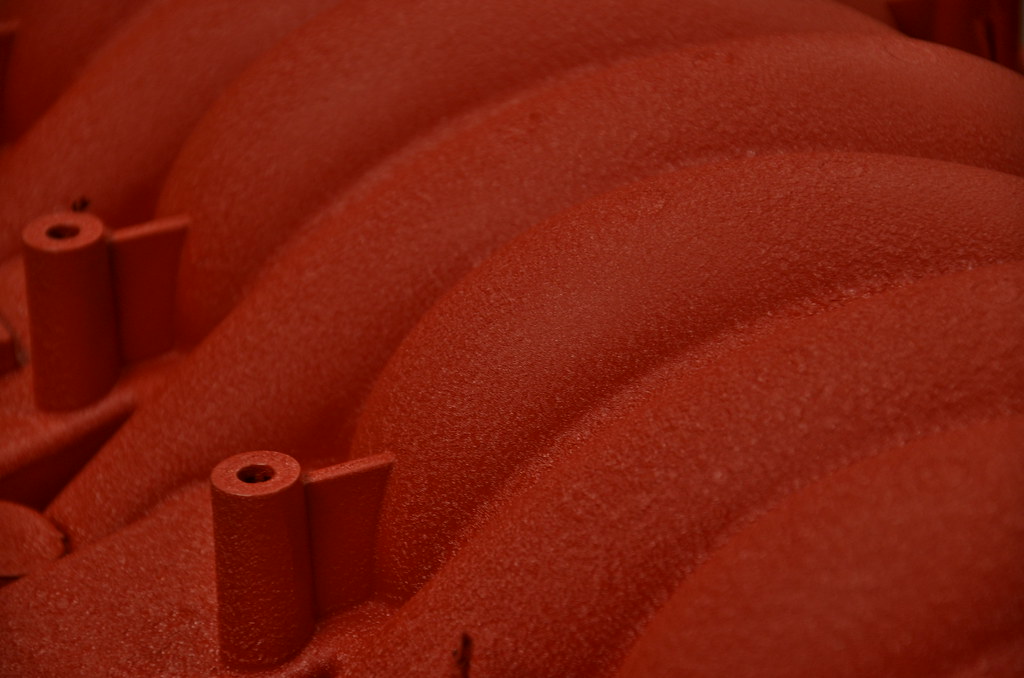
This stuff is awesome. Used about 2/3 of 1 can to do the whole manifold. I was on the fence about the finish based on the Amazon reviews but bought 2 cans just in case it turned out nice. About 3 solid heavy coats on it and it turned out great. Unlike the primer this stuff ran you wouldn't believe, but as long as you kept a good distance with the can it went on great. I used this stuff in a black color on a power steering pulley when I built the original 6.0 for my BMW in 2012 but the finish was way too coarse. This one turned out much finer

http://www.amazon.com/dp/B001GX9U3S/?tag=atomicindus08-20

so throwing on some coats, wet

_DSC4911 by Norbert Ogiba, on Flickr

_DSC4912 by Norbert Ogiba, on Flickr

_DSC4913 by Norbert Ogiba, on Flickr

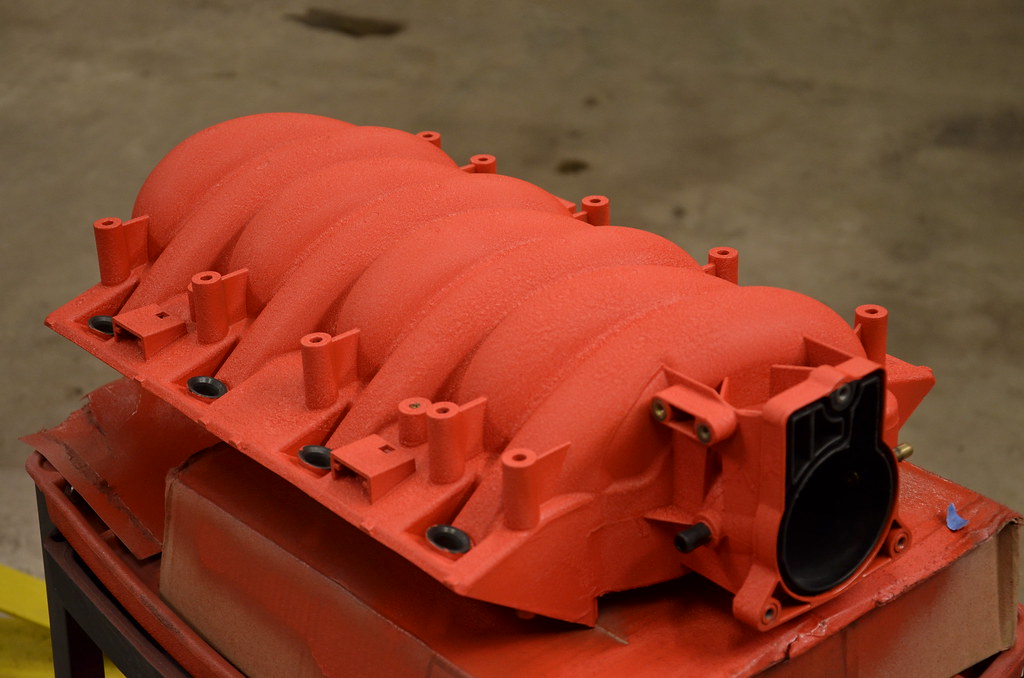
Dried for 20 mins, let her sit under the unit heater for a while getting toasty, another couple coats, then let it cure fully and crinkle. It has the fine "Ferrari-red-crinkle" finish that I was going for. Thought it might come out light based on how it looked when it was wet but it dried darker and is the exact shade I was going for*@#$

_DSC4914 by Norbert Ogiba, on Flickr

_DSC4915 by Norbert Ogiba, on Flickr

_DSC4916 by Norbert Ogiba, on Flickr

_DSC4917 by Norbert Ogiba, on Flickr

_DSC4920 by Norbert Ogiba, on Flickr

Based on how she turned out I will do the air bridge as well to match.*@#$
 
OP
N

nsogiba

Well-known member
Joined
Jan 16, 2013
Messages
232
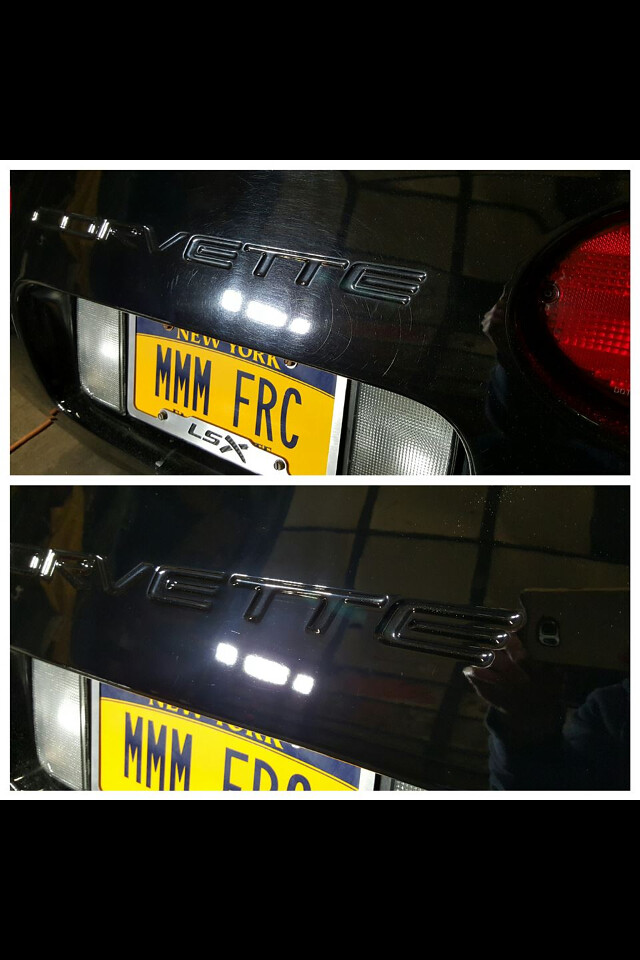
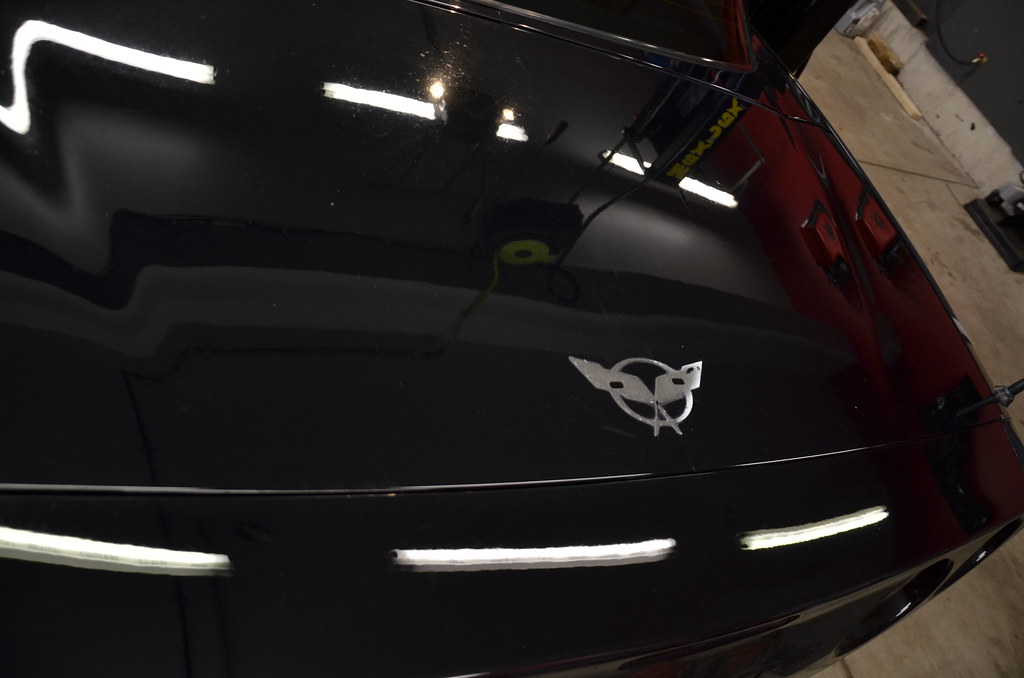
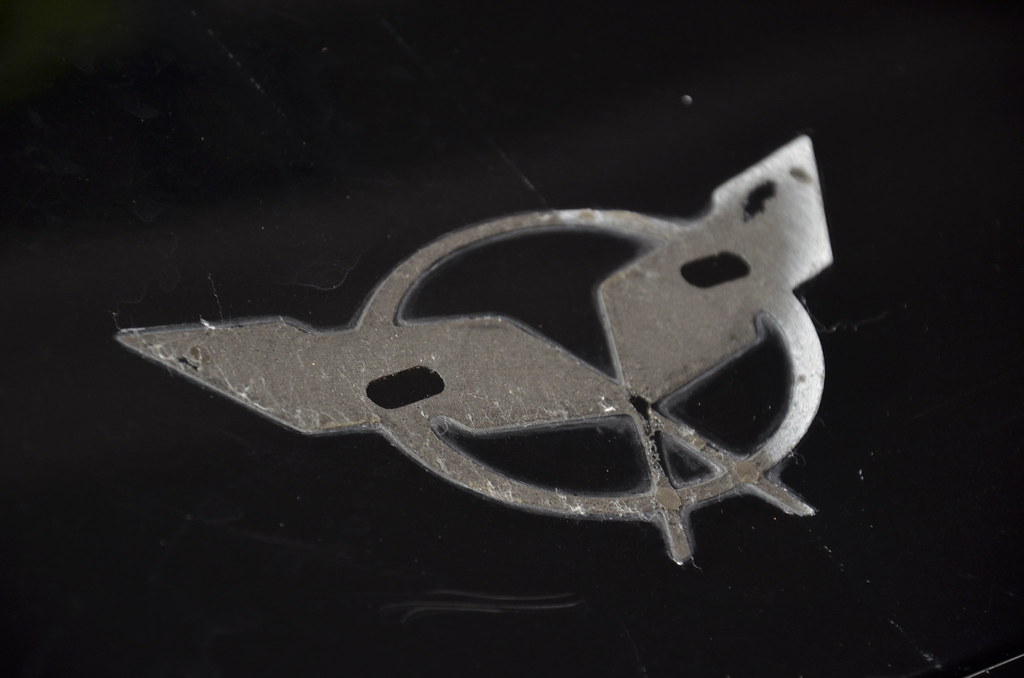
Removed the rear trunklid emblem, it really cleaned up the look. Car got half detailed, I will finish the paint correction on my own.

_DSC4940 by Norbert Ogiba, on Flickr

_DSC4941 by Norbert Ogiba, on Flickr

More Goo Gone,
_DSC4943 by Norbert Ogiba, on Flickr

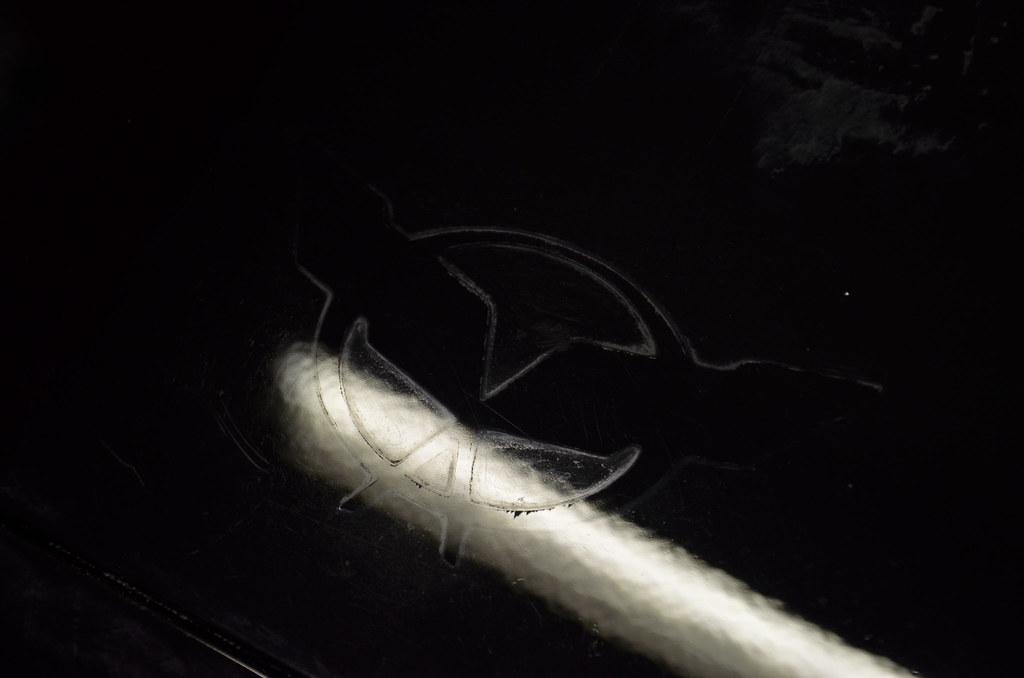
Magic 3M eraser wheel works wonders yet again, but this will have to be polished out
_DSC4944 by Norbert Ogiba, on Flickr

Compound
_DSC4945 by Norbert Ogiba, on Flickr

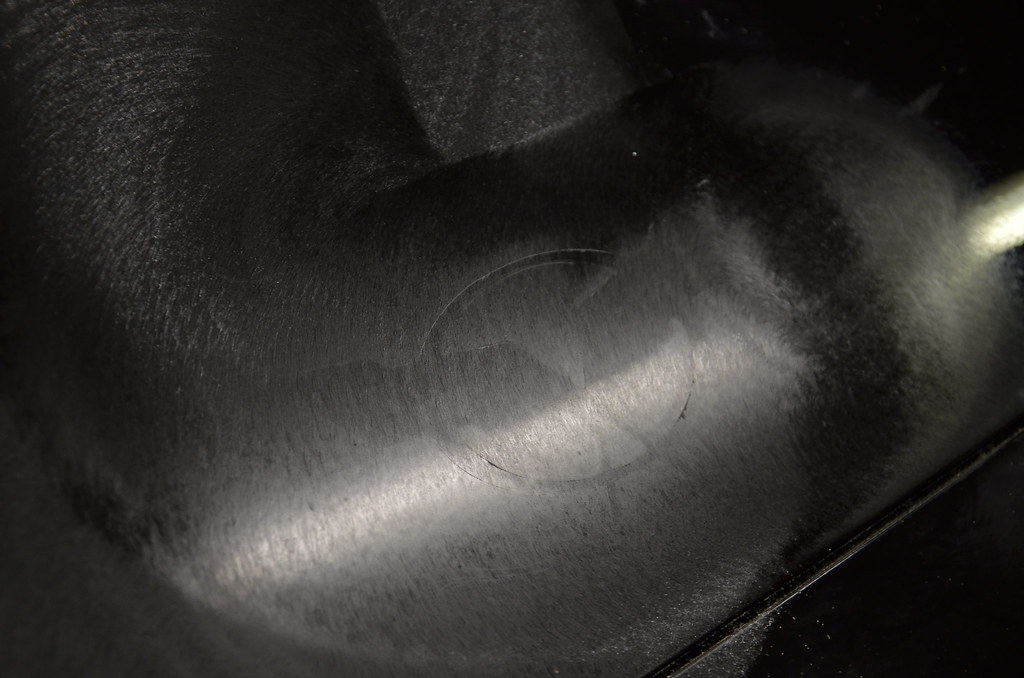
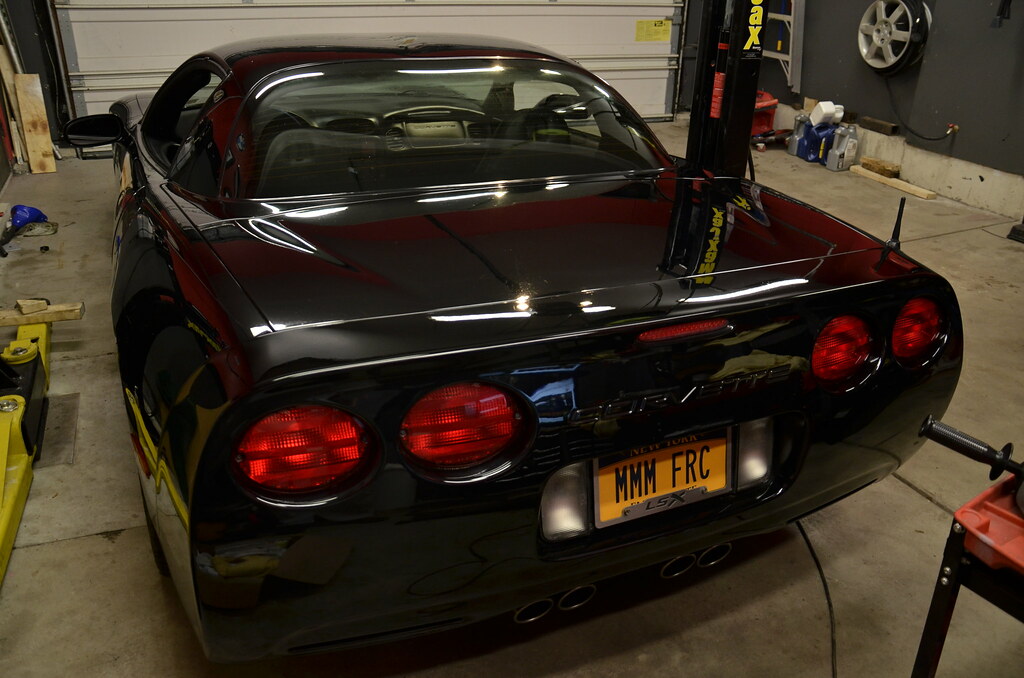
After compound, there was still a raised ridge in the paint, can't catch it with a fingernail, but visible if you look hard for it in the right light.
_DSC4946 by Norbert Ogiba, on Flickr

After polish it is invisible from more than 3 inches away
_DSC4947 by Norbert Ogiba, on Flickr

_DSC4948 by Norbert Ogiba, on Flickr

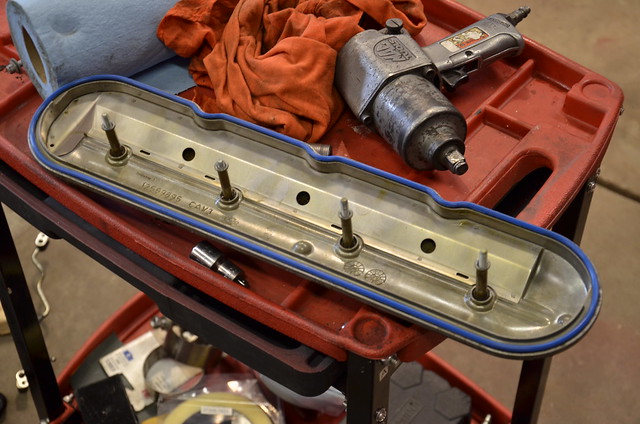
Dug out my old valve spring tool so I can get ready for the LS6 install later this week, it got bent during the install of the old big duals on the BMW 6.0. I'm going to weld up some gussets on it to stiffen it, should hold up better.

_DSC4951 by Norbert Ogiba, on Flickr

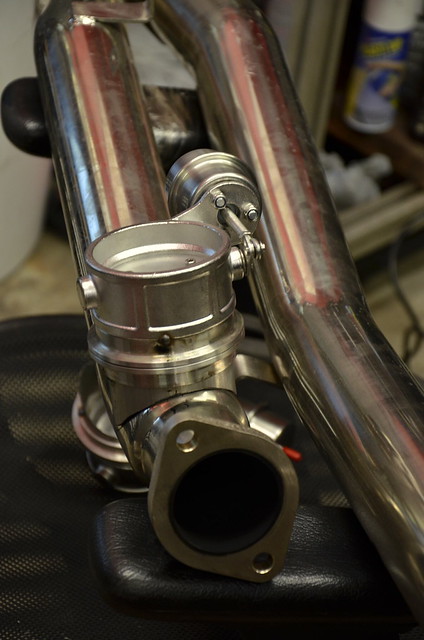
Piecing together my cutout stuff, I will tack them all in place and have a shop finish TIG them together for me. V-Band for serviceability

_DSC4952 by Norbert Ogiba, on Flickr

_DSC4953 by Norbert Ogiba, on Flickr

_DSC4954 by Norbert Ogiba, on Flickr

I will need to put some kind of turn down together for the outlet of the valve, possibly wrap the leaf spring in heat resistant insulation to prevent melting it.

More to come later this week, gonna mock up the cutouts, install valvesprings, LS6 intake, paint the airbridge wrinkle red, delete AIR system, etc
 
OP
N

nsogiba

Well-known member
Joined
Jan 16, 2013
Messages
232
so some ups and downs

got the fishmouths mocked up on the midpipes, traced out the insides, removed the pipes from the car. drove around the block with no pipes, wow it's loud, should be fun. also tacked together fishmouths to v-bands, v-bands to valves. I forgot to order turndowns so I don't melt anything, got a 180* mandrel bend on the way from summit, will be here in a couple days.

_DSC4955 by Norbert Ogiba, on Flickr

_DSC4957 by Norbert Ogiba, on Flickr

_DSC4958 by Norbert Ogiba, on Flickr

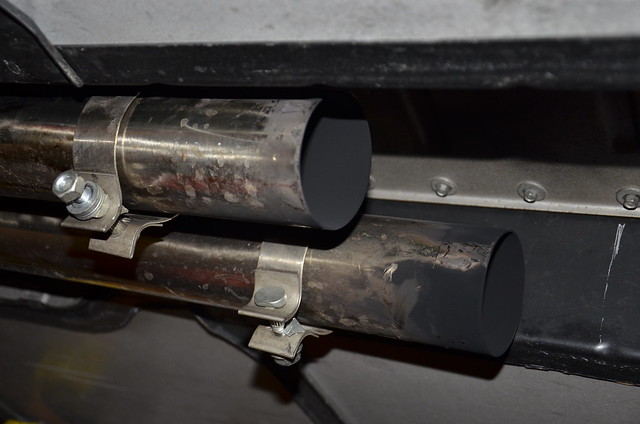
clamps that come with the longtubes ****, leaked badly. will pick up some longer bad clamps, have had good luck with those in the past

_DSC4962 by Norbert Ogiba, on Flickr

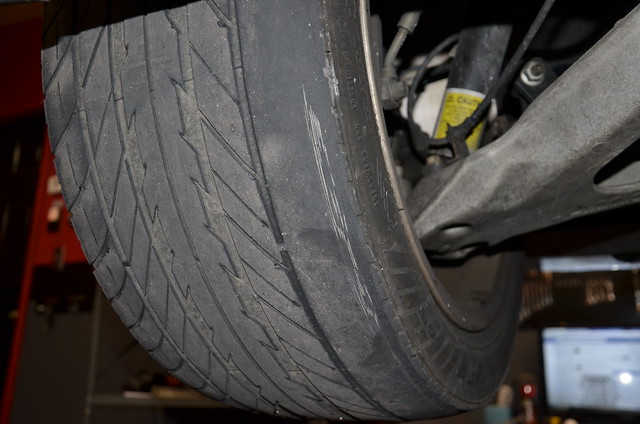
and the not so good. tires will need to be replaced this year. time to accelerate my wheel/tire plans

_DSC4963 by Norbert Ogiba, on Flickr

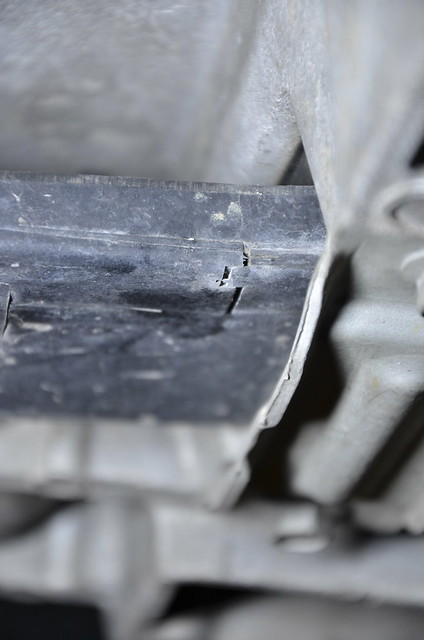
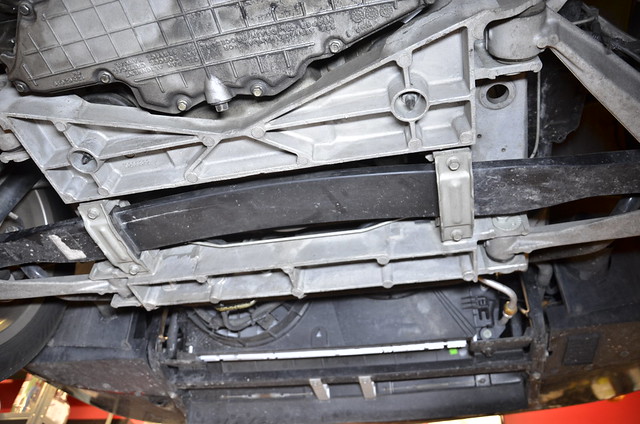
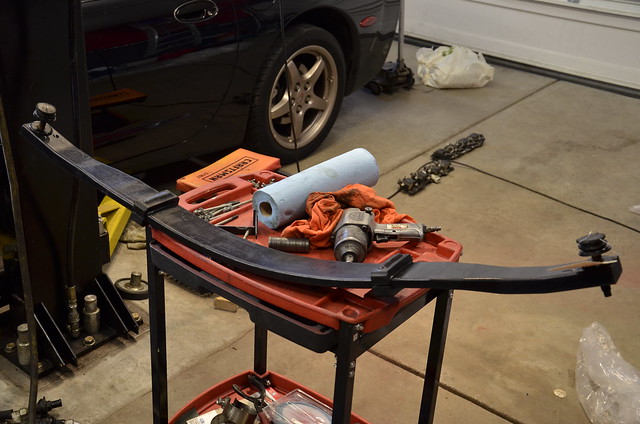
most urgent is the front fiberglass leaf spring, this thing had a very fine hairline crack lengthwise when i first bought the car and got it on the lift, but this big crack is a new development. will either pick up another Z51 spring or throw in a Z06 unit

_DSC4966 by Norbert Ogiba, on Flickr

_DSC4967 by Norbert Ogiba, on Flickr
 

bonecrrusher

Well-known member
Joined
Aug 18, 2011
Messages
578
Location
Charlotte, NC
I wasn't expecting that paint to go from red - to the "Ferarri" finish - that looks awesome!

I like the exhaust mods too - that should be loud as hell when open!

That front spring - that *****. Time for coilovers?
 
OP
N

nsogiba

Well-known member
Joined
Jan 16, 2013
Messages
232
I wasn't expecting that paint to go from red - to the "Ferarri" finish - that looks awesome!

I like the exhaust mods too - that should be loud as hell when open!

That front spring - that *****. Time for coilovers?

Yeah the wrinkle stuff is really cool. I am going to do the air bridge too.

I took the car out yesterday with open headers after the x-pipe. Easily the loudest car I've ever driven. I loved it but after 10 minutes needed a break. Thankfully I'll be able to switch them off on demand.

Coilovers aren't in the budget, I'm gonna throw in a Z51 or Z06 used spring and run it.
 
OP
N

nsogiba

Well-known member
Joined
Jan 16, 2013
Messages
232
OP
N

nsogiba

Well-known member
Joined
Jan 16, 2013
Messages
232
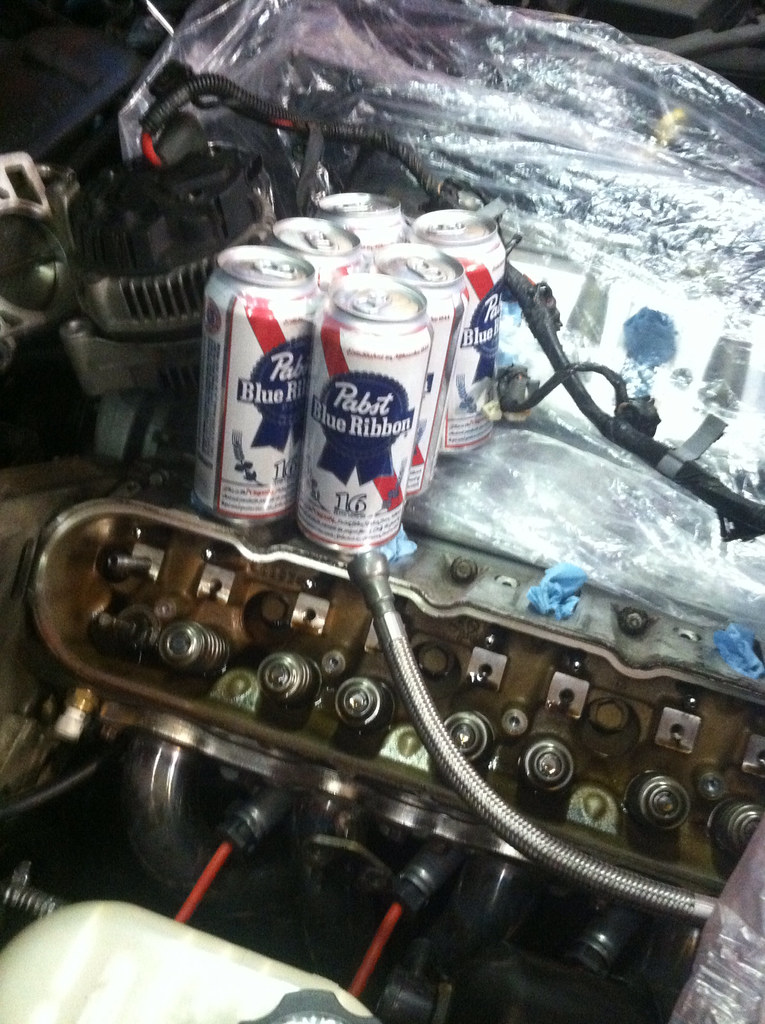
wife working late tonight and going to have a few drinks with friends afterwards. which means i'm grabbing a 6 pack of PBR pounders and putting in some quality time tonight in the man cave. hoping to get the rear sway bar out of the way, exhaust all buttoned up, and LS6 intake clearanced for the LS1 quad steam lines

giphy.gif


giphy.gif


giphy.gif
 
OP
N

nsogiba

Well-known member
Joined
Jan 16, 2013
Messages
232
only got 4 cylinders done last night, I pulled everything apart and realized I had ordered the newer 1 piece valve seals mistakenly. Luckily I found a set of fel-pros locally, but there went another hour chasing down the parts.

image by Norbert Ogiba, on Flickr
 
OP
N

nsogiba

Well-known member
Joined
Jan 16, 2013
Messages
232
so i got it all back together and took it to work today. I missed driving it...

squirted the air bridge with red wrinkle
_DSC4981 by Norbert Ogiba, on Flickr

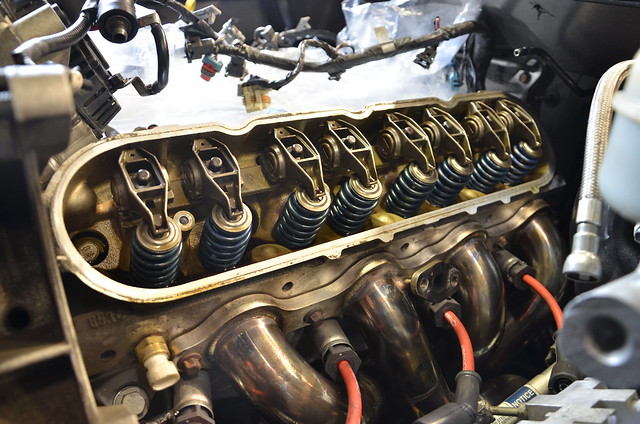
This is exactly what I want to see for a 16 year old, 107K mile motor. Not even so much as wiped clean. Love it. New gaskets for fun
_DSC4982 by Norbert Ogiba, on Flickr

LS6 springs are in along with new valve seals
_DSC4984 by Norbert Ogiba, on Flickr

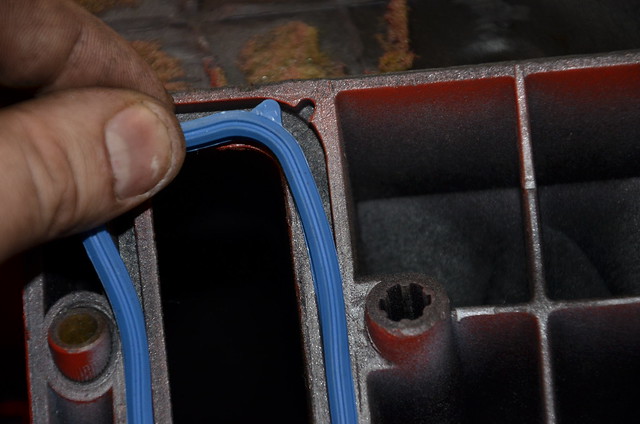
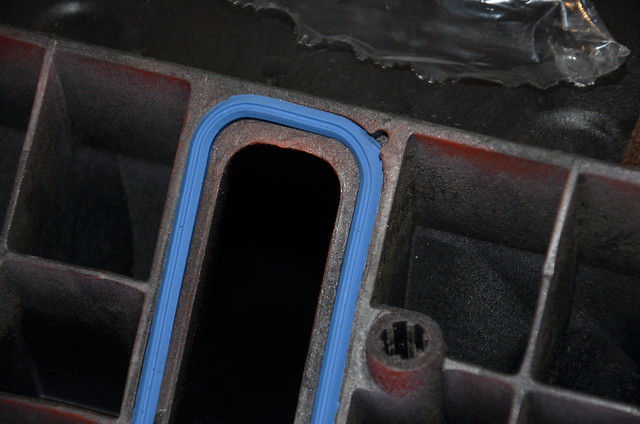
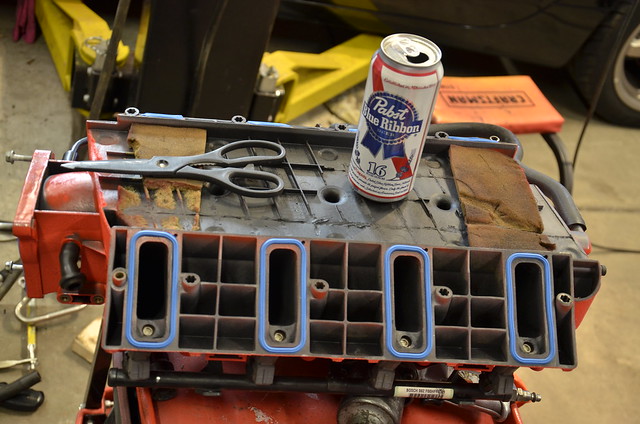
The Fel Pro intake manifold gaskets had an odd locating feature that was a bit oversized for the pocket for each runner...this caused the gasket to sit ever so slightly high at that corner. It probably would have crushed down fine when torqued but being OCD I trimmed the corner of each one for a nice flush fit.
_DSC4986 by Norbert Ogiba, on Flickr

_DSC4988 by Norbert Ogiba, on Flickr

Enjoying high dollar beverages, life is short, demand the best
_DSC4992 by Norbert Ogiba, on Flickr

Replacement front spring came in looking damn near brand new. Waiting to install it until the lowering bolts come in - should be this week
_DSC4993 by Norbert Ogiba, on Flickr

I need to clean up. Wife is pissed her spot is unavailable
_DSC4994 by Norbert Ogiba, on Flickr

Finished product, needs a serious detail to clean up all the fingerprints and grease. Will clean up nice.
_DSC4996 by Norbert Ogiba, on Flickr
 
OP
N

nsogiba

Well-known member
Joined
Jan 16, 2013
Messages
232
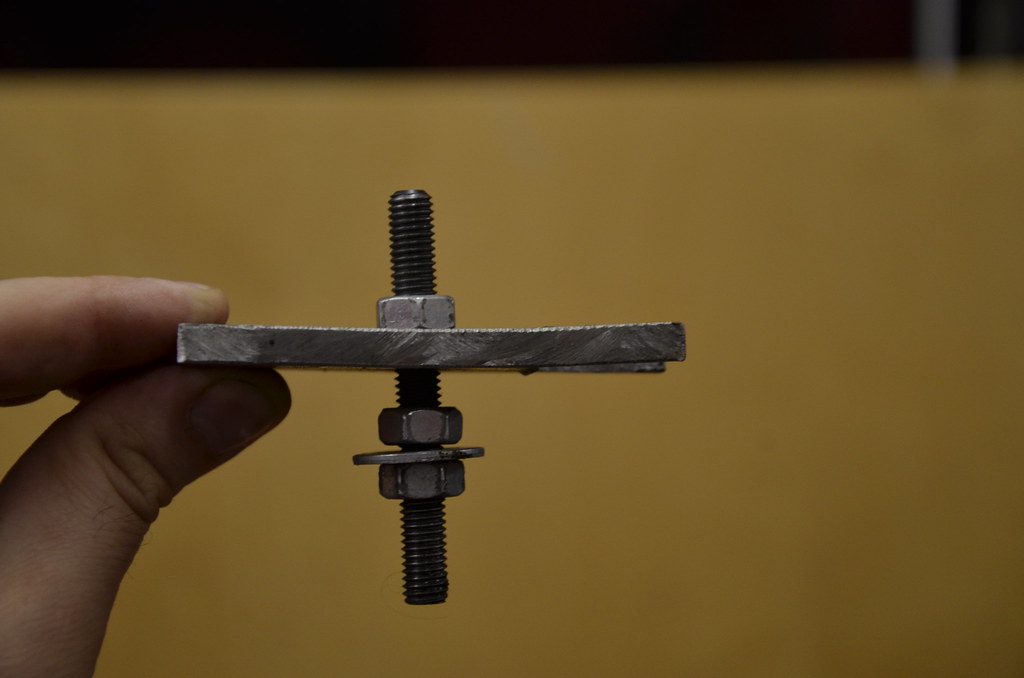
Lowering bolts came in. Rear will be a breeze to install, front spring will need to come out to be replaced, I'll thread in the new bolts then

image by Norbert Ogiba, on Flickr
 

bonecrrusher

Well-known member
Joined
Aug 18, 2011
Messages
578
Location
Charlotte, NC
Man - that red and black contrast so well!

I'm fighting valve cover issues myself.

The Holley covers - and the E-Force do not mix. I ended up sucking up oil from the valve cover - straight into the blower. I lost a quart of oil in say 200 miles. I went back to stock and had no issue.

I am now upgrading to LS9 valve covers - and going to paint them black like the Holleys - as well as adding a catch can to the system.
 
OP
N

nsogiba

Well-known member
Joined
Jan 16, 2013
Messages
232
New front spring in. Only slightly scary jacking up this stiff *** spring while the car is on the lift and watching it all bounce around. Front bolts removed, only lowered it a bit as the old stock front adjusters were cranked as low as they could go. Ride quality is the same. I'm happy with the suspension now. Need to buy new tires for the C6 wheels, the current runflats are so loud that it's like riding around in a Z71 on big boggers.

Also need to adjust the cutout rod ends and start to plumb them up.

I did build a set of "race ramps" out of 3/4" MDF - layered 4 thick for a total lift of 3". I was really sick of having to jack up the car with the floor jack, lay 2x4s under it, roll back and forth, to get it on the lift arms. Once I clean the sawdust out of my nose and eyes I'll get some pictures up.
 

bonecrrusher

Well-known member
Joined
Aug 18, 2011
Messages
578
Location
Charlotte, NC
Nice...

Yeah having to lift the car up ***** to get it on the lift.

That is what we get for living the lowered life, lol.

Any other motor mods planned?
 
OP
N

nsogiba

Well-known member
Joined
Jan 16, 2013
Messages
232
I tried out the ramps last night and they're just long enough to where the lift arms hit them when sliding under the car. I'll end up cutting them down and it should be fine.

No other motor mods for the time being. I did the whole cam/springs deal on the BMW and it was honestly a headache. The driveability went to hell with the tune that I paid good money for - yes, I can blame it on that specific tuner, but it really put a sour taste in my mouth. Exhaust smelled terrible with all that overlap, even with cats. The "upgraded springs" broke on me - dropping a valve and putting a hole in the block. Just more of a hassle than it was worth. The vette is faster with a stock cam than the BMW was with full bolt ons and a cam...even with the crappy clutch hydraulics. That's next on my list to work on.
 
Last edited:
To avoid these ads, REGISTER NOW!
Top Bottom