drivesitfar
Well-known member
I started a thread on ORGANIZING 101 a month or so ago and included my daily stuff which didn't always fit so starting a new thread we can all put our ORGANIZING SKILLS to work and for some of us to get new ideas. since most of the members here have been ORGANIZING for years they are well past the 101 class and decided to give it an advanced name.
of course some of us wake up and have everything in it's place because we put things back when we use them. for those members i'd like your comments on how you do that and post lots of pictures. some of us have a continuing flow of new STUFF to ORGANIZE so may be like me with FLAT SURFACE DISEASE where if there is one i'll set something on it almost immediately instead of spending a few minutes to put things away. I'd really like to cure FSD and also when i mention ORGANIZE or ORGANIZING to my bride she won't think that i'm swearing at her.
i'm still having issues with my old laptop, but will try to pull out a few before pictures as i show my after pics. if any of you have before after pictures to post while telling a few of your thoughts on how and why you organized like you did I (we) would all appreciate it.
Let's have fun with this and if somebody is brave enough to show their messy shop or yard and asks for help let's try to honestly help them and not make fun of them because some of our stuff means more to us than other's might think.
here's a few ideas i'm hoping this thread covers:
1) shelving
2) cabinets
3) bins
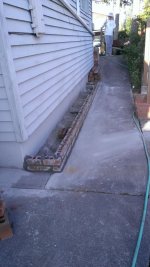
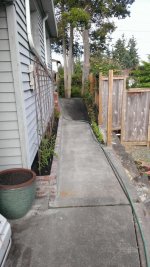
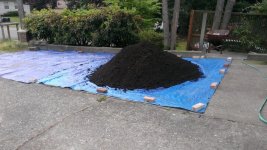
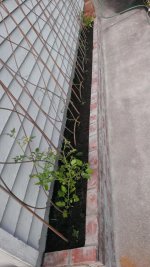
4) landscaping
5) ceiling storage
6) how to make things for your stuff
7) how to do different things around the house like plumbing, wiring, building, etc...
CHEERS ALL and hope we learn a thing or two or for those that just want to share PLEASE DO if you are ORGANIZED!!
of course some of us wake up and have everything in it's place because we put things back when we use them. for those members i'd like your comments on how you do that and post lots of pictures. some of us have a continuing flow of new STUFF to ORGANIZE so may be like me with FLAT SURFACE DISEASE where if there is one i'll set something on it almost immediately instead of spending a few minutes to put things away. I'd really like to cure FSD and also when i mention ORGANIZE or ORGANIZING to my bride she won't think that i'm swearing at her.
i'm still having issues with my old laptop, but will try to pull out a few before pictures as i show my after pics. if any of you have before after pictures to post while telling a few of your thoughts on how and why you organized like you did I (we) would all appreciate it.
Let's have fun with this and if somebody is brave enough to show their messy shop or yard and asks for help let's try to honestly help them and not make fun of them because some of our stuff means more to us than other's might think.
here's a few ideas i'm hoping this thread covers:
1) shelving
2) cabinets
3) bins
4) landscaping
5) ceiling storage
6) how to make things for your stuff
7) how to do different things around the house like plumbing, wiring, building, etc...
CHEERS ALL and hope we learn a thing or two or for those that just want to share PLEASE DO if you are ORGANIZED!!
Last edited:


")