Finky198
Well-known member
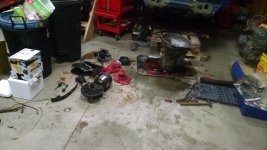
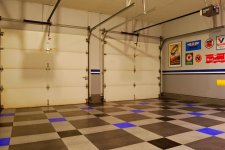
Worked on the Bronco again Brakes, Shocks, Grease... and cleaned up a bit.


More work prep, packing camp bag with the pope.


Cleaned and put away everything I had out. Chlorinated everything that got wet when the sewer pipes clogged. Now the shop smells like a pool.

")

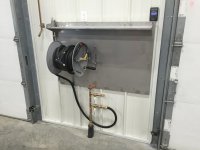
Rayra very nice I'm looking at something similar for my Ramcharger someday. For now I got the plug out of the intake manifold and of course it pull all the threads with it. Steel and aluminum bond together so nicely. I drilled the hole and taped for 3/4 then inserted a reducer so I am in business. While I was at it I went a head and sandblasted the intake it was stained and some of the paint was coming off. Now do I powder coat it or leave it natural.


I would leave it natural, but hit it with some satin clear to protect the bare metal.


 I also hate sounding like a saleswoman -- but the benefits of truth and reality outweighed any negative perception you might get by my reply. Love you guys!!!
Worked on the DD rig; Tune-up (Rotor, cap & Plugs) adjusted the timing, and the choke + adjusted the valves.
Very nice! I've set headspace and timing on a few of those.
What are you going to use it for?
Sounds like something old school. Did you forget to set the points???