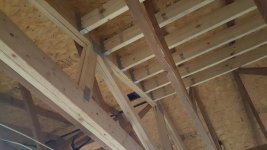
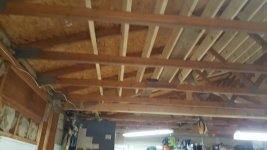
the top chord is being supported by the new purlins, so there's no tension in the bottom chord anymore.
It's looking really good Ryan. Although I'm surprised you needed that many purlins? Really just needed the purlins to support the old truss at the panel points.
And +1 on the palm nailer.
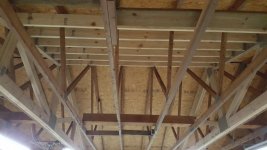
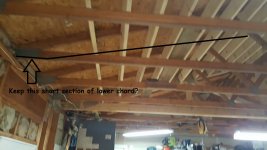
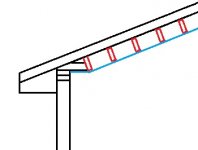
You are exactly right. Before the top chord transfers the weight through the web members and into the bottom chord, and out and down through the walls into the foundation. Now, the weight is transfered from the top chord, to the perlins, to the gable trusses, down the wall, into the foundation. This allows me to remove the existing web members and bottom chord of the old trusses only after the modifications are completed.
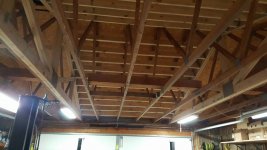
After installing these I'm feeling the same way about the necessity of 12" OC. I probably would be fine with 24" OC, but I think since the engineer for the company is too far away, he's having me overbuild instead of risking under building it.
That's pure speculation though. These 2x6s are very strong placed sideways.
After interviewing a couple people out my way for this job, and seeing all of the different methods proposed, this method I'm using from the truss manufacturer was the most solid. One guy wanted to install a ridge beam, and double up the 2x4 top chords, and tie it into a board running across the span of my garage (sounded sketchy).
Another guy said he could do the perlin design without buying trusses, and fabbing up his own frame work, but again I had no paperwork on that and didn't feel confident in that decision.
The other guy I wanted to come by to do this work has been busy helping out some elderly people that had a tree fall into their home, so he's been *******.
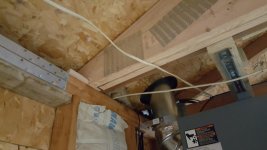
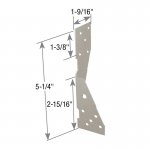
The only thing I didn't like and am still possibly worried about is when I cut into the wall plate, but everyone seems confident this isn't an issue once reinforced with steel and wood framing.