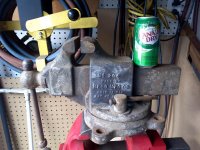
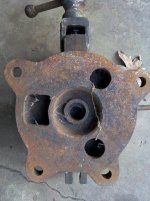
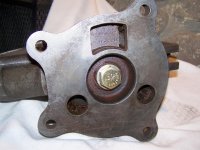
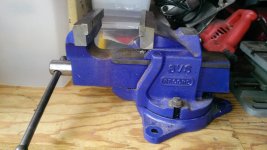
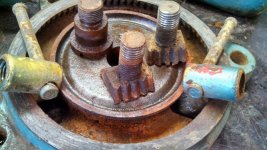
I've dissected quite a few of the Reed 200 and 400 series swivel bases, over the years, and have never seen a lock screw for the centre-bolt, as may be found on some---but not all....older Athol vises. Of course, some individual owner could decide that his new Reed should have that bit of Athol quality detail.....and drill/tap to suit. I'd doubt it, but it doesn't hurt to have a good look.
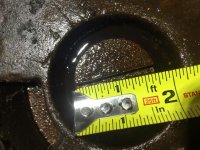
What I can tell you is that removal of the Reed vise centre-bolt can be a rather seriously miserable job.
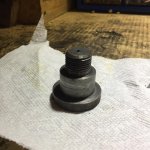
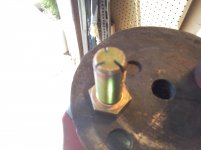
Most often, they will come loose, with enough torque applied. Improvising a scrap of steel to suit the head slot, then using a good heavy pipe or monkey wrench, with a long piece of pipe for leverage, to turn the improvised screw driver, usually works, if you've a really strong helper to pull the wrench.
Sometimes, they will be found well and truly rust-bound in situ........several methods may work, such as heating the screw head to a dull red with the torch, letting it cool to ambient, and applying Kroil-oil or equivalent, then rattling it with a brass-drift and 4lb. hammer to 'break the bond'.
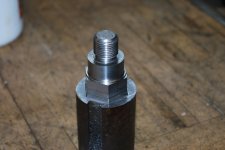
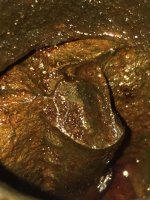
The worst case is when one side of the screw slot breaks, and there is nothing for it but to improvise a vertical mill (Bridgeport class) setup to drill/bore out the screw. Fortunately, making a new replacement screw is dead easy, as they have a standard RH USS thread.
cheers
Carla


")


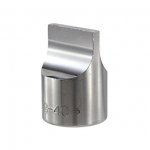
 on the drag link socket.