All:
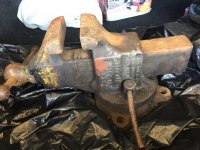
In the recent past, there were 2 other Reed machinist's vises with missing swivel base center bolt assemblies missing. What are the chances?
My method was likely the cheapest. Using materials from my misc. hardware supply, here's what I did to fix my problem:
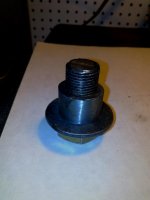
1st picture; Measuring the hole and determining the thread pitch, I found a 7/8"-14 x 2" G-8 bolt. I also determined that a 1"NPT close ****** had an inner diameter a little smaller than 7/8" and a 1"NPT coupling had an outer diameter a little larger than the center hole of the swivel base, I could make my bushing from the pipe fittings.
2nd picture; I cut some slots in the end to clean out the threads in the bottom of the vise body (I didn't want to buy a tap for this one job). After that, I cut off the end of the bolt to be the proper length.
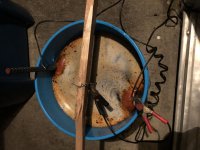
3rd picture; After assembling the pipe fittings, I silver soldered them so they would never come apart. Then I cut the pipe fitting assembly down to ~1/16" longer than the depth of the swivel base center hole. A little time with the drill press and the big disk sander took care of my ID & OD. I added the washer as a retainer.
4th picture; The base center bolt assembly is all together.
5th picture; The base is mounted to the static jaw body and turns flawlessly. I will have to shave 1/8" off the top of the bolt head with the disk sander, so it won't be higher than the bottom of the base.
On a final note: I wish I knew how the original center bolt got lost.


 .
.  ---Gota love the Sein.
 .
.