454ragtop
Well-known member
Thank you Drives! That sounds like a much better solution. I'll give it a try next time I get a chance to work on it.
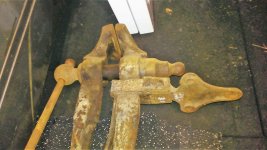
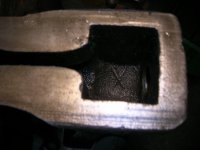
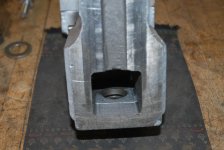
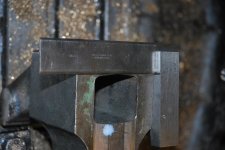
Here is a photo of what I was trying to explain
Sorry it's a little dark

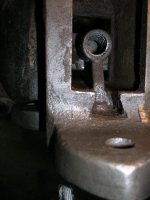
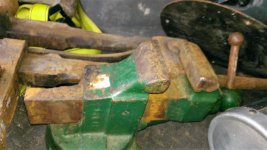
I'd suggest using the procedure I've mentioned here before to use a hex screwdriver insert held between the 2 jaws and turn it with a wrench, slowly opening the vise as the screw turns. They'll probably come out, and be reusable. If this fails, can always drill them out after.


![IMG_1028[1].jpg](/forum/data/attachments/557/557107-962d063b604d23b4a2bc0341a2f973ef.jpg)
![IMG_1032[1].jpg](/forum/data/attachments/557/557071-a96d6713e9b16760092ce14cf97dc3b5.jpg)