MayerMR
Well-known member
Hey fellas,
Though I already posted the before/after in the massive GJ "vises" thread, some fellas wanted some more details on what all went into the restoration.
I ran across this vise several weeks ago and passed on it because of the obvious reasons. But for some reason, the vise just stayed in the back of my mind. As I normally do with abused, neglected, and otherwise abandoned inanimate objects, I proceeded to personify it and decided that it deserved better. So suffice it to say, I ran back and picked it up.
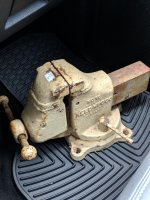
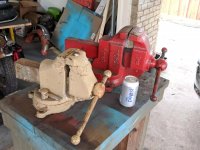
Little buddy on the ride home:

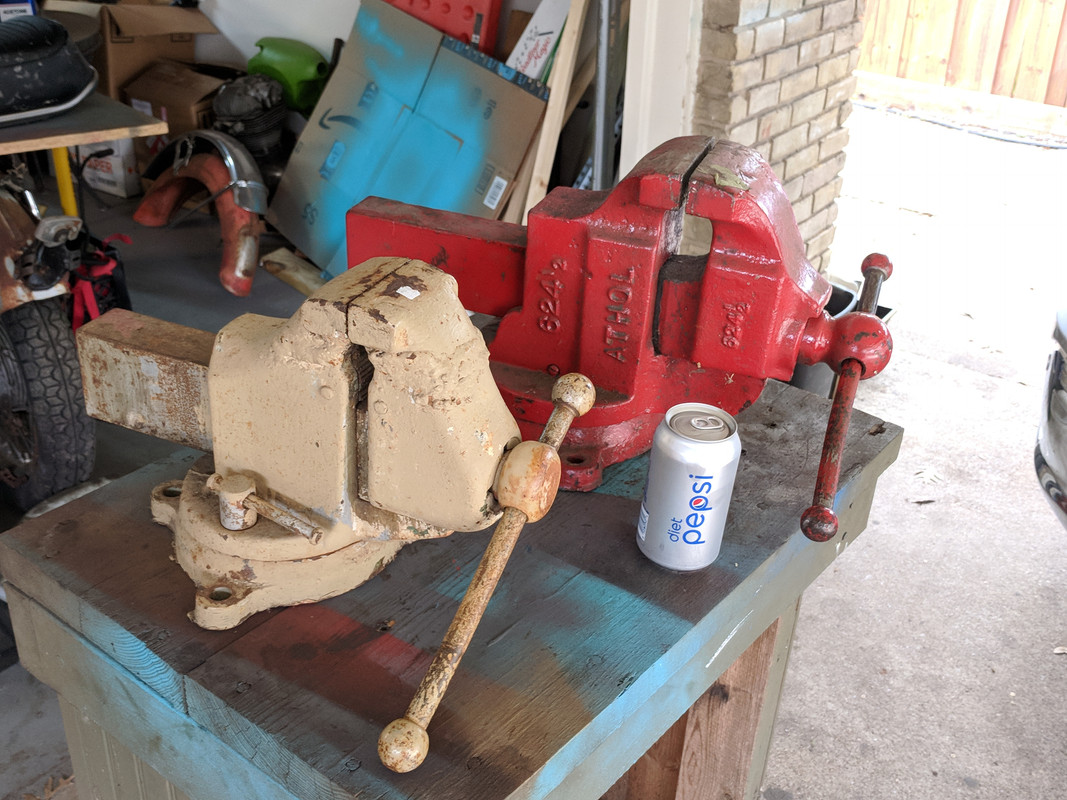
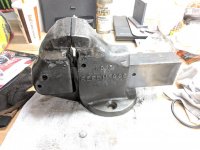
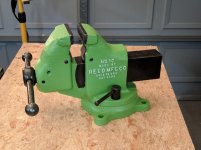
It's a pretty big vise, but it doesn't look very large next to the Athol 624 1/2 that I picked up the same day...that sucker is surprisingly heavy:
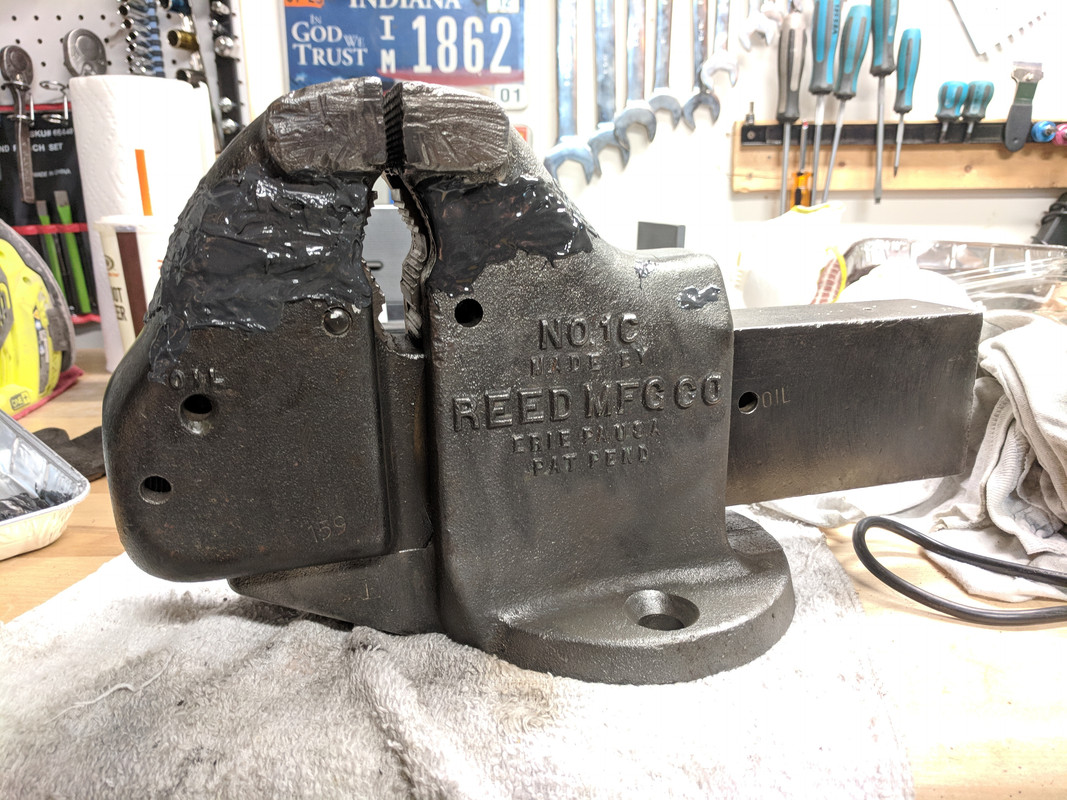
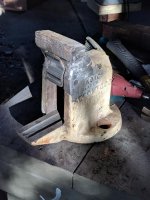
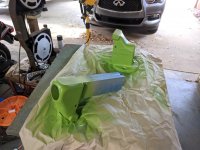
Well fast forward a day or so and I had posted my new find up on the aforementioned GJ vises thread to ask for advice on whether I could properly get this damage re-repaired. The consensus was basically that everyone was amazed that someone managed to break a Reed 1C in the first place and that my options were basically; 1) Part it out and make my money back or 2) throw it on the bench and use it until it breaks. A few individuals mentioned that if I ground the welds down too much to clean them up some that I would run the risk of weakening the repair substantially, which, of course, is very true.
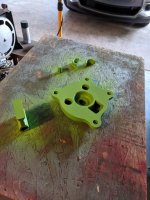
As you can see, the repair is quite unattractive:

Though I already posted the before/after in the massive GJ "vises" thread, some fellas wanted some more details on what all went into the restoration.
I ran across this vise several weeks ago and passed on it because of the obvious reasons. But for some reason, the vise just stayed in the back of my mind. As I normally do with abused, neglected, and otherwise abandoned inanimate objects, I proceeded to personify it and decided that it deserved better. So suffice it to say, I ran back and picked it up.
Little buddy on the ride home:
It's a pretty big vise, but it doesn't look very large next to the Athol 624 1/2 that I picked up the same day...that sucker is surprisingly heavy:
Well fast forward a day or so and I had posted my new find up on the aforementioned GJ vises thread to ask for advice on whether I could properly get this damage re-repaired. The consensus was basically that everyone was amazed that someone managed to break a Reed 1C in the first place and that my options were basically; 1) Part it out and make my money back or 2) throw it on the bench and use it until it breaks. A few individuals mentioned that if I ground the welds down too much to clean them up some that I would run the risk of weakening the repair substantially, which, of course, is very true.
As you can see, the repair is quite unattractive:


")


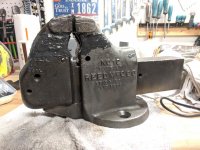
 and it just seemed like they were both reinforced one had weld all along the fixed base mounting ears and up the body and the other was on below the moveable jaw. That was also a Reed. And started to wonder if was like some regional thing old timers might have done for preemptive reinforcement