
drivesitfar
Well-known member
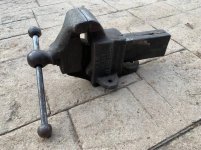
Fier: i'm not ready to confirm 100% that Smitty's vise is a Fulton, but DAMN that's quite a specimen you posted that has a lot of style points. is it yours? (sorry I couldn't find my Fulton pics on this laptop and I thought the anvil one was a fulton and looks like it's a Cheney). anyway the LMV has the Columbian type hub/meatball.
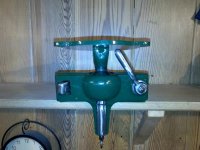
Mark: speaking of style points your Bison on it's new power arm you made for it has pretty much all of them too. VERY WELL DONE!!!
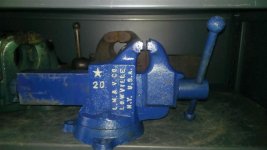
ALL: speaking of Fulton and LMV here's a few pictures of a couple of mine that don't look like Fier's Fulton 245, but my older Fulton with the anvil look does have the round type hub/meatball on the end of the screw.
Mark: speaking of style points your Bison on it's new power arm you made for it has pretty much all of them too. VERY WELL DONE!!!
ALL: speaking of Fulton and LMV here's a few pictures of a couple of mine that don't look like Fier's Fulton 245, but my older Fulton with the anvil look does have the round type hub/meatball on the end of the screw.


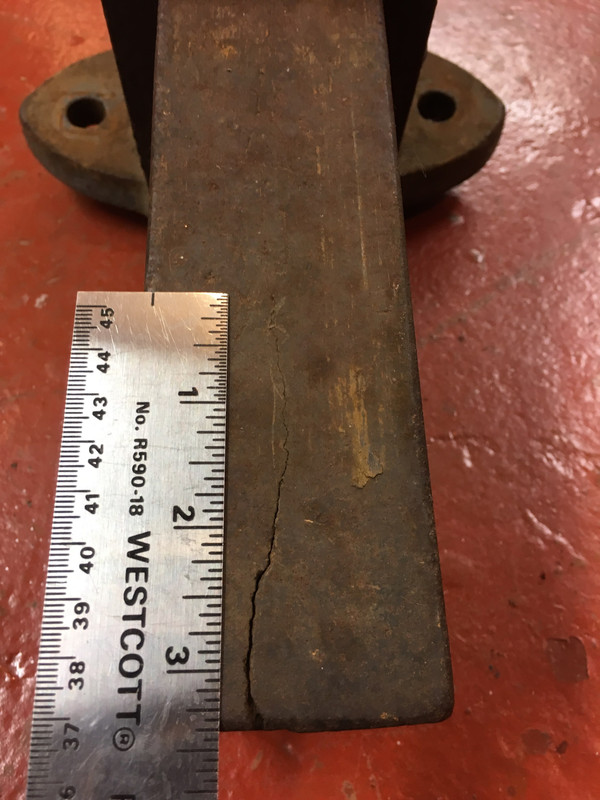
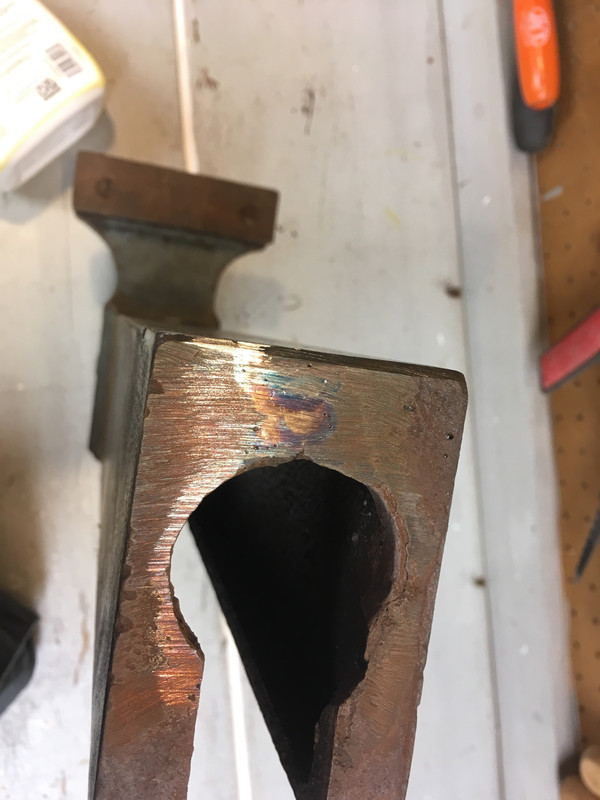
 ) that I'm seriously considering trying to see if I can't get it sent up to this fella for a repair job.