I think you should rename this the "Gulf Garage" based on the color scheme. Awesome stuff that you post!
Thanks! The problem with renaming it is that I've decided that the attached one-car garage will have a bright green/dark blue color scheme, aka ALPINA (a BMW tuner... the aficionados will point out that they're officially listed as a manufacturer). So ultimately it could be called the "MCM house with ALPINA/Gulf Racing detached garage".
Really curious to see what you do with the stereo cabinet. Your adventure in plywood cabinet building has gotten me debating if I'm ballsy enough to try to build some of my own! Ha. Although it means some new specific tools.
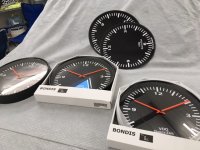
Old hifi is another rabbit hole that I keep poking my toe in from time to time. Don't think I'll ever go full bore but it's fun to have nice stuff to listen too!
Oh man! How did I miss that teaser? I love MCM and stereo cabinets. You can really improve the old consoles with just a little work and replacing old capacitors/carbon resistors.
justinmc, go for it! I had little experience before starting this project. Because I didn't have a prior need for them, I did need to pick up a track saw, router, and a domino joiner. They weren't cheap but they've been indispensable.
I should clarify that I'm building a mid-century modern style cabinet for my existing stereo components. I don't have a vintage cabinet with built-in equipment. I would love to find such a thing but haven't come across one since my parents had one when I was very young.
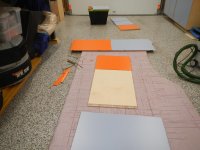
Just because I happen to be here making a delivery, do you shop at Rockleys? Or are you familiar with Rockleys? Seems like they have everything you need or are using for your cabinets here [emoji38]
Were you at the Rockler on Colo Blvd? That's not too far away. I go there once in a while, usually its when I have an emergency and need something fast. There's a Woodcraft down by the Centennial Airport that I like better.
Updates
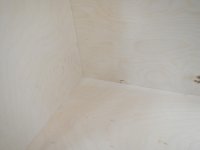
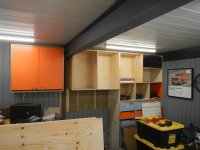
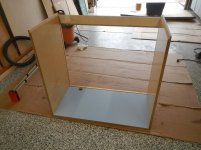
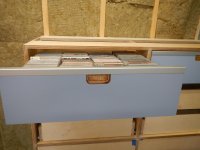
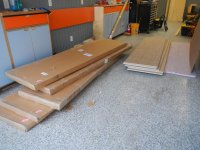
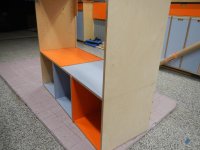
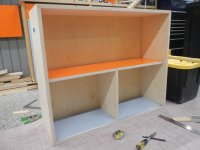
Up first, the first upper cabinet for the north wall (the wall facing the other cabinets) is ready for assembly. The photo is from a test fit. The pieces were taken apart and now have the first coat of polyurethane. There are two aluminum C-channels sitting in a dado for the sliding doors (the ones for the top are now cut)
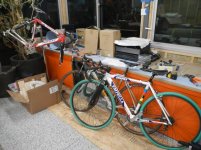
second update. I'm helping a friend look for a "special" vintage Porsche. Following through on a couple leads, we found something for me to consider... a project conda green '71 targa. The original green paint is hiding under the terrible black it's currently wearing. The engine is out. On the floor. On a workbench. On some shelves. Everywhere but in labeled bags or boxes. The interior and top are trash. BUT the shell is almost completely rust and damage free (probably because it's been off the road for a very long time). I don't have the time, space or funds for this right now but it is very, very tempting. Very. I need to decide fast.

 I've said it before, if you're in the Denver area I highly recommend Infinity Electric.


")