Prometheus
Well-known member
- Joined
- May 17, 2006
- Messages
- 104
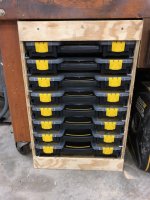
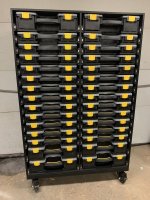
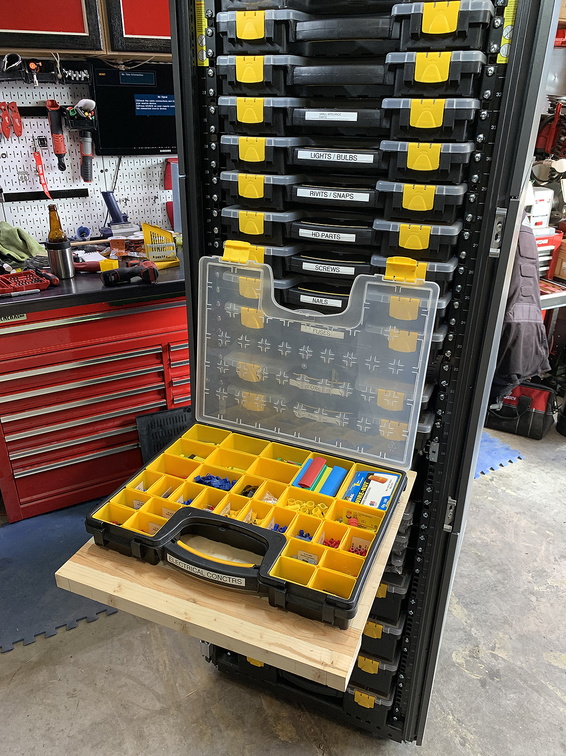
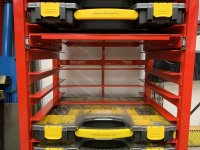
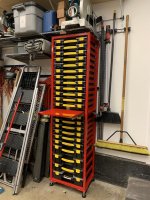
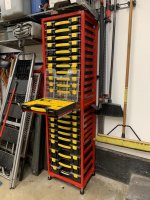
So has anyone come up with an easy method for removing the sticker off the top lid of those HF parts organizers?I bought some, and am wondering about how to do it with minimal effort. I think my first experiment will be to put one in the bathtub and let it soak in water overnight.
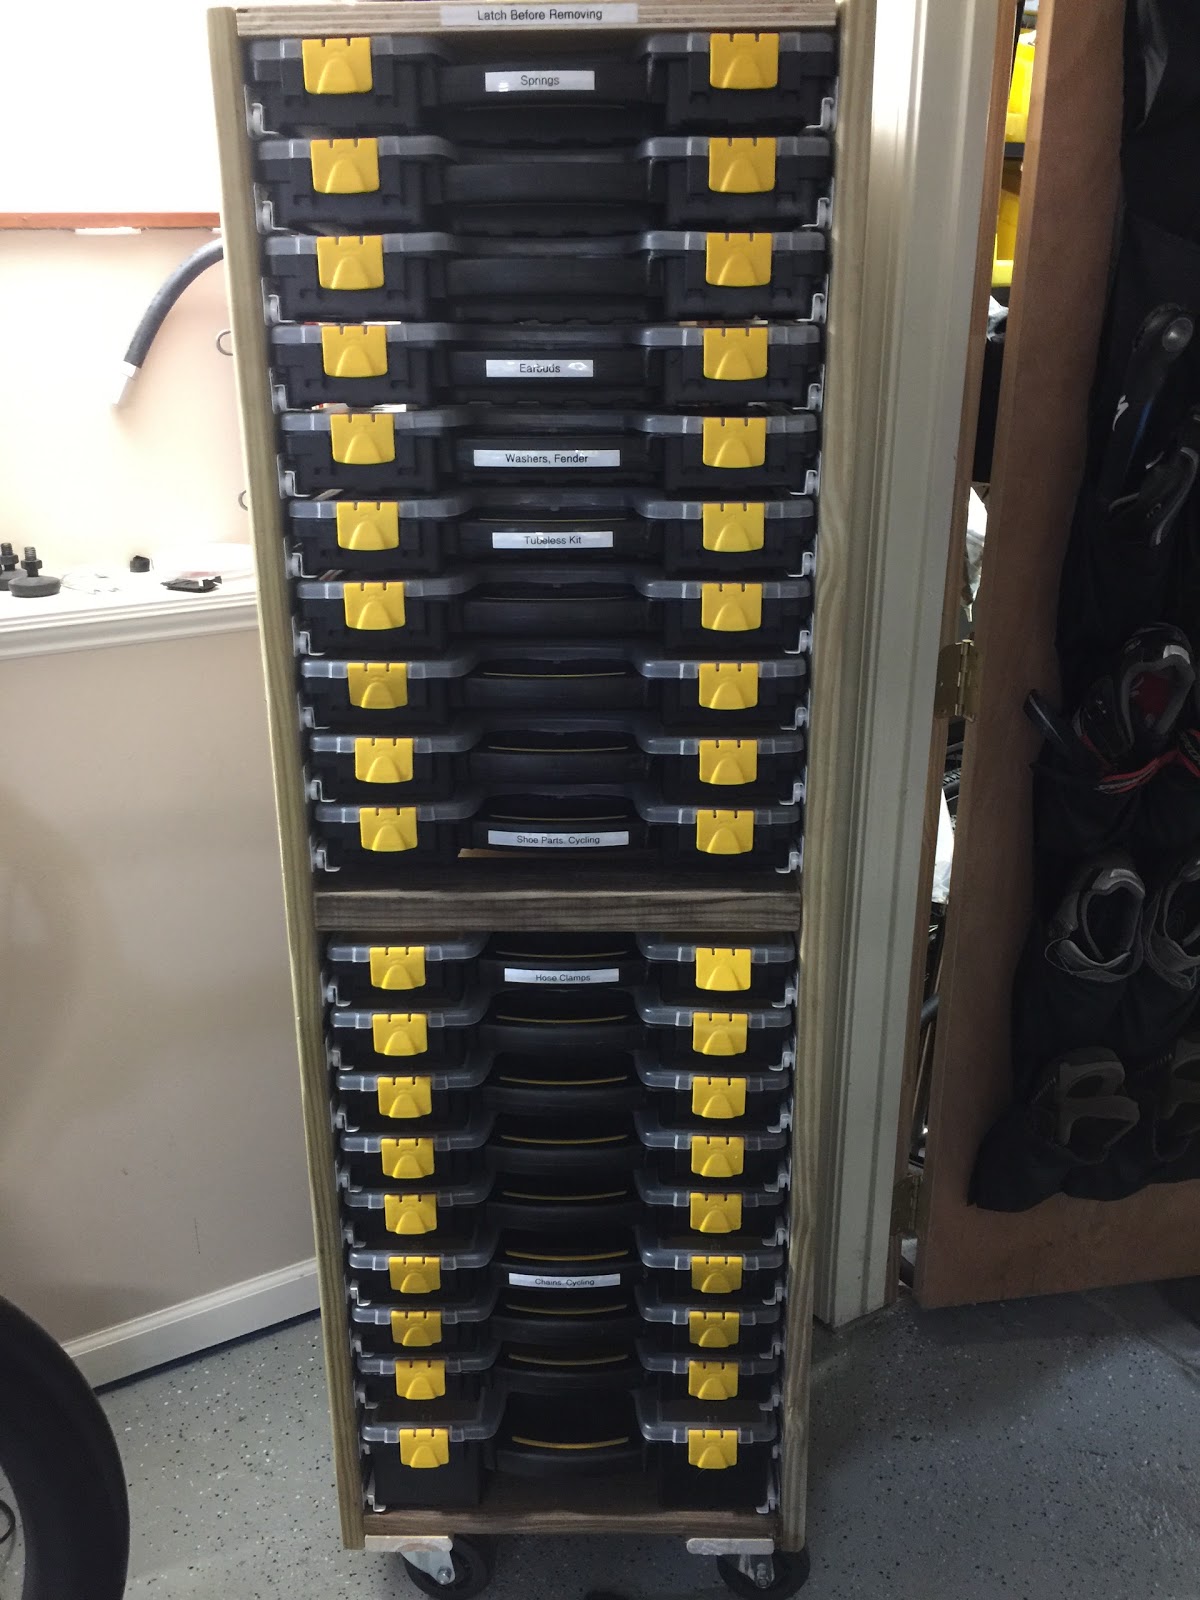
Goo gone and a razor blade was how I did mine. Peel as much as you can, spray with goo gone, do the next one. After I did them all I went back to the first one with the razor blade and got as much off as I could easily, sprayed more goo gone, then went in to the next one. Took about an hour to an hour and a half to do the 16 cases I had. Hope that helps