
KMScott
Well-known member
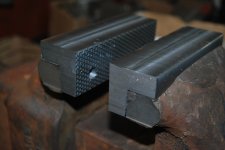
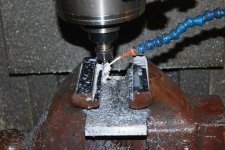
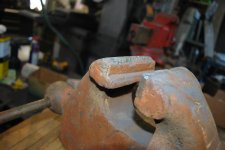
I was looking for a challenge so I seen this brazed up Rock Island #75 swivel base in my to do cabinet all rusty and well abused so I decided to see what I could come up with. I am building two sets of Parker jaws but they are not much of a challenge any more but this Rock Island looked challenging. I just started chopping away till I had good clean casting. Filled in the empty spot with Tool Steel and it should come out OK. Look forward to seeing how this guy finishes up. You guys think I am wasting my time on this one?
Attachments
-
 Rock Island 75-1-12-2019 (4).jpg151.6 KB · Views: 112
 -
 Rock Island 75 Jaws (7).jpg119.4 KB · Views: 108
 -
 Rock Island 75 Jaws (2).jpg107.1 KB · Views: 108
 -
 Rock Island 75-1-12-2019 (16).jpg156.6 KB · Views: 102
 -
 Rock Island 75-1-12-2019 (13).jpg152.8 KB · Views: 101
 -
 Rock Island 75-1-12-2019 (9).jpg156.9 KB · Views: 100
 -
 Rock Island 75-1-12-2019 (6).jpg111.8 KB · Views: 101


")

