keithinnc
Member
I joined garage journal back in 2010 with hopes of gathering some ideas for my “soon to be” garage build….but as they say life happened...after the life delay. I started with the foundation and the purchase of an 18 x 26 carport.
June 2011...

It was my plan to use this as a temporary work area then after the garage build was completed, the carport would be converted to an outdoor living space with built in grill and such. Well enter life event number 2...so I just decided to enclose the carport and be satisfied with that for the time being. The wife and I, don’t hesitate to help others, over the 15 years we’ve been married, it seems it has always comes back to us tenfold down the road. We joked with each other that we must be in for one hell of a payday based on the last few years…..LOL….well I just wanted to take the time to explain the 7 years of silence, so let’s get on with this thing…
Aug 2016
Measurements…. my neighbor, Paul,come over after noticing me taking some measurements, After explaining what my plans were, he asked what my plans were for the size of the garage door. I told him I was planning on going with the standard size of 8 x 10. Paul suggested at least a 12 x 8. He went on to explain that a normal size door would give me the “closed in” feeling with a 18 x 26 garage, and that a 12 x 8 would give me a more open feeling and would allow me to walk past a car that was pulled into the garage door area without having to squeeze through. It made sense to me so I figured in a 12 x 8 garage door.
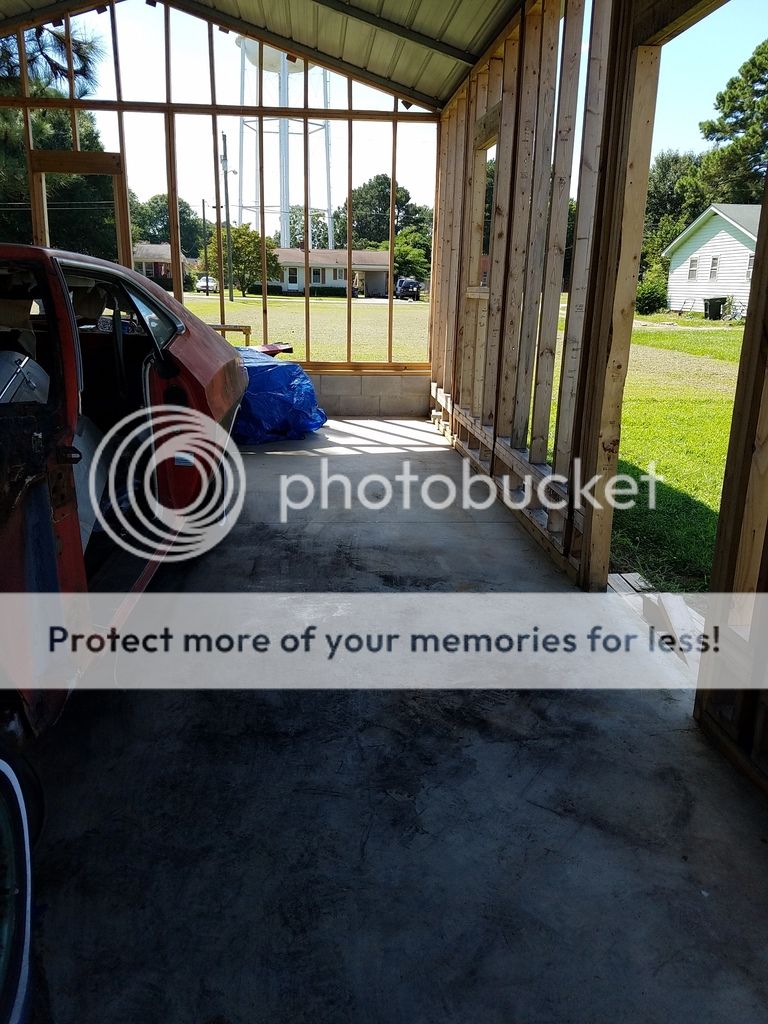
My first job was to attempt to build a block wall up two rows across the back and front to get walls off the concrete pad and to get the stud wall to be approx 8ft high. I wasn’t worried about the sides because I had the bottom rails of the carport that would give a decent buffer to keep the wood off the exterior side of the concrete pad. Well my attempt at the masonry work was a complete disaster so I contacted a local brick mason and just paid to have it done right. He asked if he could do it on a Sunday, I said sure thing. He showed up at 8am and was pulling out the driveway by Noon. ( I spent that long just trying to get the mortar mixed right before I gave up)….so the brick mason was money well spent!
When I ordered the carport I ordered it with the 9ft legs. Instead of I having a small 1 ft extension on the top of the 8ft walls, I put it on the bottom. In the event I do get some rot on the side walls, I only have to replace the small 1 ft extension wall and osb panel, instead of trying to rebuild the bottom portion of a wall.
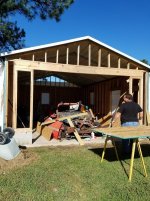
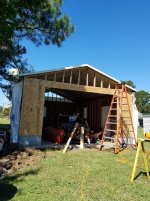
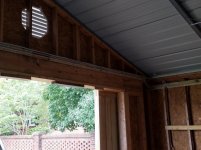
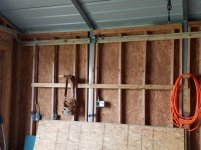
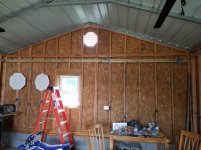
Framing pics
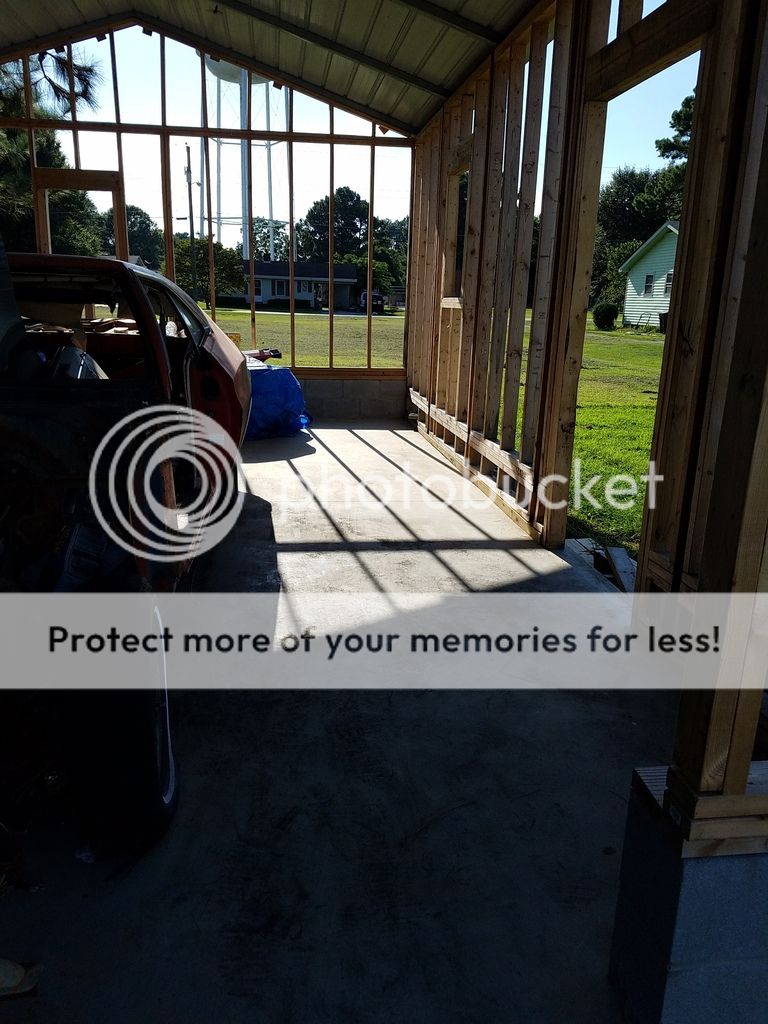

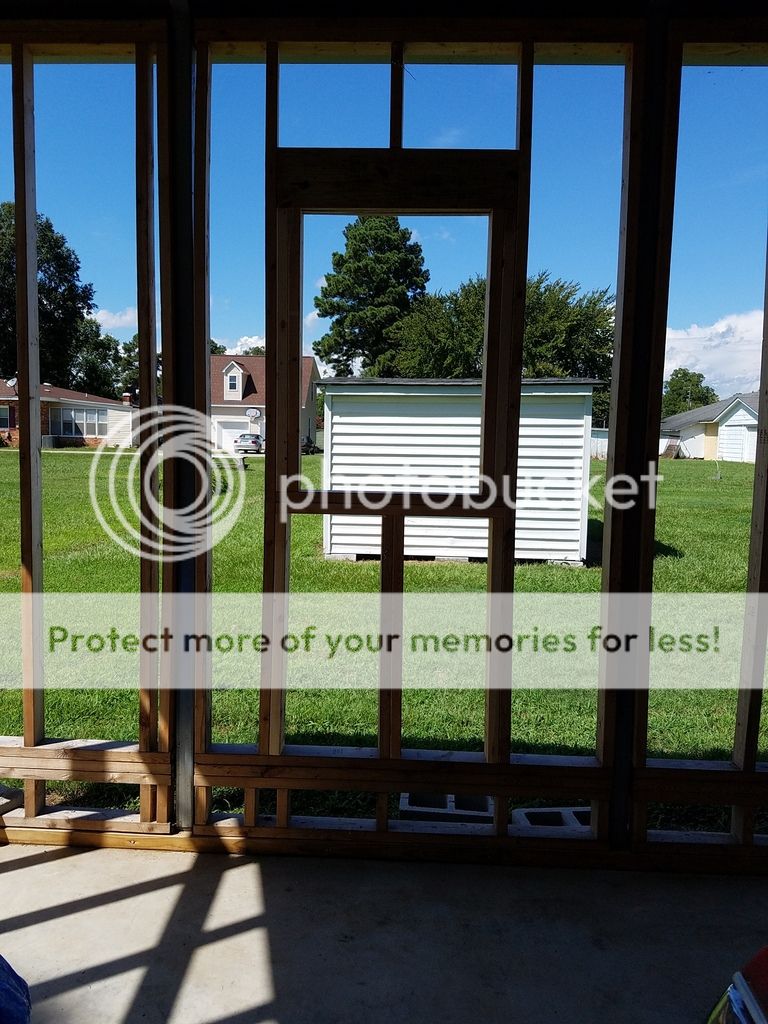


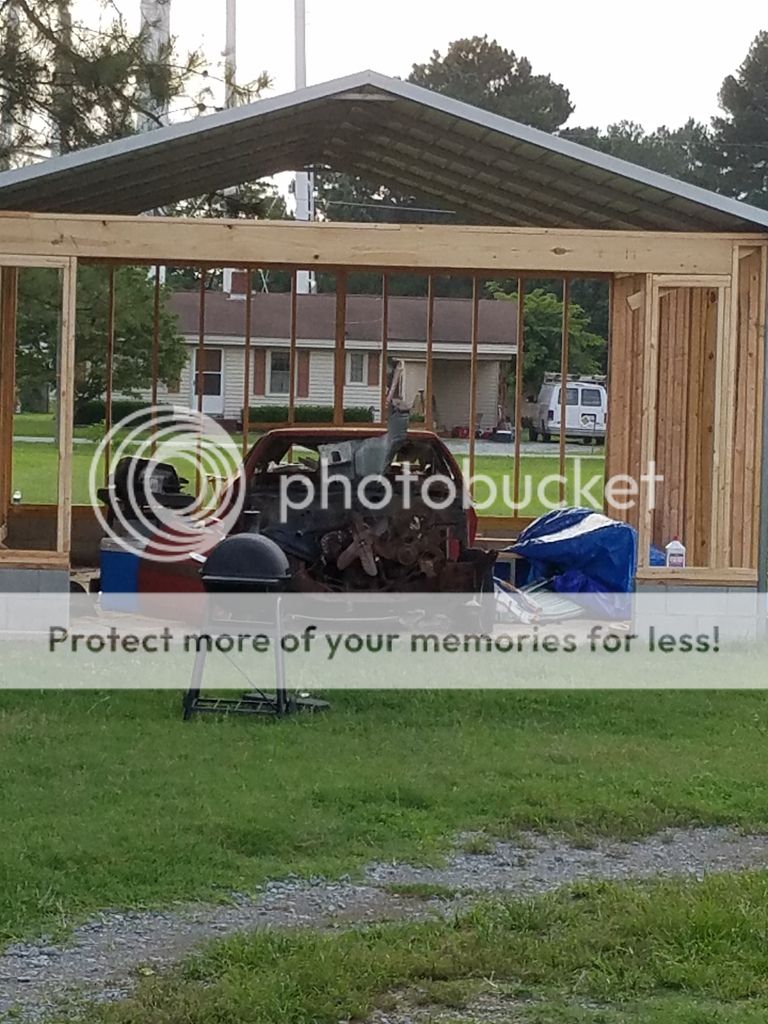
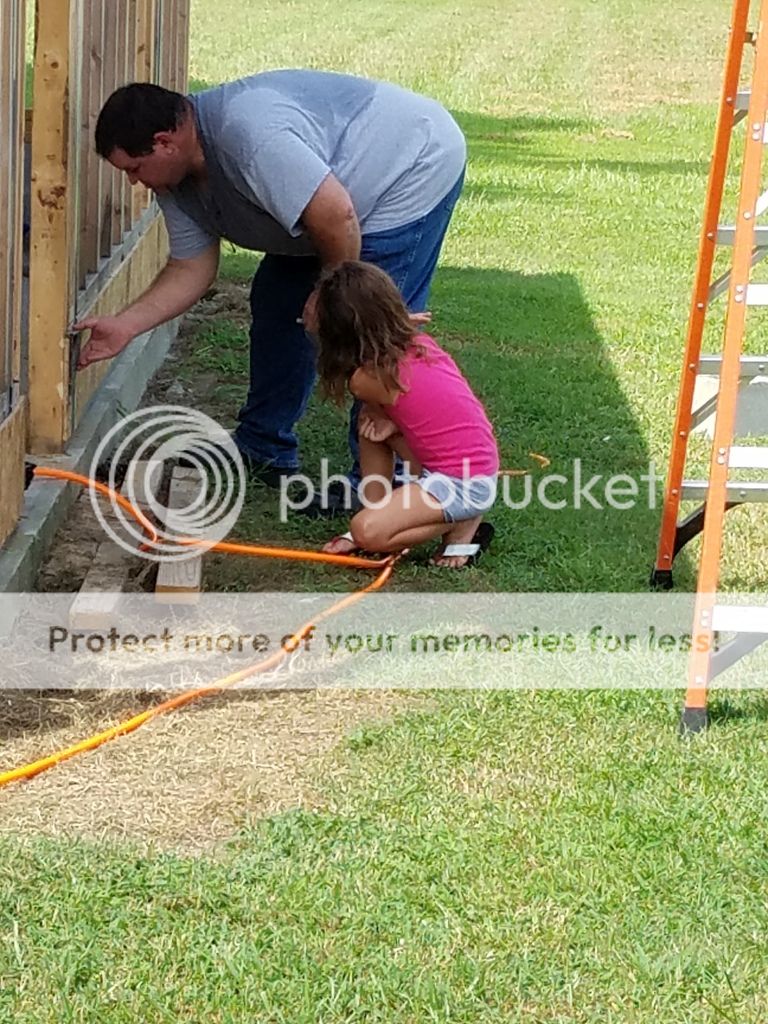
In the pic above, you see “Inspector Danielle” overlooking my work on the 1 ft extensions.

Here Inspector Danielle is ensuring she has her gear with her as we move on.
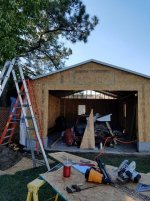
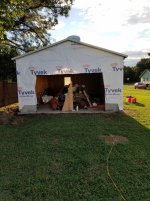
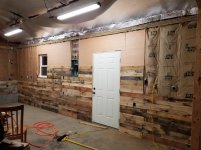
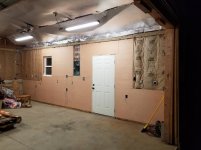
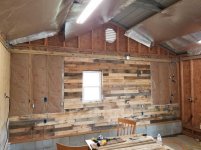
OSB going up….


Sept 2016
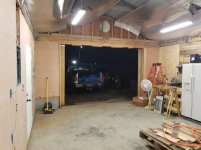
Garage door…
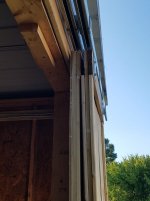
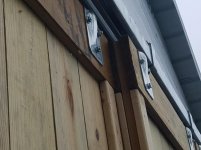
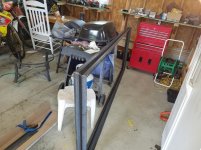
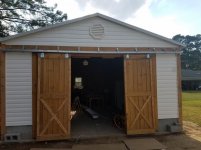
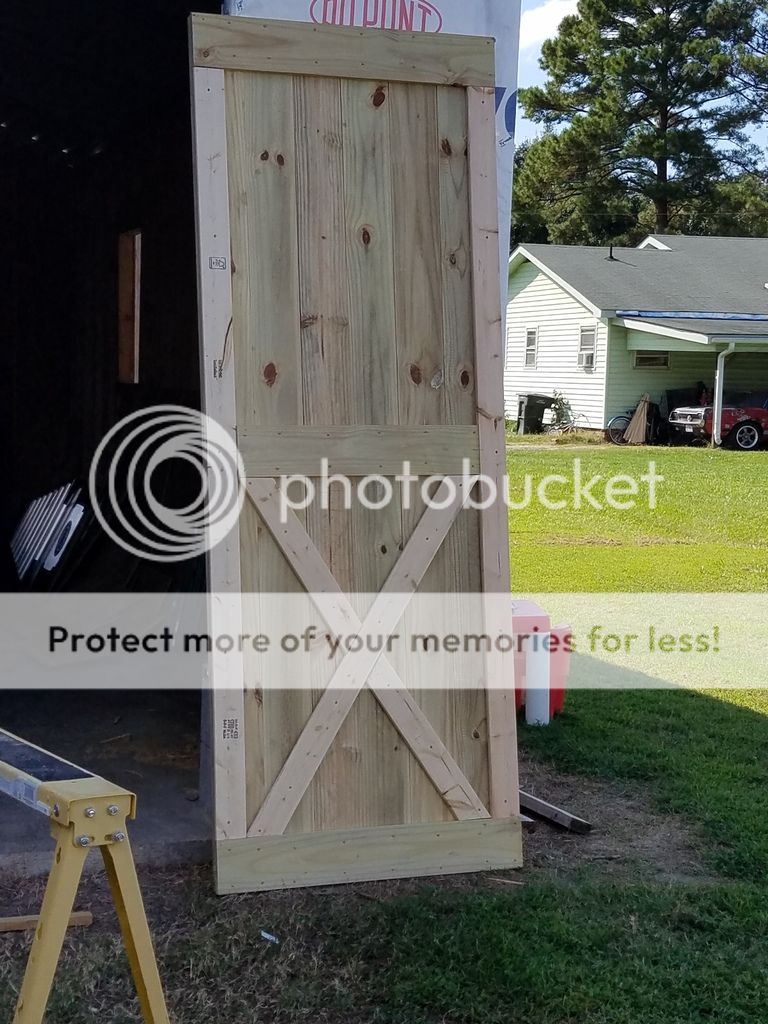
Well I wanted to get a roll up door similar to what you would see on a storage locker. I like the idea of the door rolling up and sitting on the back of the header, I don’t think the carport arches would carry the load of a traditional garage door anyway. Well I didn’t want to come off the $1300 for that. So, plan B was formed, I decided to do something a little different. I built 4 (3ft) x (8ft) sections of barn style doors. I’ll run double rails and have barn style doors that will consist of 2 doors sliding off to each side of the garage. Then reality kicked me in the teeth...I priced the rails and hanging hardware….with the cost of the hardware and the price to build the doors, I’m just below the $1300 price tag I was trying to avoid…. ….oh well I think this will turn out a lot nicer in the long run.

June 2011...
It was my plan to use this as a temporary work area then after the garage build was completed, the carport would be converted to an outdoor living space with built in grill and such. Well enter life event number 2...so I just decided to enclose the carport and be satisfied with that for the time being. The wife and I, don’t hesitate to help others, over the 15 years we’ve been married, it seems it has always comes back to us tenfold down the road. We joked with each other that we must be in for one hell of a payday based on the last few years…..LOL….well I just wanted to take the time to explain the 7 years of silence, so let’s get on with this thing…
Aug 2016
Measurements…. my neighbor, Paul,come over after noticing me taking some measurements, After explaining what my plans were, he asked what my plans were for the size of the garage door. I told him I was planning on going with the standard size of 8 x 10. Paul suggested at least a 12 x 8. He went on to explain that a normal size door would give me the “closed in” feeling with a 18 x 26 garage, and that a 12 x 8 would give me a more open feeling and would allow me to walk past a car that was pulled into the garage door area without having to squeeze through. It made sense to me so I figured in a 12 x 8 garage door.
My first job was to attempt to build a block wall up two rows across the back and front to get walls off the concrete pad and to get the stud wall to be approx 8ft high. I wasn’t worried about the sides because I had the bottom rails of the carport that would give a decent buffer to keep the wood off the exterior side of the concrete pad. Well my attempt at the masonry work was a complete disaster so I contacted a local brick mason and just paid to have it done right. He asked if he could do it on a Sunday, I said sure thing. He showed up at 8am and was pulling out the driveway by Noon. ( I spent that long just trying to get the mortar mixed right before I gave up)….so the brick mason was money well spent!
When I ordered the carport I ordered it with the 9ft legs. Instead of I having a small 1 ft extension on the top of the 8ft walls, I put it on the bottom. In the event I do get some rot on the side walls, I only have to replace the small 1 ft extension wall and osb panel, instead of trying to rebuild the bottom portion of a wall.
Framing pics
In the pic above, you see “Inspector Danielle” overlooking my work on the 1 ft extensions.
Here Inspector Danielle is ensuring she has her gear with her as we move on.
OSB going up….
Sept 2016
Garage door…
Well I wanted to get a roll up door similar to what you would see on a storage locker. I like the idea of the door rolling up and sitting on the back of the header, I don’t think the carport arches would carry the load of a traditional garage door anyway. Well I didn’t want to come off the $1300 for that. So, plan B was formed, I decided to do something a little different. I built 4 (3ft) x (8ft) sections of barn style doors. I’ll run double rails and have barn style doors that will consist of 2 doors sliding off to each side of the garage. Then reality kicked me in the teeth...I priced the rails and hanging hardware….with the cost of the hardware and the price to build the doors, I’m just below the $1300 price tag I was trying to avoid….
….oh well I think this will turn out a lot nicer in the long run.