
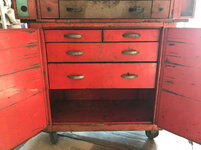
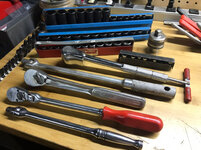
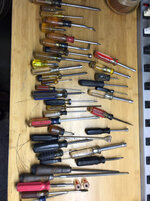
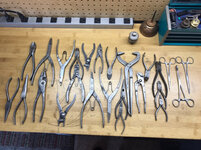
Finally got this box emptied out and took some better pictures. Hopefully tomorrow I can get pictures up of all the tools and start the cleaning process.
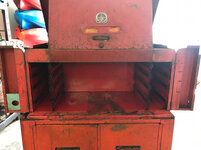
I want to take this slow and do it right. Hope to keep it as original as possible. Obviously the top box is missing a logo and trim, so if anyone has any for sale or trade, let me know. The original owner also added the interesting little clock in the lid. Not sure what approach to take with that.
 f5f1397f5debe441065c051556a9988a.jpg[/IMG]


Sent from my iPhone using The Garage Journal mobile app
I want to take this slow and do it right. Hope to keep it as original as possible. Obviously the top box is missing a logo and trim, so if anyone has any for sale or trade, let me know. The original owner also added the interesting little clock in the lid. Not sure what approach to take with that.
Sent from my iPhone using The Garage Journal mobile app


")