wizkid00104
Well-known member
- Joined
- Oct 30, 2014
- Messages
- 50
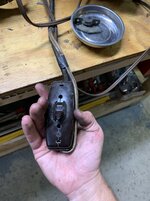
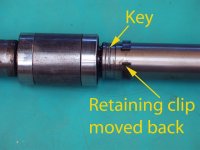
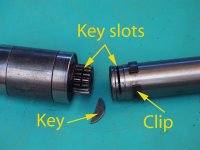
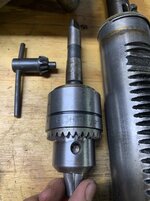
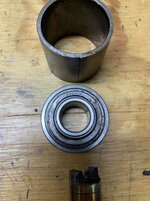
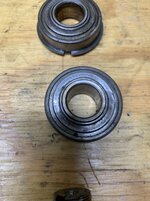
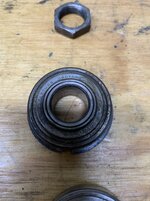
I just picked up a Delta DP600 drill press yesterday. The thing is massive. Probably way overkill for a home garage. I’m in the process of disassembling and cleaning everything. One part I am in need of is the return spring assembly. I specifically need the back plate for the return spring. Part number DP-607-L. Here are some photos of the part I am looking for. These are from an old eBay sale.


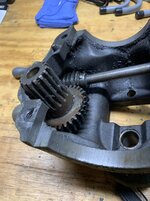
What makes this part unique is the teeth on it. There is a screw adjustment for the tension on the return spring. That seems to be rather unique to this model.
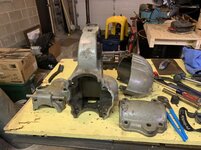
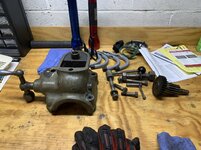
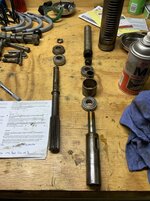
Here are some other photos


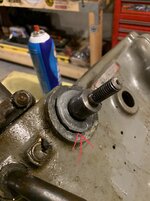
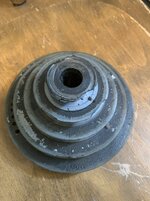
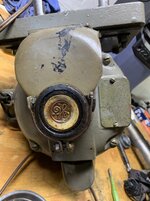
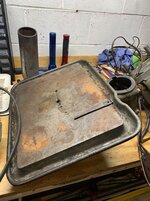
The quill is missing a tooth at the very top of its travel, but I don’t foresee it being a problem. It included the huge production table. Not sure if it has the 1/2, 3/4, or 1 hp motor. Everything was painted over but the motor appears to be an original GE. There are some chips in the pulleys, it needs a new belt, the wiring needs redone. Nothing too major. I’m on the fence about repainting it. I’d just like to clean it up and get it working for now.
I am open to any tips or suggestions regarding this little project. And please let me know if you have parts or know of a source. eBay, Amazon, and Craigslist don’t have anything at the moment.
Sent from my iPhone using Tapatalk
What makes this part unique is the teeth on it. There is a screw adjustment for the tension on the return spring. That seems to be rather unique to this model.
Here are some other photos
The quill is missing a tooth at the very top of its travel, but I don’t foresee it being a problem. It included the huge production table. Not sure if it has the 1/2, 3/4, or 1 hp motor. Everything was painted over but the motor appears to be an original GE. There are some chips in the pulleys, it needs a new belt, the wiring needs redone. Nothing too major. I’m on the fence about repainting it. I’d just like to clean it up and get it working for now.
I am open to any tips or suggestions regarding this little project. And please let me know if you have parts or know of a source. eBay, Amazon, and Craigslist don’t have anything at the moment.
Sent from my iPhone using Tapatalk