chrisnazzy
Well-known member
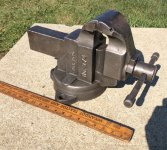
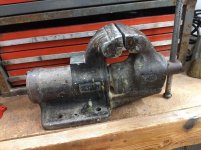
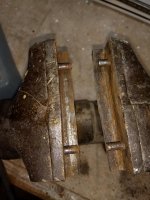
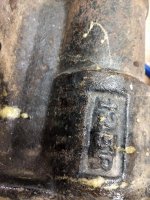
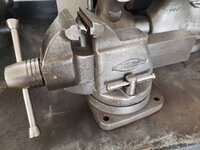
I finished up the Craftsman 5184 this weekend. I love this little vise! It is also my first Reed. Wow I can see why there are so many fans on here. That front split ring is a very interesting design. None of my other vises with the cast in jaws have quite the contrast visible in the metals. Thanks to all those on here that provided the information on this somewhat rare vise.
Mr. W
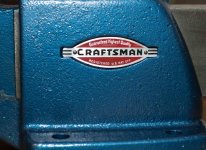
Very nice restoration! Care to share your process for refinishing the Craftsman Heritage badge? Were you able to remove it to refinish? If it didn't come off and you were able to achieve that result, my hat's off to you.
I am just about to paint my Craftsman 5195 and I didn't have any luck removing the badge as I'm afraid to pry on it any more than I have. I've seen someone's process for refinishing one off the vise but I had pretty much decided I was going to mask around it and leave it bare. I'd talked myself into feeling that would be unique and sufficient but after seeing yours I'd really like to try to refinish it right. Thanks.

Sent from my SM-G965U using Tapatalk

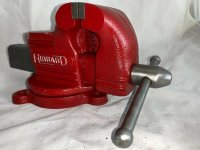
 . I am trying to figure out how to fix it as well. That is a decal I bought on Ebay unfortunately. I had to do the same on my 5197. I saved both metal badges for future work.