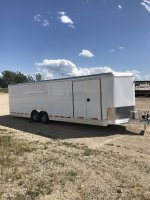
The Trailer step build...I need to get better at taking more pictures.
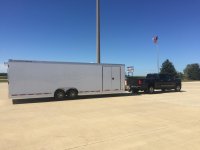
The debate was do I do a full length Step or a half length??? I figure since the trailer was built with a 60 inch Door to get a Golf Cart in and out without having to unload the Car the best thing to do is a Half Step only using the 1 Door while the other remains closed when at the Track.
Makes for easy storage too.
View media item 96659
I pulled up the old CAD Model from my 2001 Stacker Trailer Featherlite build and modified the width for the new Door opening. The Stainless Mounting Brackets were left overs from 2001 I kept in case somebody else wanted a step. So those are New Old Stock. Back then when I needed 1 of some thing built at least 2 if not a dozen.
Created the Flat Pattern from the old Model for the Step and the Hat Channel.
View media item 96651
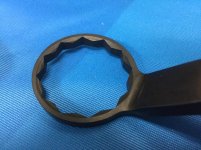
Cut the Flats on the Water Jet and then it was off to the Press Brake to form them. This is where a little head scratching comes in. The bend sequence is critical. You don't want to "bend yourself into a corner". Limited by a lack of tooling options (one can never ever have enough tooling), using what I had on hand I ended up having to make a set of "Dog Ear Tools" to fit in between the double returns.
I took a 10 inch long piece of 1/32R standard punch and notched both ends creating the "Dog Ears". Positioning the Punch on the jet was a painstaking task since in theory a Water Jets does not have a Zero corner for reference. I did locate it off the X-Y Zero Fence I made but that only gets you so close. The rest I had to eyeball. Need to work on a Fixture or something to accomplish this.
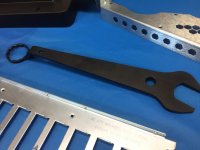
Once the "Dog Ears" were cut I took the Tool to the Band Saw and cut it in half. Now I can use these pieces on future set-ups.
In the picture you can see the left and right "Dog Ears" with a couple of smaller filler pieces to get the correct length of tooling.
View media item 96652
Formed the long sides first which was easy but normally we would form the long side last so we can use the long tool set-up for the shorter ends first and then do the long sides. Because I did not want to have to section the tooling by cutting it in the Band Saw to length to make it work. The Longer the tool with out "sectioning" the better the bend looks (same applies to the Bottom V Die).
Now getting the Tooling in the Machine becomes a little tricky. I used Duct Tape as a safety measure to make sure the smaller tooling segments don't come loose and drop down as the Ram approaches to make a bend. The outcome when it drops is a loud bang, broken tools, a damaged holder and the possibility of great bodily harm and dismemberment as the warning labels say. Don't want that.
View media item 96653
Knowledge + Experience = Wisdom...Running a Press Brake is more Art than Science. Bend Lines are Science. Knowing when a part will crash is Art. Knowing the Double Returns are 2 inches deep and having the experience before I knew I had to add a 1/4 Shim between the Ram and the Punch to have barely enough clearance to get the Machine to go full stroke with out crushing the Returns. The other option would be to modify the Tool Holders on the Ram making them narrower but that mean I would no longer have a full set of full length Holders. Not a good thing.
Even with a 1/4 the Double return was just touching the Ram.
View media item 96654
Now on the backside of the Punch the Double return can become an issue if it is too long. In this case the Punch is designed with a relief for this purpose but it only provides enough relief for a short return. Here I was OK using a 3/4 inch return. Anything longer and I would have had to switch the Top Punch out for a Gooseneck Tool which I have even less tooling options.
View media item 96655
I was happy to see the corners come out as planned. You can always make them perfect if you allow a couple of pieces as Set-ups to make all the adjustments to create the perfect part. In my case I try and get buy with no set-ups and it is what it is. Taking a little more time thinking it through, knowing where Machine Zero is you can make close to perfect parts on the first one. Saves a lot of material and Water Jet time.
View media item 96656
The Hat Channel came out pretty close too. All the Rivet holes lined up holding +/-.005 across 4 bends. Only had to tap 3 rivets in.
View media item 96657
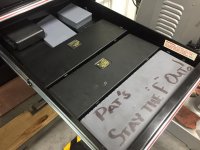
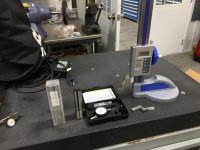
Assembled the Mounting Plates I made 18 years ago and turned some new buttons on the Lathe. The Buttons will be bolted to the Trailer and the Keyholes will allow for a lift and drop installation.
Now tonight I will get the Buttons mounted and the Step Hung and I can begin the process of installing a Mac Tool Box. Up and down without a step is a pain!!!
Had Garage Journal visitor to the Plant and the Home Shop yesterday. Jesse, aka "jlevers" on the forum stopped by on his Bike trip across the country. Pleasure to meet a young guy following his dream!!!
We spent about 2 hours touring the Manufacturing floor, went to lunch and headed back to the Home Shop spending another 1/ 1/2 hours there shooting the breeze.
Jesse it was a pleasure to meet you. In your travels you are welcome anytime!!!


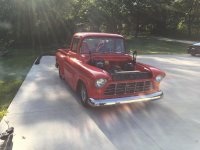
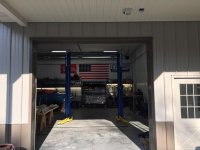


 here's a little taste of what I saw...


