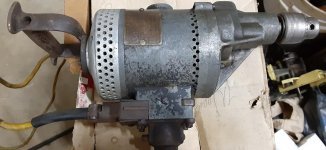
I feel like I may have a problem but I haven't seen any strange vans and my family is not visiting. I bought a 58mm throttle body for my '87 Corvette (stock is 48mm). Not wanting to port the OEM intake chamber, I bought a used one on eBay for $55 and opened it up.
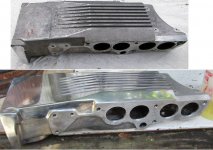
I polished the aluminum engine bits years ago so the replacement needed to get the same treatment after I port matched the throttle body to the intake. This is the before/after.
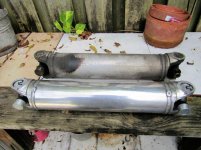
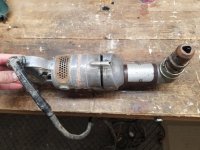
The car is 34 years old with almost 88,000 miles and it has a slight clunk when you put it in gear. I decided to check the universals but of course replaced them when I realized how much work is involved. While the aluminum axles were out, may as well spiff them up a little. You know how people judge you for having dirty axles. One down and one to go.


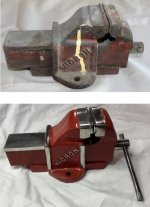
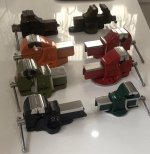
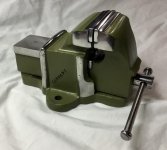
 The two at the back haven’t been touched yet and I have two more, one a lovely English Record in my workshop getting a polish which makes ten vices in all. I think the olive green one is my favourite, it was made in Germany. hope you like them.