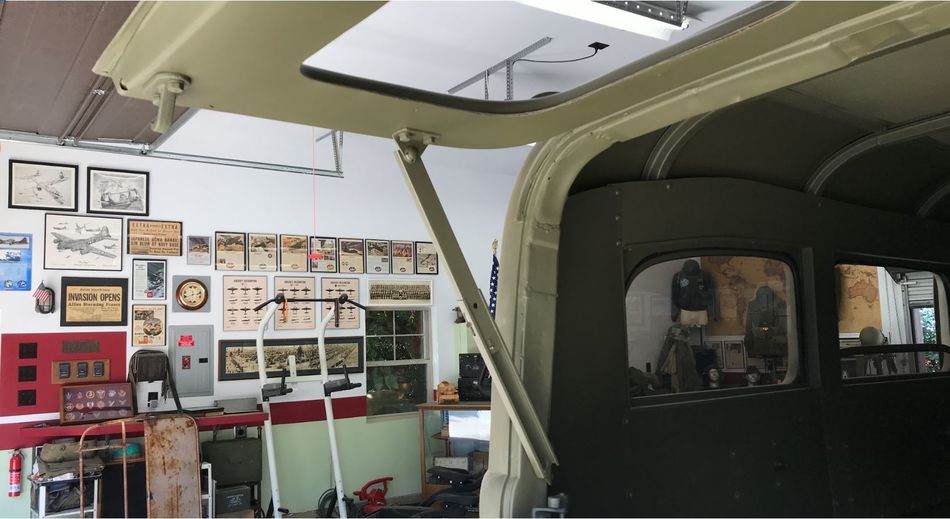
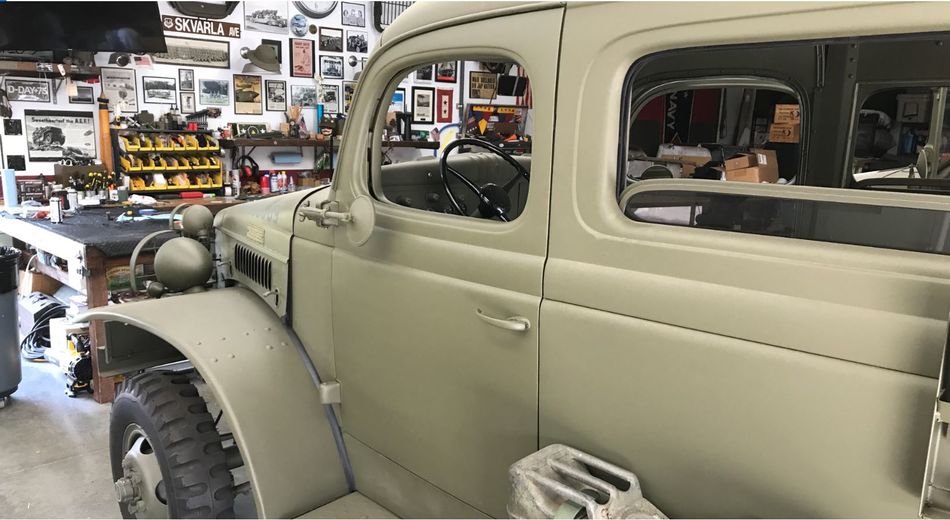
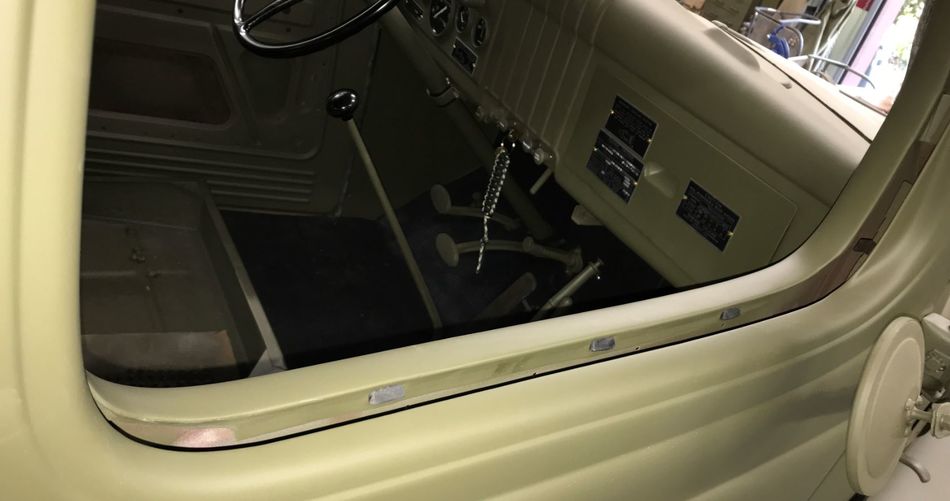
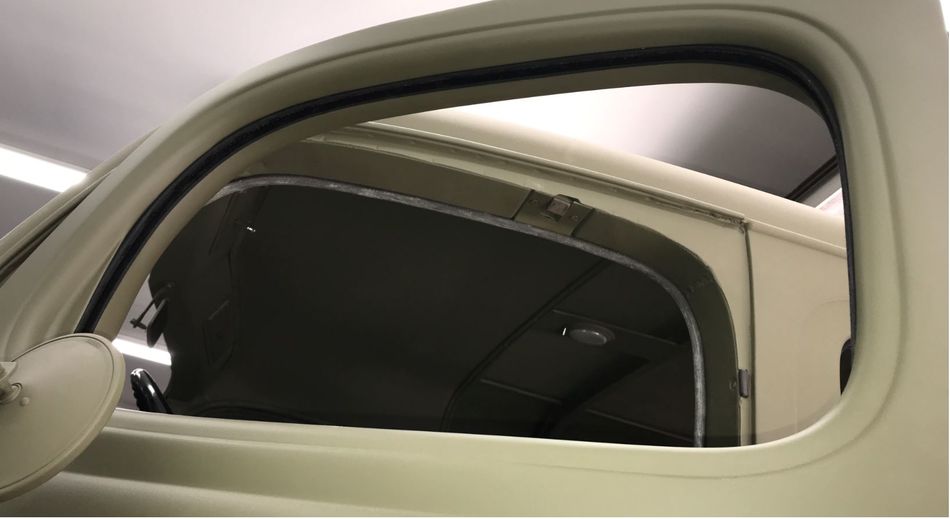
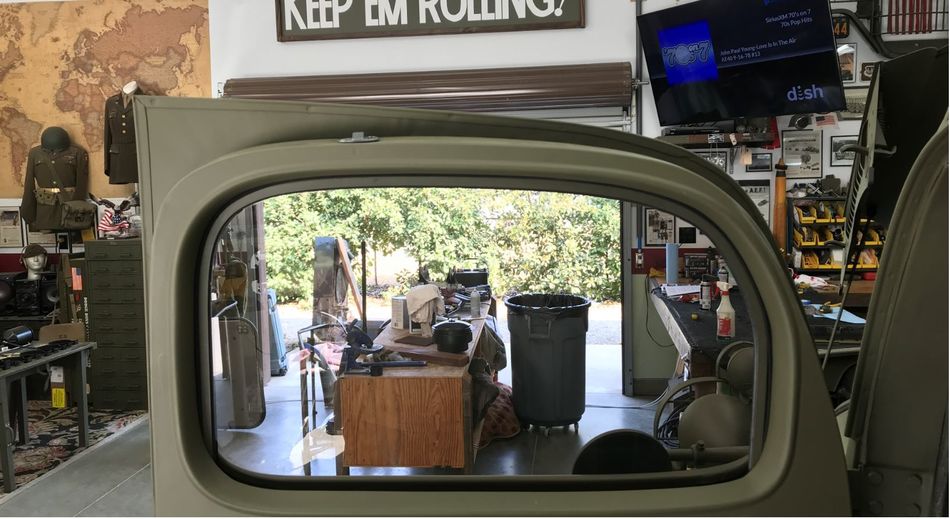
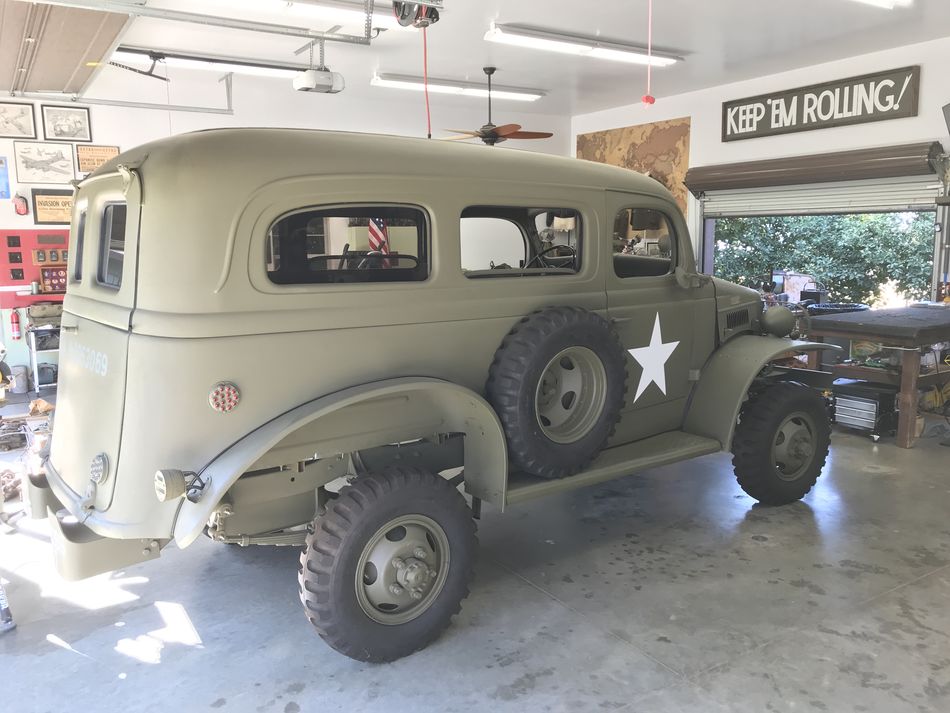
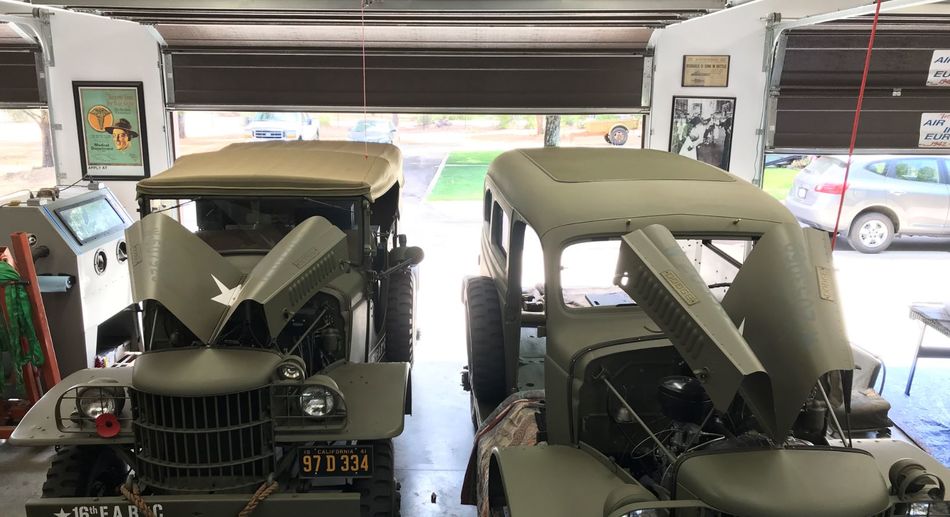
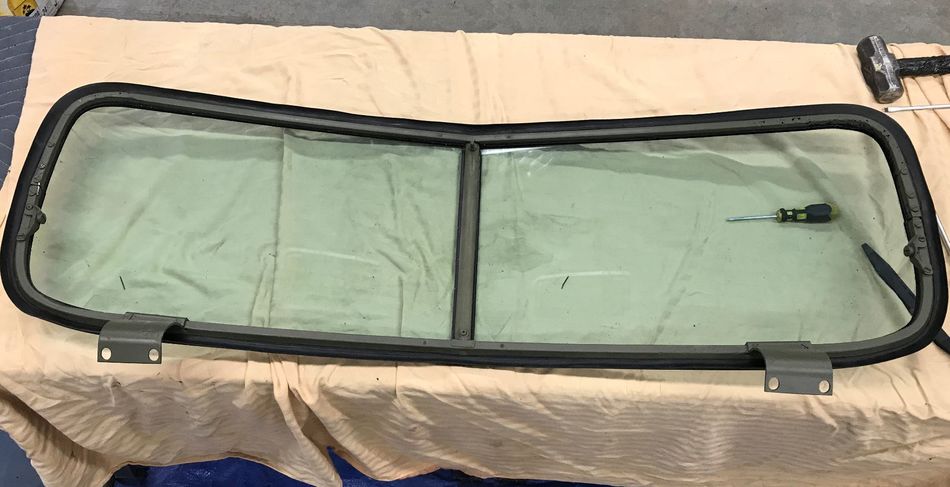
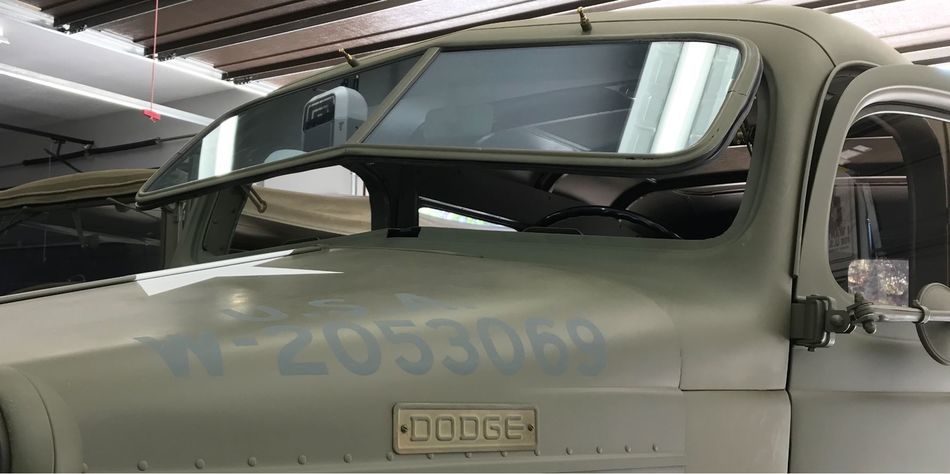
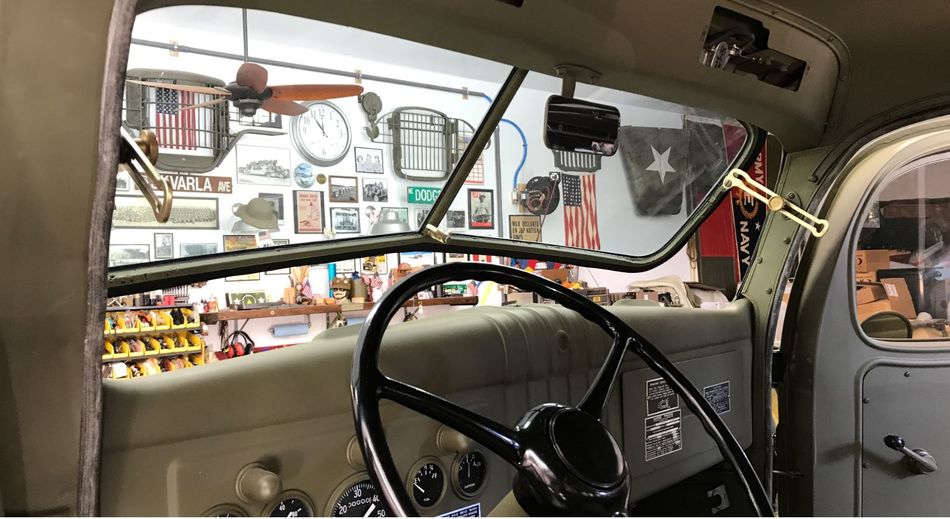
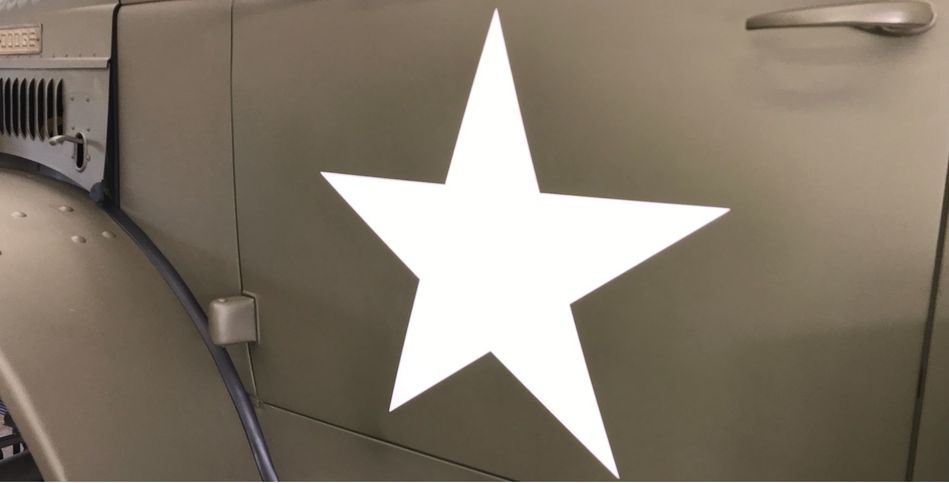
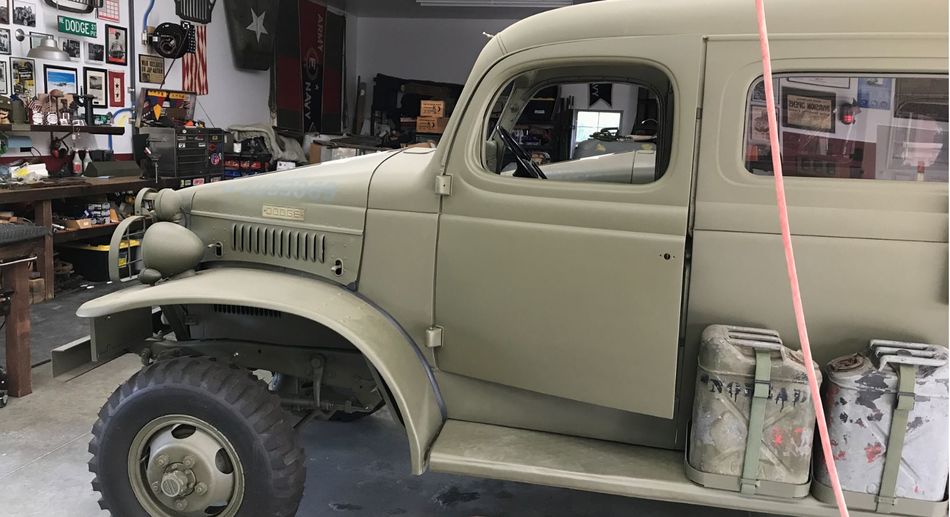
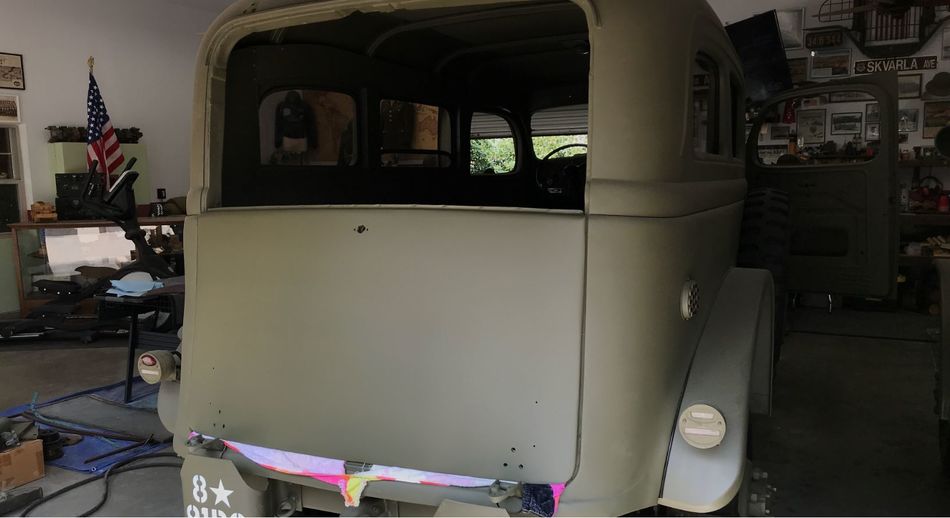
Well, I did finally shoot the front doors and mounted them up. Actually kinda odd seeing the doors installed now after looking at this beast for a few years without the doors:

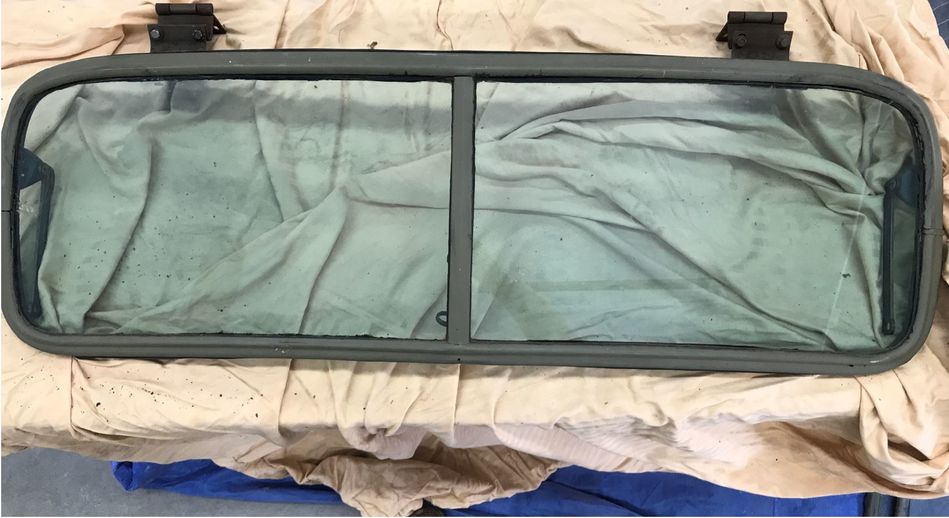
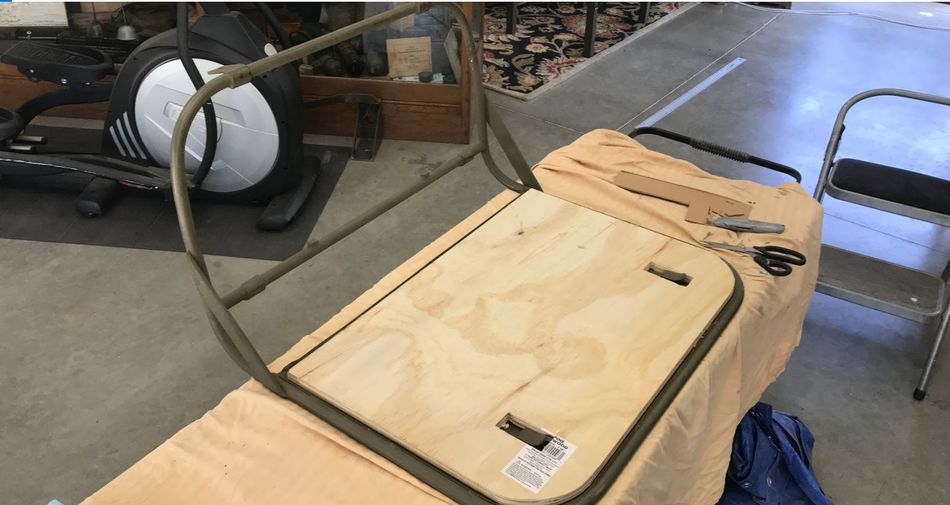
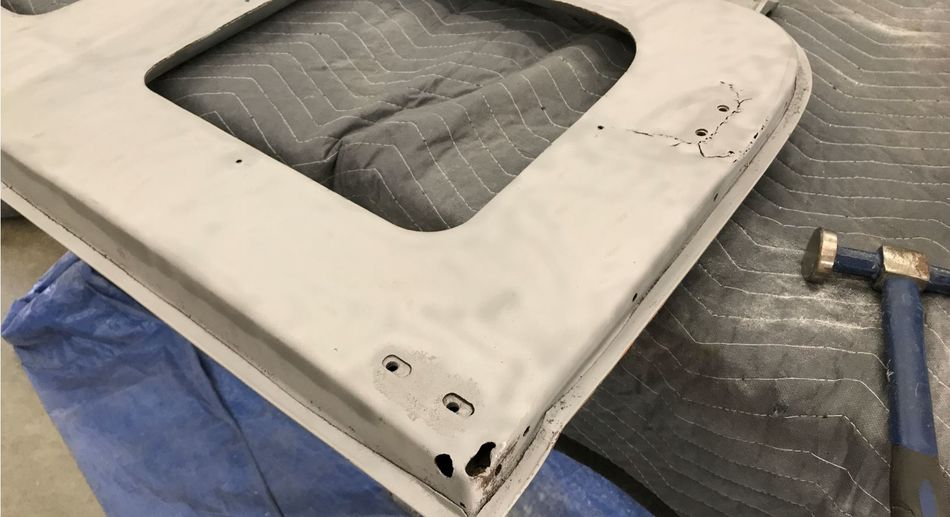
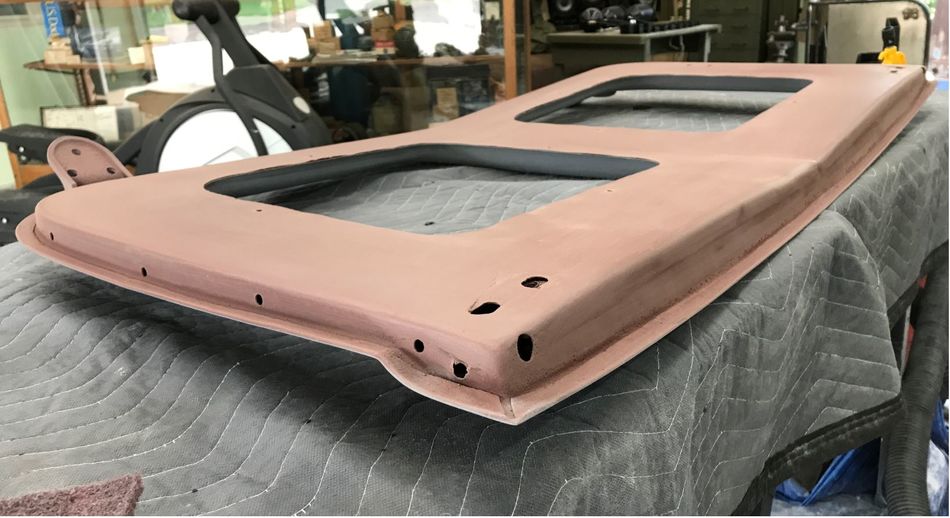
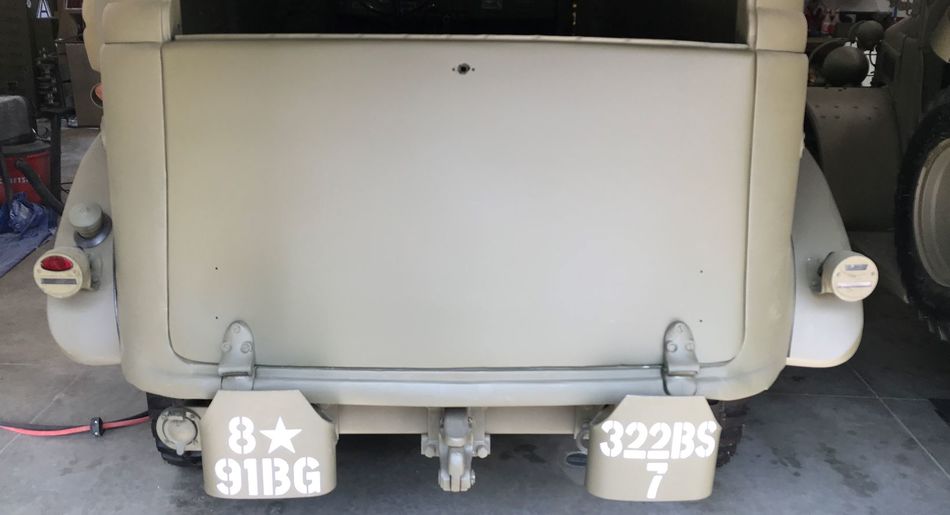
Now on to the tailgate which was a wrinkly mess. Been dreading this project, but actually getting a bit more confident on how to go about making it look decent:


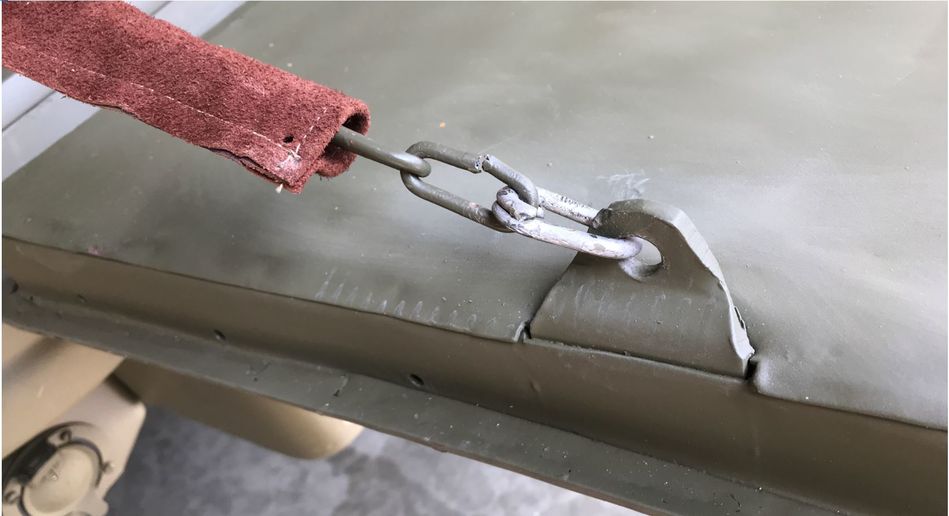
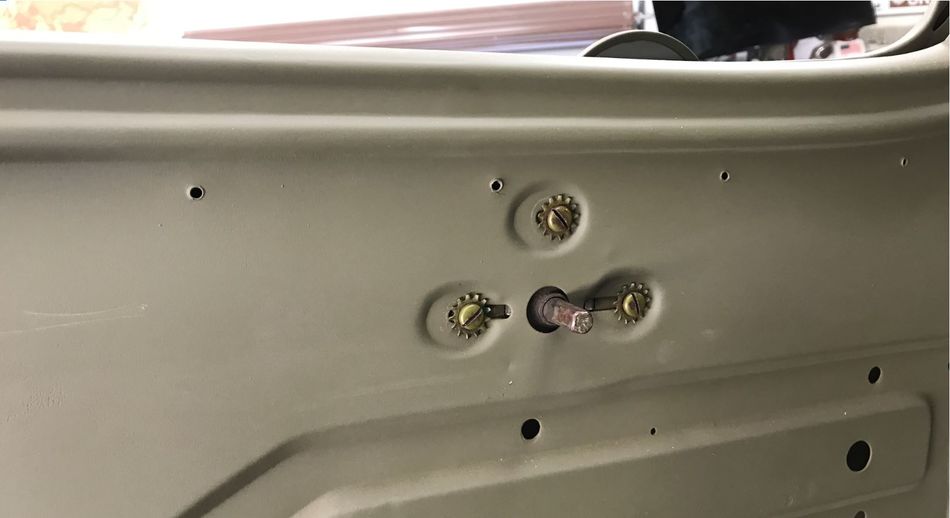
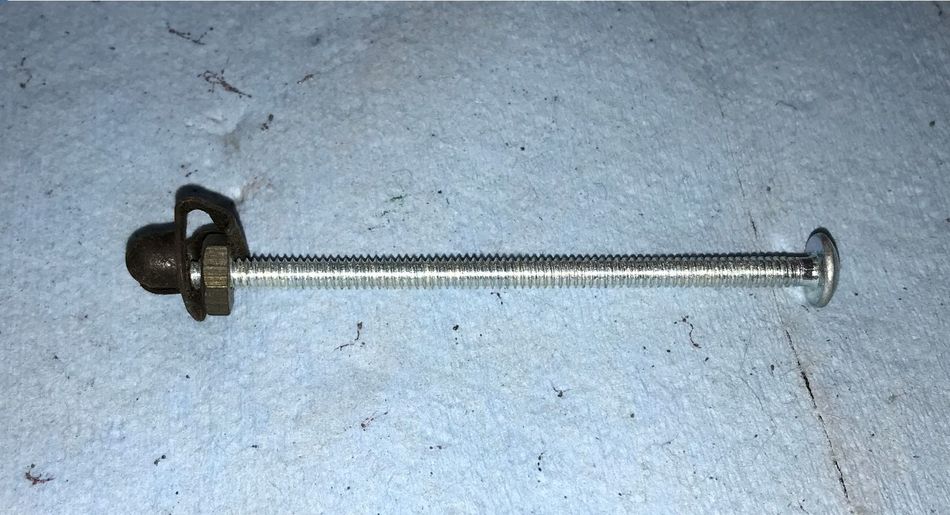
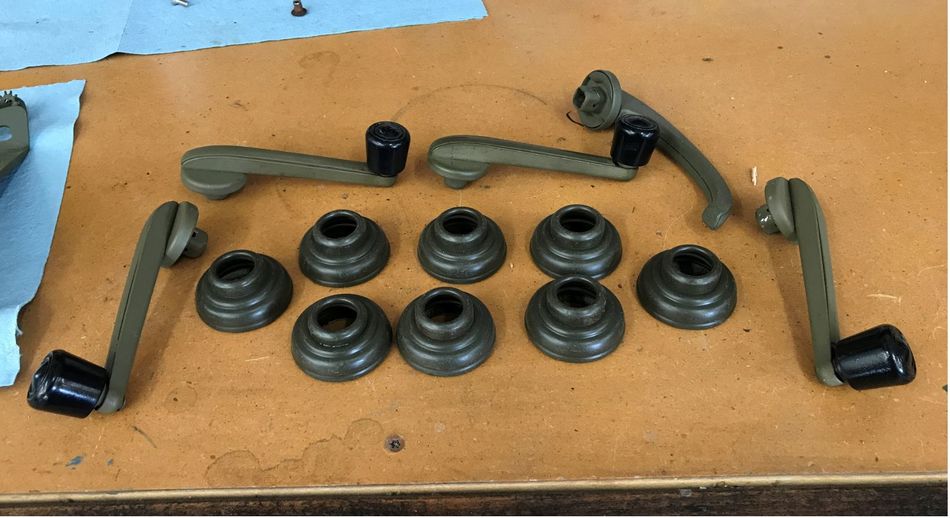
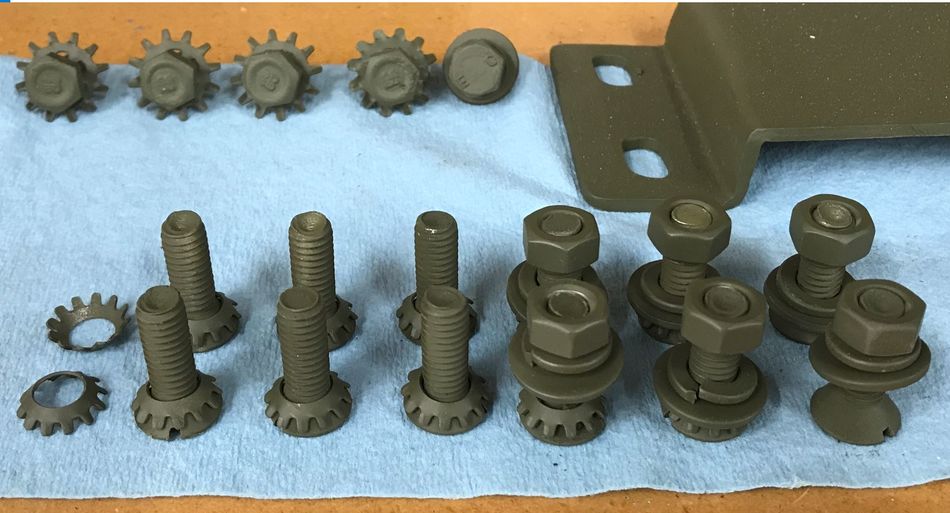
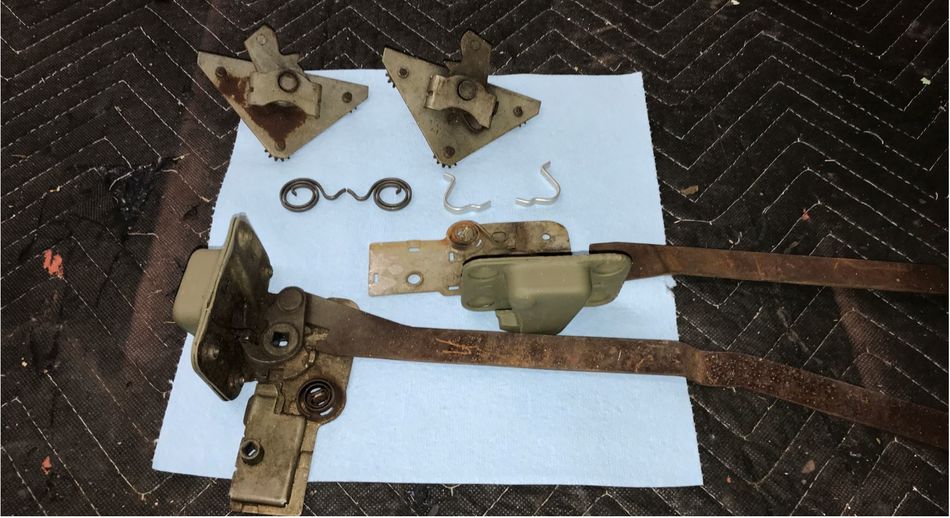
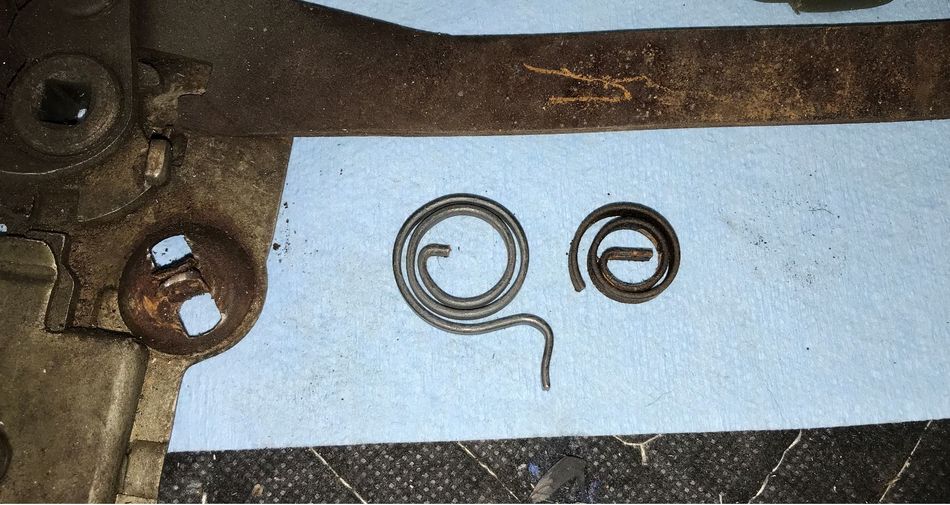
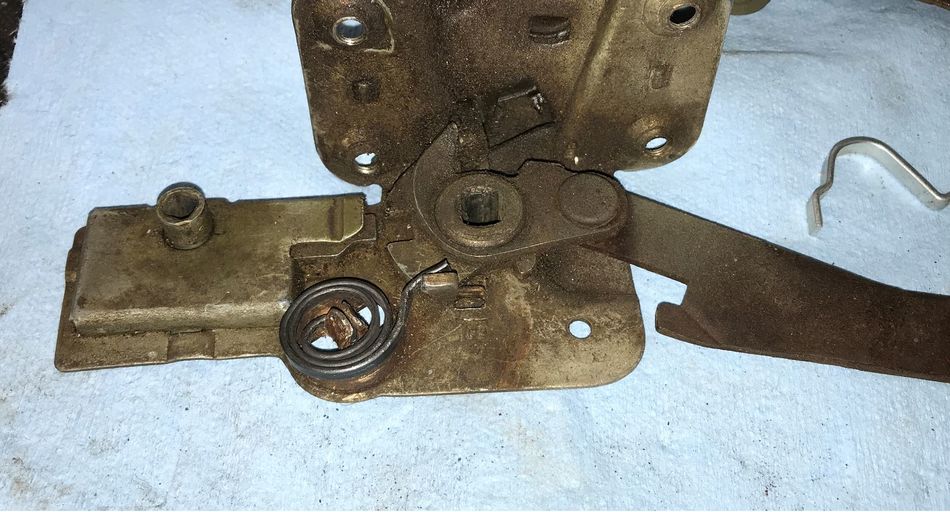
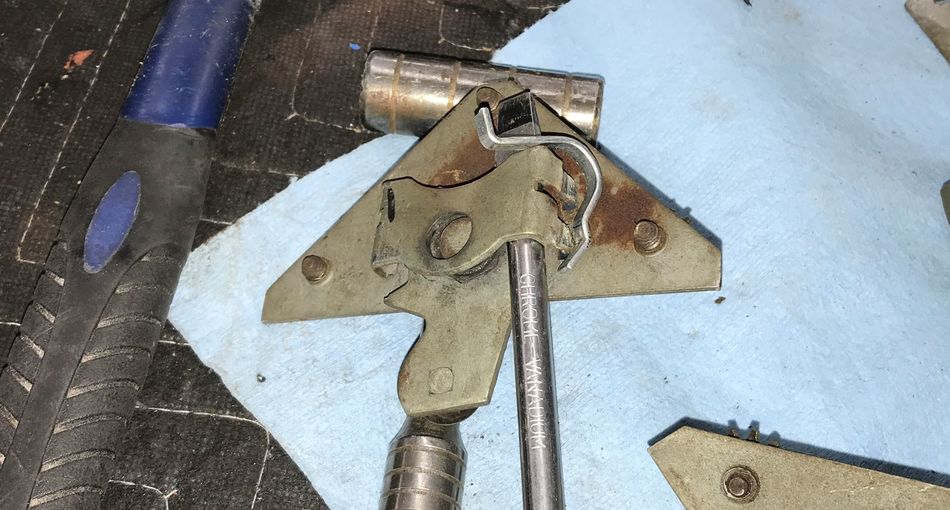
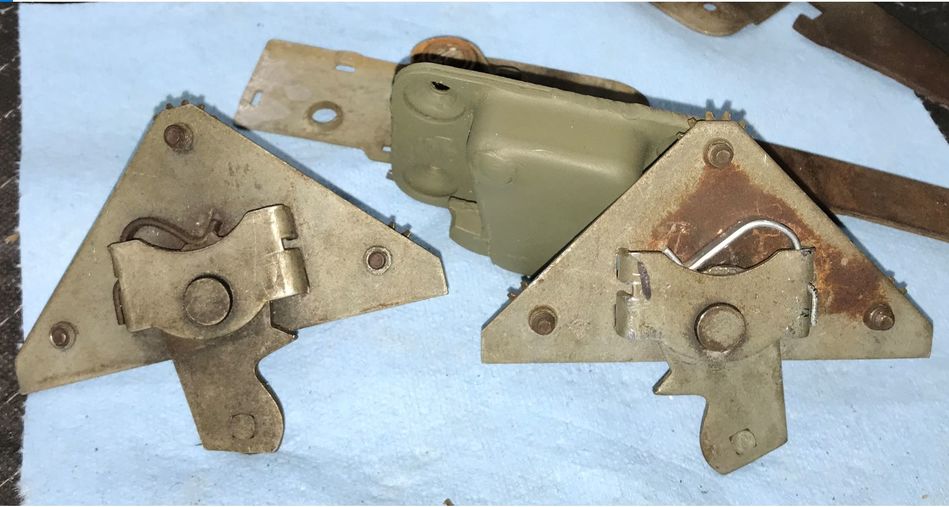
More hardware for the tailgate. A never ending supply of hardware it seems:
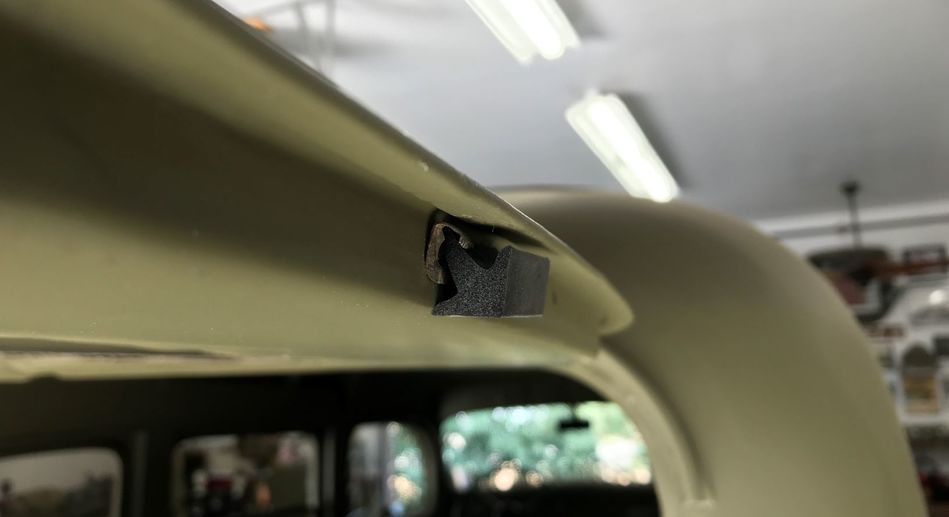
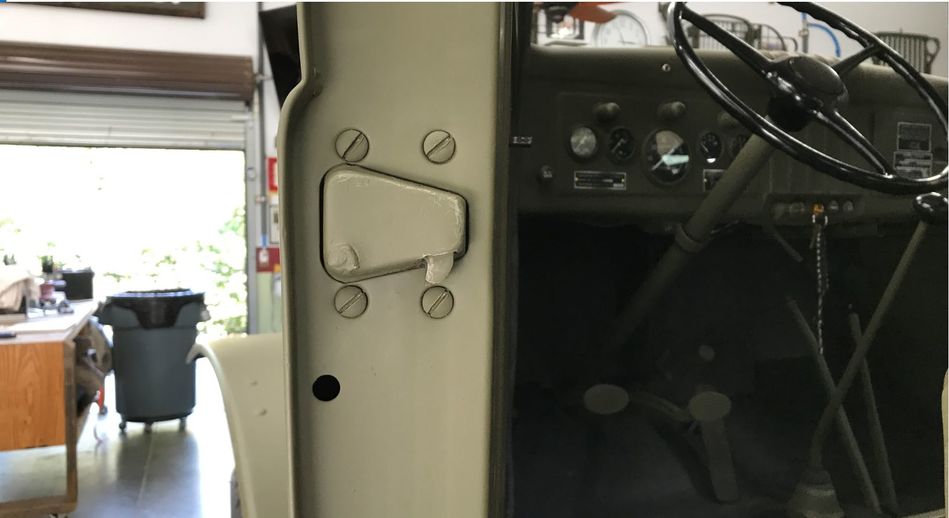
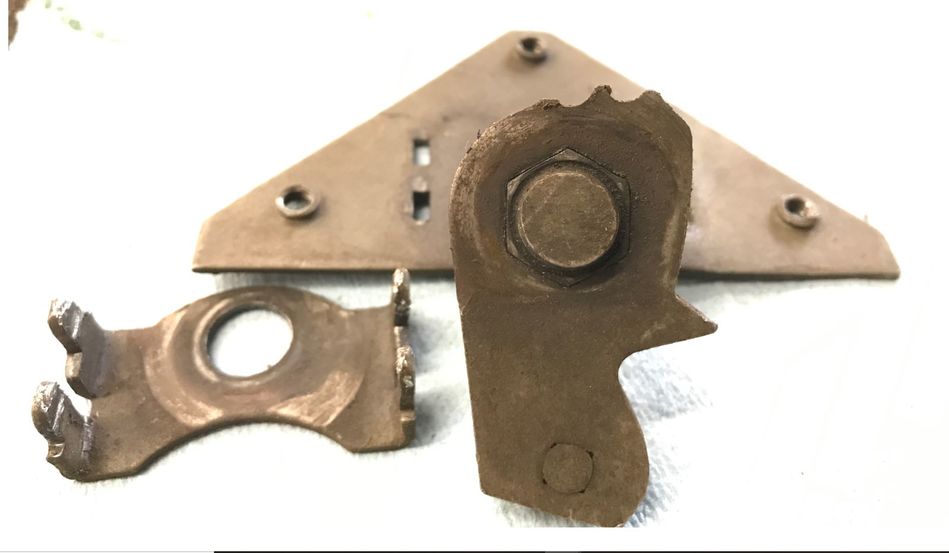
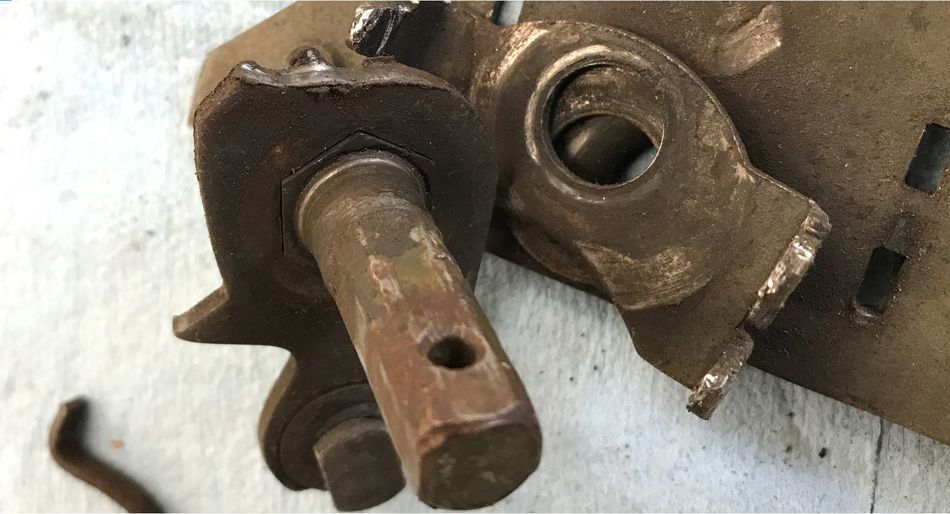
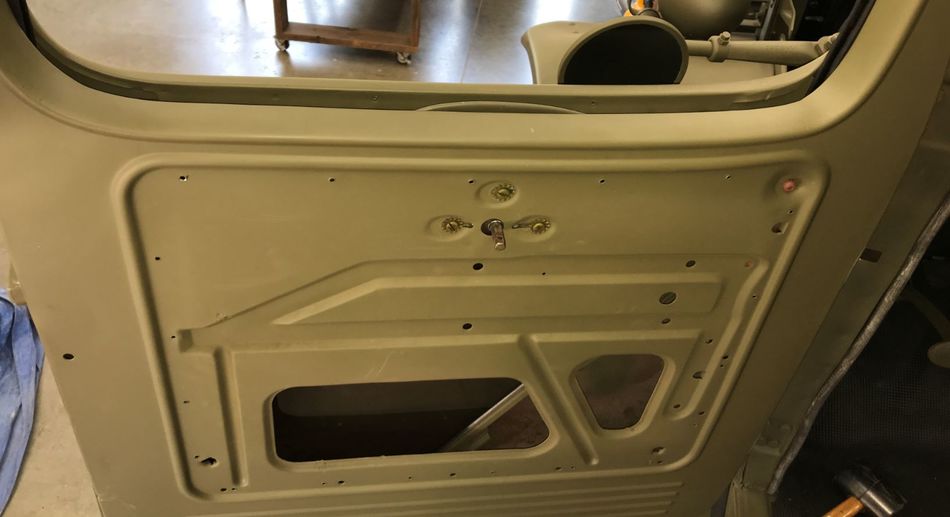
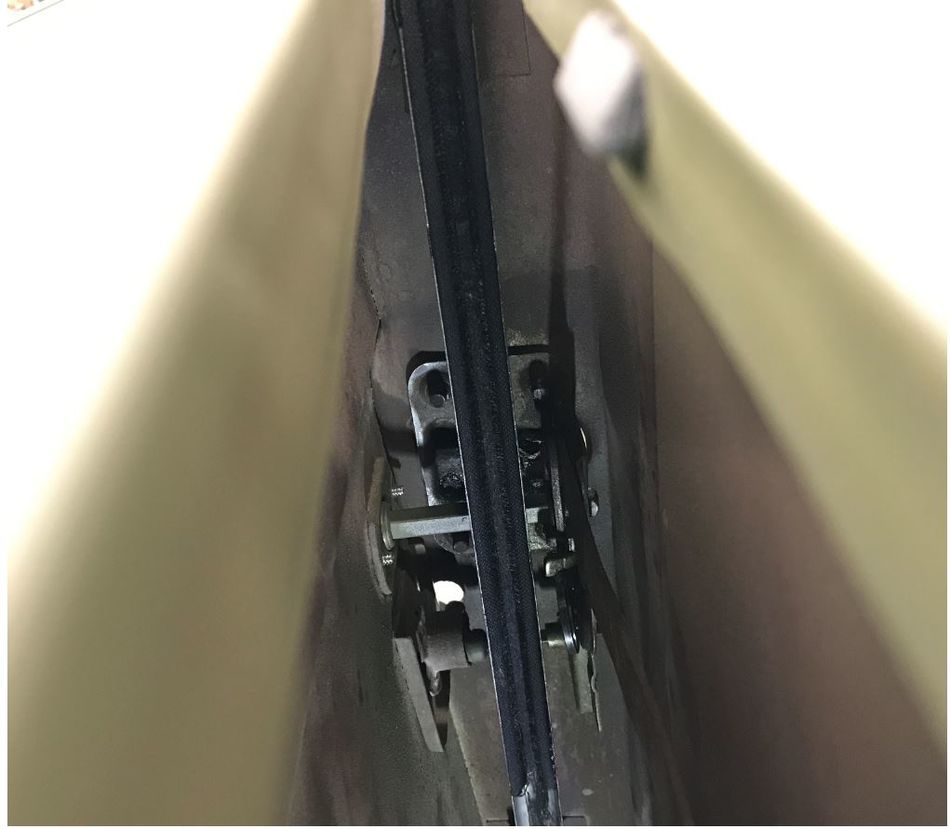
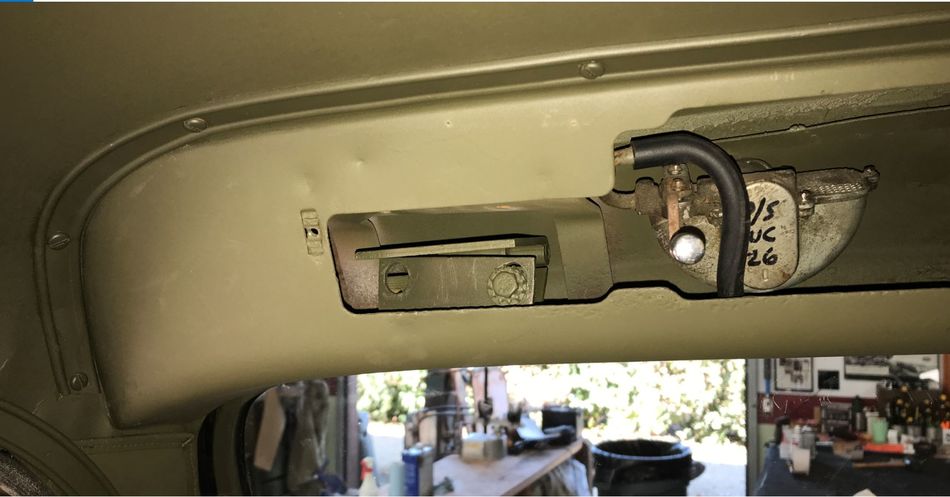
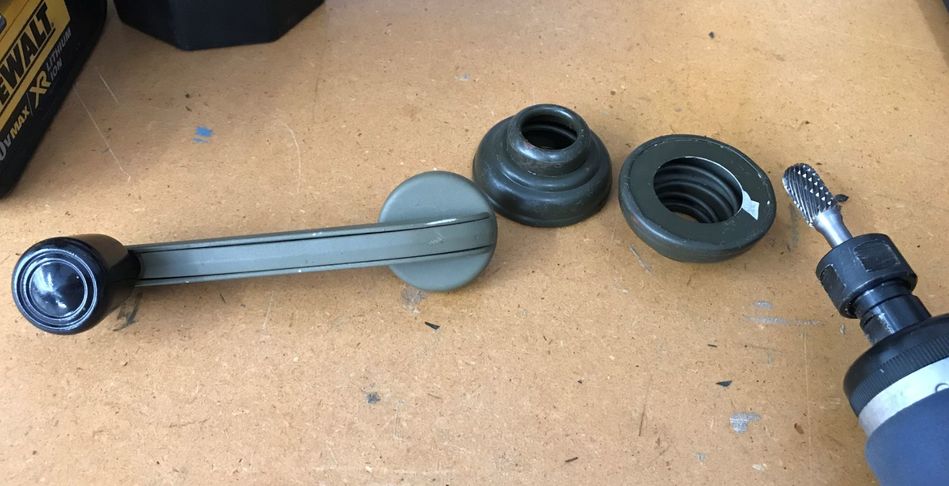
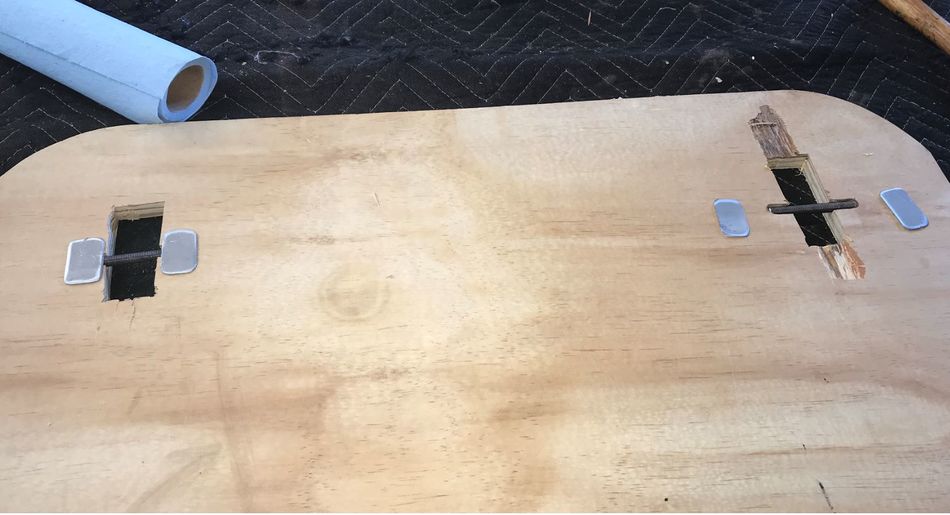
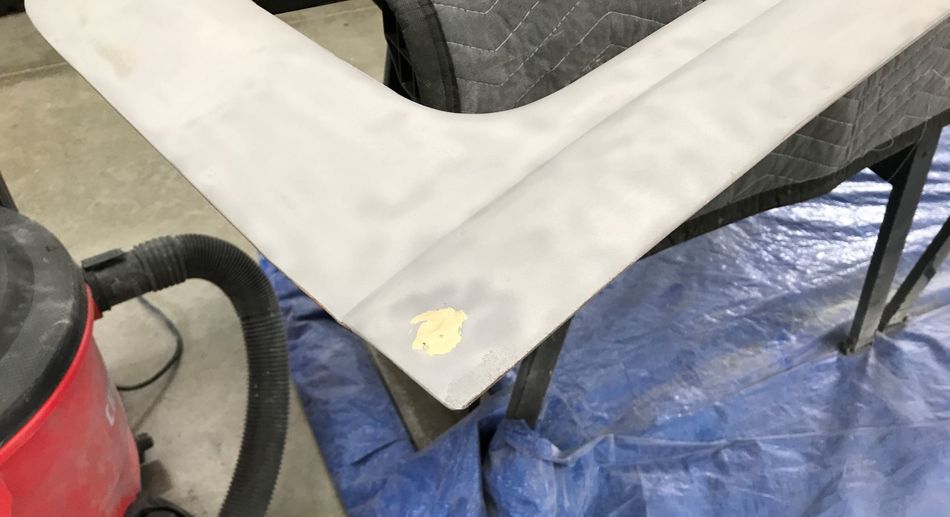
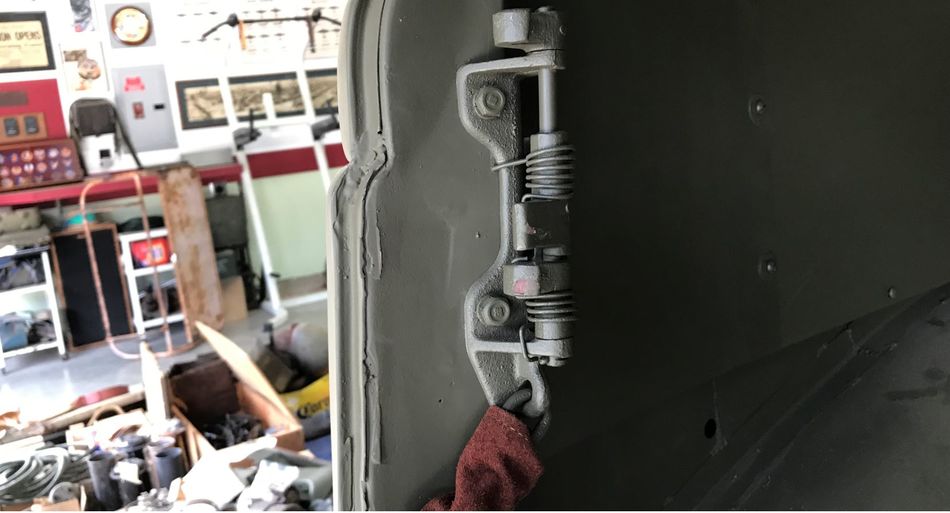
I then made a discovery as I was looking over the front doors to see how the locking mechanisms and window hardware goes back in. The metal window channel that is welded in on the side of the door where it latches was missing from the passenger door! I don't recall it being missing when I removed everything. Very weird:
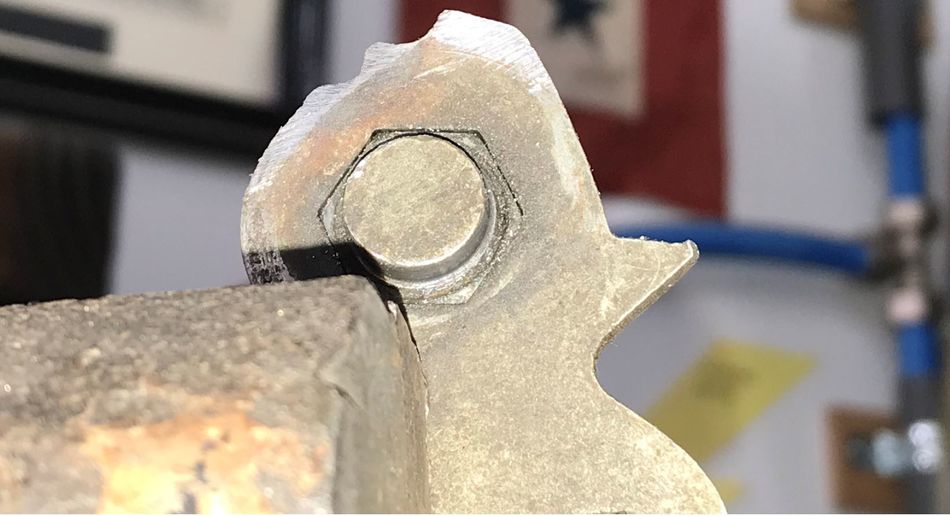
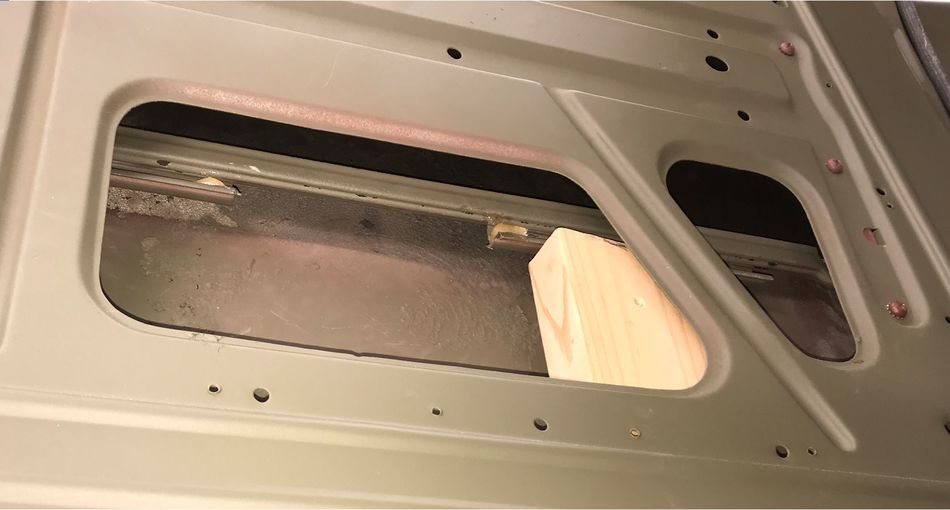
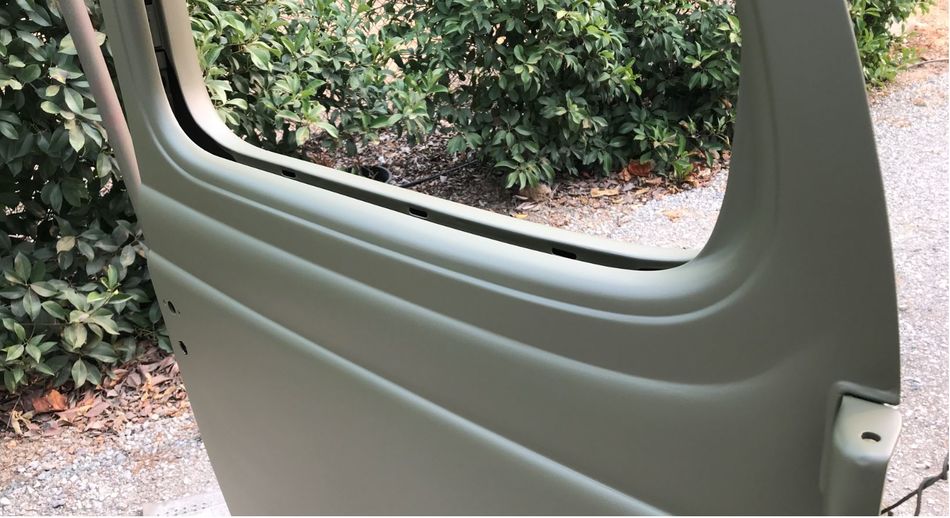
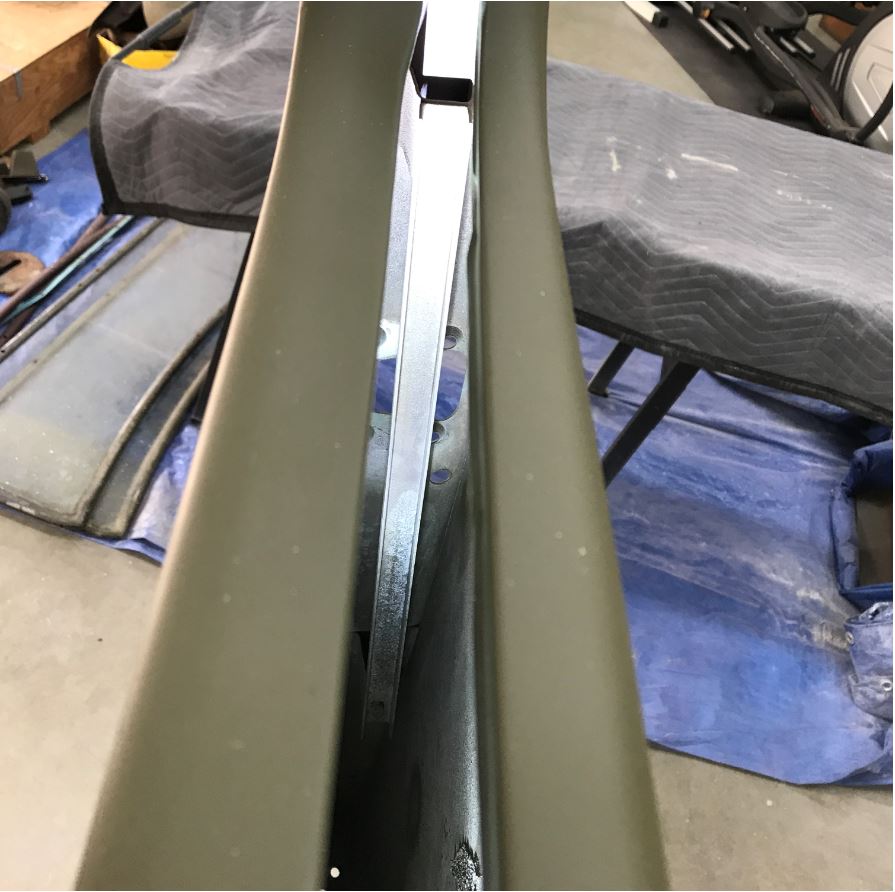
Here's where it should be:

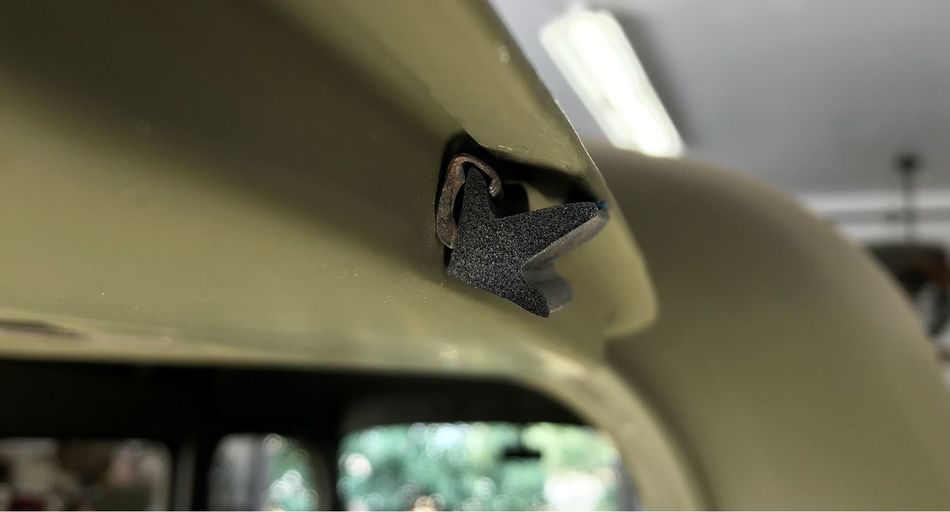
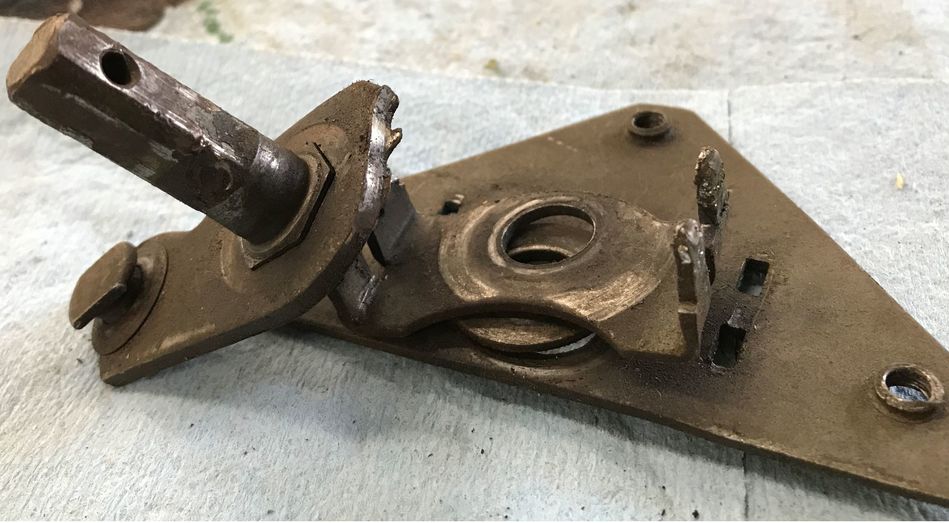
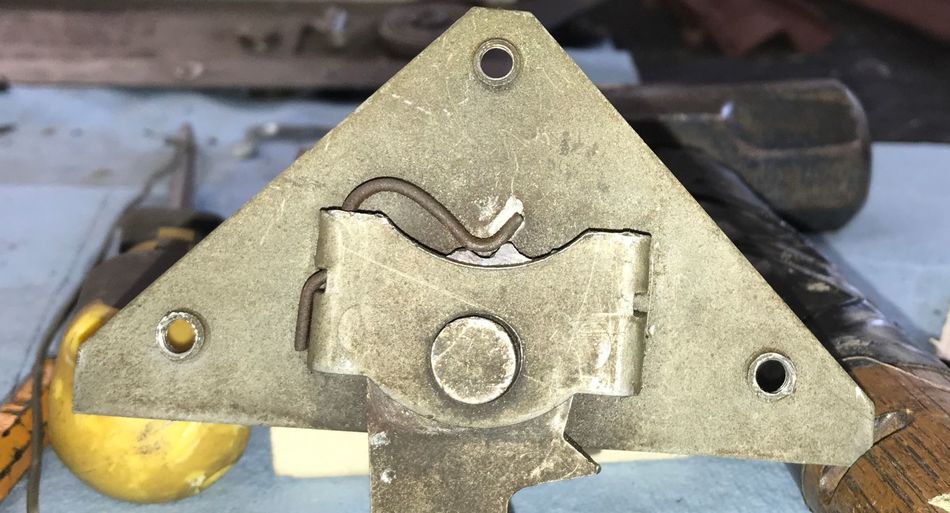
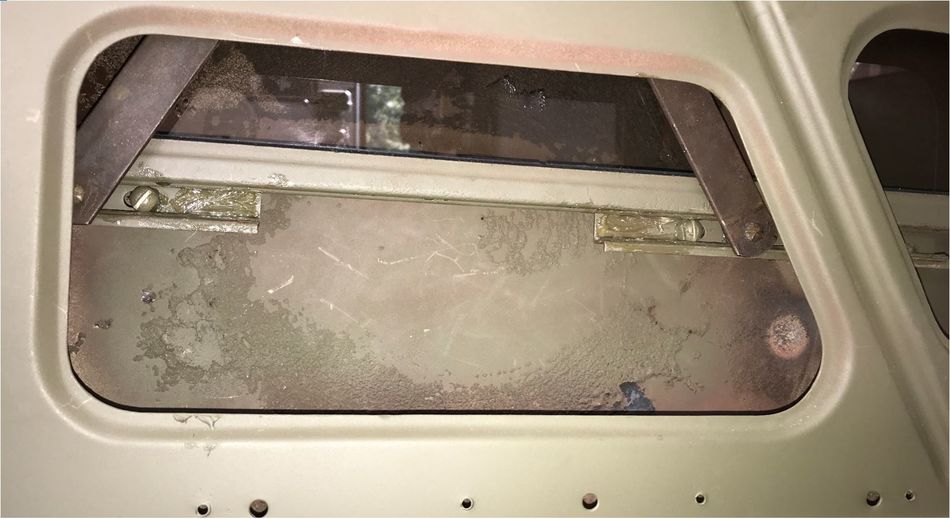
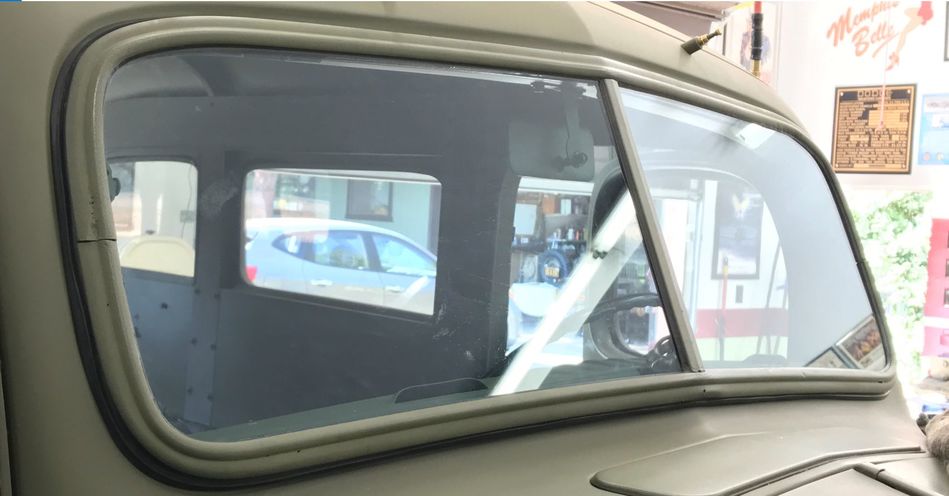
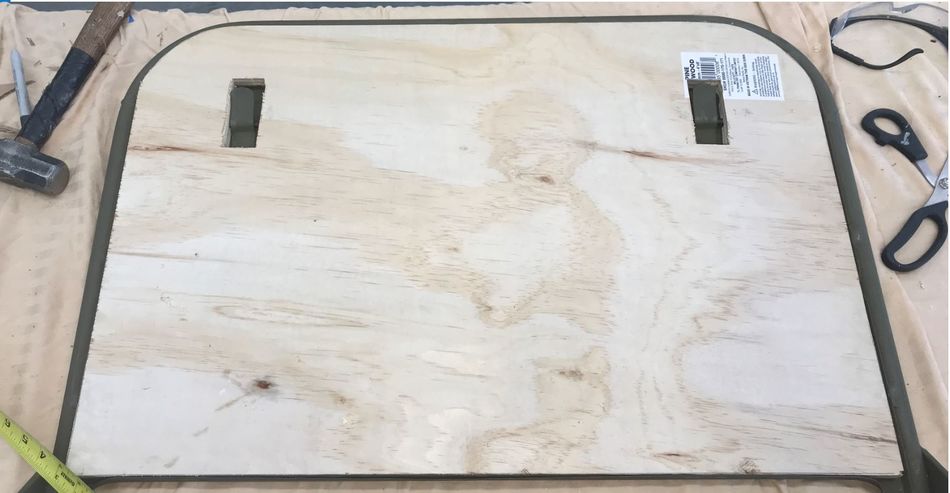
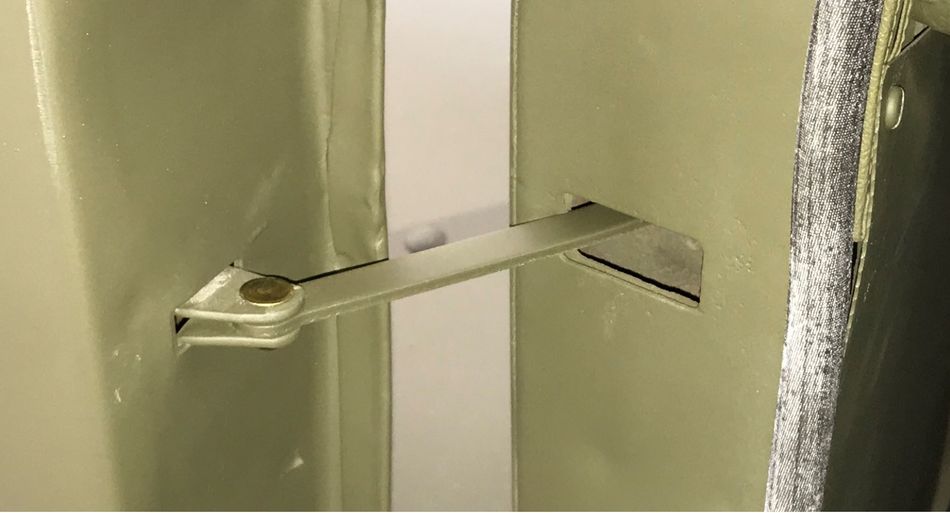
Here's the one that's inside the driver's door:
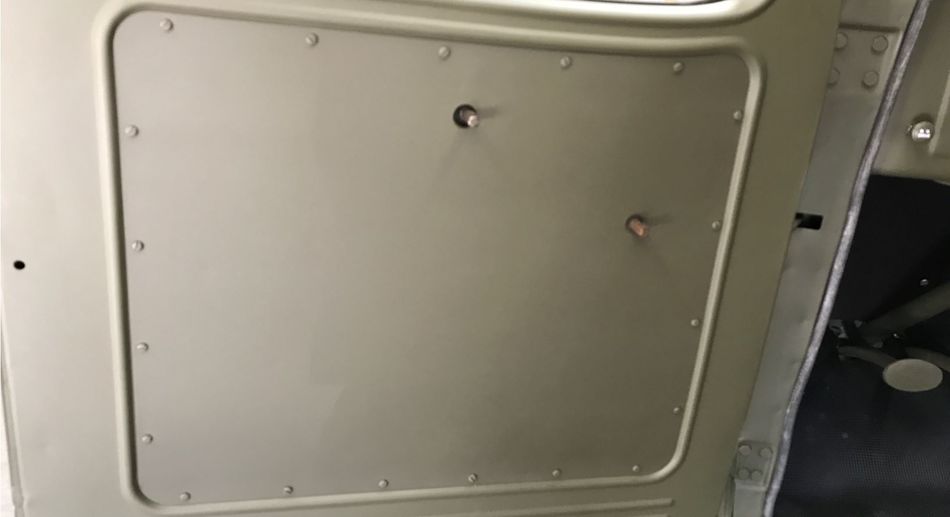
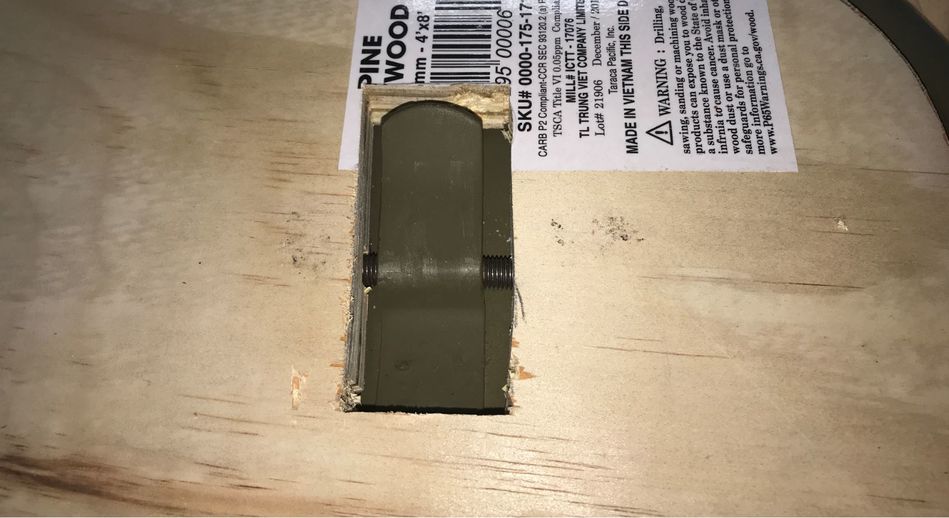
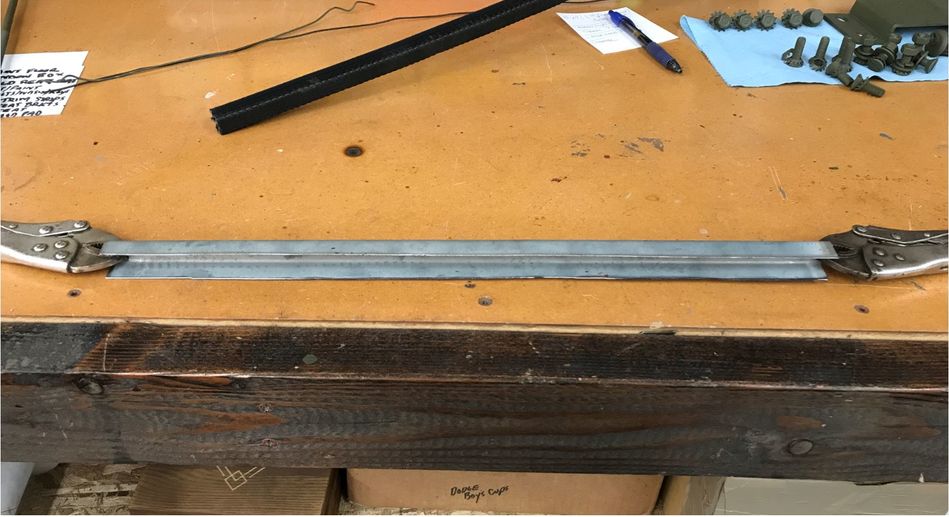
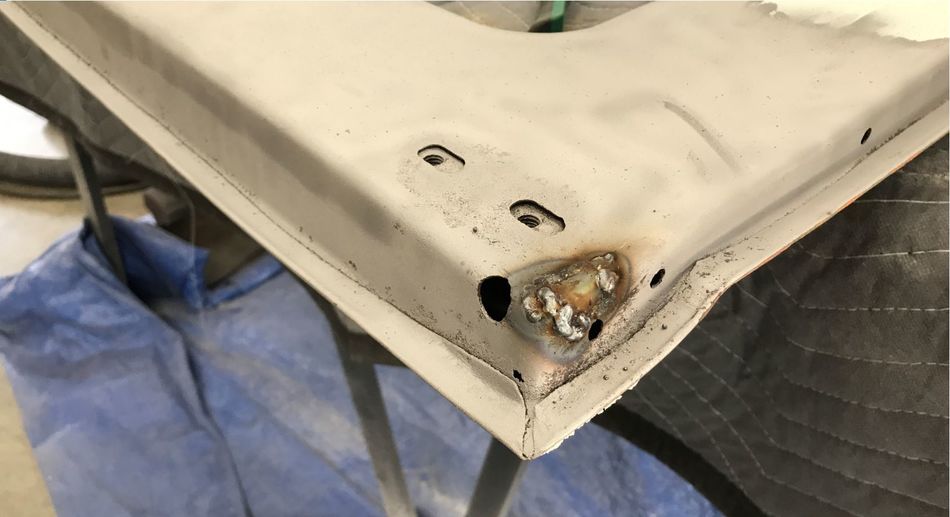
Great! Now I need to make one and figure out how to weld it inside the door now that it's all painted. Lovely. Well, might as well get to it. Made up the channel:
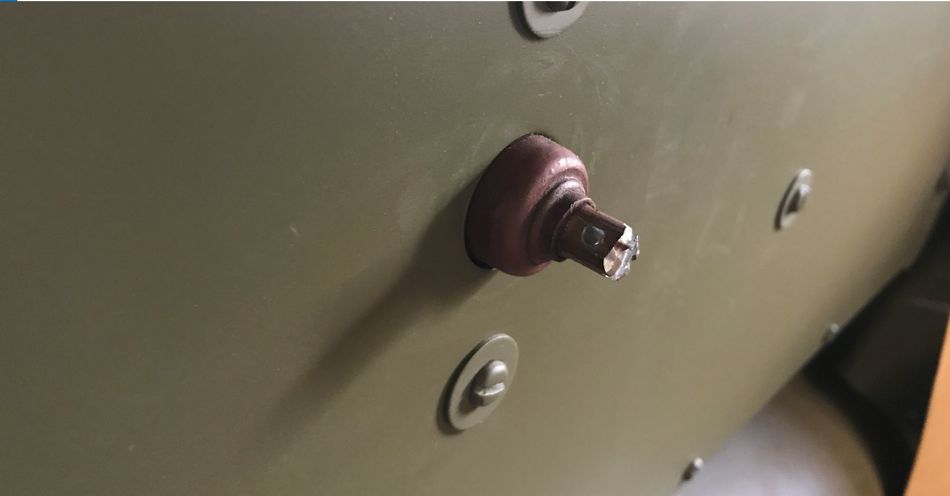
Kinda like building a ship in a bottle, but just enough room to get my MIG welder tip in there upside down. I couldn't see with my helmet, so had to do it by feel and without looking:
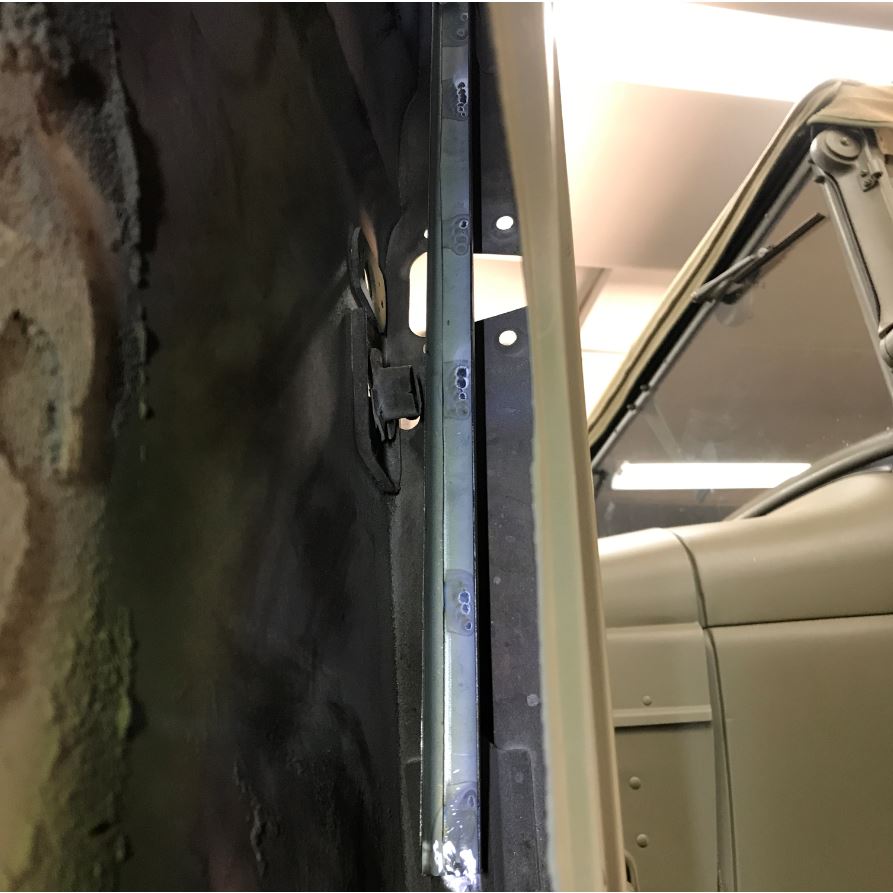
Whew! All done and didn't scorch the fresh paint:

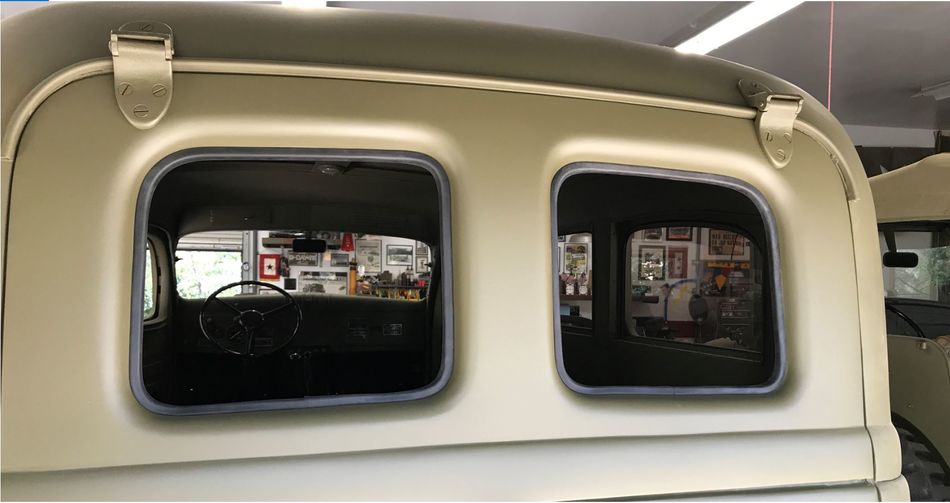
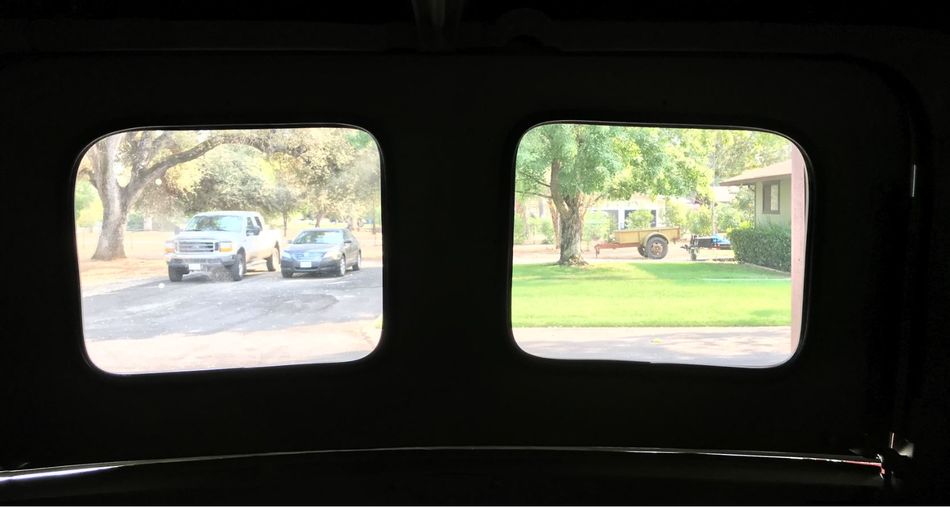
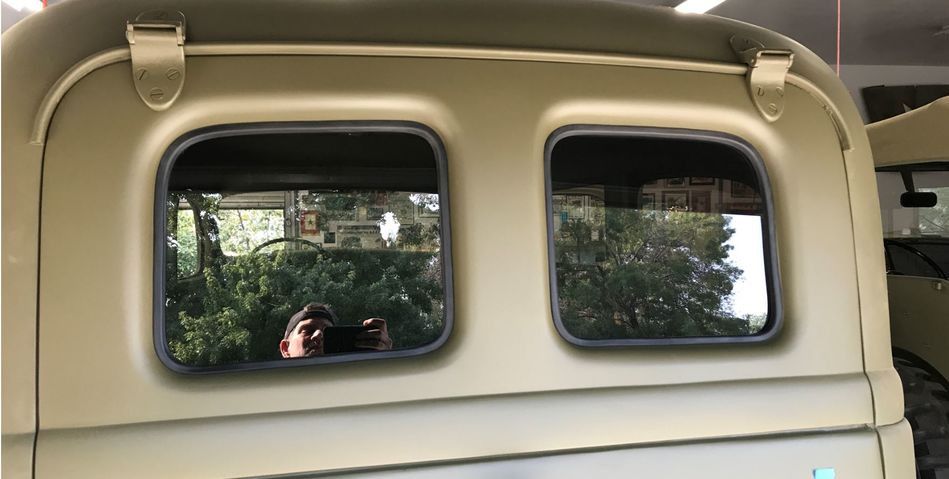
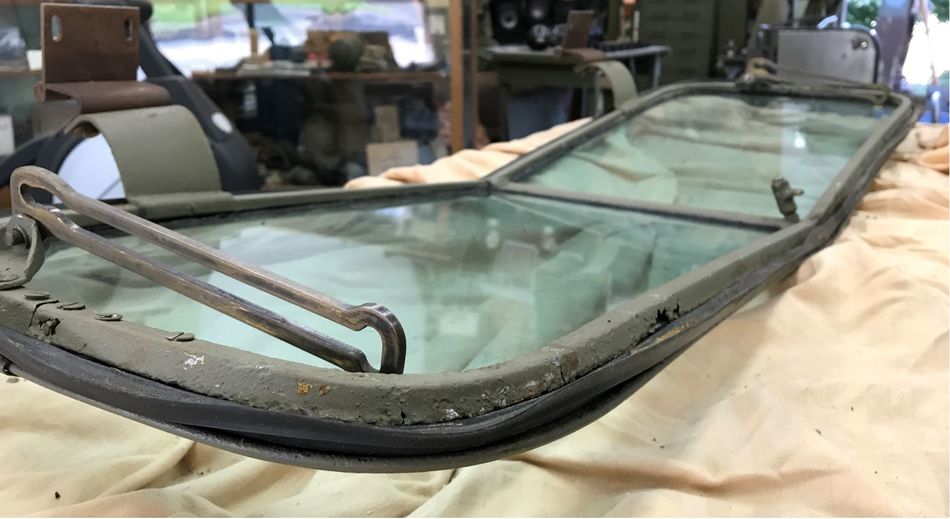
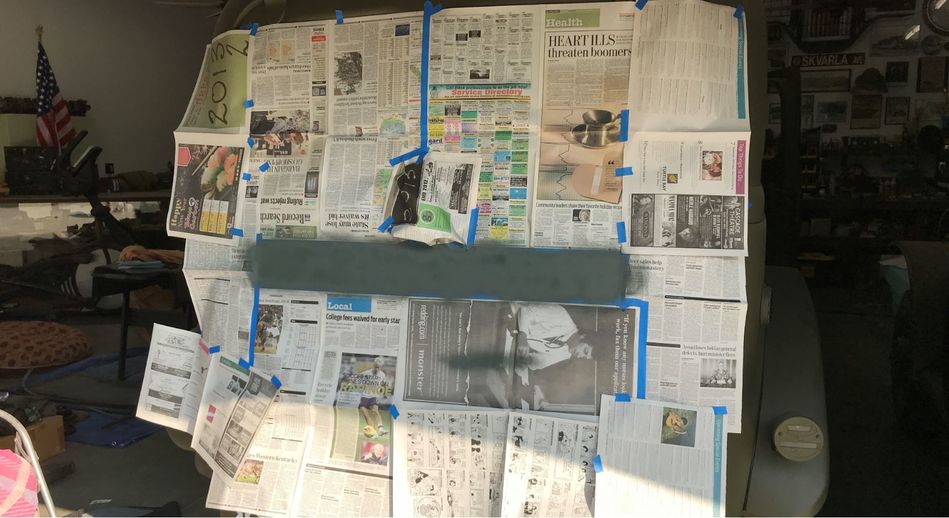
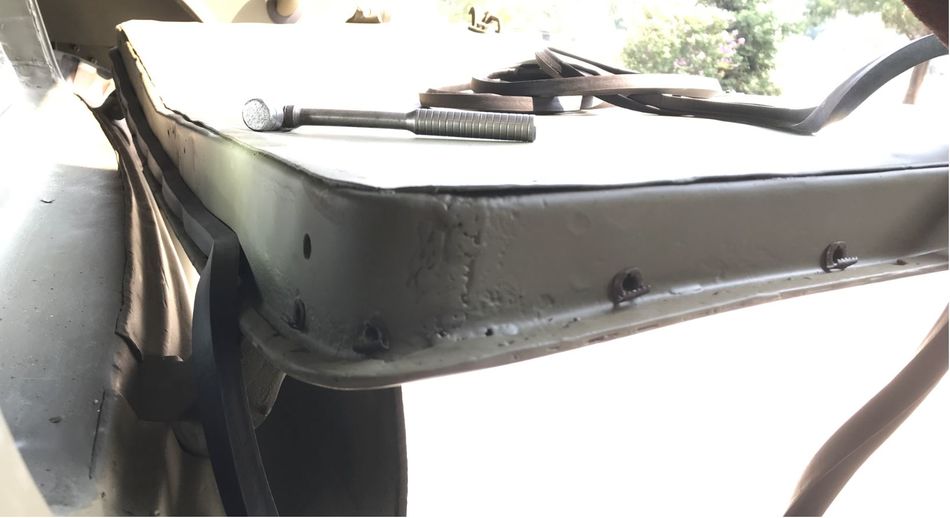
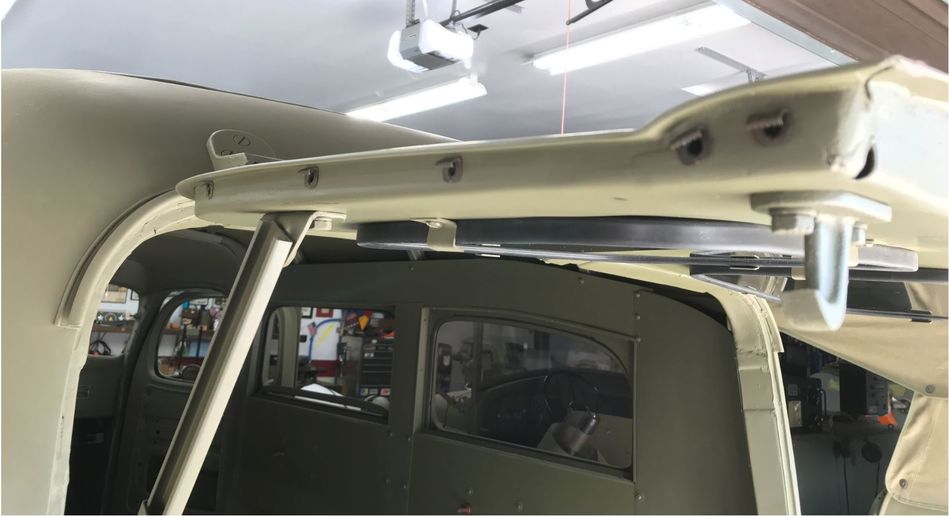
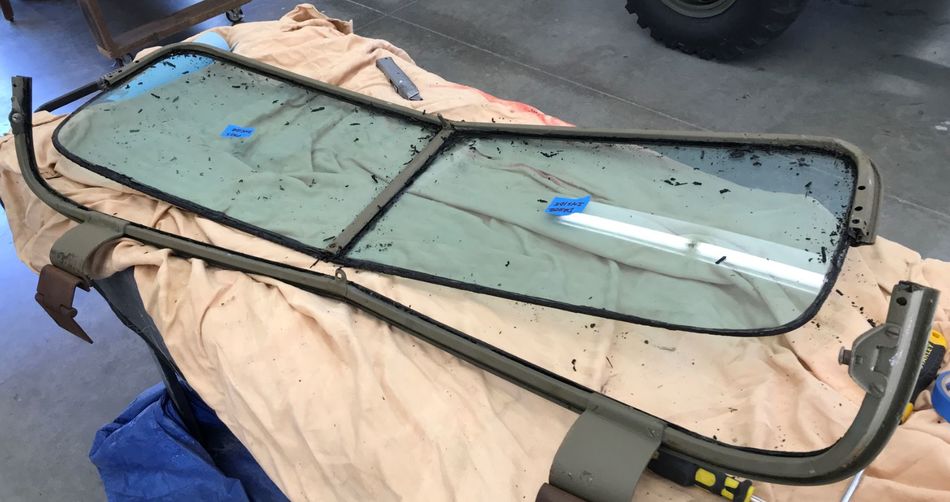
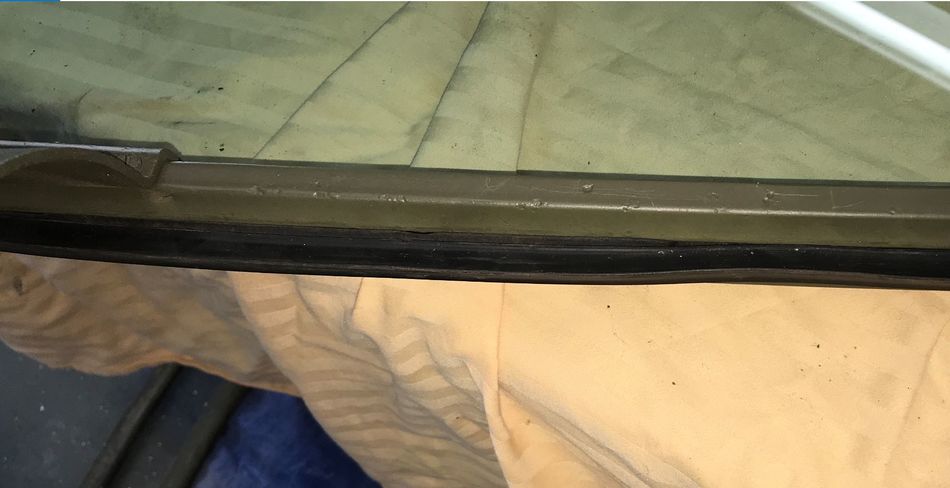
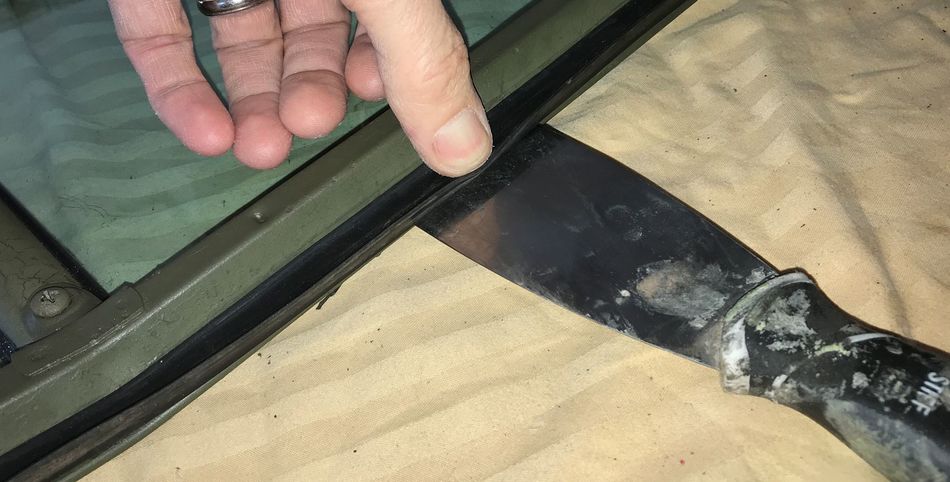
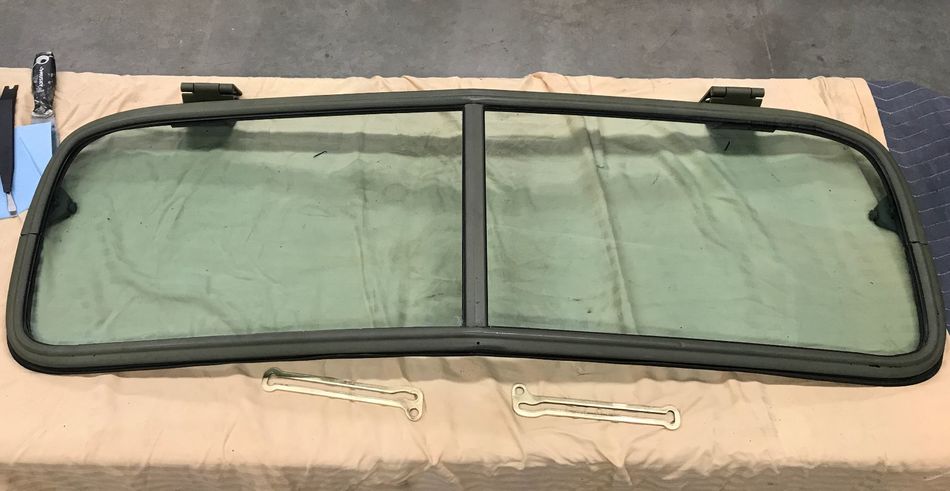
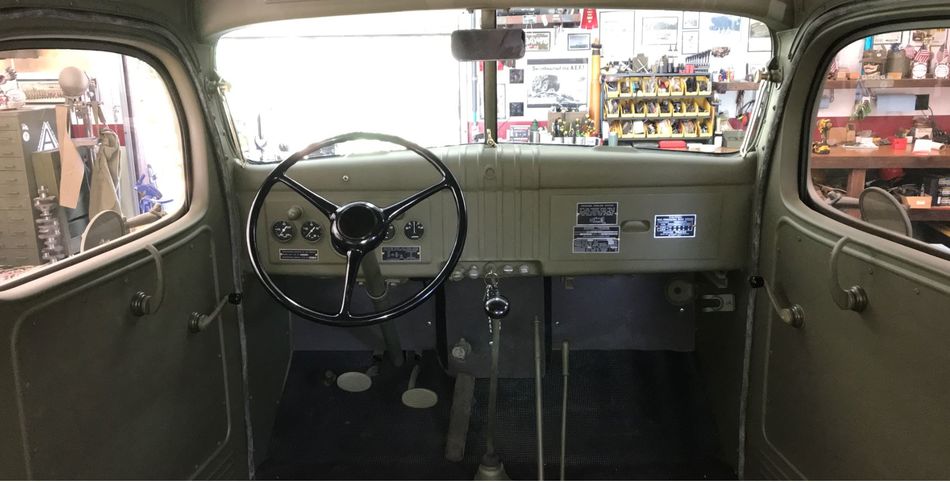
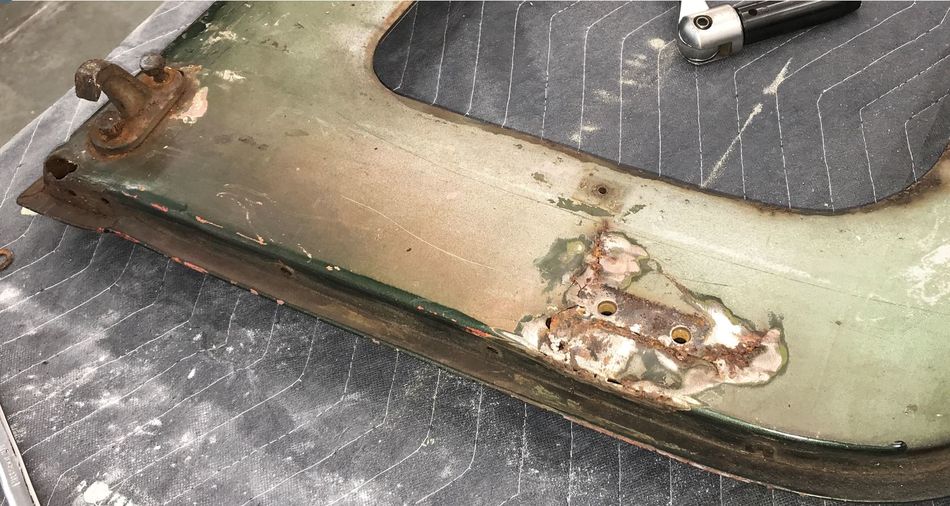
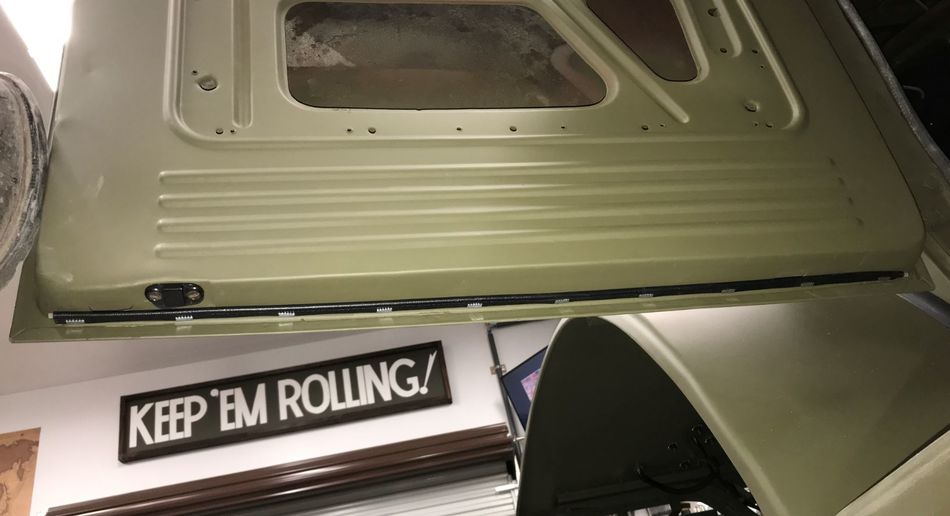
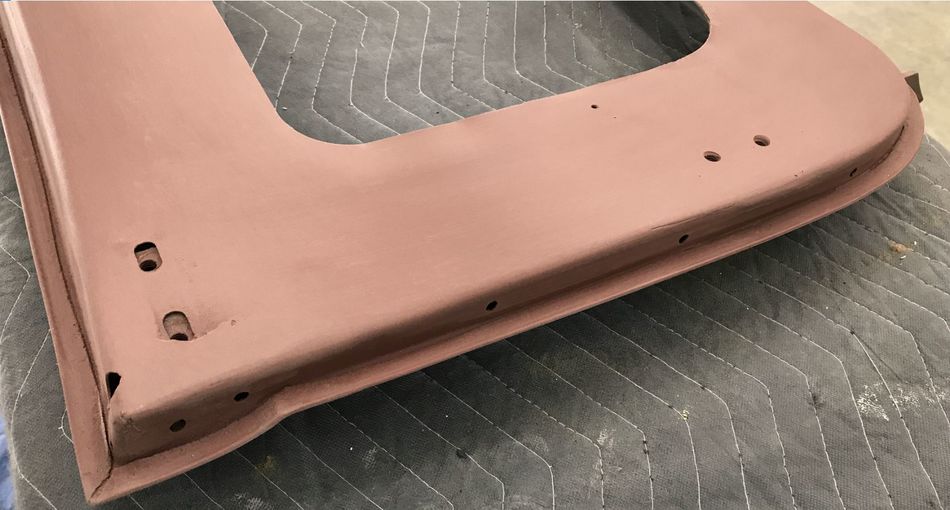
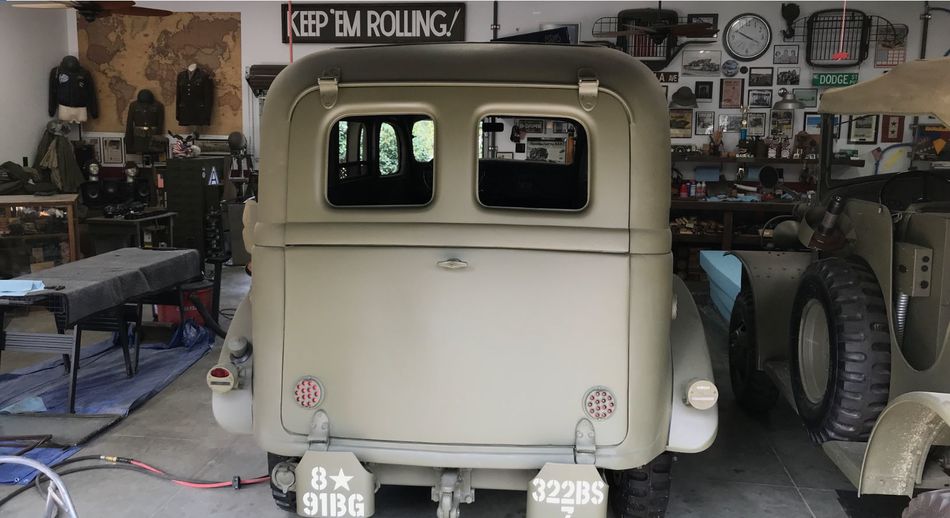
Now on to the upper tailgate door. It needs a bit of work too. Nice work by the PO on a repair here:
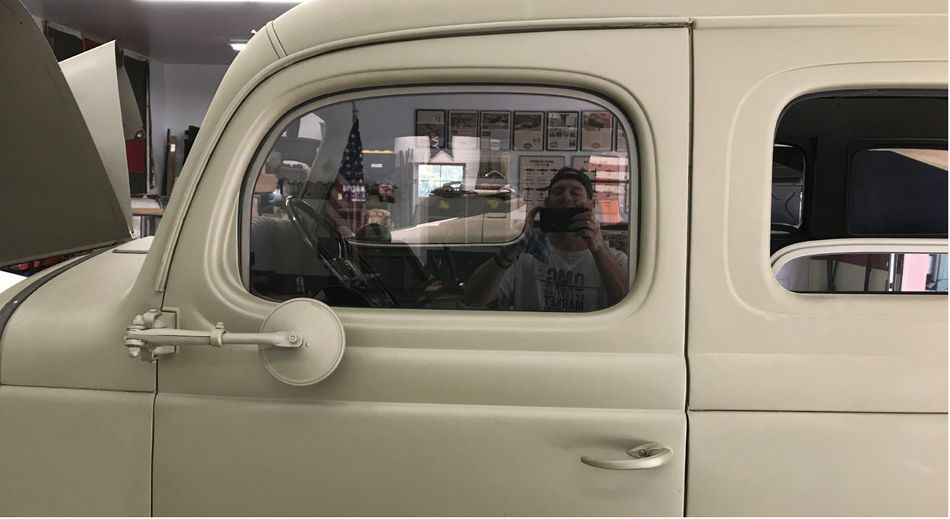
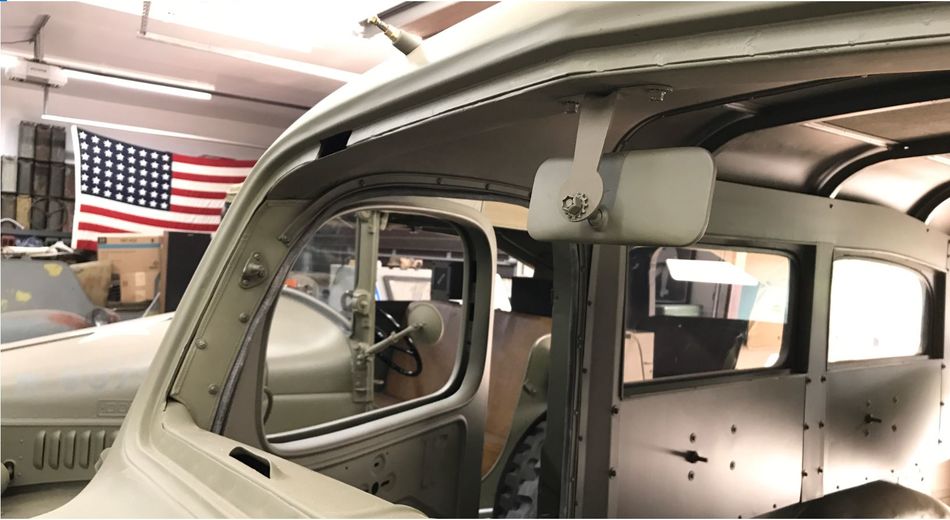
I cleaned up and painted the original rear view mirror and installed. Nice to get back to the little things:
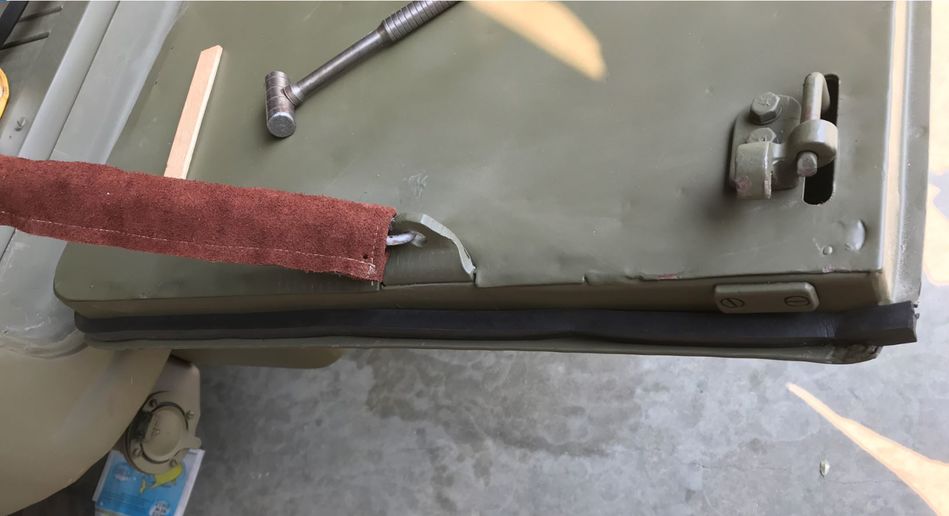
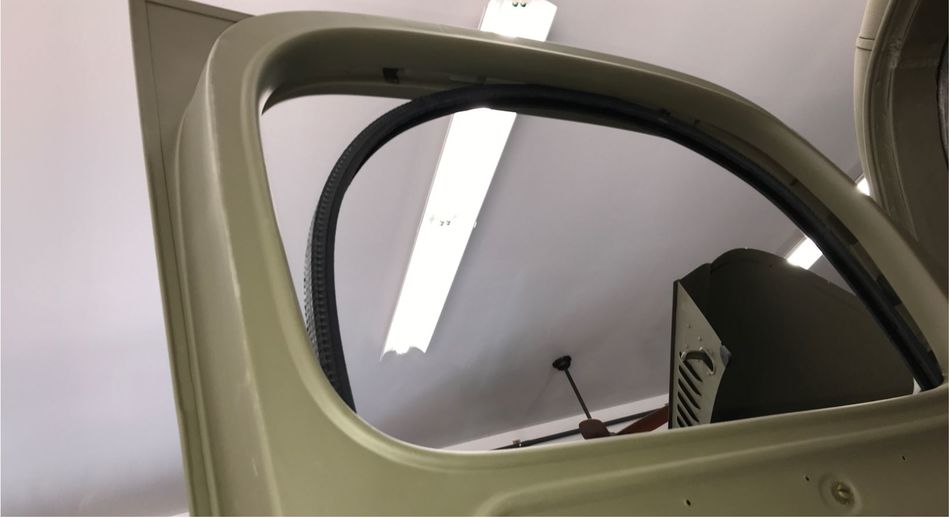
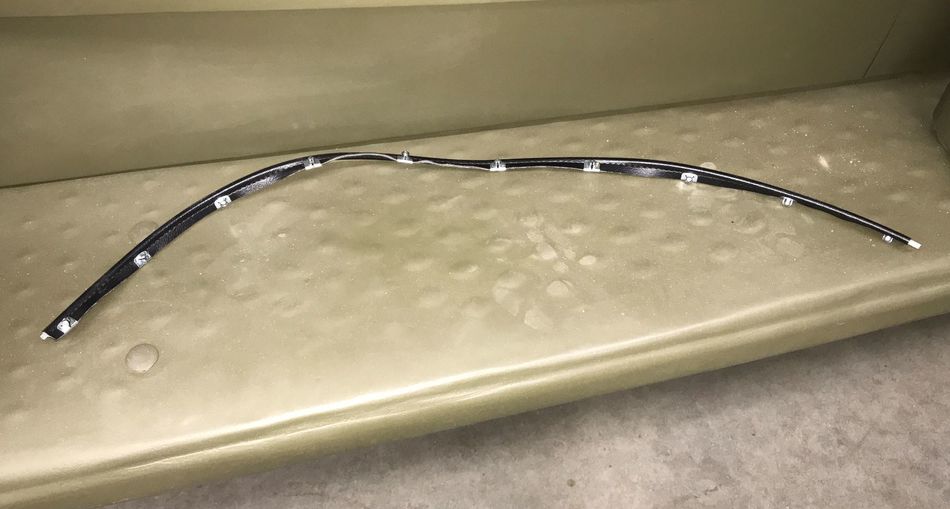
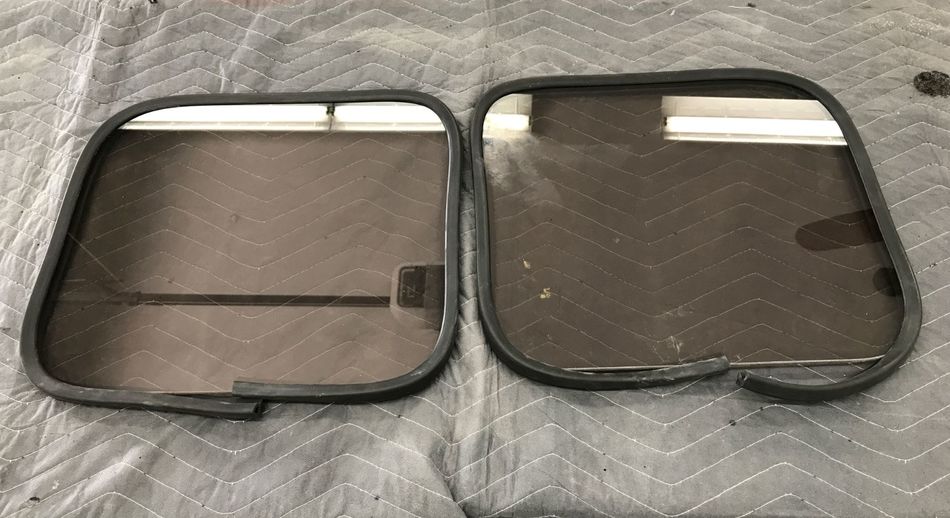
Also installed the lower front door seals:
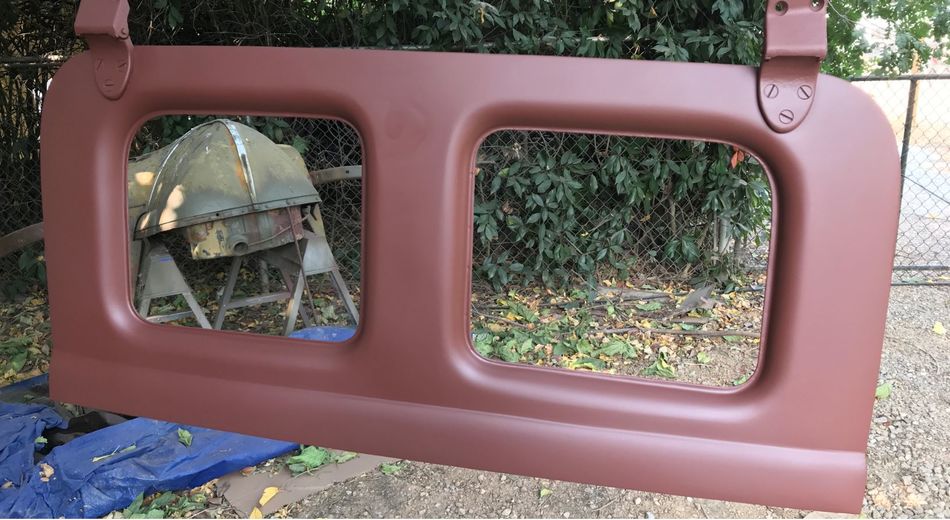
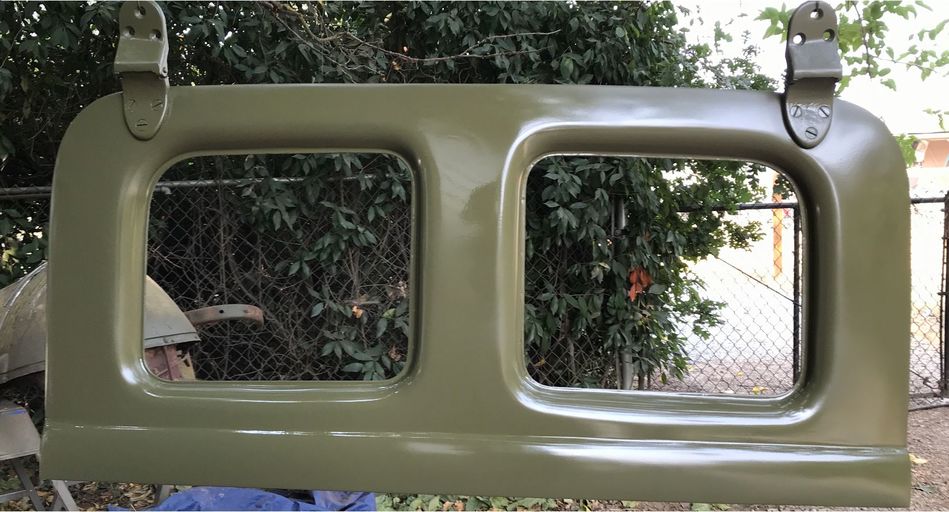
I attempted to apply the final OD on the tailgate this evening as the temperature was only 90 degrees. All went well and looked perfect until the last pass! Gun clogged and spit out chunks on the lower part of the tailgate. Now need to re-sand and shoot that again in the morning. Hopefully, there won't be too much ash falling to mix into the paint as I spray. Bugs used to be my number one enemy, but now it's ash from all the fires around us. Has been about 75 to 80 degrees around five am in the morning, but should be in the 60's tomorrow morning before it starts heating up.
Now on to the tailgate which was a wrinkly mess. Been dreading this project, but actually getting a bit more confident on how to go about making it look decent:
More hardware for the tailgate. A never ending supply of hardware it seems:
I then made a discovery as I was looking over the front doors to see how the locking mechanisms and window hardware goes back in. The metal window channel that is welded in on the side of the door where it latches was missing from the passenger door! I don't recall it being missing when I removed everything. Very weird:
Here's where it should be:
Here's the one that's inside the driver's door:
Great! Now I need to make one and figure out how to weld it inside the door now that it's all painted. Lovely. Well, might as well get to it. Made up the channel:
Kinda like building a ship in a bottle, but just enough room to get my MIG welder tip in there upside down. I couldn't see with my helmet, so had to do it by feel and without looking:
Whew! All done and didn't scorch the fresh paint:
Now on to the upper tailgate door. It needs a bit of work too. Nice work by the PO on a repair here:
I cleaned up and painted the original rear view mirror and installed. Nice to get back to the little things:
Also installed the lower front door seals:
I attempted to apply the final OD on the tailgate this evening as the temperature was only 90 degrees. All went well and looked perfect until the last pass! Gun clogged and spit out chunks on the lower part of the tailgate. Now need to re-sand and shoot that again in the morning. Hopefully, there won't be too much ash falling to mix into the paint as I spray. Bugs used to be my number one enemy, but now it's ash from all the fires around us. Has been about 75 to 80 degrees around five am in the morning, but should be in the 60's tomorrow morning before it starts heating up.


 My own fault.