Update 97 - Driveway lights part 1
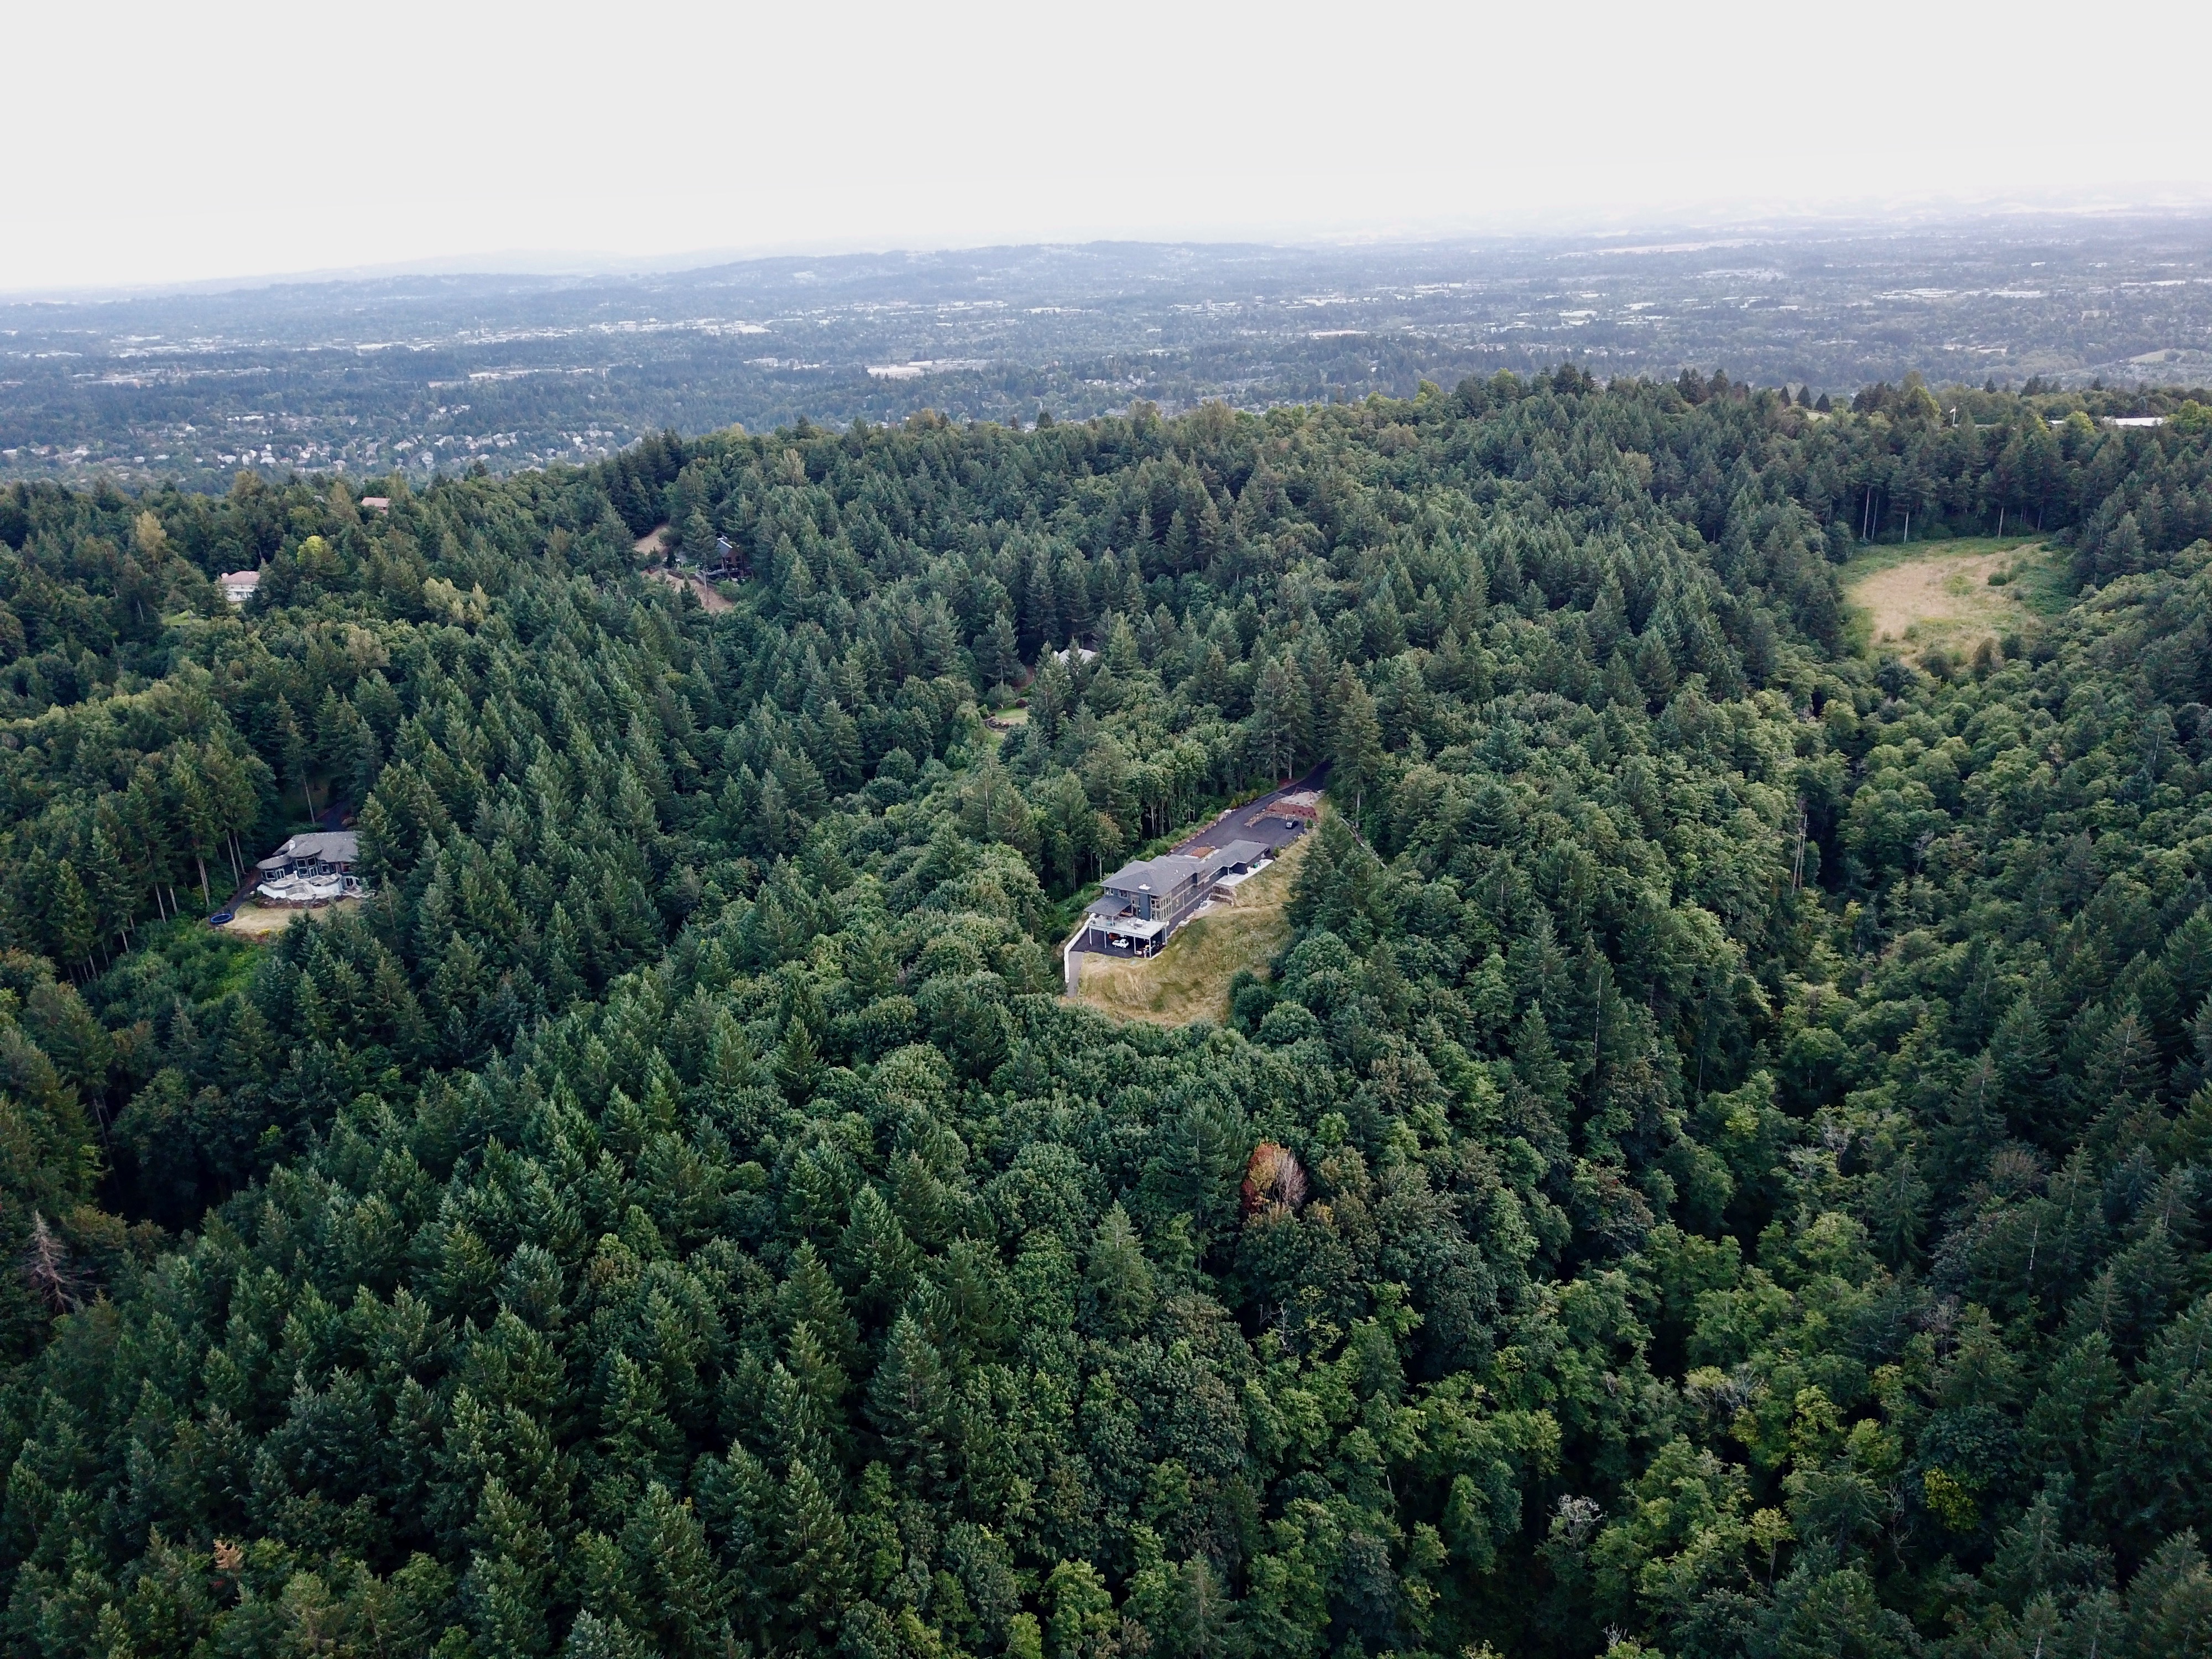
One big project left to do is the driveway lights. I wanted to do something special with the lights. What I want is for each driveway light to be individually addressable (can be turned on/off/color by a single controller), multi color, and multi directional. Envision the lights could follow ahead of you as you drive, with a different color light behind you. Would be cool tech. ( and yes, you could have a drag raced tree pretty much anywhere on the driveway, in any direction ). Think RGB, but bigger.
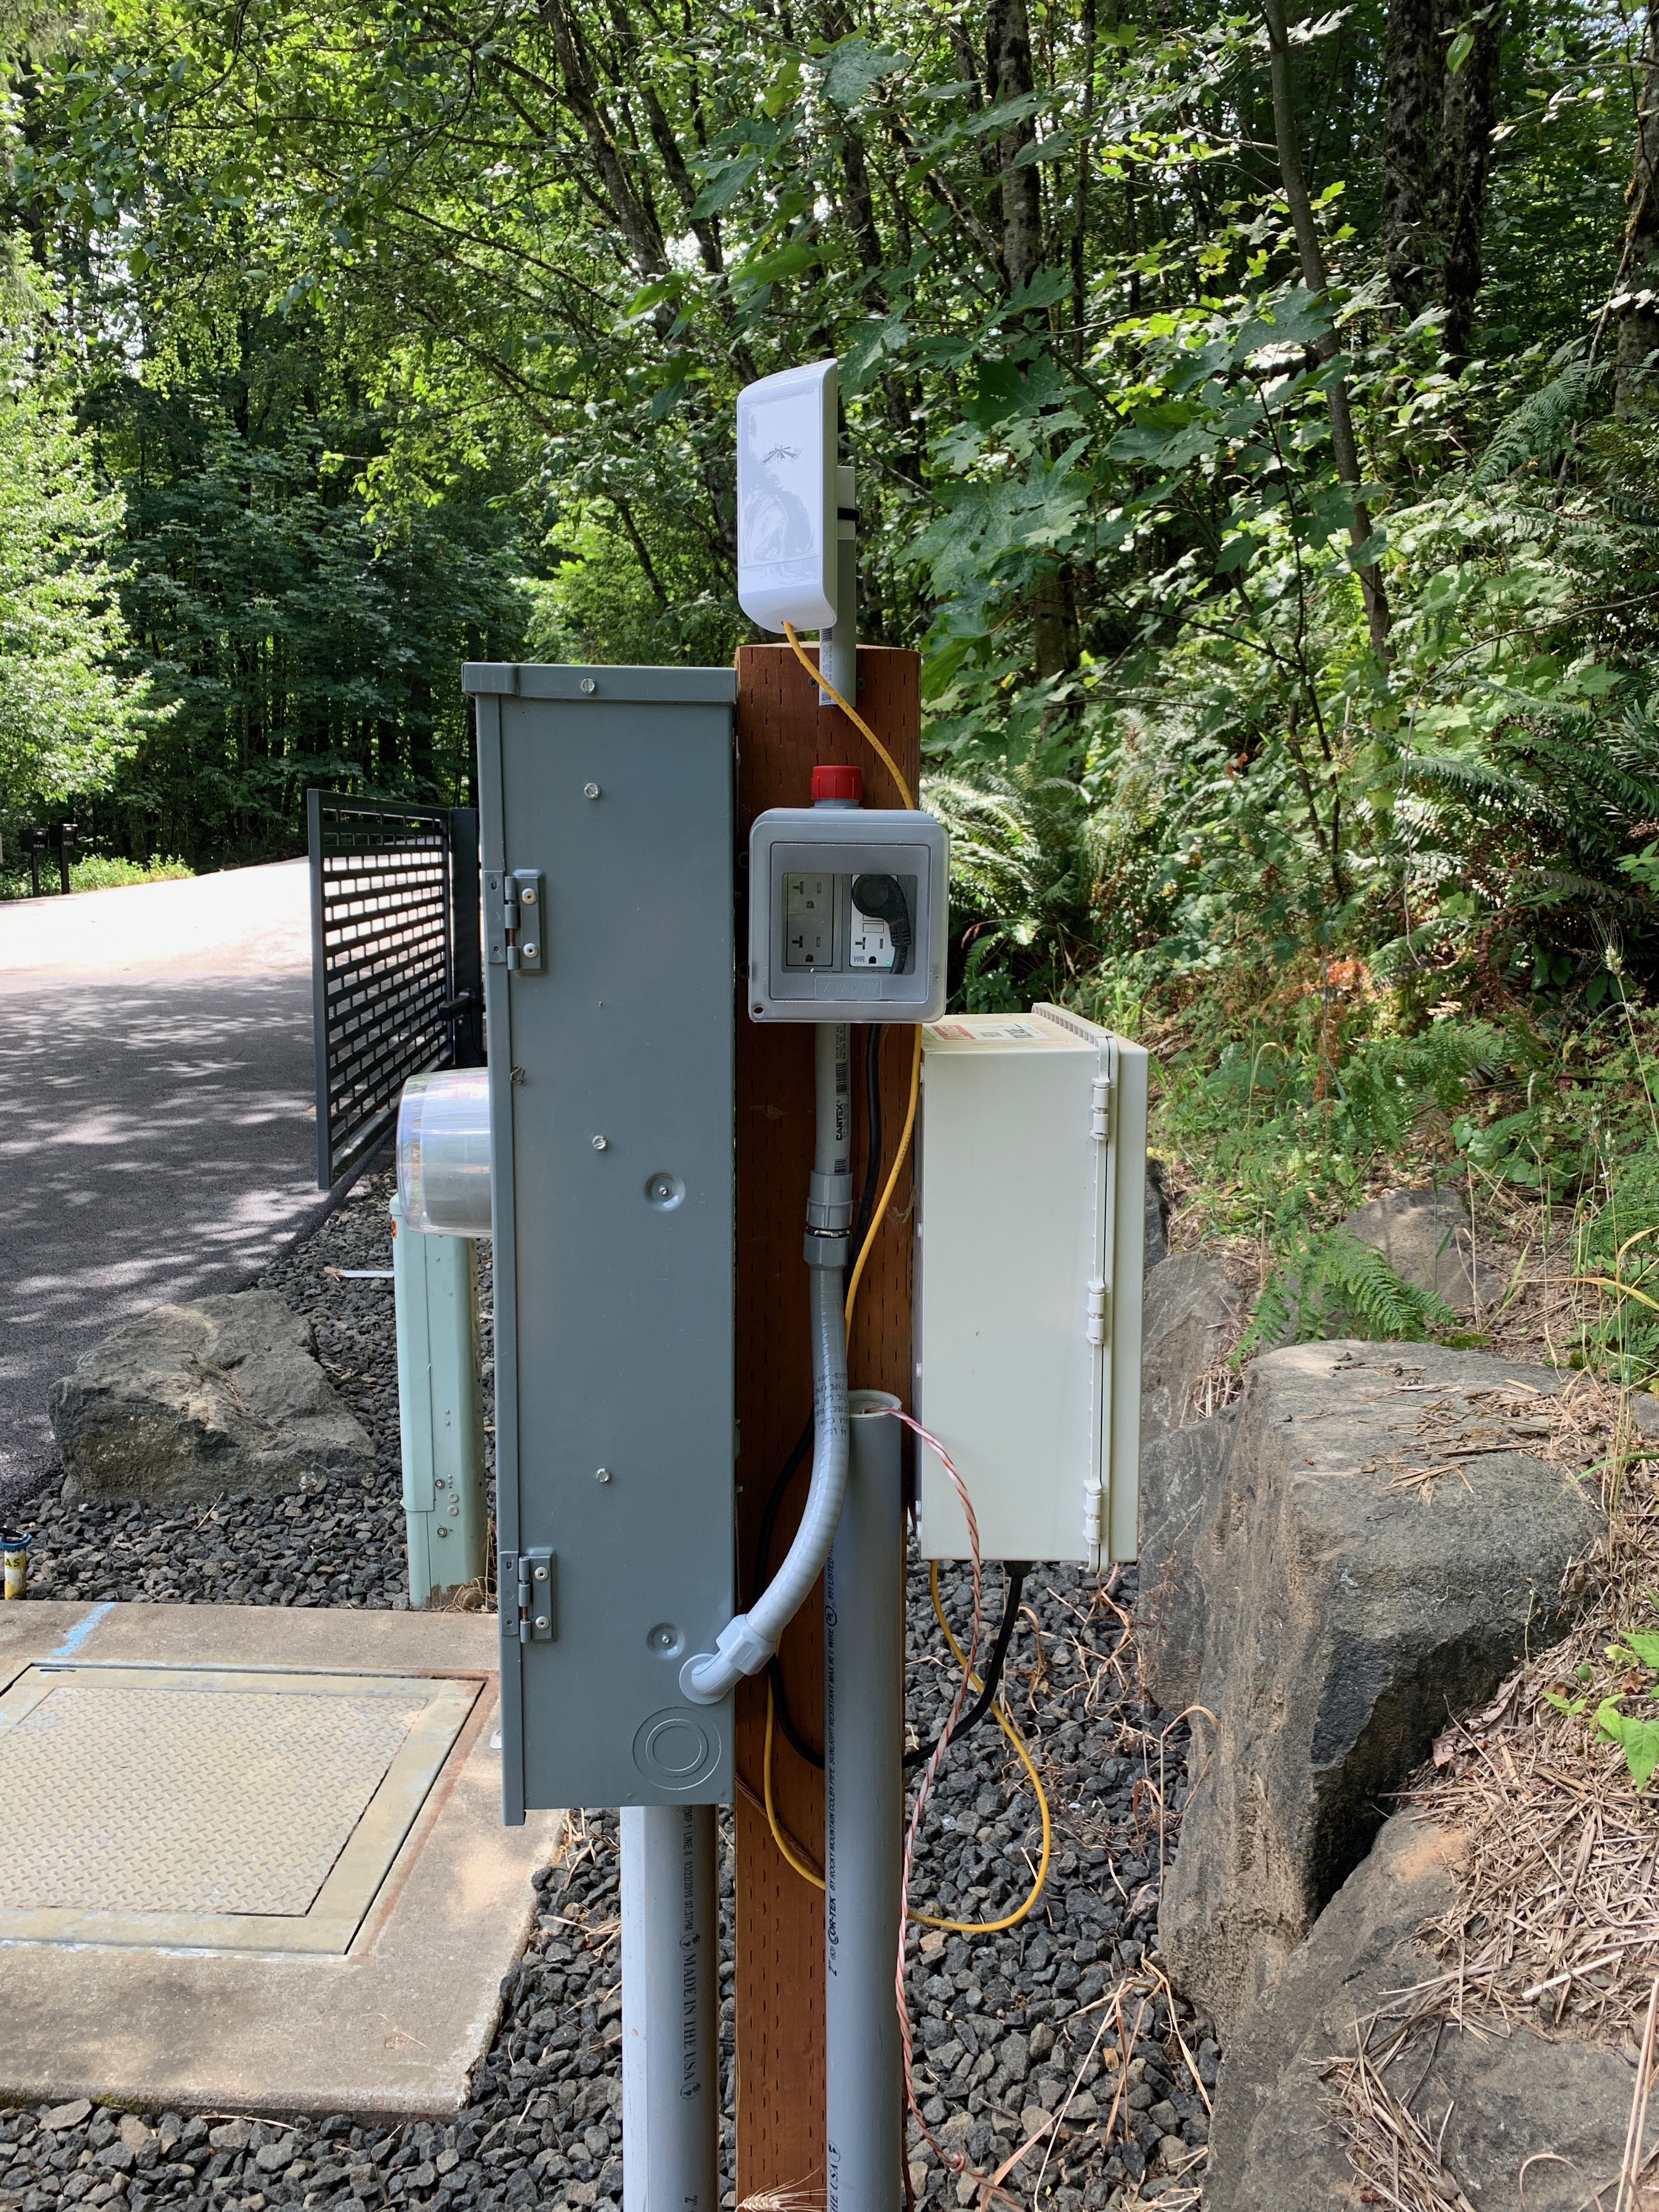
To do this, the first thing I need is power. I have power at the gate and the house, and the driveway is about 1000ft long, so powering each half of the driveway from the ends means runs not over 500ft ground distance, which is probably 600ft of wire.
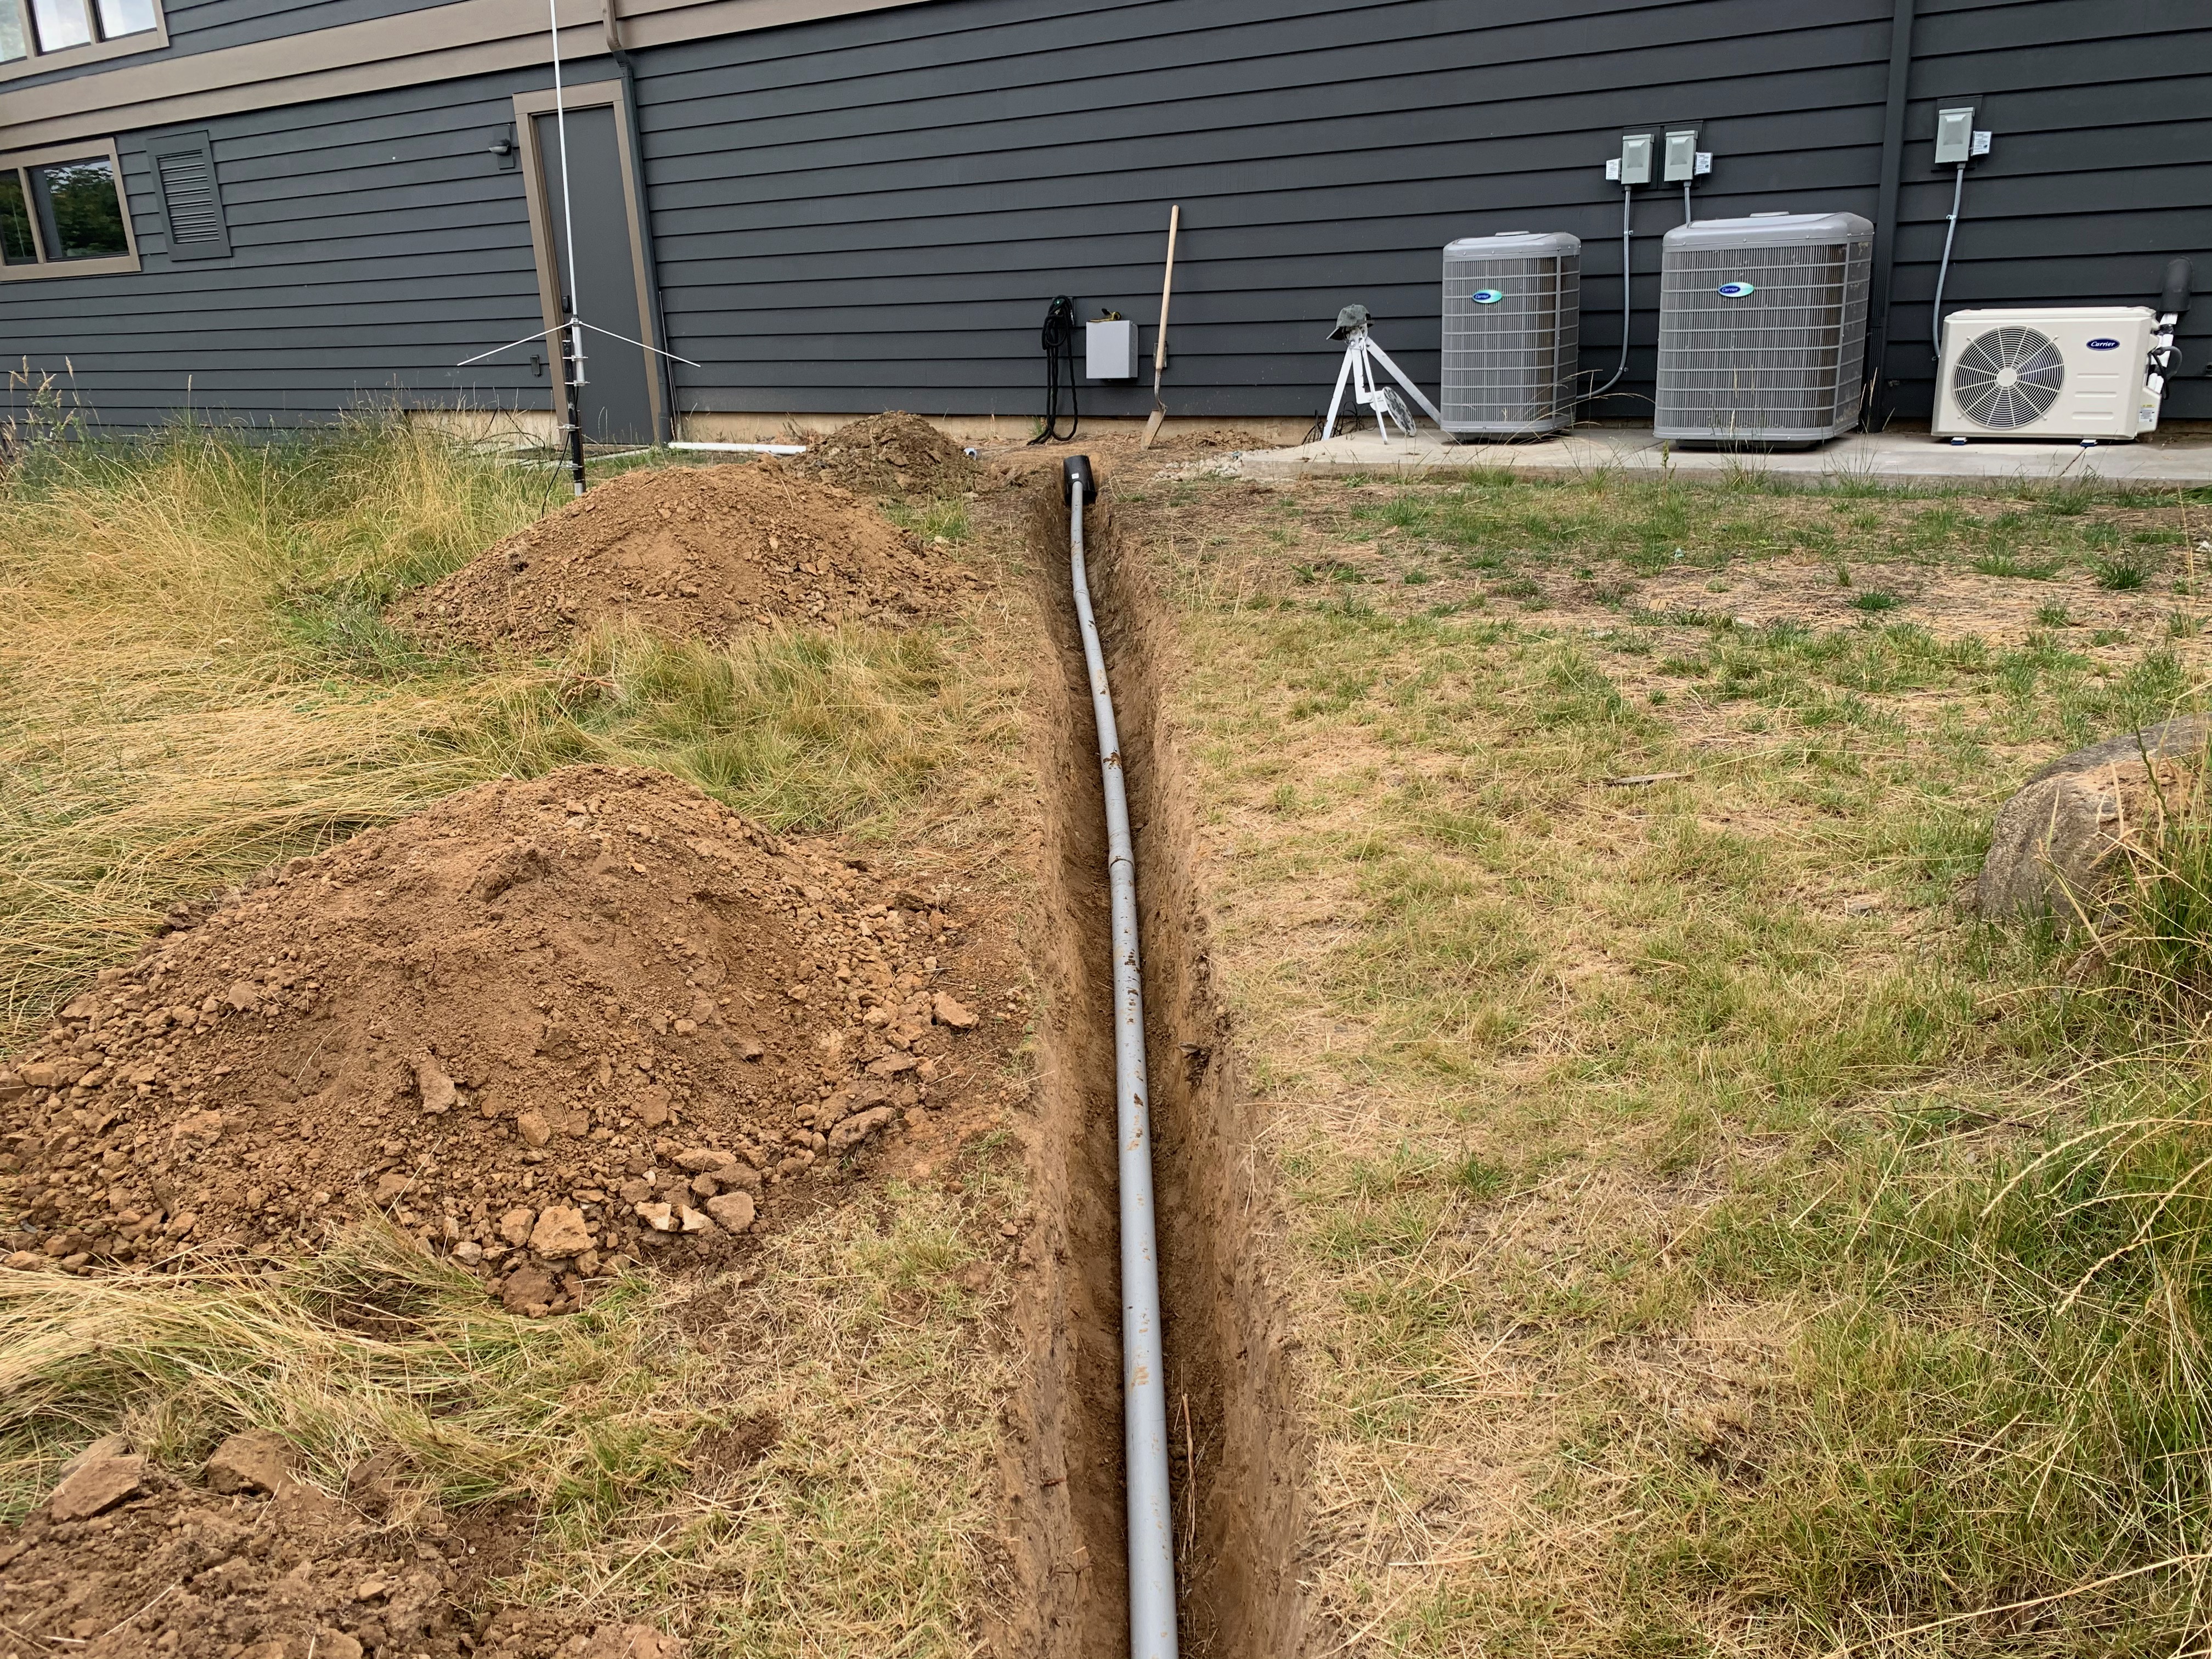
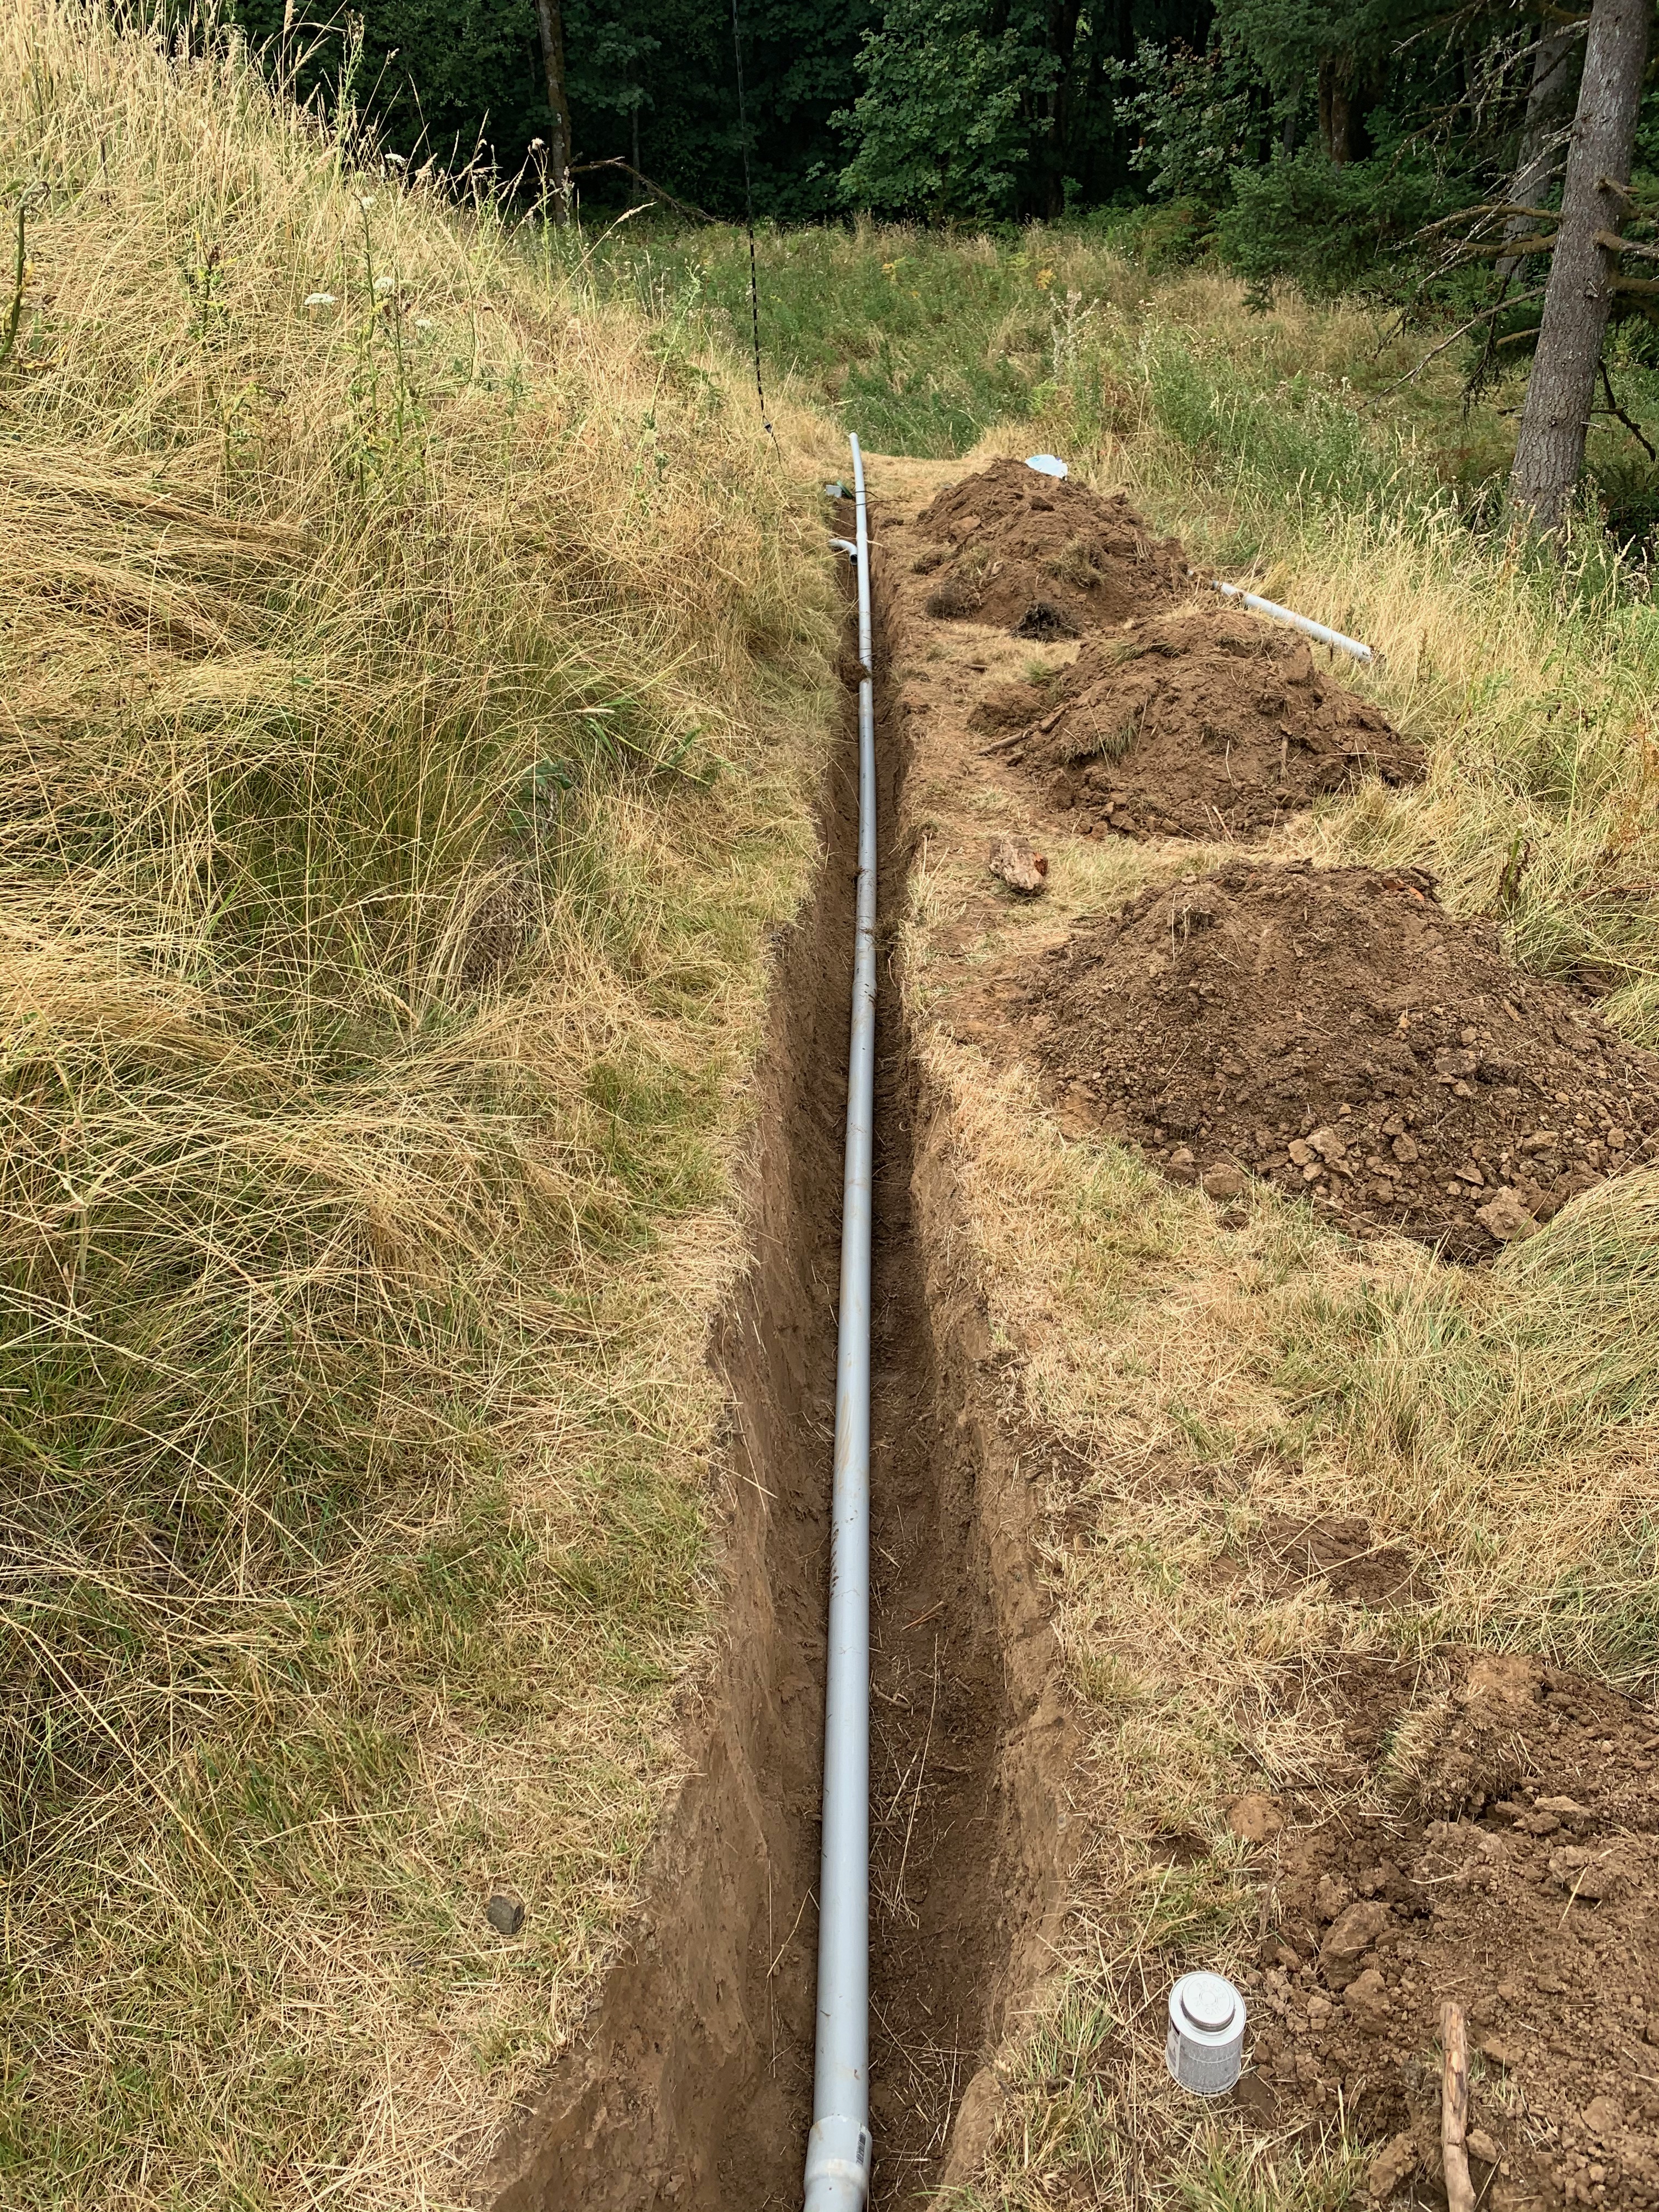
During construction I added conduit for this purpose.
There are a total of 22 power drops along the driveway, covering each side.
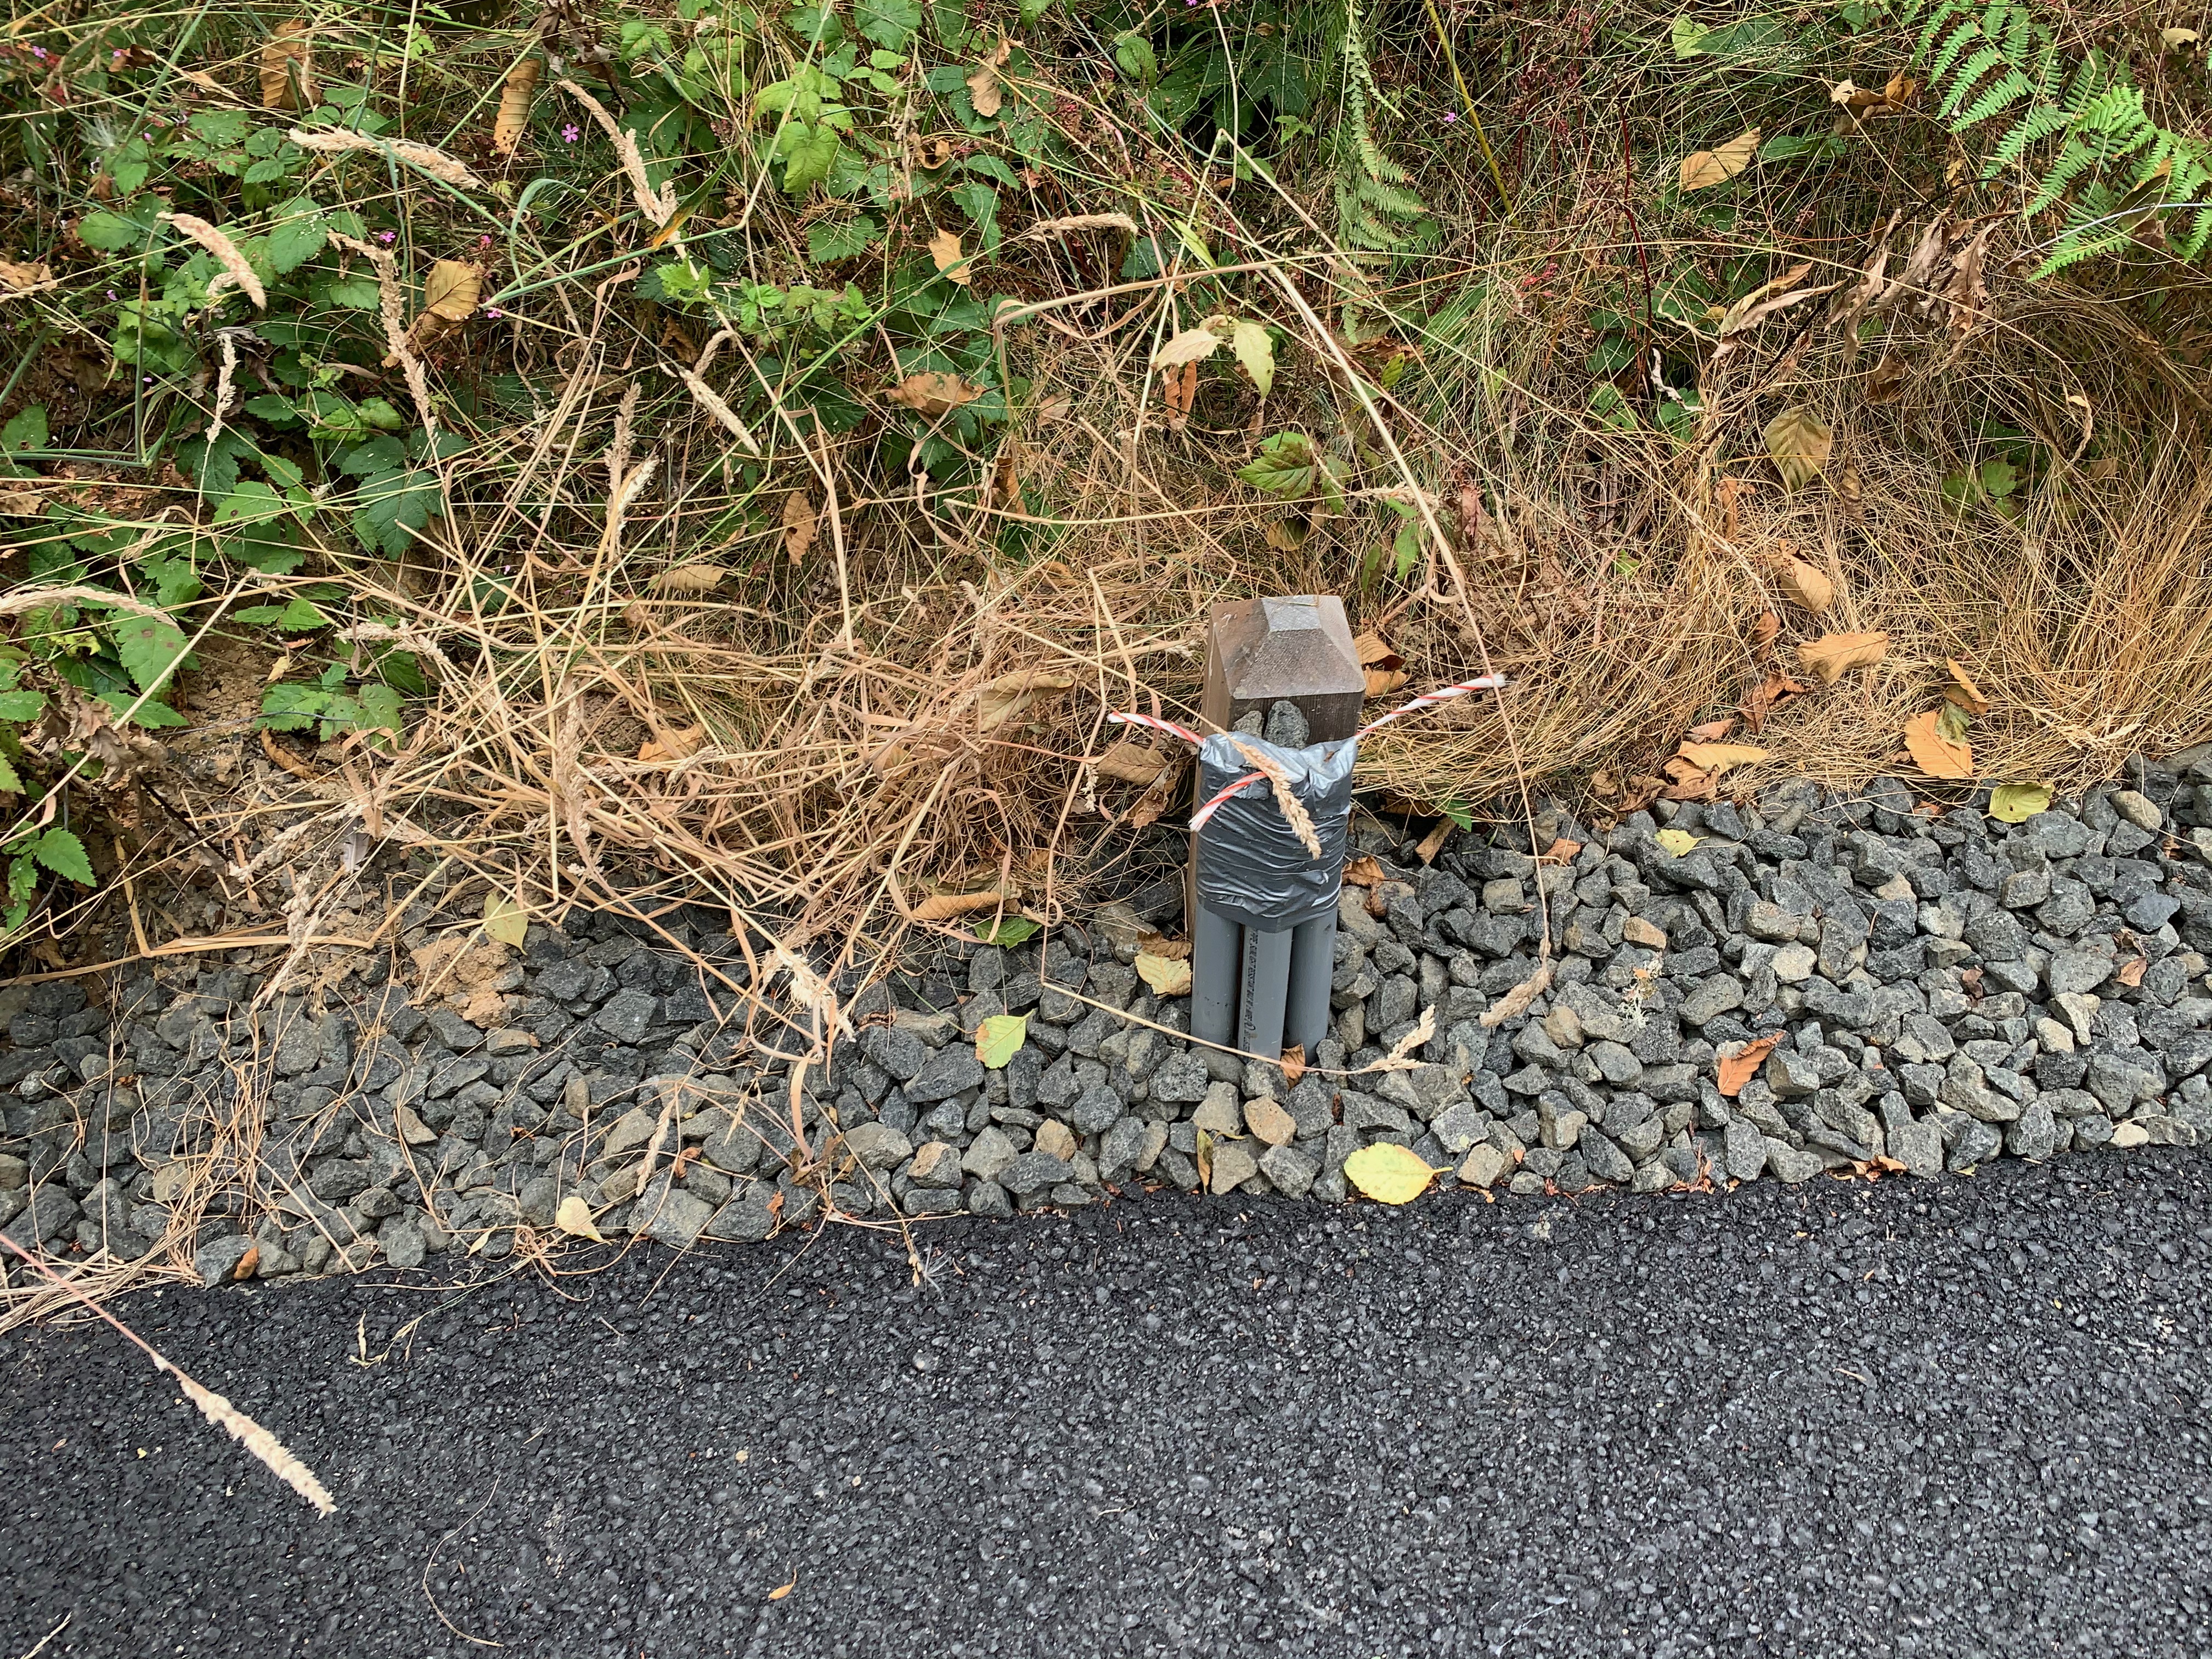
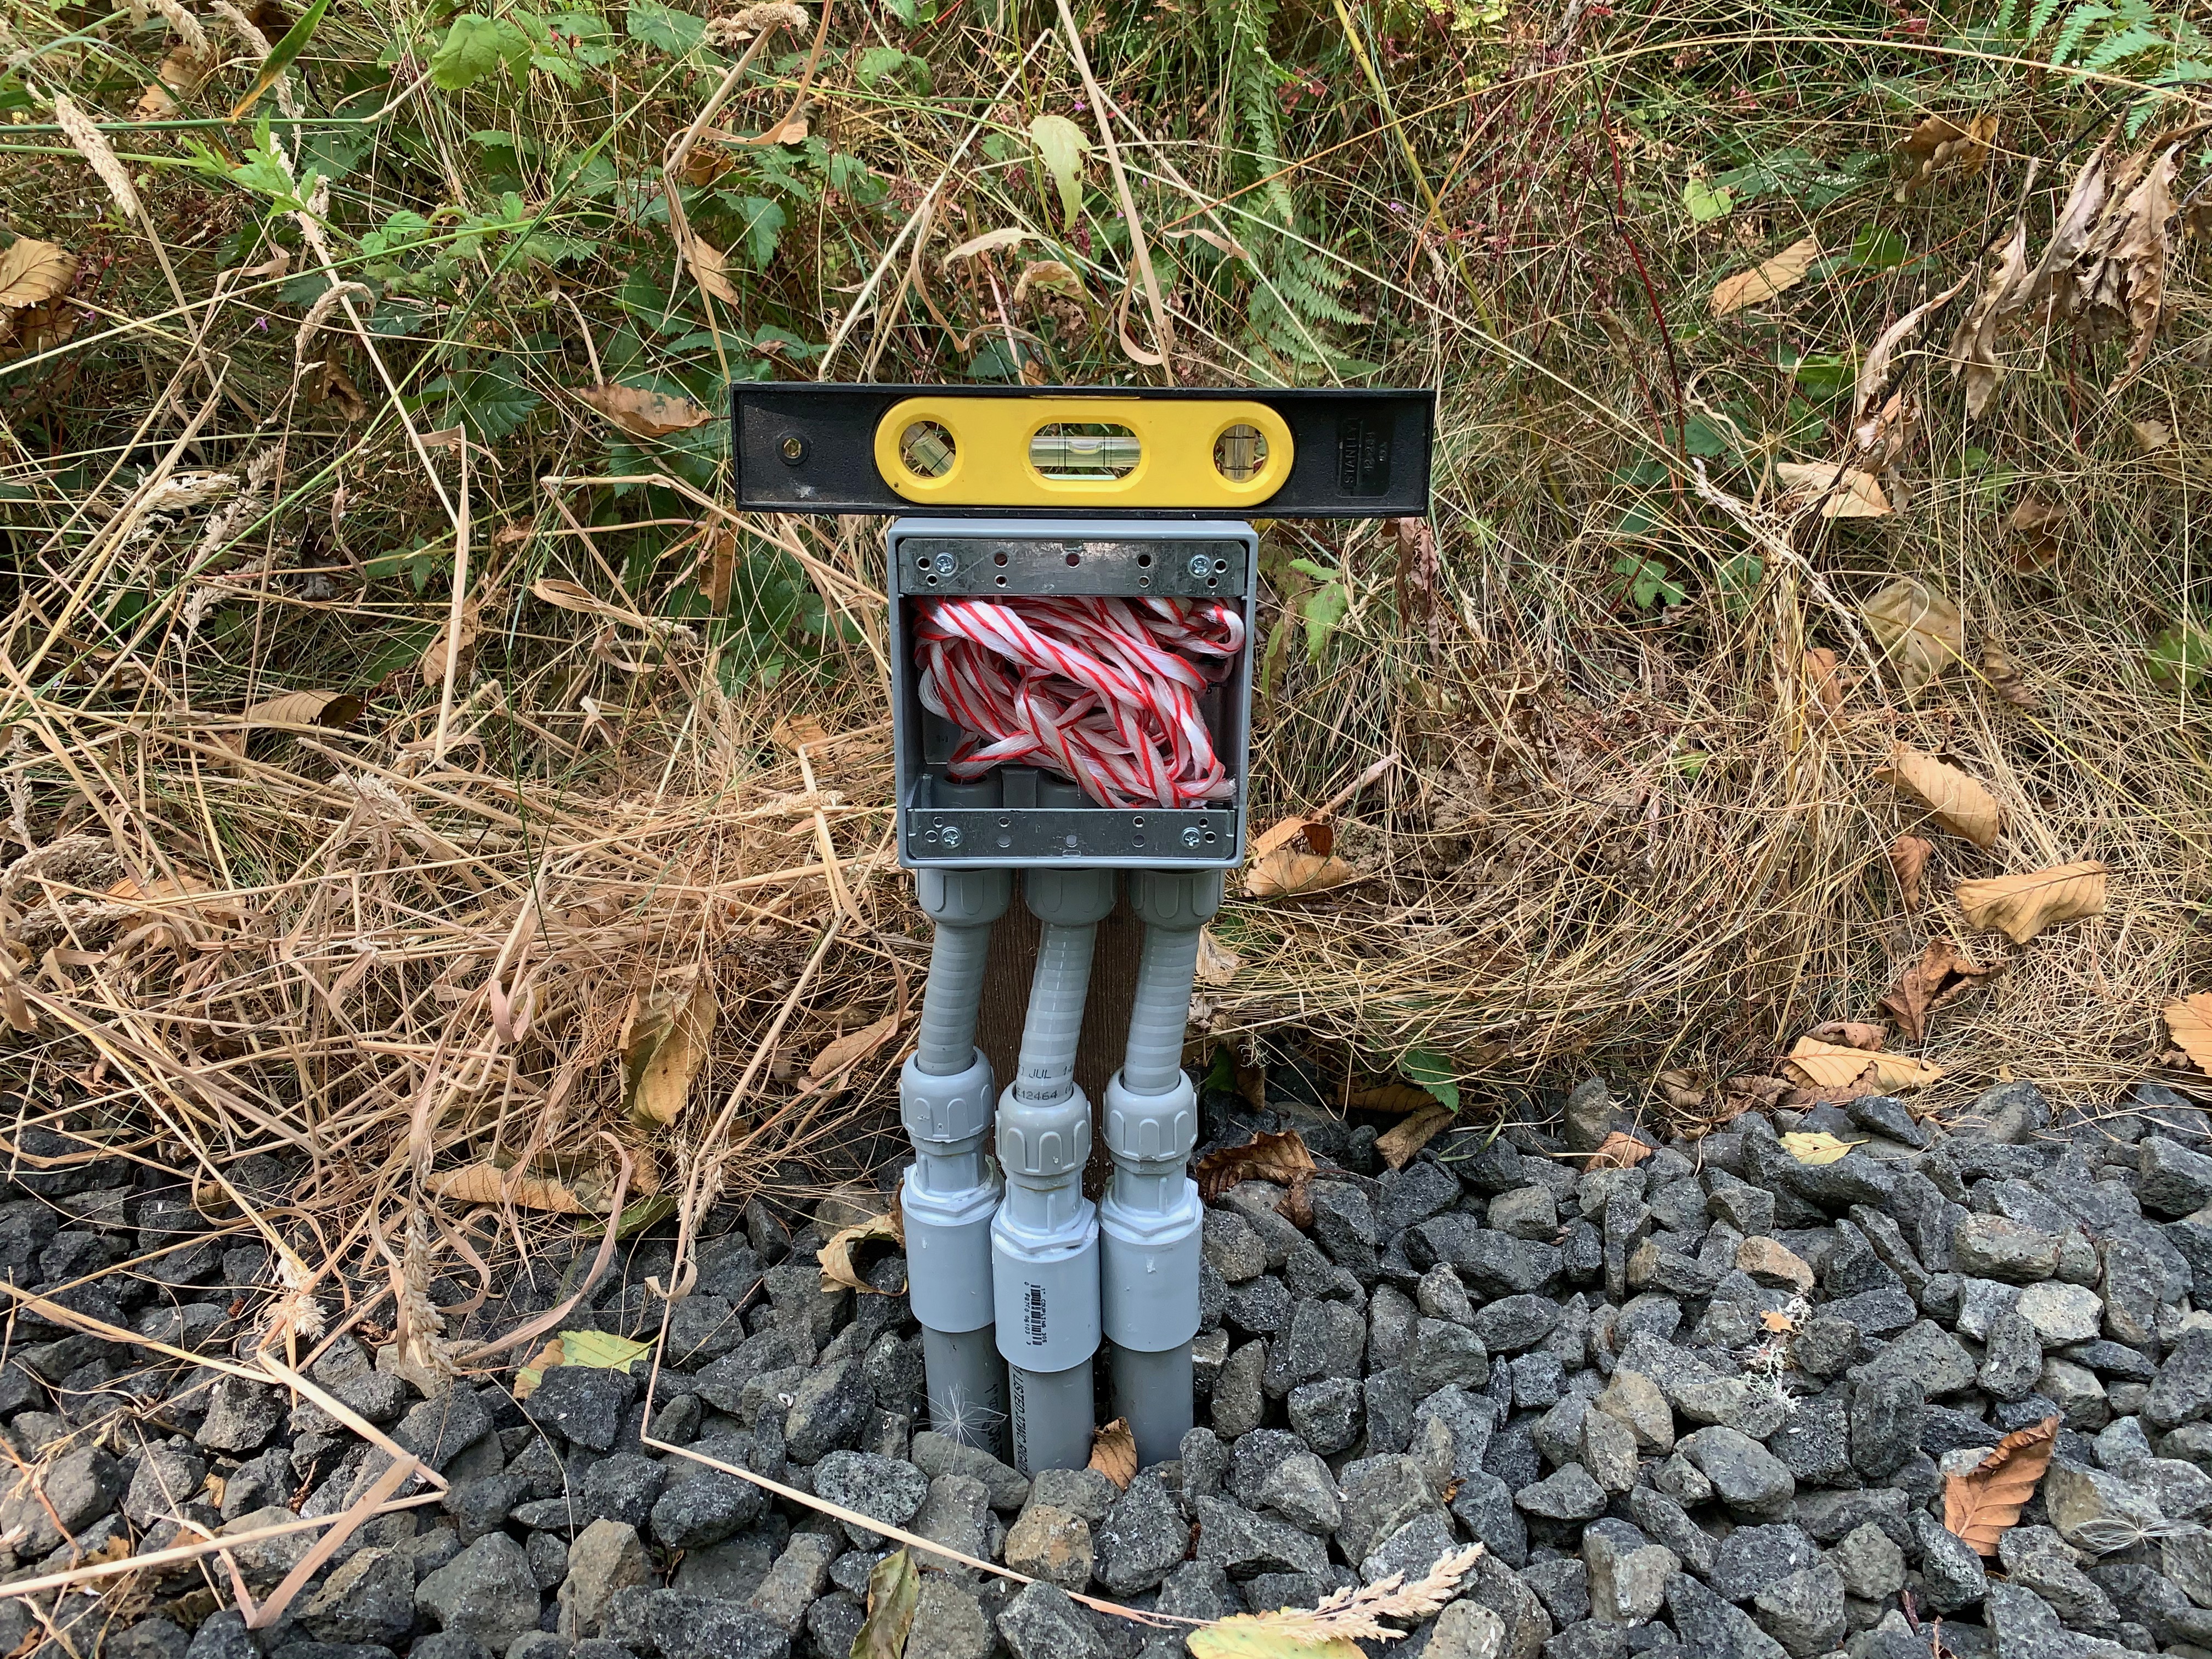
This, for example, is a mid drop that has three conduits, one to the next box on the left, one to the next box on the right, and one under the driveway to the other side.
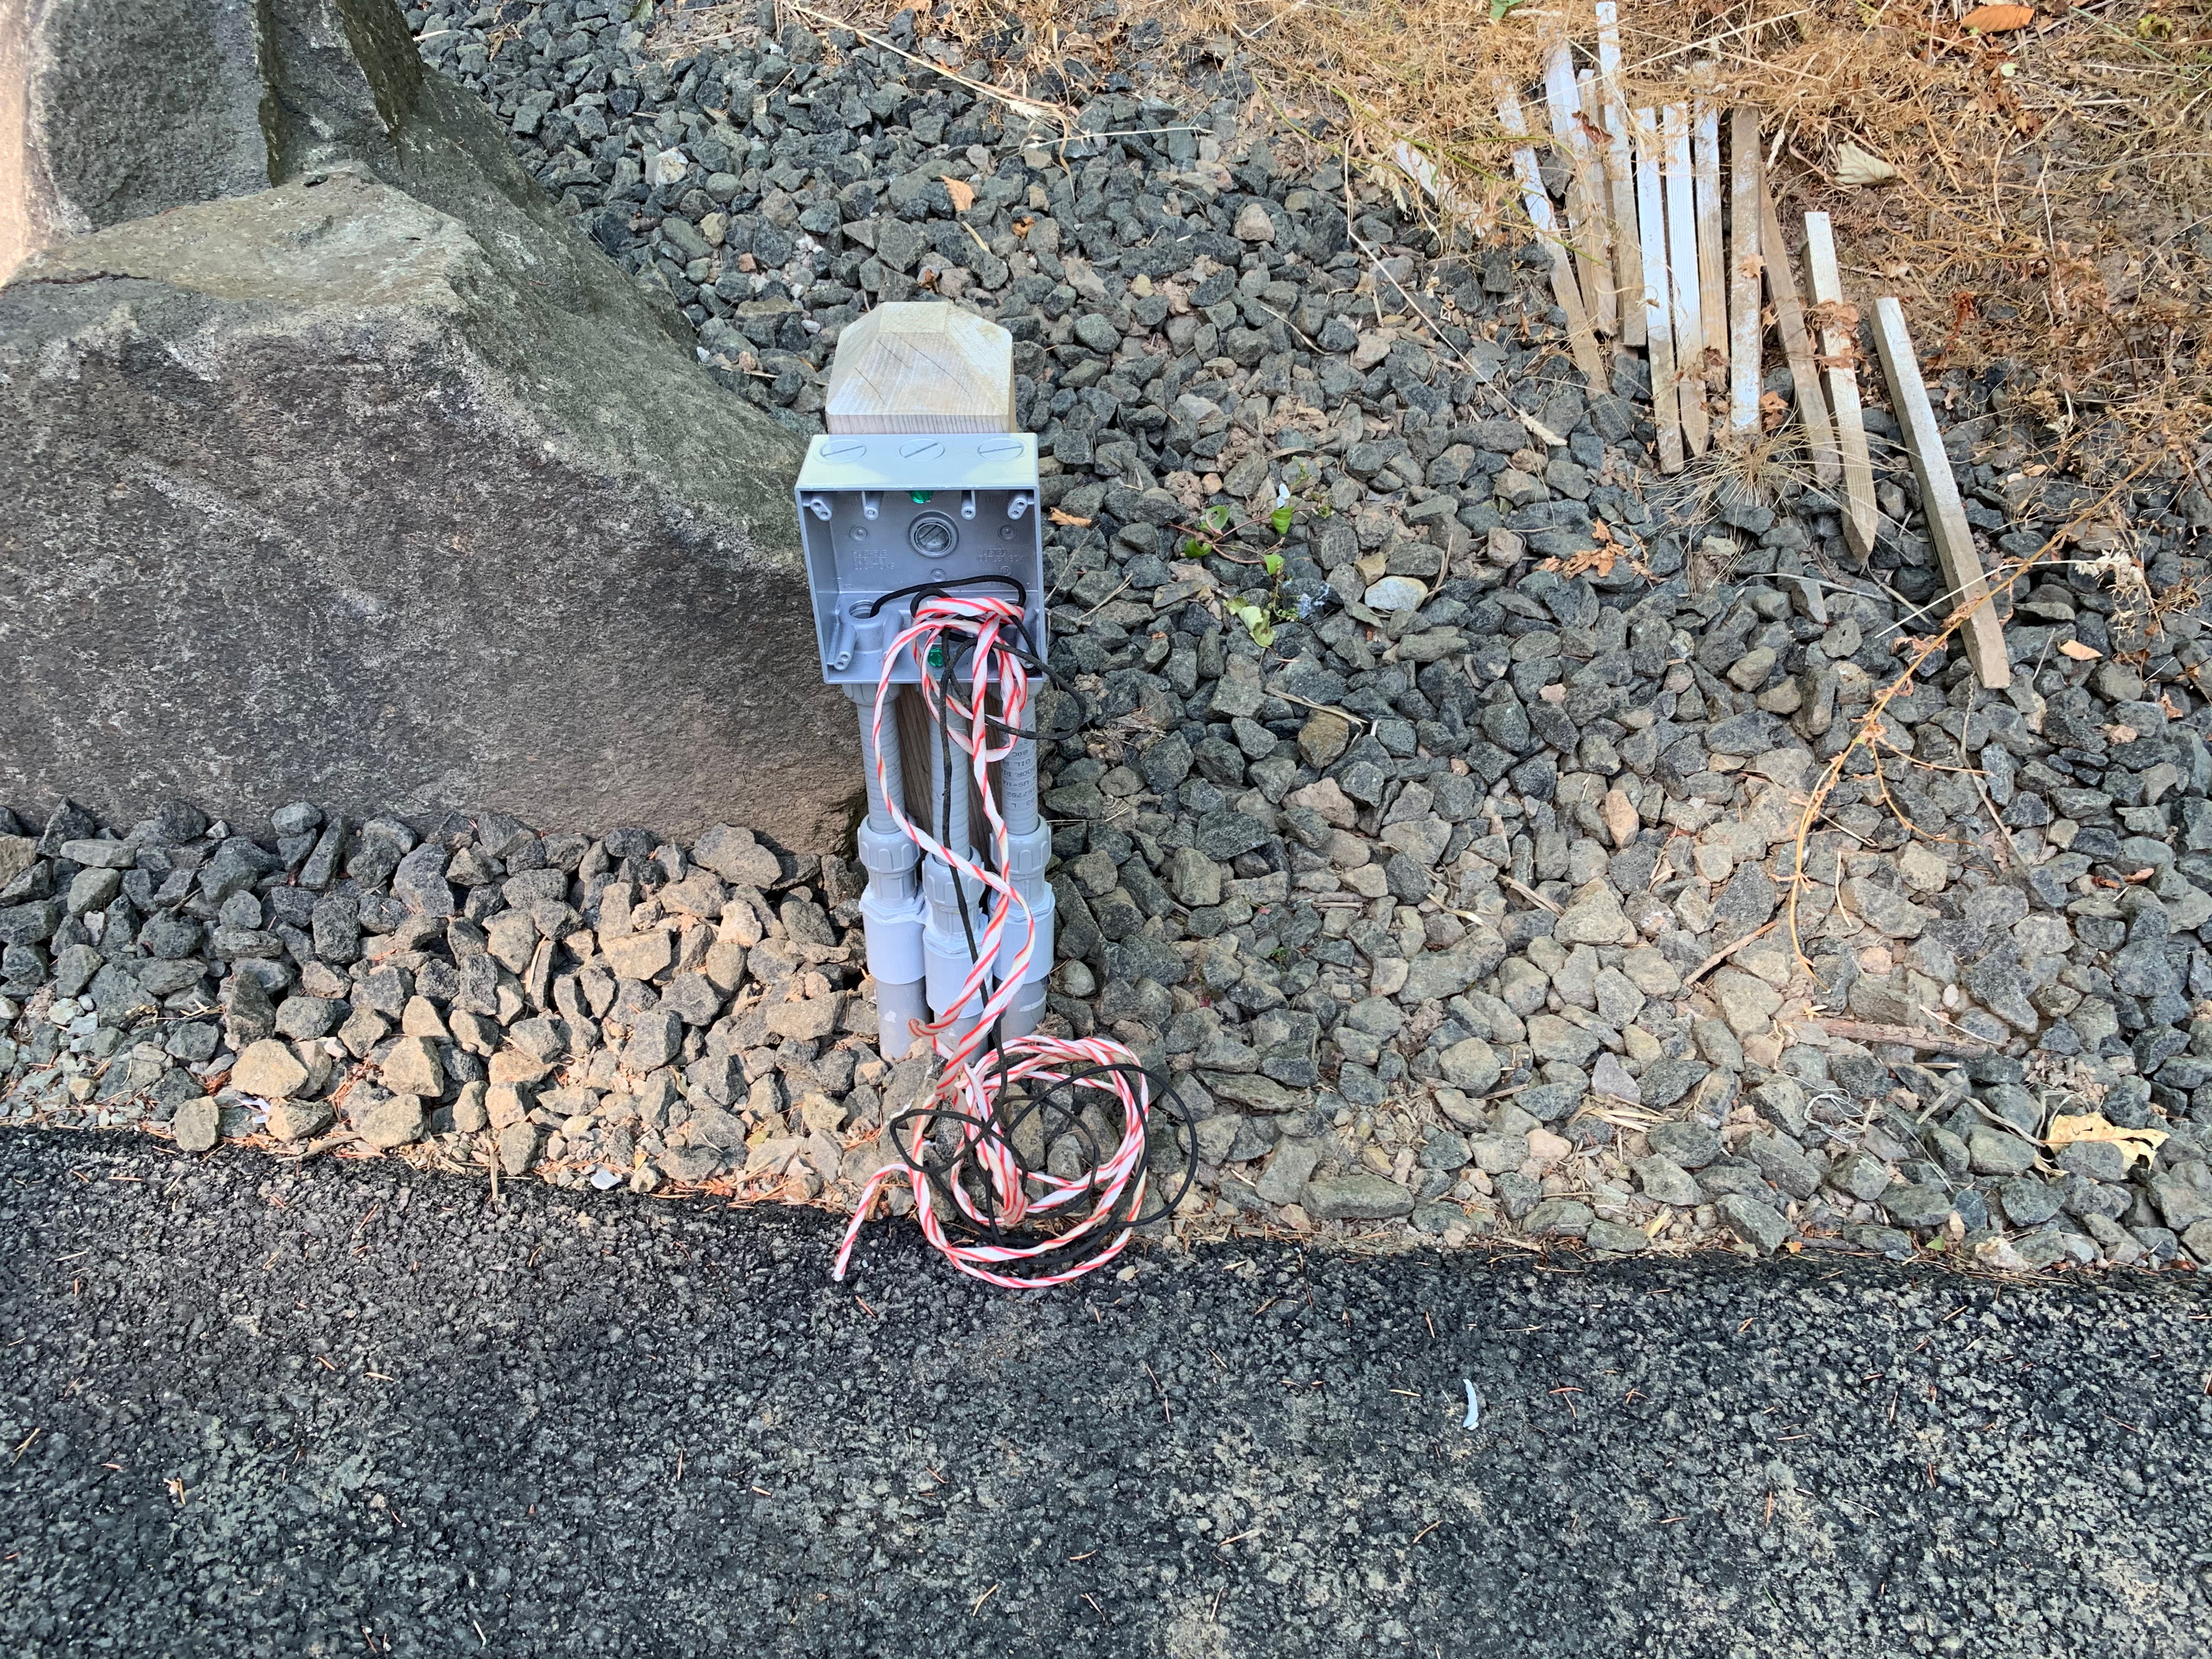
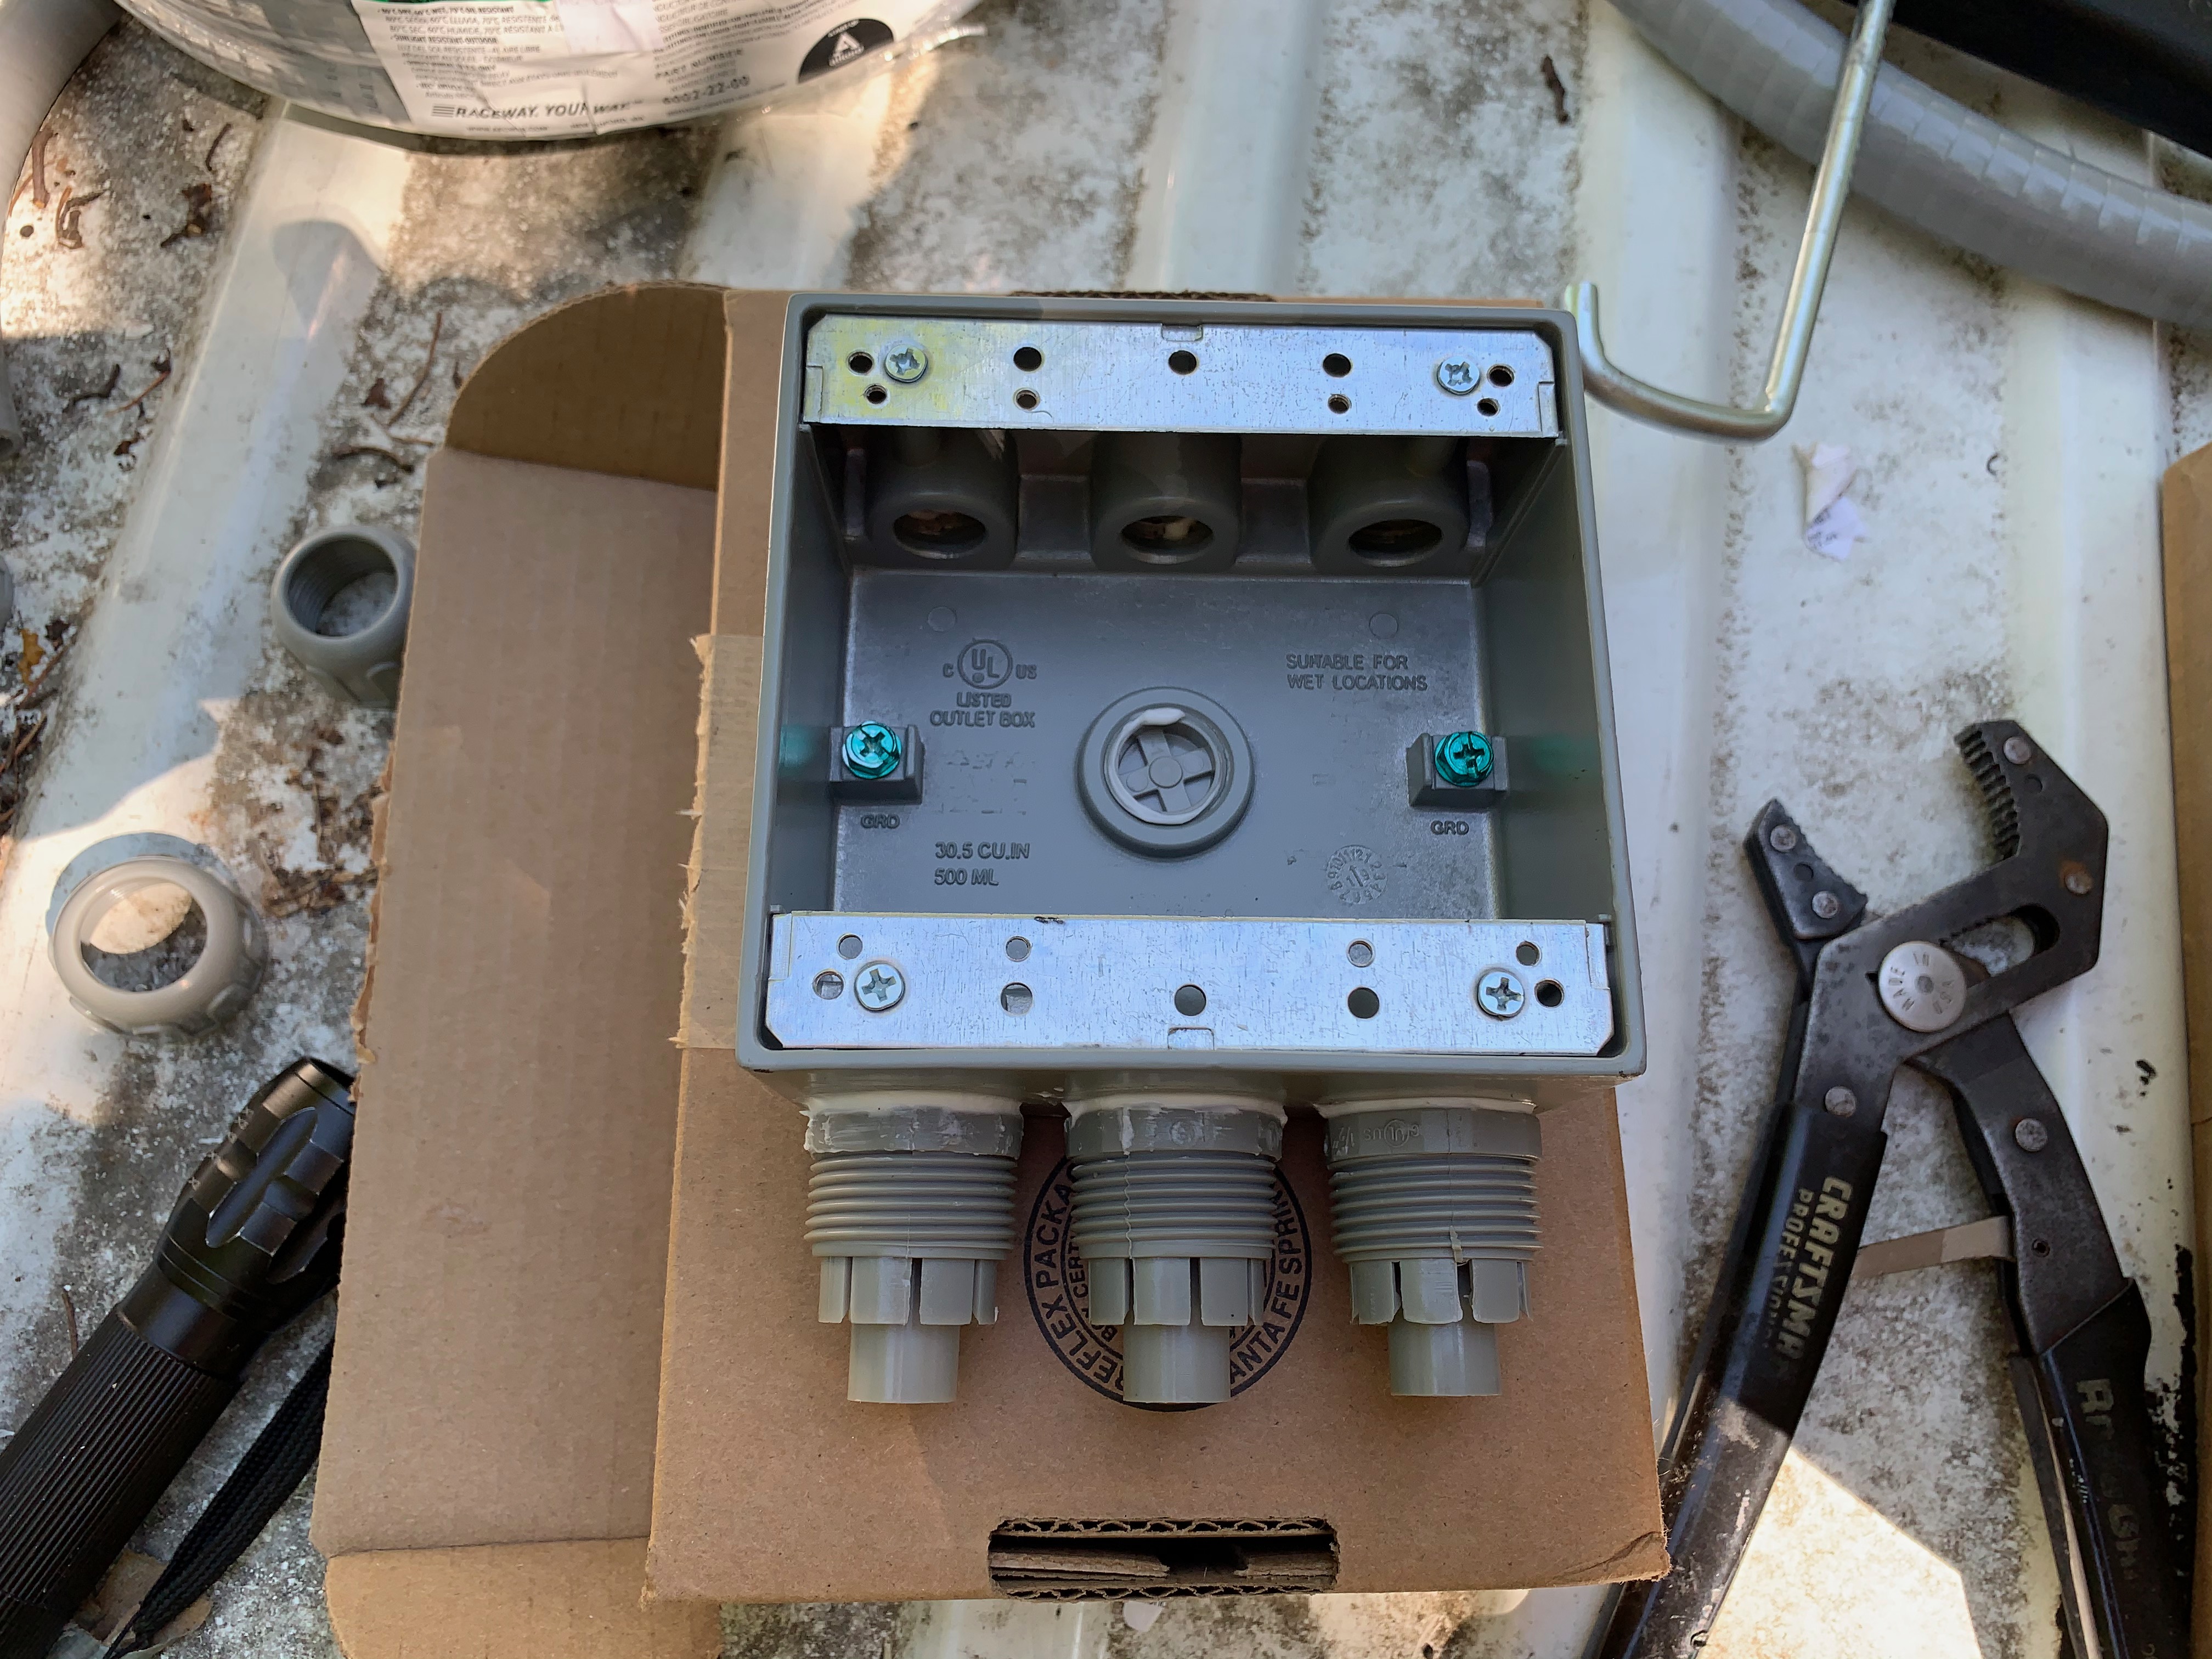
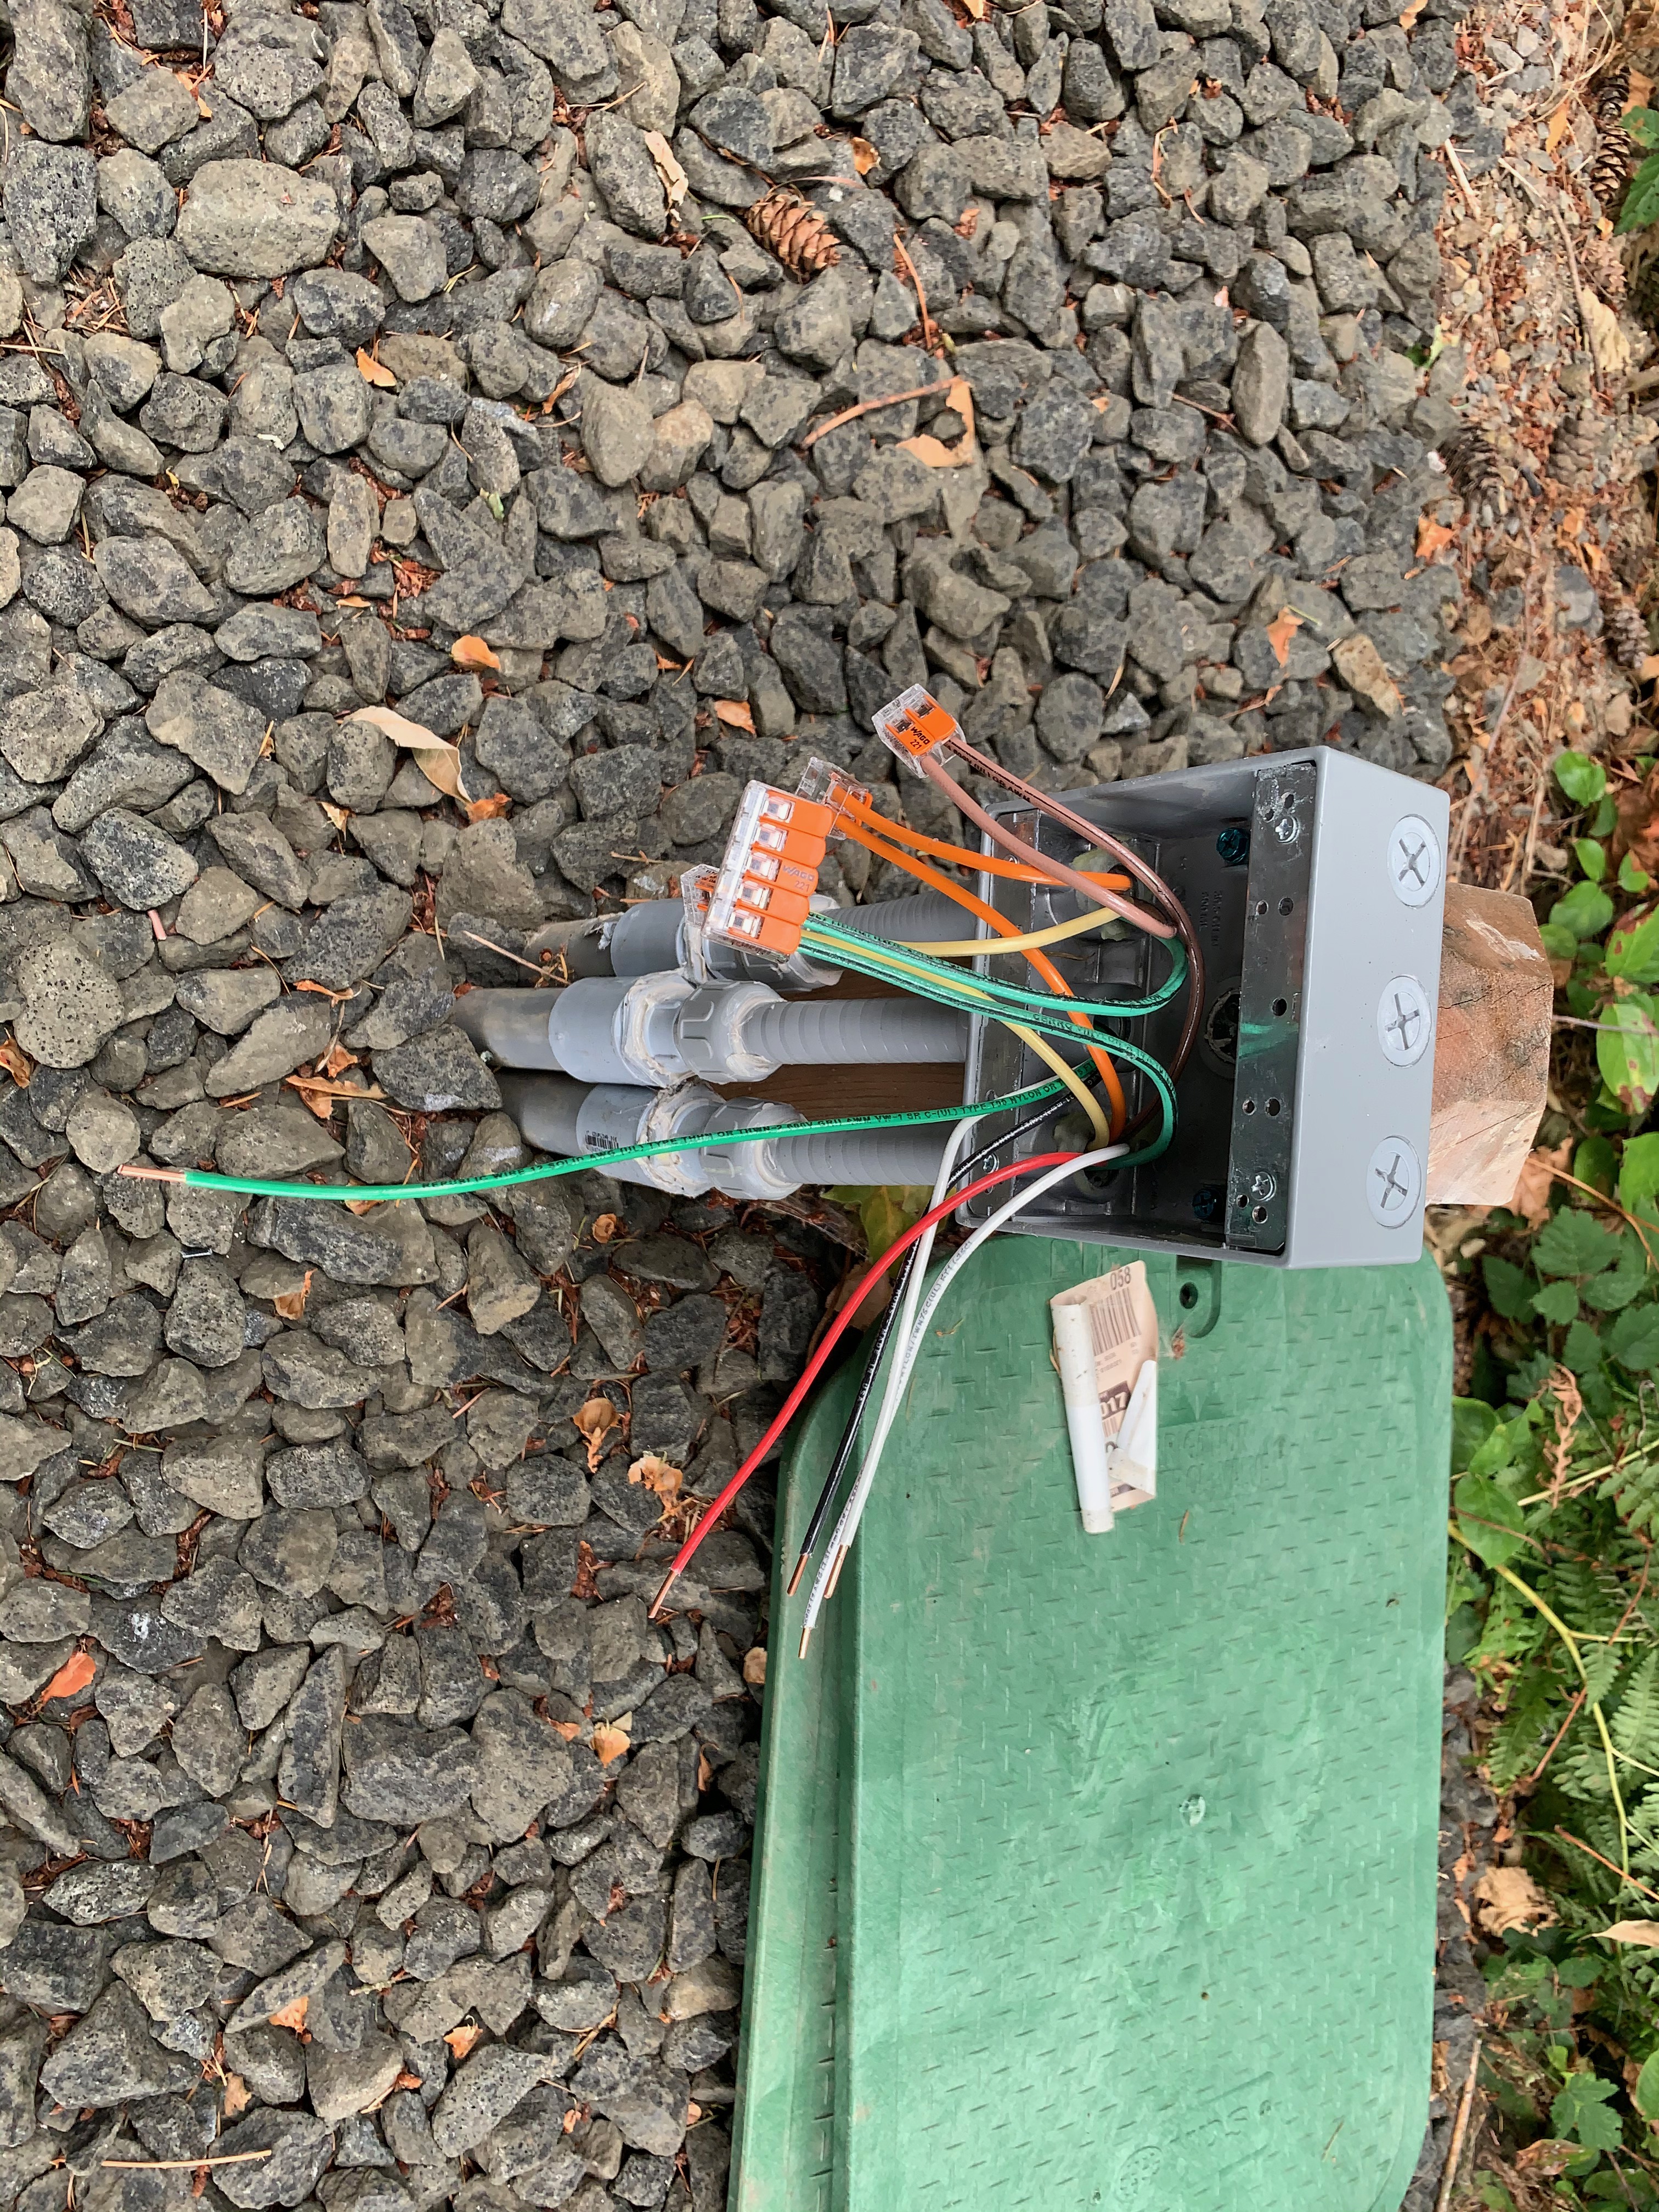
At each location I added a box with conduit connects and pull strings.
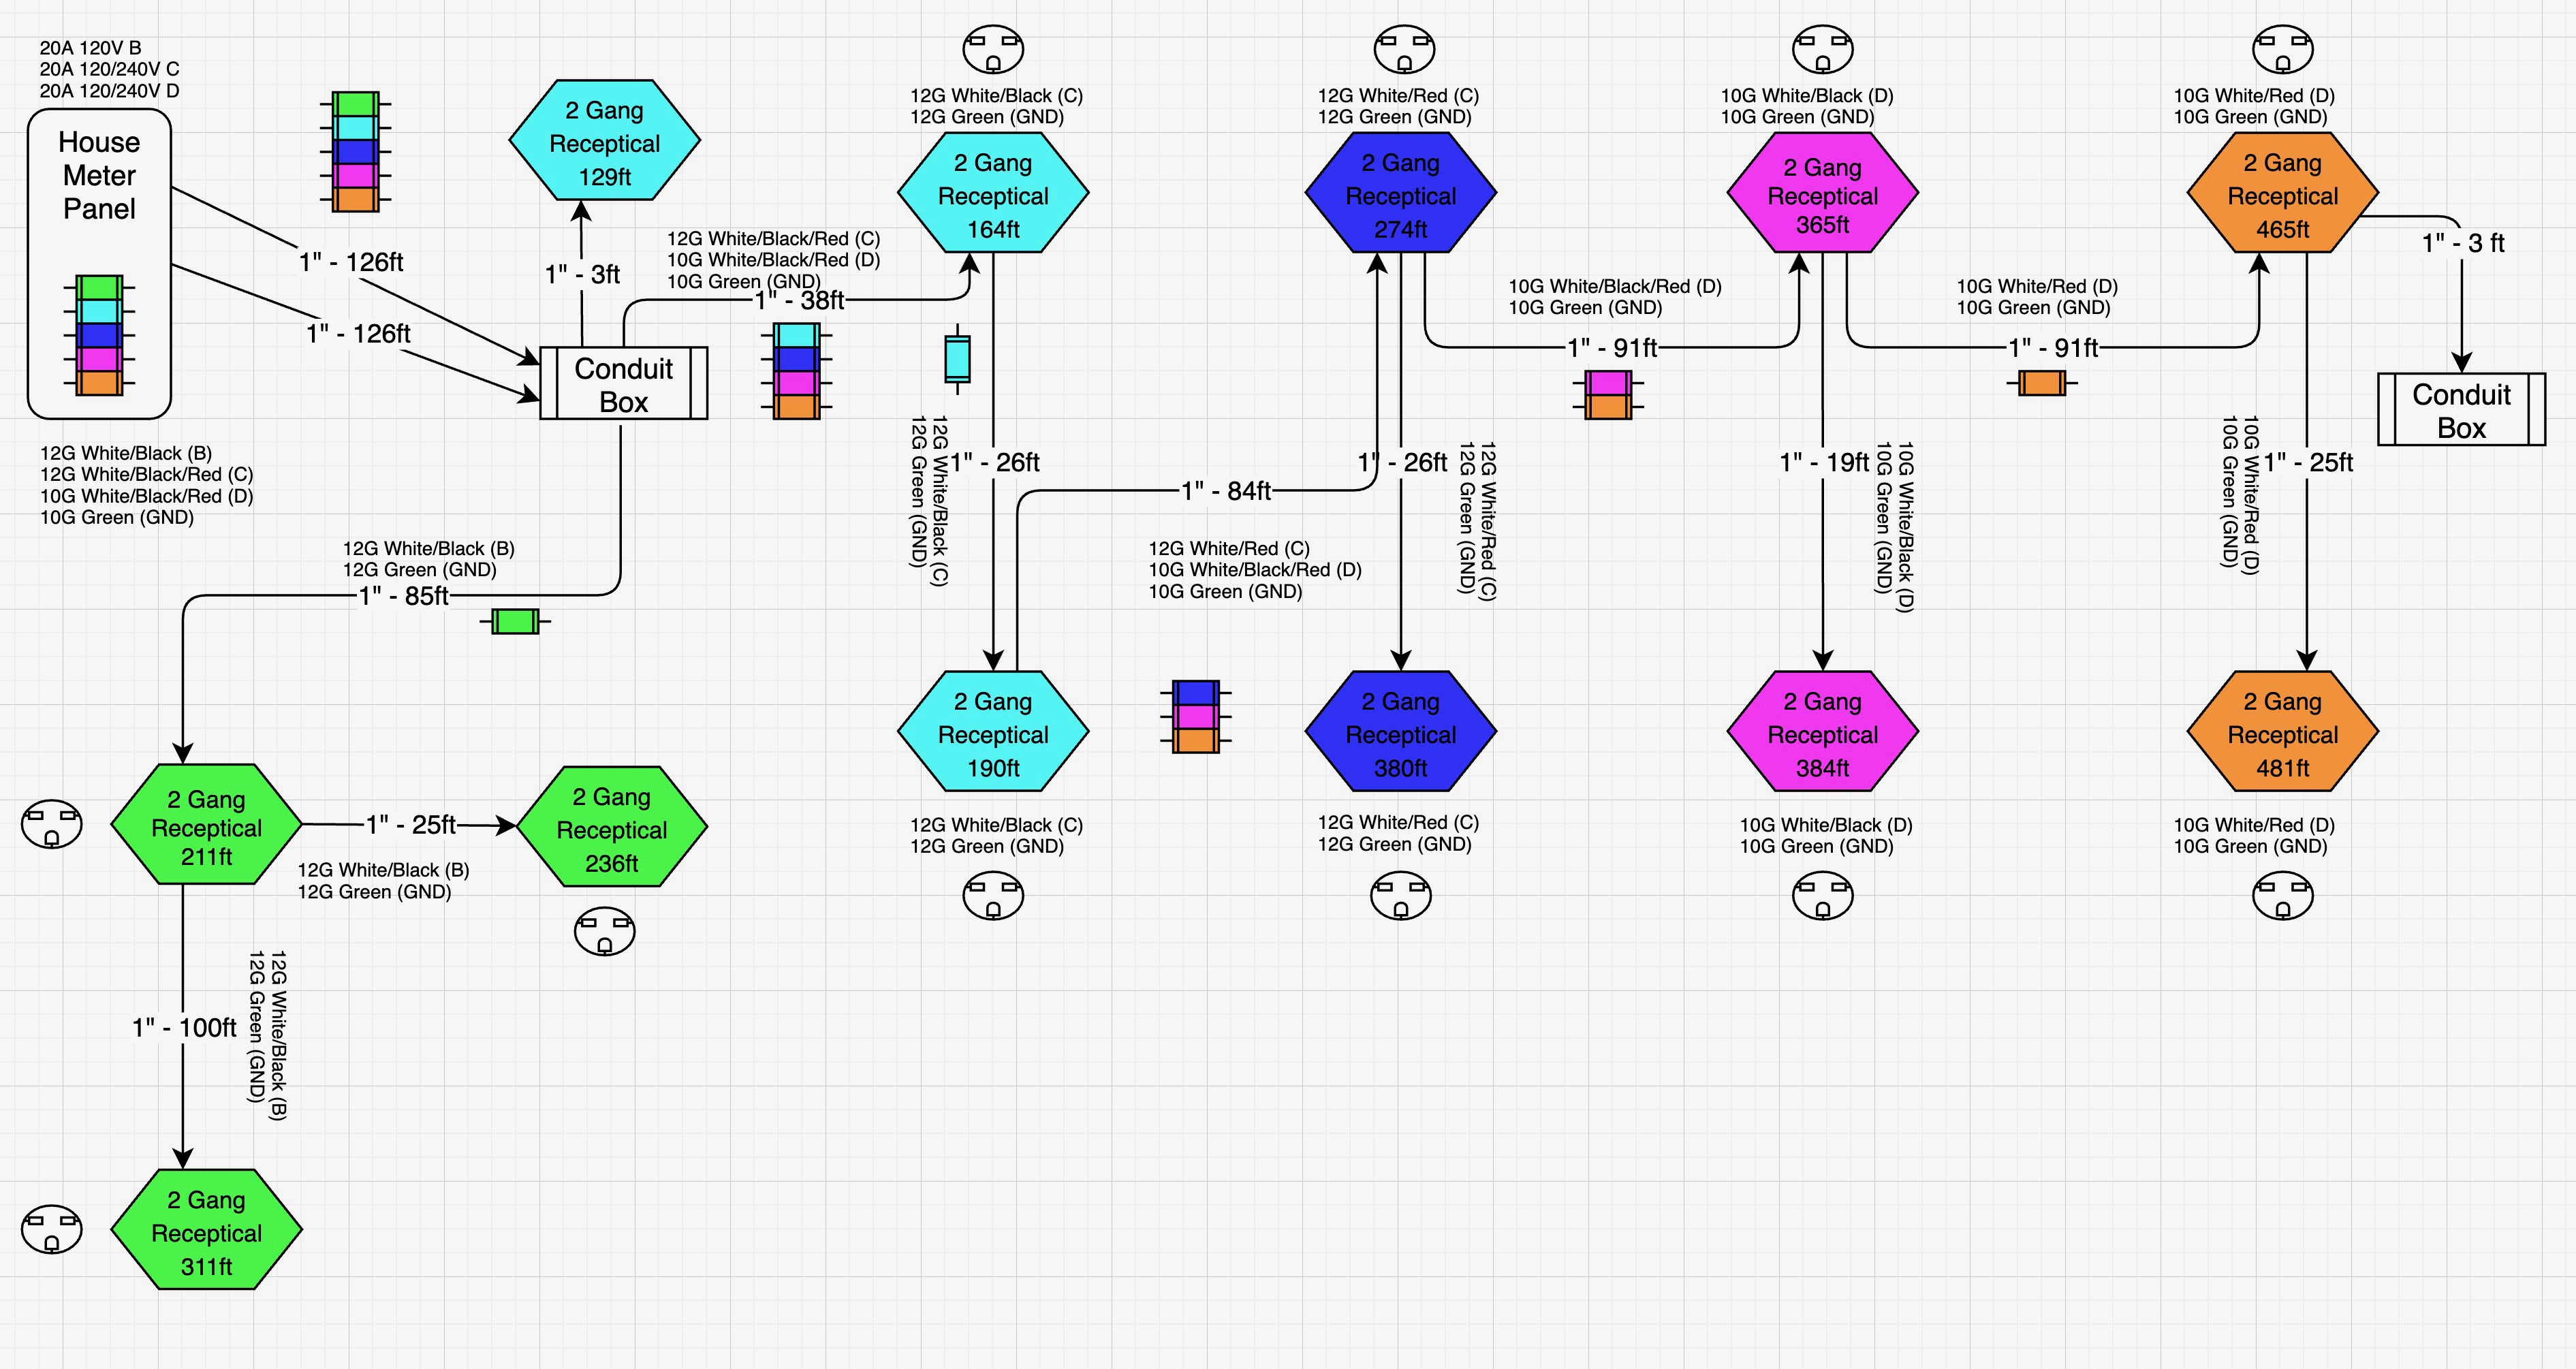
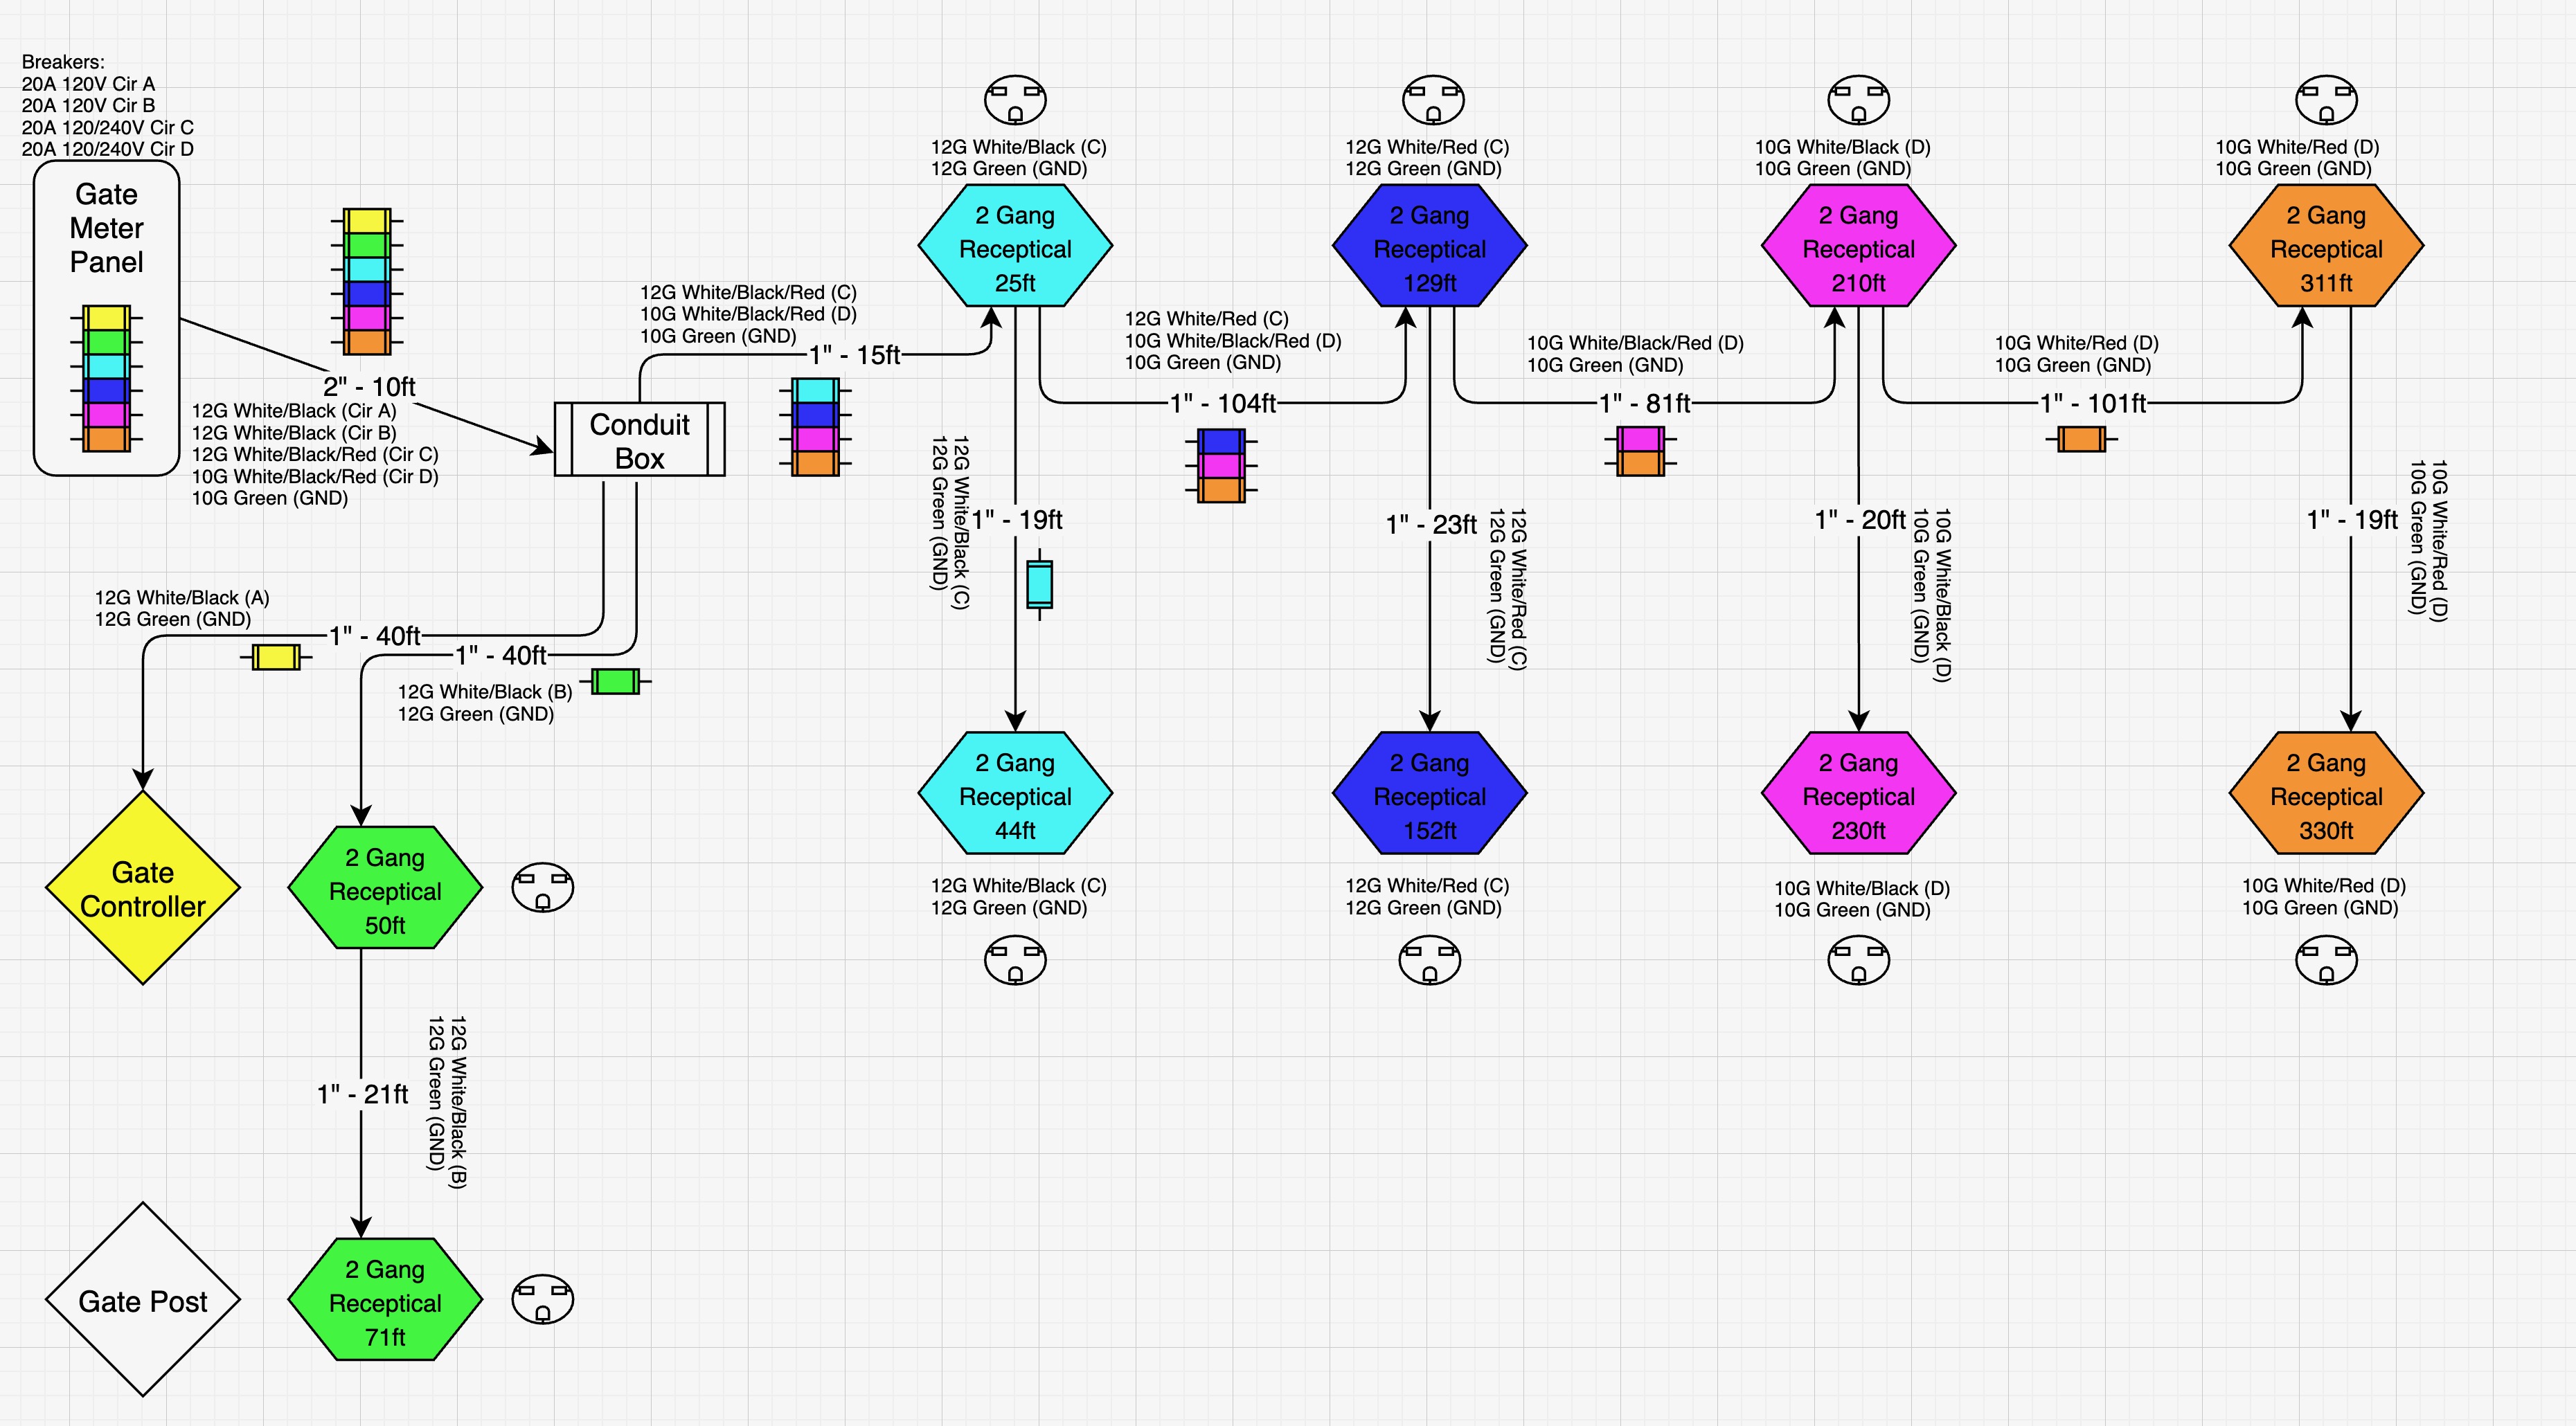
The issue with such long pulls is voltage drop. While I don’t need a ton of power for the lights, I’d like to have the outlets useful for other things. My design, shown on these next two diagrams, was to split the outlets into groups and have those groups on dedicated circuits. That allows the farthest plugs to be on circuits that are only used for those far locations. I also used a combination of 10 gauge and 12 gauge wire, based on the length and load. The result is a reasonably good distributed power grid for future use, especially in a residential environment. There will be a total of 10 20-amp breakers for these wires. (Note I am running each set in pairs, (2 hots and a neutral), so if I need it I will have 240Vs available at each box.
With the plan in place, I ordered wire from Platt ( it ended up being a 275 pounds of wire!)
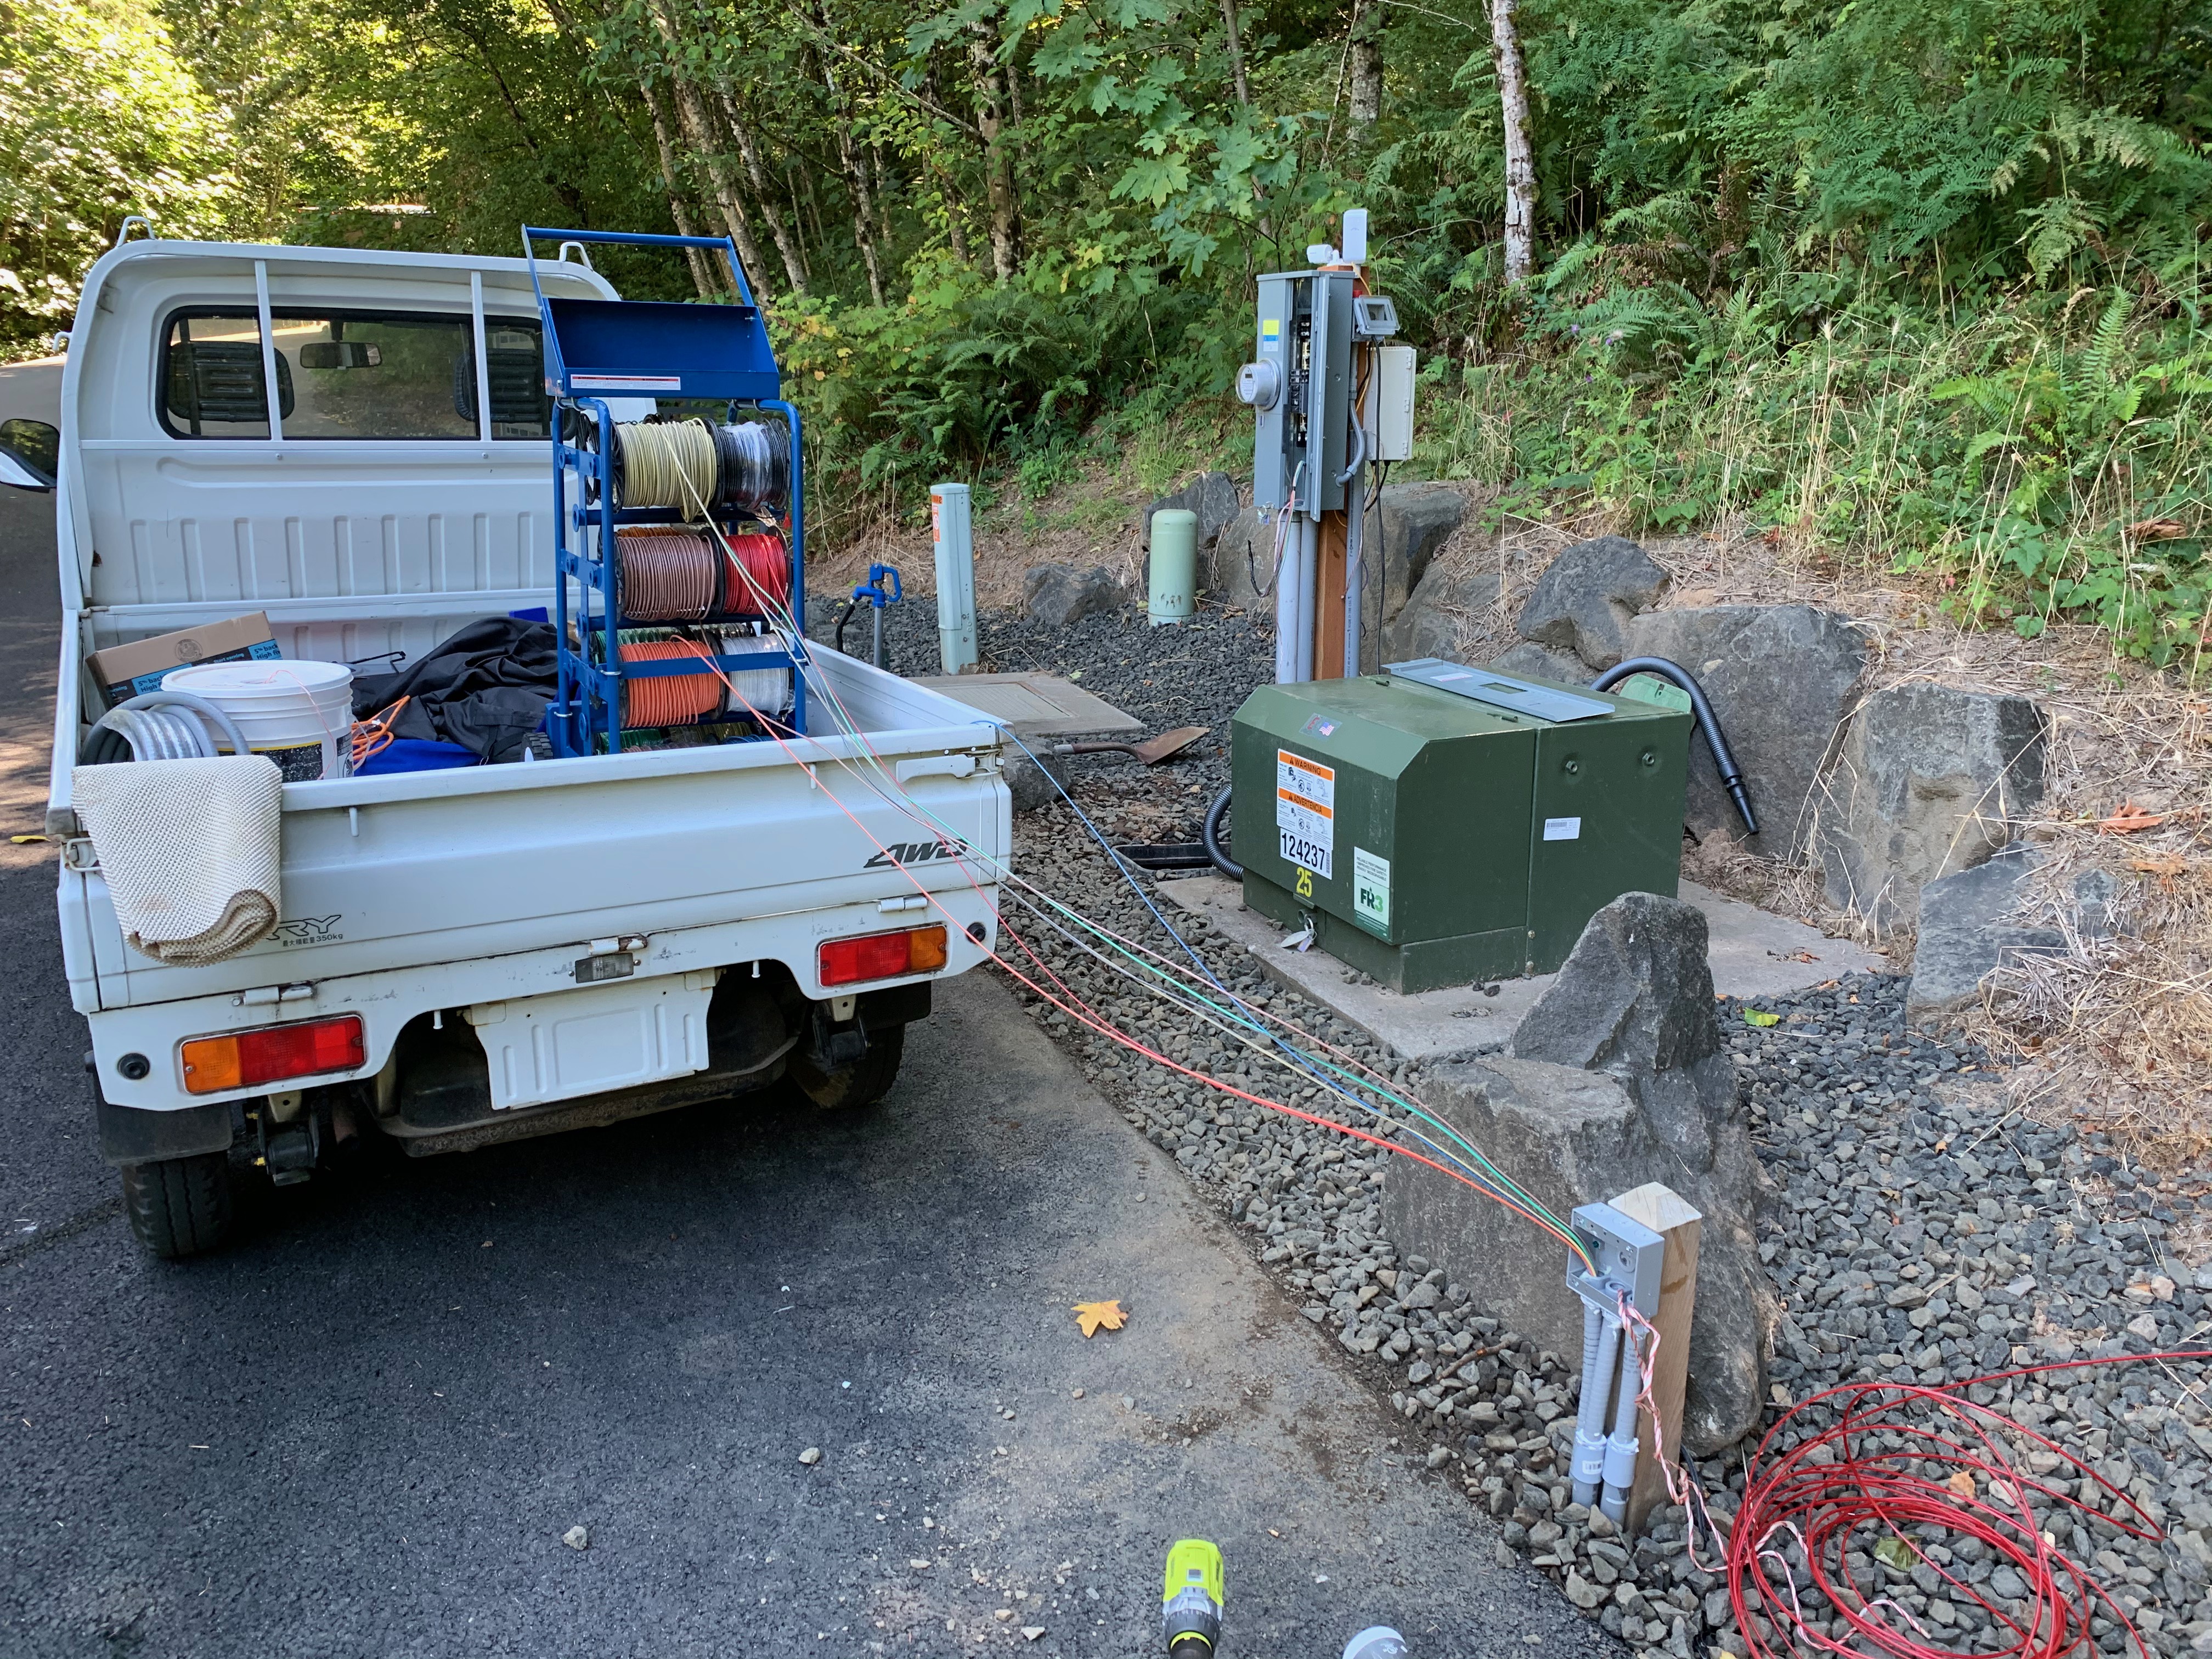
I got the wire and put it on a movable wire rack:
I put the rack in the back of the truck and used it as a spool platform.. then it was time to pull.
The pulls went well.. I used lots of lube, which helped, but it was still a bit of muscle to get those last pulls done, and fortunately I had a few friends help out!
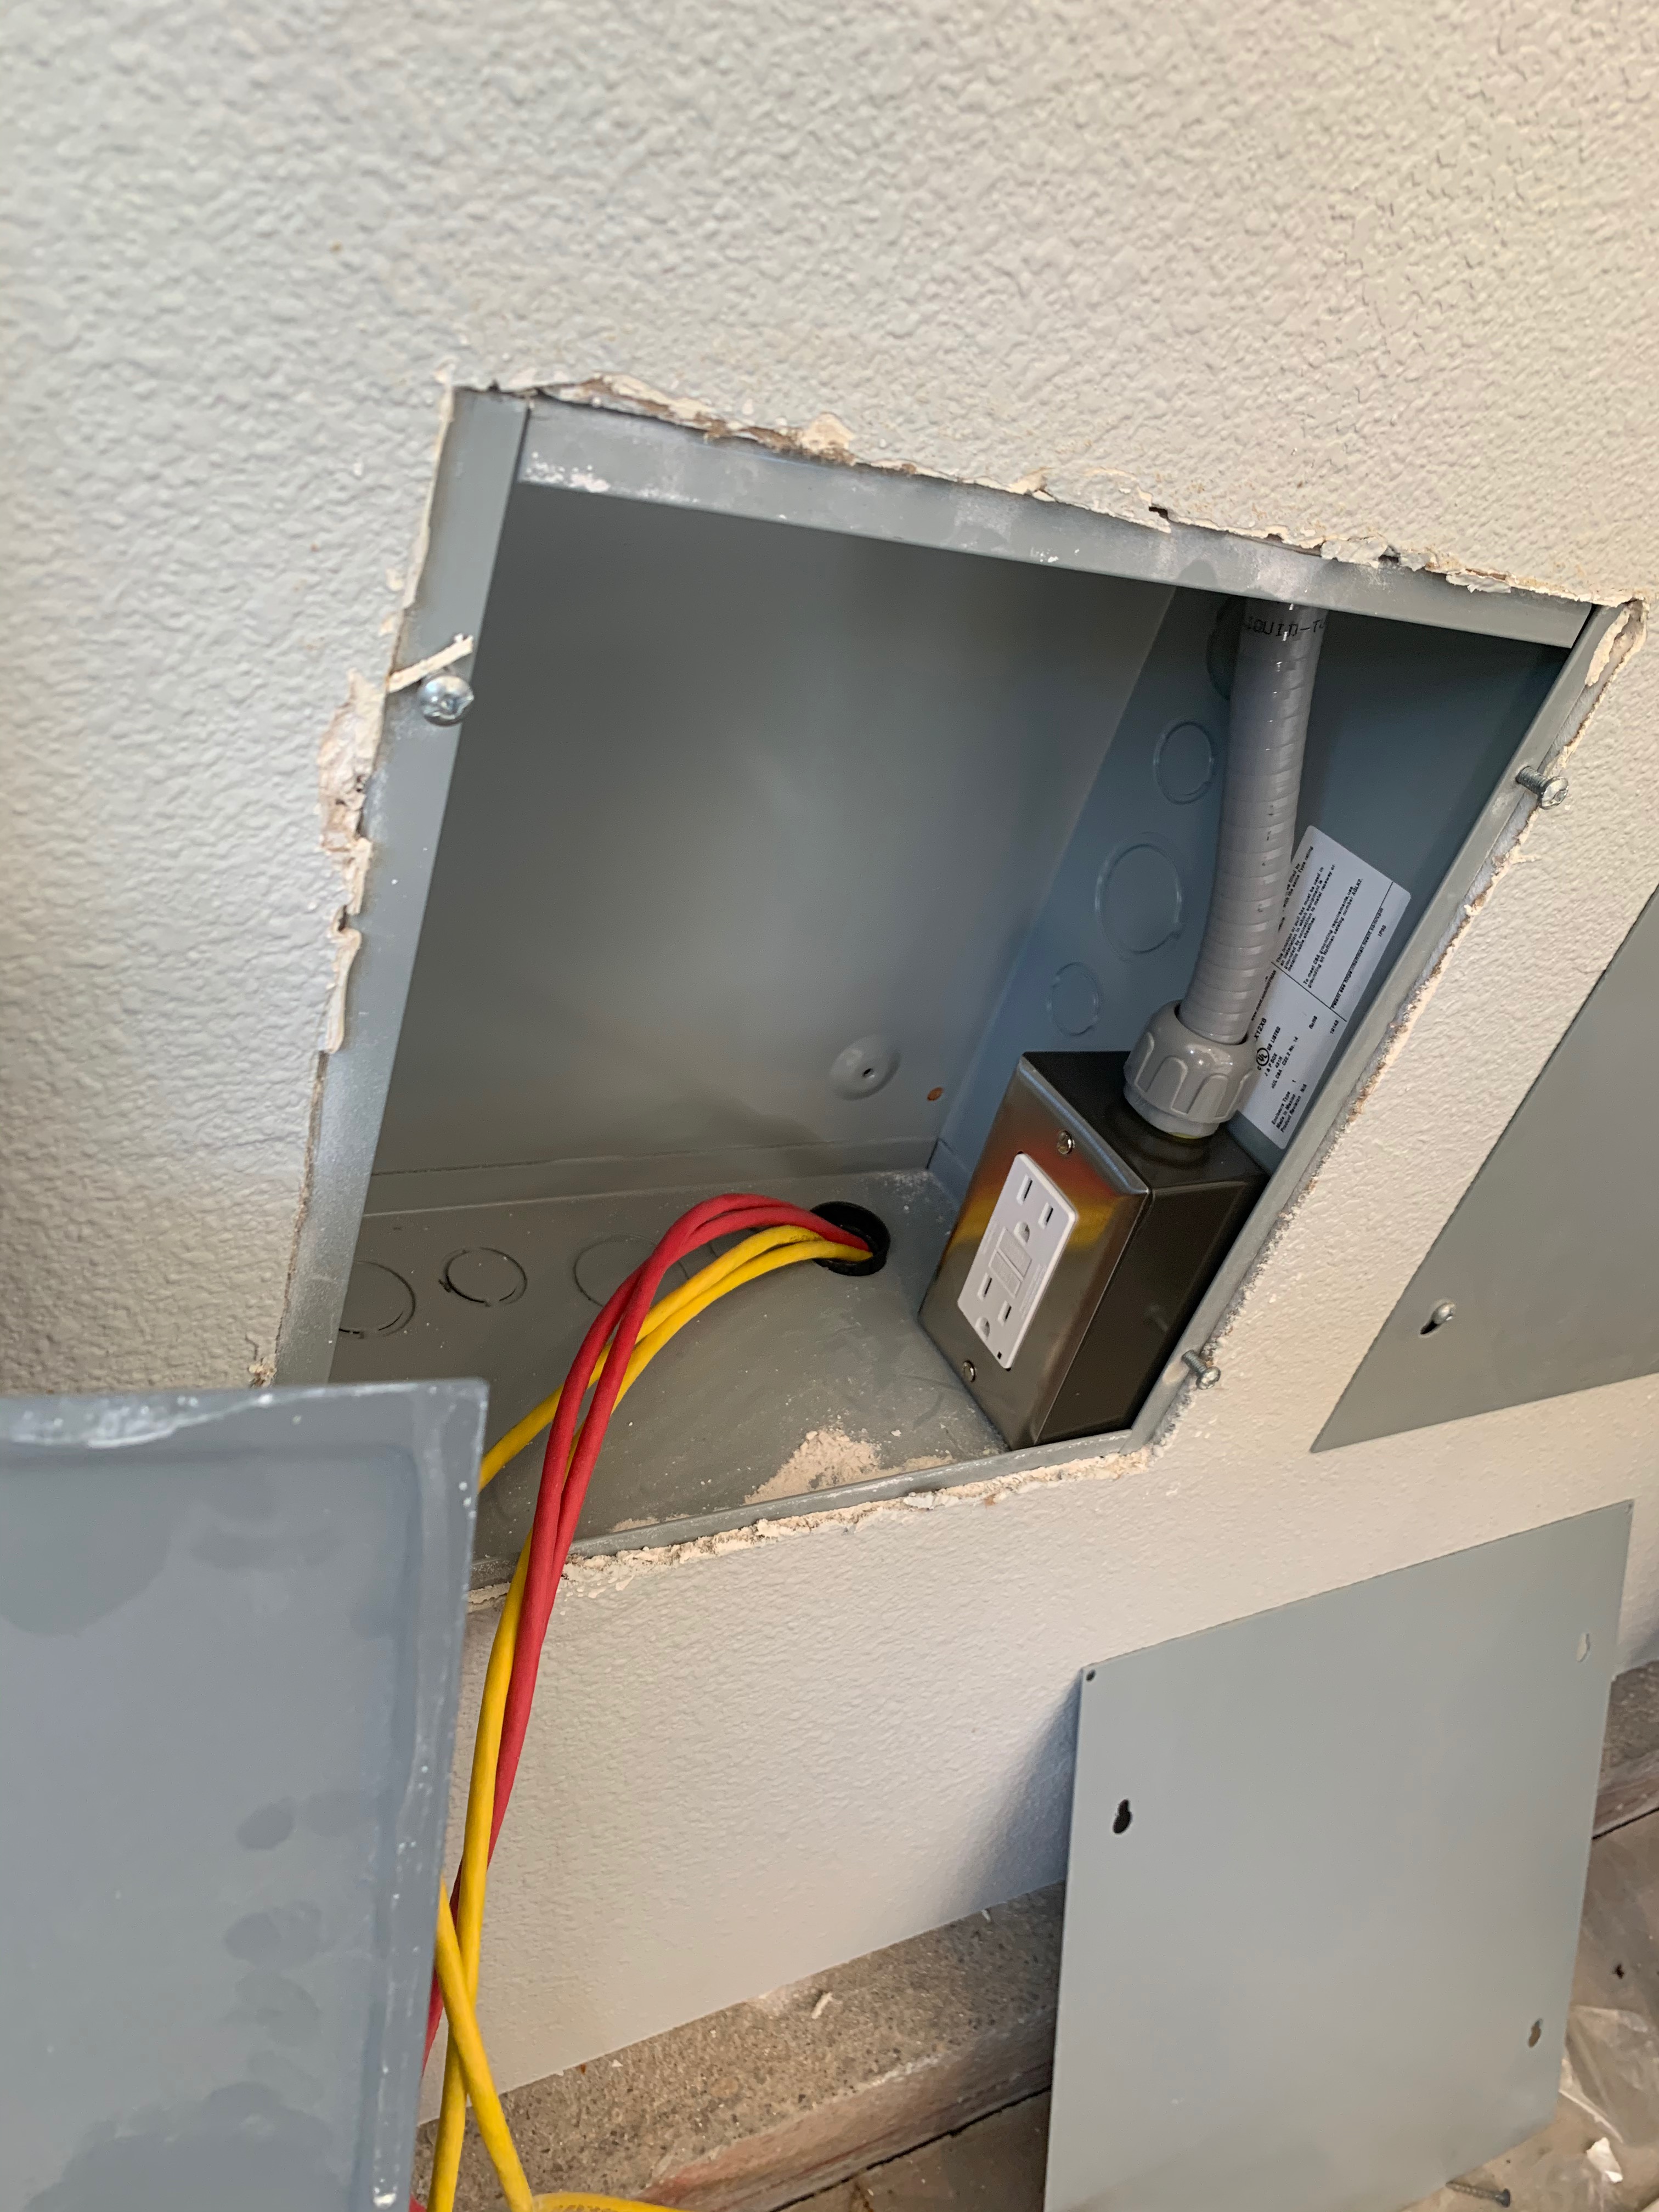
In the end, each box ended up with wires to terminate, and I have completed half of those terminations. I added spacers to the boxes to have enough room for the wires and the GFCI plugs.
The finished boxes looked like this:
Next up I'll talk a bit more about the lights... I still have a lot of design work to do here.



 open space to view the view, nice deck and oh yeah I need a shop.