To avoid these ads, REGISTER NOW!

Between 705 & 1200 SQ/FT Mixed Grill - From London , England - GRIZZMAKES world

Workspaces between 705 and 1200 squarefeet.
OP
G

Grizz1963

Well-known member
Joined
Jan 7, 2010
Messages
12,047
Location
Rochester, KENT. UK
Thank you for posting..I just love reading ..how you word stuff ! I get the biggest kick out of it !

Thanks , I guess I do like story telling, and this is another way of doing it.
Many times threads have terrible photo's or no descriptive text.....

Glad you like it.

I cannot wait to get my place sold and move to the next house, and get that garage sorted in a way that is befitting of this forum.
 
To avoid these ads, REGISTER NOW!
OP
G

Grizz1963

Well-known member
Joined
Jan 7, 2010
Messages
12,047
Location
Rochester, KENT. UK
Right, today I went to the not so local secret Council tip to look for some pieces of hardwood, oak, or whatver fell to hand.

None to be found.... today.

BUT: I got to the metals bin and also the electricals and got lucky.

I was hoping to find another of the Black & Decker Workbenches I have found before, had 3 and gave one to Bruce "MysteryMachine" last year as he needed it.
Now I want another to work on, and know they often get thrown away, so had high hopes.
The metal recycling bin was a fresh one, so no chance of getting anything from it.
As I descended the stairs an older guy came up with this "Jam pot" about to turf it out.
I grabbed it, as Nicola has been telling me not to fit a dedicated sink to the galley, but rather to use a washing up bowl, as it only gets used for short periods every day, and she would rather see the work surface being maximised.

So find no1:

P1070786.jpg

Find number 2 in the electrical goods recycling area had me VERY CHUFFED....

A beautifull old Bakelite valve radio.
Perfect for either ornamental use inside the teardrop, or maybe I will convert it to being a iPod player and speaker .
When I got home, Nicola was straight into the back of it, opening, investigating, and then cleaning it all out. (gotta love this girl ! )

P1070784.jpg

Find number 3 was also in the electrics area.

Made in the USA.

A 3 inch Craftsman belt sander.

Got home and plugged it in, and tested it..... Works perfectly, came with a belt fitted.

CHUFFED ?? You betcha.

P1070782.jpg

$$$$$$$$$$$$$$$$$$$$$$$$$$$$$$$$$$$$$$$$$$$$$$$$$$$$$$$$$$$$$$$$$$

Today I was into the skips very early, as I had a load of work to do as well (I do still have a regular job)
I was again after some hard wood, and found an old louvre door, similar to the one Jackdaw Dave used in his 2nd build.
I wanted it for the door frame, so that the screws holding the hinges have something decent to bite into.

While I was there I found what may be a Mahogany table top. It had previously had just 2 thick legs, which had been unceremoniously broken out ,as well as a pair of drawers at the front which are missing.

Weirdly, Nicola and I had been discussing using wood rather than a piece of kitchen worktop for the worksurface in the galley.... so this seems to be just the right thing, unless it turns out not to be a solid top, and rather some veneered wood.
I will investigate at the weekend when I dismantle it all.

P1070789.jpg


$$$$$$$$$$$$$$$$$$$$$$$$$$$$$$$$$$$$$$$$$$$$$$$$$$$$$$$$$$$$$$$$

Just wrapped up for the day. Did all I wanted to do today.

Remember the table top ?
Well, I dismantled it this morning before 9am, I have a self imposed rule of not using large power tools outside before 9am, so need to get stuff ready, or use "quiet" handtools before 9am.

The table top turned out to be a veneered piece, but even the supporting wood it beautifull.

I stripped it back with a used medium grit belt, then followed up with a used fine belt, this brought the wood back, and though there are some residual marks from years of abuse, they will stay as a reminder of the origins of the worktop.

Nicola who has taken a personal interest in this part of the build told me not to just slop any old oil or varnish onto the tabletop, she went to town and bought a can of Danish Oil for the top, never heard of it before, but then she is full of surprises.

So when she came back from her day out shopping with her friend Jill, I oiled up the table top and then buffed it back 10 minutes later, it still needs at least 2 applications.

First job today after dismantling.... sanding back through the water marks and scratches etc.
P1070790.jpg

After the first Danish oil treatment, looks very dark now, but I guess thats the look of Mahogany.
P1070802.jpg

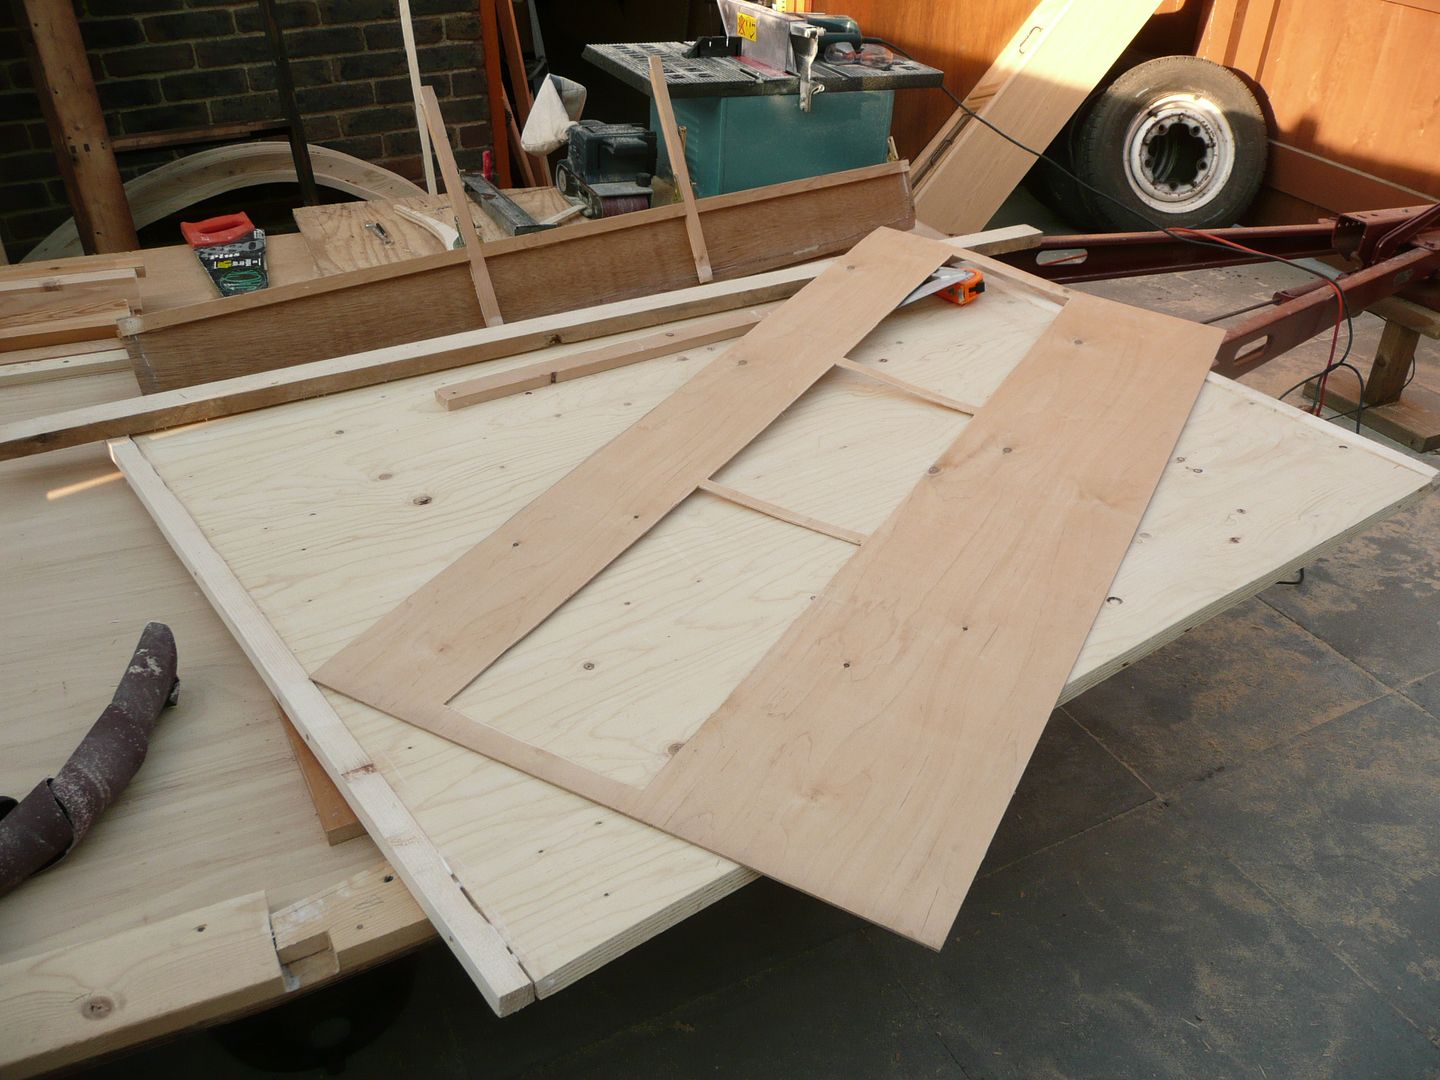
Another rewarding job done today was to allign and clamp the two sides and belt sand back the fillets and sides, as well as to round off the flat surface I had created on the front when cutting the profile, I realised it was not clever after doing it, so rounded it off today.
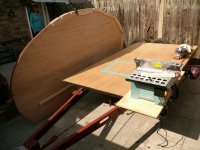
P1070791.jpg


Earlier this week they were trimming back the trees along the road at the Queen Elizabeth Hospital in Greenwich..... I had a teaching session to do and some clients to see, on the way into the hospital I asked one of the tree surgeons what happened to the stumps they were cutting off, as I had seen a couple with holes in, and one that had a hole all the way through... he said "Help yourself mate"
So when I was done after 4pm, I went back to the the piles of stumps and took a couple home for Nicola's garden.
Here is the one with the hole through it, Nicola asked me to cut a couple of holes in the side of the one and plug up the ends, so that she could plant Alpines in there and have them grow out and cascade down the side.

Started with this:
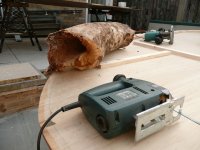
P1070793.jpg

Ended up with this before closing up the ends.
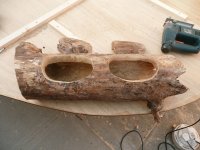
P1070795.jpg

UPDATED: Now looks like this :

P1070850.jpg

The rest of the day was spent measuring, looking , planning, cutting and screwing together the supports for the bulkhead and also the fridge space.
Does not sound like a lot, but for a guy of my limited ability and experience it just takes time to do stuff, along with eating lunch and surfing the web inbetween.

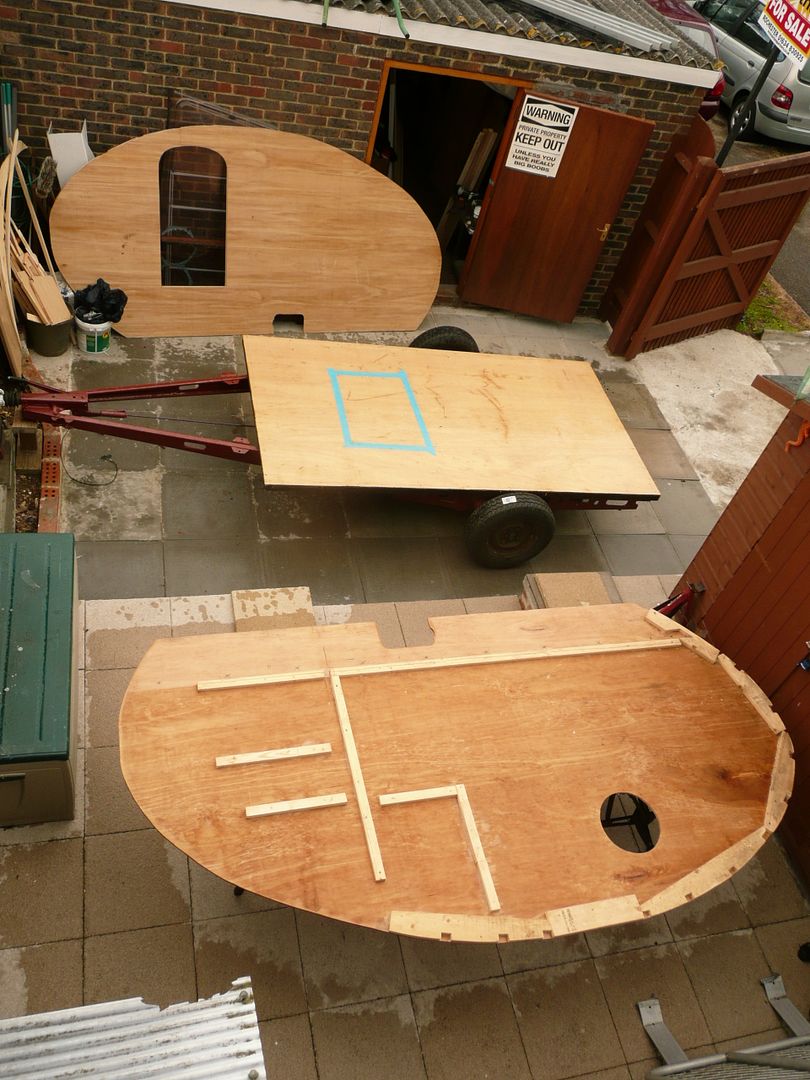
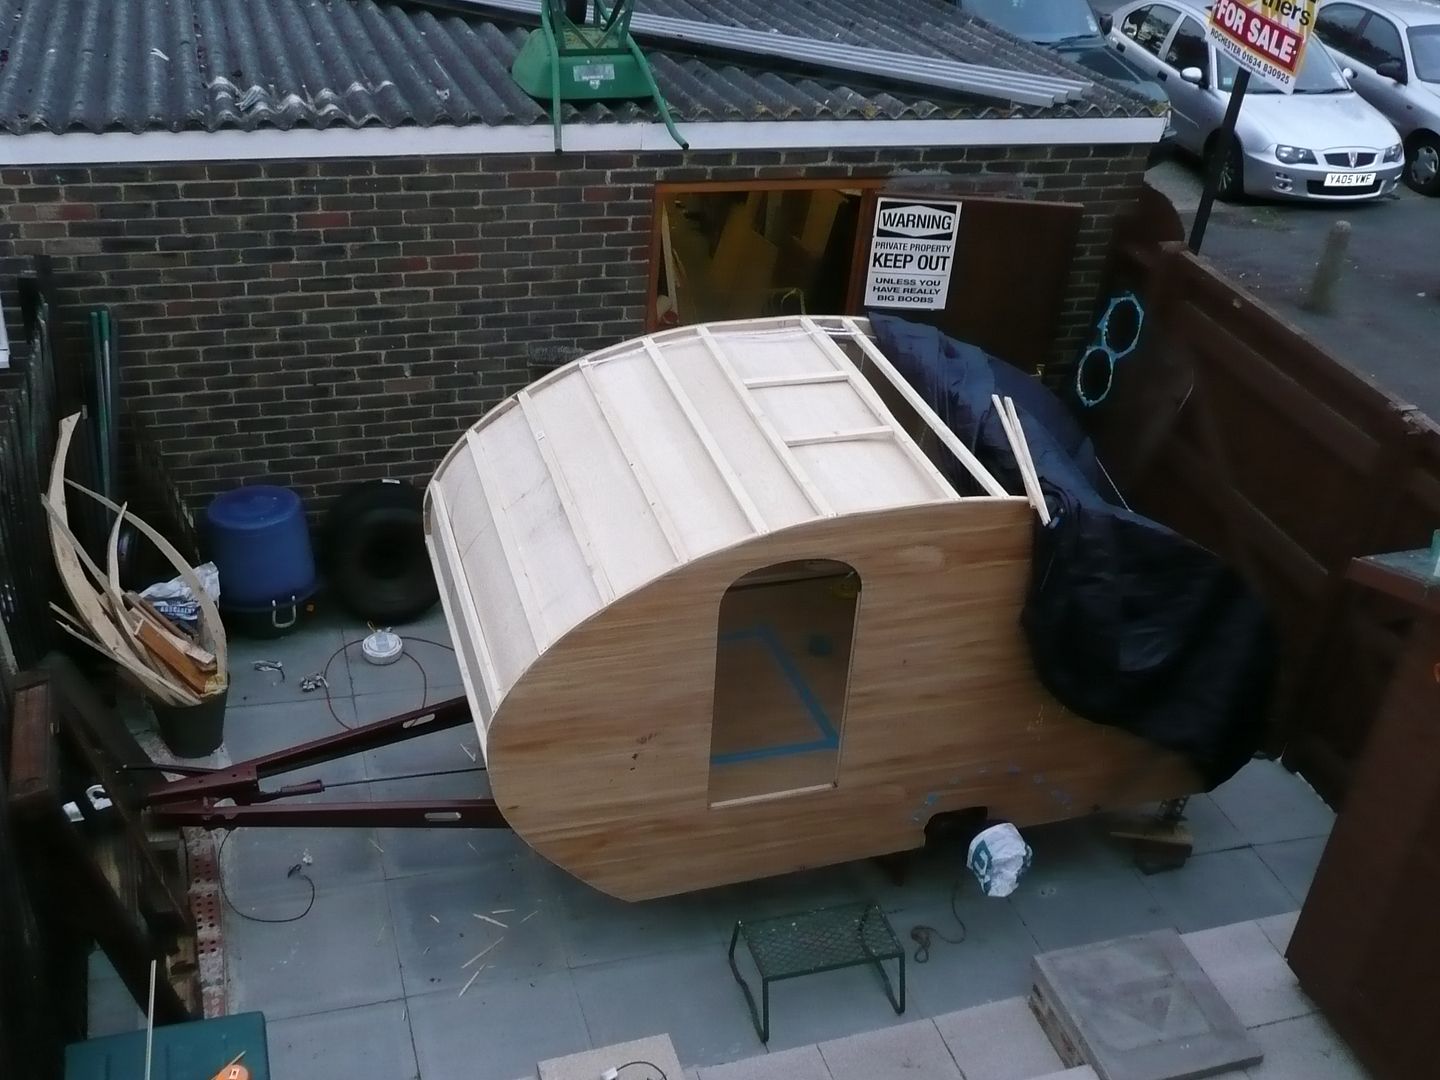
I got the doorway cut out today , which to me is a massive milestone. I also got the door to fit the hole tightly, which the belt sander will probably address later.

P1070804.jpg

The illusion is that the door is fitted too high, but remember that I am building a 4x8 Grumman , but used 5x10 ply, and have a 10 inch overhang to create look of lowness in the caravan in the end.

P1070808.jpg

Lastly the door frame, which to me is another sign that I am getting there....
Made up of bits of recycled louvre door frame, at least the screws for the door hinges will have something decent to bite into.
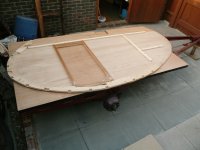
P1070810.jpg


All wrapped up, ready for the night....

A good day it was indeed.

Tomorrow morning it is off to the Bootfairs again to look for bargains.... I want some old tools etc.
P1070811.jpg


Thanks for looking in.
 
Last edited:
OP
G

Grizz1963

Well-known member
Joined
Jan 7, 2010
Messages
12,047
Location
Rochester, KENT. UK
Very good read for today ! Thank you.. CHUFFED ???please explain this word ?


Morning Vernmotor,

Chuffed is a word I grew up with..... It means Very pleased with oneself. Usually Self satisfied, ie: after winning a prize, getting to 2nd base with a girl, achieving a certain goal in life. (keep in mind, I grew up in South Africa, so it may be a word with specific regional meaning)

Glad you enjoyed the read.

We now have a United Kingdom based Teardrop trailer site, which is less than a month old, as Teardrops are gaining interest here.

Go to : www.tcgb.freeforums.org and take a look at the British take on Teardrop trailer building.

You will find a lovely open and helpfull community of dreamers and builders.

Trailers like "The Coppertop" built by DeliDave for his daughter, and others will make it somewhat different to the usual trailers.

Hope to see you there. :thumbup:

DSCF0006-3.jpg
 

paul_f

Well-known member
Joined
Jul 7, 2009
Messages
72
Location
Kent, UK
Hey Grizz,
Did you get to know the guys at the tip as the one in Gillingham nobody I know has been able to get anything out of it even when offering money.
I know Brian as well as I am a fellow Splitty owner!

Cheers
Paul
 
OP
G

Grizz1963

Well-known member
Joined
Jan 7, 2010
Messages
12,047
Location
Rochester, KENT. UK
Hey Grizz,
Did you get to know the guys at the tip as the one in Gillingham nobody I know has been able to get anything out of it even when offering money.
I know Brian as well as I am a fellow Splitty owner!

Cheers
Paul


Hi Paul, The one at Rainham used to be as bad, I even called the council when I was building some bikes, and saw brand new or at least unused bikes being skipped.

The one down Lordswood/Princes park is the same, not allowing you to take stuff, but I am quite good at playing the cat and mouse game.... then I sneak stuff into the car when they are otherwise occupied.
 

paul_f

Well-known member
Joined
Jul 7, 2009
Messages
72
Location
Kent, UK
Hi Paul, The one at Rainham used to be as bad, I even called the council when I was building some bikes, and saw brand new or at least unused bikes being skipped.

The one down Lordswood/Princes park is the same, not allowing you to take stuff, but I am quite good at playing the cat and mouse game.... then I sneak stuff into the car when they are otherwise occupied.

I did wonder about that one, it is a much larger site there!
 
OP
G

Grizz1963

Well-known member
Joined
Jan 7, 2010
Messages
12,047
Location
Rochester, KENT. UK
OK, so Sunday has come and gone in a flurry of Bootfair and B&Q hardware shopping, and then a visit from my mate Kevin who had brought me the Odysey Gel Battery I had bought from him last week for the 1200GS.

I went to B&Q after bootfair shenenigans to get another sheet of 4x8 foot 18mm ply that I wanted to use for the ribs of the Galley Hatch.
While I was there, I also got 2 sheets of 4x8 Jablite Polystyrene for the insulation, it is 25mm, and my space is closer to 20mm, but I hope the beltsander will pee off all the neighbours and turn my back yard into a winter wonderland.

Back to the bootfar.

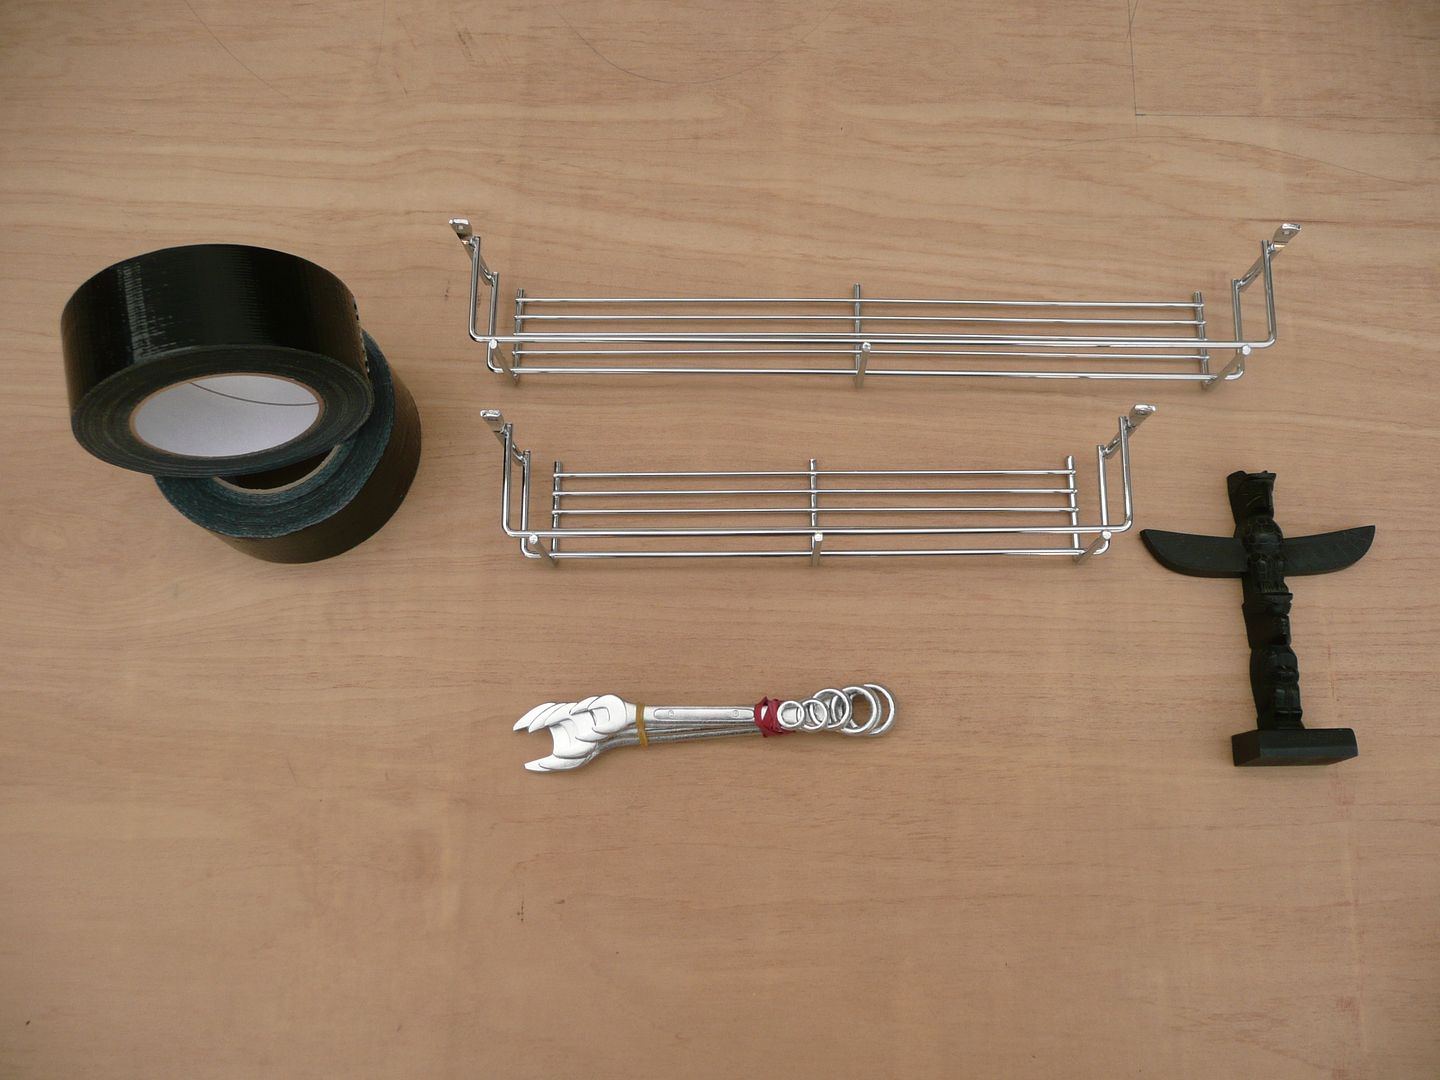
I wanted a 10mm spanner to attach to the tablesaw permanently for adjusting the fence, as it has a double 10mm nut fixing.
Got about 5 spanners including the 10mm for 50p.
I also got 2 rolls of Duct tape (you can never have enough duct tape or tape measures) for £1.00
Nicola found me these 2 unused spice racks for 50p
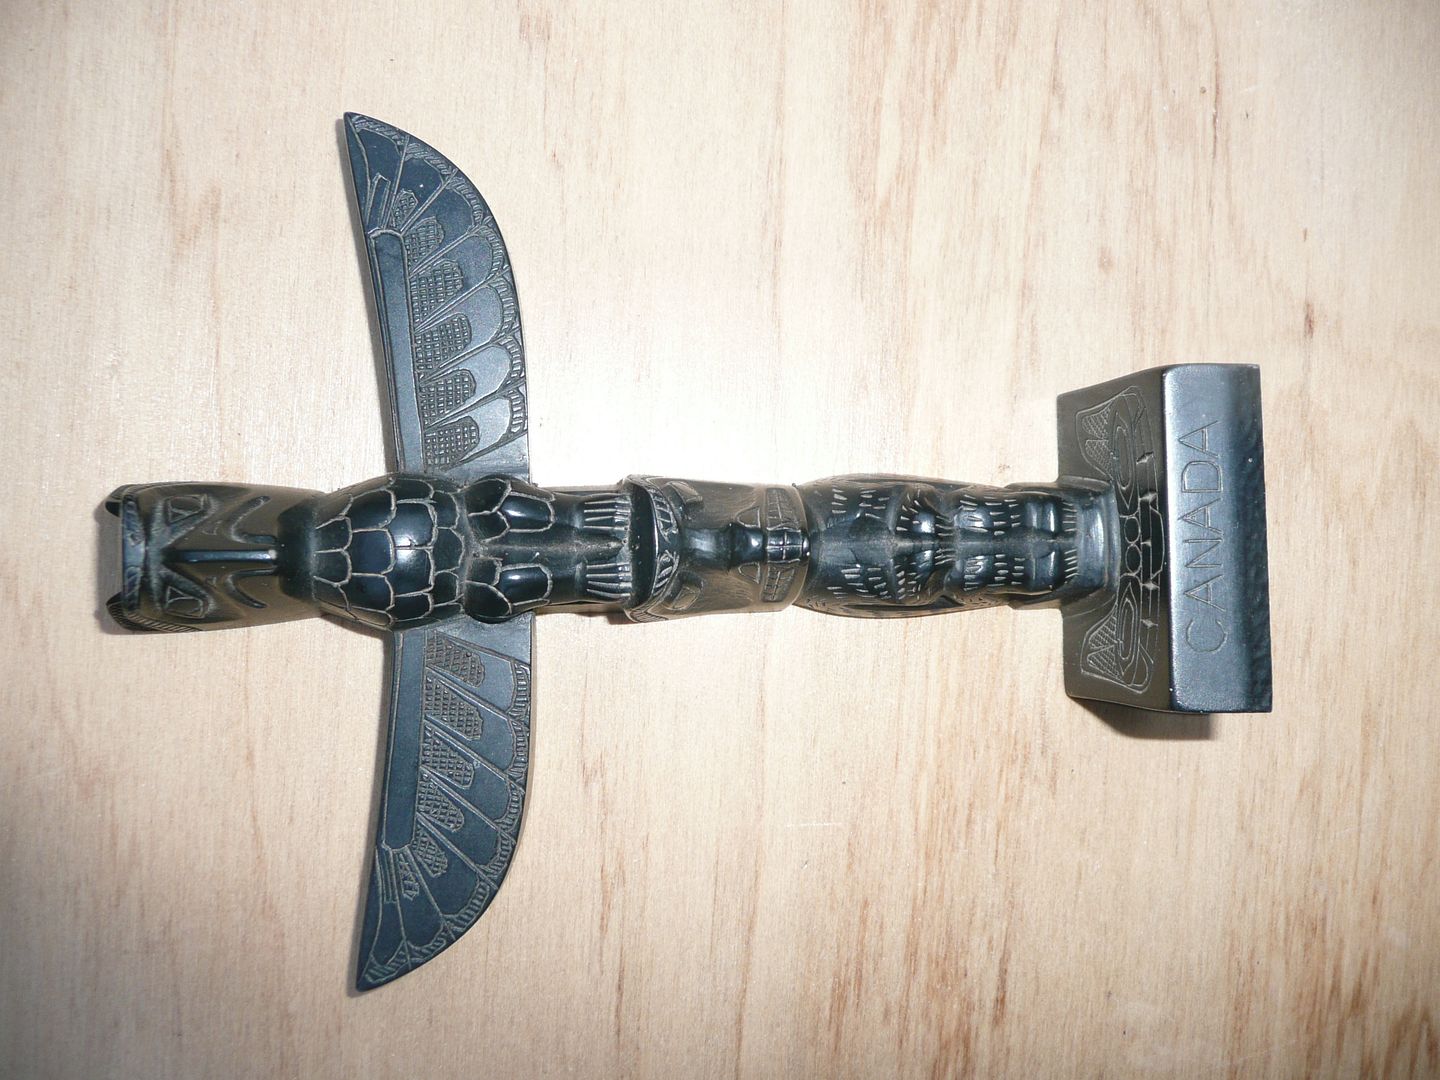
And lastly, I bought a tourist Totem from Canada for 50p
So my spend there was a grand total of £2.00

P1070812.jpg


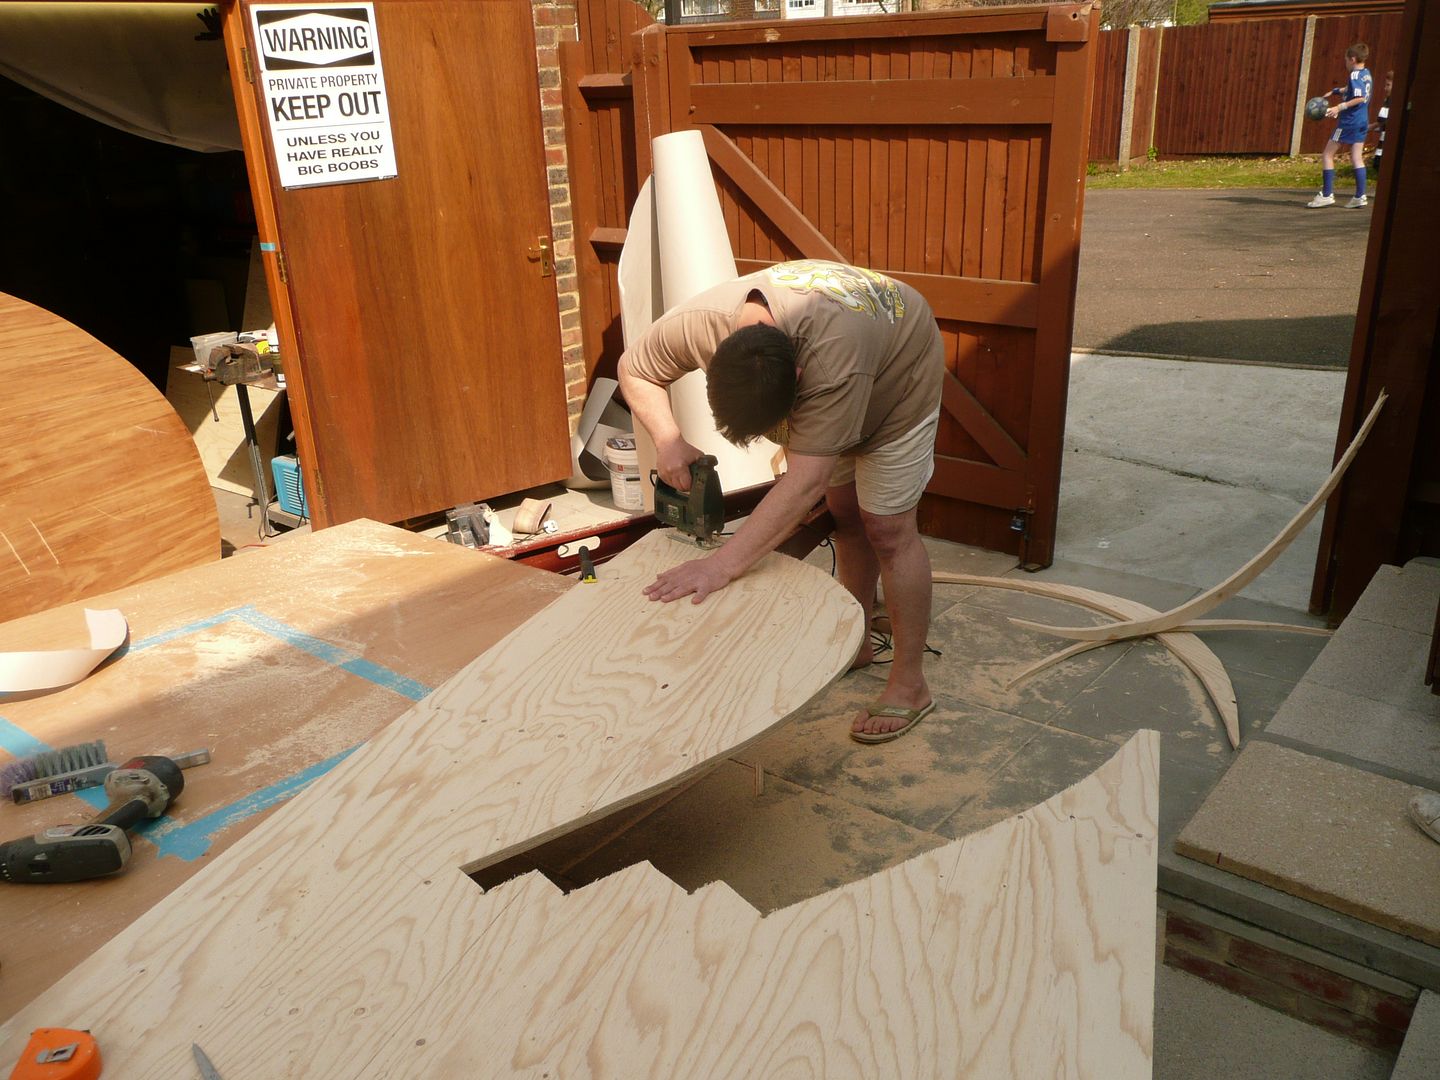
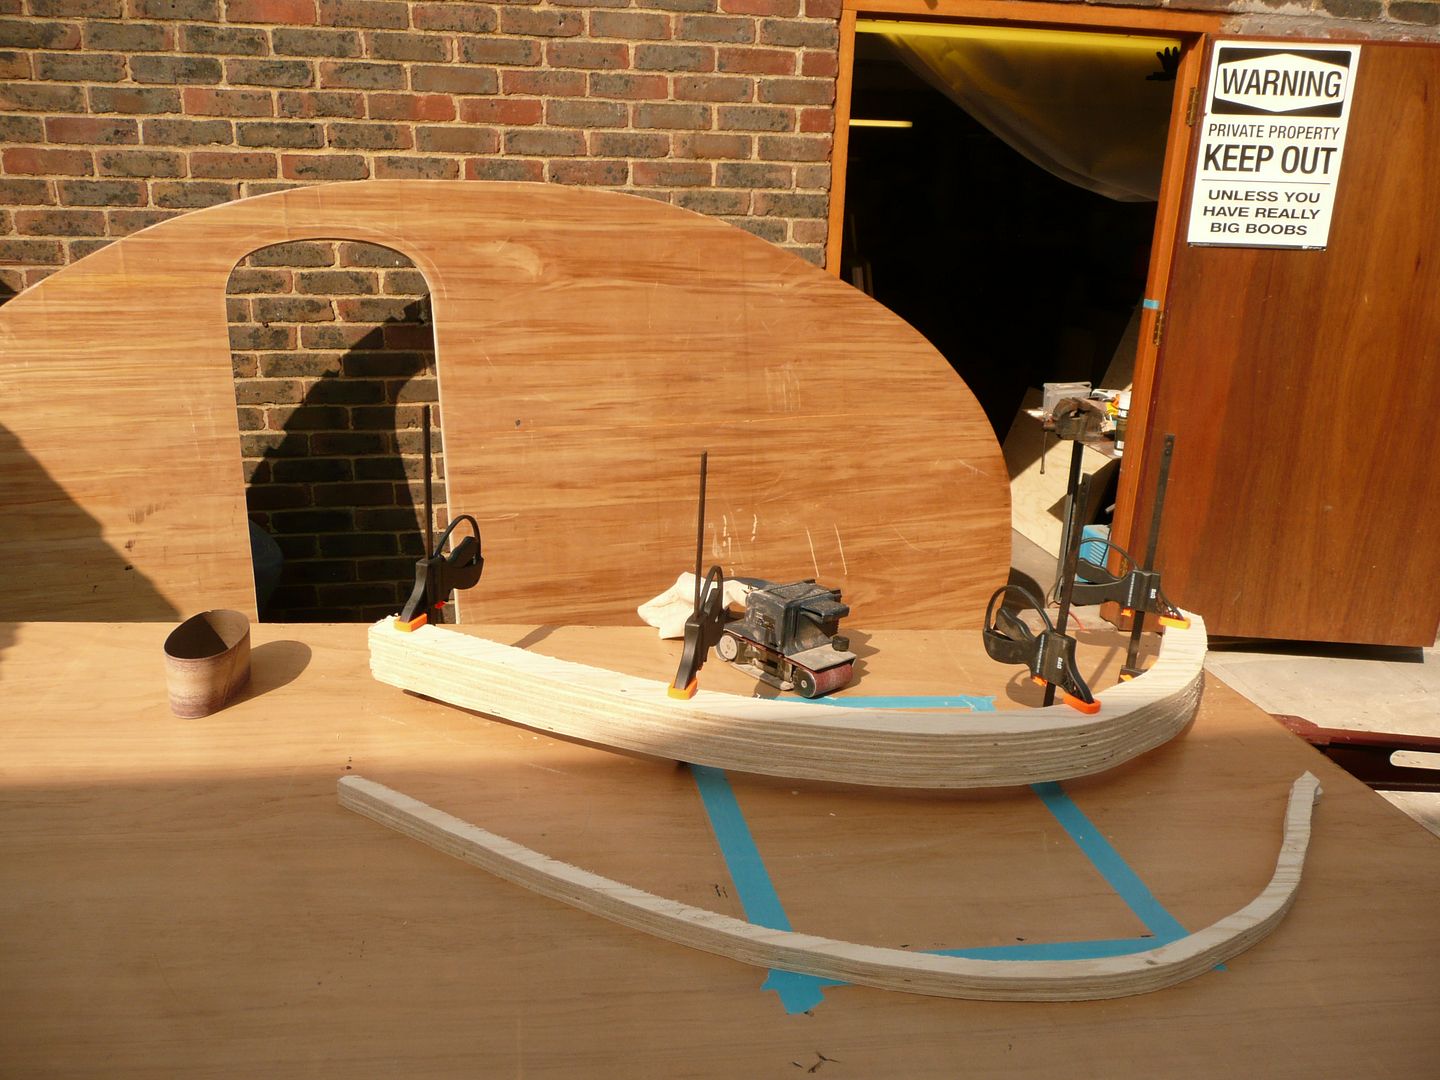
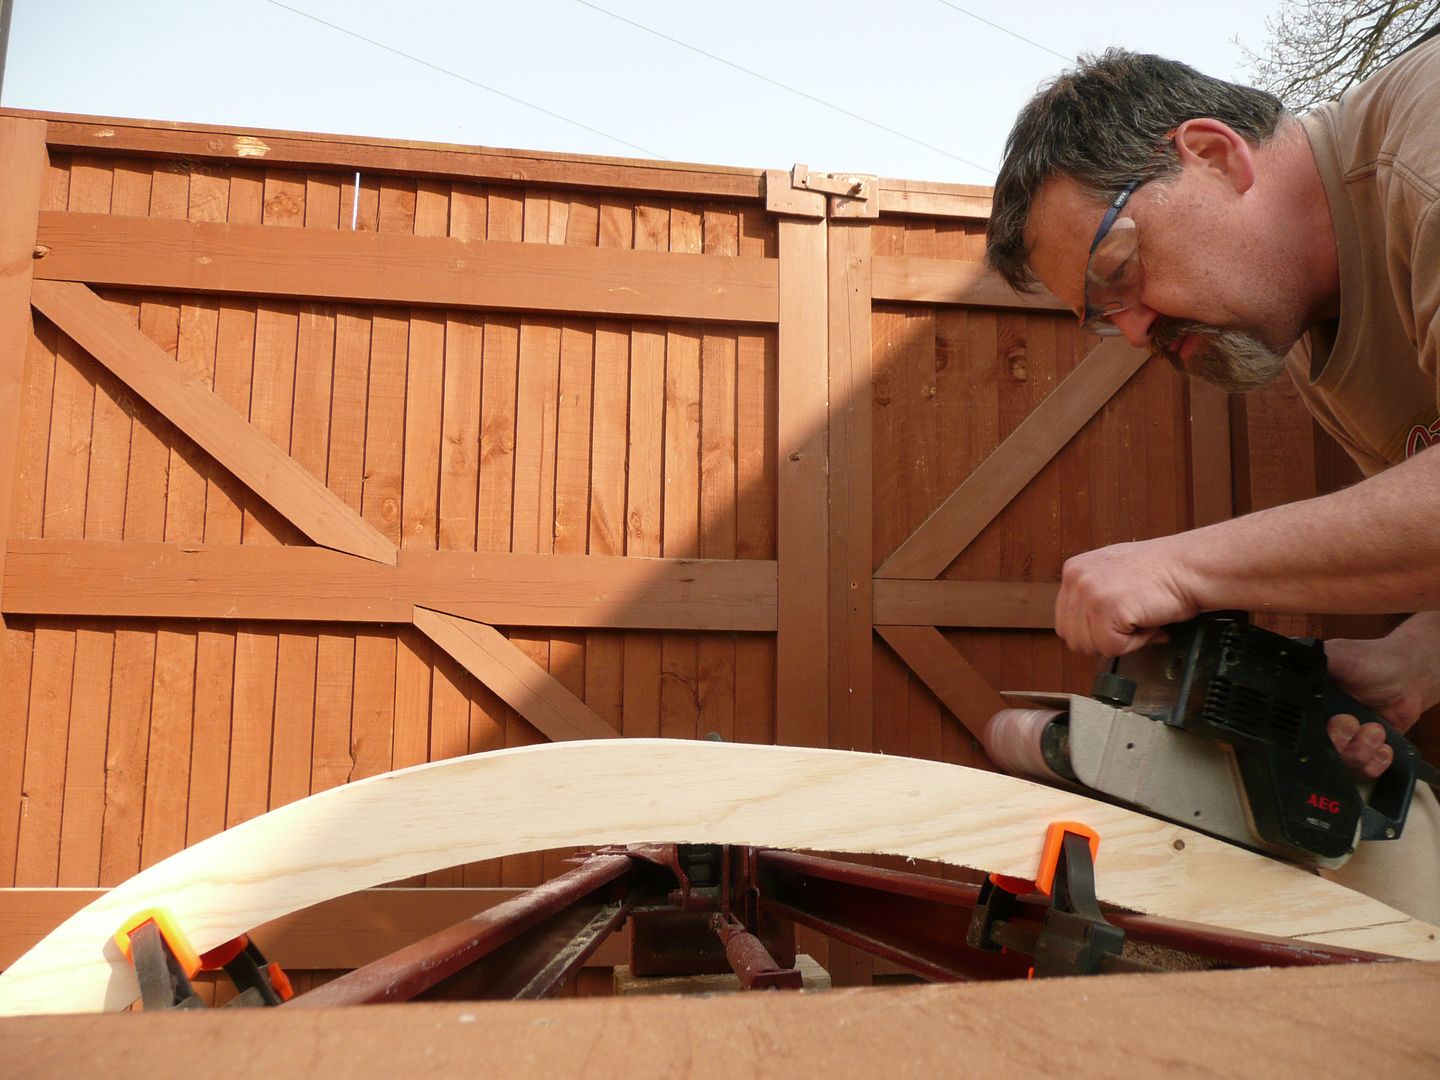
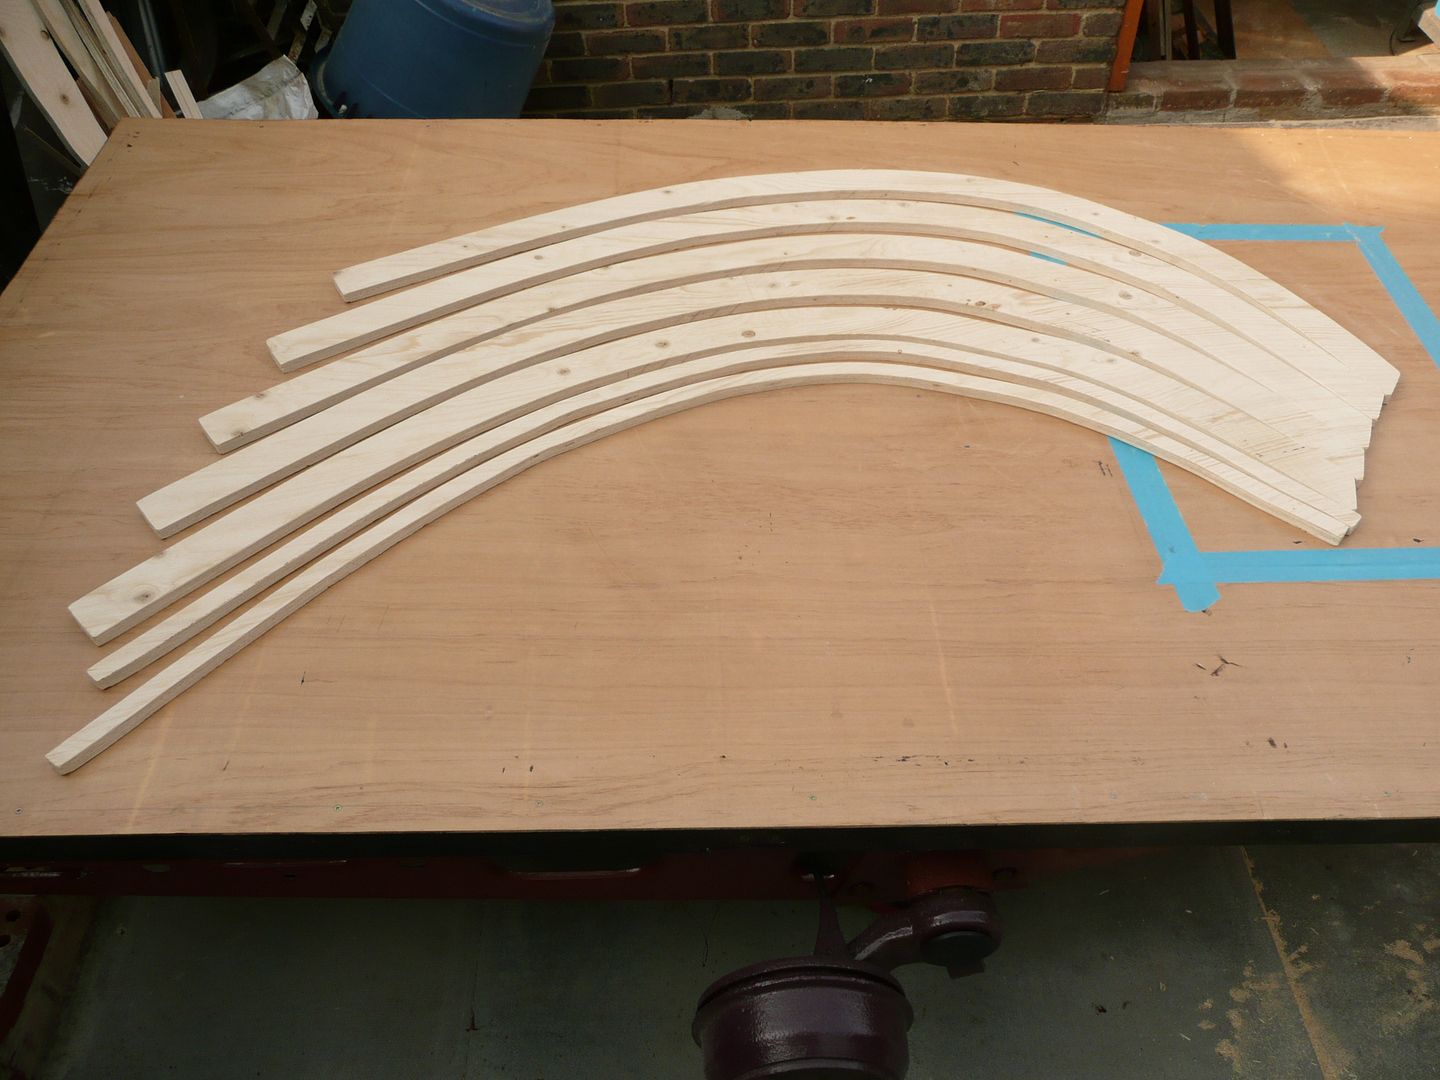
Back home the curve of the ribs and also how to maximise my sheet of ply had me flummoxed for a while, with my mate Kevin and Nicola adding comment. Eventually I just cut a carboard template and moved it about to find optimal fit.
I also cut a pair of supports to go onto the sides of the teardrop body in the galley , and to act as supports for the hatch when it is closed and also to further water and dust proof it.

P1070817.jpg


Clamped the lot with my clamps that were 50p each at the last big tat sale at B&Q.
Then got the coarse belt onto the sander and went about shaping them all, finally I used a medium grit torn belt to hand finish all the sharp sides and splints off.

P1070819.jpg


P1070821.jpg


Finally finished and ready for the battens to be cut and top and bottom suports to be ripped next week.

I had planned on having the sides up and set today, but ended up doing stuff that should be done while the sides are down and workable.
So look forward to getting what I can done next weekend.

I have actually short changed Nicola a lot the last few weeks, but then these things need to be completed once started.
I would never have started the build had I known how it would progress, living in 2 homes is not ideal at the best of times, so having a major distraction is even more so not ideal.
She has been very good at just letting me get on with stuff, so I probably owe her a big pampering in the end when this is completed.


P1070826.jpg
 
OP
G

Grizz1963

Well-known member
Joined
Jan 7, 2010
Messages
12,047
Location
Rochester, KENT. UK
Not a lot to report tonight, but I did get an hour in on the galley hatch prep which really made me feel good and a bit more relaxed after work.

These little bits of time spent on the build all add up as well, as I do not do much outside after dark.

Some years ago I picked up a piece of laminated kitchen worktop from a skip where I drove past. It was only 1550mm long, by 40mm x 135mm but I could not resist it.
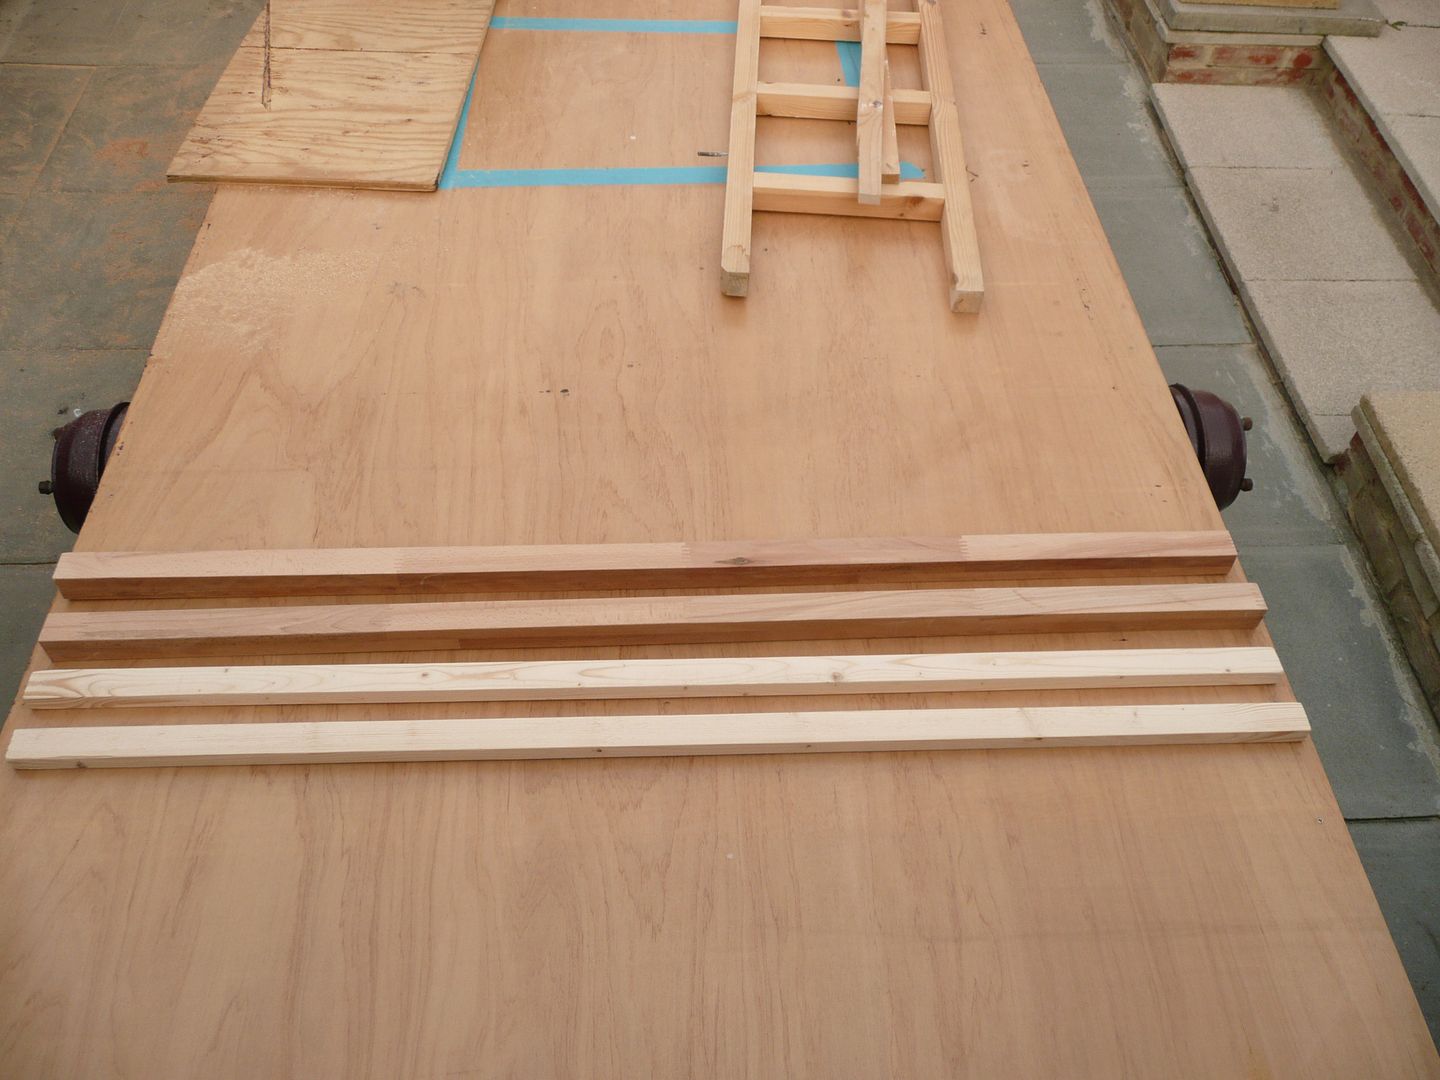
Tonight I ripped 2 battens of 40mmx40mm from it, and am left with about 50mm , these will be the top and bottom battens for the hatch, where the hinge and also the ally for the outside skin can be screwed on securely. The other 2 battens I have just made of 20mx38mm pine.

I am also contemplating not skinning the inside completely, as I want to see if I can put some storage space for magazines, aprons, or similar lightweight items inbetween the ribs if I only skin it partly like small pockets down at the lower end, which will hold when down, but also not tip the contents when fully open.

Anyone got any views or experience ?

P1070828.jpg


Lastly, I took a closer up photo of the Totem I bought yesterday.
I want to stick this on the inside of the cabin door when the trailer is done. Trust it will look out for us.

P1070830.jpg
 

Scout Driver

Well-known member
Joined
Nov 20, 2009
Messages
4,286
Location
South Dakota
Grizz,

Your thread has been most interesting to watch and I eagerly await any new updates. Great job!

If I lived closer to London, (I live in the heartland of America) I would drop by and help out for an afternoon. :beer:

Scott
 
OP
G

Grizz1963

Well-known member
Joined
Jan 7, 2010
Messages
12,047
Location
Rochester, KENT. UK
Well, today was a busy one.

I was up early, and then off to Essex to "Essex Caravan Breakers" where I was going to buy some stuff for the build.

http://www.essexcaravanbreakers.co.uk/1.html

Chris was helpfull and full of advice as usual, a great guy to deal with.

I also had to pop into a colleagues place to fetch some timber he had put aside for me as he is moving into a flat soon.

Chris the caravan breaker has loads of stock, and knows where to find stuff too.
He currently has a complete aluminium carvan chassis with the body in place for sale @ £60.00

I was looking for a couple of window hinges to make up my galley hinge.
And also a broken window to cut up for the portholes in the Grizz-Pod.

I got lucky and found a 5 foot window and hinge , as well as another window he threw in for £10.00

I also bought some small doors for the inner cabinets , which saves me making them up, he also supplied me with some spring loaded mechanisms for them, all in for £10.00 again.

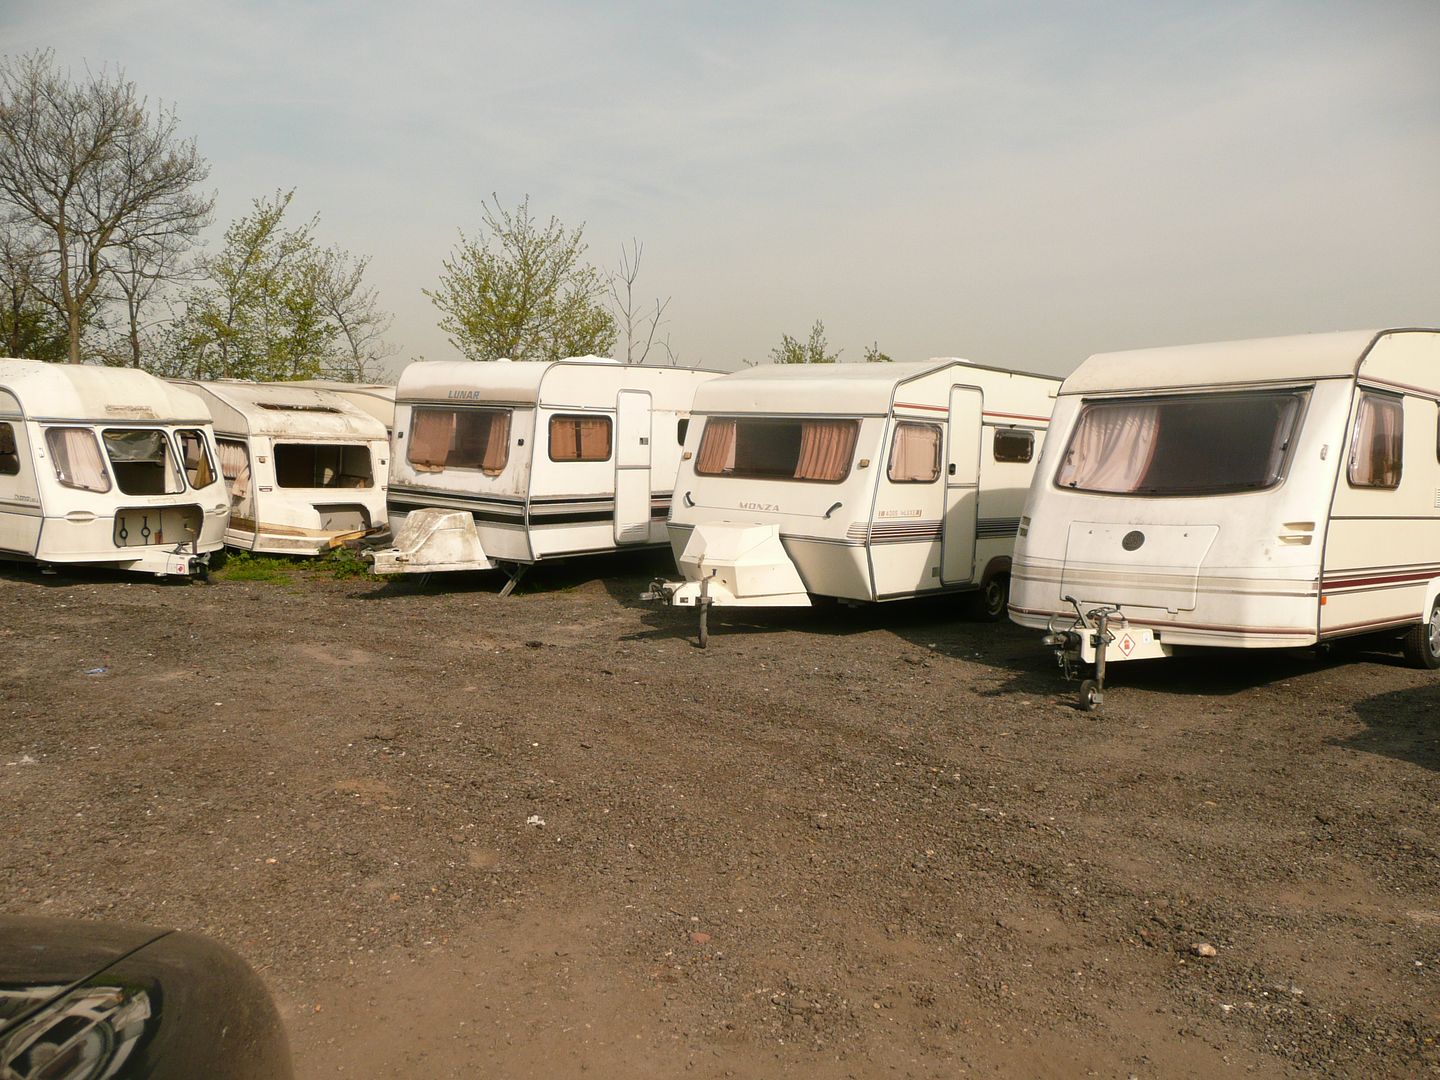
Here is about 1/4 of his stock, plus he has a warehouse full of good stuff too.

P1070835.jpg


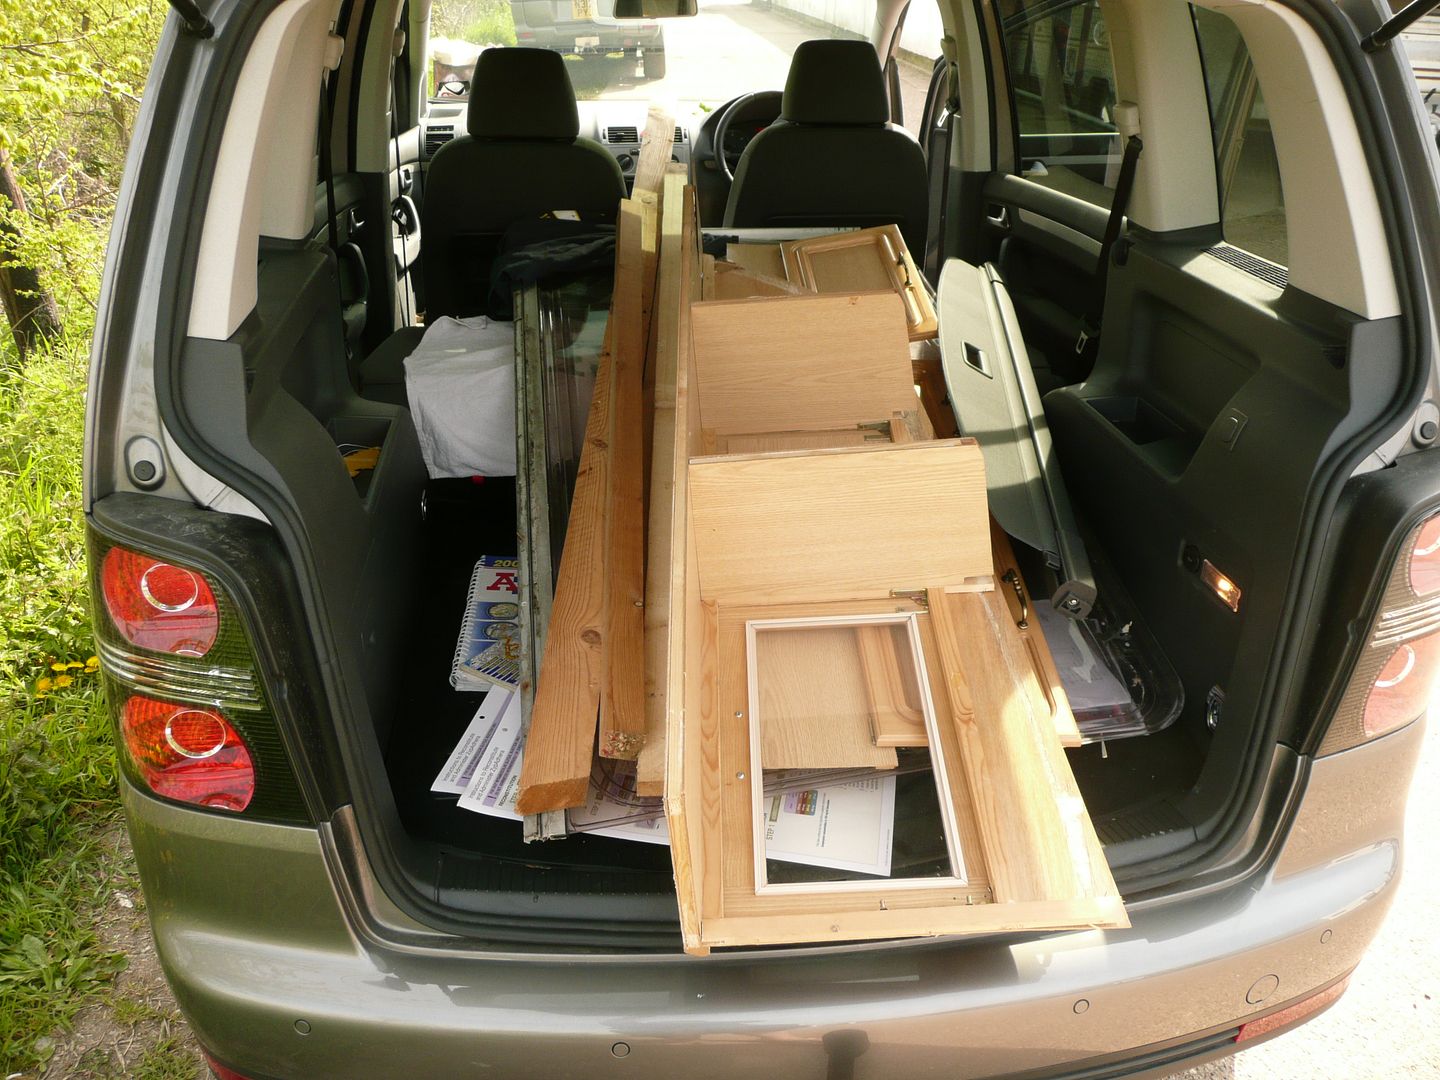
Packed and ready to go, I love this car .

P1070836.jpg


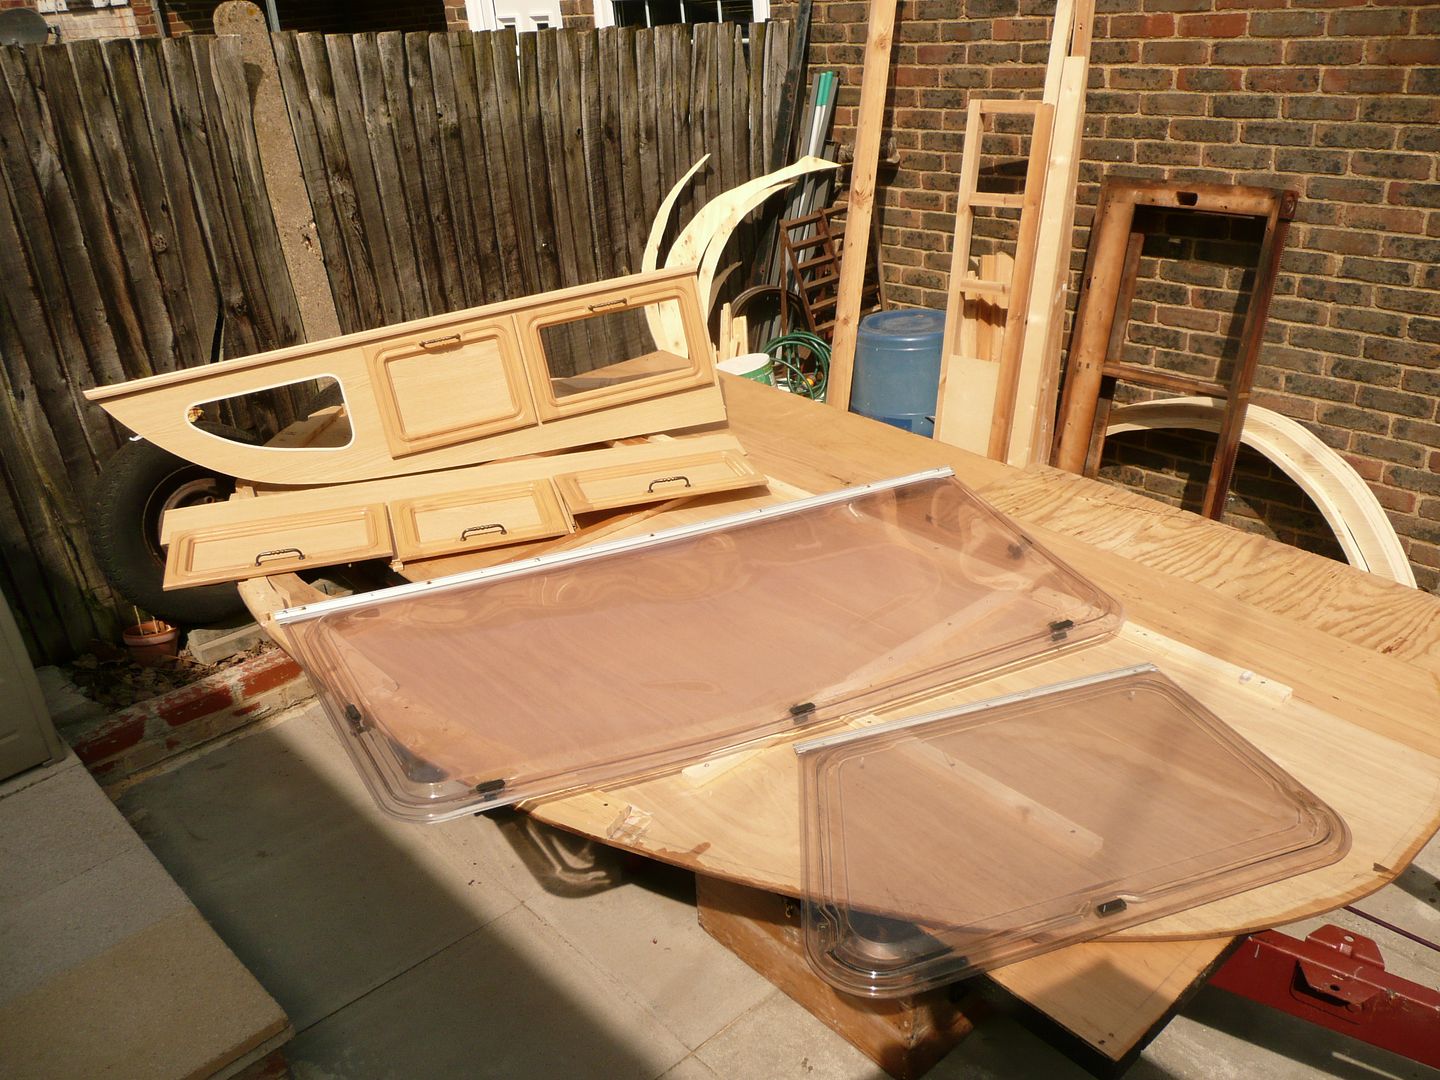
Back home, with my newly acquired treasures to gloat over for a few minutes while I made a cuppa tea and my lunch sandwich.

P1070837.jpg


While I was away, Nicola had gone to the hospital with her mum at 9am and then home to work/play in her garden.
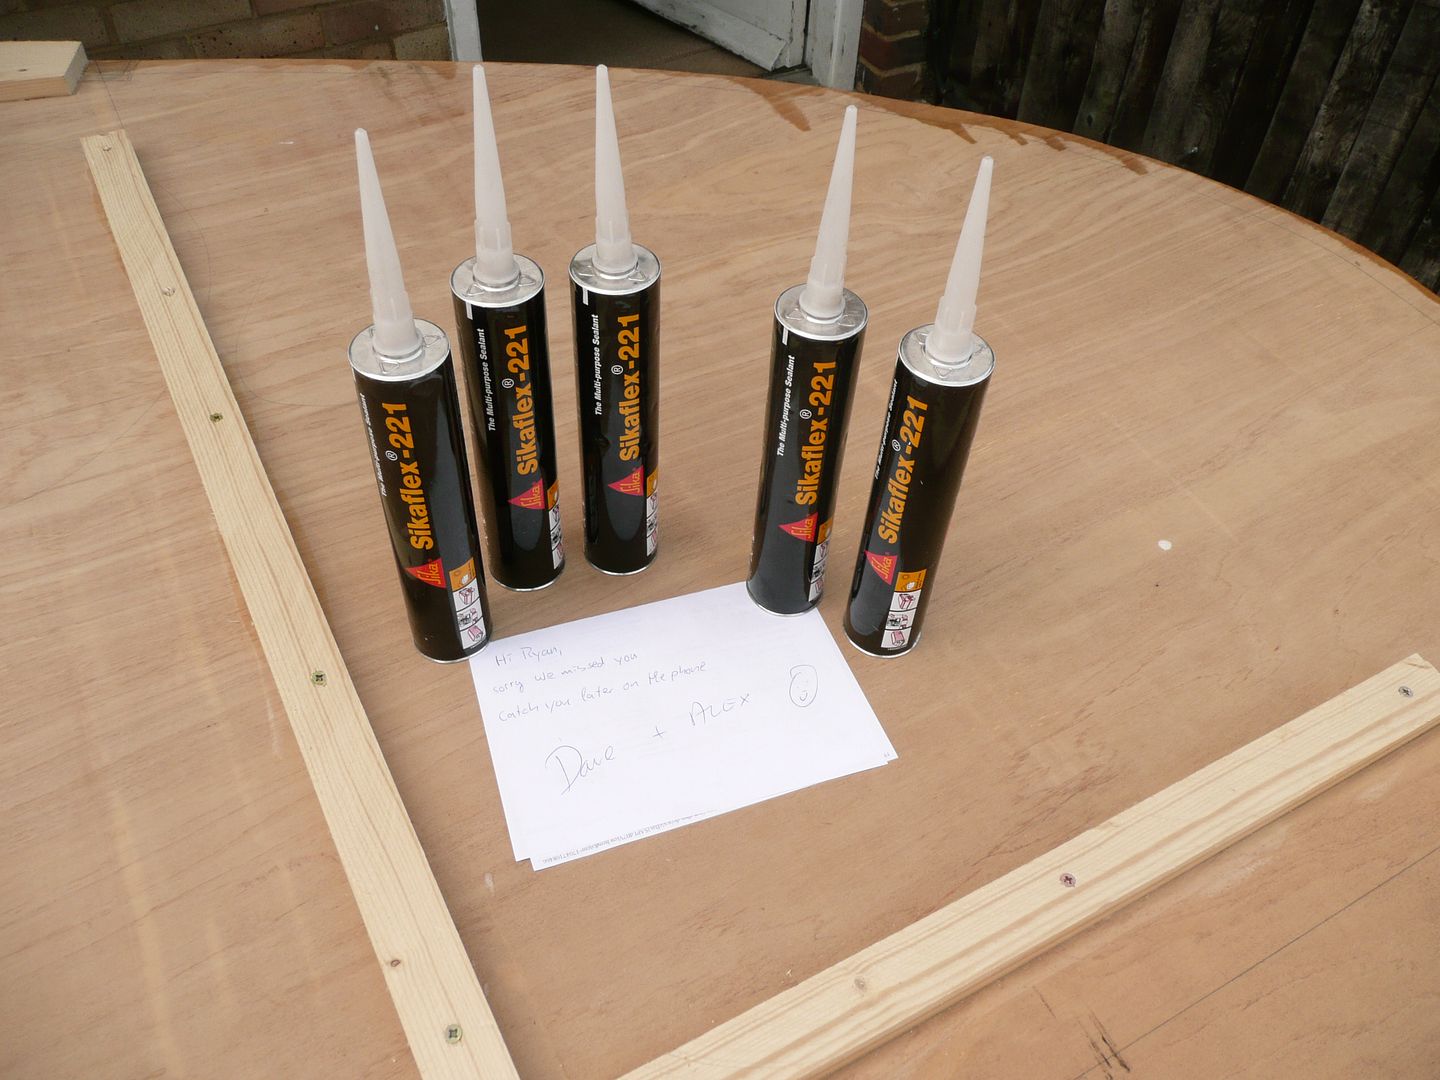
In the mean time Dave "Oldbus" and his son Alex had popped into my place from Osnabruck in Germany to hand deliver some Sikaflex 221 which I will be using in the glueing down of the roof.

Only problem is that he had wanted to surprise Nicola and me today, so had not told us they were popping over.... OOOPPPSS !!

Anyway, when I got home, this greeted me, as I had unpacked everything before I had left for Essex, so that I could just get on with it on my own.

Sorry Dave, but thanks for the delivery.

P1070838.jpg


I worked from about 12.30pm till 6.30pm and was inside the house, wrapped up by 7.05pm for dinner... nommm !

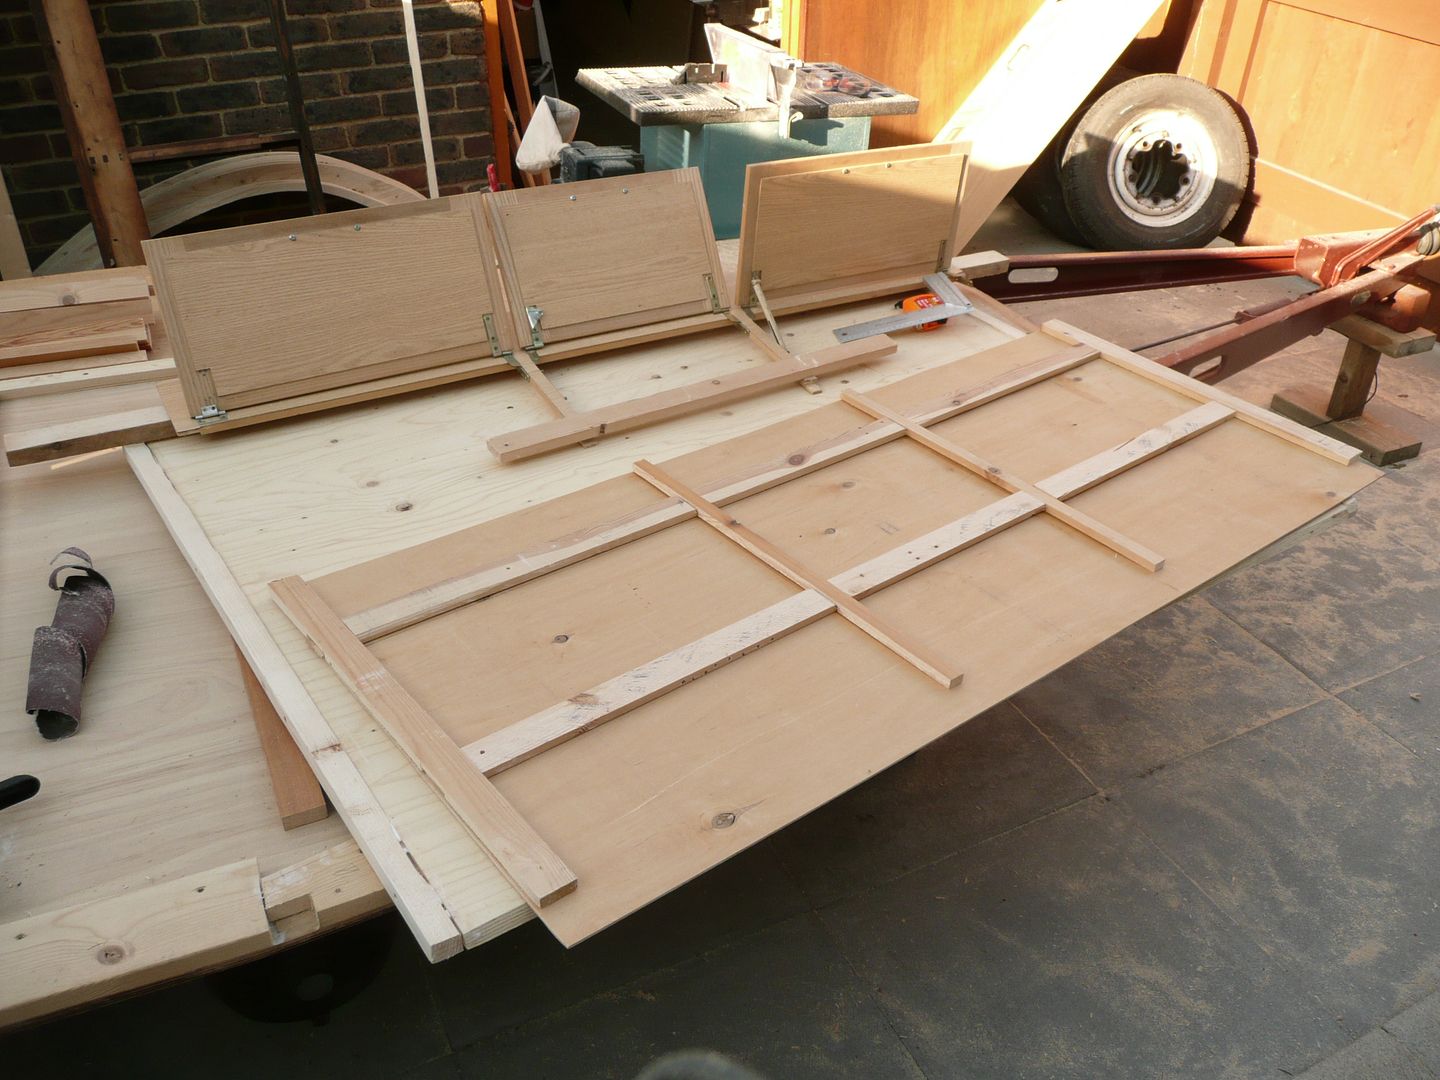
I had to make up a new front face and floor for the inner cupboard for the trailer, to take the doors I had bought earlier.
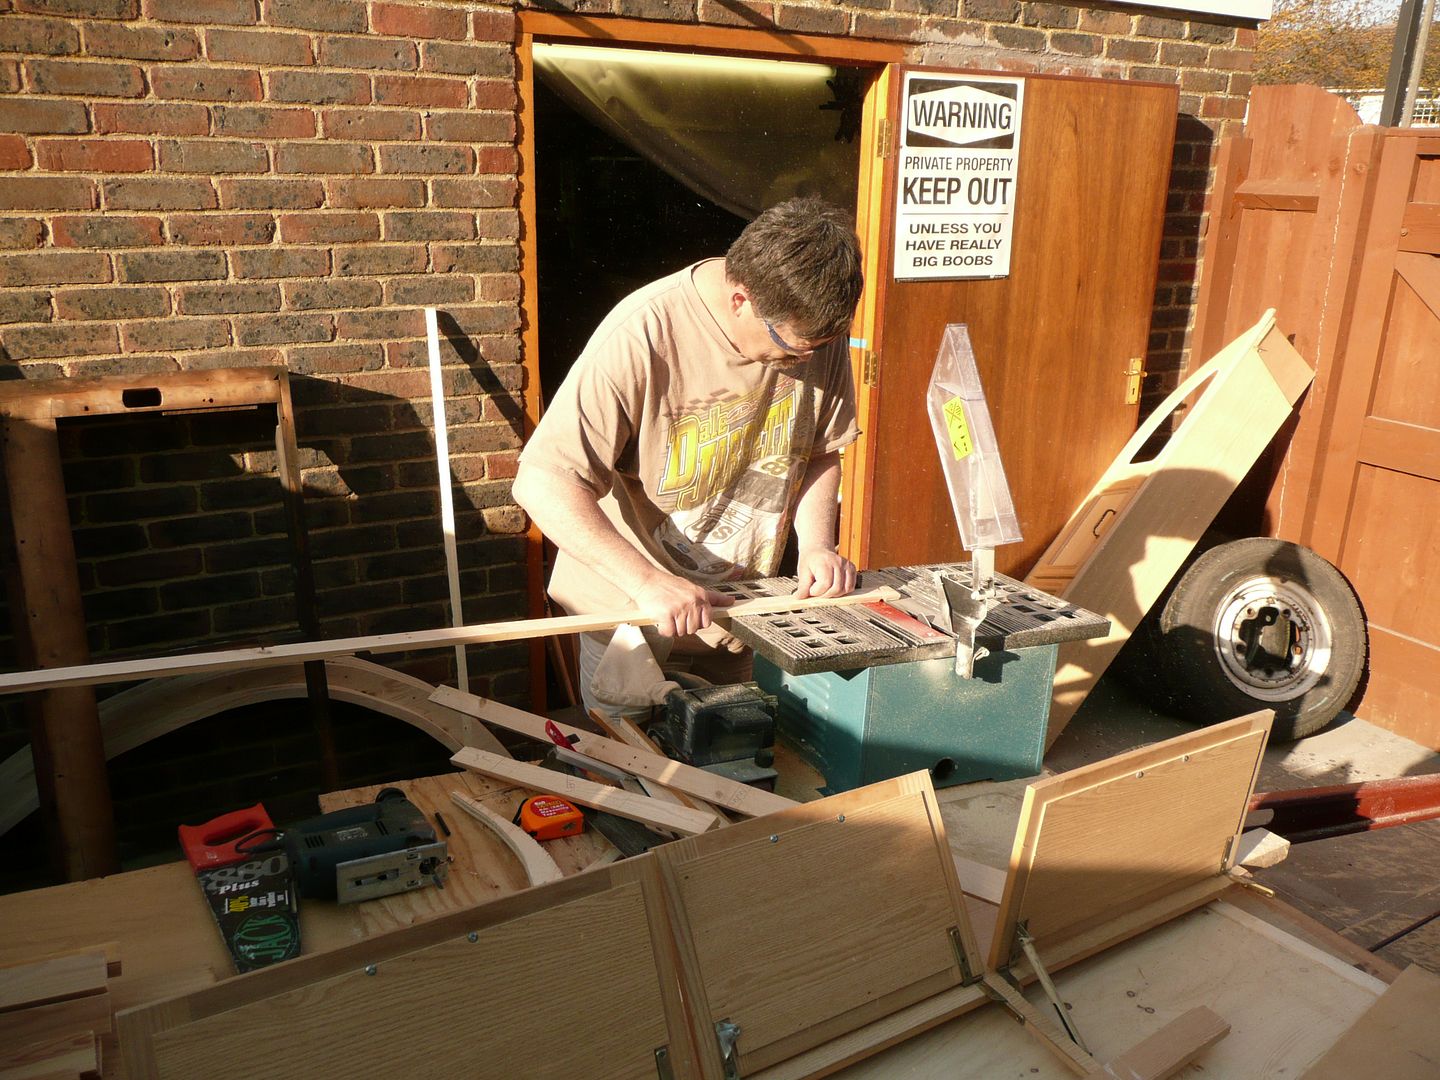
This took time, and once again, I realised just what a pleasure it is to have some decent tools.... the recessing of the timber for the frame to fit it all together , just a quick run over the table saw, no cross cut saw here.

P1070840.jpg


Frame mocked up.

P1070844.jpg


Door appertures cut out.

P1070845.jpg


Lastly all glued and "clamped" with timber and loads of weight on the front part of the cabinet, till tomorrow, then I will fit the doors.

In the morning we are off to a few bootfairs, and at 12.30pm we have aviewing on my house, keep fingers crossed the viewer likes the house and puts an offer in.

P1070847.jpg
 
OP
G

Grizz1963

Well-known member
Joined
Jan 7, 2010
Messages
12,047
Location
Rochester, KENT. UK
What a lovely weekend this was !!!!

Very little to add tonight, other than that I just had 2 x Brandy and Pepsi Max's at Nicola's place, and will be sleeping over here tonight as I can't bebothered with going home.
I also BBQ'd some very good steak, lamb "saddle chops" and some Nommy pork sausages.
Nicola made us some Cous-Cous salad to round it all off.

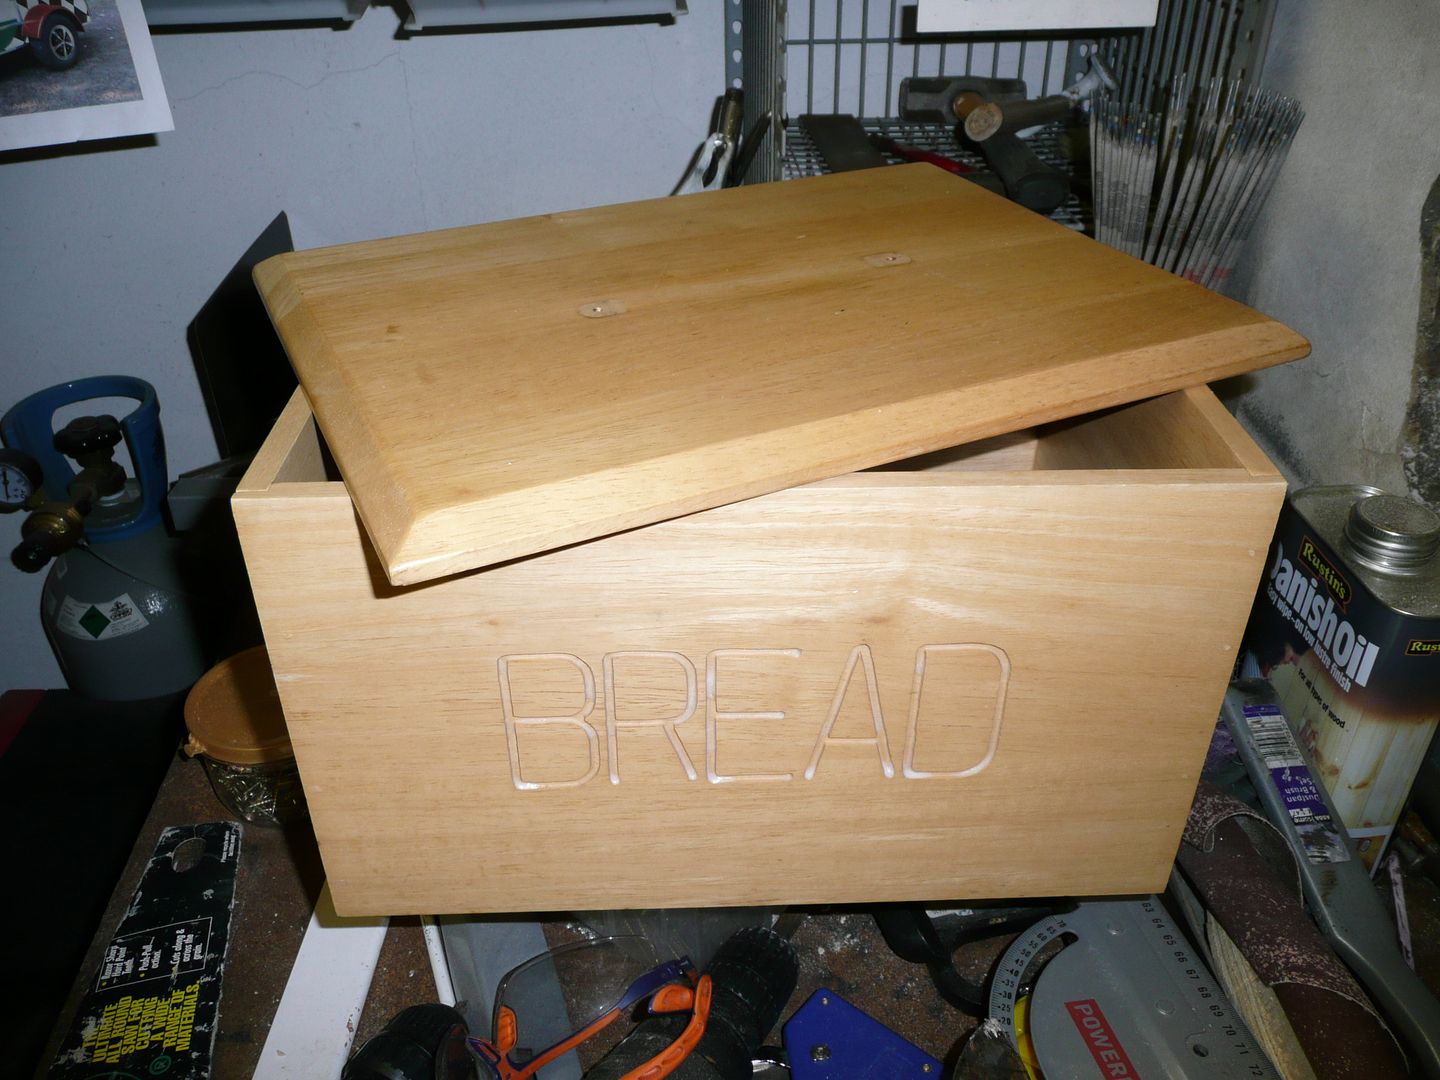
We did 2 bootfairs this morning at 06.30 , but they were quite disapointing, with me getting a wooden breadbin for the galley @£1.00 , and also a nice 24 18 inch metal Coca Cola sign for a whole 20p.
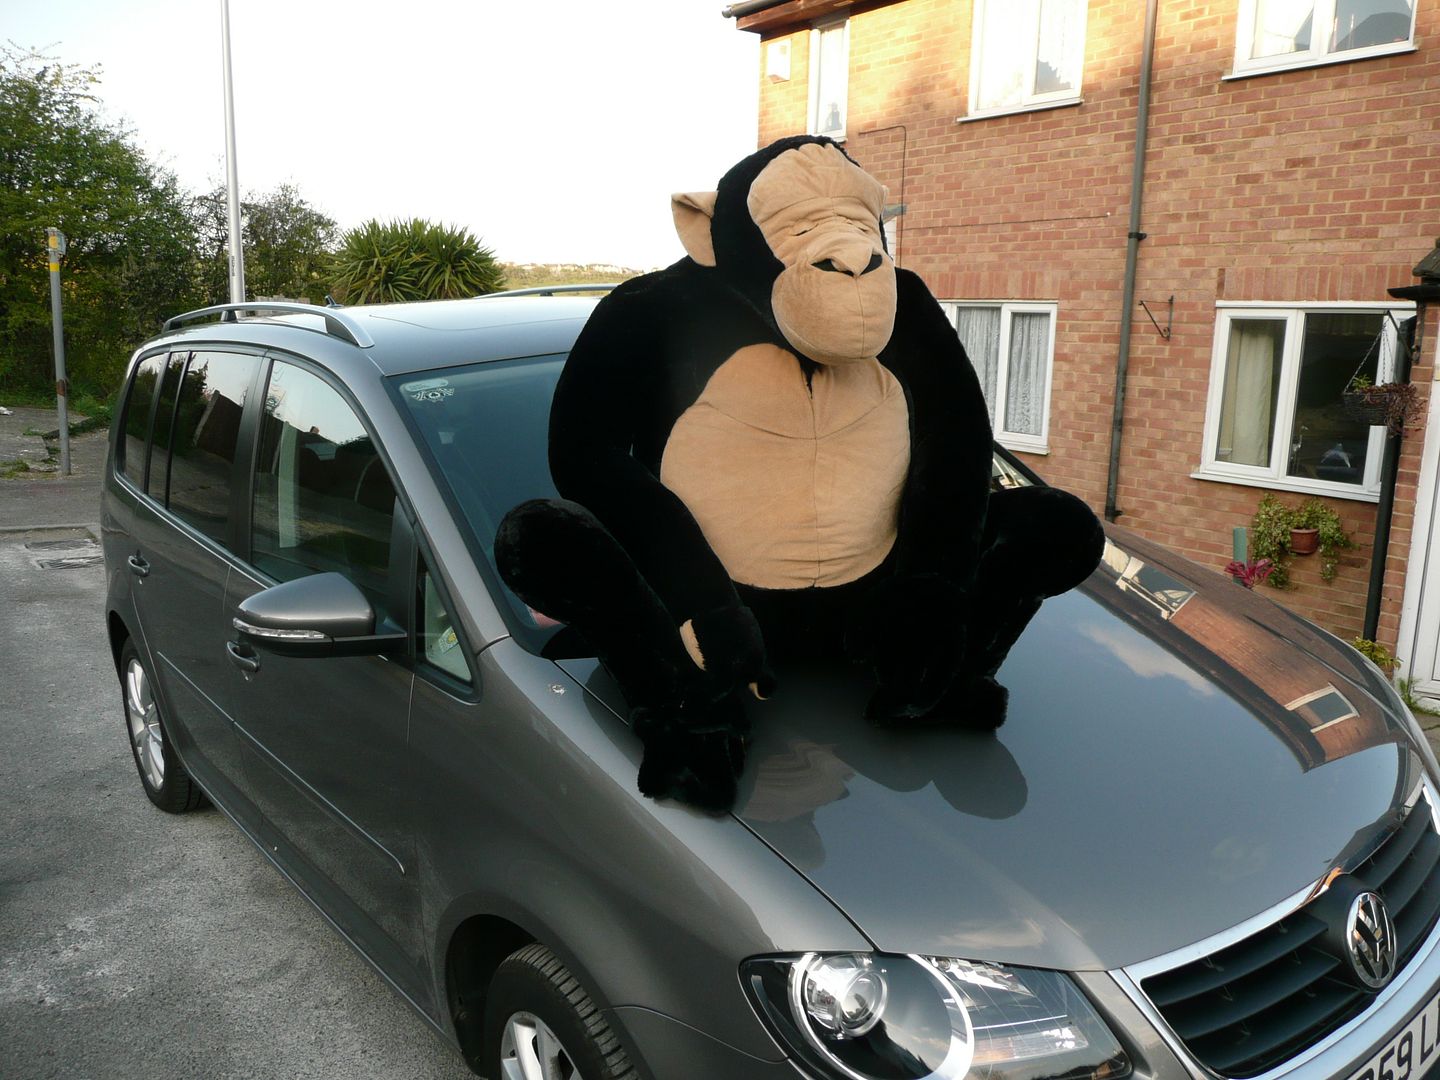
I guess the off topic buy of the day was a rather large Ape/Monkey which I bought to be the Mascot for the www.medwaymonkeys.co.uk group which I am a member of.

Total cost : £5.00

P1070851.jpg


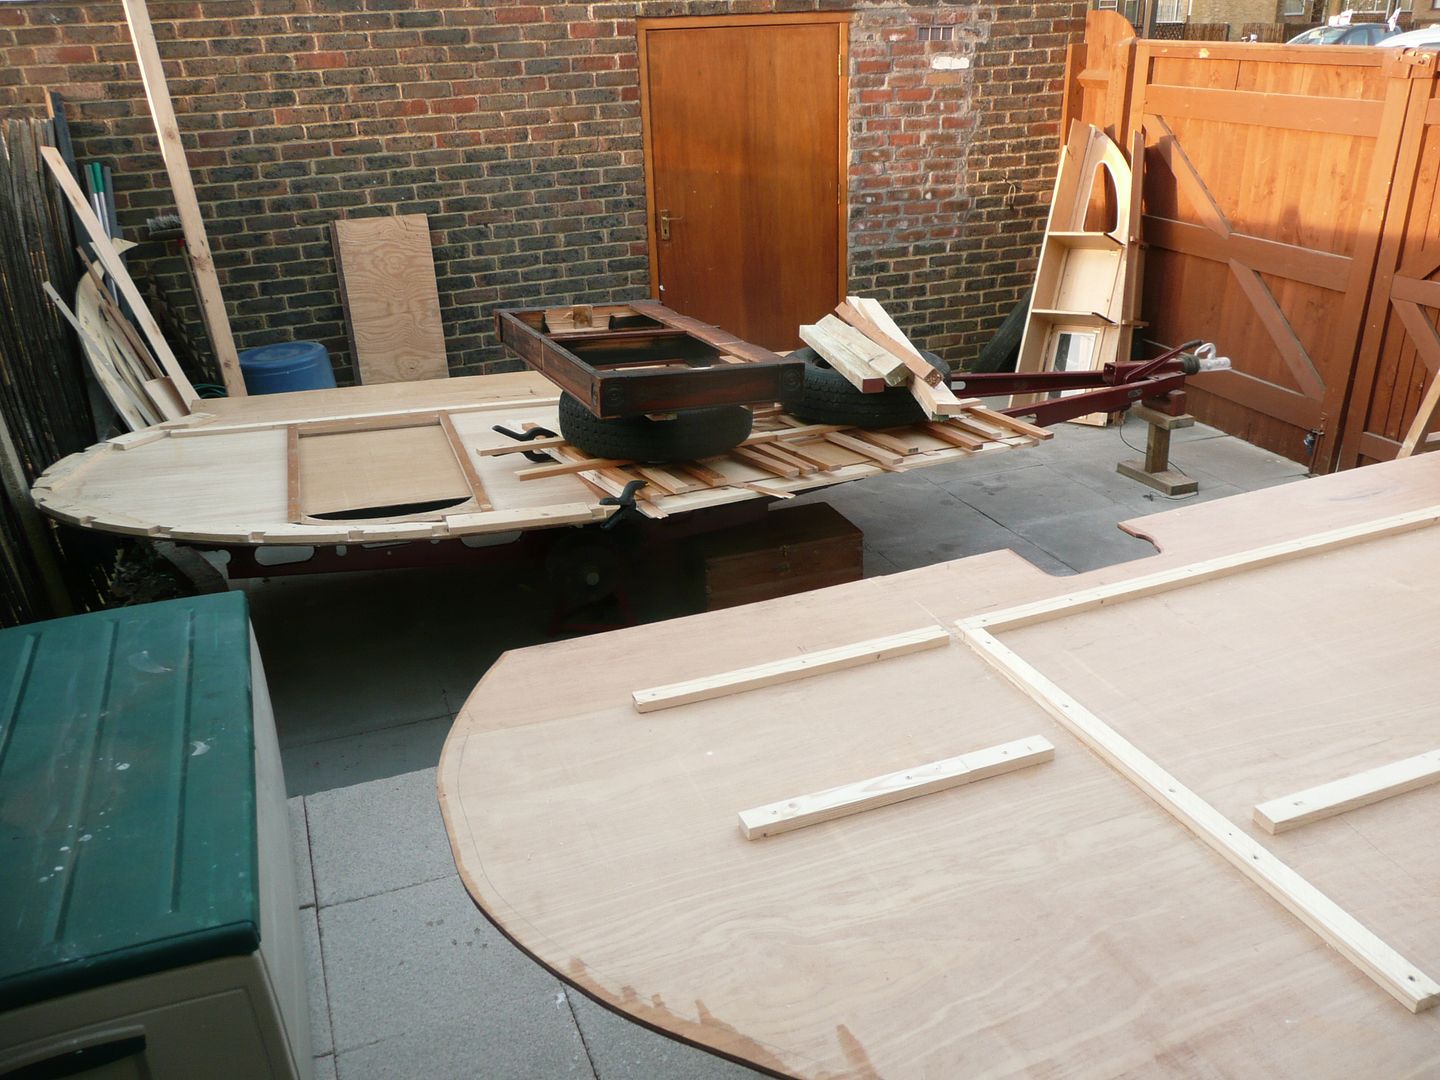
Further than that, I worked on the trailer for about 5 hours, and got to make up the top working table/shelf and also some side supports for it.
Lastley, I varnished all surfaces so that there is at least a bit of waterproofing there.

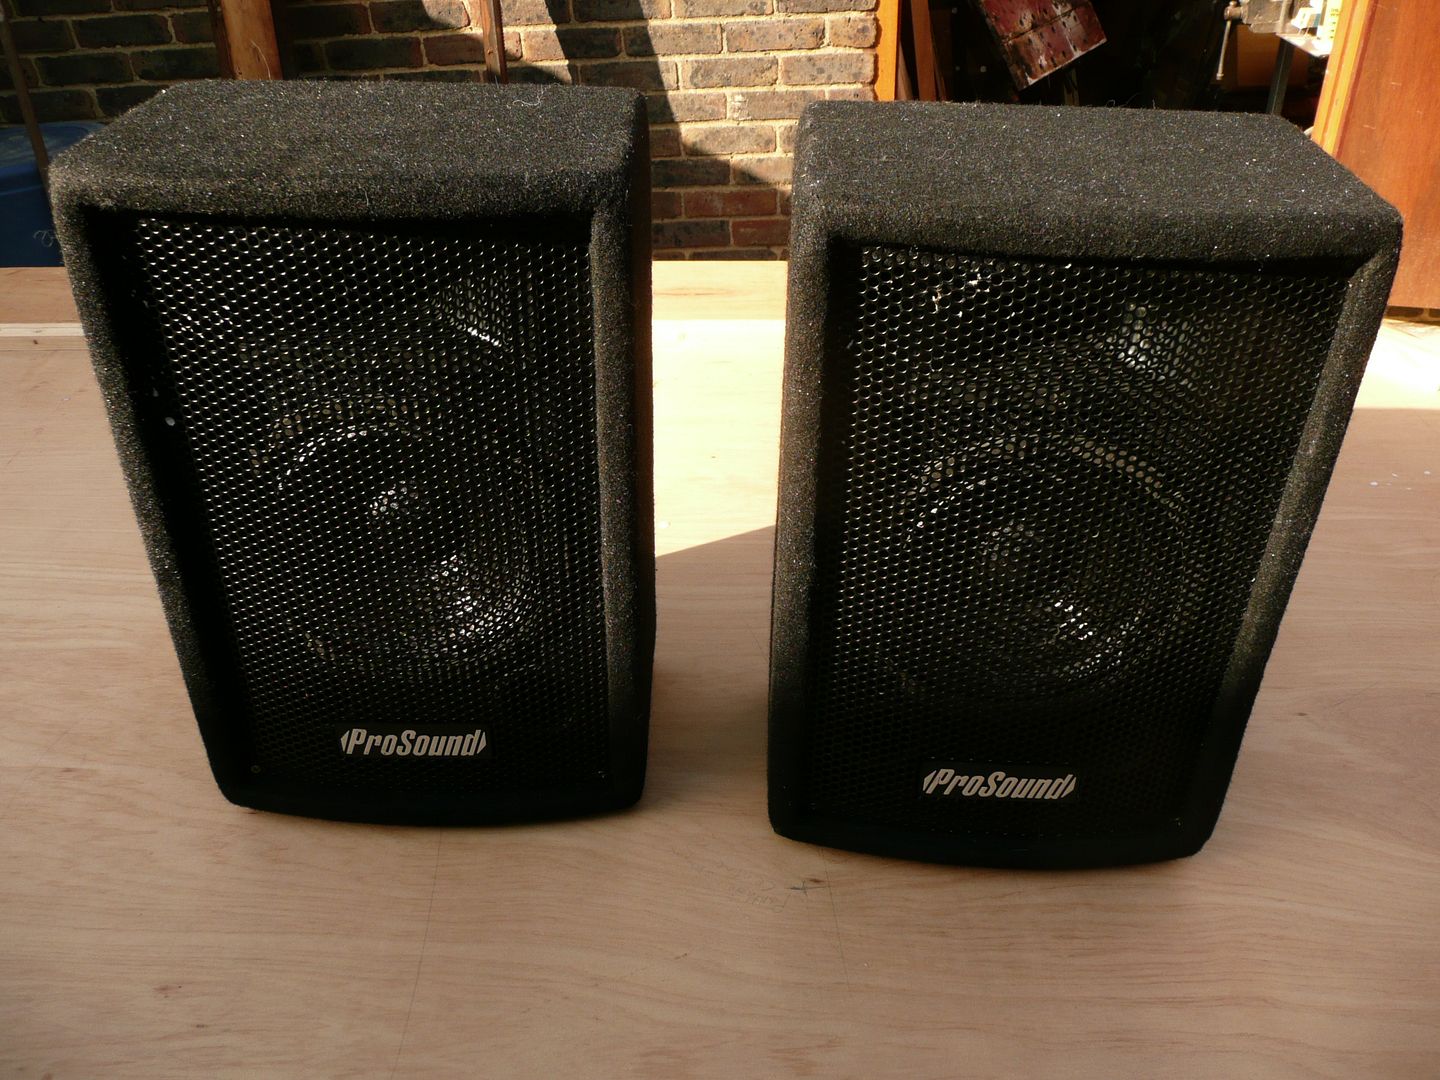
I also got lucky with a pair of 100 watt "disco speakers" new and unused, for the princely sum of nothing on the local Freecycle.
They will be going into the Transit bus when I start doing out the rear end.

P1070849.jpg
 
OP
G

Grizz1963

Well-known member
Joined
Jan 7, 2010
Messages
12,047
Location
Rochester, KENT. UK
£1 find at bootfair, it will possibly be screwed down in the rear corner of the top shelf.

A decent wash (not really needed) and 2 coats of varnish later.

P1070861.jpg


Tonight I was just chilling in the garage, as my work day was a bit poo, and I needed to unwind.

I coated all the surfaces for the galley, and the internal cabinets with their 2nd coat of varnish.

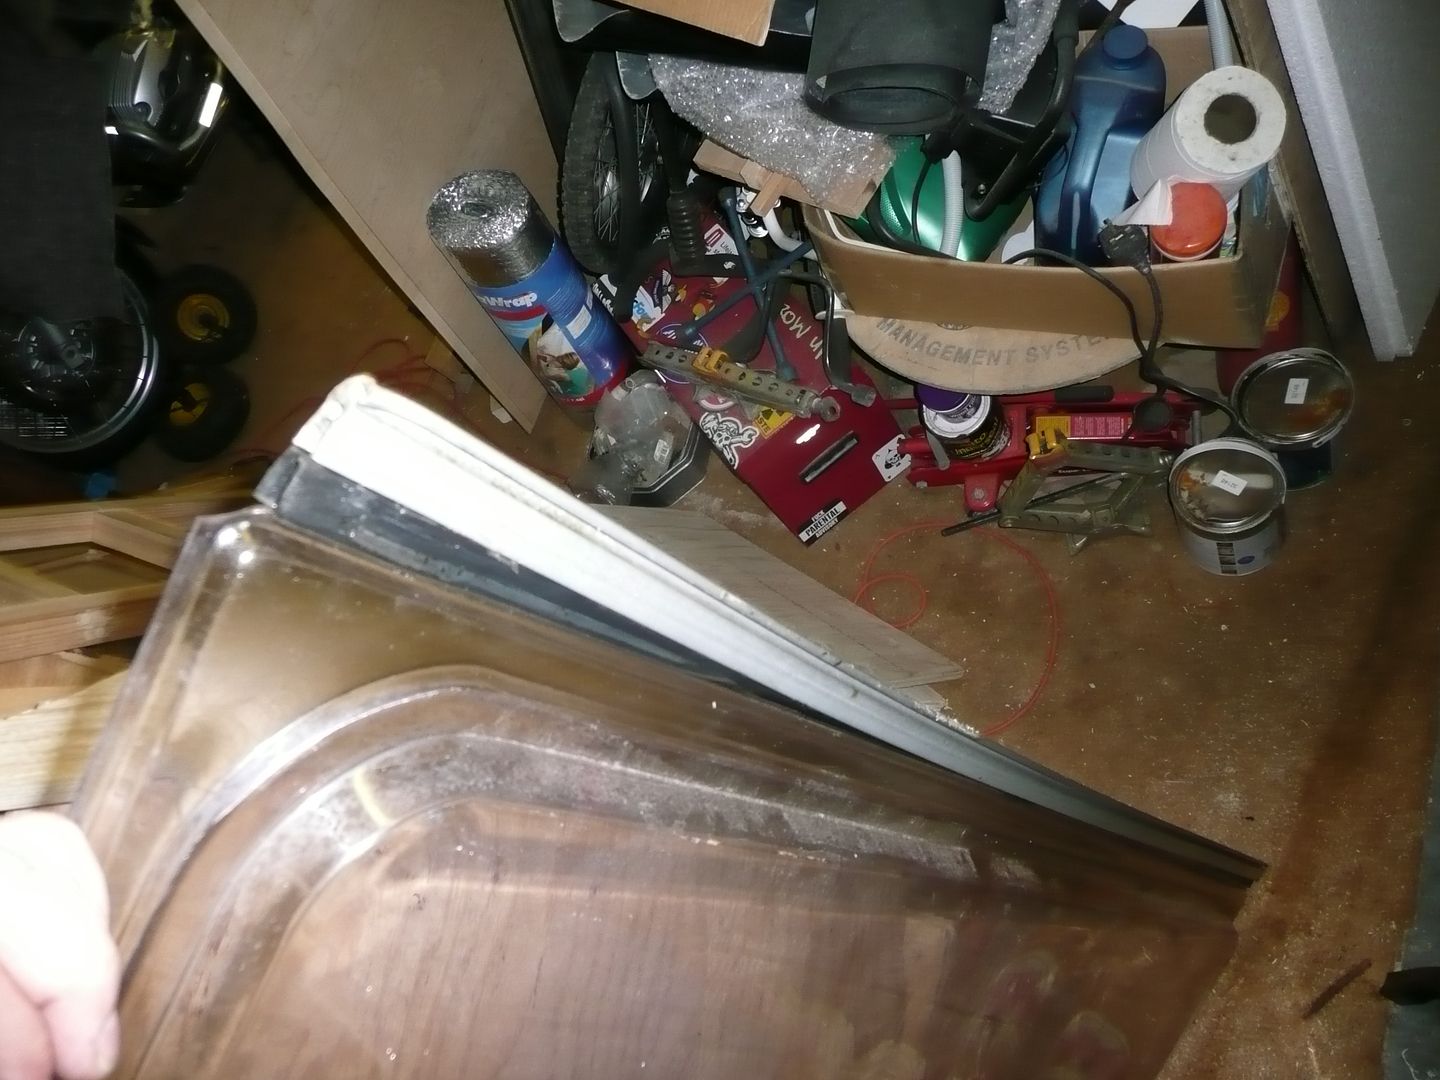
When that was done, I felt the MOJO still bubbling away, so decided to see if I could get the hinge off the window I bought for £10.00 on Saturday. That way I can start making up the galley hatch when I am ready for it.

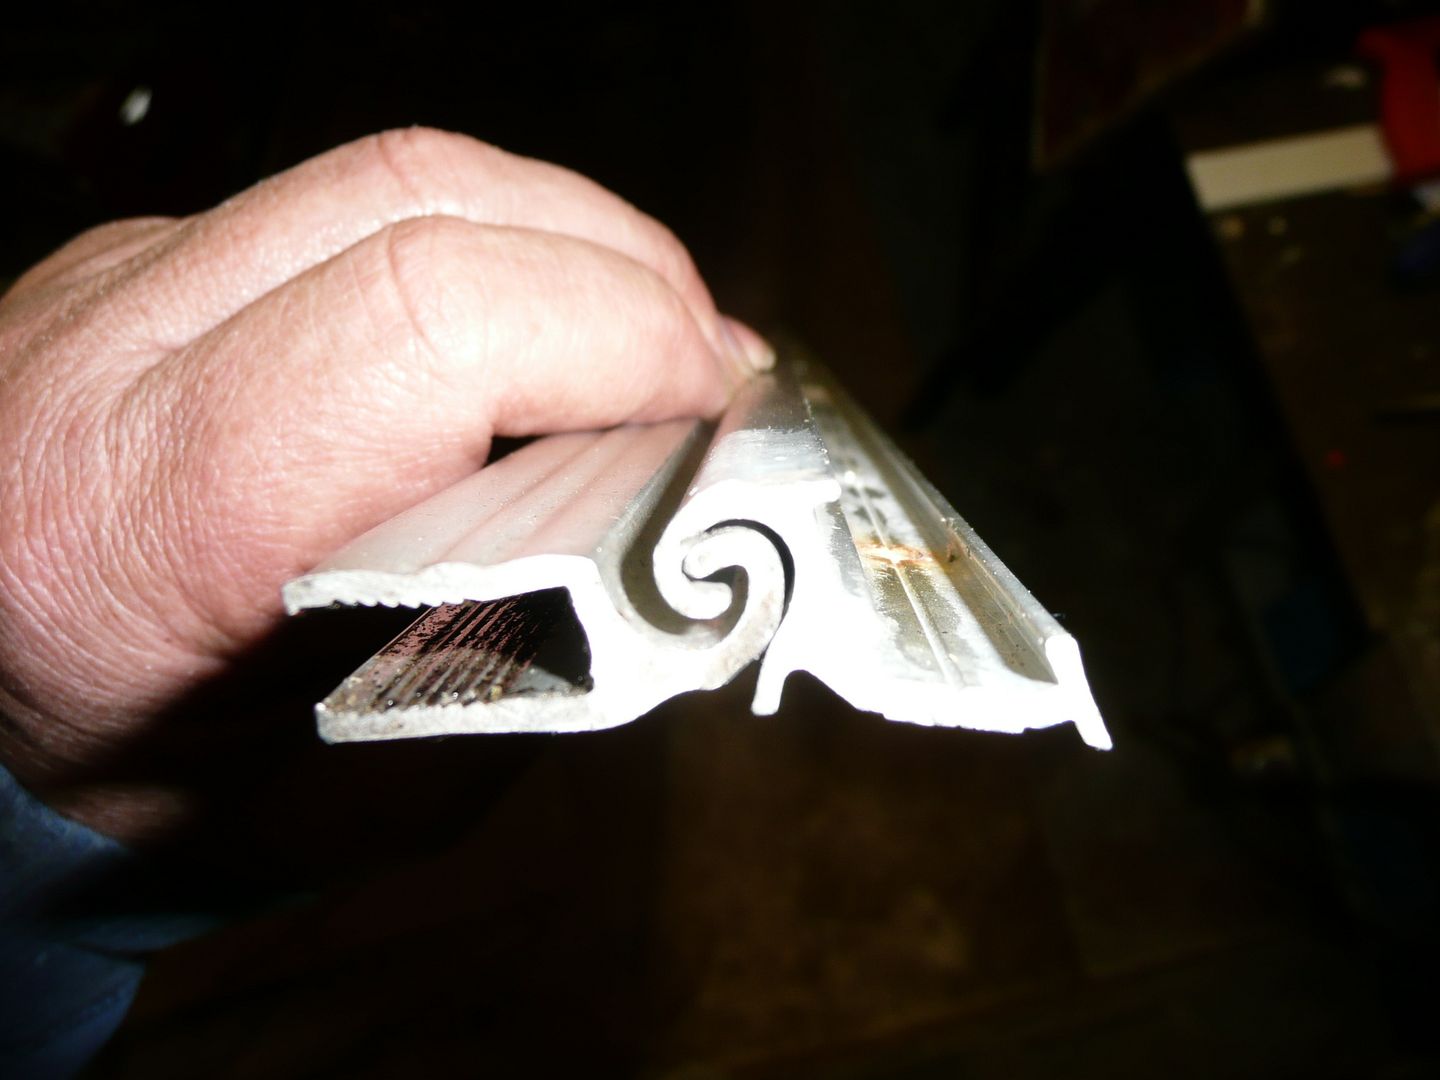
One side slips out, the other had been press fitted along with a rubber seal between the ally and the window perspex.

I asked DeliDave and he suggested cutting it off with perspex in place.... but of course I tried "Old Skool" therapy first.... large lump hammer and screwdriver, followed by liberal WD40 application, a mug of tea and then some more hammer action down the length.

After a reasonably short time I had them seperated and am now the proud owner of 5ft 5 inches of hinge.

Starting to seperate away.

P1070854.jpg


Done !!! WooHoo !!

P1070859.jpg
 
OP
G

Grizz1963

Well-known member
Joined
Jan 7, 2010
Messages
12,047
Location
Rochester, KENT. UK
Been a bit busy with the day job this week.

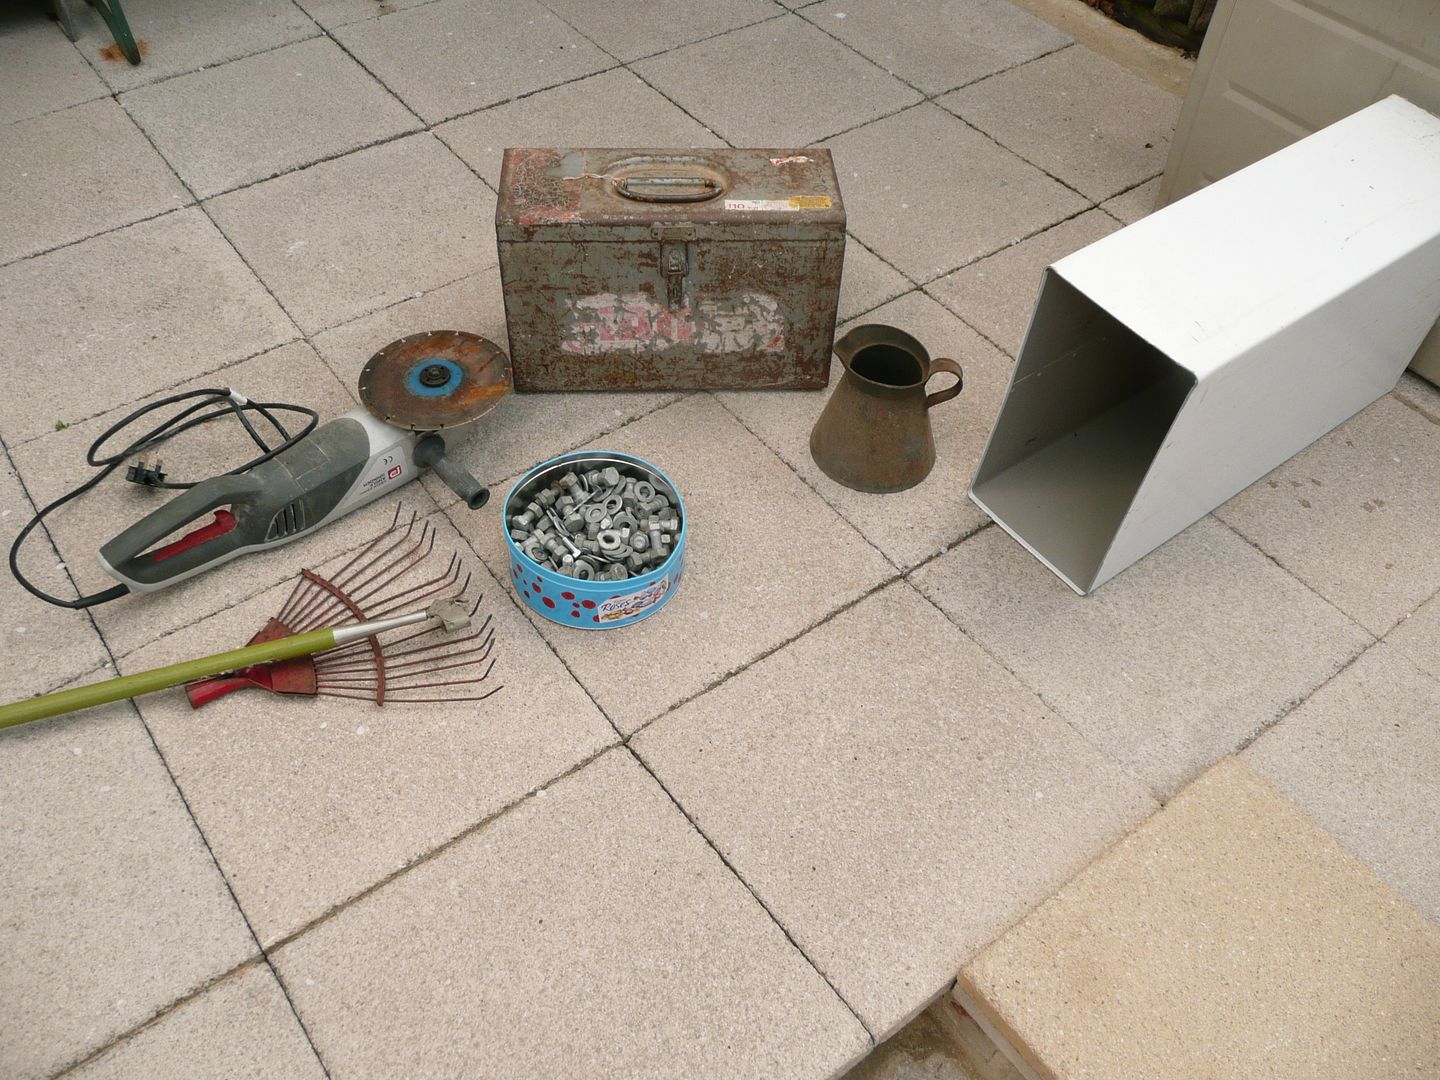
However, it did not stop me from popping into my secret council tip on the way home tonight, and what a score it was. !!!!

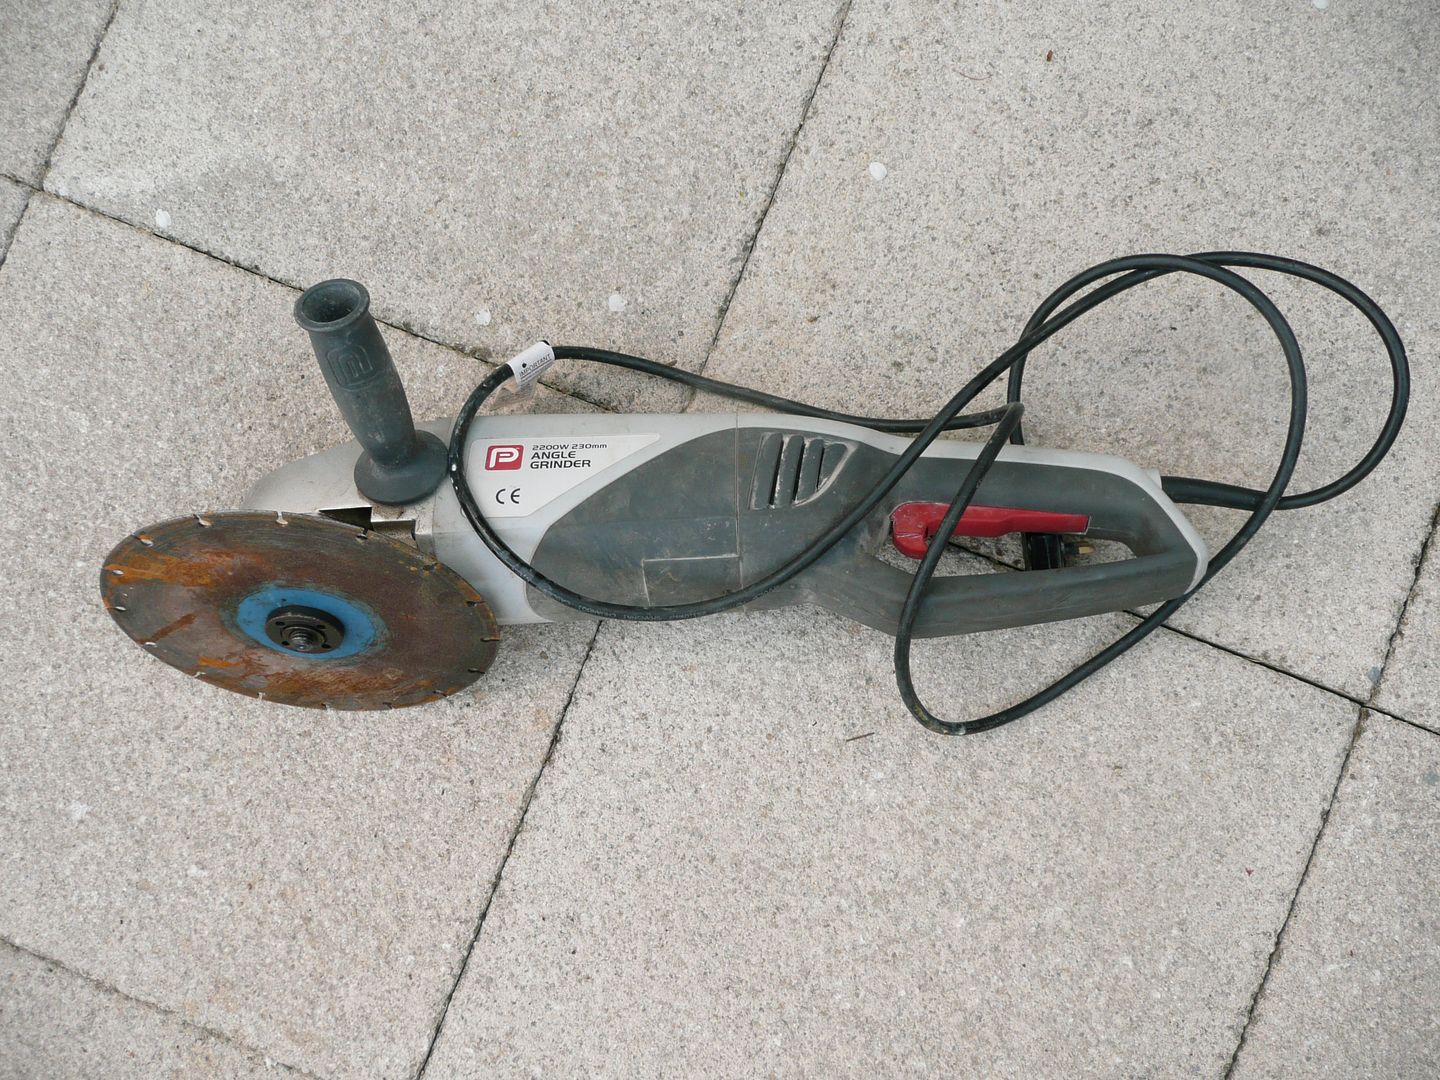
I got a 2200w, 230mm Angle grinder with steel blade attached at the tip, some steel which was the main reason for going there. I also got an old oil jug, a tin full of galvanised nuts and bolts, a leaf rake head and a seperate handle for Nicola, and lastly a really nice solid old steel trunk/tool box.

CHUFFED ?? YOU BETCHA !!

P1070862.jpg


Hardly used. Not the same league as a Makita, but hey at a cost of FREE, I am not complaining.

P1070863.jpg


I have given Nicola Saturday to do whatever she wants with me..... Payback I think it is called.

I think she had a picnic and movie planned.

Tonight I got home just after 5pm, so decided to do a bit more prep to the "flat pack" part of te build.

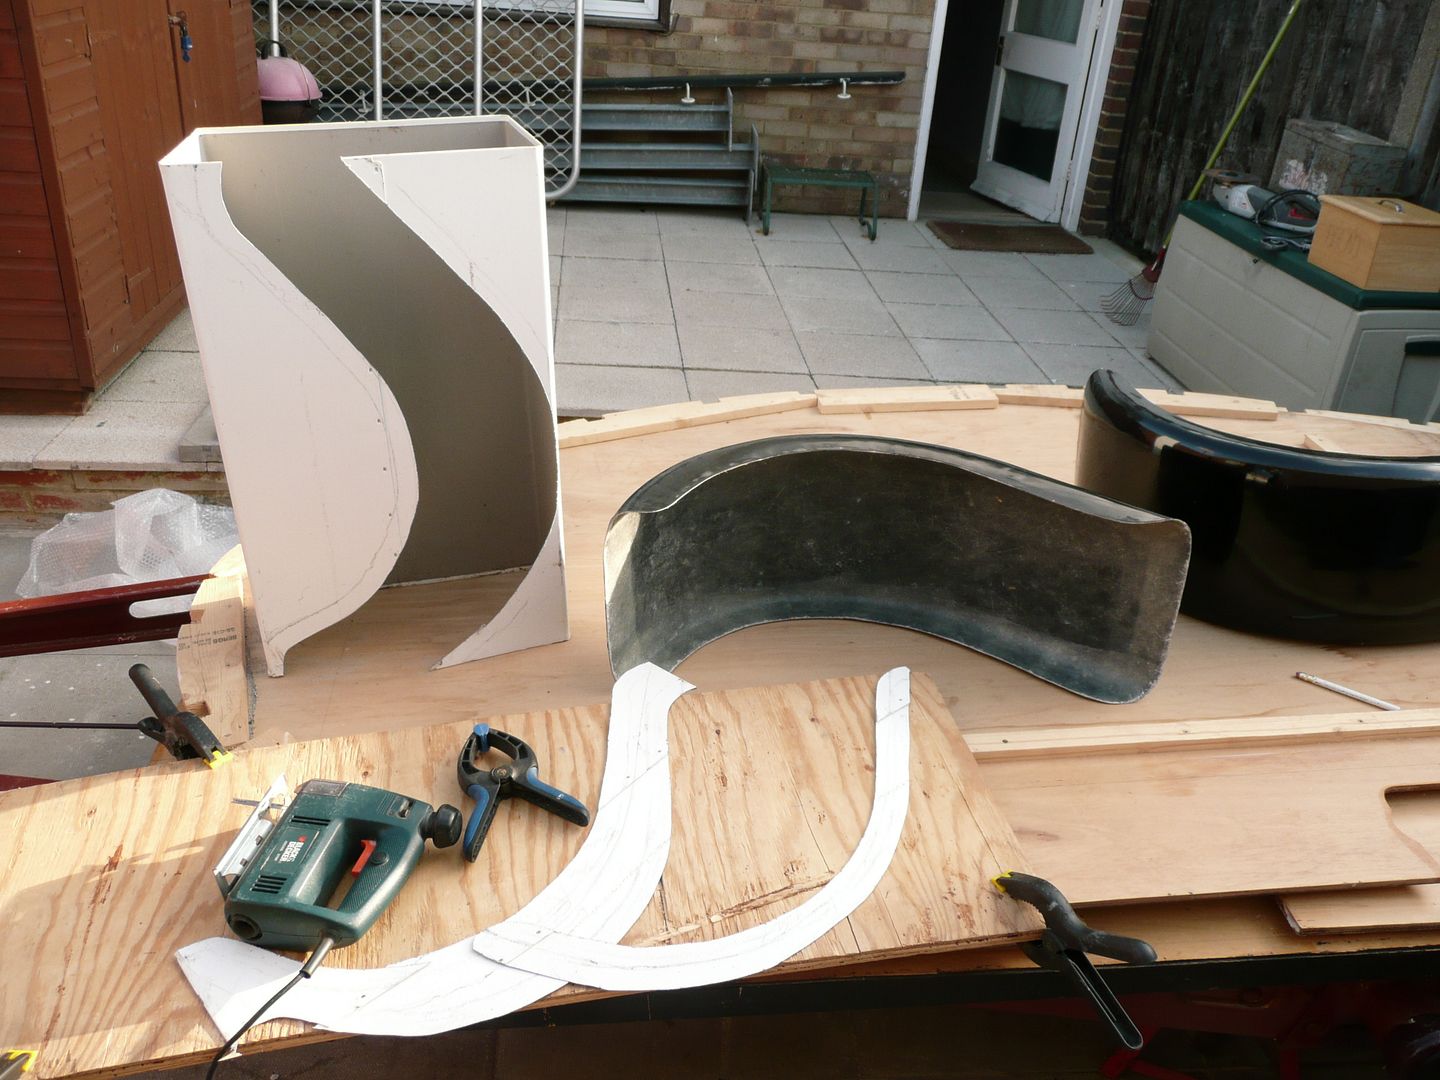
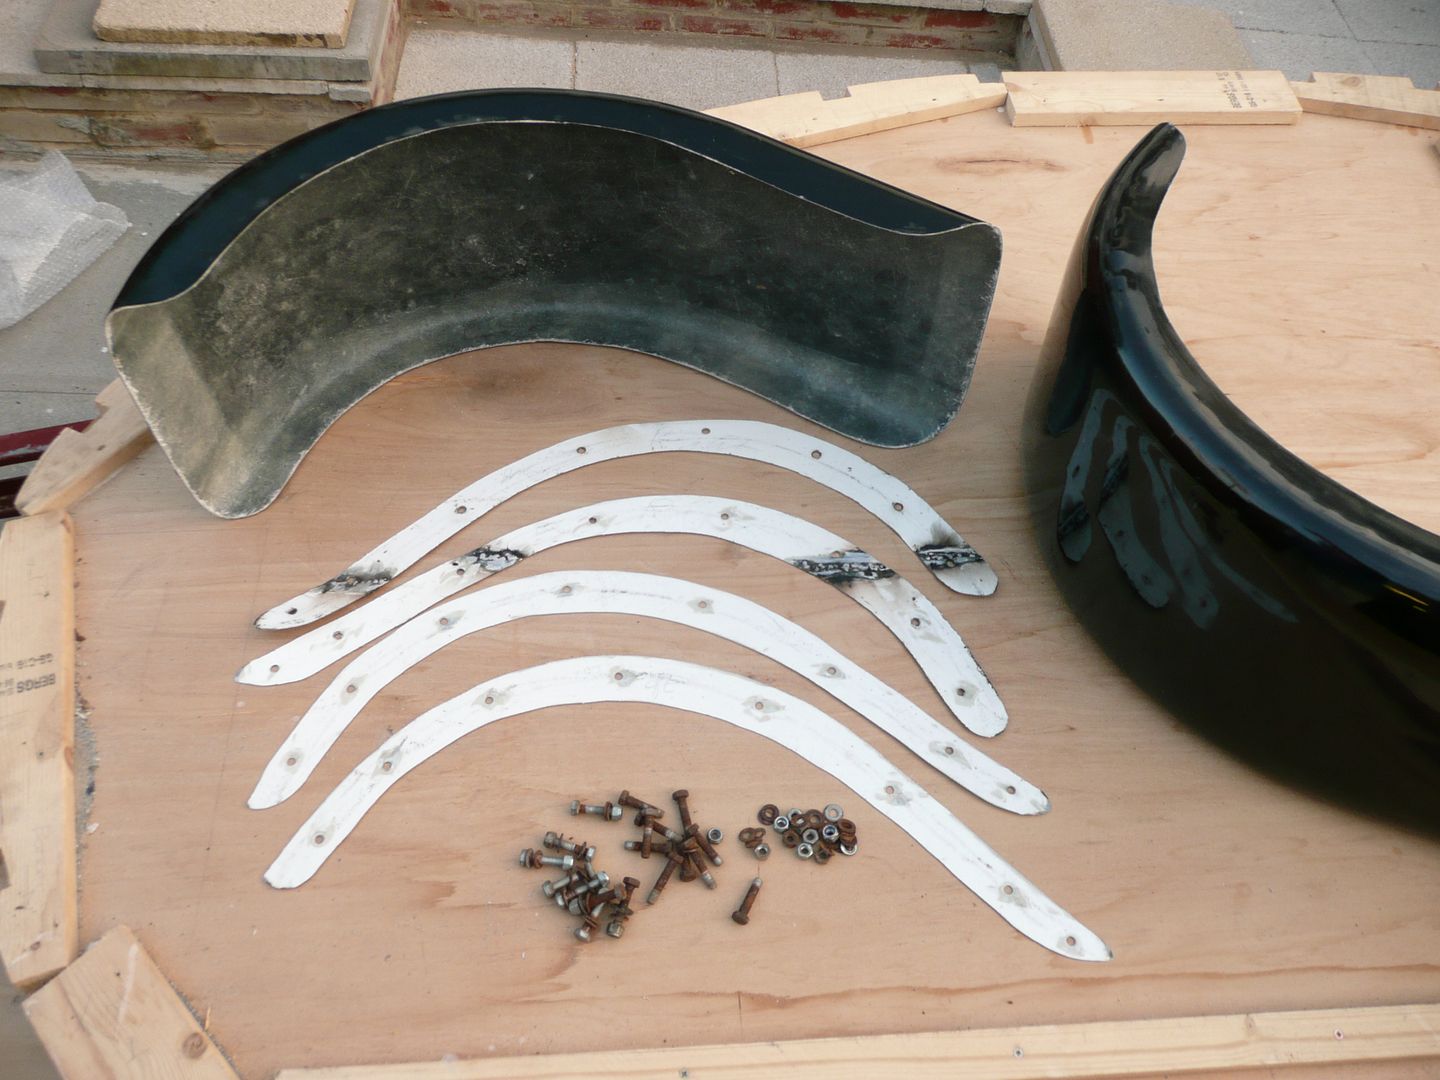
I am going to use the fillets I cut out of the steel I brought home on the inside of the trailer next to the ply, and also another one on the outside, next to the glass fibre of the mudguards and then sandwich them with recycled nuts and bolts from the original trailer, so that the mudguards are attached to the body, rather than onto a pair of supports. Every layer and the nuts and bolts will also get silicone sealant to help waterproof and absorb all the vibration. Hope that makes sense.

If anyone has opnions on my method of attachment please do feel free to raise them and comment on here.

The basic templates cut out for one side.

P1070865.jpg


Drilled, welded on the joins and ground down, nuts and bolts still need to be threaded with tap and die set, to clear threads.

Next update Sunday or Monday.

P1070866.jpg
 
OP
G

Grizz1963

Well-known member
Joined
Jan 7, 2010
Messages
12,047
Location
Rochester, KENT. UK
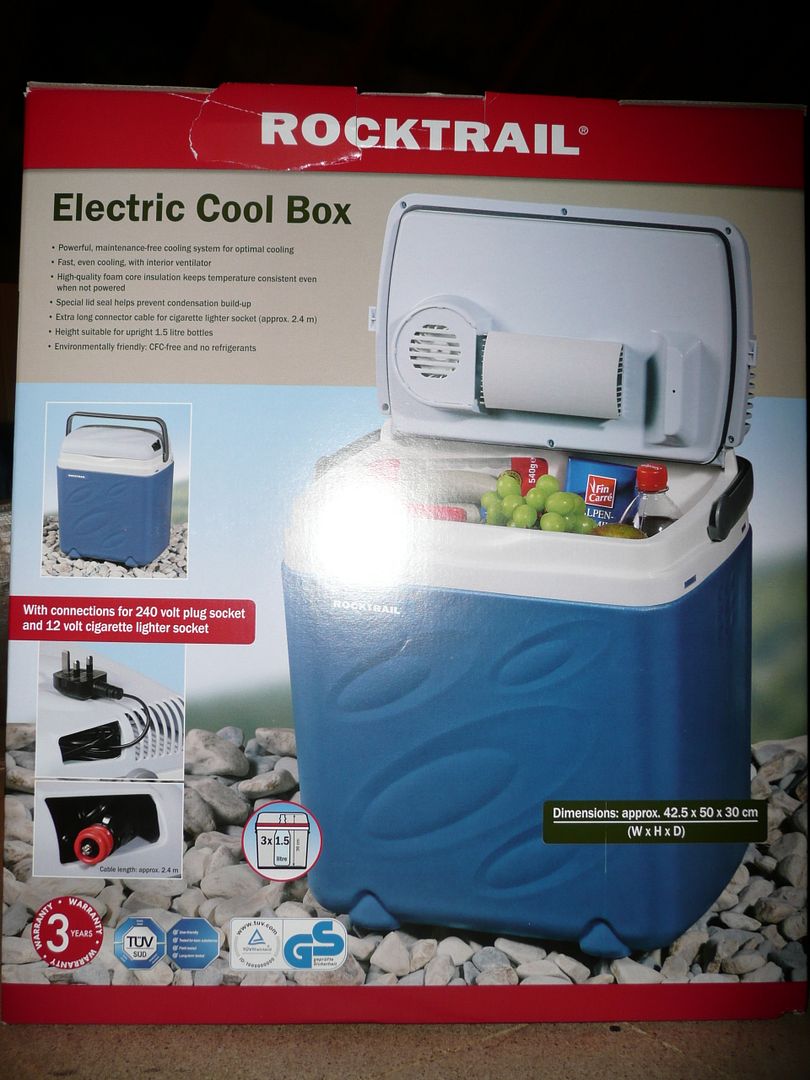
PS: I also bought us an electric coolerbox. £29.00 at LIDL's this will be as an add on for the trailer, but also to be used in the VW touran for picnics and in my Taunus Transit when we use it on its own. Thought the price to be fair.

P1070869.jpg


Today was Nicola's day, so we went to Dover for most of the day, shopping and lunch, then to Ashford Factory outlet on the way home.

Back home by 5.30pm , she had her newspaper, and I sneaked off into the garage to paint the strips I made yesterday and to cut the threads on the bolts I have recycled from the original trailer.... weird how it is so easy to pop into the hardware store and buy what you need, but cleaning up and stripping back a bit of rust on the threads with tap and die set gives me a bigger kick.


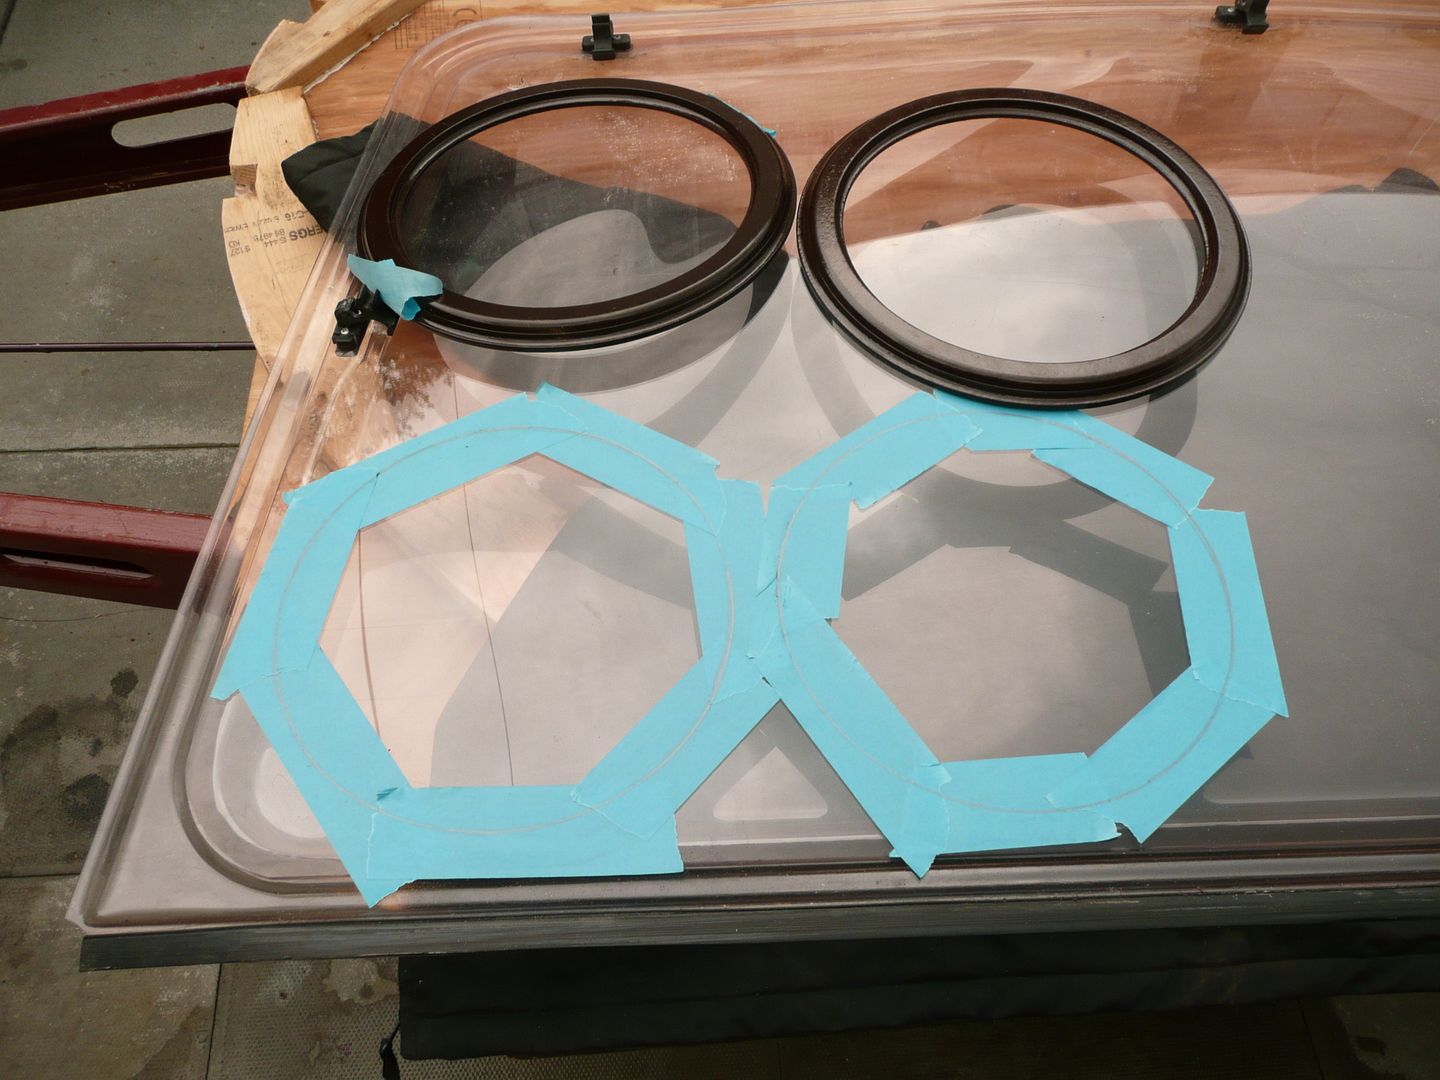
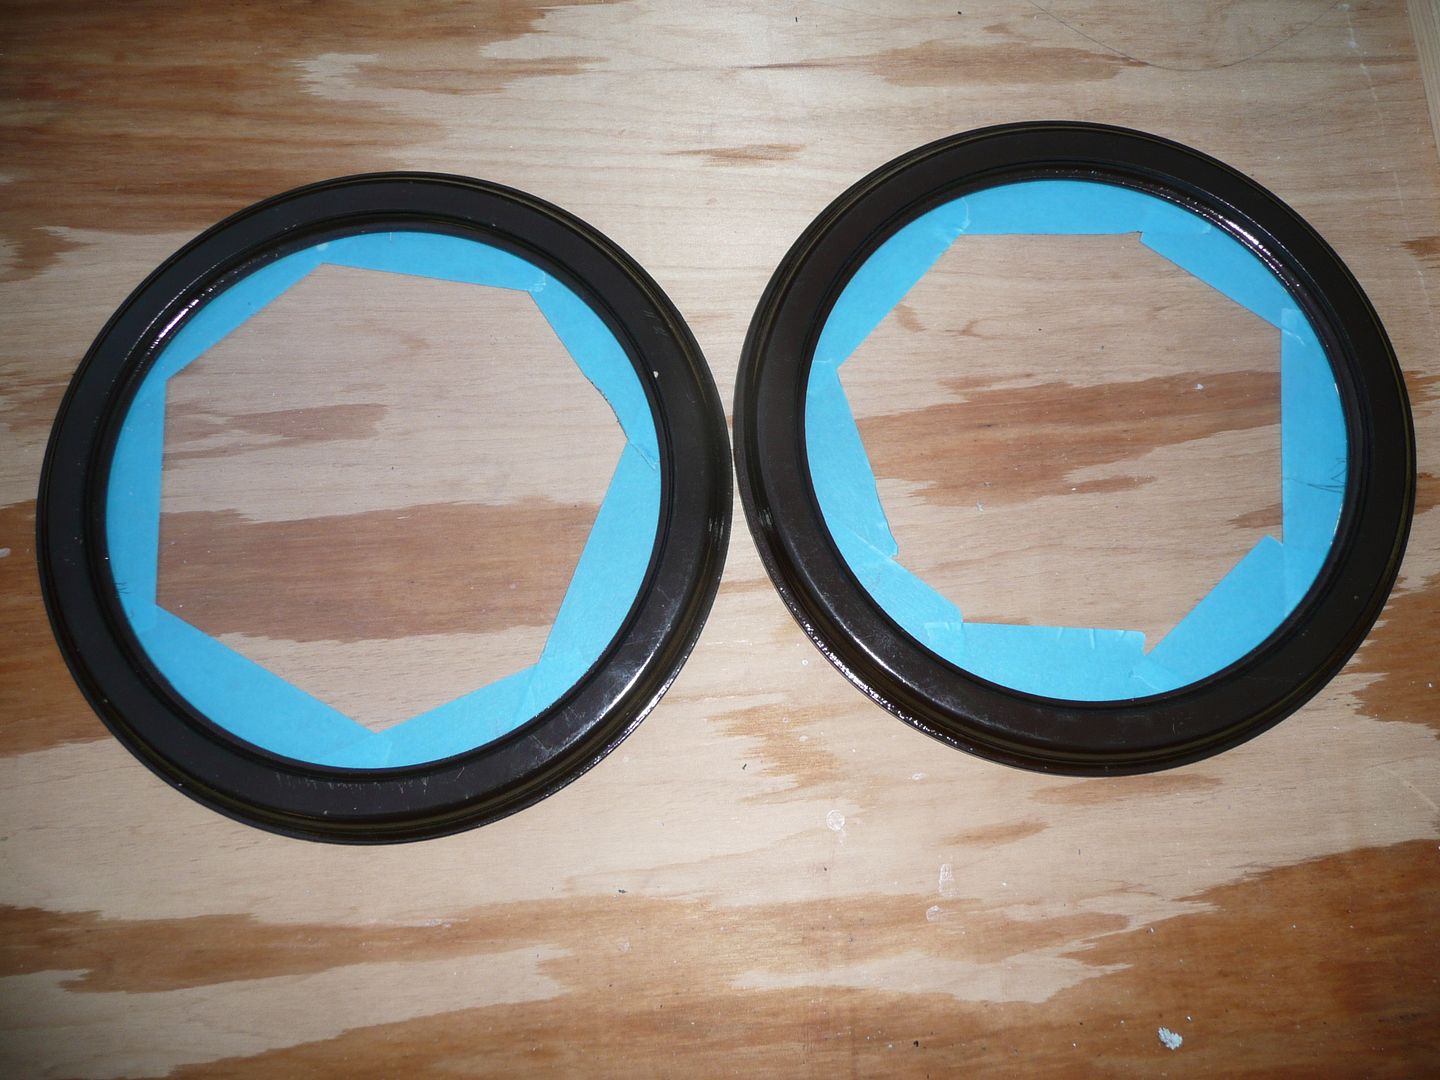
I got onto one of the jobs I have been dreading in a way..... cutting the old caravan window I bought last week to make a pair of porthole glasses for the caravan. Measured and marked out, I took the angle grinder to it, and finished it off with the beltsander.

Et Voila !!

Measured and prepped.

P1070870.jpg


Cut out and trial fitted.

P1070871.jpg
 
Last edited:
OP
G

Grizz1963

Well-known member
Joined
Jan 7, 2010
Messages
12,047
Location
Rochester, KENT. UK
Well, what a long weekend !!

Saturday was great, spending a day out with Nicola.

Sunday..... Rain, Rain, Rain and more rain, so very little done.

Monday, which of course was a public holiday..... Rain, Wind, Rain, Wind, Rain and more Wind... !!

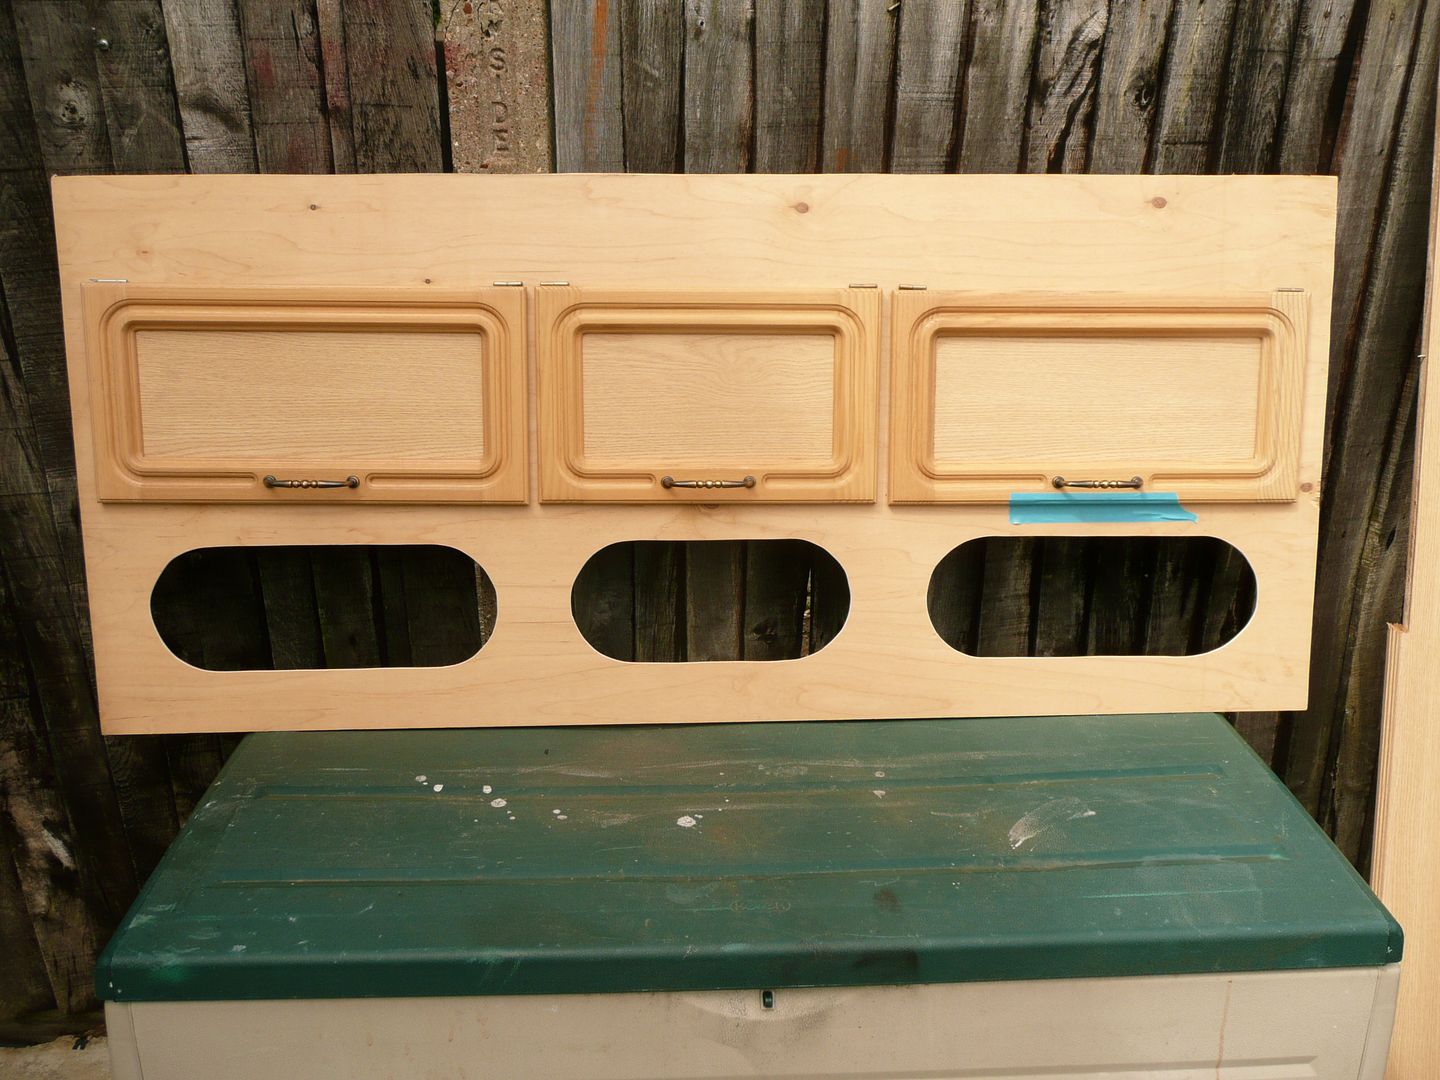
Inbetween all the crappy weather I managed to redo the internal cabinets frontage, and will be adding a shelf inside the cabinet, making the closed in area smaller, but also allowing for these open bits, which always looks great on ther people's trailers. It included new frames, and floors to be added to what was there.

P1070874.jpg


Between the rain coming and going I prepped the sides with holes and countersinking them, to be screwed into the floor frame, and also sealed with silicone when it happens.
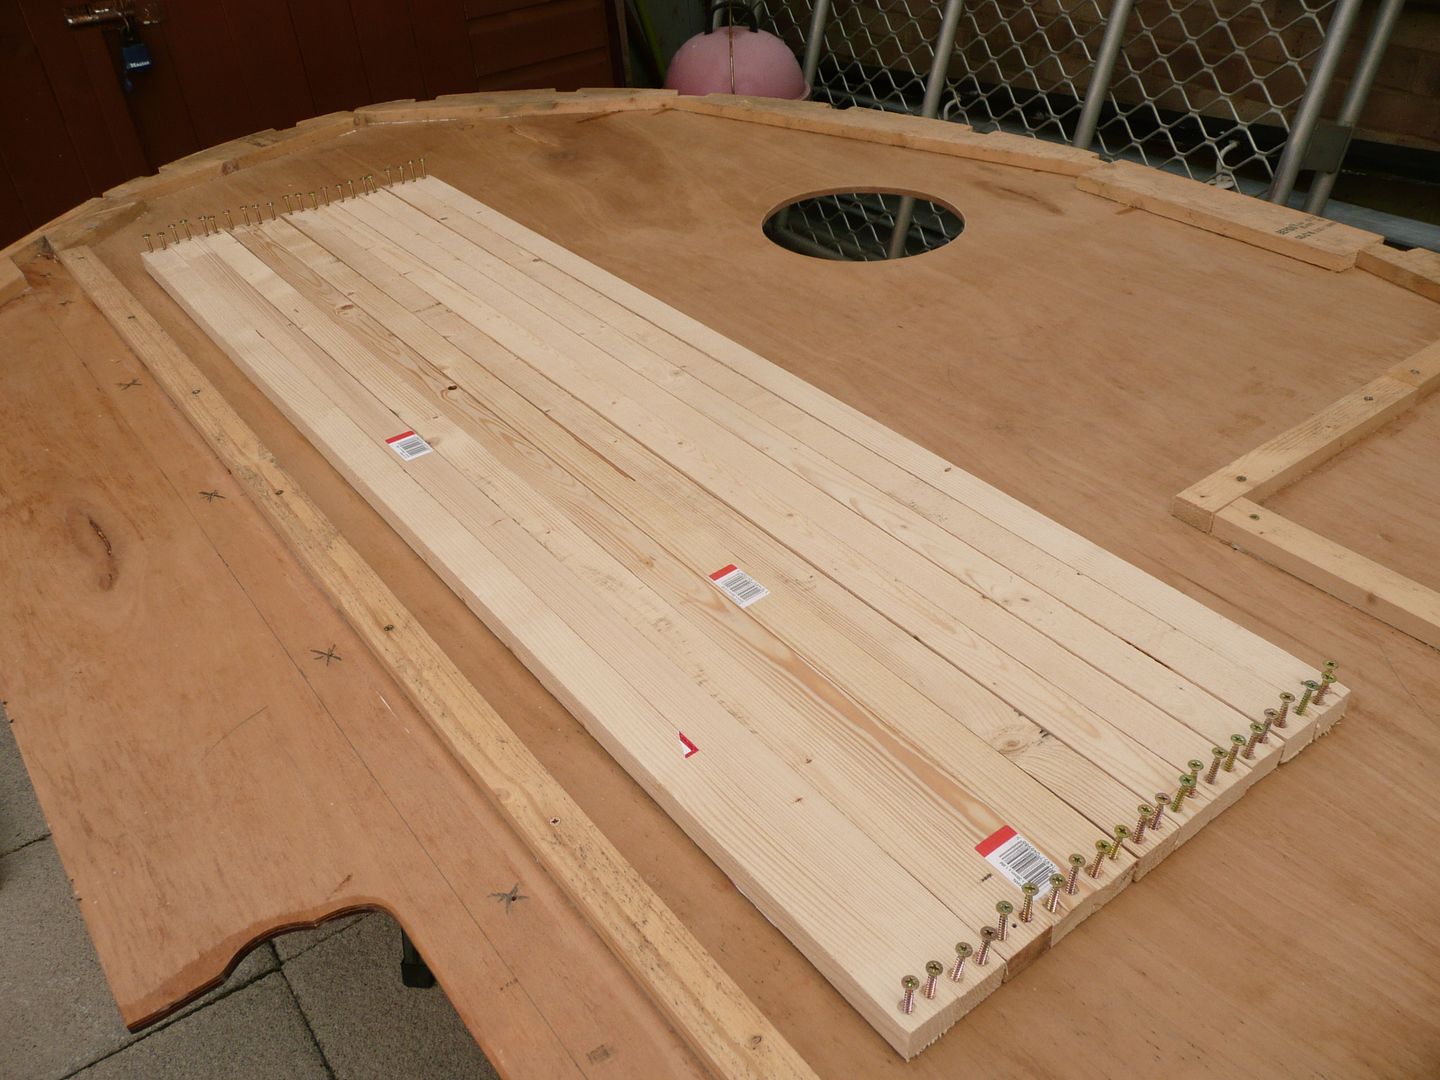
The screws for the roof battens are in place, and will be screwed down with wood glue added to the mix.... that should work.
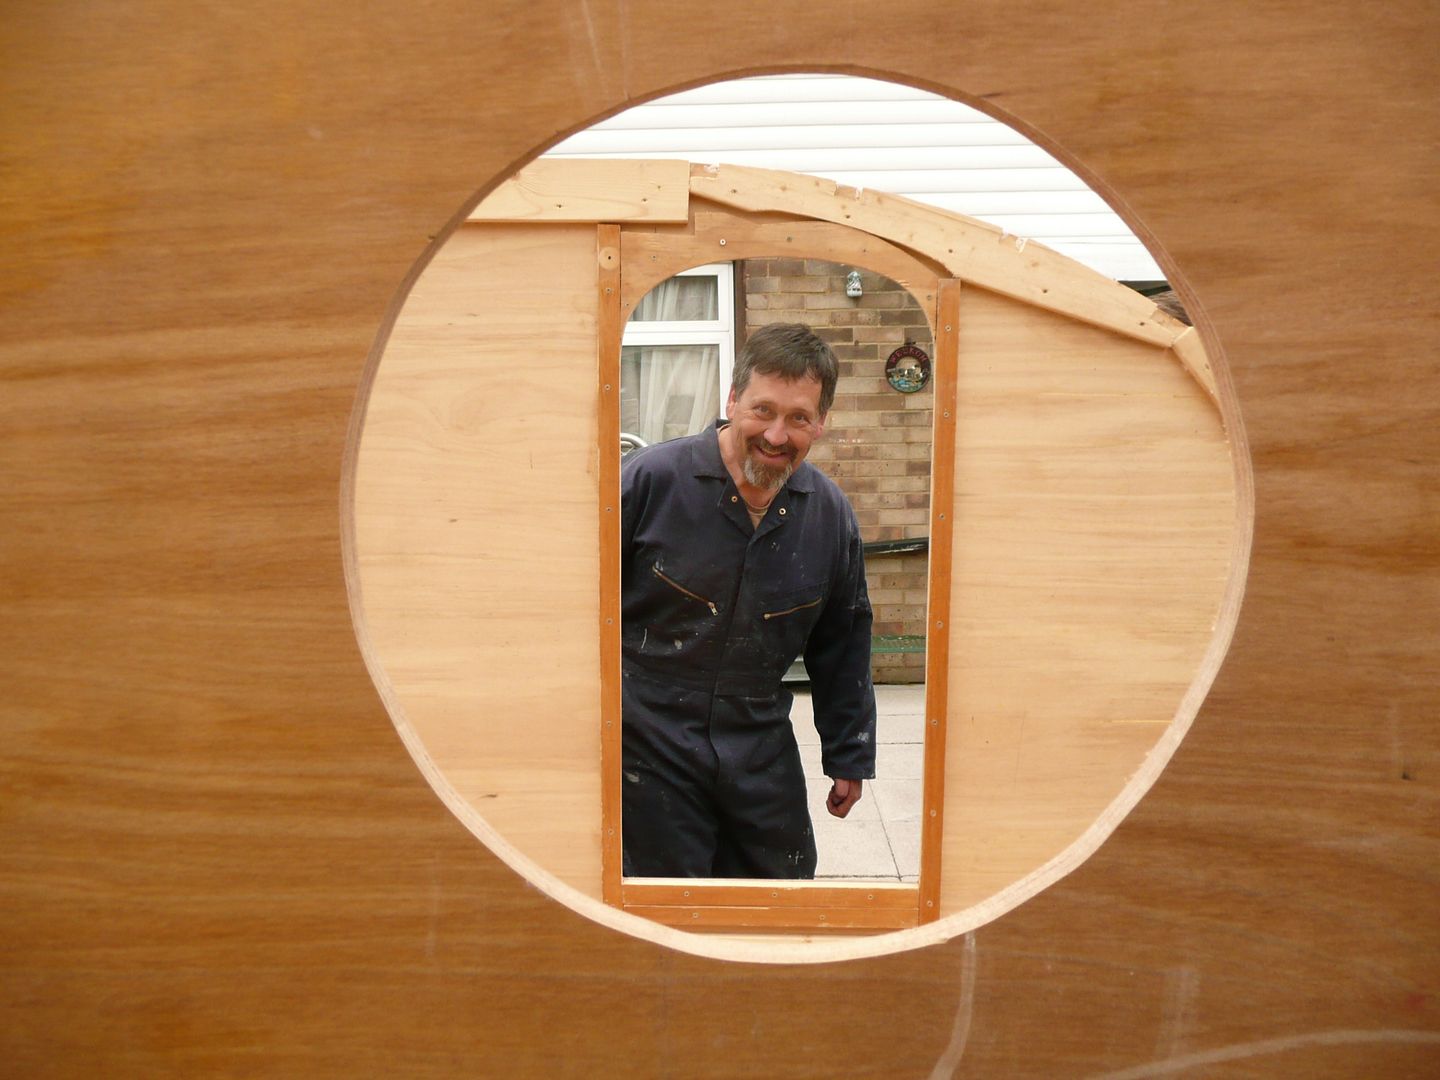
I also finally cut the porthole into the road side of the trailer side.

P1070875.jpg


Another biggie job I got on with was to put the wheels back on the chassis, and to get it off the axle stands without a jack... not that clever, and then to turn it around in the back yard, so that it now faces inward, as the most of the work once the sides are up should be done from the rear and the galley.
At this point I tried to fit the side by myself but quickly realised the gusts of wind that were blasing through were going to put paid to that plan.

P1070879.jpg


I remembered last years attempt at building a shed singlehandedly in the wind.... it ended up in tears for me, with Nicola lauging uncontrolably while scolding me for being impatient.

P1060359.jpg


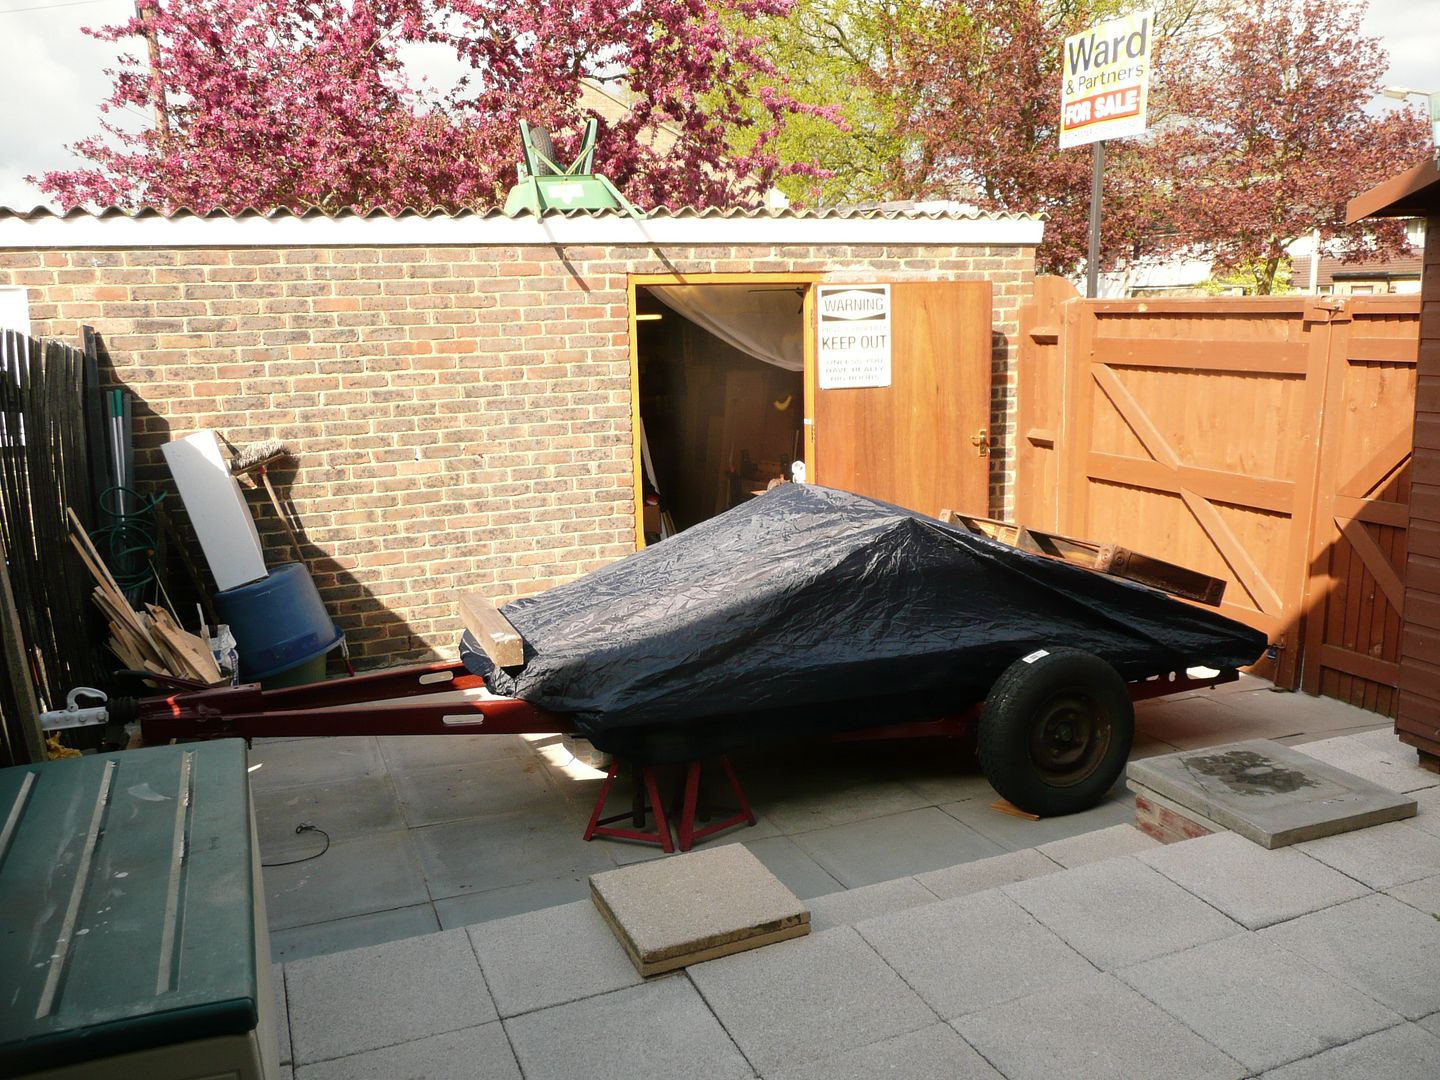
Anyway, the wind got the better of me today, so my weekend has not been as productive as planned, and I have packed away the lot, under a car cover , hopefully only till next weekend.

I had really wanted to see the sides up today, but there was no extra hands, as Nicola was sorting out her own place and kids.

P1070883.jpg


Thanks for looking in.
 
OP
G

Grizz1963

Well-known member
Joined
Jan 7, 2010
Messages
12,047
Location
Rochester, KENT. UK
AT LAST !!!!!


Sides are up.

My mate Derryn and Neil who works with him came down from London tonight, 30 miles to get here, but hey, what are friends for.
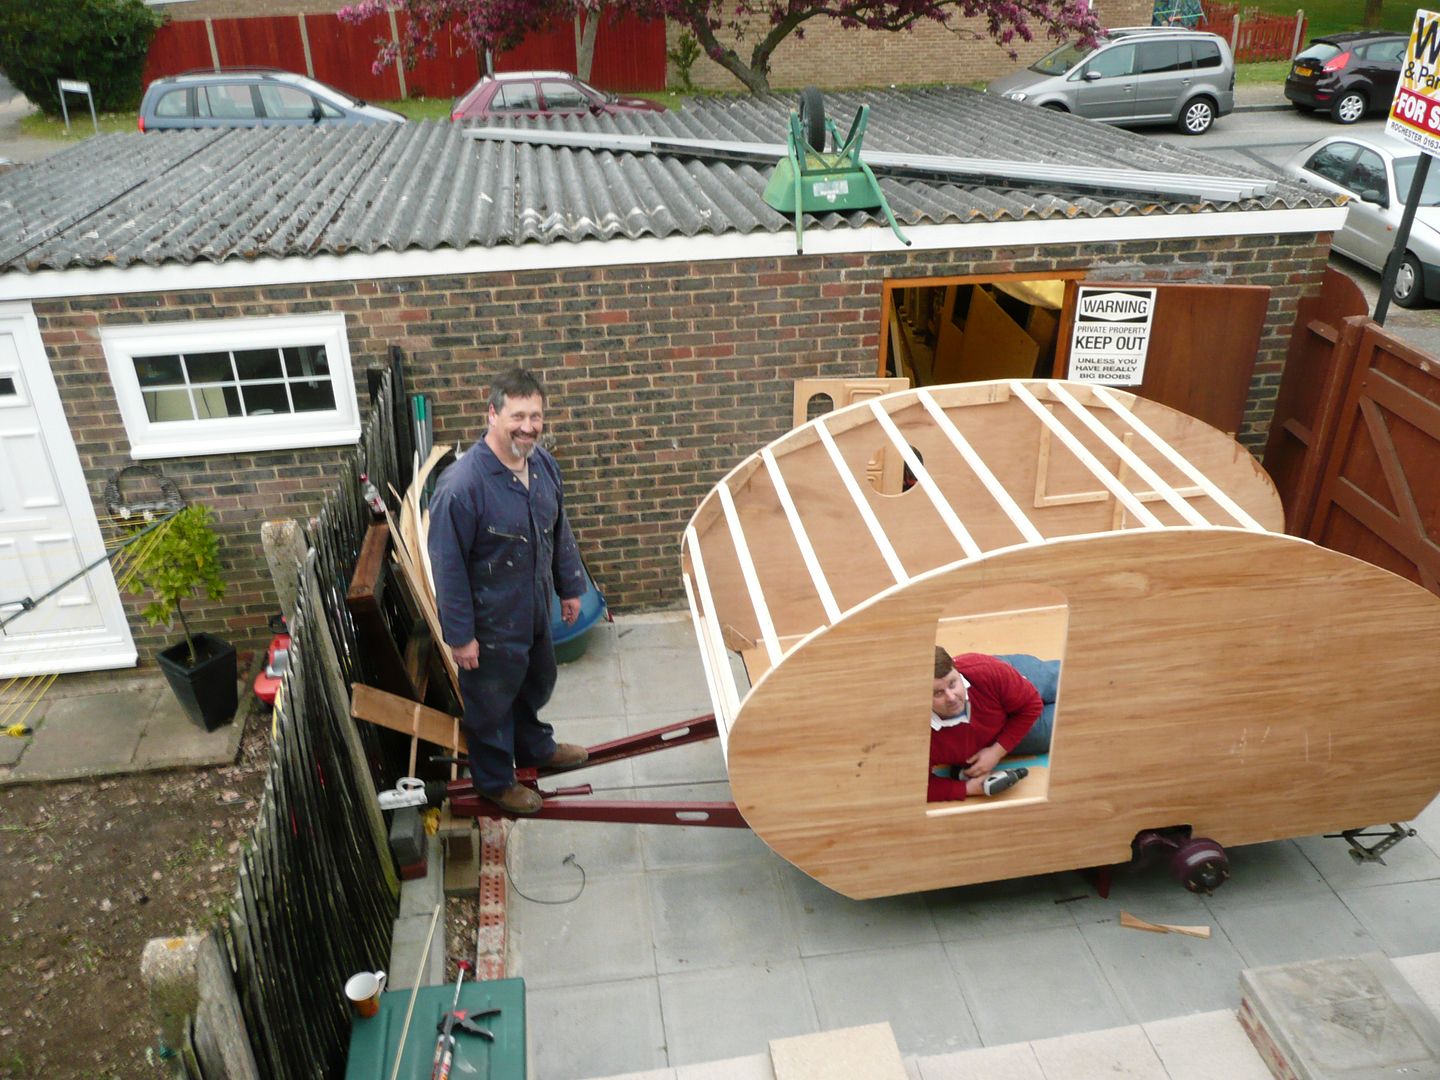
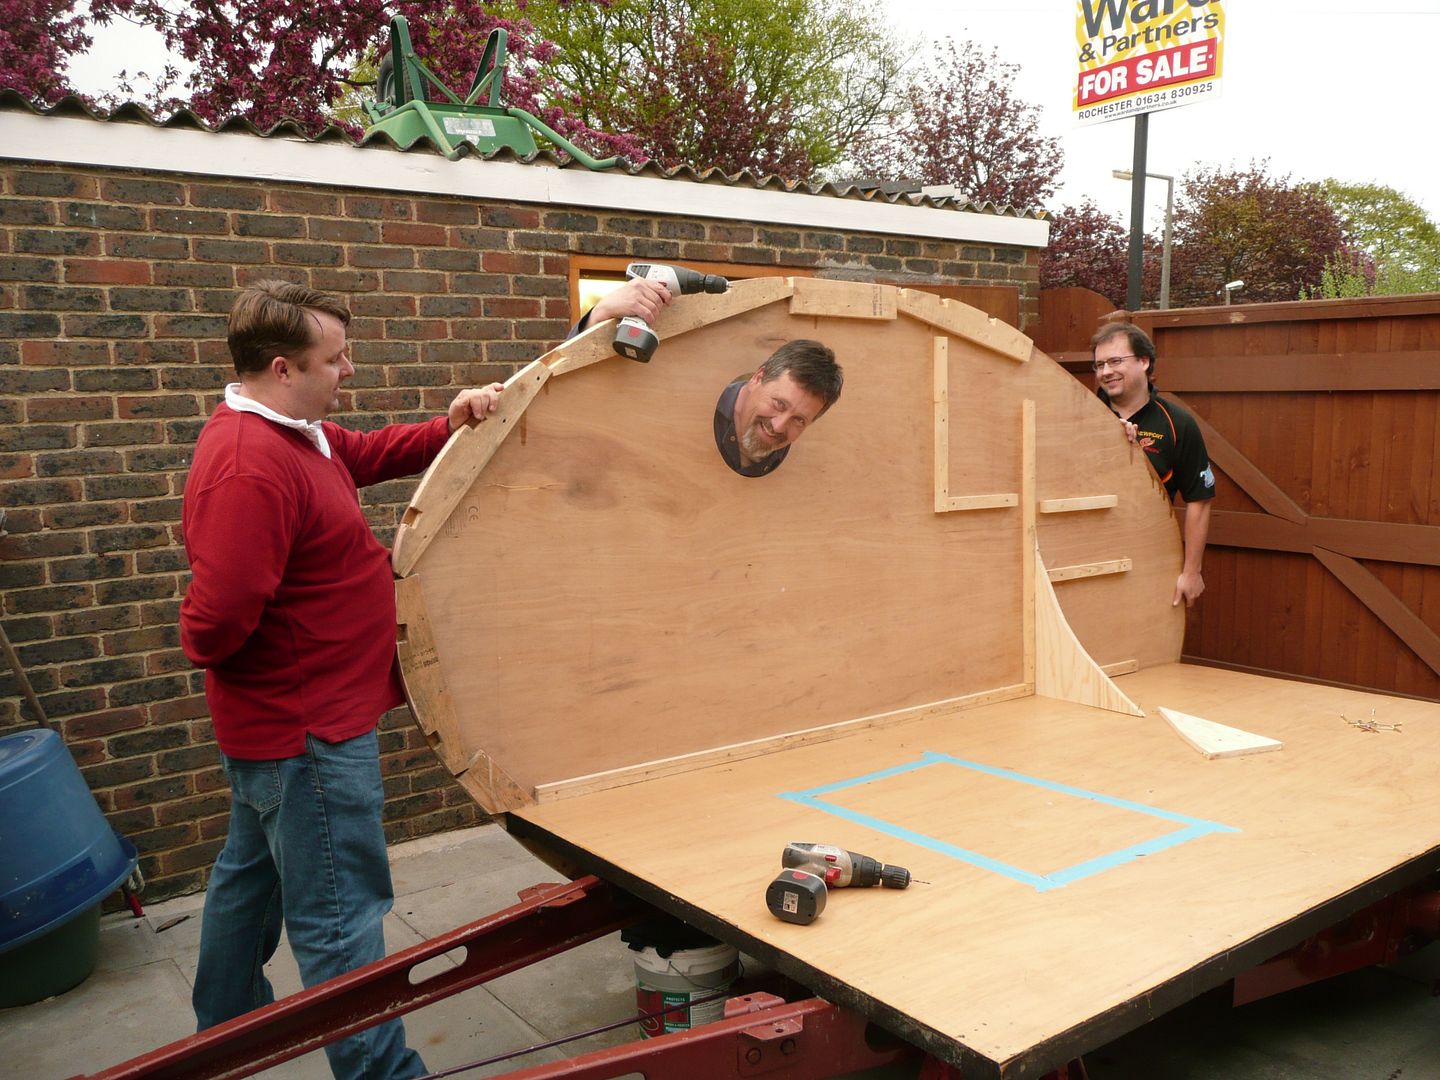
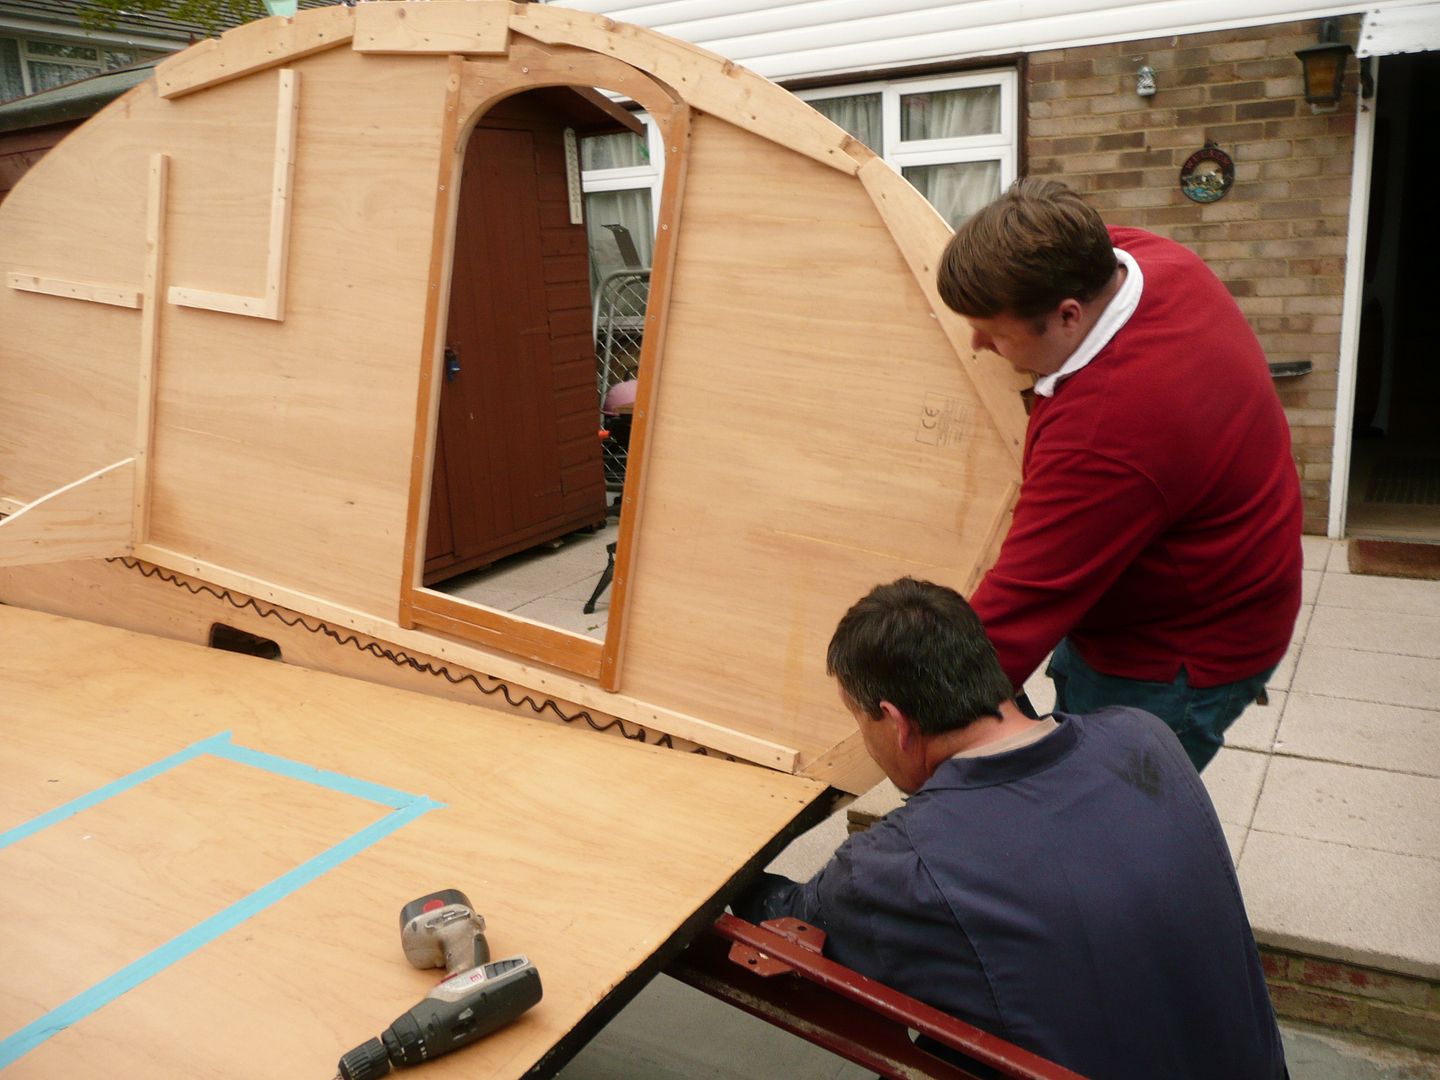
They came to hold the sides up for me so that I could get on with them and the battens/ribs/spars.

Nicola came around as well, to do supervision and photographic duties. Oh,and to go fetch us a family pack kebab dinner at 8pm when we were done working.

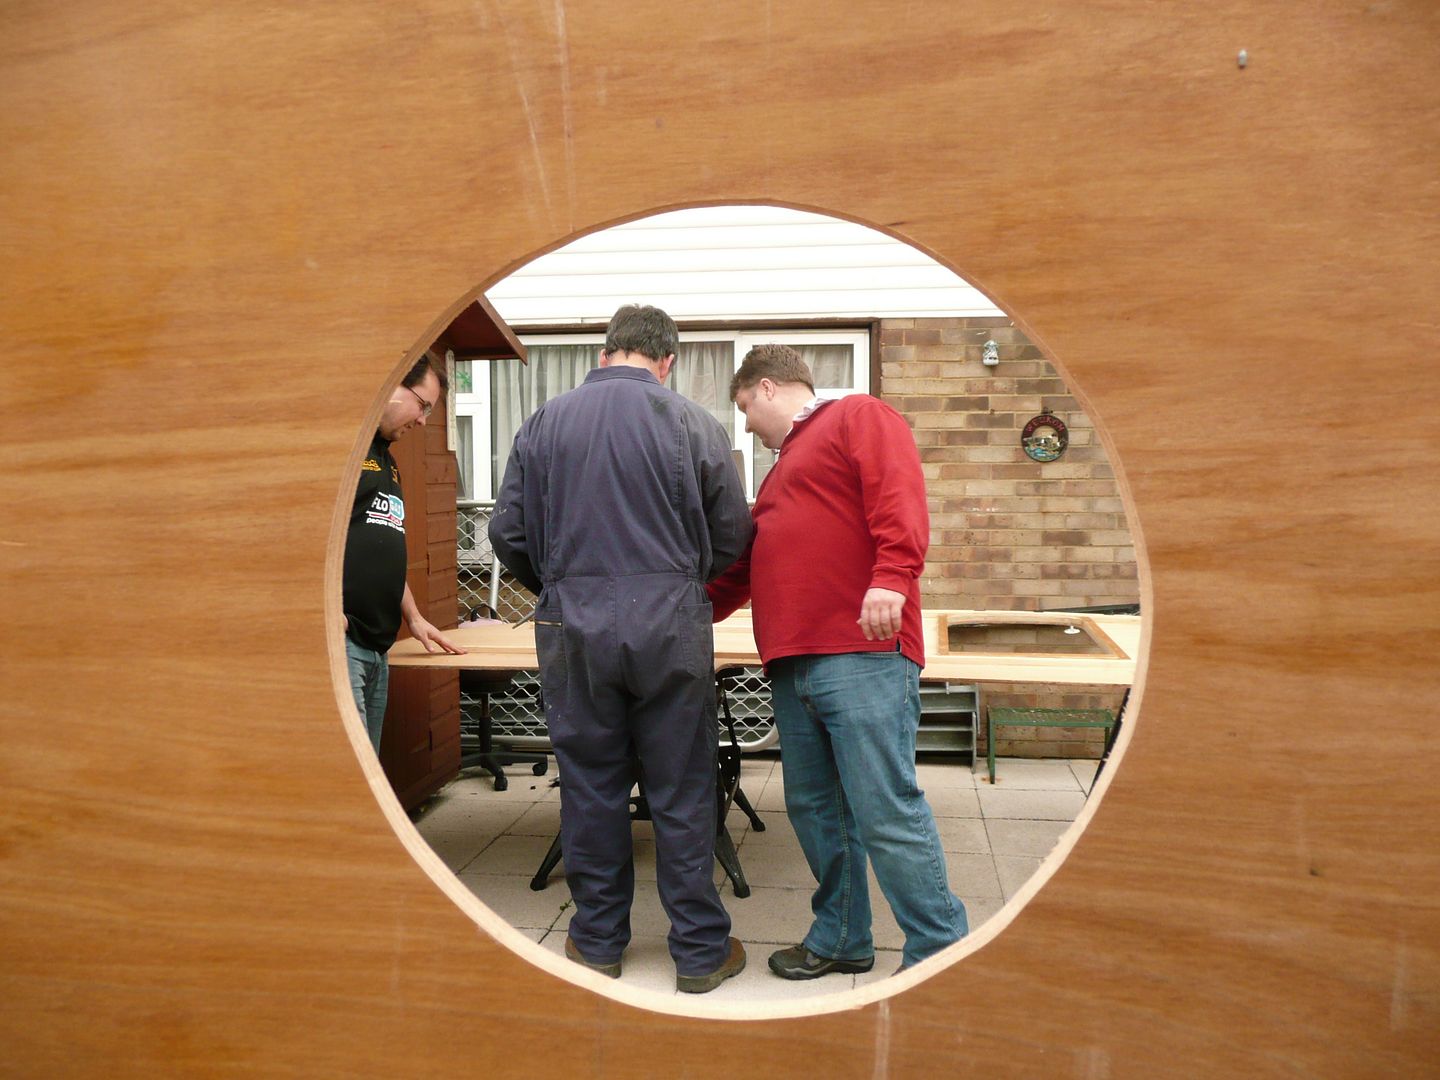
Mainly photos tonight, and possibly more than what is needed, but then I am very chuffed to have the sides up at last.

First one being set up.

P1070885.jpg


Typical Nicola style photo, she always looks for a nice angle or weird perception.

P1070890.jpg


2nd side getting positioned.

P1070895.jpg


CHUFFED ! ! !

Both sides up, and happily standing by themselves.

P1070901.jpg


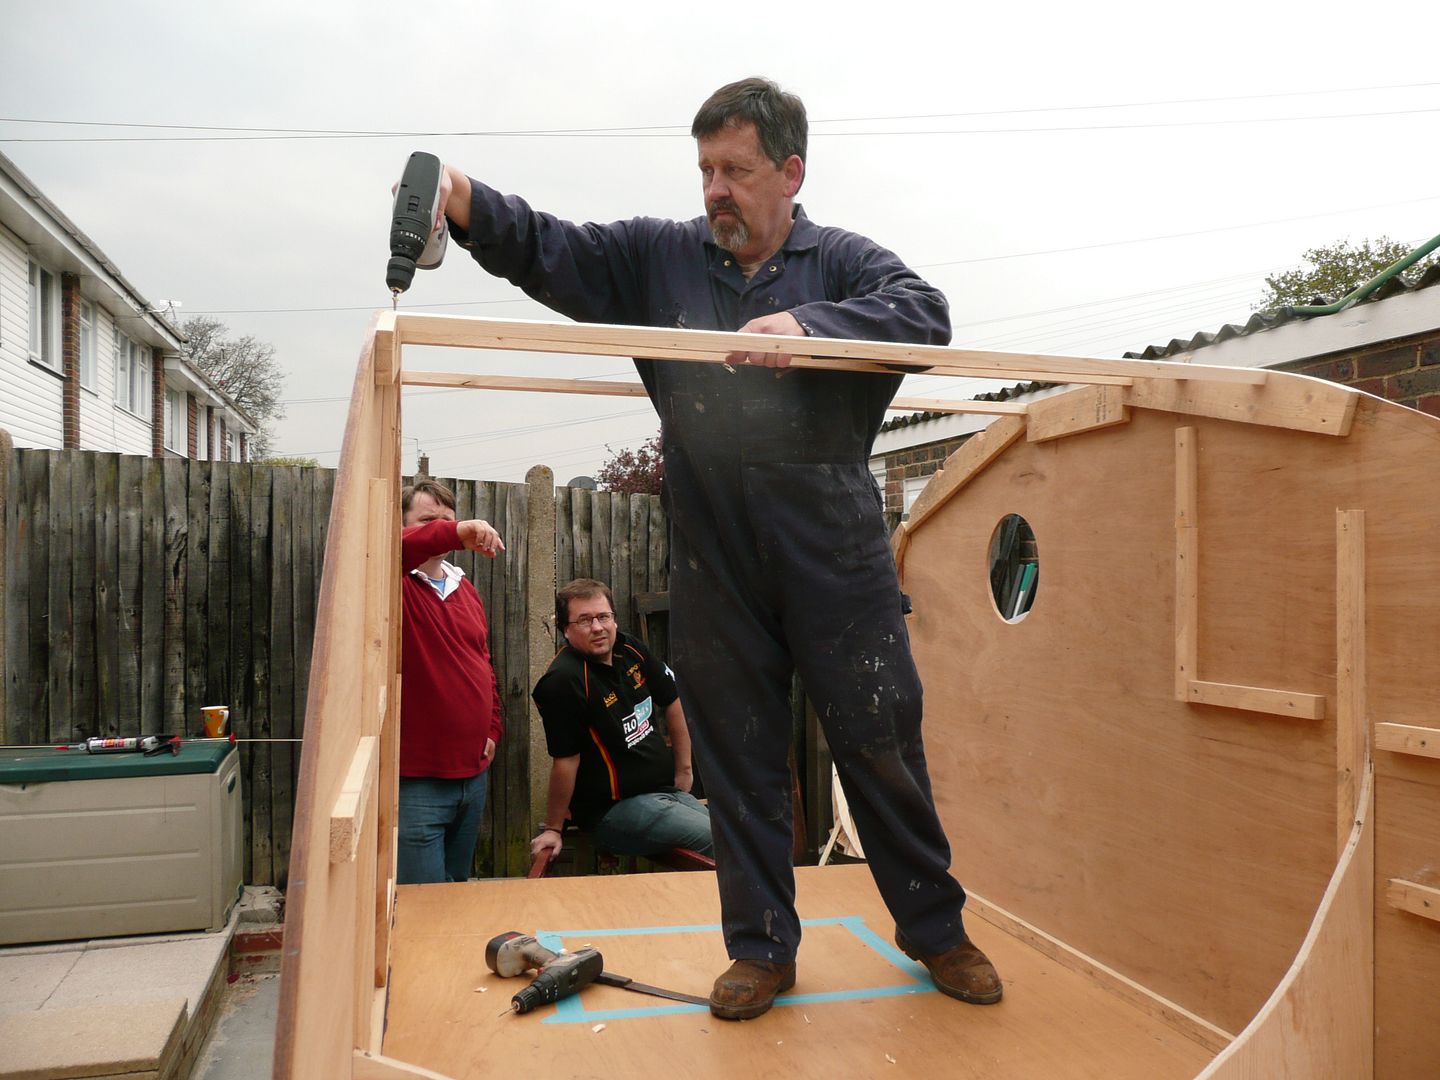
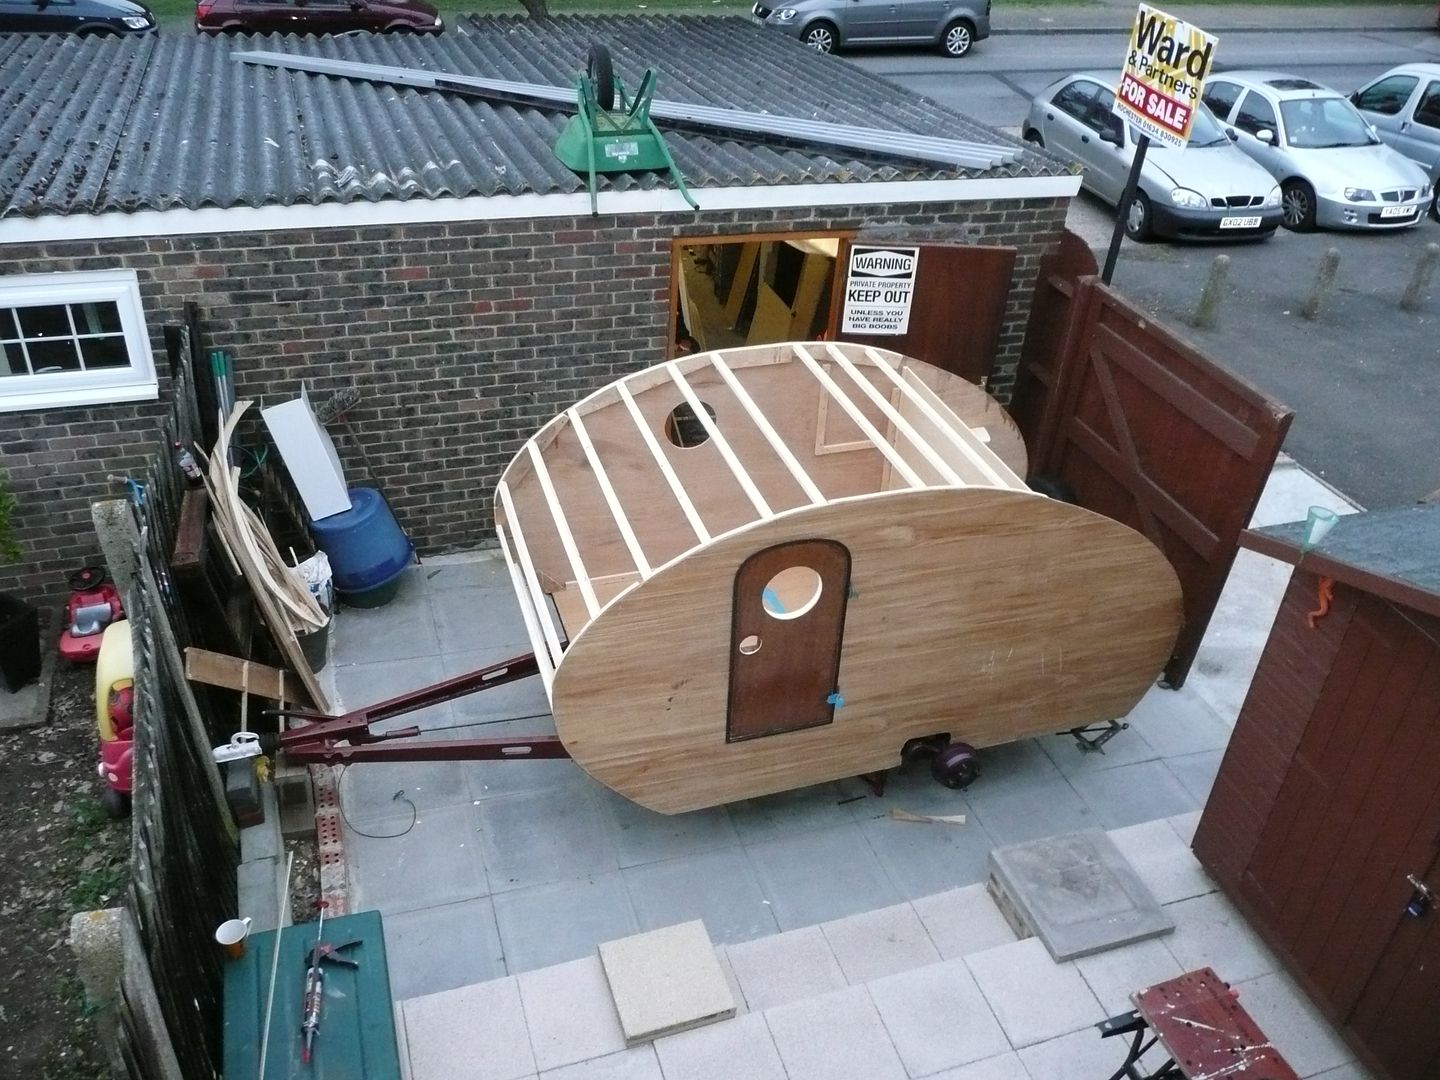
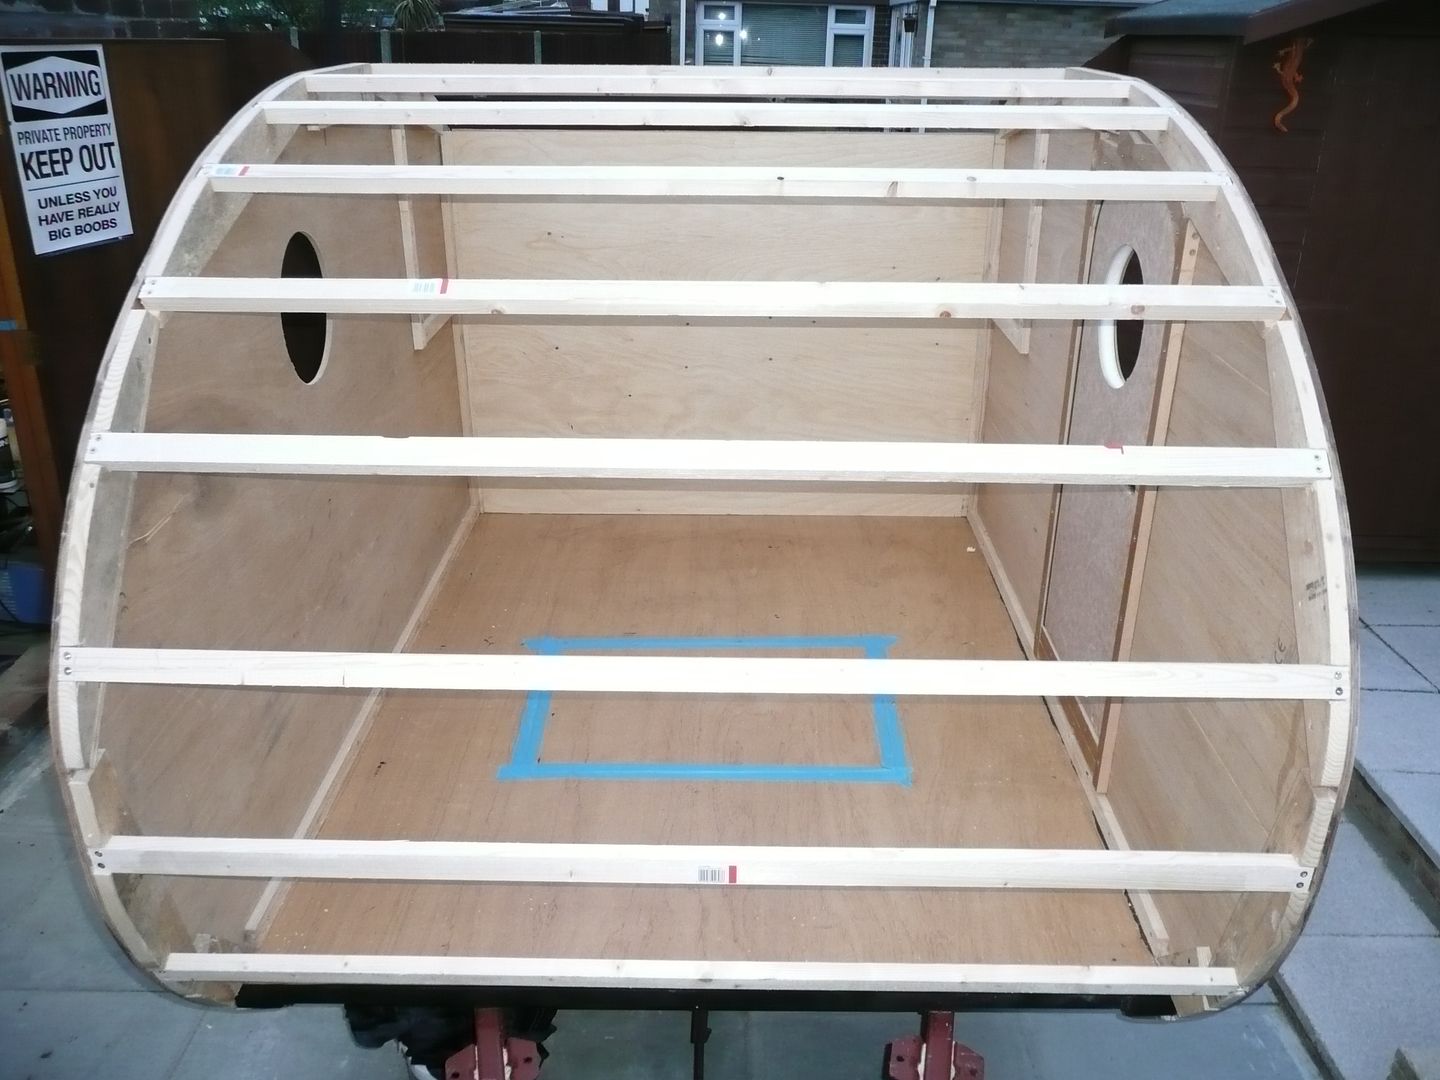
Ribs/Spars/Battens going up.

P1070908.jpg


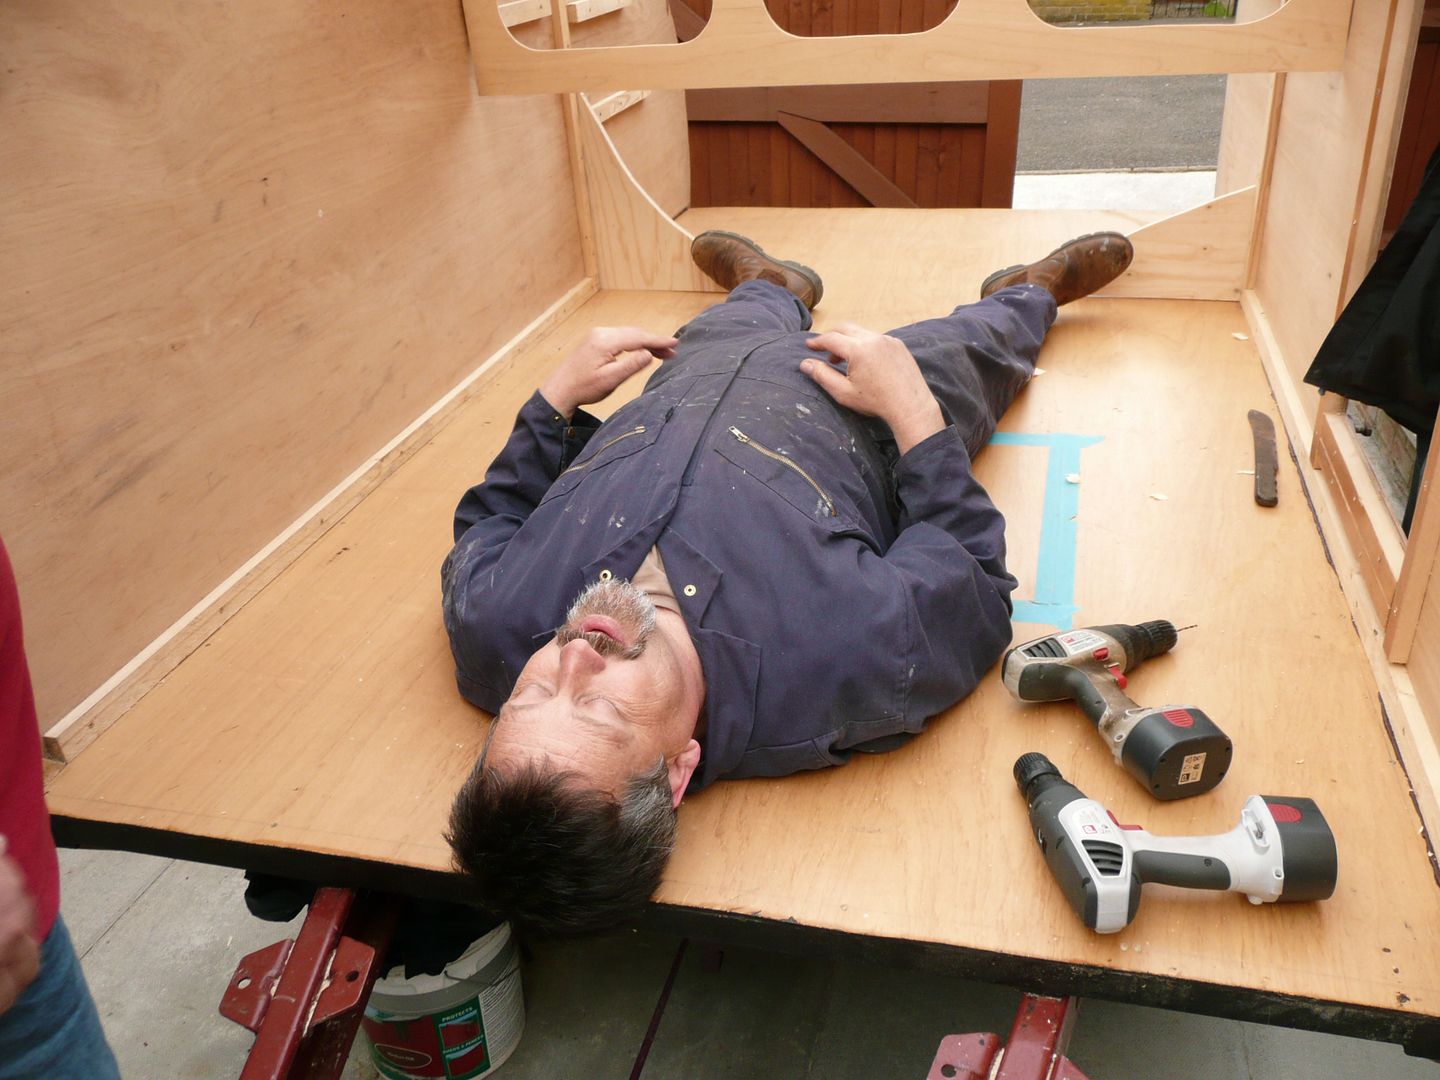
This was Nicola insisting the space was not long enough, so I had to climb in and show her I fitted up to the Bulkhead. I am 6 foot tall.

P1070913.jpg


Derryn also wanted to get his *** into the teardrop, and seemed pretty impressed with the whole thing as it came together from the "flatpack" store that I have .

P1070915.jpg


The ugly sisters.

Derryn (left) and Neil the Welshman whose help tonight was absolutely invaluable.

Thanks guys.

P1070921.jpg


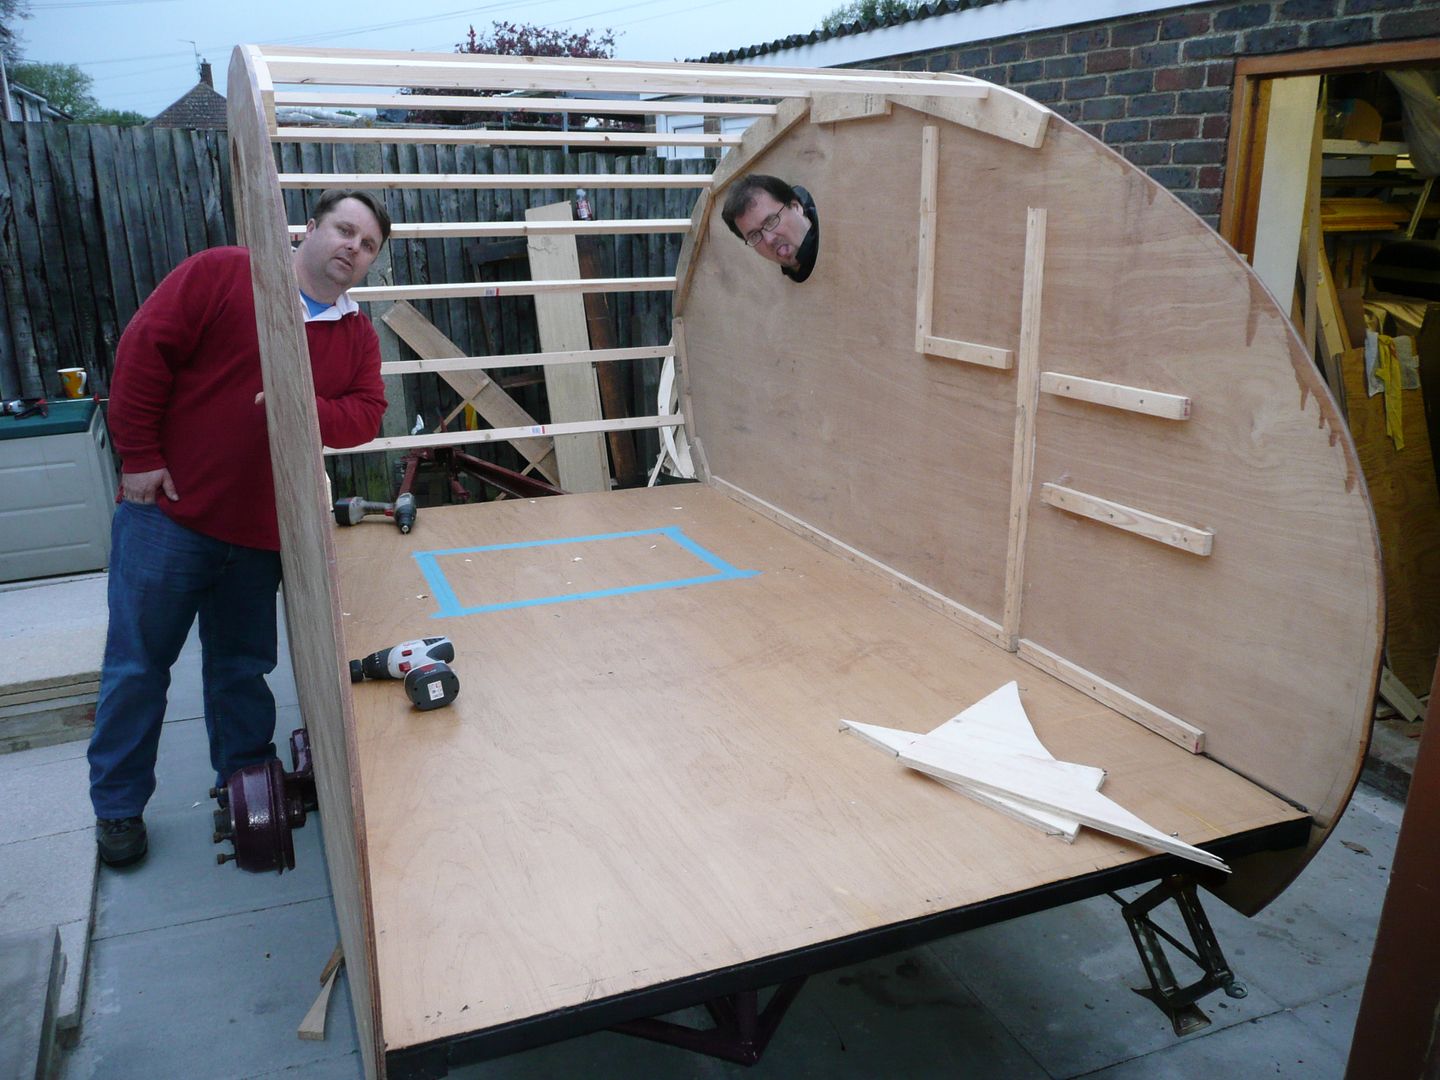
Most of the ribs in place, only the load bearing Oak ones still to be fitted in place, hope to get to them over the weekend if the weather holds out.

P1070926.jpg


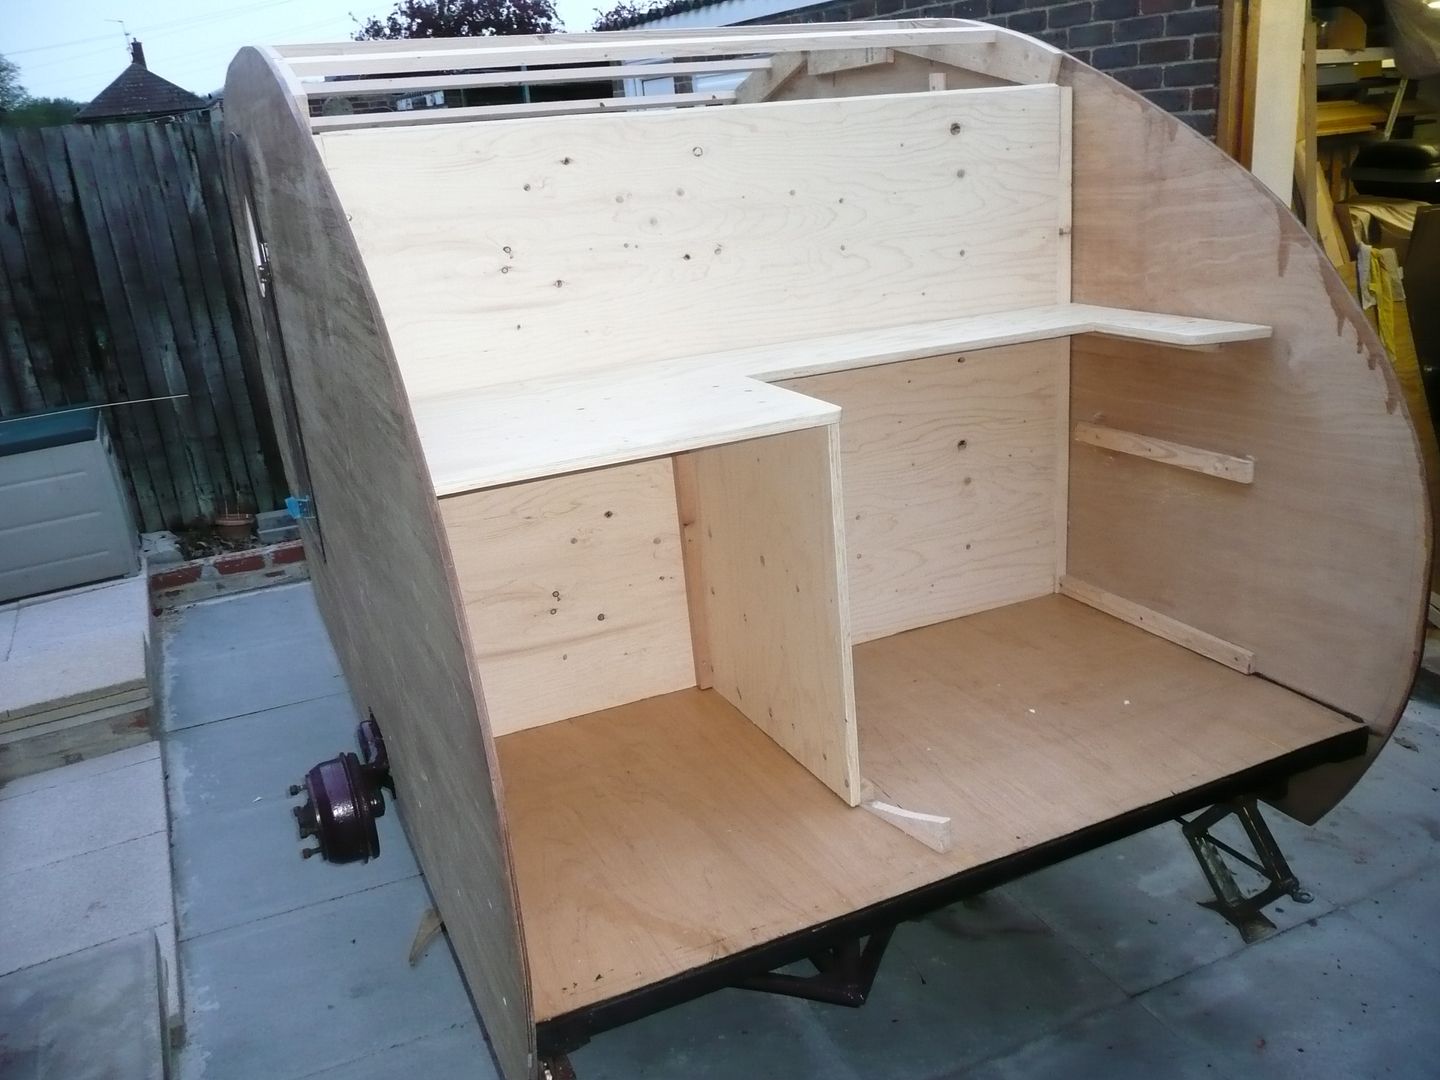
View from the galley.

Fridge will fit into the left side, and there is a space for the Mahogany skip find worktop to fit in.
P1070927.jpg


Lastly, view into the Boudoir..... long way to go, but I am really pleased the sides are up.
I have to say the structure is very sturdy too.

Hope you all sigh a sigh of relief now, as it has been a while to get this far.

P1070930.jpg


Remember these Potatochops ??

I am still prefering the checkered flag design, but the other with the scallops also does it for me, think of the 63 being on the porthole windows, and scallops running back.....
Sides will deffo be painted in colour, as I want them painted to set off the polished ally roof.


What design would you think will go with the final look of the bus ??


Teardroptrailer2.jpg


Teardroptrailer7.jpg
 
Last edited:
OP
G

Grizz1963

Well-known member
Joined
Jan 7, 2010
Messages
12,047
Location
Rochester, KENT. UK
Today was a great day.

I went to the tip to look for a pair of old or not so old HiFi speakers to dismantle and fit into the cabin of the trailer.
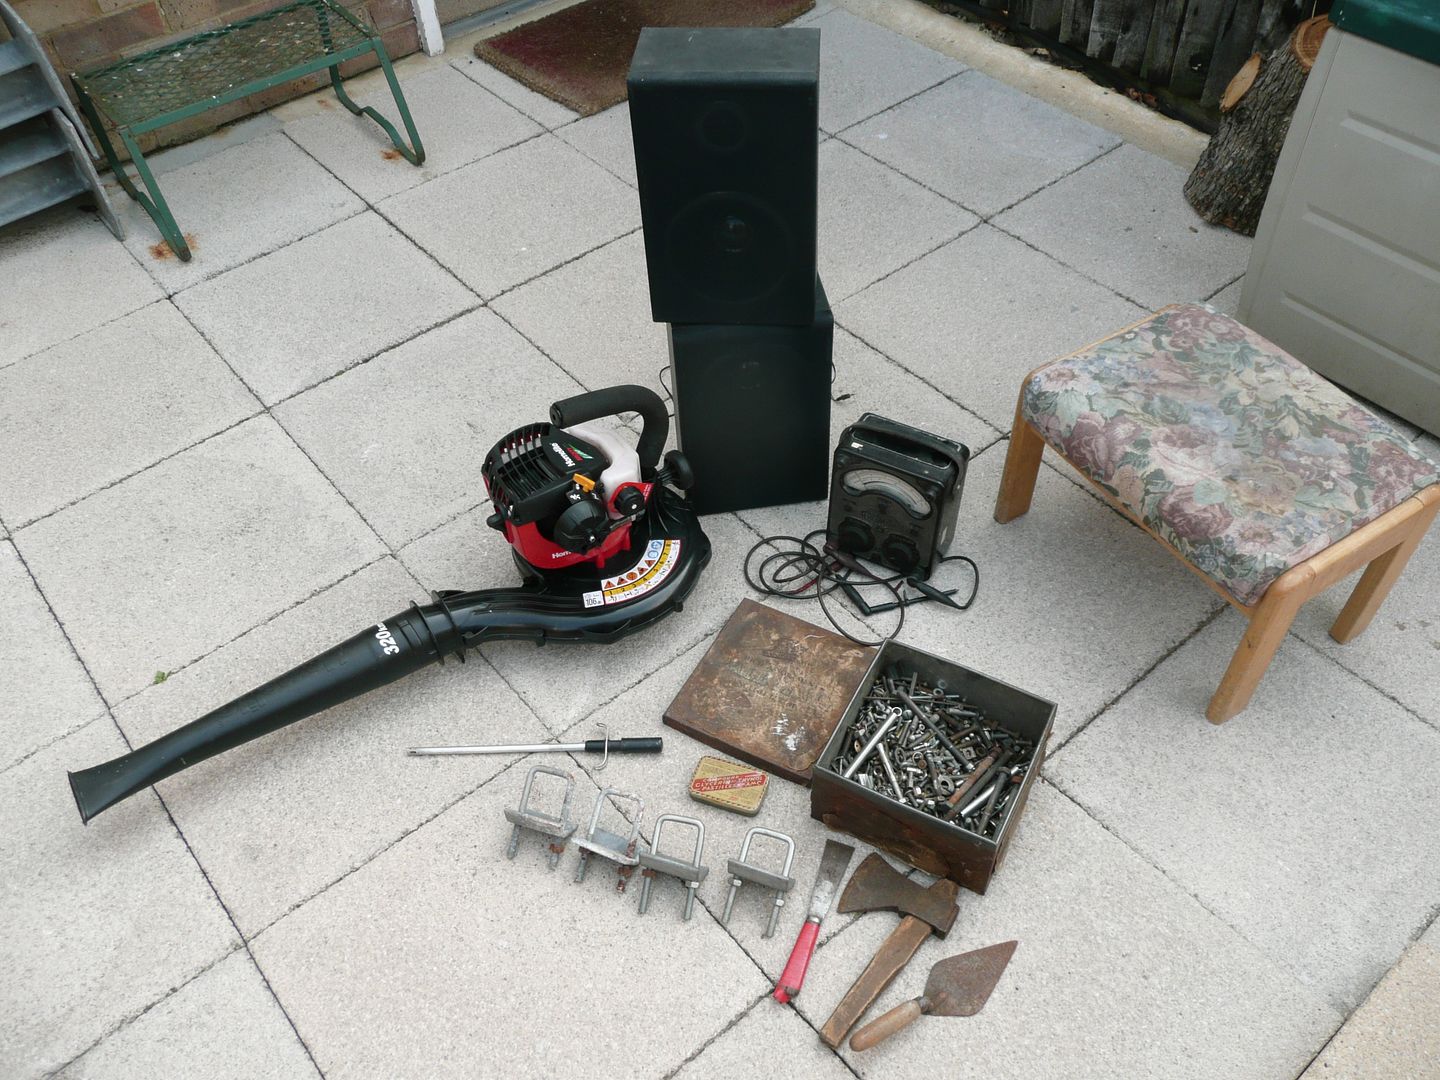
I found a lot more.

Included a small 2 stroke leaf blower, less than 18 months old.... owner put it in my hands when I asked him about it, he is moving into a flat, so no need for it.
I suspect it could find its way onto a shopper bike or similar in future, or maybe I should keep it for the rather large garden at the house we are buying (when mine is sold)

There was also a lovely old meter unit, which I loved the look of, no plans yet.

And I found a very solid upholstered Oak footstool, I will be taking off the upholstery and fitting a 18mm ply footboard to it, this will then function as a small step to get into the teardrop, and a seat to sit and have adrink on.

P1070931.jpg
 
To avoid these ads, REGISTER NOW!
OP
G

Grizz1963

Well-known member
Joined
Jan 7, 2010
Messages
12,047
Location
Rochester, KENT. UK
PS: Just started the blower, works perfectly, as an almost new item should 8)

Tested the speakers, and again, nothing wrong with them, so they can be dismantled and fitted to the inside of the cabin.
The square brackets you see are going to hold the tongue box down. No idea what they would cost, but hey, they were free.... means another luxury elsewhere.
The long lance like thing, is a gas igniter..... working.

Large tin of assorted nuts bolts and allsorts..... priceless in a retro world.

Small hatchet, I will make a handle for from some of the oofcut Oak I have, perfect for splitting kindling at a campsite.

Trowel, no idea as yet, just add it to my tool collection.
 
OP
G

Grizz1963

Well-known member
Joined
Jan 7, 2010
Messages
12,047
Location
Rochester, KENT. UK
Right, did not get much done tonight, had day job stuff to deal with after work.

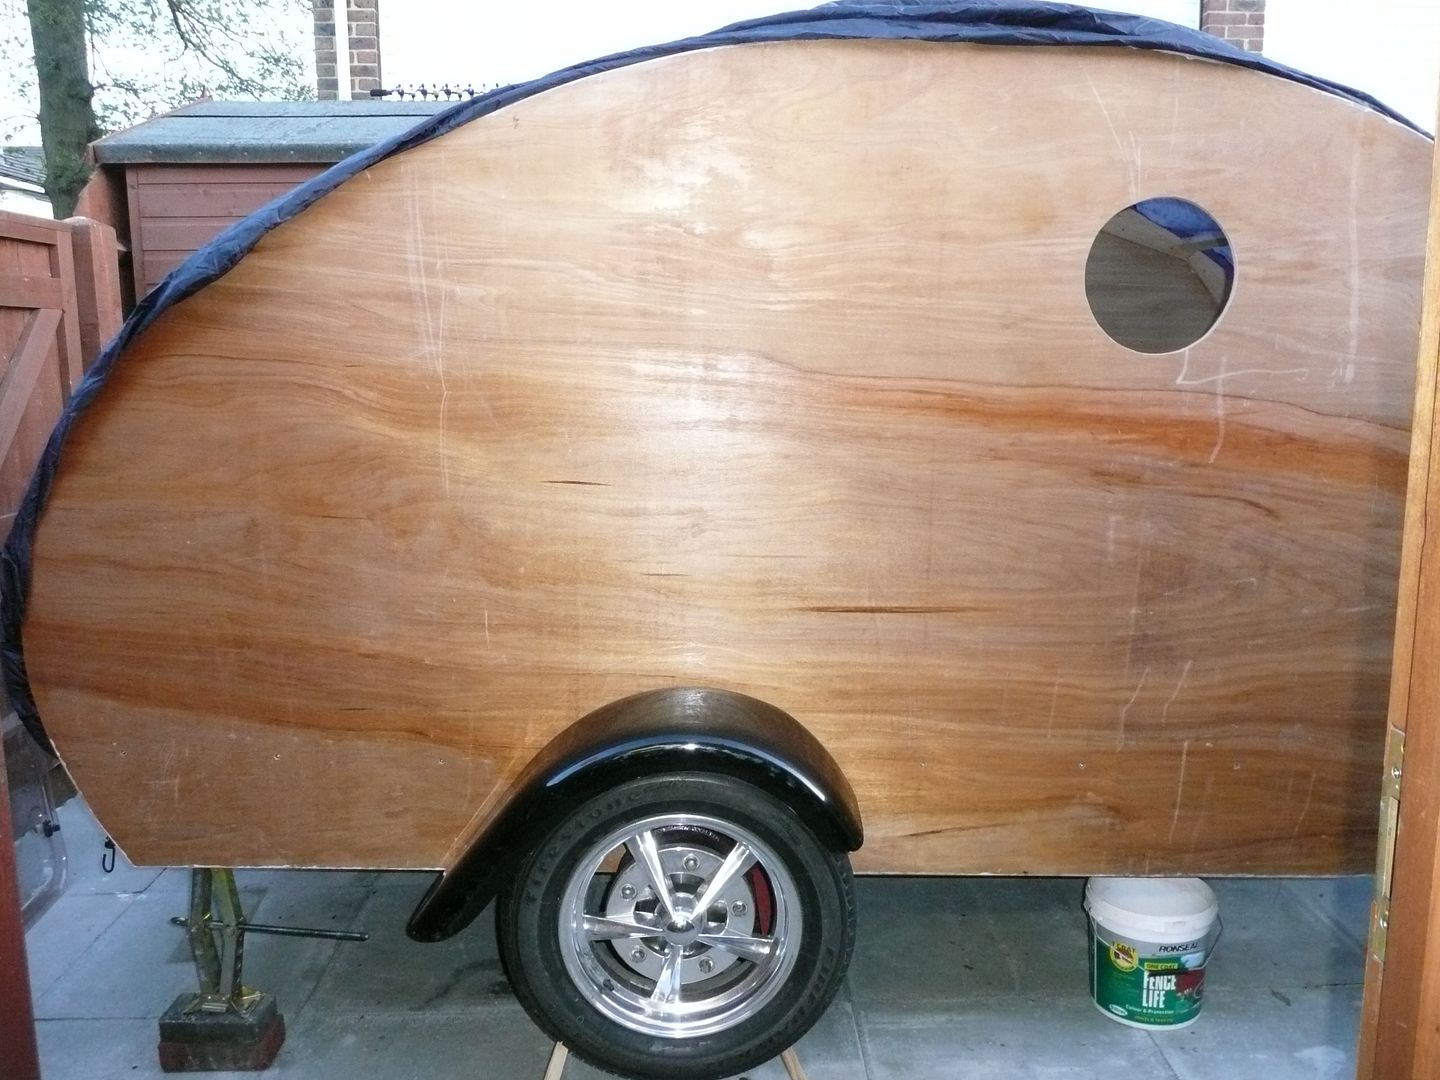
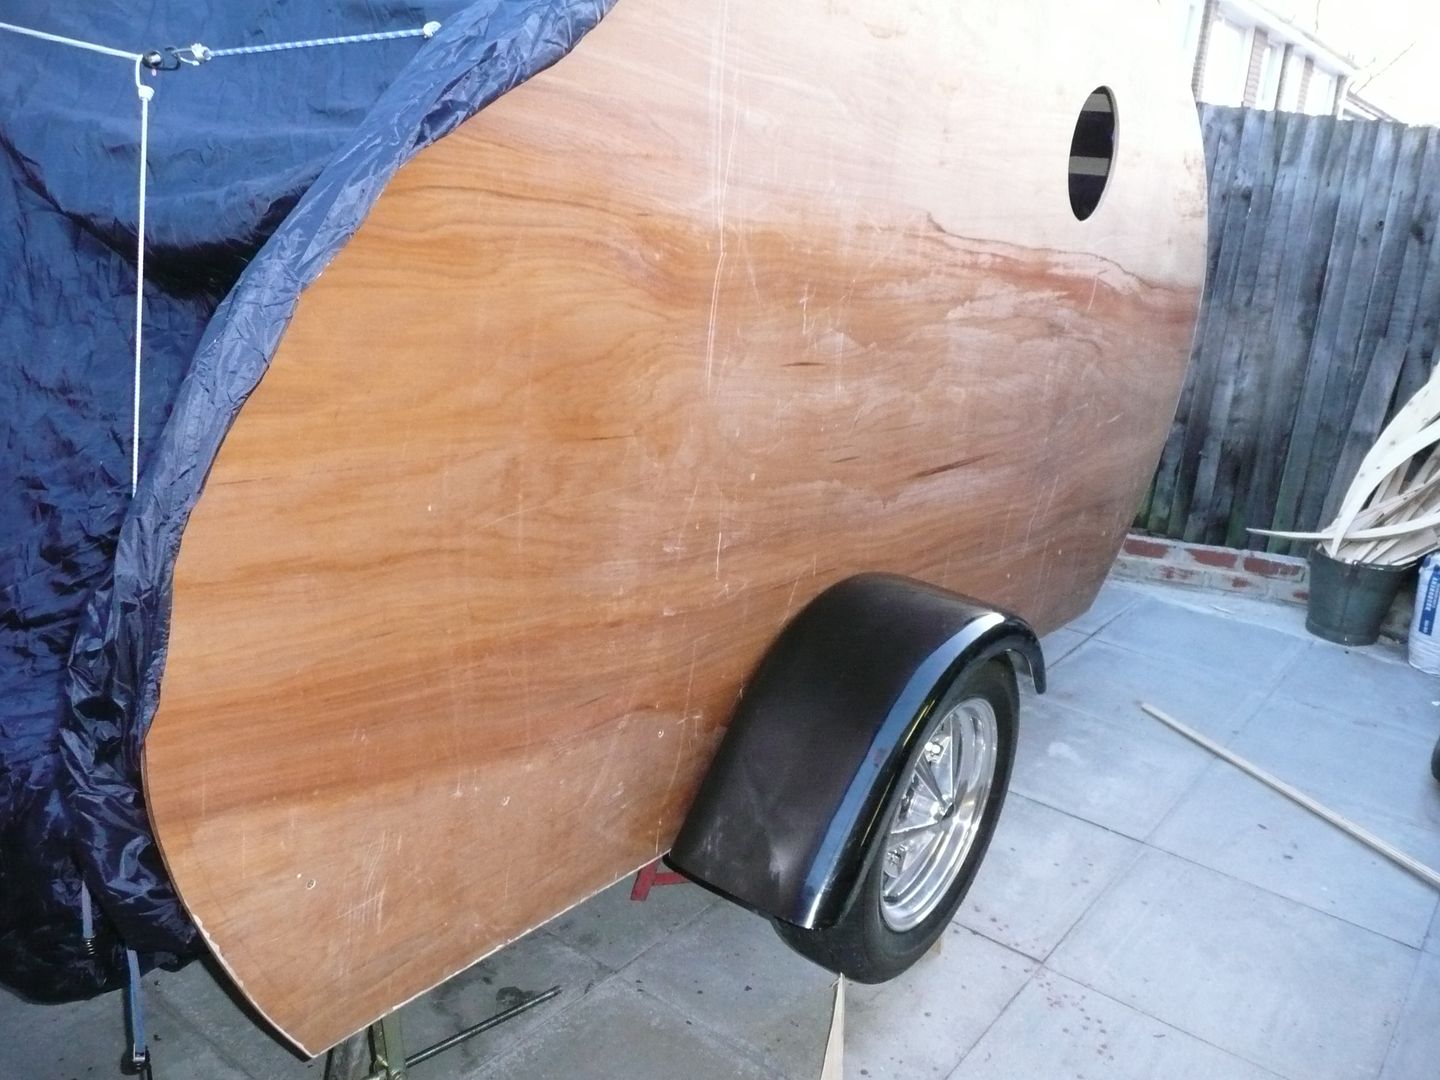
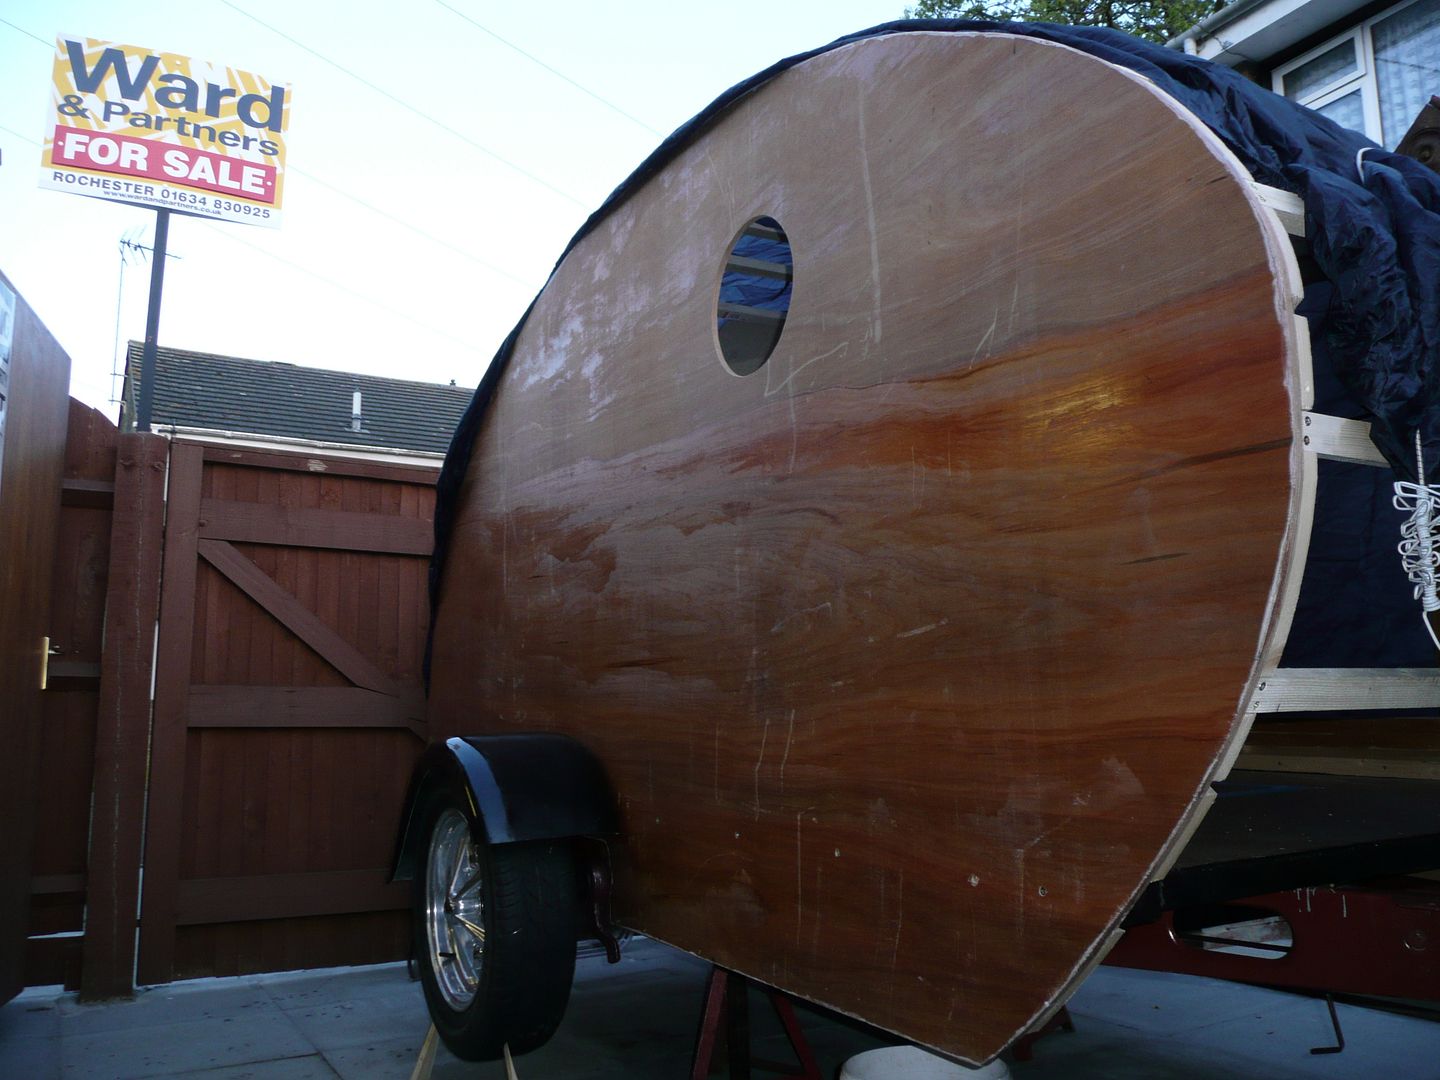
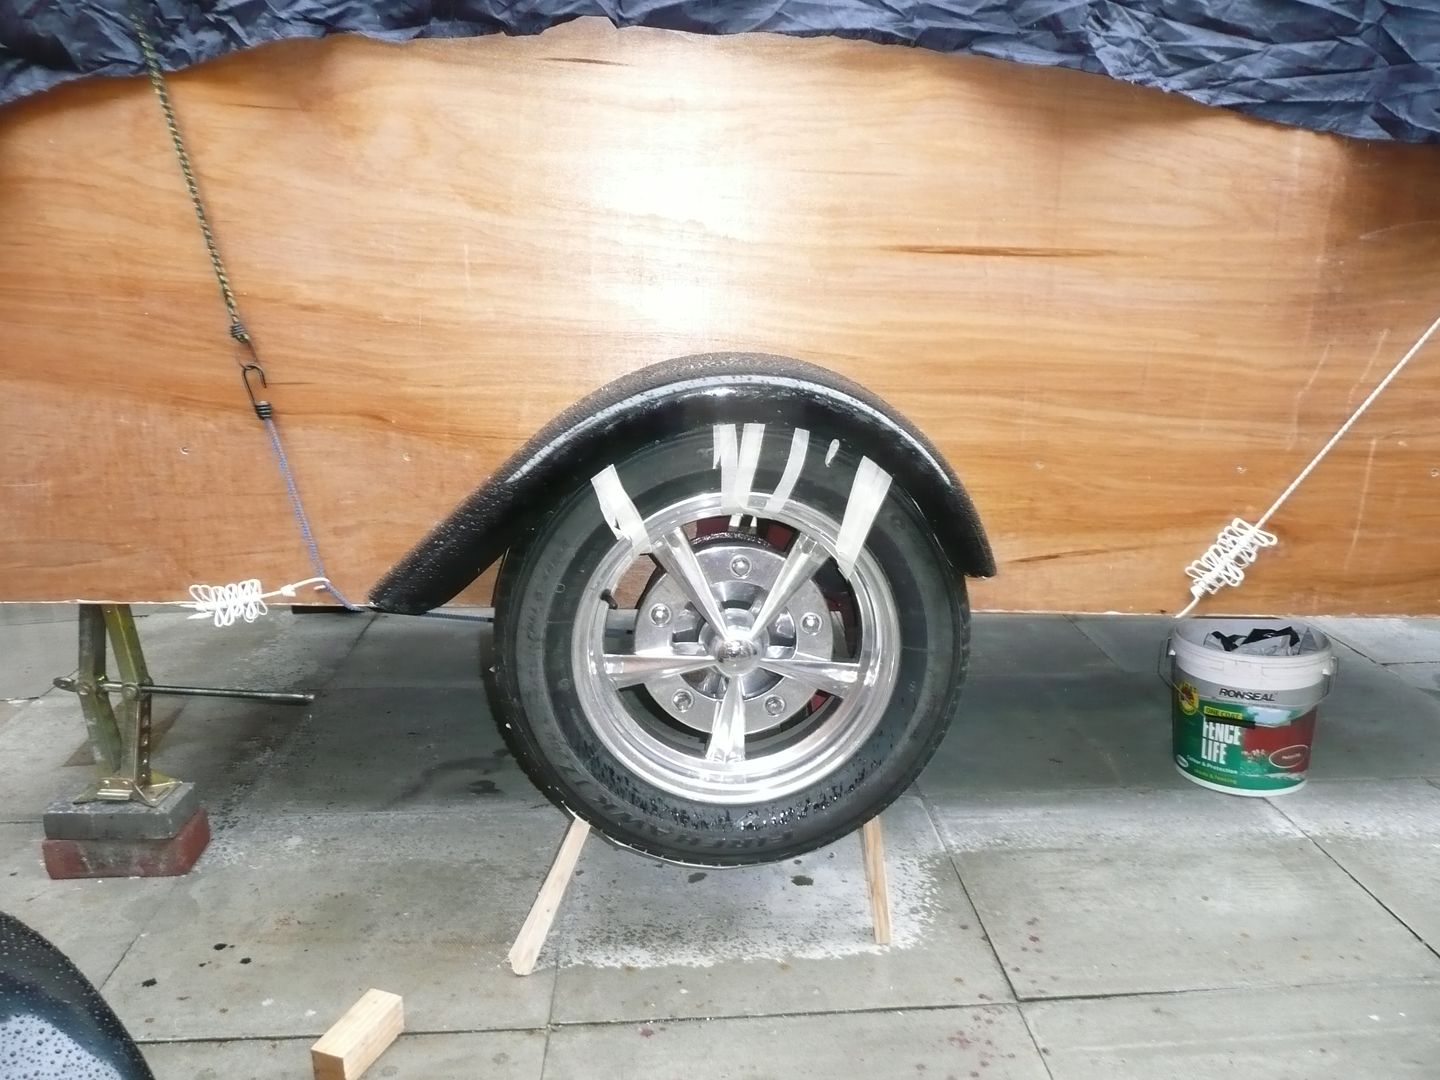
Fitted the wheel adaptors, they take it from the basic 4 stud caravan pattern up to a 5x205 VW studpattern so that I can use a pair of the polished Radar wheels I bought last year. I also gain about 30mm wider spacing, so that the wide mudguards can be reasonably filled.

Took pics from 3 sides, I need your help and opinions here please.

Wheel is in the air as trailer is back on axle stands. However, I tried to place the mudguard where I want to fit it to the side of the body. Mudguards will be bolted through the side of the body, to the side walls, not in supports like some.
I have no idea how much the axle will swing and move upward on the road, once the trailer is completed, or when Nicola and I are inside it along with fridge, gas bottles and other stuff.....

Any clever people have an idea how much the axle would swing, and obviously come closer to the mudguards ? I have used about 45mm spacing in the photos with a block of wood inside the arch.

Side view.

P1070934.jpg


Rear view.

P1070935.jpg


Front view.

P1070937.jpg


Please also comment on what you see, does it all look reasonably in proportion ?


Thanks all, for looking in and helping.

Rian.
 

Vernmotor

Well-known member
Joined
Jan 12, 2008
Messages
1,318
Location
Mt.vernon oh
I would leave more room than that..not hard to put 500 LBS of stuff in your trailer and it will come down some..depends on your springs..shocks..you might want to pile a bunch of weight on it and see how much it moves.. you call the fenders mudguards ?
 

e-tek

Well-known member
Joined
Dec 19, 2007
Messages
10,690
Location
Saskatoon, SK
Grizz!! How come I haven't seen this thread or heard of you til now?!?! I'm out of the loop (as usual!)GREAT rides, skills and space (even if it is small!). Love the tear-drop. Sounds like you got a keeper in the (soon to be) missus too!.
Cheers Mate!
 
OP
G

Grizz1963

Well-known member
Joined
Jan 7, 2010
Messages
12,047
Location
Rochester, KENT. UK
I would leave more room than that..not hard to put 500 LBS of stuff in your trailer and it will come down some..depends on your springs..shocks..you might want to pile a bunch of weight on it and see how much it moves.. you call the fenders mudguards ?

Yep.... Mudguards are Fenders :thumbup:


I wanted to do the whole loading up thing, but the trailer is parked facing away from the street, so cannot be bothered to get a car over the pavement into the back, and turning it around...... may just get a few friends around, and have 2 sit on the front "tongue" or hitch area, and then load about 4 into and onto the rear progressively.
I suspect the suspension has a "progressive action, getting tighter as it is loaded up.

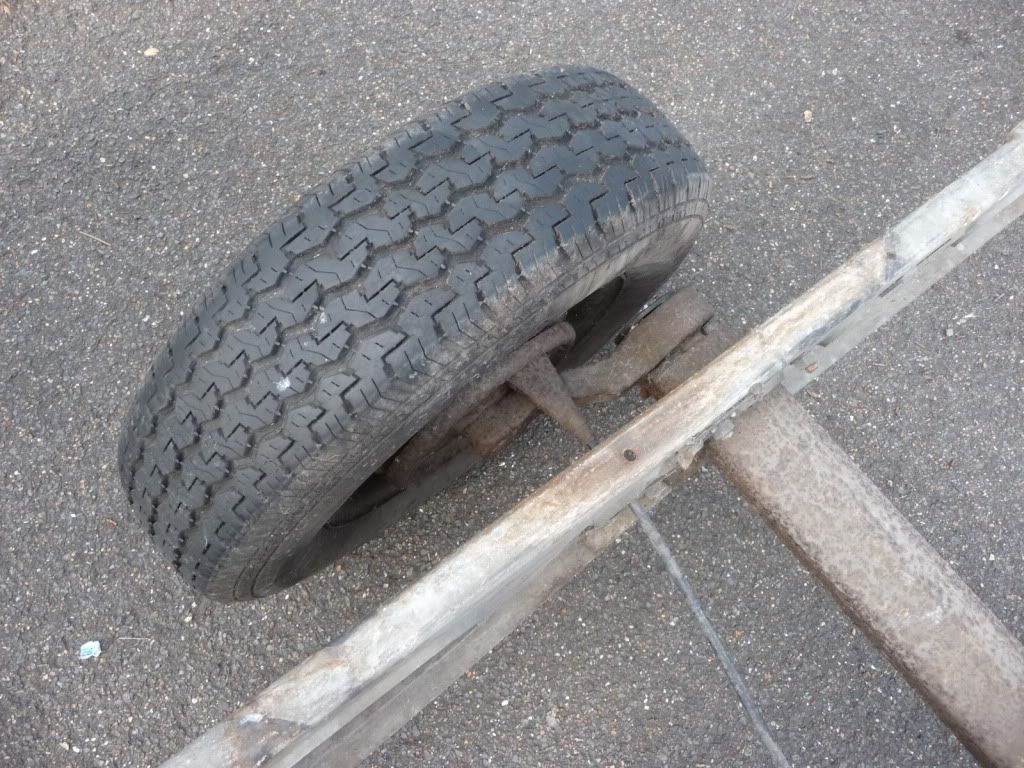
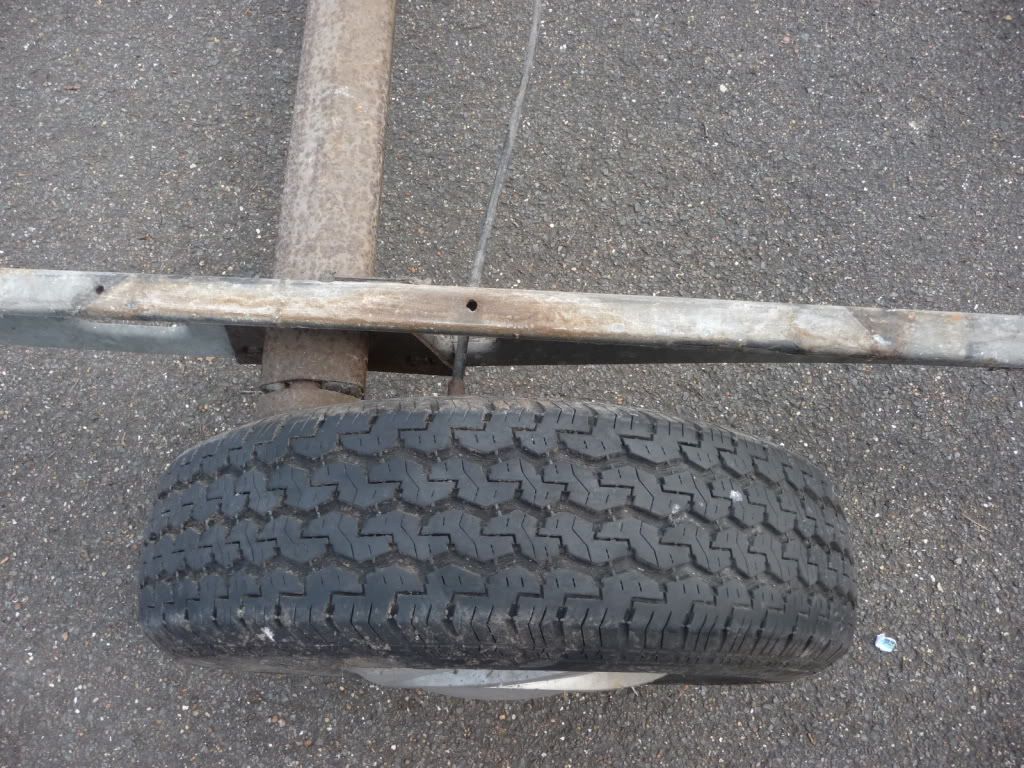
Here are a couple of pics, not very good detail, but I get the feeling it swist against the rubber bushes inside the axle tube IYKWIM :bounce:

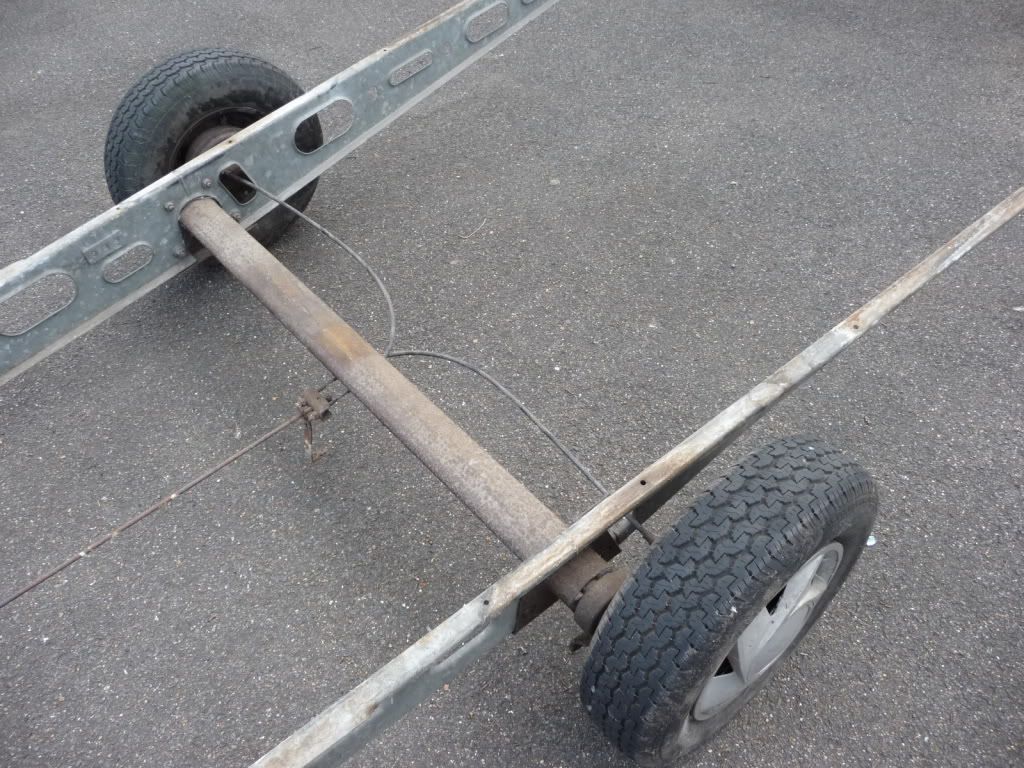
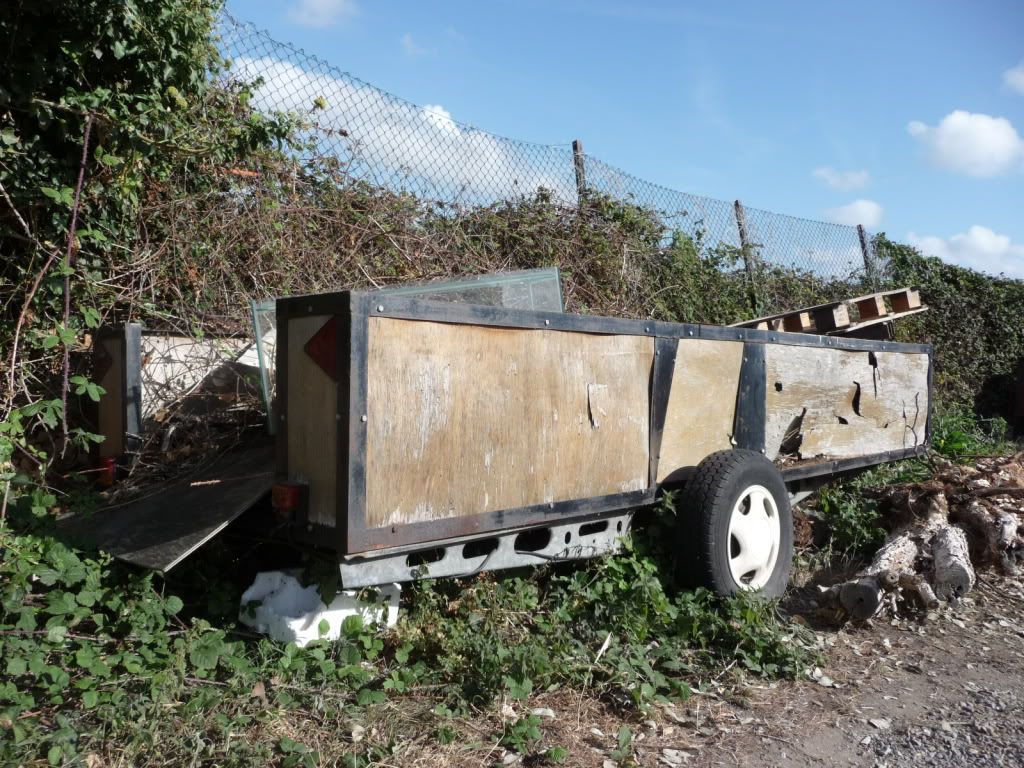
The original caravan must have been a 6 berth and about 20 plus footer, I cut it back to about 15 foot IIRC.

P1100480.jpg


P1100481.jpg


And in all it's naked glory.

P1100484.jpg


I guess not a bad result from a £20 or $30 trailer pulled and cut free from a hedge.

P1100398.jpg


Right all, here is a problem to be solved, or maybe I have solved it already in my head, and will end up following a path that could end up in tears.... excuse the pun :lol:

I was going to fit my fenders/mudguards to the walls and through into the inside of the trailer as explained earlier.
Now a bunch of my mates have added their views and oppinions.

I do not want to add more holes or fixings to the outside surfaces of the fenders, as with the body, I am trying to keep it smooth.

The warnings have been aimed at me possibly having a wreck or whacking the fender against something, and then having to tear down the interior to get at the bolts which would be fitted through the sides.
Of course drilling up to eight 8mm holes in the sides could lead to water getting inside the structure too.


What are your views on fixing the mudguards/fenders either to the body, or look at what I have described below to form ideas.

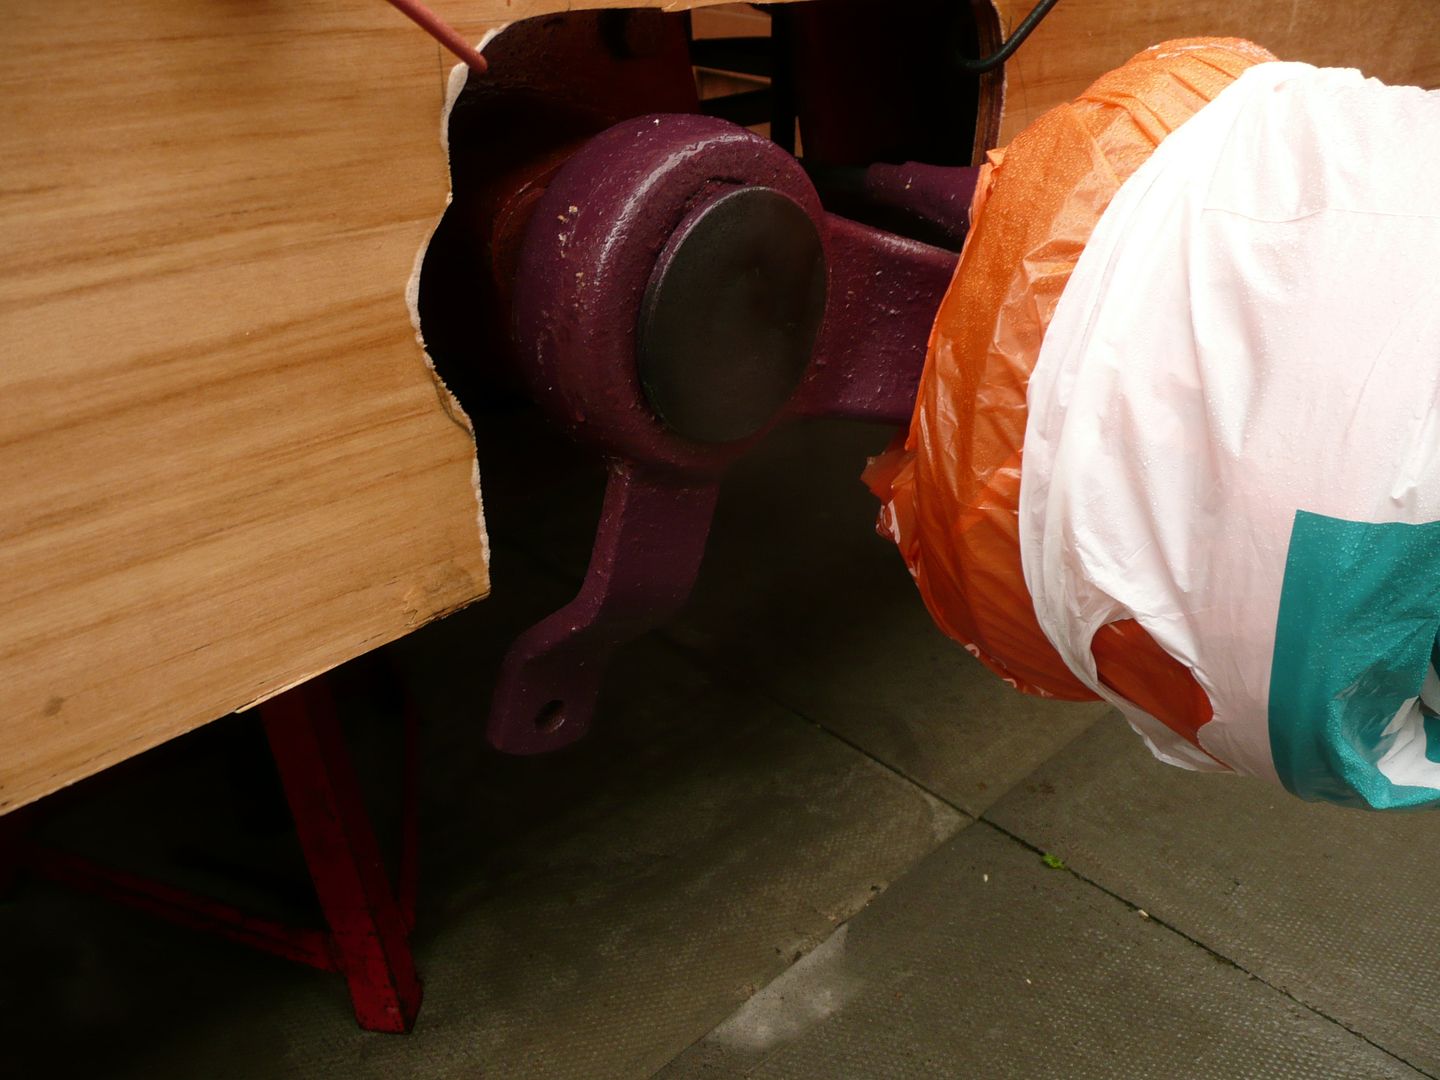
Here is a close up of what I have .

The top right little sticky outy bit is the entry for the brake line into the hub.... so not good for attaching anything.

Then you have the "Swing arm" from the central axle which runs diagonally toward the rear, fits into the hub, and possibly cast iron or some other heavy duty steel, although there is a tab welded to in on the bottom left as you look at the photo.

The tab you see to the bottom left of that swingarm has a single hole in it, and about 8mm thick and 25mm wide. it runs almost parallel to the body and then folds back under the body ending in the hole you see.

If I were to use that tab as support for the mudguard, all the energy would end up in there.
I really do not see anywhere else that I can attach and stabilise the guard propperly...... so I was thinking maybe make a bracket that fits over it, clamping behind the upper length above the hole, and still use only one bolt and nut to secure, with a "T" shaped brace at the top, ending up in a curved piece of steel to which the fenders are attached.

Hope you are as confused as I am by now.

I really see only that tab as a sensible place to mount anything.

Had planned to cut them off a while ago, just as well I did not, well at the moment at least.

P1070941.jpg


e-tek ;894662 said:
Grizz!! How come I haven't seen this thread or heard of you til now?!?! I'm out of the loop (as usual!)GREAT rides, skills and space (even if it is small!). Love the tear-drop. Sounds like you got a keeper in the (soon to be) missus too!.
Cheers Mate!


Morning e-tek, I guess one sometimes misses threads because the title is not exciting or striking enough. Did you look over on Retro Rides where my Bus has a thread ? May be interesting, if you have time.

My biggest fear is that a moderator will send me a PM telling me to stop talking about all the stuff happening outside my garage ( I do not have space to move insiide it at the moment :shocking: )

I think Nicola is a keeper too. Been a while since the last time I was married.... 16 or more years.

Teardrop is a great way to keep my head cleared from my day job, which is a bit of a killer, especially with constant pressure from above about moving product.
 
Last edited:
OP
G

Grizz1963

Well-known member
Joined
Jan 7, 2010
Messages
12,047
Location
Rochester, KENT. UK
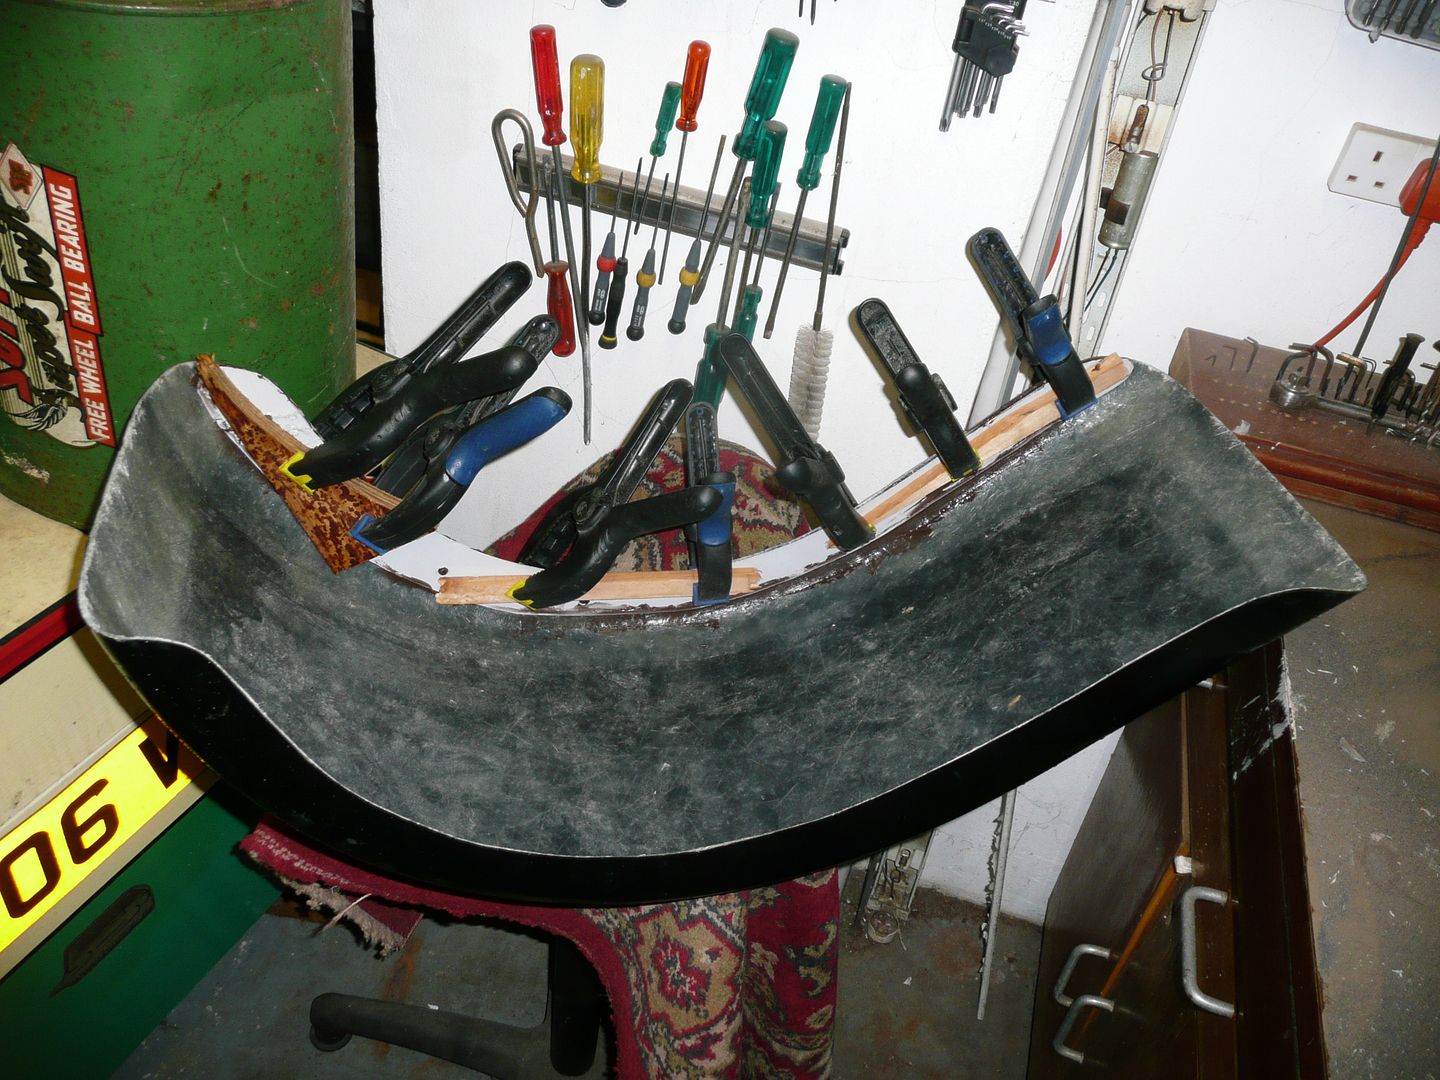
I have comitted now, and have sandwiched the steel strip into the fender/mudguard with silicone, and will add thickness to the inside of the walls with 20mm strips and then use woodscrews and large washers from the outside.
8 screws, and also Sikaflex to hold it all in place should work.
If I do have a mishap with the fenders, then the most I will need to do is fill the screw holes and start again, as the wood reinforceing and thicknessing will already be in place, also won't have holes through into the cabin space.

After dithering for about 24 hrs, and spending about 2 hrs (yes I am slow) this morning trying to figure ways to make up a successfull bracket to run from the axle, I decided to go this route.

Space is currently 50mm above the tyre tread.... I trust it will be enough once the caravan is loaded up, not to scrape the inner arch, if it is.... OOOOoooppps !!


P1070944.jpg


And the sandwich. This will be held to the side with 8 screws, should be enough to spread the energy.

P1070948.jpg
 
OP
G

Grizz1963

Well-known member
Joined
Jan 7, 2010
Messages
12,047
Location
Rochester, KENT. UK
As always Rian, looking good!


Thanks Baz, getting there slowly, the weather in the South of England really is not playing along .


Thanks to all guys and girls for compliments, comments and advice, as well as the various bits of help along the way to date.

Projects like this often get a fair share of their MOJO from the members who make comments in the treads, give advice, or like Jabbo today, popping in for a cuppa tea, a chat and to offer help with stuff like putting up the Gazzebo , which will probably only get done next weekend or so when I have help at hand.

The weekend was not a great one for the build, though I did spend about 7 hours doing "Stuff" drilling holes, masking, painting, sealing the underside some more etc....
The little jobs you do not see are the ones that often take time.

Simple example, right now my iPod is on charge, as it was flat batteries in the drawer.... so that I can test the speakers I picked up last week, to see if it will drive them, I suspect not, but hey, you never know.

Who knows about playing an iPod through external speakers ?
Do I need an amp, external power source etc ?


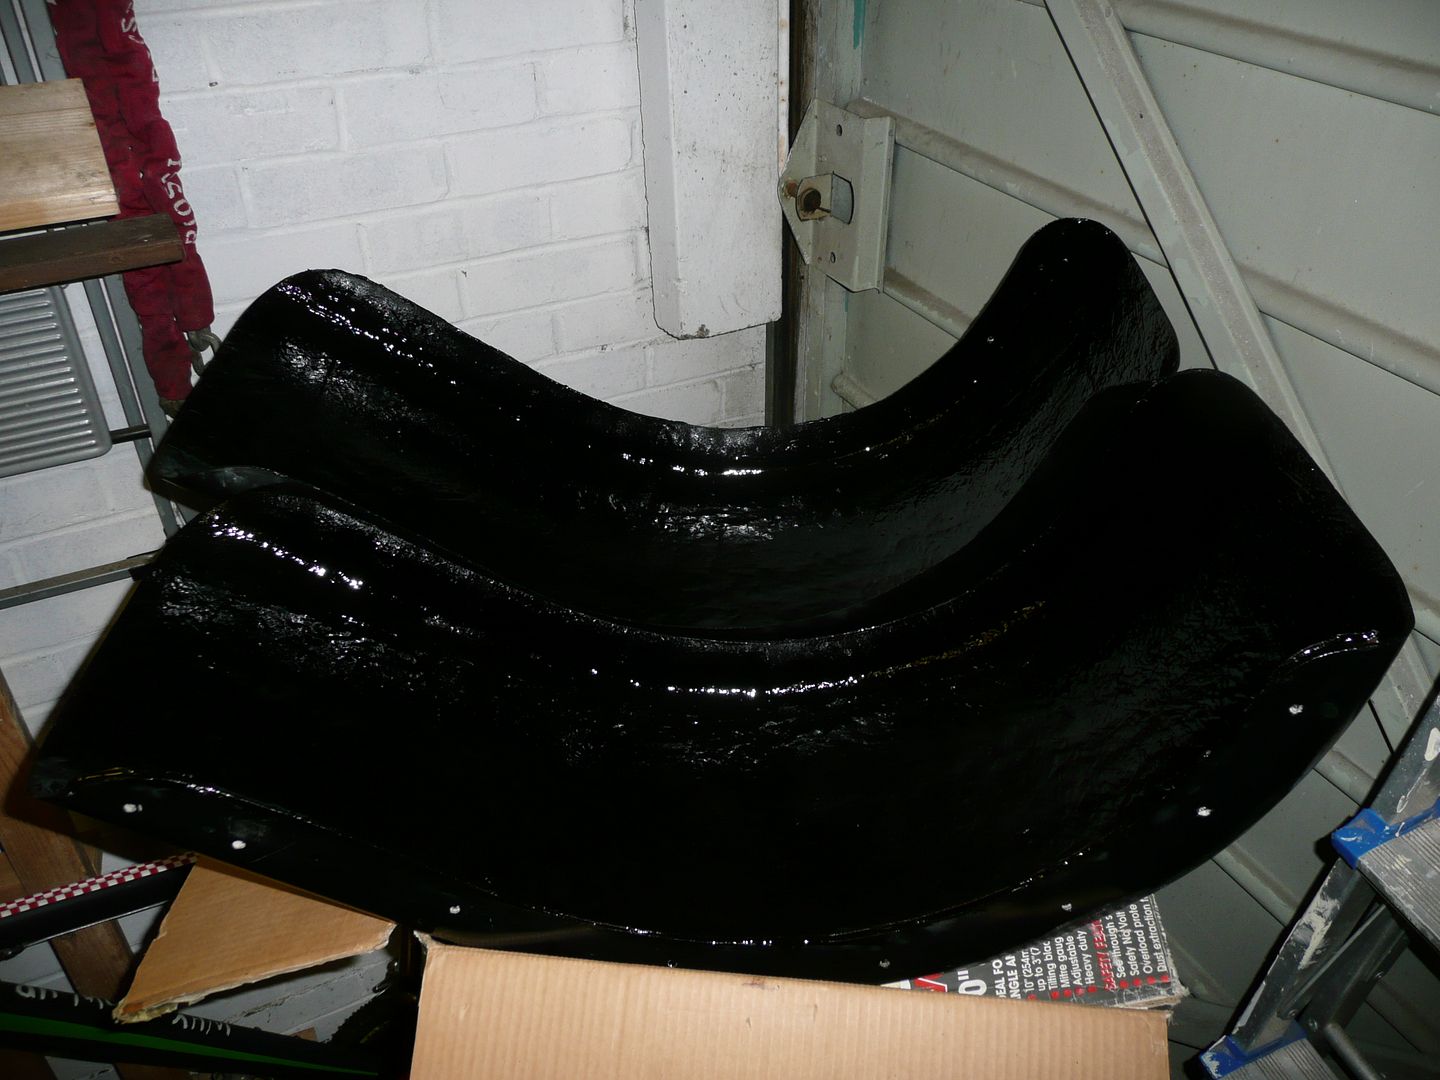
Back to the weekend, I guess now that the steel plate strips are set into the sides that are being attached to the sides of the Teardrop, the last thing for me was to paint the insides with underseal, both to absorb some road debris attack, and also to get it all uniformly black.

The next few days will be filled with little jobs around it, and then hopefully by next weekend some more noticeable work.

Todays result:

P1070949.jpg
 
OP
G

Grizz1963

Well-known member
Joined
Jan 7, 2010
Messages
12,047
Location
Rochester, KENT. UK
Can you tell what it is yet ??


Tonight I spent about 2 hours faffing about, but got a bit done.

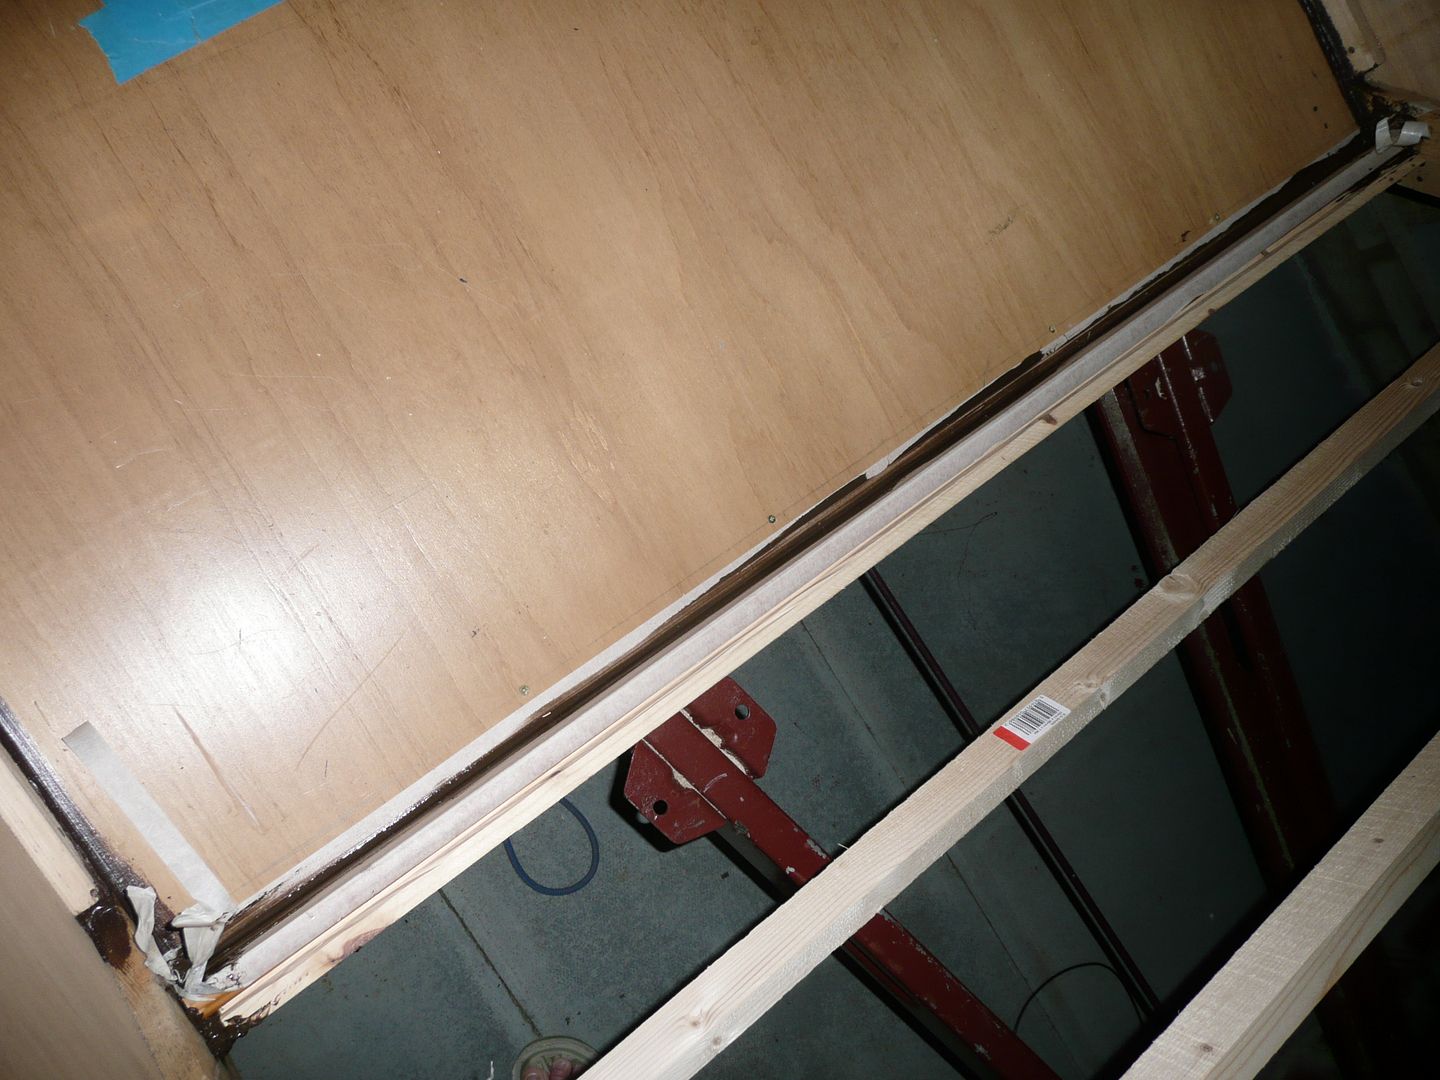
The front edge where the inner ply skin has to "kick back" and be locked in was made up of 2 bed frame sides, one cut at and angle and then rebated a bit to create a step for the ply to sit in. I trust this will work.

Little job, Big result.

P1070951.jpg
 
OP
G

Grizz1963

Well-known member
Joined
Jan 7, 2010
Messages
12,047
Location
Rochester, KENT. UK
Once again, I spent about 2 hours on the trailer after work tonight, finished at 8.45pm.

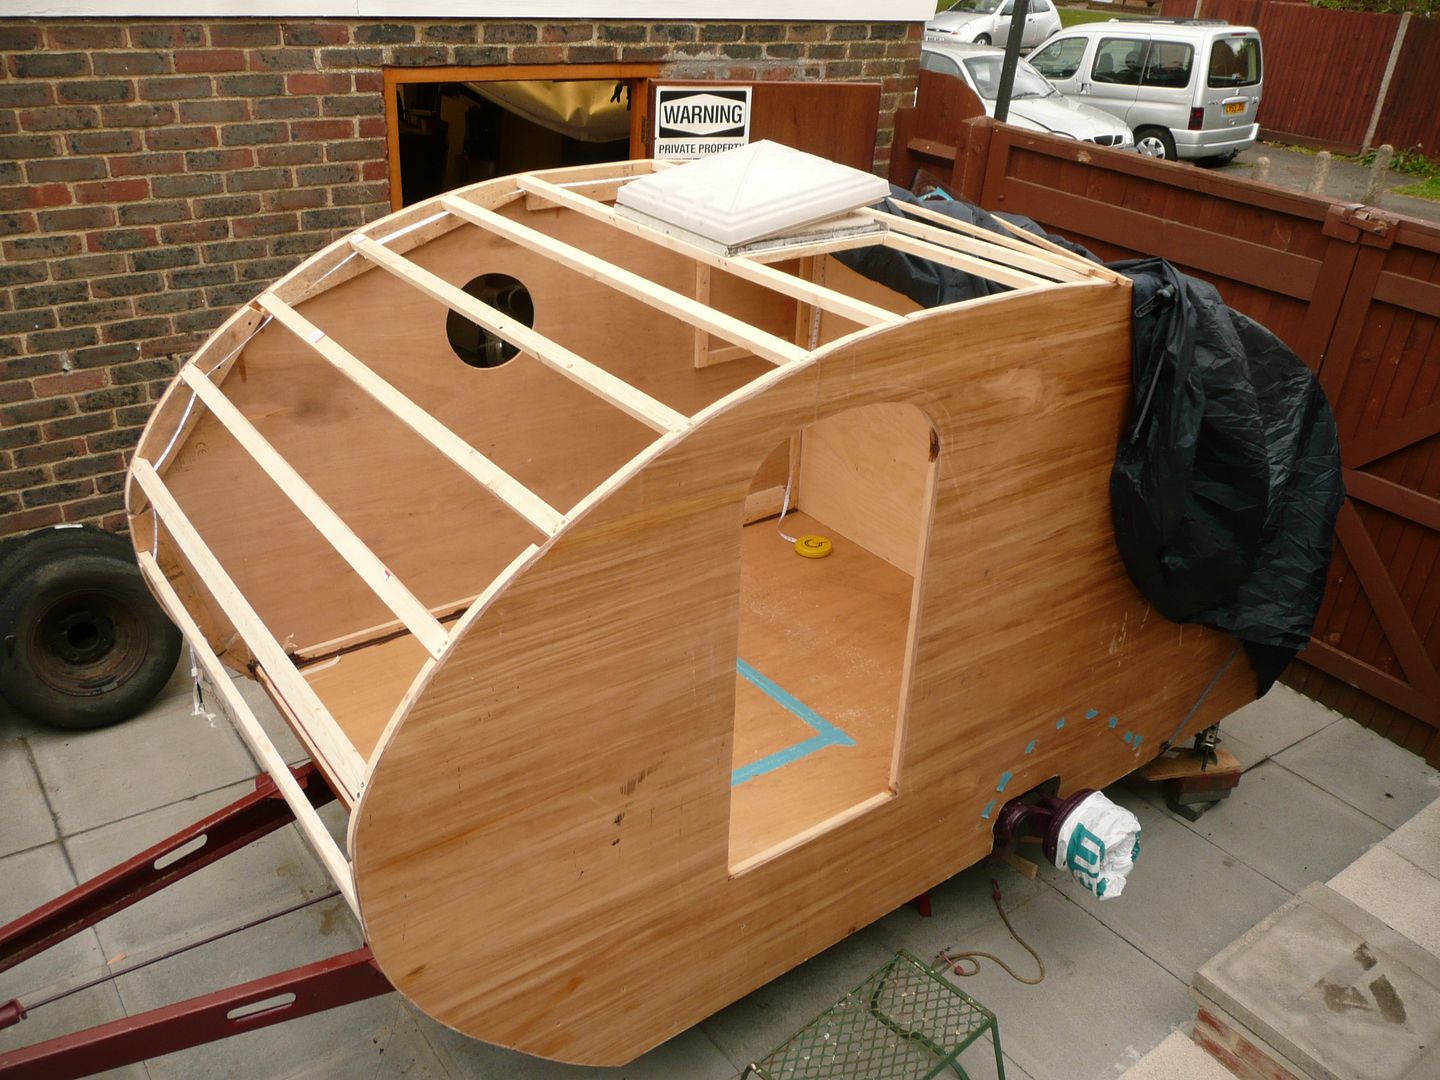
I fixed the support for the roof vent, and figured it will be just in the right position.

P1070953.jpg


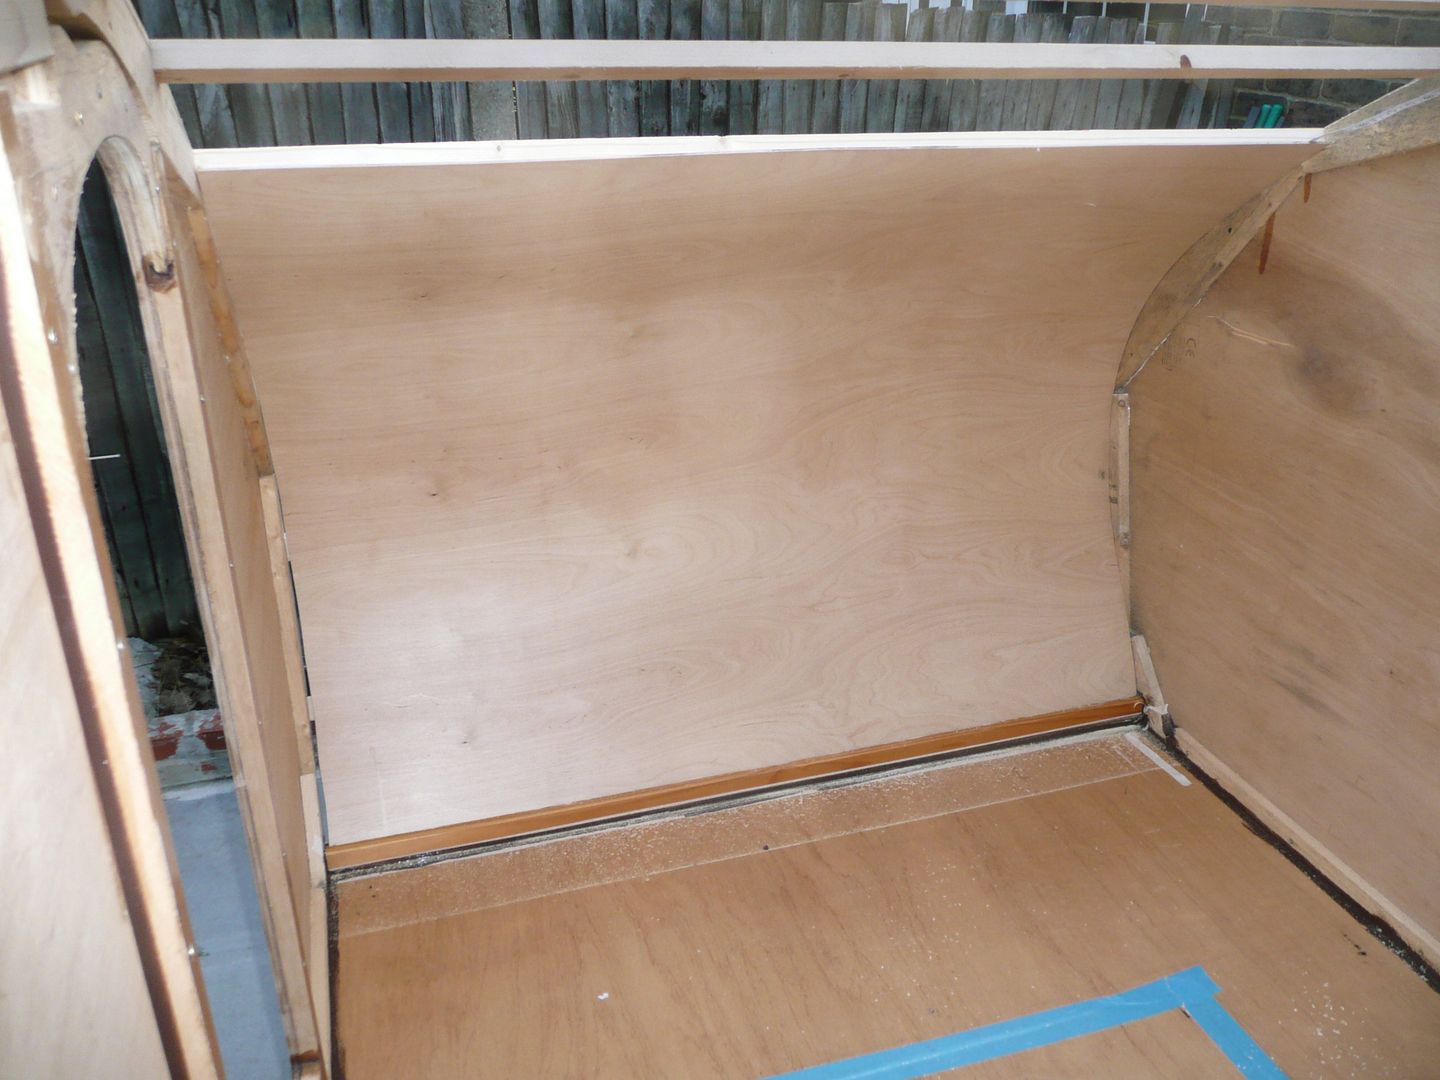
Then I proceeded to measure and cut the first of the inner ply sections.
Last nights support has meant I gained about 25mm, so the end of the sheet is right on a batten/rib.

Once the glue is dry, and hopefully it will not pop loose and self destruct, the roof will be held in place by the sides, and not need too much in the way of nails, screws etc....

Interior shot of first sheet bent, 4mm Birch, no steam.

P1070955.jpg


By 20.30pm this was the mock up of the first 2 sheets. Seems I will have 2 joins in the roof, one pretty much invisible, and the other above the head inside the cabin if you sit up, but a flush fit should make them "disappear"

P1070956.jpg


Thats all for tonight, but again, I am pleased with what i am getting done single handedly.
 
OP
G

Grizz1963

Well-known member
Joined
Jan 7, 2010
Messages
12,047
Location
Rochester, KENT. UK
Its coming along nicely! Keep up the great work. :beer:

Scott


Thanks Scott, I hope you are not the only one watching me play with wood on here :bounce:


Thanks to Johnny "down under tech" in Reno , Nevada, We now have a number plate for the galley in the Grizz-Pod.

I mentioned a while ago that I wanted to get a plate to use as name plate for the trailer, and John jumped to the rescue, not taking no for an answer and refusing any money, he has gone and ordered a Kansas plate (There is a link to Sinclair Oil Corporation in there) and given it to Nicola and I as a Trailer warming present.

Thank you Johnny, massively appreciated. You are indeed a gentleman of epic proportions.
Your generosity is evident whereever you seem to go, helping with builds, advice and being a nice guy alround.

Now we just have to get it through the postal service this century.

Grizz-pod.jpg
 
OP
G

Grizz1963

Well-known member
Joined
Jan 7, 2010
Messages
12,047
Location
Rochester, KENT. UK
Grizz - great work there fellow. Have you got a link for theplate as I want something similar.
Cheers.

I actually had a link, but they do not ship from the US to the UK, and also the Paypal we have does not get accepted there....:wtf:

There are a few UK companies that do make plates, and I emailed one, I think it was £19 for a US plate plus postage, which is not far off the cost of getting one there at $27 plus the postage.

Try Ebay here, and put in USA Number plates, or Custom number plates.

Here are the guys in the UK I had managed to get hold of, and their email address.

[email protected]

Body of the letter they sent me.

Thank you for your email. We can make a Kansas plate, and these can be ordered at http://www.american-number-plate.com/platemaker/ We can press the text GRIZZ POD but we would not be able to enter a space between the two words. If you look at the following link http://www.american-number-plate.com/accessories/?view=det ails&item=702 this plate was made using all eight characters, and there is no room for a space. The cost for one of these plates is £19 plus £4.99 p&p

If I can be of any further assistance, please do not hesitate to contact me.

Regards.

Beverley Atkinson
Craigsplates


Hope that helps.
 

chevazon

Well-known member
Joined
Oct 17, 2009
Messages
63
Location
Durham City, UK
Grizz - if you have the link I have "friends" in the US where I can post it to and collect it in July when I am out there.
 
OP
G

Grizz1963

Well-known member
Joined
Jan 7, 2010
Messages
12,047
Location
Rochester, KENT. UK
Grizz - if you have the link I have "friends" in the US where I can post it to and collect it in July when I am out there.

Hi guys, thanks for the comments, it is the sort of thing that makes on carry on, and even steal time to get to the next point.

I had Nicola over last night, and only got to cut and trim my gardn hedge before she came. We then litteraly just sat about chatting on the settee for 3 hours...... that was what she wanted :wtf:

Anyway, maybe tonight I can start on the inner sides and insulation.


Chevazon:

I found a place that has them in two styles for Kansas. That is they have two back grounds to offer. They are $25.95 or $27.95 (with the reflective backing). I checked on GRIZZ-POD for the choice of lettering. Here is the website.

http://www.frontlicenseplates.com/vanity.html?gclid=CJKx7PW5tKECFRZEbAodTWGGBg


I trust you will be able to sort it through them.

Like I mentioned, they do not accept paypal from here, but it may be related to not dispatching to the UK.

Good luck. Rian.
 
To avoid these ads, REGISTER NOW!
Top Bottom