To avoid these ads, REGISTER NOW!

Between 705 & 1200 SQ/FT Mixed Grill - From London , England - GRIZZMAKES world

Workspaces between 705 and 1200 squarefeet.

chevazon

Well-known member
Joined
Oct 17, 2009
Messages
63
Location
Durham City, UK
Rian - when I checked the link I am sure I have been in to the shop based in Kissimmee !
I might just wait until I visit again.
Cheers
 
To avoid these ads, REGISTER NOW!
OP
G

Grizz1963

Well-known member
Joined
Jan 7, 2010
Messages
12,040
Location
Rochester, KENT. UK
Well, this week I have been stealing an hour here, and a couple of hours there.... meaning that there are a few time consuming jobs done.

Tonight I got a text from Edd, the master of my Bus' destiny to say it had failed it's yearly MOT, or roadworthiness test, this is now that the new Ford Zetec engine has been fitted and road tested.

Steering Ball joint and brake bias, and hand brake were the culprits.

A quick call to Germany to speak to Dave Oldbus had it all solved, and a dig in my shed later I had my spare steering rod with attached ball joints out, and dismantled.
They will be off to Essex to Edd in the morning by 1st class post, hopefully to be delivered on Monday morning.

There after I started measuring out the inner ply walls, cut them and then called it a night, as Nicola is here ...... Nice.

One mocked up side photo.

Tomorrow I cut out the sandwich of the inner porthole support I also made tonight, laminating 2 bits of ply. And then fix that to the inside.
Next job will be the insulation, which is 25mm, and the side wall space is 20mm...... HALLO BELTSANDER !!

P1070957.jpg
 
OP
G

Grizz1963

Well-known member
Joined
Jan 7, 2010
Messages
12,040
Location
Rochester, KENT. UK
Sunday night after 10pm..... gotta be update time then.

Must have had the most productive two days yet, in this build.

Loads of small jobs done, the kind of stuff that makes the big things look impressive.

Friday night I made up the laminated wood frame for the porthile.

Saturday morning, cut the hole into the laminated plank, then glued it to the outer body and left it for 30 hrs to dry, trimmed it back with the jigsaw, and then sanded by hand till I was happy.

P1070962.jpg


Saturday, made up the bits that make up the rest of the galley.

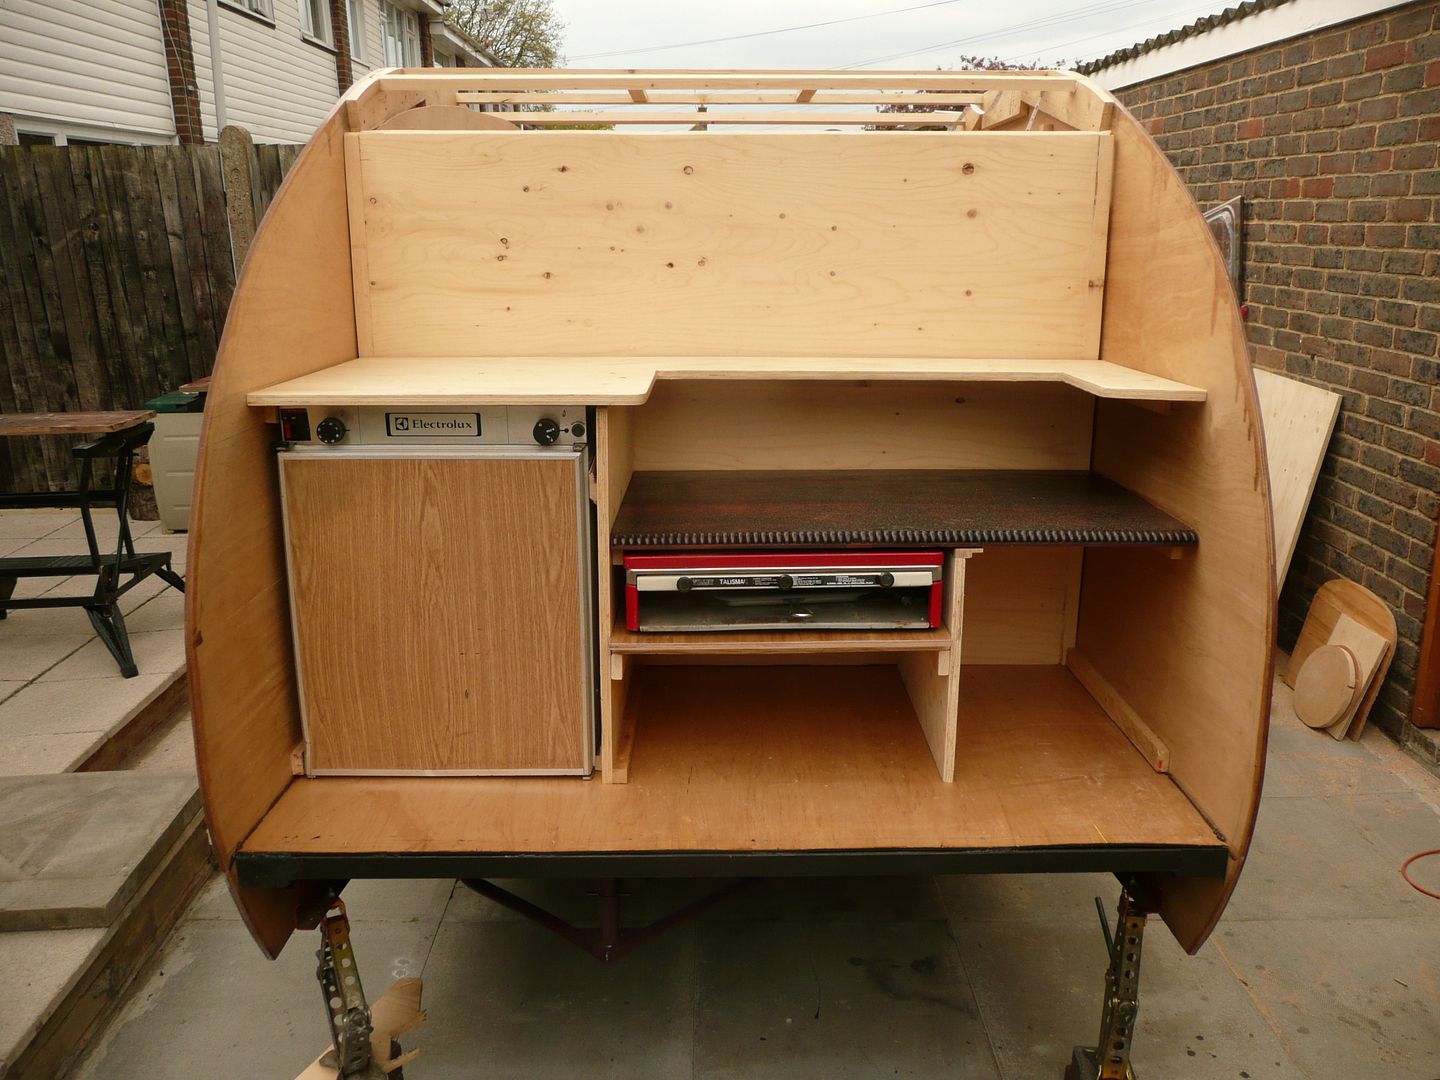
Fridge fitted (Still need to see if it actually works, no idea where to start)
The mahogany table top I found at the council tip, cut to size, and also a Sliding cooker table made up from bits, including the cutout timber from the door.

P1070963.jpg


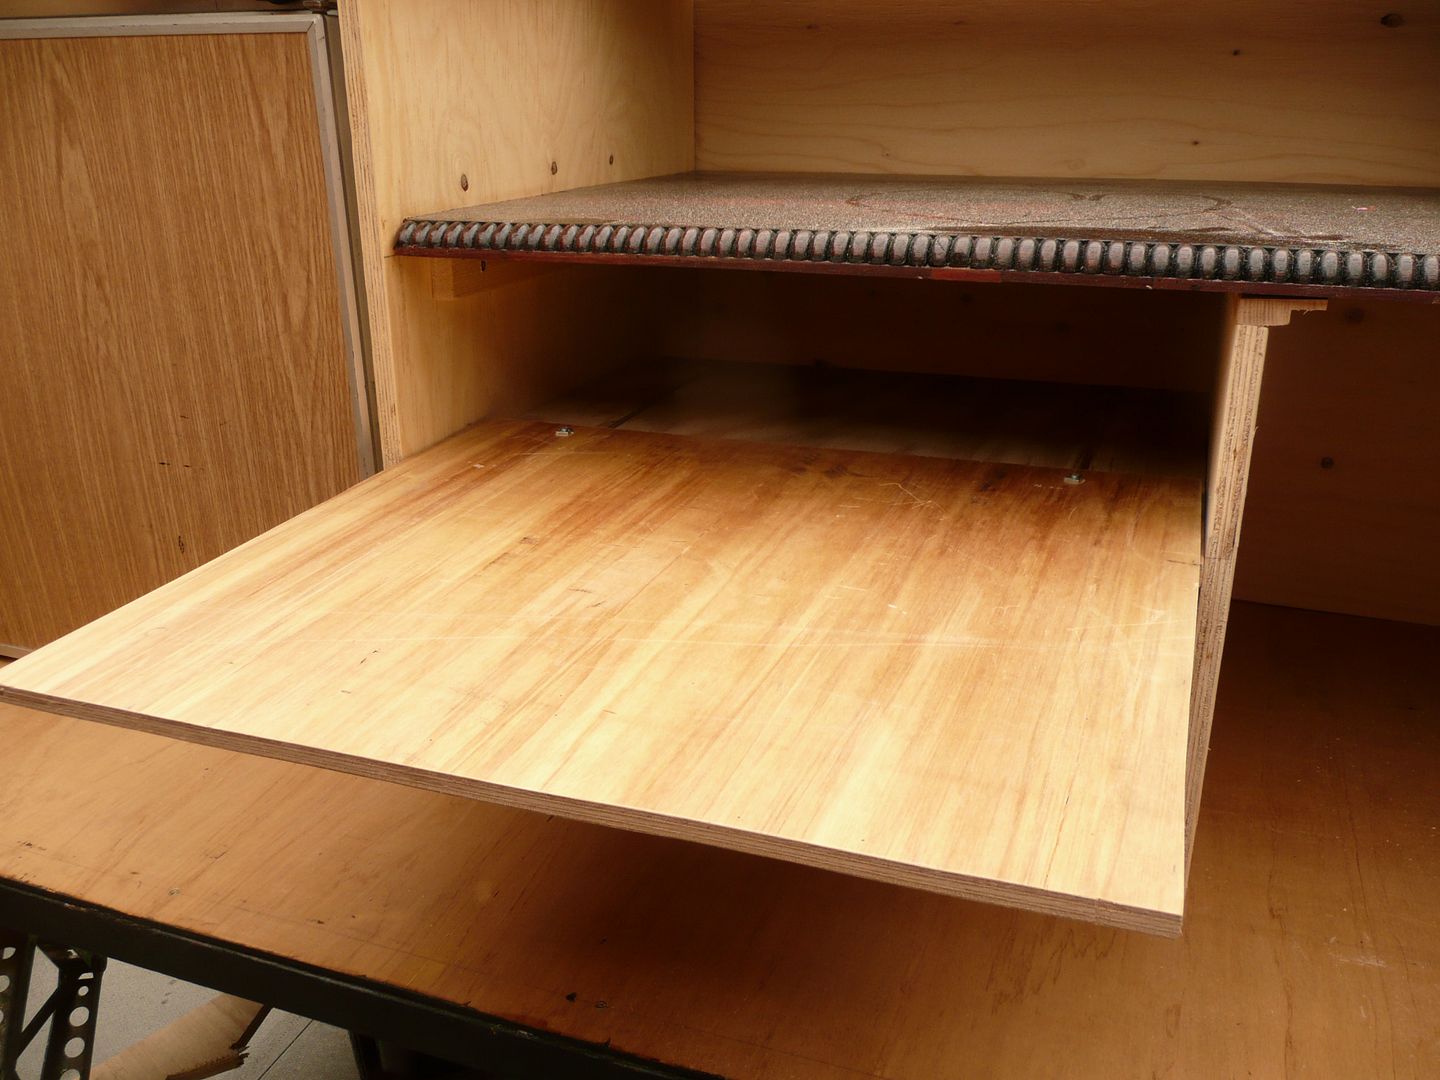
Thought I was quite clever making up the sliding table for the 2 plate cooker, which was a £1.00 find at a bootfair last year. Table is also self supporting, but thinking of making a single leg to pop in from underneath when at full extension.

Used a section of 18mm ply as base shelf, then drilled holes and connected with 2 slots to slide the gutter bolts that go through the 12mm offcut from the door cutout, also recessed the slide where the nuts go, so that it is a flat system.

Hope you get the idea, as the photo may be a bit dark.....

P1070965.jpg


SUNDAY is Bootfair day.....

Firstly, I found a complete 5ft neon light fitting with cover that my neighbour had thrown out, he threw a 3 month old large microwave oven out last year too, so I know his rubbish is good.

Bootfairs.... we went to two today, the first yielded a load of goodies, the second, nothing, but it was nice day out, and I got to play with quite few dogs.

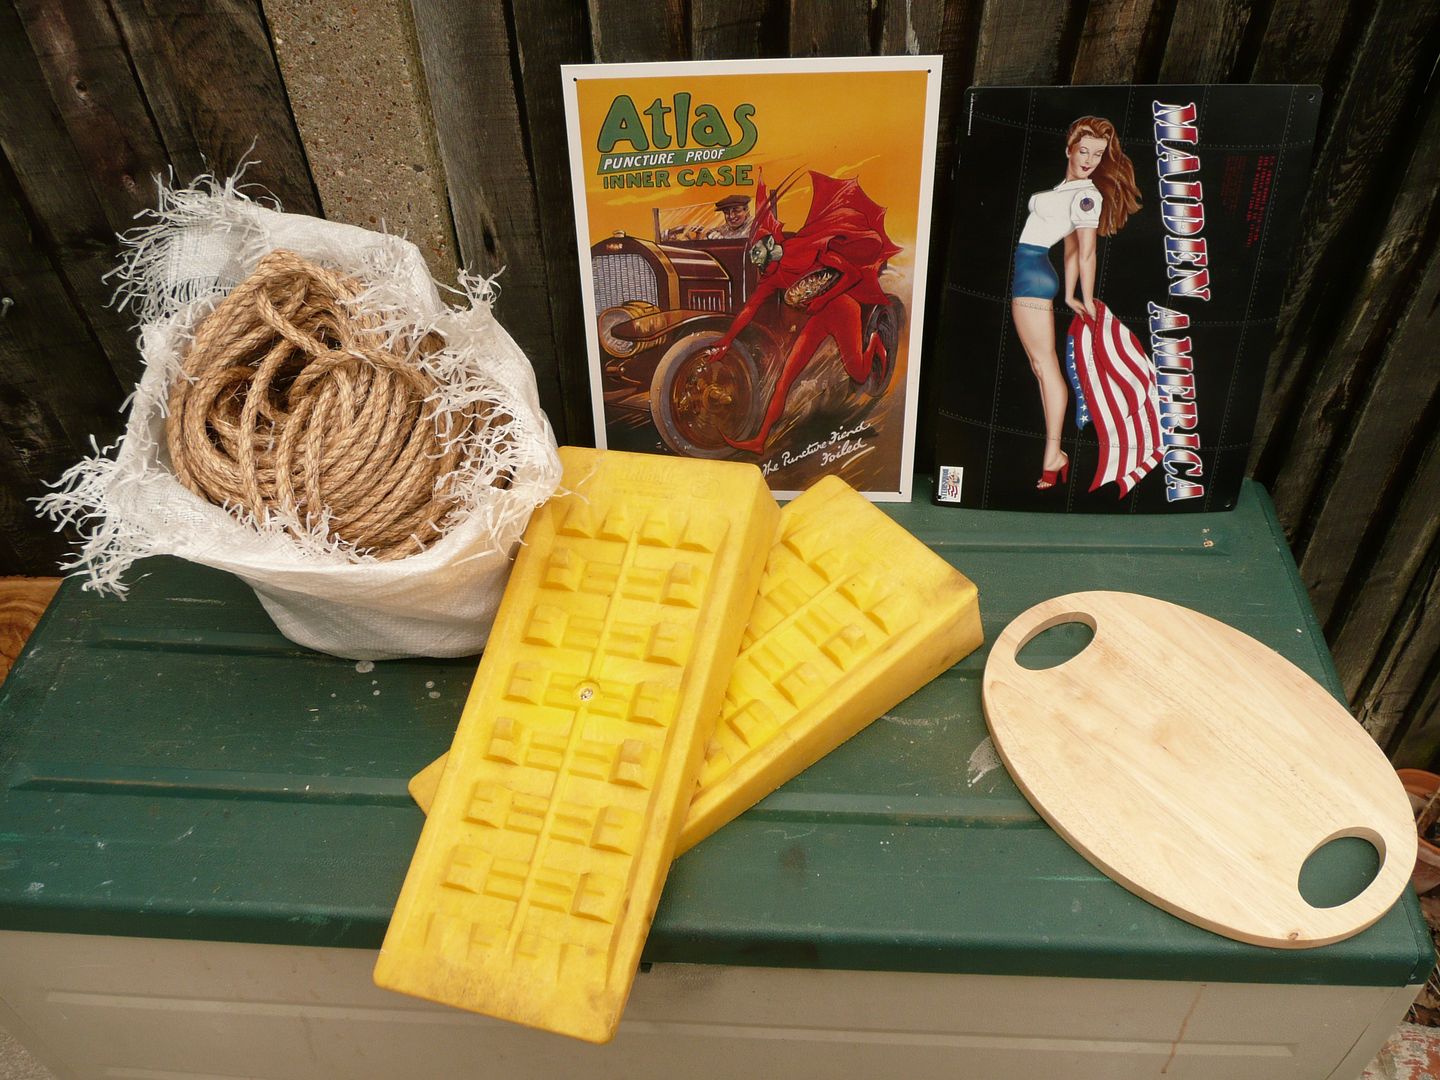
A roll of rough hessian rope - £4.00. I may use it to line all the internal corners in the trailer, to add a bit of character.

Two Fiamma caravan wheel chocks - £2.00 for the pair, no need to explain, I am sure.

Small breadboard for the galley - .50p

Couple of 3D metal signs, not cheap, but at £5.00 for the pair, I was happy.

Nicola also bought me a lovely stuffed Dinosaur for the bus, goes with the Sinclair Oil Corporation logo items.

P1070967.jpg


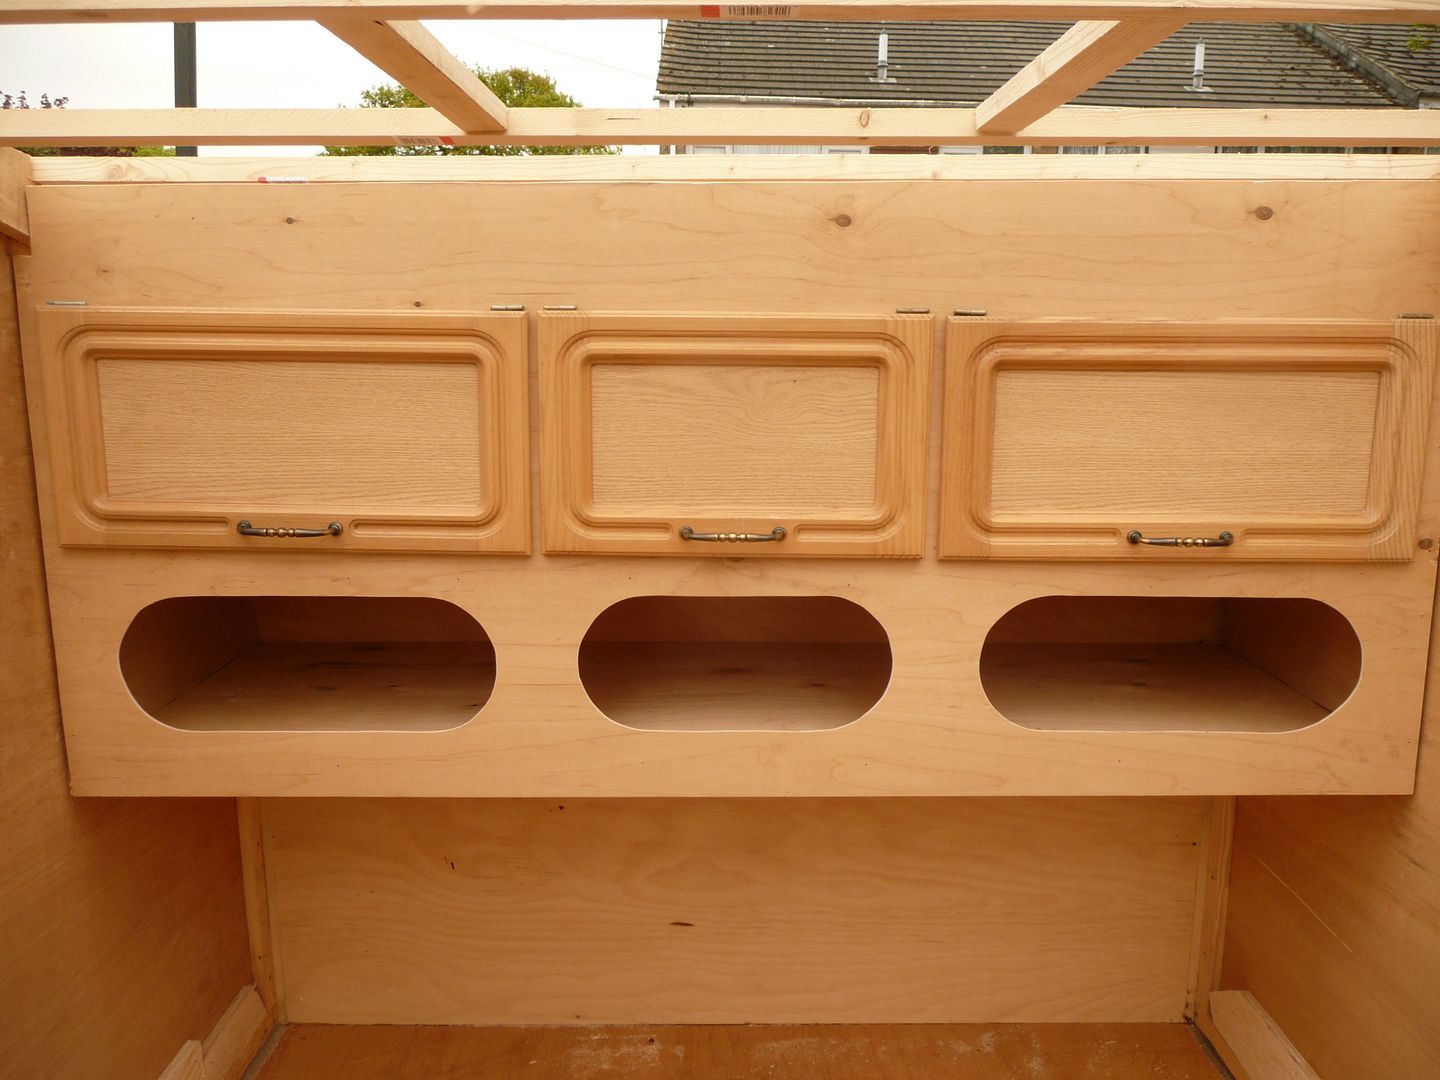
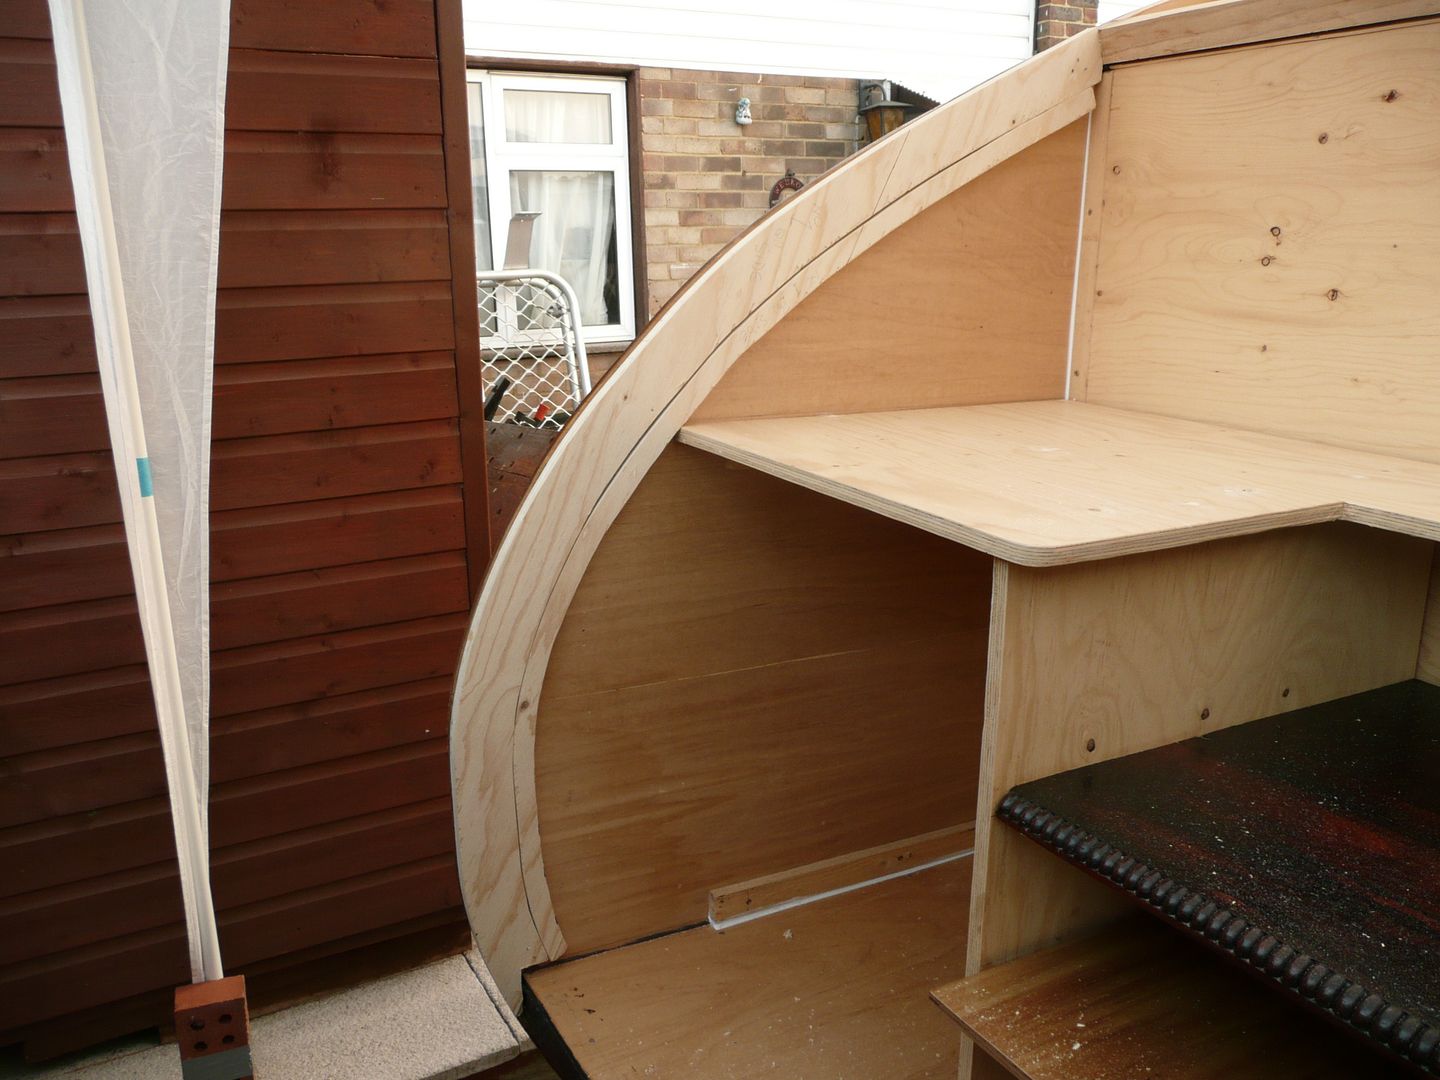
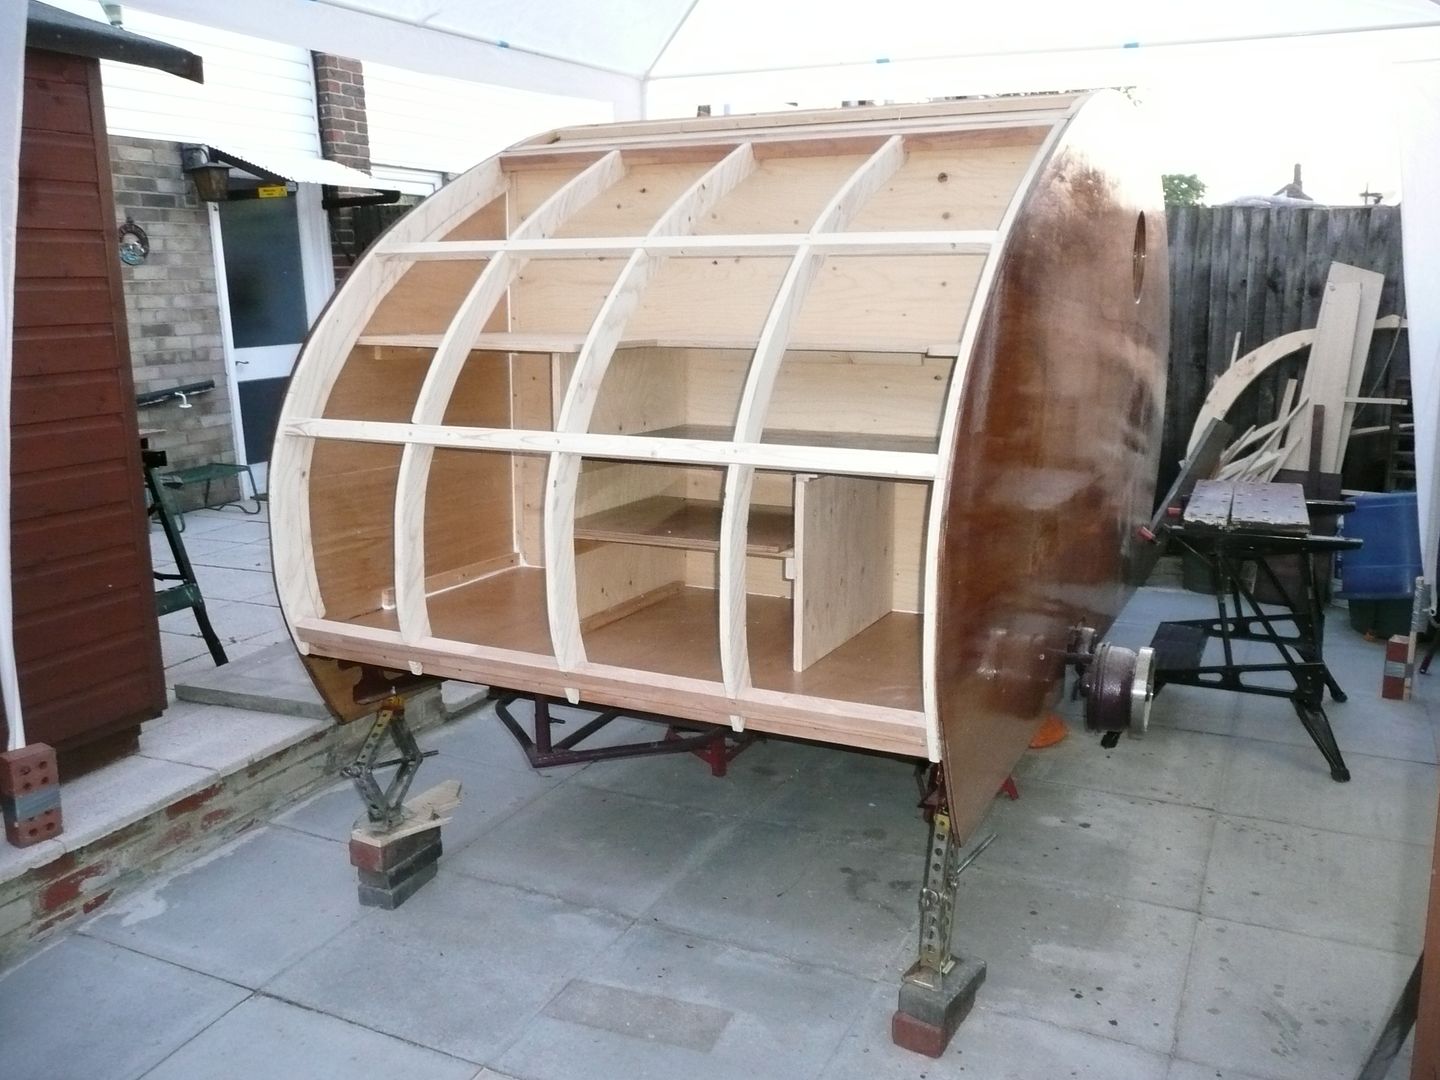
Finally assembled and fixed the bulkhead, and then the inner cabinets and their floors. They feel really solid now.

P1070968.jpg


Yesterday and today I also fine tuned the fit of the inner body panels, as they need to fit really tight, and have to fit around stuff. Trust me, it is not as easy and quick as it seems.

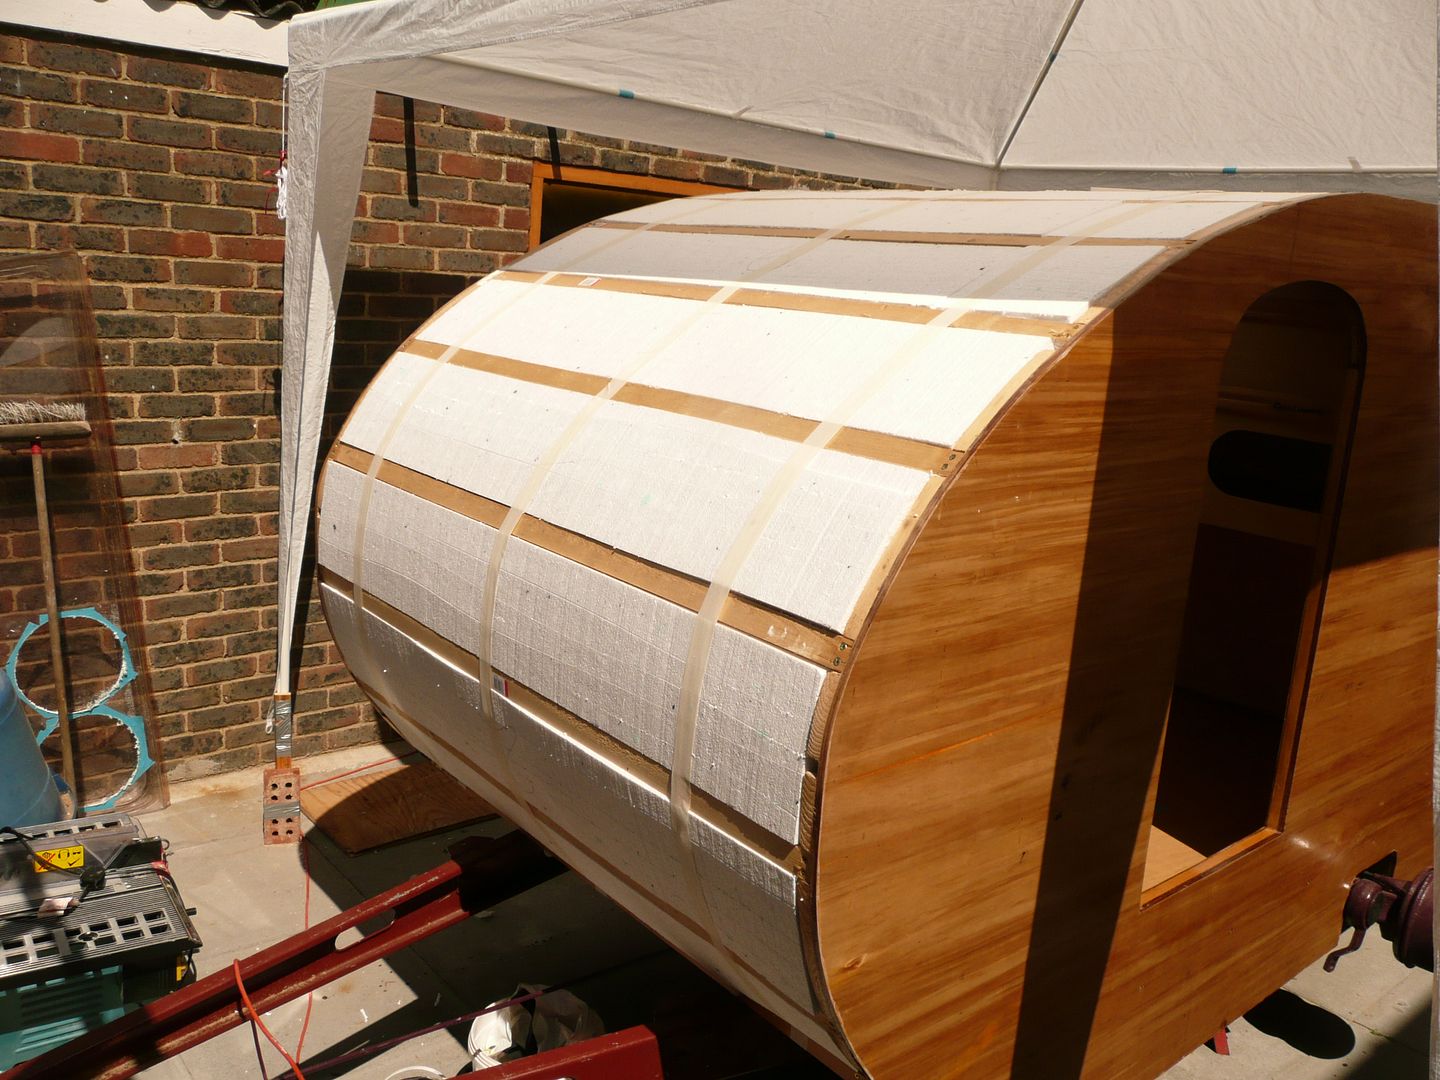
Next up, at last, the polystyrene insulation was made to fit.... when done, I was cackling like a mad man (maybe I am) as i had used up litteraly every bit of the one 4x8 sheet I had bought to inslate the cabin.

P1070974.jpg


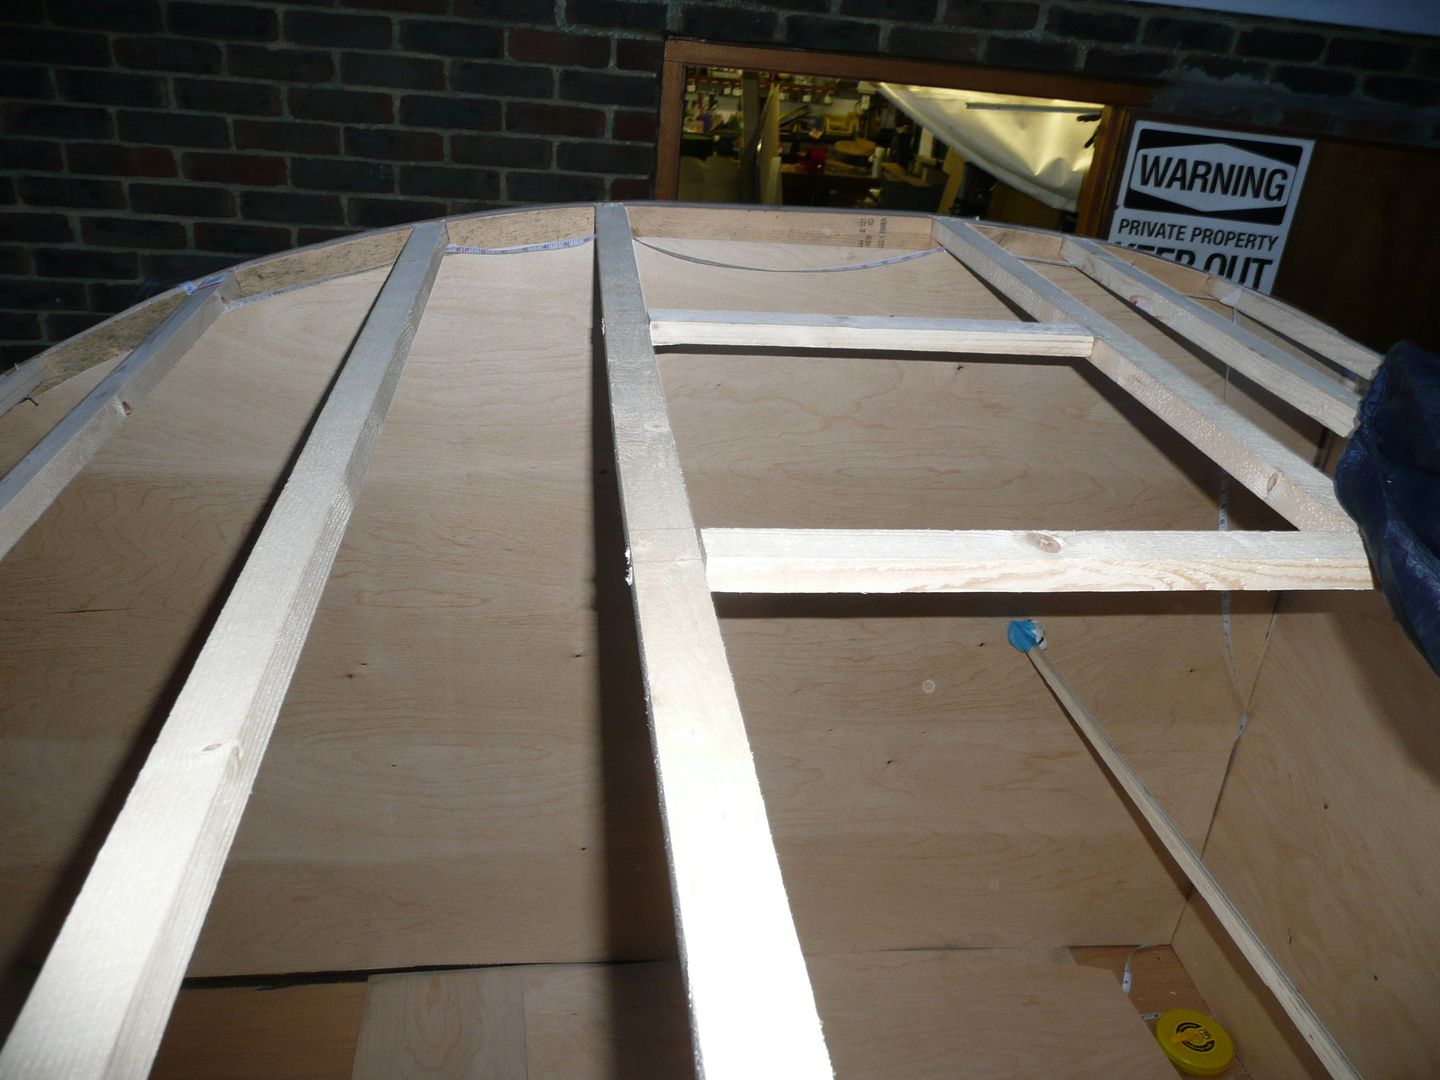
Next up came the fitting of firstly the ceiling. which did not fit, it was out by 20mm.... necesitating me to cut and trim it diagonally to make it fit propperly.
In the mean time the rain had started, and just when I was fitting it, silicone on the edge, and working Solo, as Nicola had gone home earlier, I ended up speaking (swearing) in my mother tongue at the top of my voice, and trust me, I reserve that for very special occasions.
Eventually I did get it fitted, and of course now it was raining propperly. I added the car cover to the top, but the rainwater still made it in.

P1070975.jpg


I finished all the tasks and got my tools packed away by 20.30pm, KNACKERED, but content.

Not completely finished inside, the door still needs fitting, porthole and roof vent cutting, etc, etc, etc.

Hope you get the idea.

Thanks for looking in.

P1070977.jpg


Next update, probably next week.
 

51rider

Well-known member
Joined
Dec 21, 2009
Messages
502
Location
London, England.
Oh man, swearing in Afrikaans that would have been some funy s**t to hear!:) I learnt a bit when I was out there........:wtf:

Looking good there Grizz & definately put the extra support under the mobile shelf.

Vernmotor: As Plush has so expertly put it, in todays langauage it means very tired, exhausted, dead on your feet.

The term originates from 'the Knackers yard'. A knacker is a person in the trade of rendering animals that are unfit for human consumption, such as horses that can no longer work. This leads to the slang expression "knackered" meaning very tired, or "ready for the knacker’s yard", where old horses are slaughtered and made into dog food and glue.
A knacker's yard or knackery is where this takes place, as opposed to a slaughterhouse, where animals are slaughtered for human food.
 
OP
G

Grizz1963

Well-known member
Joined
Jan 7, 2010
Messages
12,040
Location
Rochester, KENT. UK
Tonight I may be stirring up a "hornets nest....... with the tongue in cheek question of the header for today's entry.

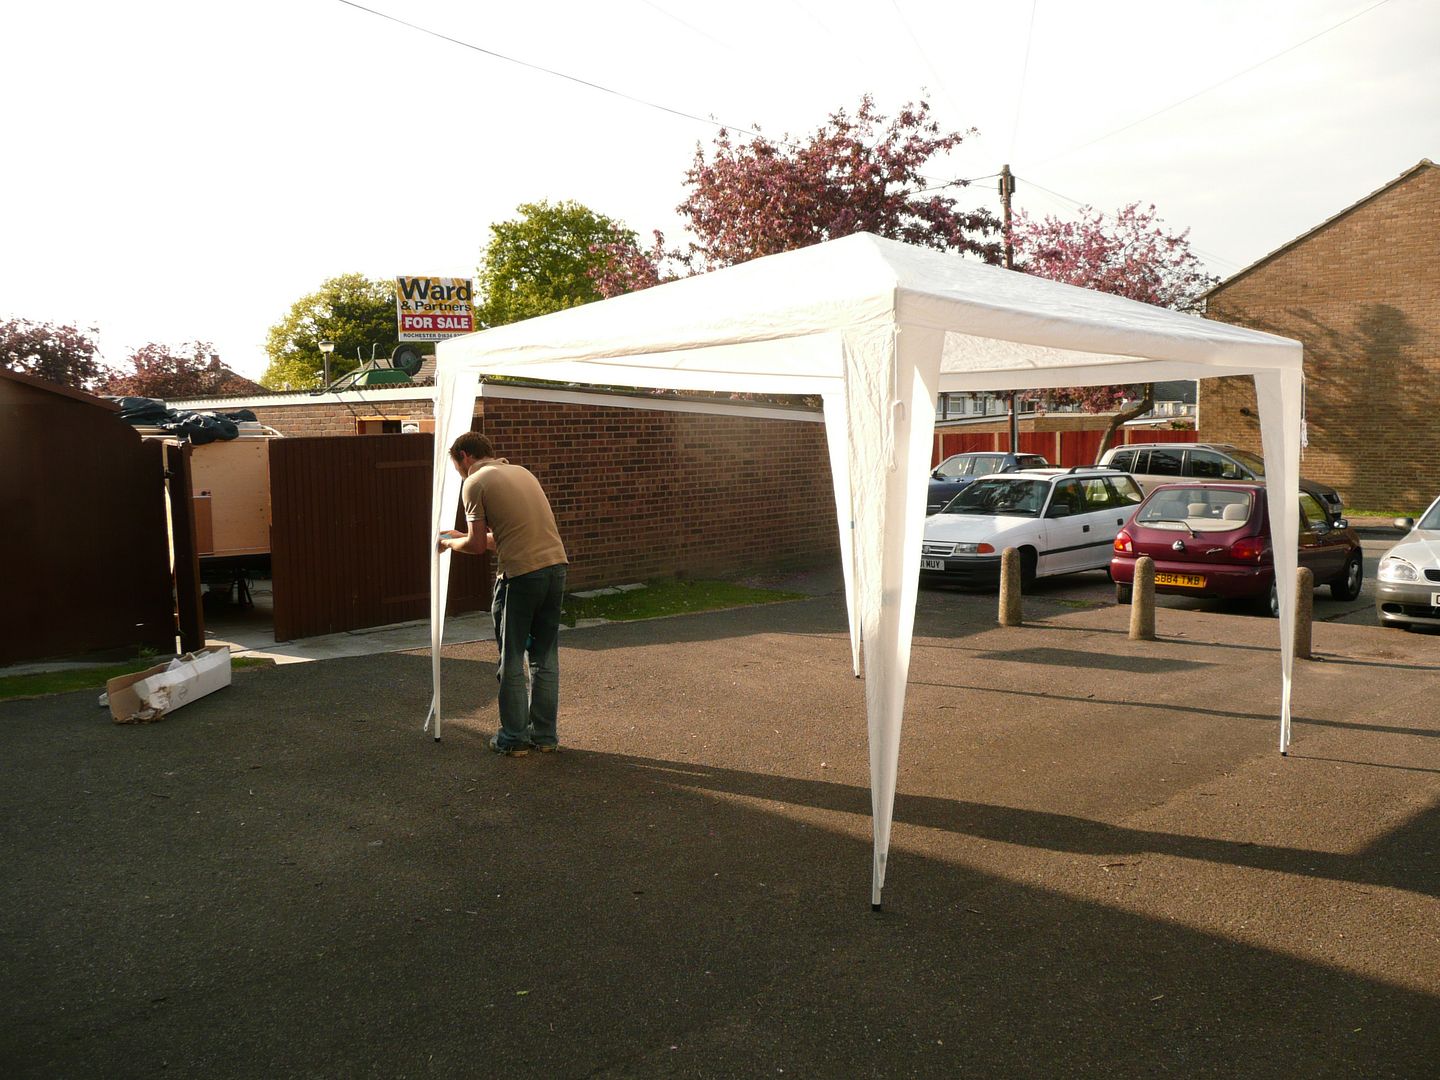
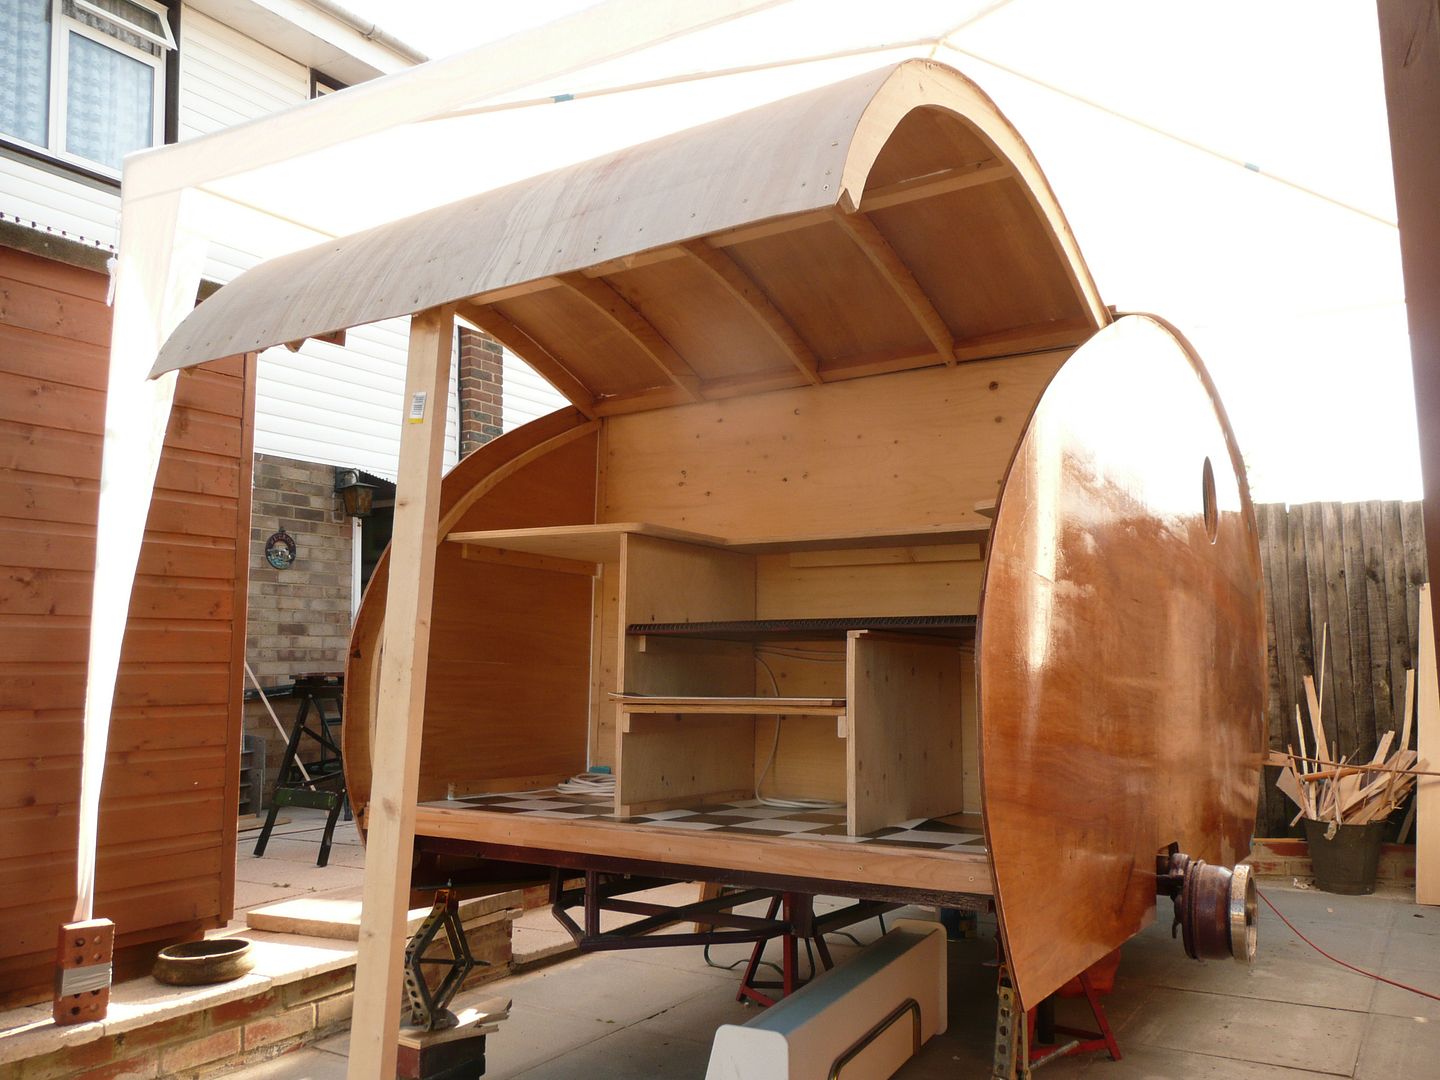
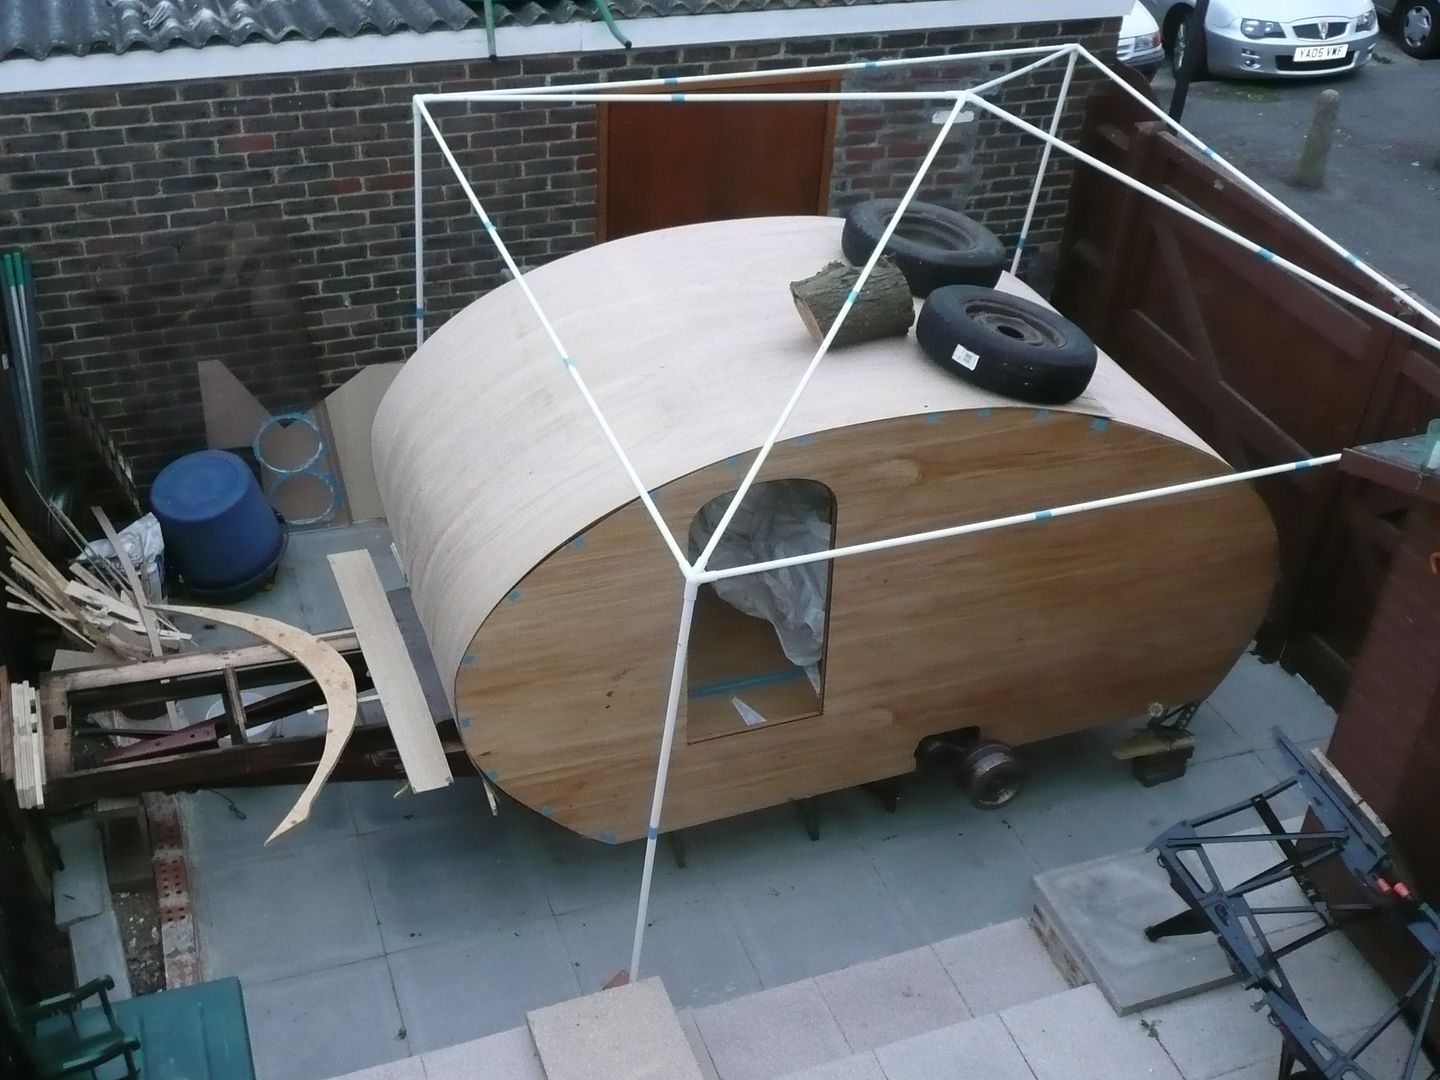
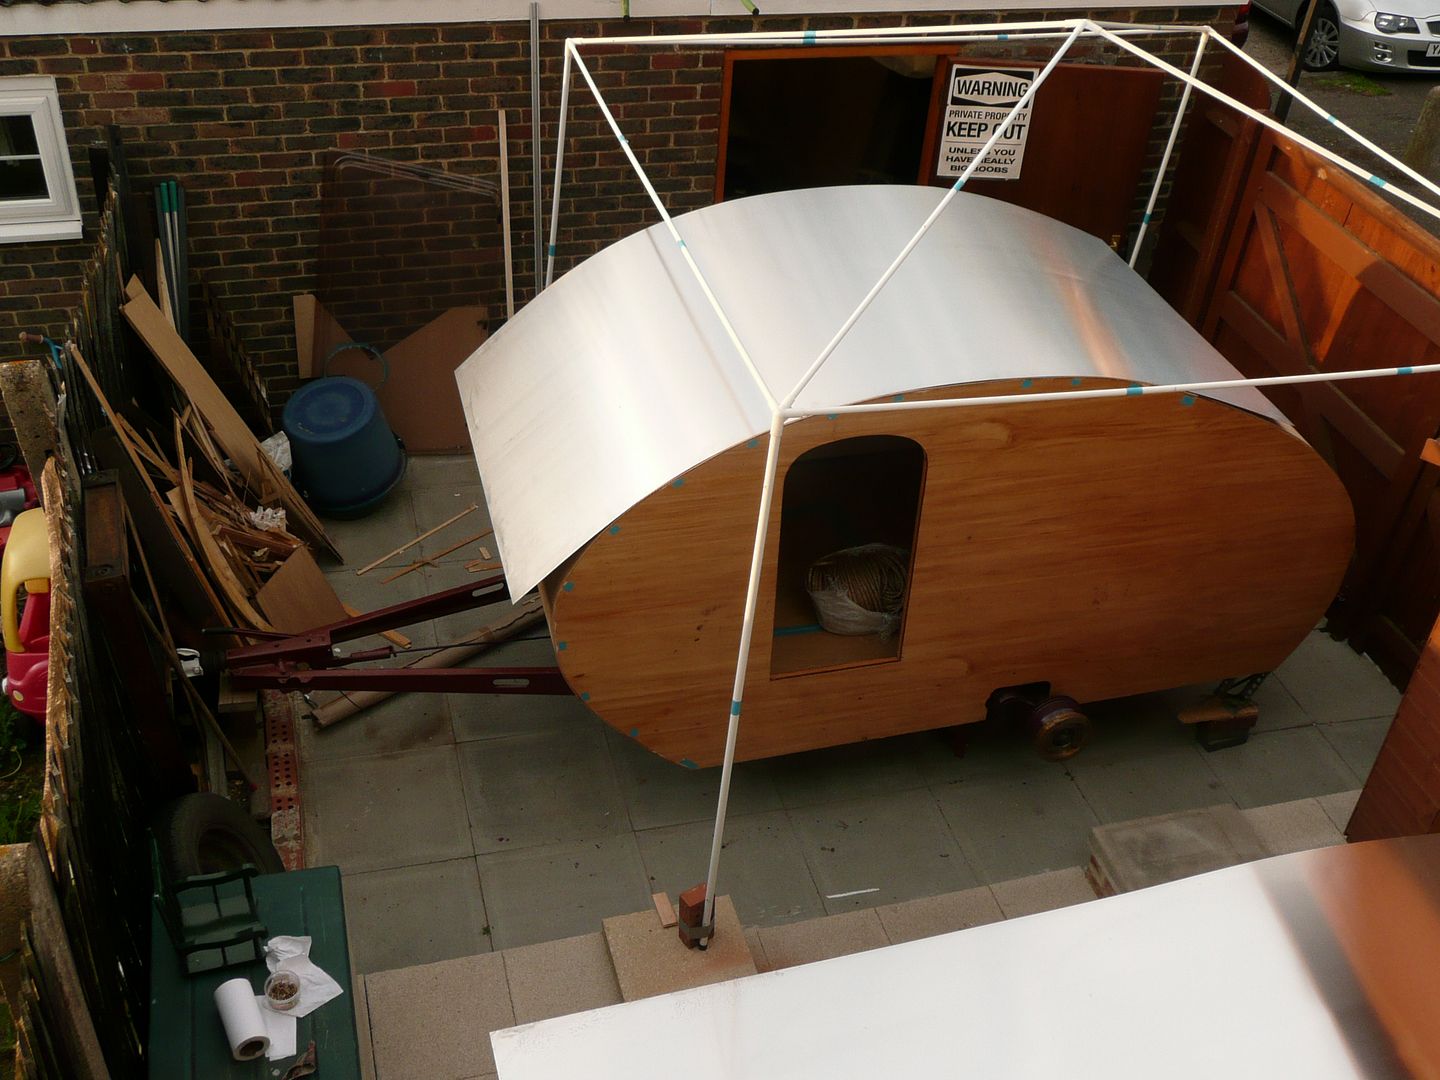
I had Scott "Jabbo" over this afternoon to help me put up a gazzebo I got last year as an unused freebie. Should have done this long ago.

THANKS BUDDY !!!

P1070982.jpg


After getting it up, we taped all the frame joints, and then carried it back into my back yard.
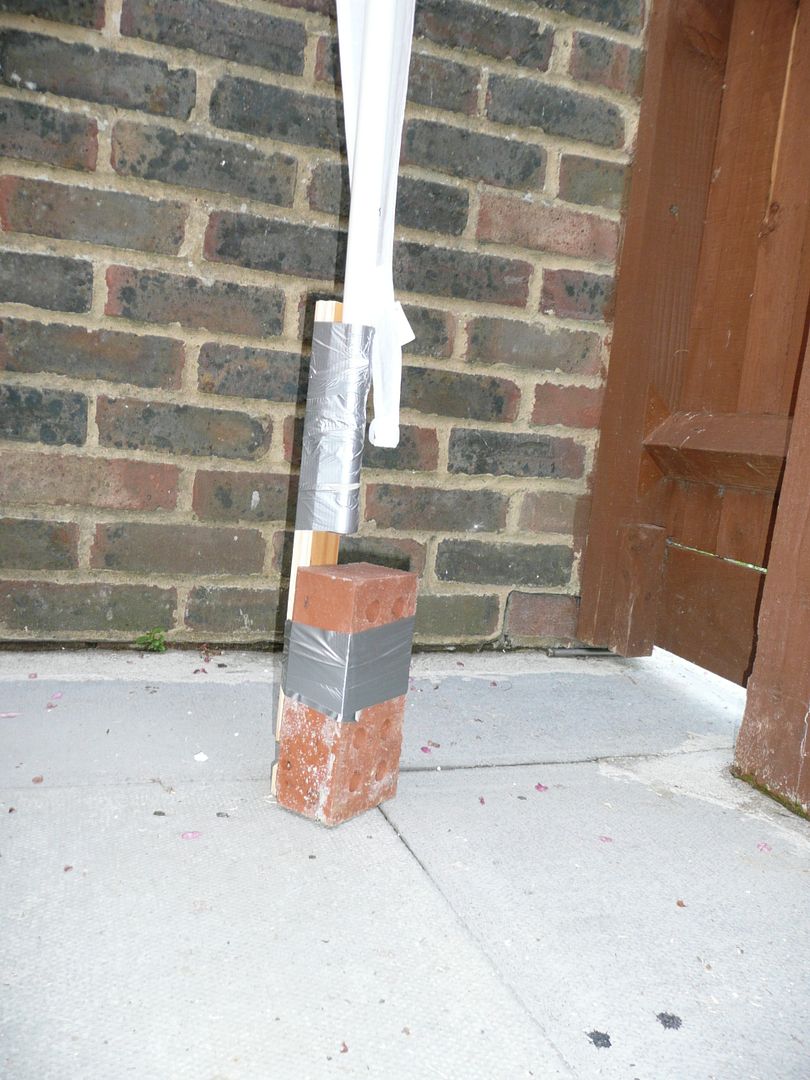
It hung over the garage door by a good 8 inches, so I cut some strips of the offcut pine, and engineered them onto the two legs closest to the garage. The other two were going onto the top half of the patio, so needed no enhancing.

We also engineered some retaining weights for the legs, to hold it down in case of a mild breeze. Trust you approve

Amazingly, I still believe that you need 2 things in life, Duct tape, and WD40/Q20/penetrating oil, because if it moves and should not, Duct Tape. If it should move, but does not, WD40/Q20


Engineered

P1070985.jpg


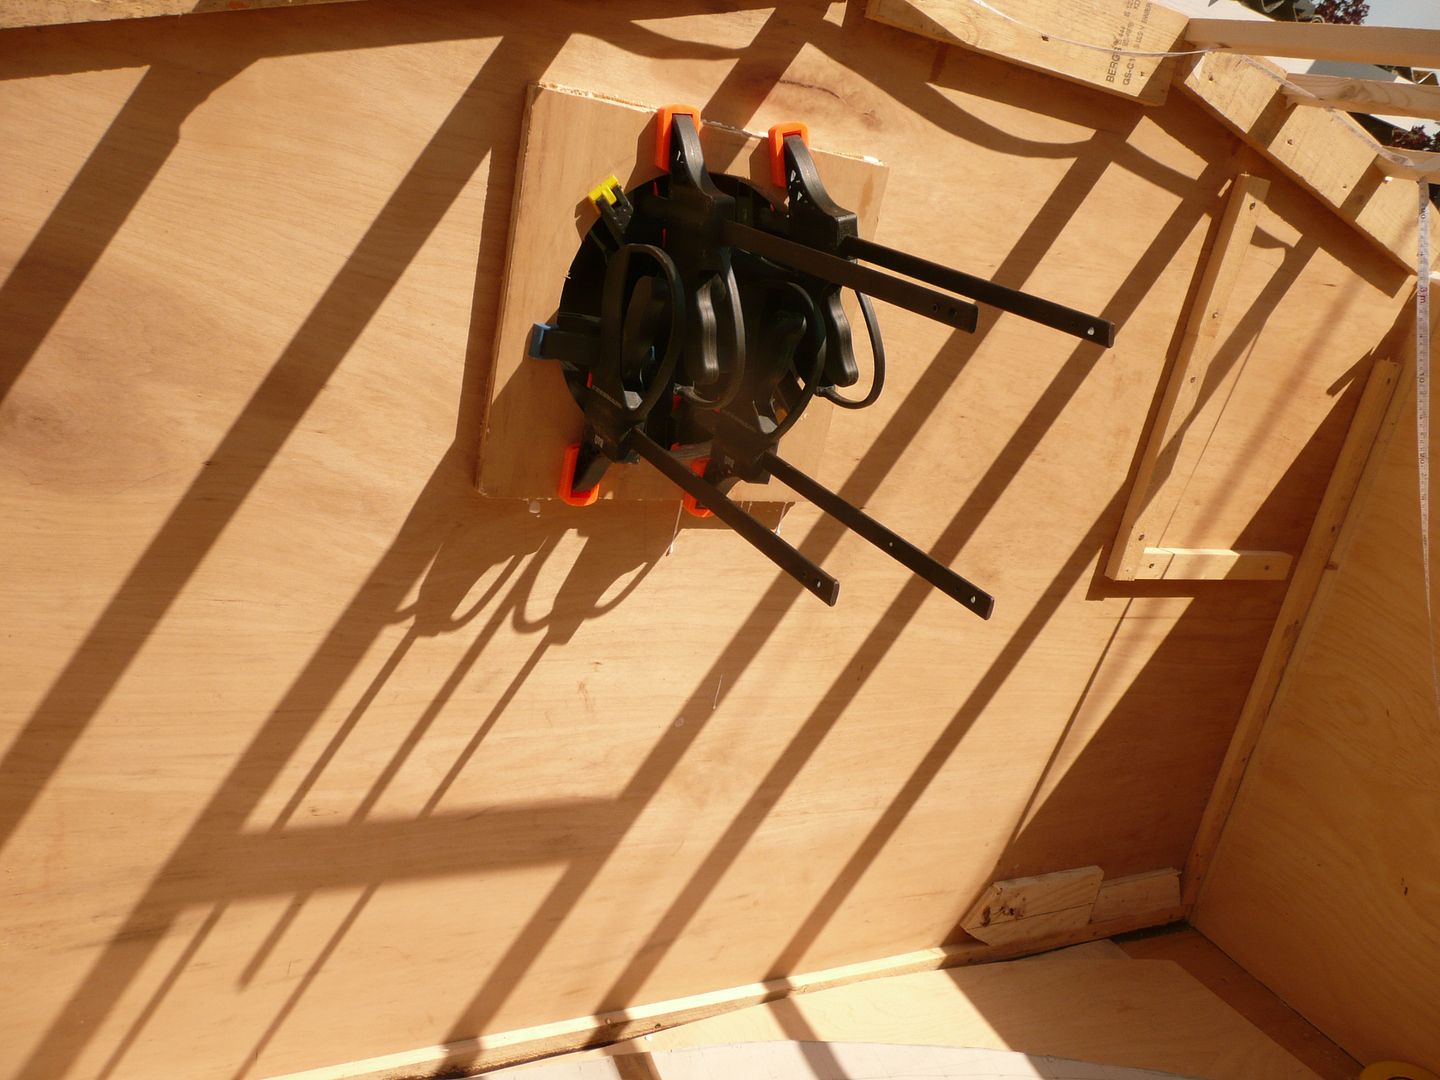
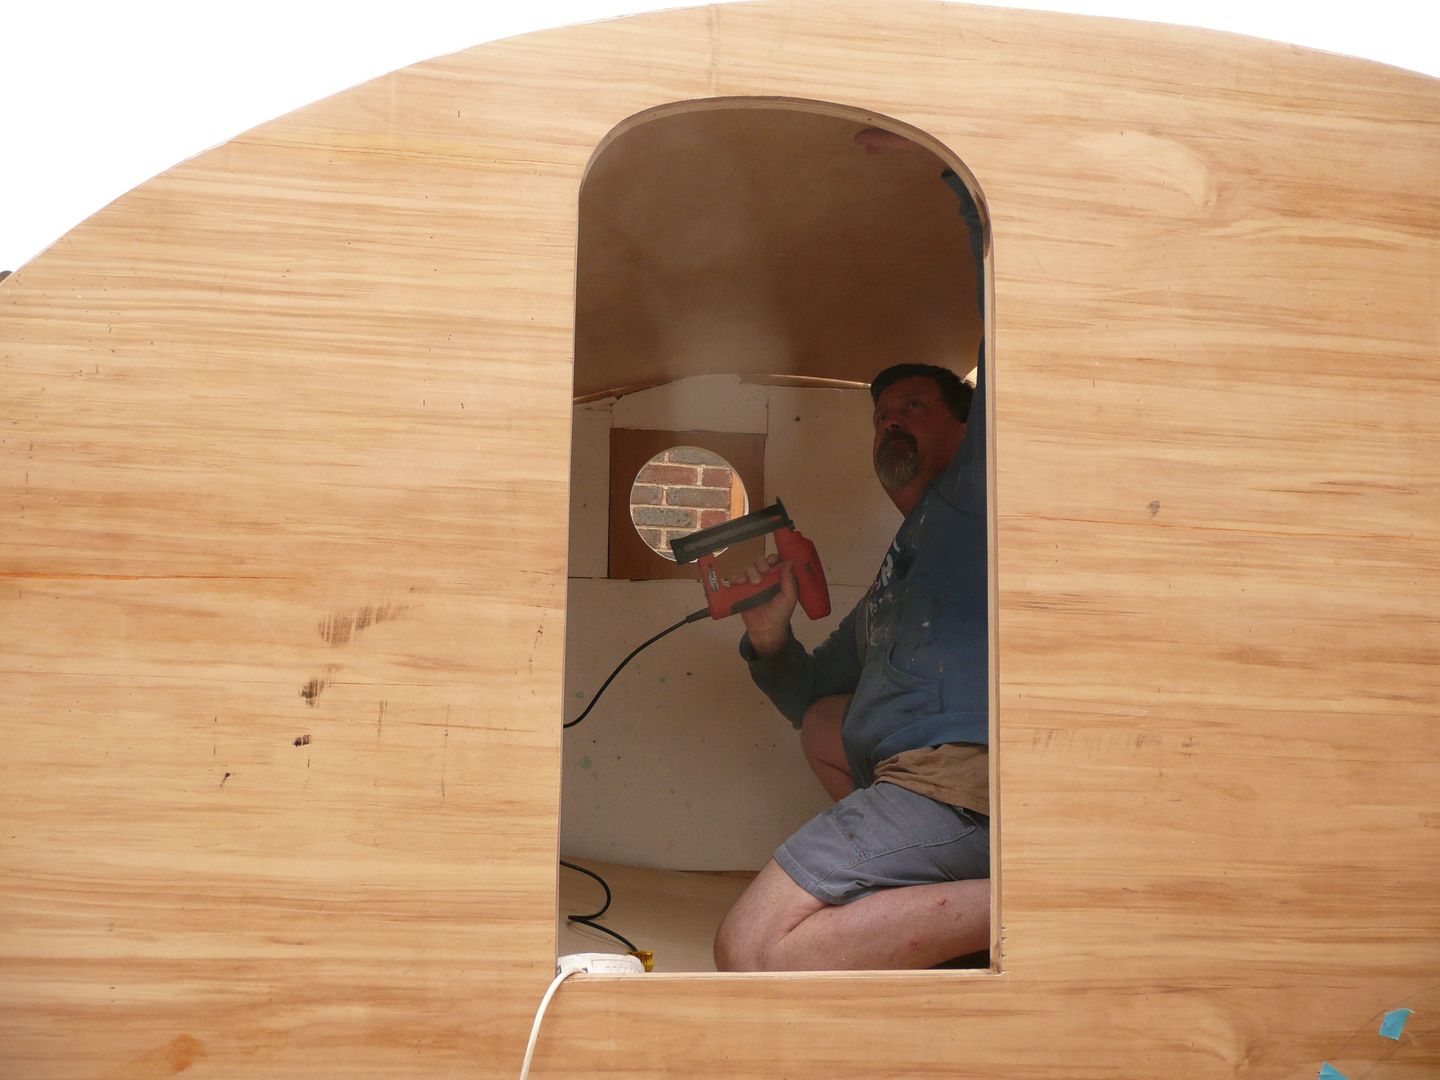
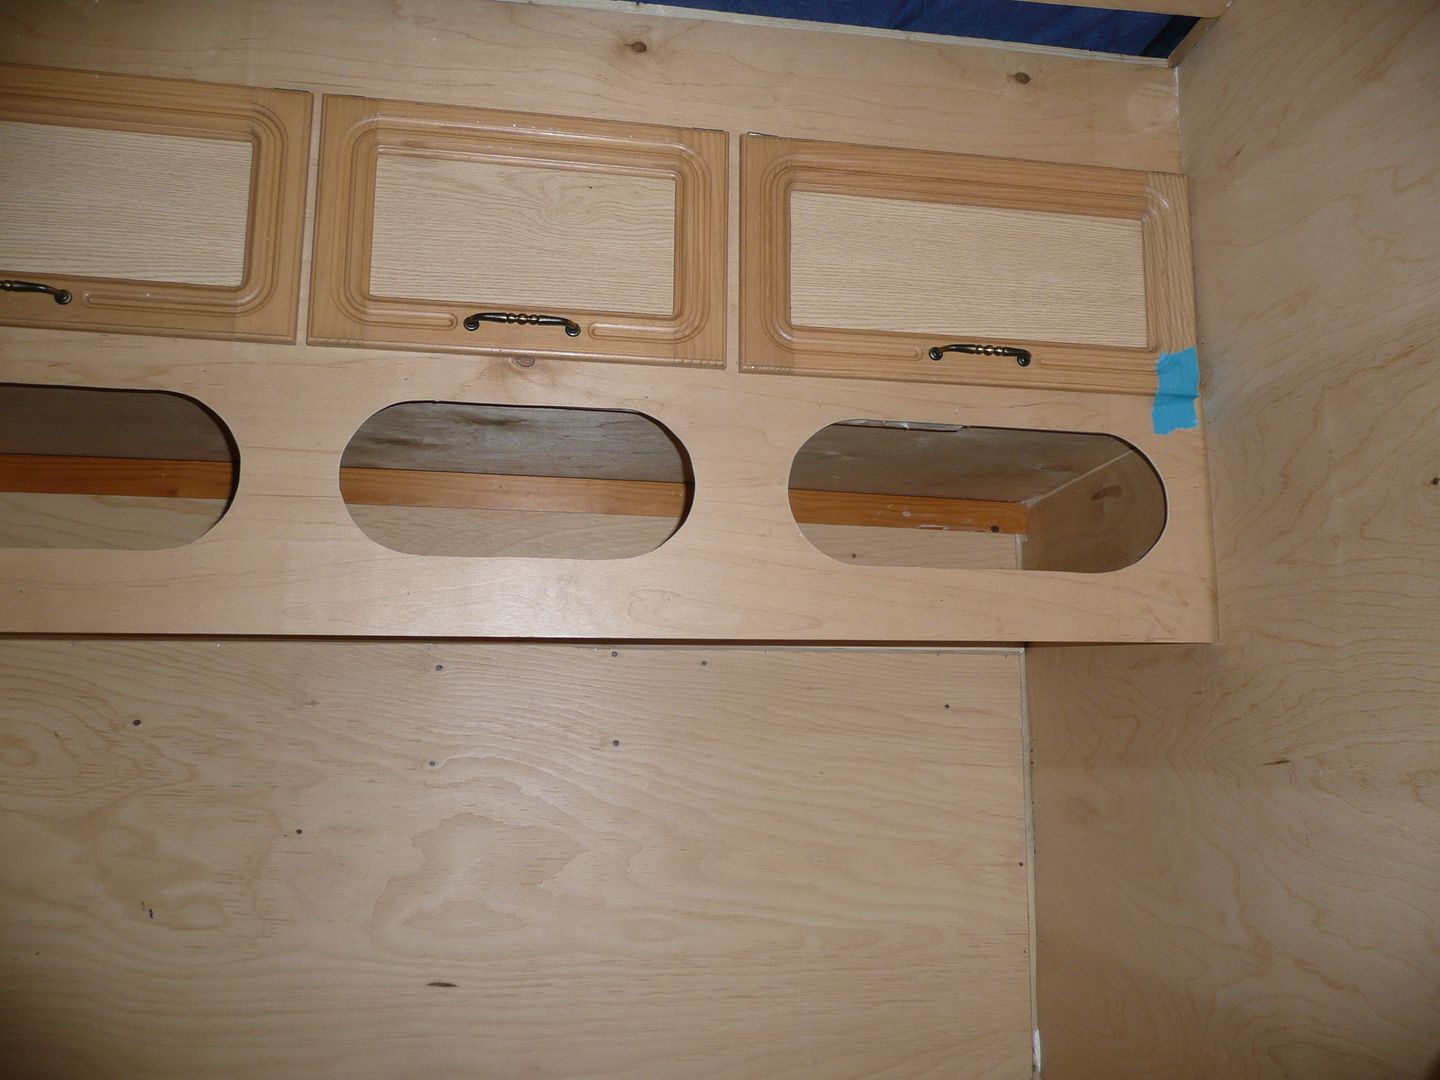
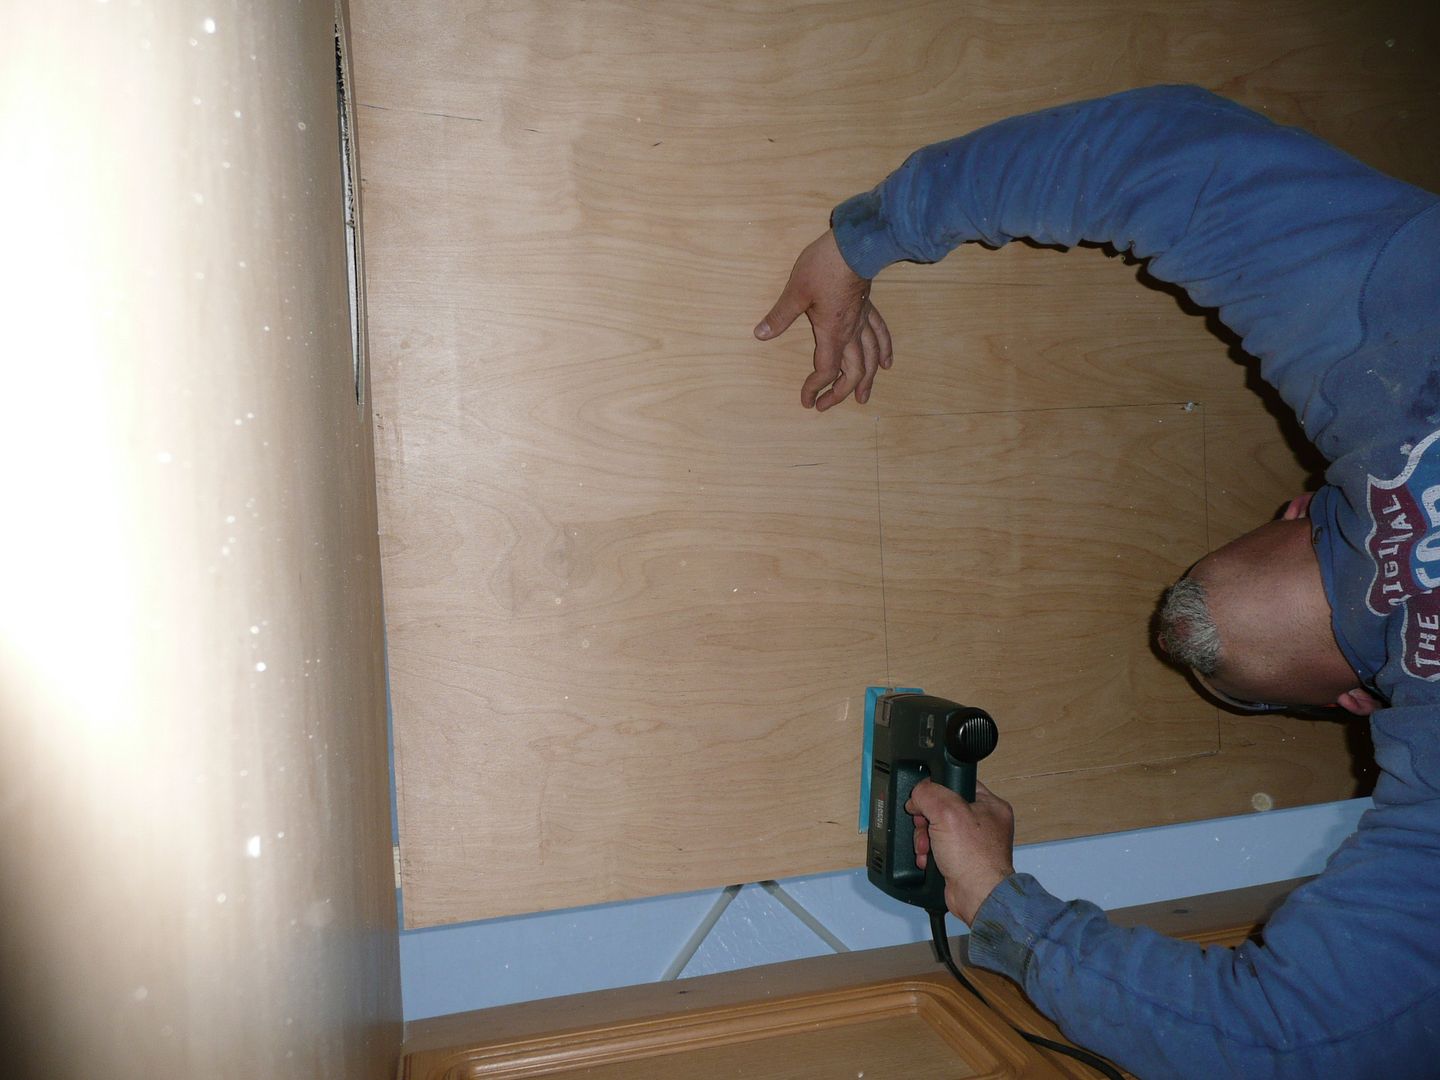
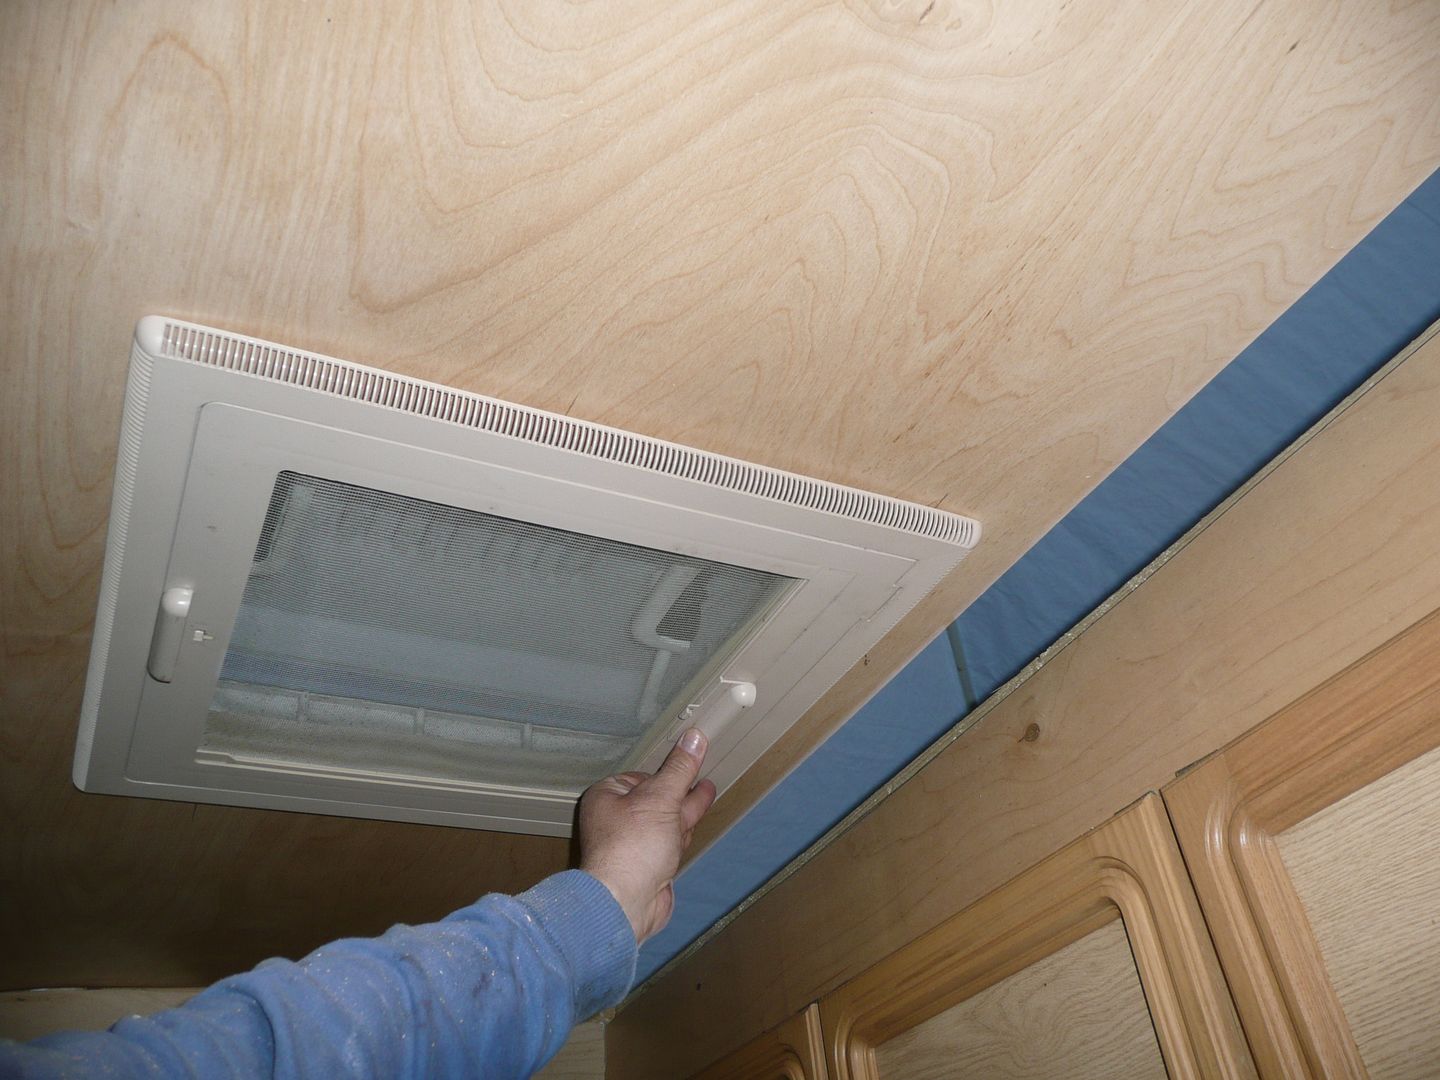
I then pottered about for a bit, till Nicola came for a cuppa tea, then back inside, to cut the porthole out, as well as the hole for the roof vent.

P1070987.jpg


The strip of light you see above, is the last of the roof sheeting that still needs fitting. It is cut and ready, but darkness at 21.15pm caught me out a bit.

I am pleased with the result, once glued into place with the Sikaflex, on top of the ally etc, it should be a great feature.


P1070988.jpg


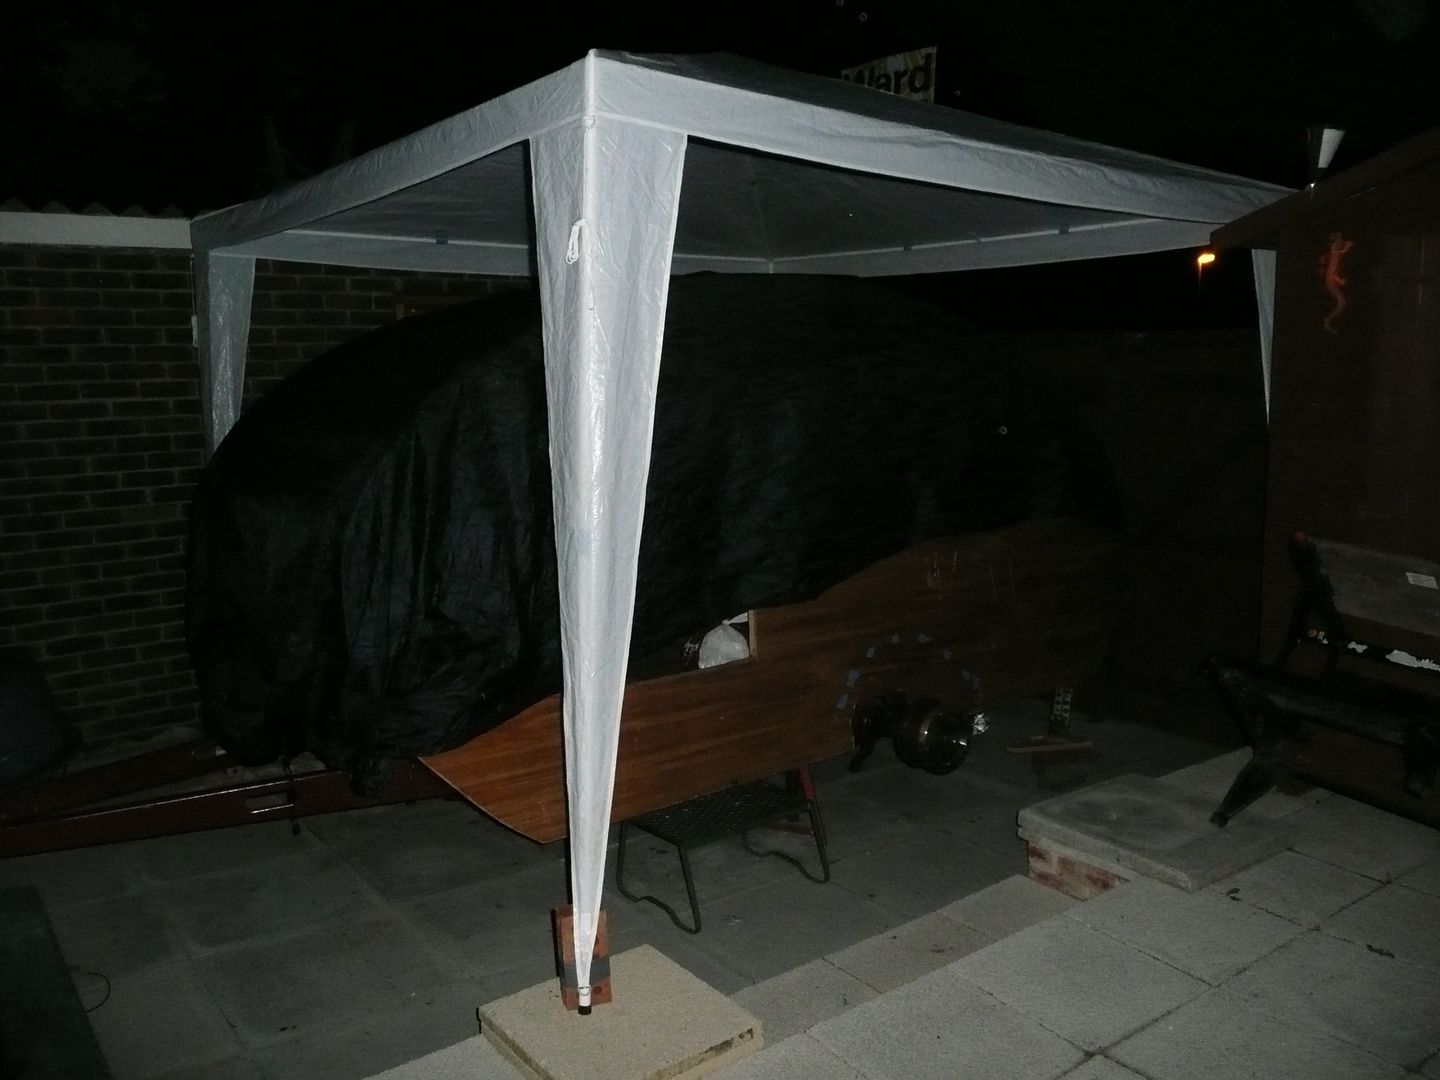
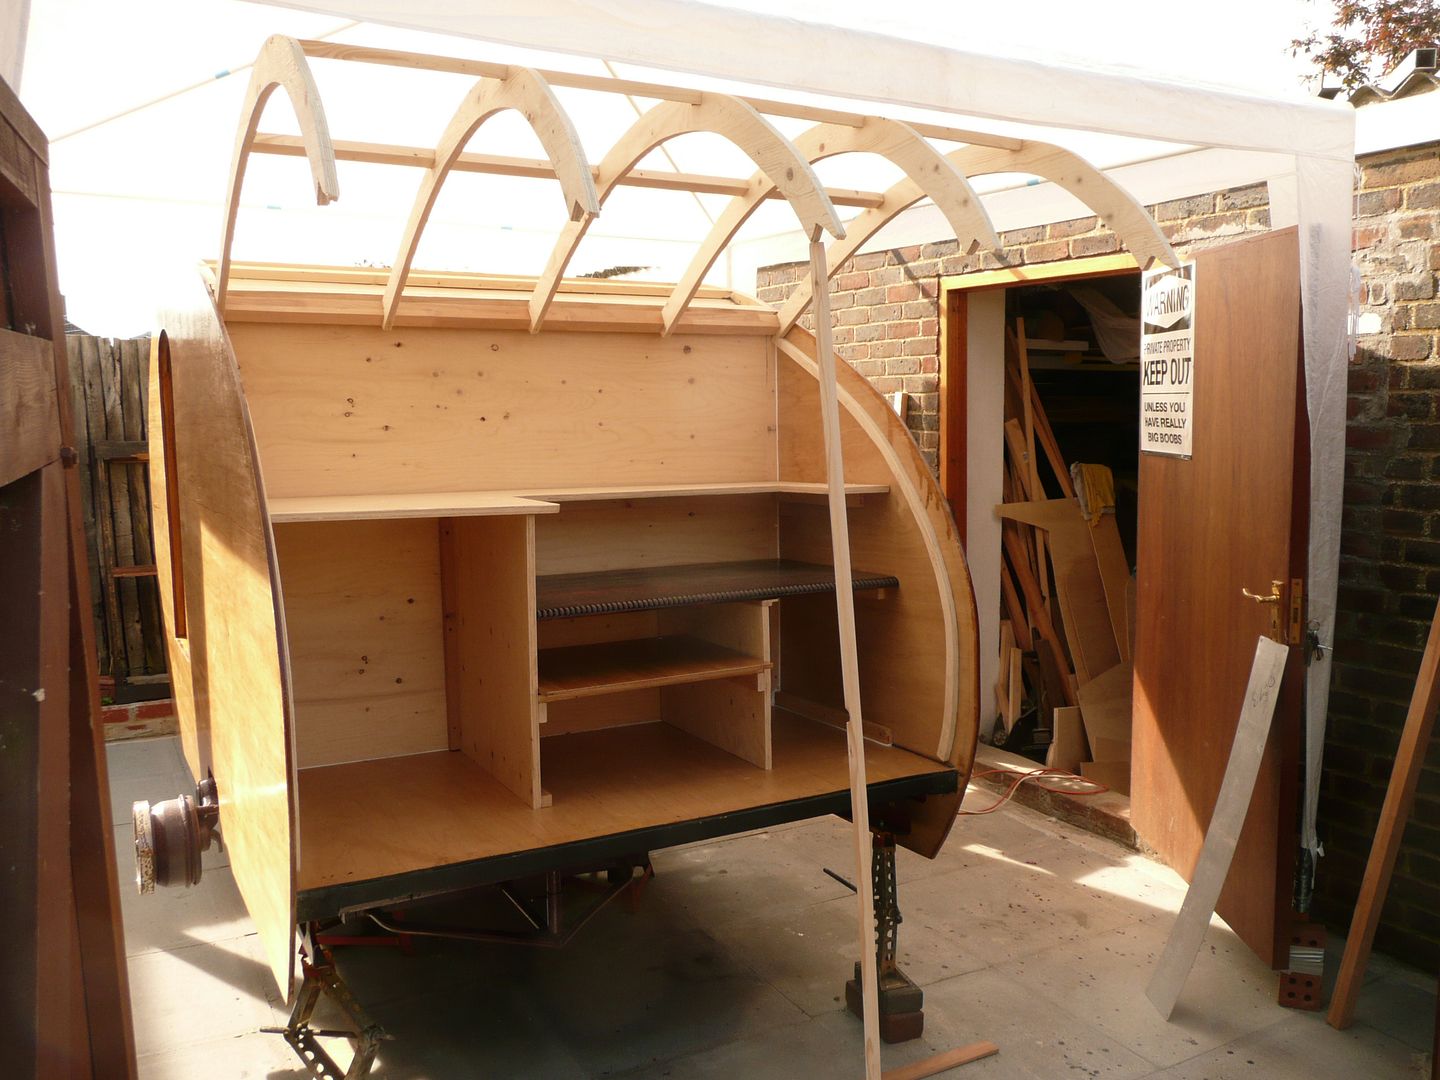
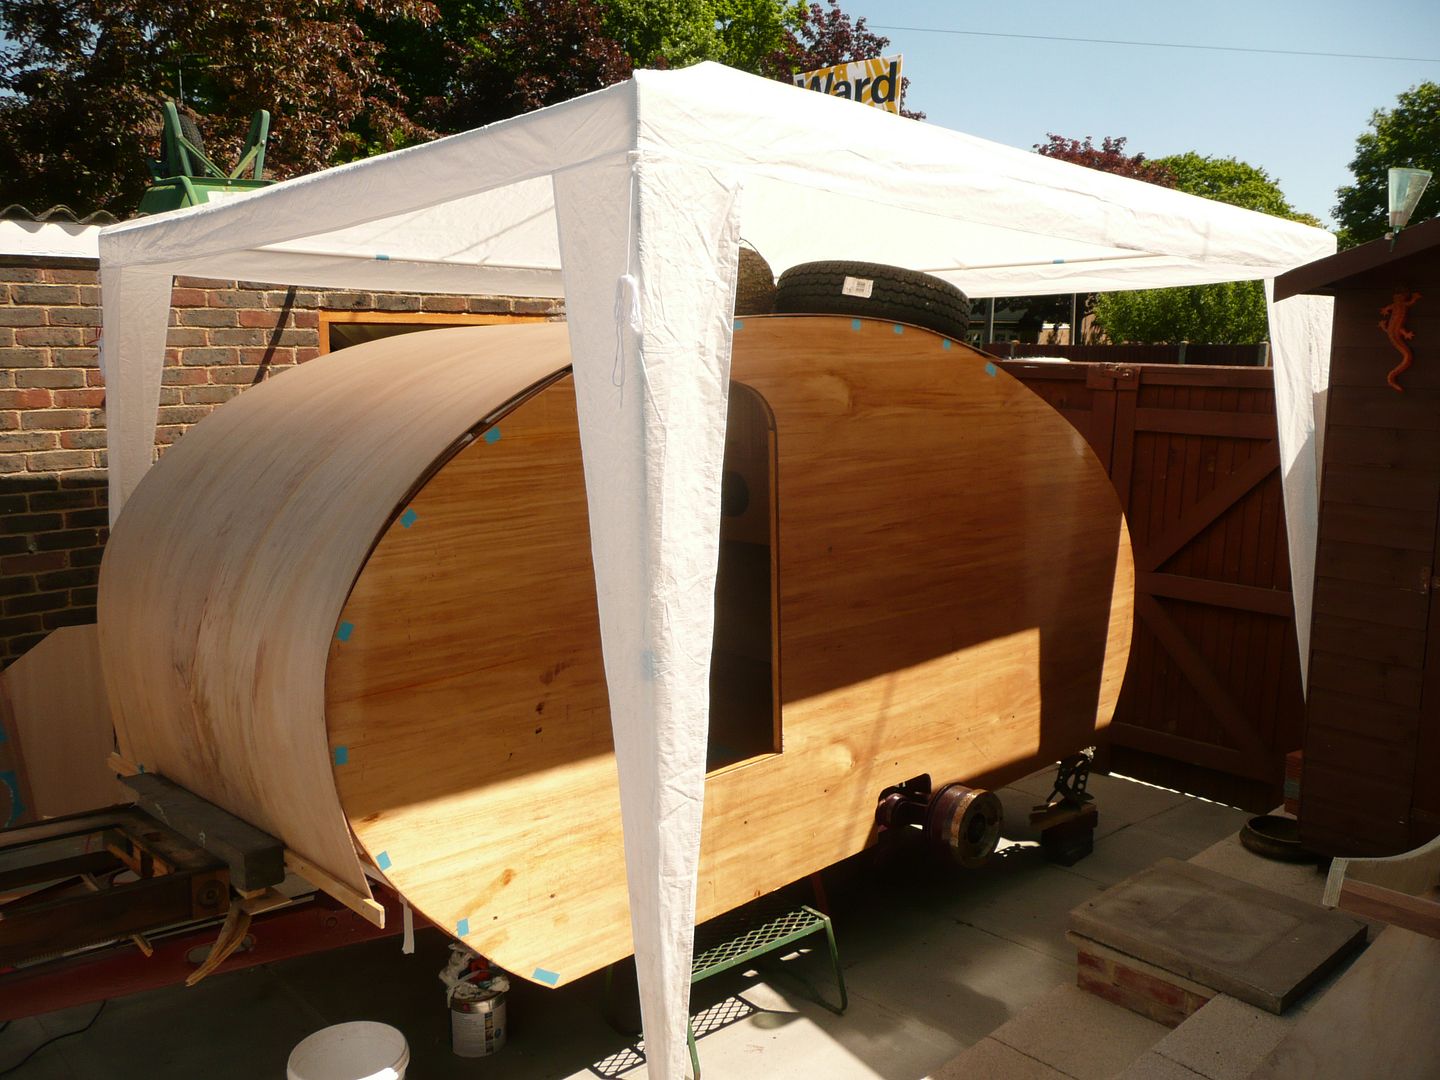
Lastly, a pic of the gazebo and car cover, should keep it dry in most rain.

P1070989.jpg
 

Scout Driver

Well-known member
Joined
Nov 20, 2009
Messages
4,286
Location
South Dakota
The tear drop is really taking shape! Great work :thumbup:
You mention the occasional cup of tea. What kind do you drink?? I have recently discovered Twining's tea. Any recommendations from your side of the pond?

Scott
 
OP
G

Grizz1963

Well-known member
Joined
Jan 7, 2010
Messages
12,040
Location
Rochester, KENT. UK
The tear drop is really taking shape! Great work :thumbup:
You mention the occasional cup of tea. What kind do you drink?? I have recently discovered Twining's tea. Any recommendations from your side of the pond?

Scott


Morning Scott,

Twinings is good, they make a load of varieties, all sorts of aromatic teas, and their English Breakfast would be mu choice, as I do not go for the **** aromatic flavours.

However, for some like myself, it is Tetley's tea, plain basic and just right. (some people call it "Builders tea" - What your wife would make for the builders working on your garage build)

Tetley belongs to an Indian Mega-Conglomerate , but is an original English brand.

Take a look here:

http://www.tetley.co.uk/Our-Products


image128.jpg
 
OP
G

Grizz1963

Well-known member
Joined
Jan 7, 2010
Messages
12,040
Location
Rochester, KENT. UK
No pics tonight.....

I finished fitting the inner skin, last bit over the rear and inner cabinets. And the last 12 inches above and below the doorway that was missing its inner ply, as I used 2 offcuts, meaning I have been left with a sheet of unused 4x8 birch ply.
Sealed up a couple of joints from the outside.
Cleaned the inside with brush and damp cloth, as I want to give it all another coat of varnish tomorrow or so.
Also gave one side of the exterior a coat of ships varnish just before I came indoors.

Have been playing up buying a new fresh vent for the roof after seeing Jackdaw Dave's pretty new one, or letting Nicola loose on the older one I bought last year from the breaker over in Essex, I guess it is not £40's worth of ugly, so my hold on to the one I have, that you saw mocked up before.

I really feel quite good about the build at this point, I had hoped to start on the galley hatch tonight too, but decided the small jobs were enough once done.
 
OP
G

Grizz1963

Well-known member
Joined
Jan 7, 2010
Messages
12,040
Location
Rochester, KENT. UK
OK, so I lied.....

Mike who does all the photos shop images I use has taken time to generate some potential images for the trailer sides.

I know which one is my favourite, however Nicola has chosen differently.

What are the panel's view ?

Which design suits the trailer, and ultimately the combo with the bus, best ?


Number 1.

GrizzPod1.jpg


Number 2.

GrizzPod2.jpg


Number 3.

GrizzPod3.jpg


Number 4.

GrizzPod4.jpg


Right, here is a modified version, thanks to Mike, who always does my photoshops without telling me to sod off.... Thanks Buddy ;)

I have had him add the Sinclair name, and move the dino , which will face forward in the final product.
I will be keeping the 63 as it is the bus and my birth year.

Design no 5.

GrizzPod5.jpg


This morning I varnished the 2nd outer side of the trailers wood, it looks pretty good now, even to me.


Tonights progress, though small was a great bit of progress.

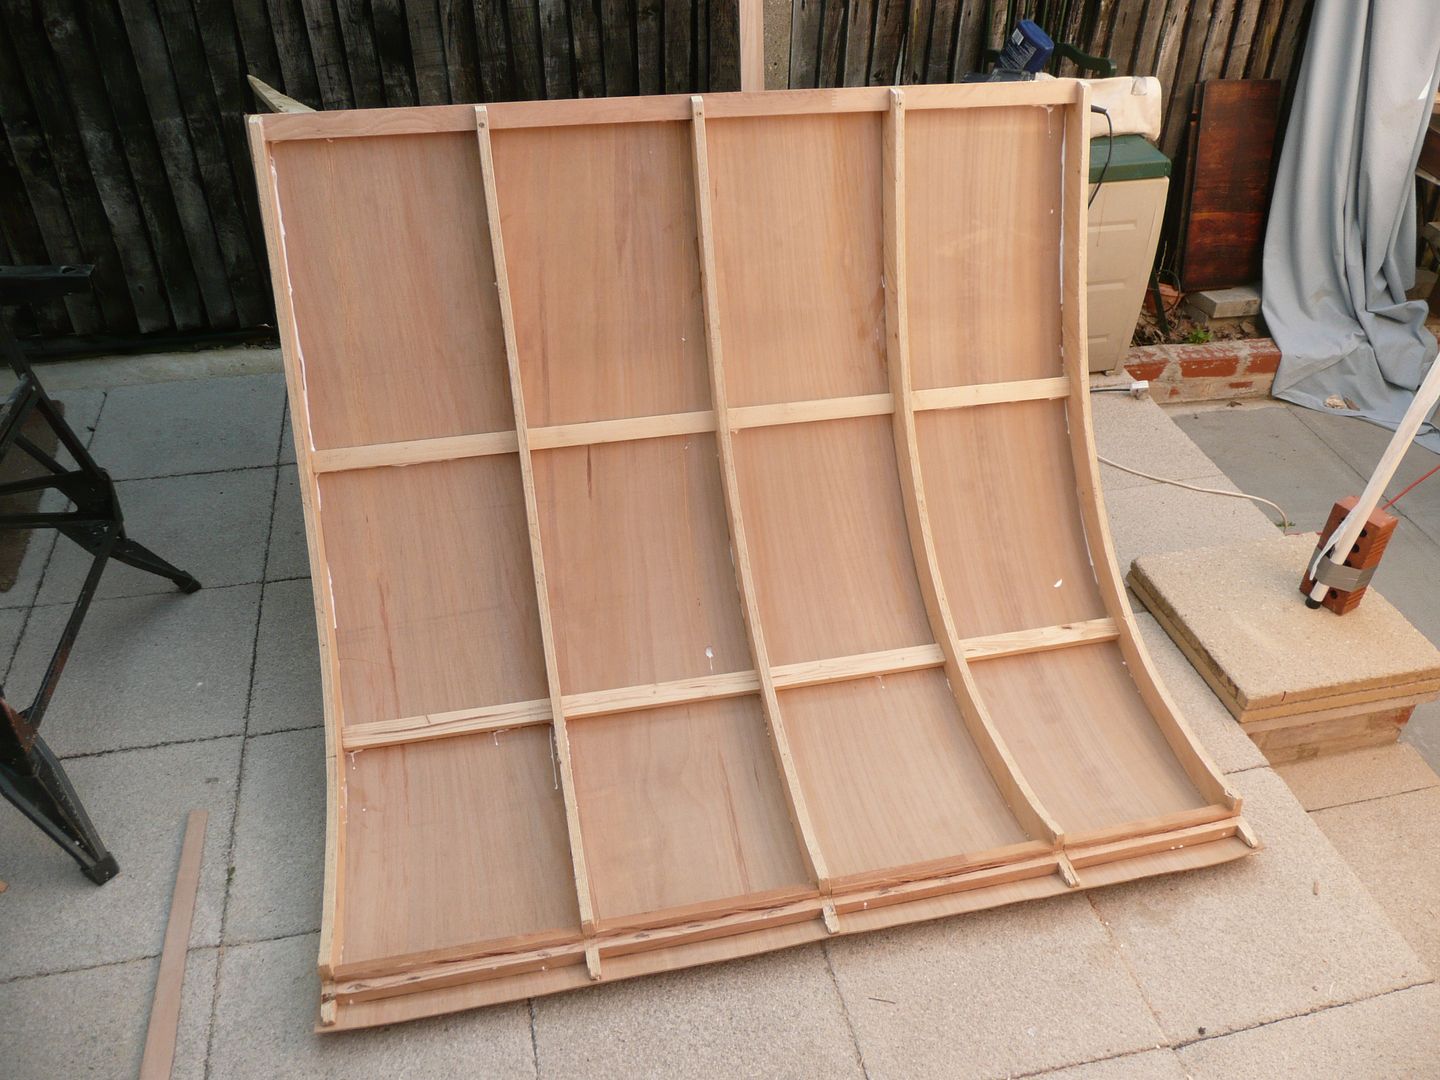
Those who have built teardrops will know where I am headed with this picture.
Hope to get on with it tomorrow night, as I only got home at just after 7pm tonight.

Beginings of the galley hatch.

P1070992.jpg


Nicola was out shopping as well today.

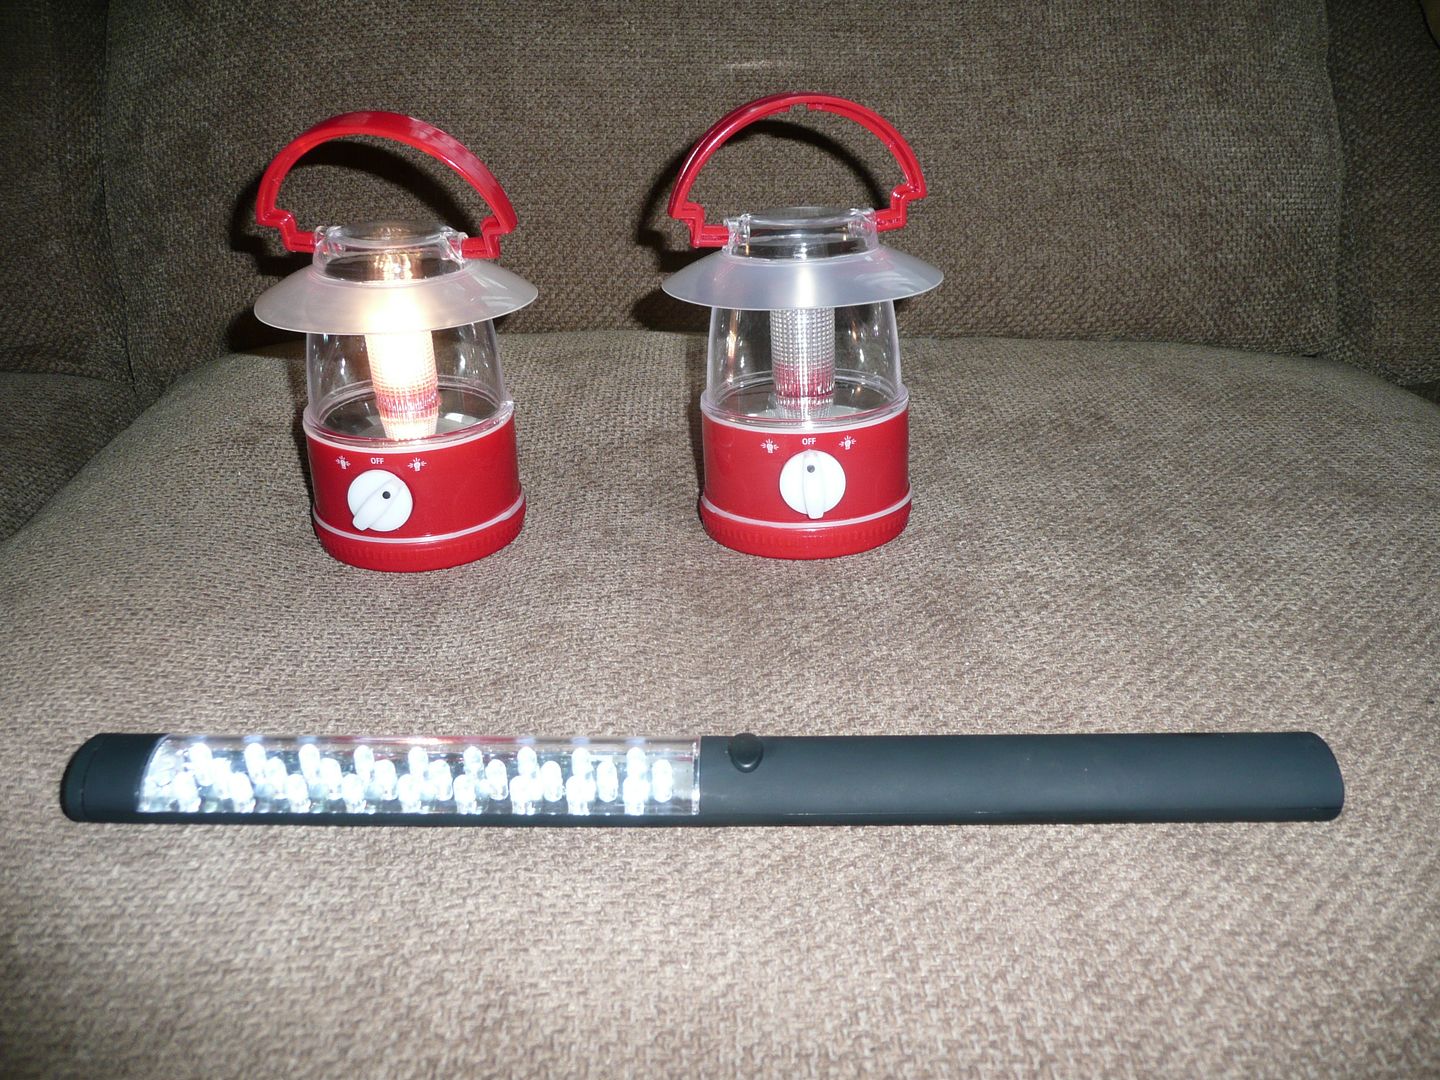
We have long since decided to go the minimalist route on the inside, with lights being battery operated LED's etc.
She bought the two red lanterns at the Pound Shop, including batteries , £3.00 for both.
I bought the light wand yesterday, it has both the light you see on the front face, as wel as a LED torch in the tip.

P1070991.jpg
 
Last edited:

51rider

Well-known member
Joined
Dec 21, 2009
Messages
502
Location
London, England.
Version 5 gets my vote!:)

A great build.

Are you familar with The Enfield Pagent of Motoring?
It's held every year over the late Spring Bank holiday weekend & features displays of all sorts of vehicles & car clubs and a huge auto jumble that sells just about anything you could possibly need for a project build or restoration. I reckon you'll probably find some original garage signage there too.

Go on the Sat for the auto jumble, the Monday for the vehicles.
 
OP
G

Grizz1963

Well-known member
Joined
Jan 7, 2010
Messages
12,040
Location
Rochester, KENT. UK

Baz..... Bad Boy !!

You now had me spurting my Tetleys tea over the keyboard.

I forgot about that.


Thanks for the comments above guys, I guess in a way you all keep me building, and getting pictures as it unfolds.


Nicola will be over in a while.... no trimming back of bushes tonight Baz :drool:


HOWEVER:

What came in the post from Nevada, USA today.

Thanks to Johnny.

For the galley.

Absolutely thrilled.


P1070994.jpg
 
OP
G

Grizz1963

Well-known member
Joined
Jan 7, 2010
Messages
12,040
Location
Rochester, KENT. UK
Version 5 gets my vote!:)

A great build.

Are you familar with The Enfield Pagent of Motoring?
It's held every year over the late Spring Bank holiday weekend & features displays of all sorts of vehicles & car clubs and a huge auto jumble that sells just about anything you could possibly need for a project build or restoration. I reckon you'll probably find some original garage signage there too.

Go on the Sat for the auto jumble, the Monday for the vehicles.
I know the name of the show, but suspect it will be the last bit of time I get to try get the build done before the next weekend, which is Classic Ford meeting, at Santa Pod, and I hope to get my Taunus Transit down the strip at least once.
I got it taxed online today, and changed my insurance today, as I have had the engine changed over winter to a slightly larger capacity....300cc only.
 
To avoid these ads, REGISTER NOW!
OP
G

Grizz1963

Well-known member
Joined
Jan 7, 2010
Messages
12,040
Location
Rochester, KENT. UK
I should be working on a presentation for my boss.....

Nicola came over to play tonight, so we did a few important things, which can be done now.
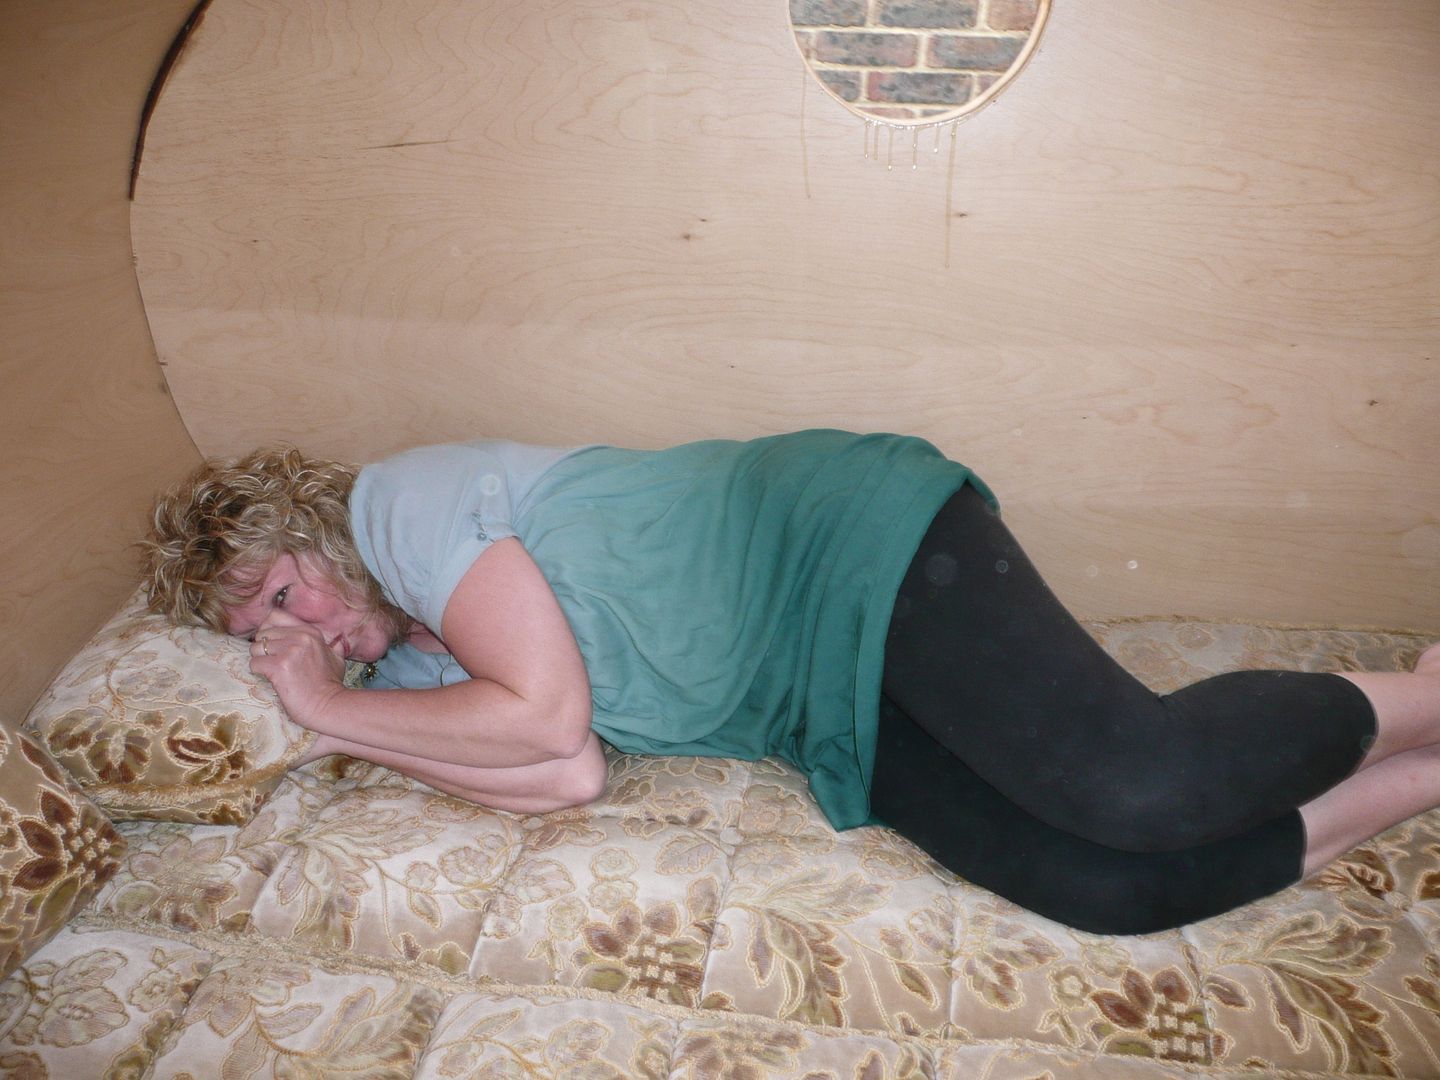
Fetched all the mattresses out the loft to see if they fitted ?

Perfect, and Nicola ready for bed .

P1070996.jpg


Self portrait with camera at arms length.

Seems that she has suddenly fallen in love with our Viking coffin.

P1070998.jpg


My darling "hatchling" helper. I have to honestly say, she is a star when it comes to being that 3rd hand, or the scrutinizing eye. She did find a 30mm mistake I had made in measurements before I could commit it to screws and woodglue.

P1080007.jpg


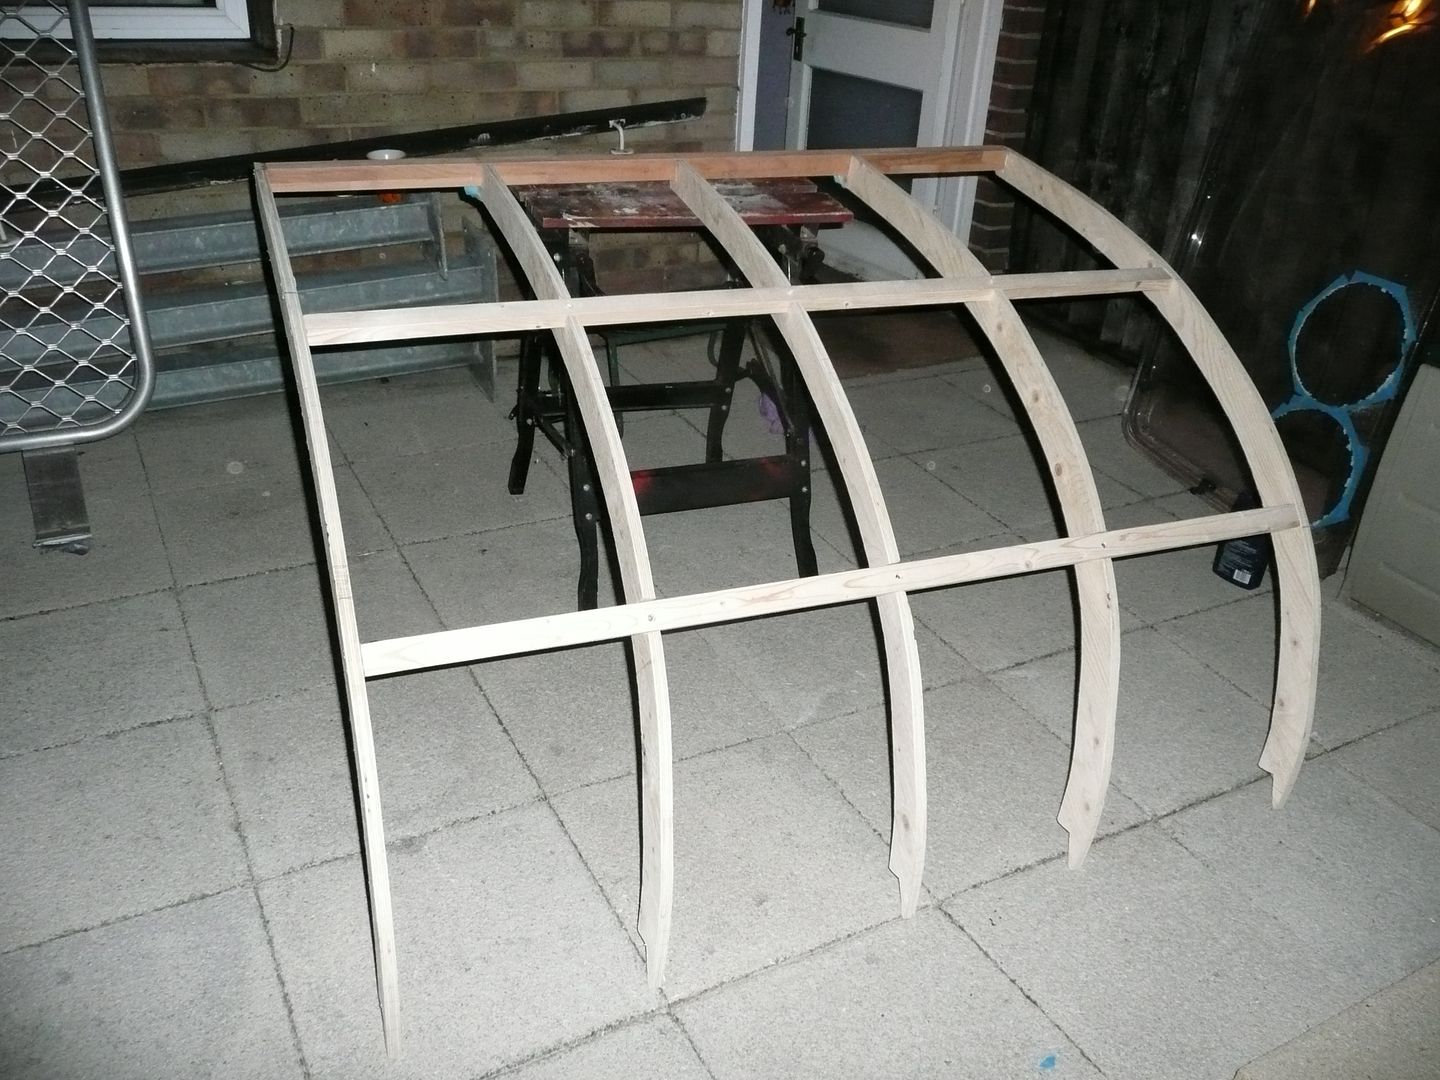
Hatch frame, almost done, I need to cut the bottom support and the ply ribs to fit into each other at the bottom, making propper joints that will help strengthen the whole frame once skinned, probably Saturdays work.

P1080010.jpg


Another night of going to bed, knowing the job is closer to complete, and that there was progress.

Thanks for looking , and all the comments, interest, encouragement and advice.
 
OP
G

Grizz1963

Well-known member
Joined
Jan 7, 2010
Messages
12,040
Location
Rochester, KENT. UK
Thanks Scott, Nicola really is a soulmate to me.

Makes having fun together easy


Todays progress for your pleasure.

Spent about 3 hours getting a few things sorted,and fitting the bottom rail of the hatch tonight, it included a 20mm rebate on the bottom corner of a 40mm bar of wood.

The Hatch frame has been my biggest nightmare to date, and I know there are more to come.

P1080012.jpg


Completed.

Skin and ally, then hinge next, that may take a few days.

P1080016.jpg
 

LiveWire64

Well-known member
Joined
Dec 8, 2005
Messages
46
Location
WestCoast
What a great thread. Trailer is gonna be nice. Also love your warning sign. Need to find one here in the states. Brad
 

51rider

Well-known member
Joined
Dec 21, 2009
Messages
502
Location
London, England.
As usual, looking great!

Will you be using a gas strut to support the hatch & aid the opening process?

We used to use modified BMW boot(trunk for our US cousins!!:))struts to absorb the impact from steel poppers down at my local shooting club (prior to the handgun ban). They worked great & used to cope very wellin what can only be descrobes as a 'harsh' environment.

I presume you are looking at a heavy duty piano type hinge?

Love the 'self portrait' shot, really captures a happy moment.:)

Looking forward to the next update.
 
OP
G

Grizz1963

Well-known member
Joined
Jan 7, 2010
Messages
12,040
Location
Rochester, KENT. UK
As usual, looking great!

Will you be using a gas strut to support the hatch & aid the opening process?

We used to use modified BMW boot(trunk for our US cousins!!:))struts to absorb the impact from steel poppers down at my local shooting club (prior to the handgun ban). They worked great & used to cope very wellin what can only be descrobes as a 'harsh' environment.

I presume you are looking at a heavy duty piano type hinge?

Love the 'self portrait' shot, really captures a happy moment.:)

Looking forward to the next update.


Hi Mate,

Just wolfing down a home made Pizza that Nicola made me on Wednesday, love fast food, she makes them, then I just pop it into the oven.

Yes, I do have two Ford Fiesta Ghia struts from a car my neighbour had bought for £50 at the MOT station as a "failure" and broken to upgrade his one, and replace a couple of dented panels.
I am personally quite taken with the broomstick option too.

Take a look through the build thread on Retro Rides, or on TTT&TT to see my hinge and other bits.

I bought a warped 5'4" rear window off a caravan breakers for £10, and got the hinge off that, and also cut the portholes from the same Lexan .

These threads are from day one of the build.


http://www.mikenchell.com/forums/viewtopic.php?t=32479


http://www.retrorides.proboards.com/index.cgi?board=othrmod&action=display&thread=67389


I guess the self portrait show me very relieved, as she has mostly suggested sending me down the Medway River inside the caravan as a "Viking Funeral"

She has actually been both supportive and helpfull, as well as massively tollerant of my build.

Happy Days.
 
Last edited:
OP
G

Grizz1963

Well-known member
Joined
Jan 7, 2010
Messages
12,040
Location
Rochester, KENT. UK
absolutsnwbrdr said:
grizz said:
The Hatch frame has been my biggest nightmare to date, and I know there are more to come.
[/img]

That was my exact thought on my build! Once it was done and actually worked, it was a HUGE sigh of relief!


Now to hijack your thread for a minute :twisted:

Jess and I went camping last night, at a local campground.... finally got to fly the flags!!! Thanks again Rian!!

30755_540265018132_72100768_31536042_6713053_n.jpg


P.S. Your package is on its way :thumbsup:


AND WHAT A COOL HIJACK ! ! !


I am chuffed to bits Zach, I am sure 80% of people would not know the flags, unless they watched "Braveheart" with Mel Gibson, or had a heritage linked to Scotland.

I am still busy, and it is 19.00pm , wanted to finish early, and had hoped to have at least one exterior 5x10 ply skin on by tonight, but in my defence, as I will report later, I do now have loads of wires with nothing at each end, and have used my trusty angle grinder to grind a channel over the top of the roof to lay some speaker wire, and a 3 core power line, just in case I ever do want to hook up to mains.
The flags look great.
 

51rider

Well-known member
Joined
Dec 21, 2009
Messages
502
Location
London, England.
I do now have loads of wires with nothing at each end, and have used my trusty angle grinder to grind a channel over the top of the roof to lay some speaker wire, and a 3 core power line, just in case I ever do want to hook up to mains.
And whilst you're at it throw in the coax & take the speaker wire to the galley end-you just know Nicola is going to want some tunes as she cooks dinner whilst sipping on a glass of Chablis...:thumbup:

You know it makes sense!:)
 
Last edited:
OP
G

Grizz1963

Well-known member
Joined
Jan 7, 2010
Messages
12,040
Location
Rochester, KENT. UK
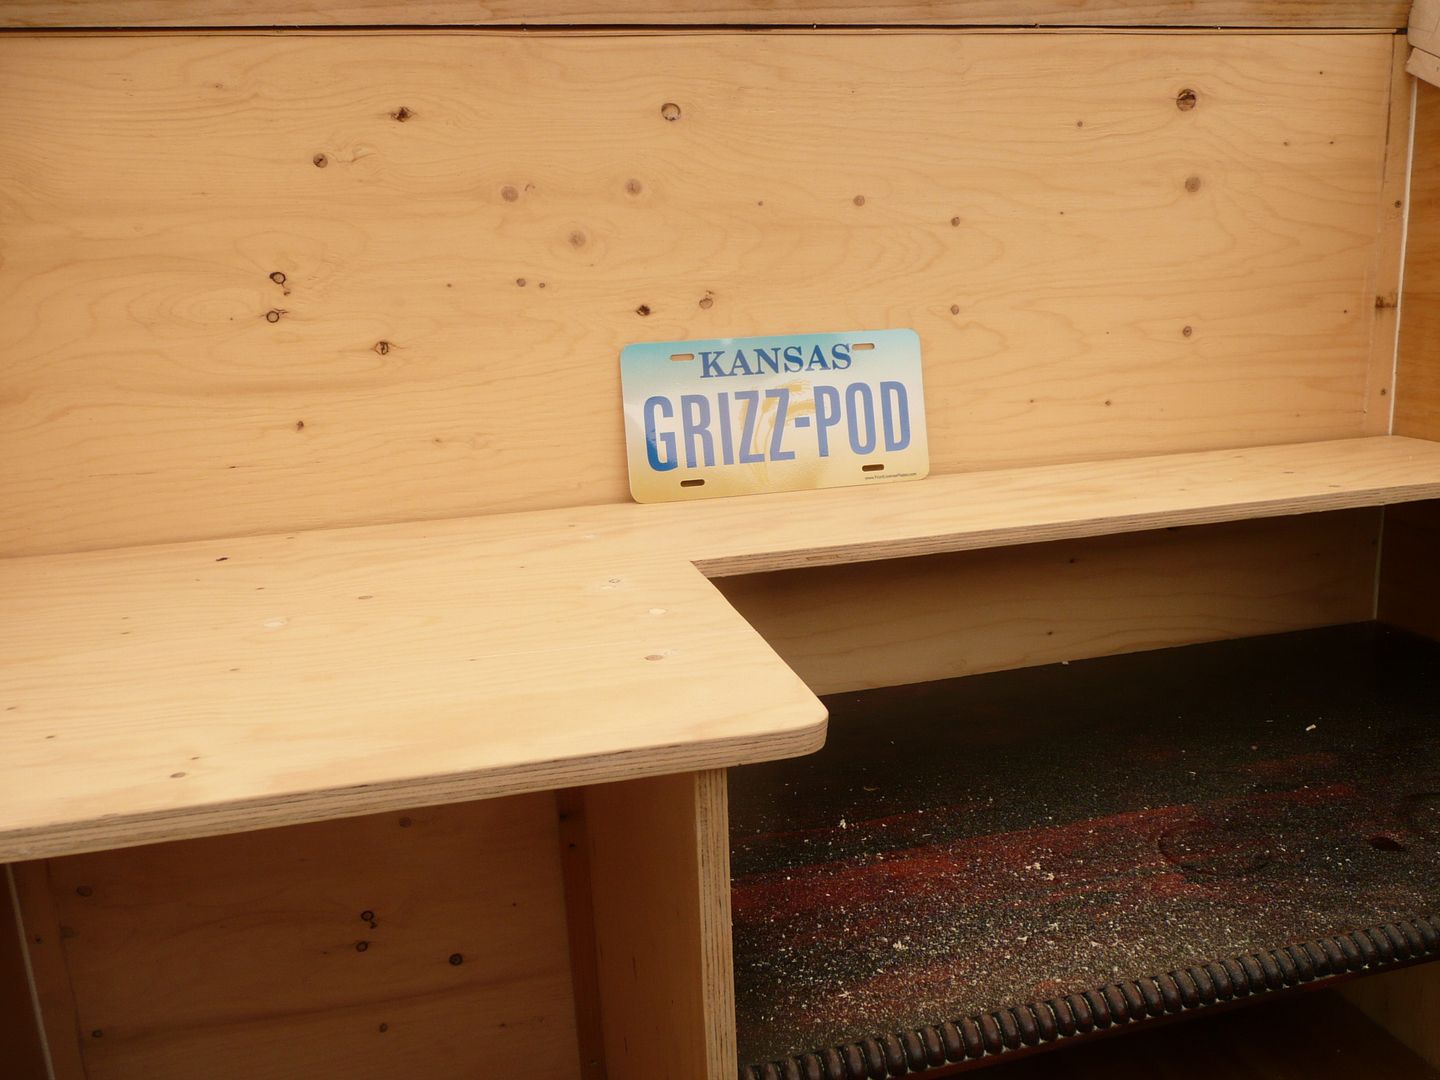
Today, I fitted a small shelf for mobile phones, keys, and other small items above where our heads should be.
O also added some strips to finish the joins in the ceiling, and did a load of other arbitrary tasks, which do add the the look of completenes.

Nicola had her son to entertain this weekend, so she left my place at 10am, and I have to say, I do miss her a lot when she is not about, just having her there, makes me work that much more focussed.


I cut the 4x8 polystyrene sheet I had , and anded up raiding the circular saw box, as I was short by about a square foot in the end. Fortunately, there was enough of it to make it worth while.

P1080019.jpg


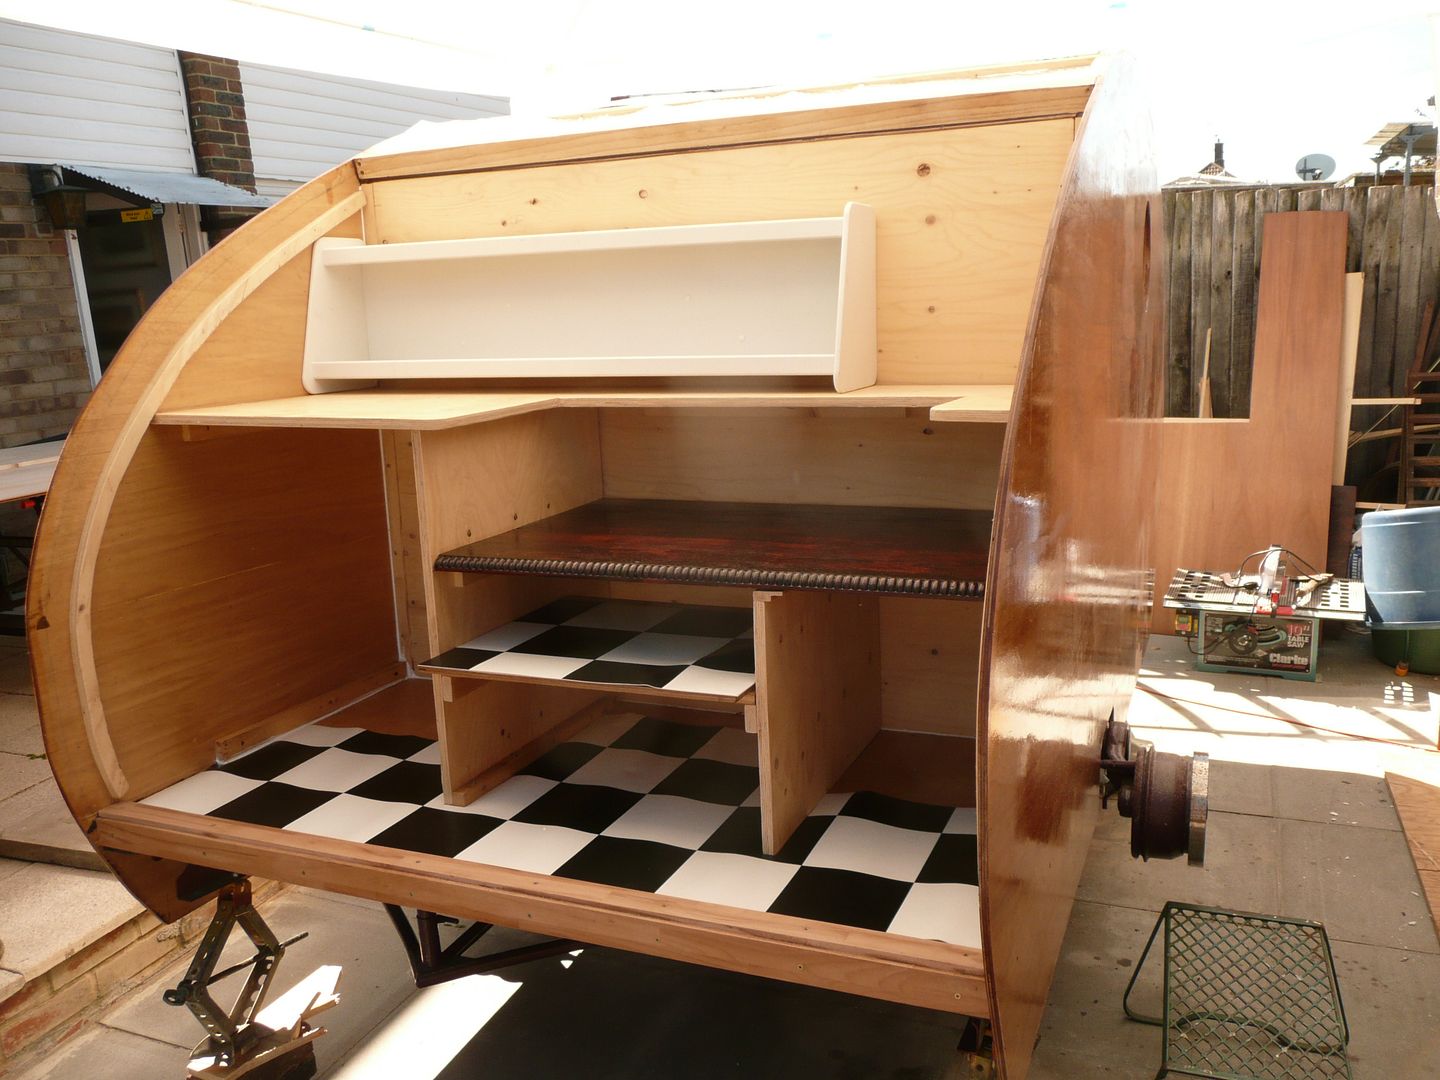
One of my neighbours , Derek had a small shelf from one of his caravans in the past, and sent it over with his eldest son, in case I could use it. Currently it is the top shelf in the galley.

I also dragged out the offcut of checkered flooring from when I did the bus' load body floor, cut it to fit. Keep in mind, the fridge, and other items will be stored on it, so you will not see much more than the first two blocks.

P1080023.jpg


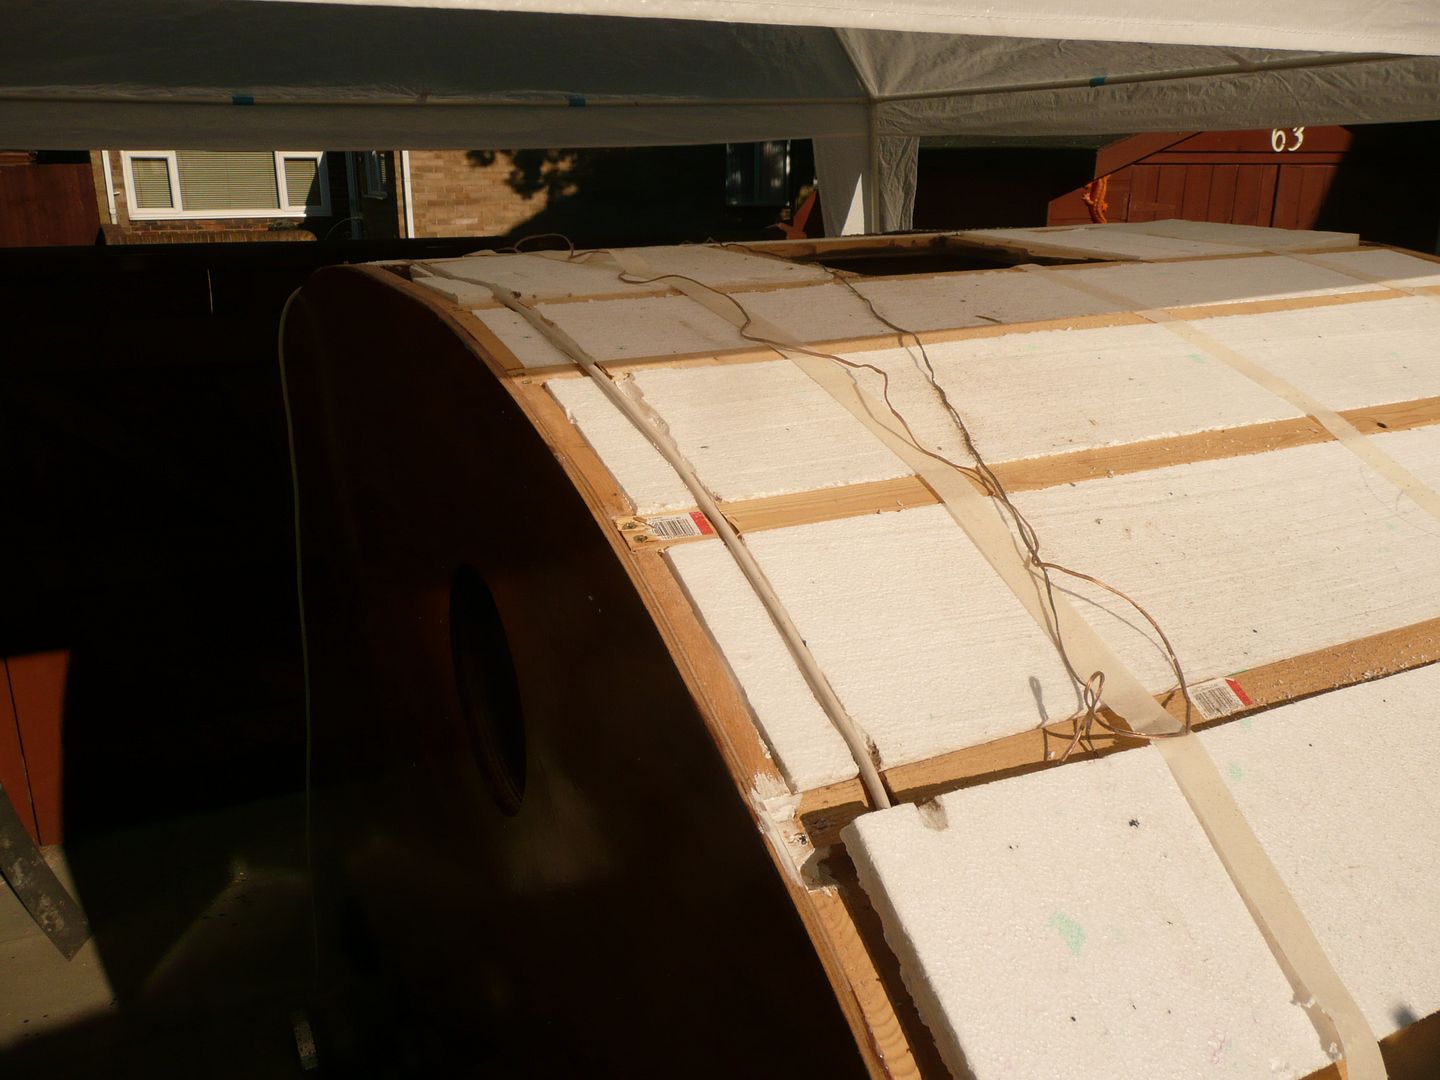
One of the other jobs was to run some electric 3 core wire, and speaker wires from the galley area to the front of the trailer, and into the internal cabinets. In case I want to install mains electrical equipment later.
My trusty Angle Grinder, and some masking tape made it a cake walk.

P1080027.jpg


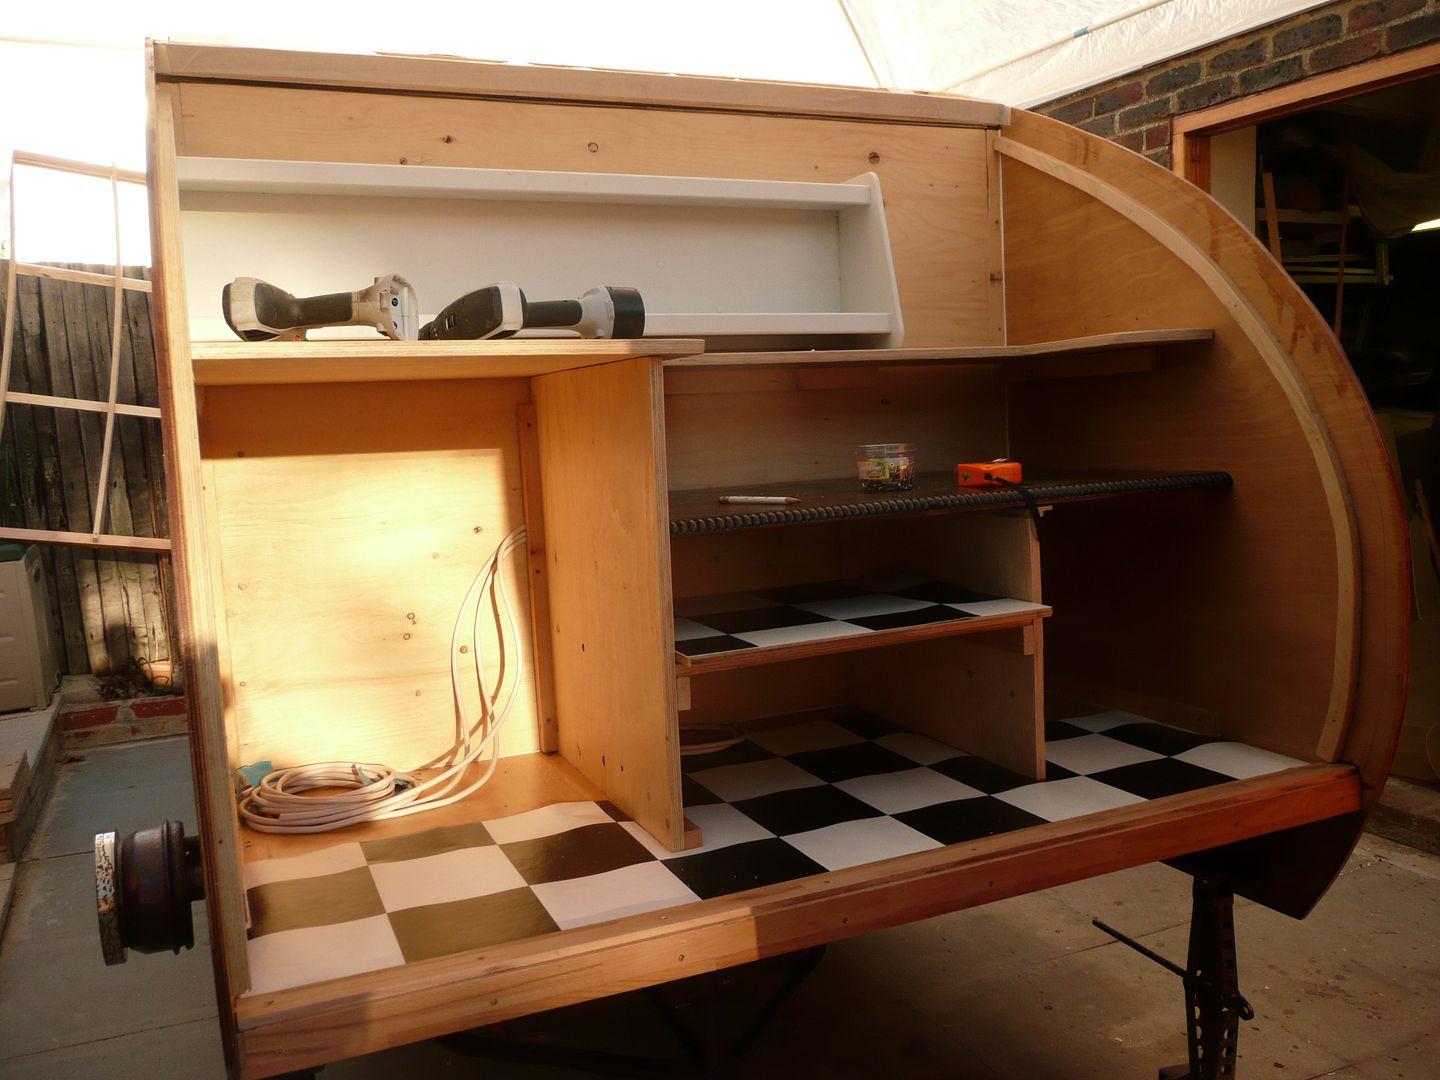
Leaving me with some coils of 3 core, with nothing on either end. Hopefully it will end up with the fridge, a series of plug points on an extension plug, and also power to a charger for the battery backup.

P1080028.jpg


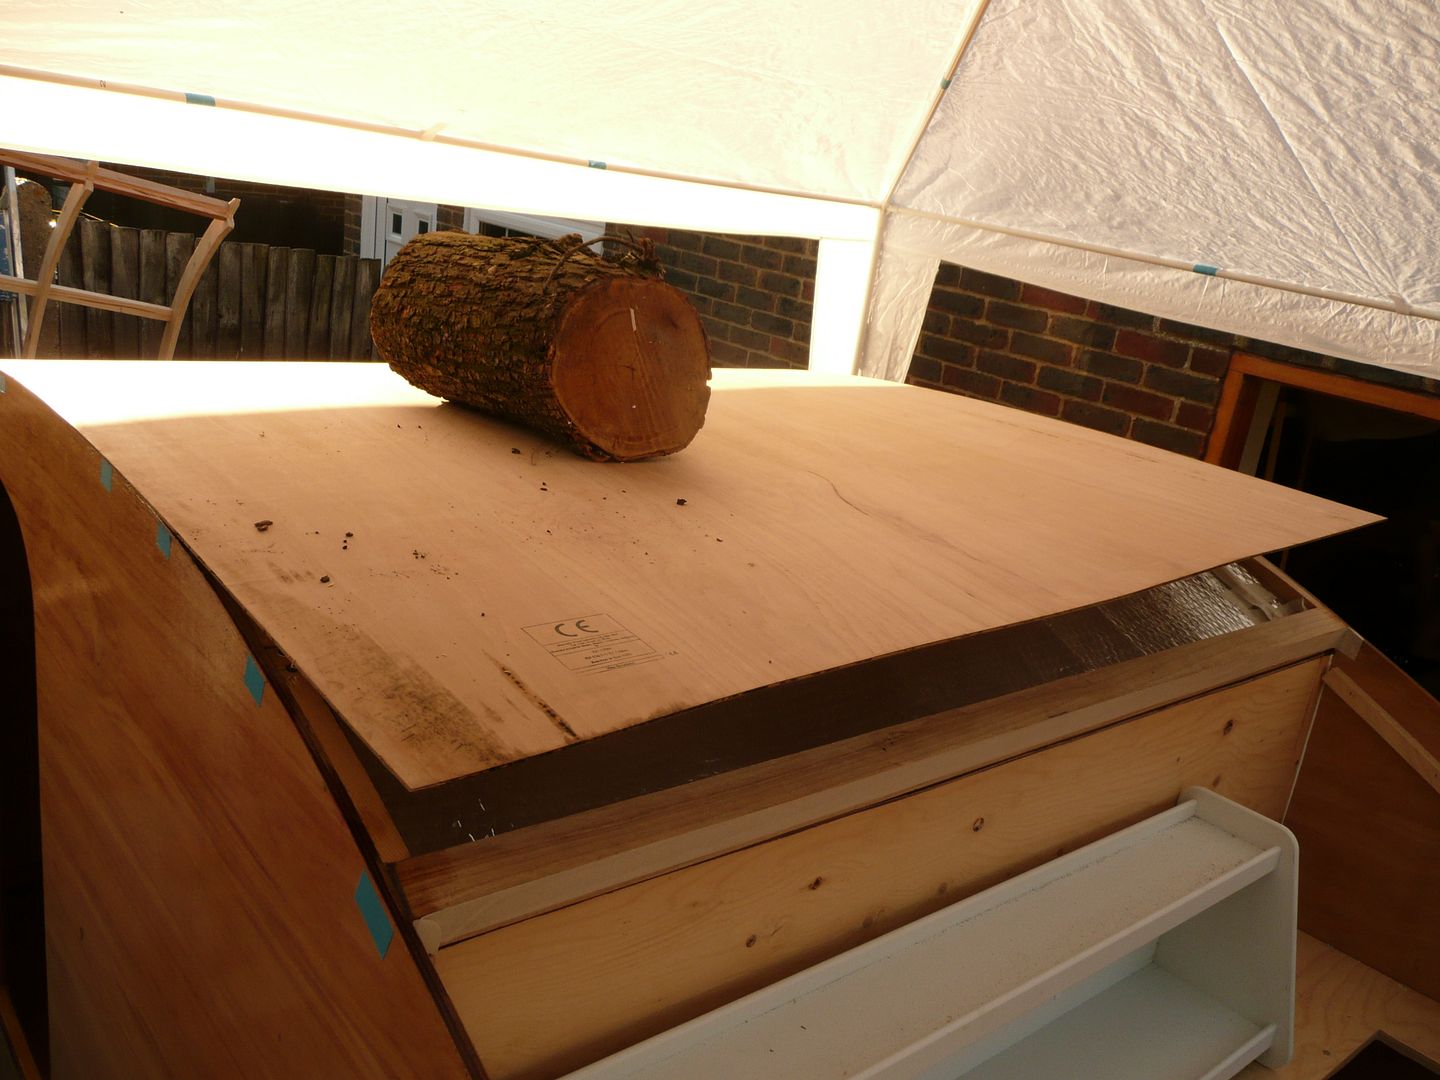
Last major job tonight was to get one of the 5x10 sheets of 4mm ply onto the roof of the trailer........... Of course you know what happened ??

The ply is quite thick, so a load of weights, and also 2 buckets of water, and a wet bedsheet later, I cleared up, had a shower and came over to Nicola's place.

Lets hope the water, and some tension I added to the whole thing leaves the sheet bent by the middle of tomorrow.

The galley has a similarly acute bend and curve, not sure it is going to make it.


ANY IDEAS, or ADVICE ? ? ?

P1080032.jpg


Forced bend before the water and wet bedsheet.
Fingers crossed it allows me to screw it all down tomorrow.

P1080033.jpg


:beer::beer::beer:
 
OP
G

Grizz1963

Well-known member
Joined
Jan 7, 2010
Messages
12,040
Location
Rochester, KENT. UK
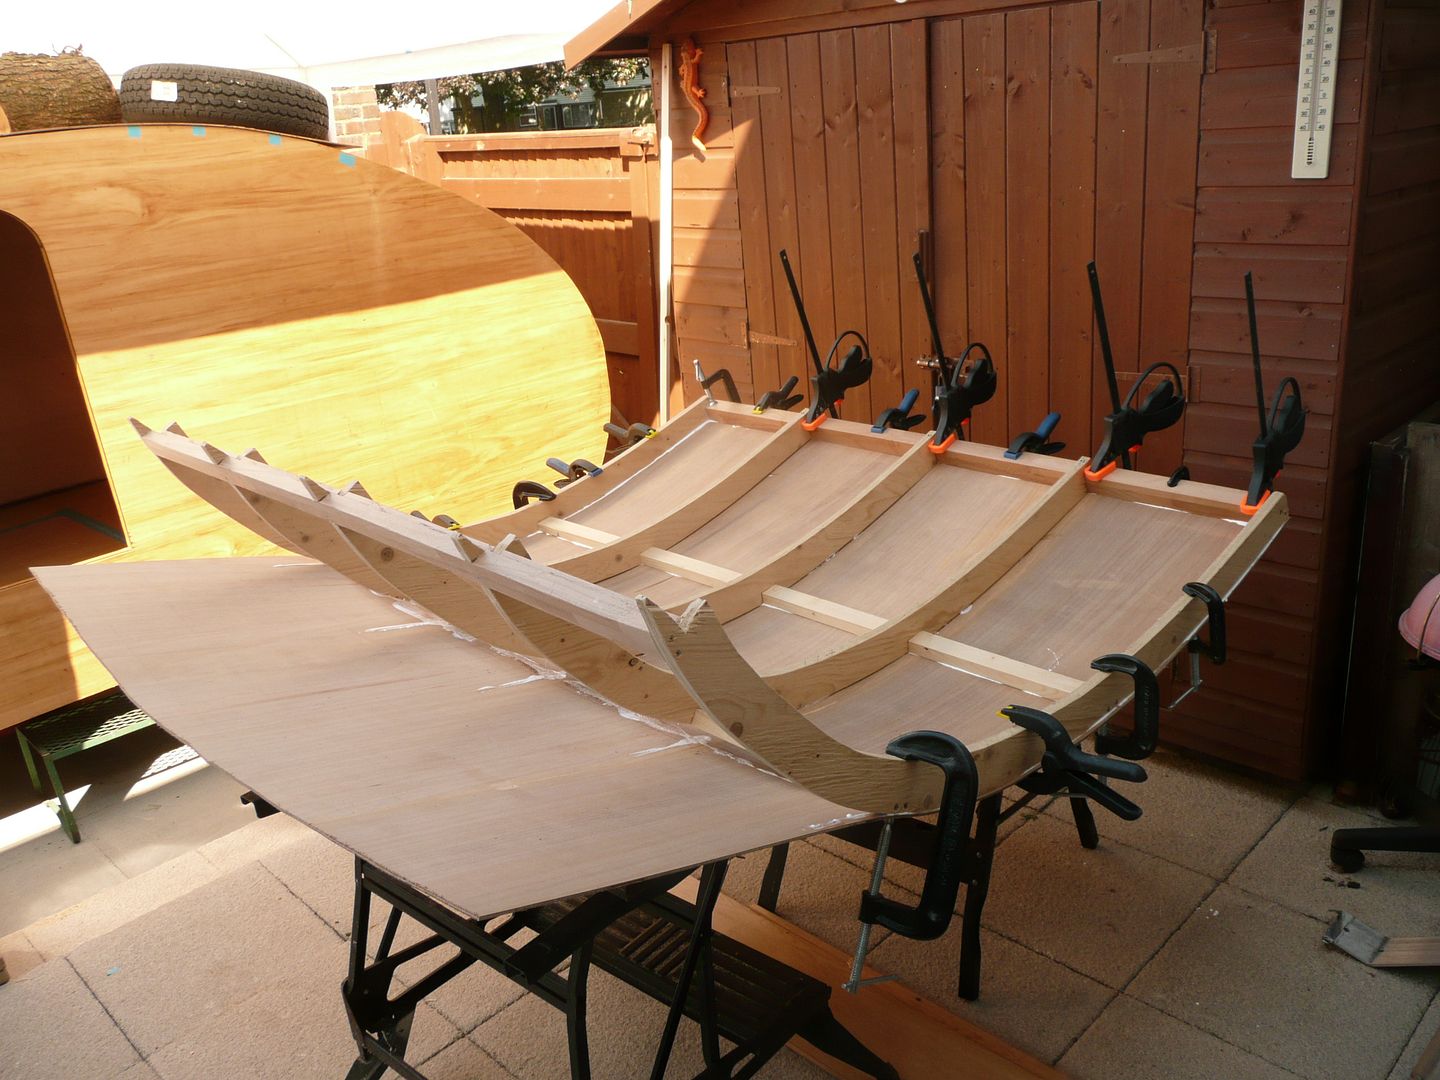
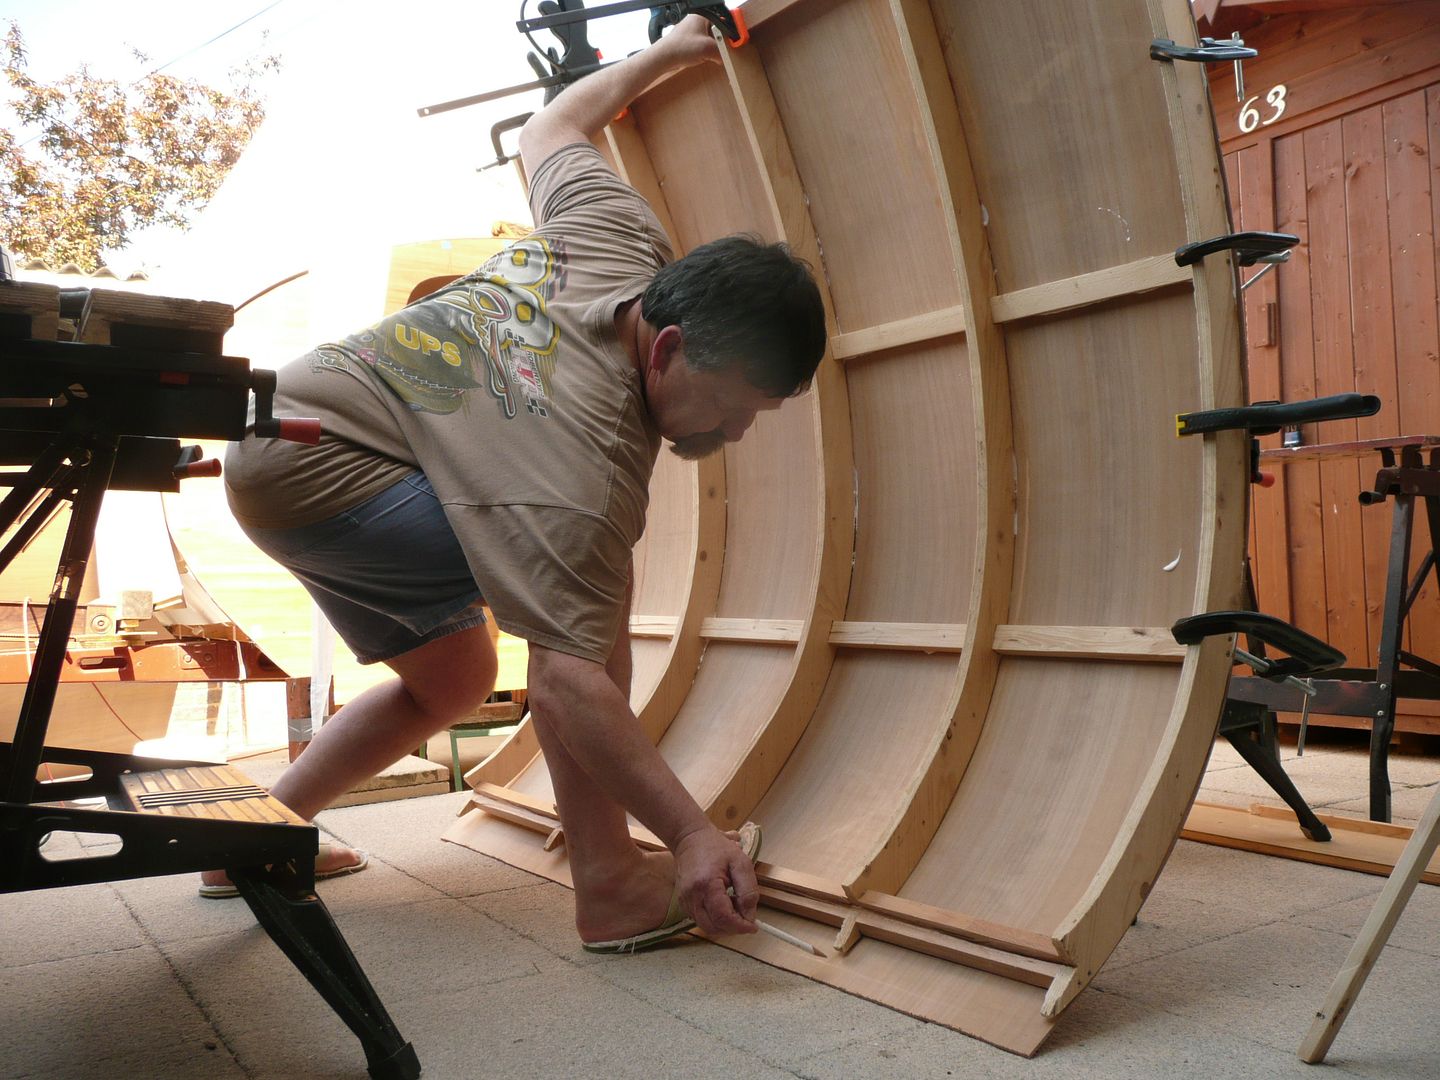
Just a quick mid-day update, I have not done much today, except make the ply bending tool..... (wood in place to push it down) which is "adjustable" by pushing more offcuts into the space, moving it forward. Now have to wait for the ply to dry a bit before working with it.

P1080038.jpg


Today was Bootfair day.... Woohoo.
However, we left more than an hour later than the usual 06.45 getting there just after 8am.
Not expecting to find much, as pro-bootfairers tend to hit early, and grab all the treasures, but then we were not there for treasures, it is actually relaxing for the two of us just to amble about looking for something nice at a silly price.


Well, we were surprised, it must have been our biggest and best haul this year, with a few items being stuff we have been looking to pick up cheap for some time, and a few bits just falling into our hands.

Items are a mad eclectic mix, but all with function and a future.

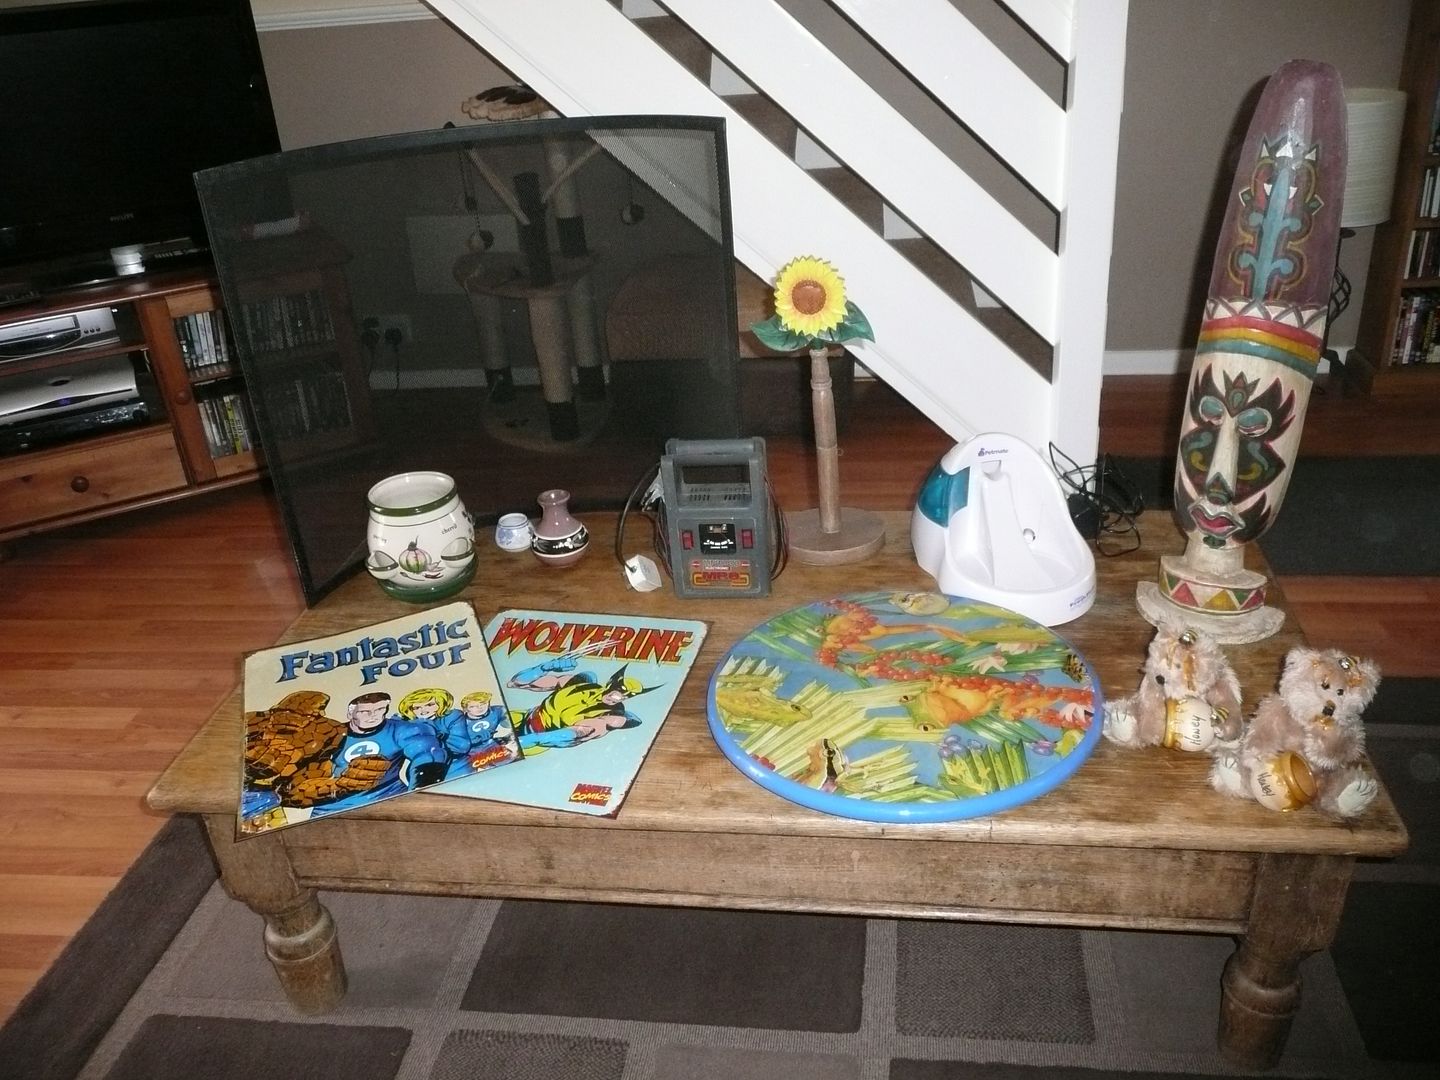
Lets start with the solid Oak coffee table. Old and worn, not sure what it would cost in a shop, seller wanted £20, Nicola commented that she did not really want to take it home, and walked off, I asked if she would take £10, and she helped me carry it to the car. BARGAIN - if you do not have a coffee table.
Fire guard - £2, Selection of small pots - 20p each, 12v, 6v battery charger - £2, Sunflower papertowel holder - 50p, Cat water fountain Usual £35 on Ebay - £1, Wooden mask (we have a collection) - £2, Pair of bears for Mum in Law - £1, Lazy Susan for teardrop - £2, 2 steel Marvel comic plaques - £5/pair.

Madness I know...... but so much fun.


P1080035.jpg


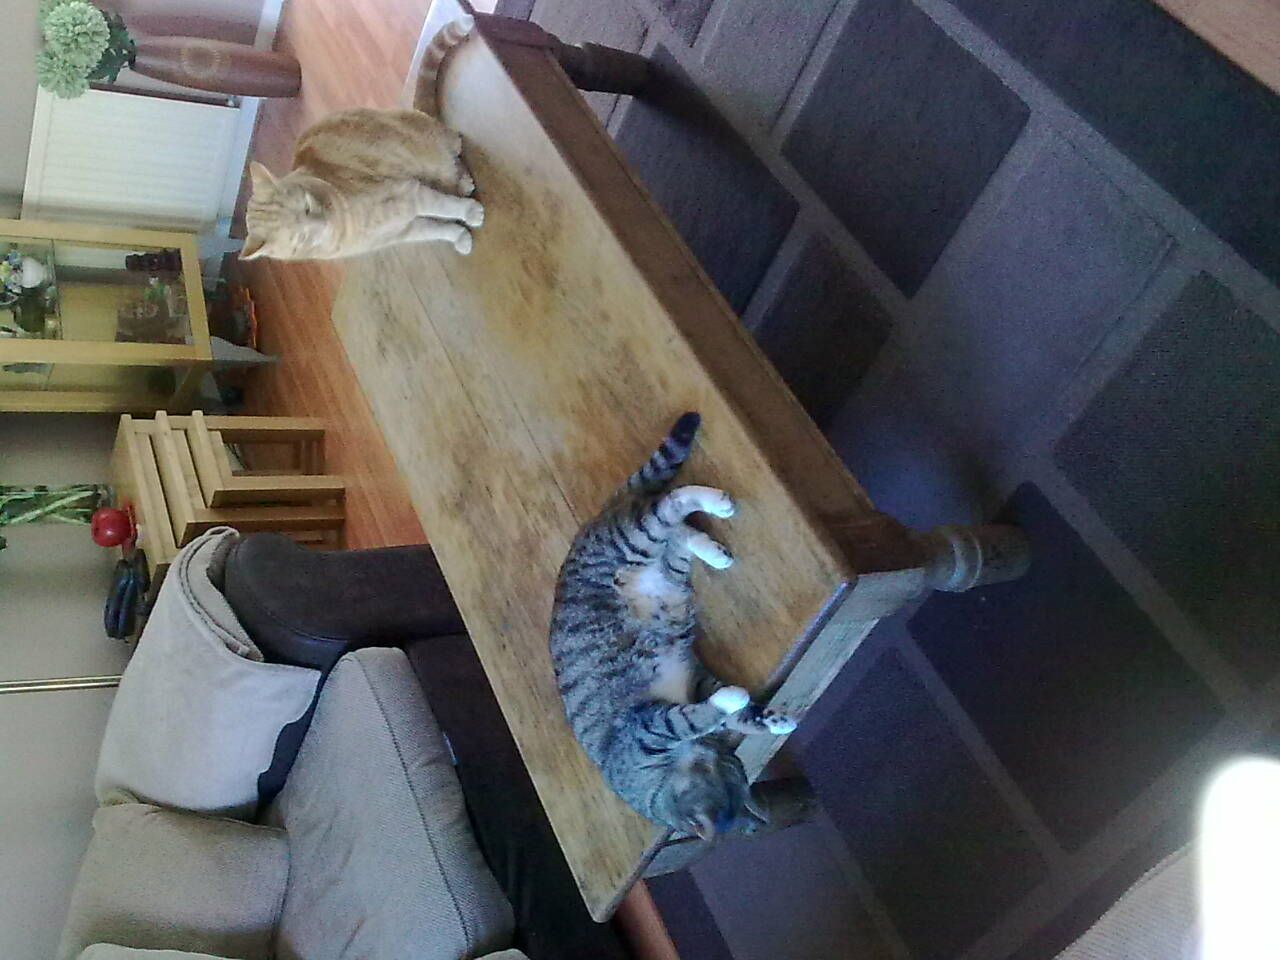
Two of the 3 cats approved of the table, even before it was propperly in use.
Interestingly, the 3rd one was already playing in the water fountain, as she did with the previous one.

cattable.jpg
 
OP
G

Grizz1963

Well-known member
Joined
Jan 7, 2010
Messages
12,040
Location
Rochester, KENT. UK
The cabinet in the corner ....IKEA?
I have the same one

LOL !! Yes, just asked Nicola. It houses her collection of dragons, wizards and other " weird stuff"

Nice haul Rian. You going to finish the coffee table or leave it with it's weathered/rustic patina?

Morning Baz, definitely staying just like that.

It was bought for the house we want to buy when mine is sold. It is a lovely piece of furniture, and you could not buy just the timber to make it in pine, for £10, so bargain of the year, along with the cat fountain, as they like running water, and with the filter in, it keeps the water "fresh". The fire guard is for the next house as well.
 

bazzateer

Well-known member
Joined
Oct 8, 2009
Messages
6,075
Location
Watford, Great Britain
Rian,

Just chilling out now after a few hours in the sun pulling down the old shed and preparing for a bonfire. Pulled out and destroyed a couple og rotten fence panels and posts as well then remembered they aren't mine! The neighbour then casually asked if I was going to remove any more of his fence posts!

No problems though as he knows that when my garage goes up there'll be no need for some of the panels and posts that I have left. He could see that they were rotten as well.

Are you still after that house you posted up about a couple on months ago?
 
OP
G

Grizz1963

Well-known member
Joined
Jan 7, 2010
Messages
12,040
Location
Rochester, KENT. UK
Rian,

Just chilling out now after a few hours in the sun pulling down the old shed and preparing for a bonfire. Pulled out and destroyed a couple og rotten fence panels and posts as well then remembered they aren't mine! The neighbour then casually asked if I was going to remove any more of his fence posts!

No problems though as he knows that when my garage goes up there'll be no need for some of the panels and posts that I have left. He could see that they were rotten as well.

Are you still after that house you posted up about a couple on months ago?
OHHH YES, ABSOLUTELY !

Just need to have a buyer for mine or Nicola's.

That house is absolutely perfect for the two of us, and long term future in it.

Desperate is not the word, but we really want to get in there.

Even the coffee table we bought today, is for "Number 9 " as it is known to us.
 
OP
G

Grizz1963

Well-known member
Joined
Jan 7, 2010
Messages
12,040
Location
Rochester, KENT. UK
Pulled out early today, 18.30 and I had had enough.

Was speaking a whole lot in my mother tongue again !!

Skinning the hatch was a seriously challenging job, singlehandedly just does not work fast or well.

I made a major ****-up, but hope to be able to camouflage it.

Started on the "flat" side of the curve, glueing, screwing etc, then cut off what I needed from the 10 foot length.

P1080041.jpg


Bit of monkey business to get all the bits together.
Hands , feet, chin and head at times.

P1080043.jpg


more than 2hrs later, trust me, if I could , it would have been quicker. Not having a zillion large clamps does not help either.

P1080045.jpg


Galley hatch in place.

Shut.

P1080046.jpg


Hatch open, with high tech opening lever.

P1080049.jpg


I wanted to start screwing down the roof outer ply as well, but decided to call it a day, and to rather wet it again over the front acute curve, will pour another bucket of water over it when I get home later tonight.

My work week this week is hectic, so no late night play, I guess next update is next weekend,

3 DAY LONG WEEKEND !!
 
Last edited:
OP
G

Grizz1963

Well-known member
Joined
Jan 7, 2010
Messages
12,040
Location
Rochester, KENT. UK
Well, just back from a London business meeting.

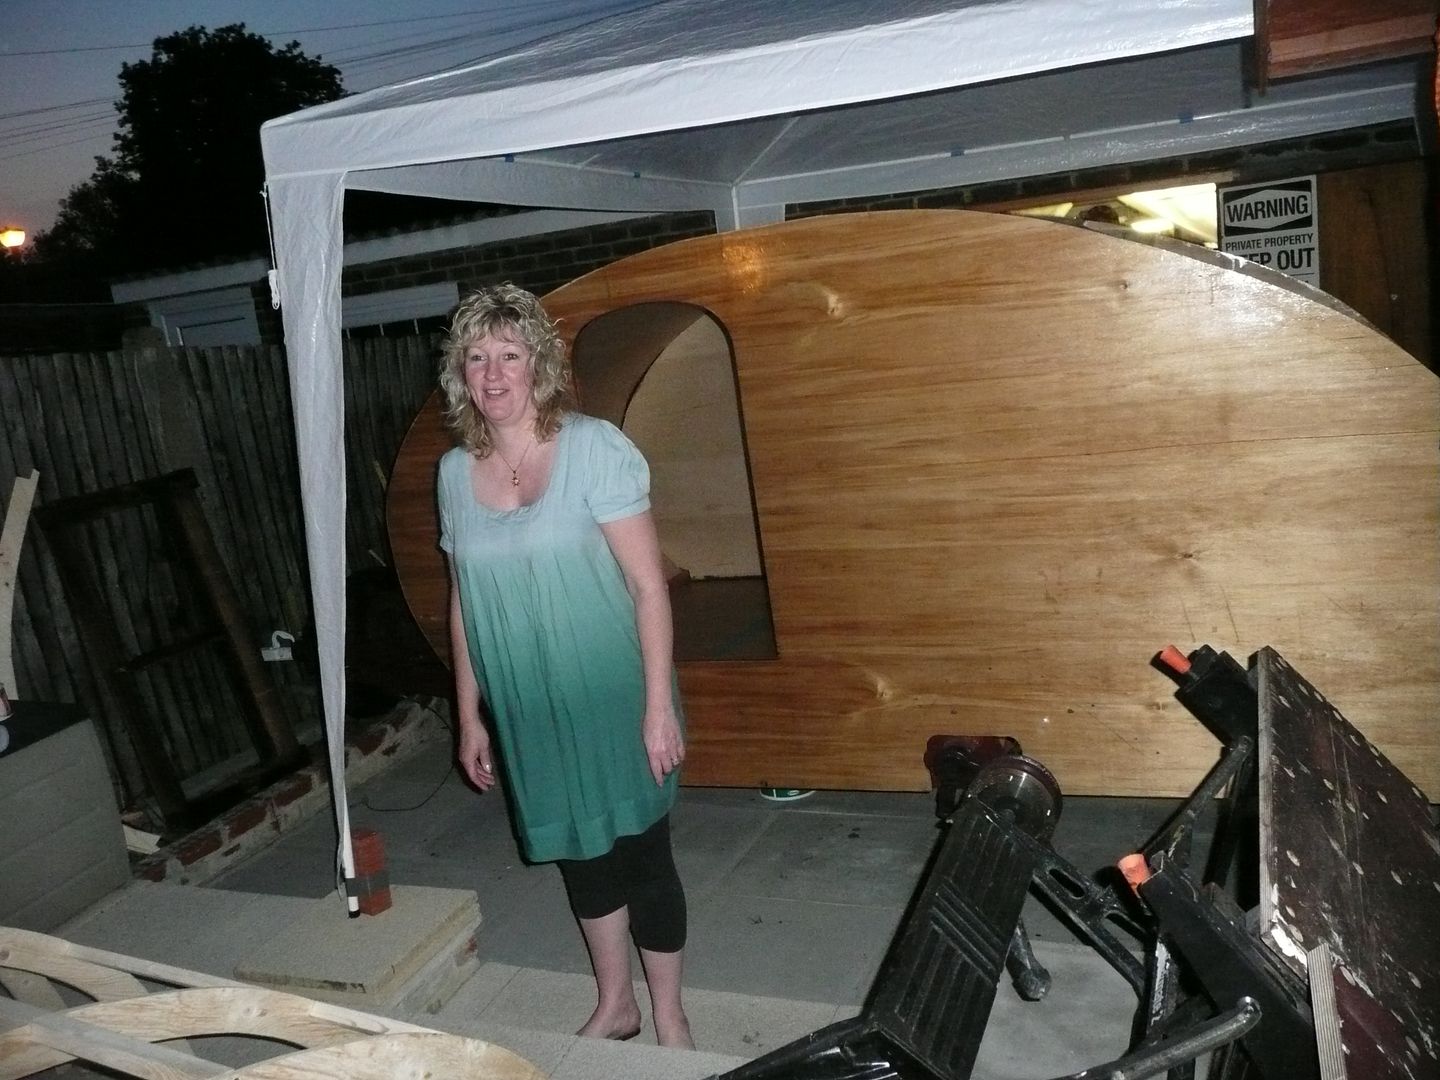
There is a wind and rain forecast, so I took the cover off the gazzebo as the wind lifts and moves it around, even in just a breeze.

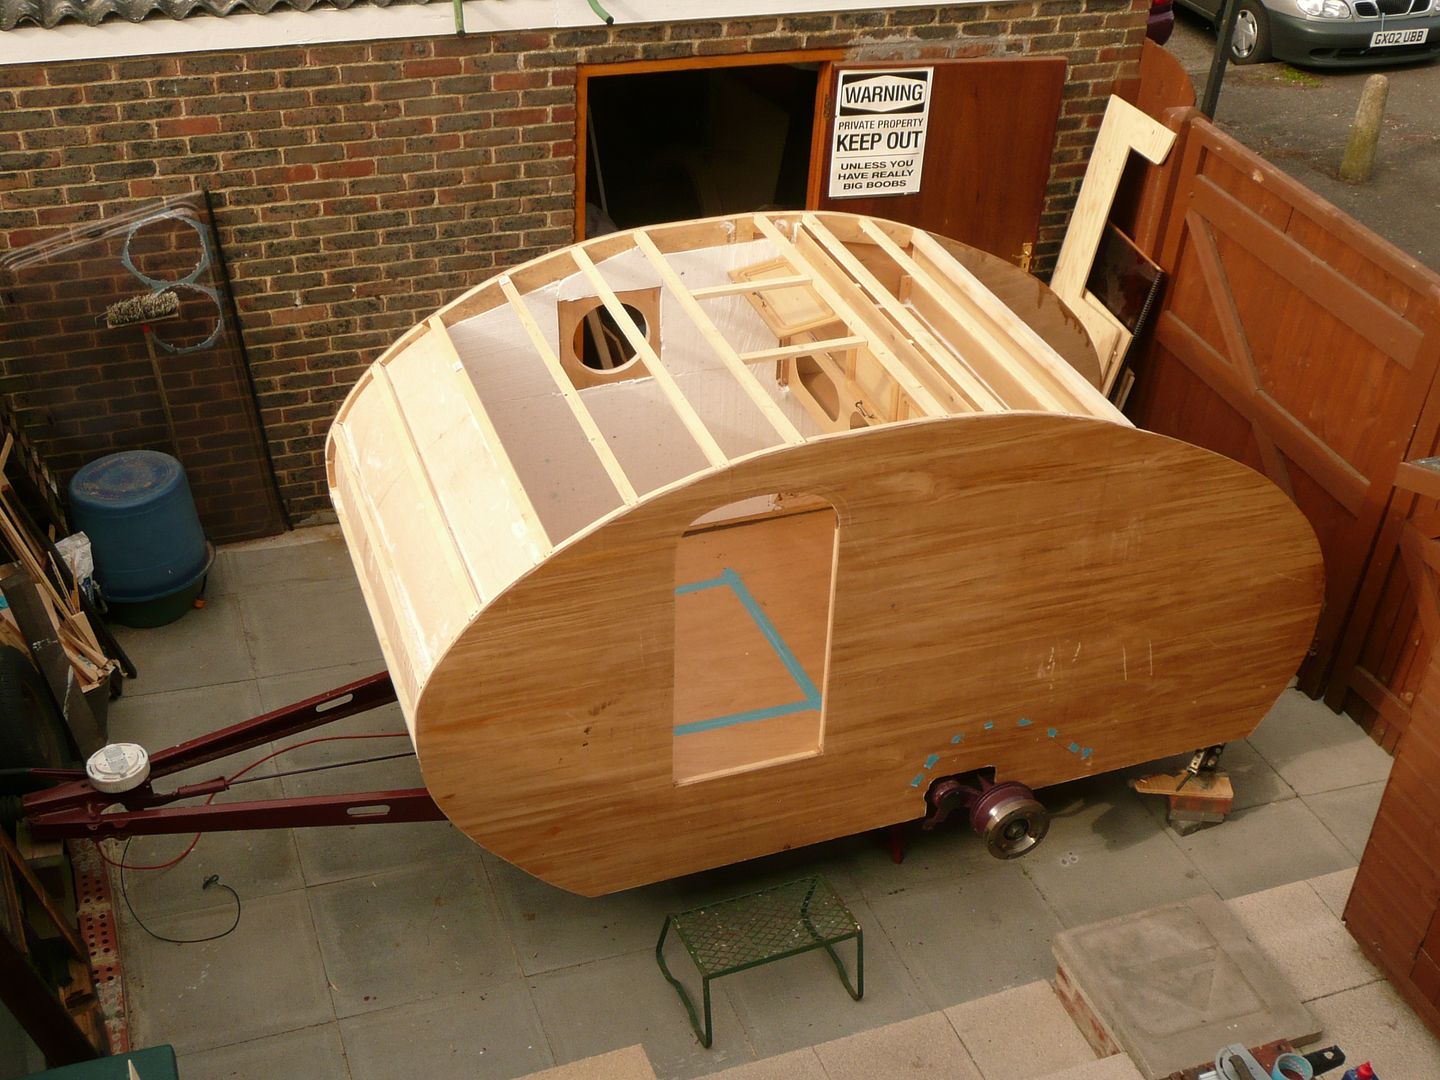
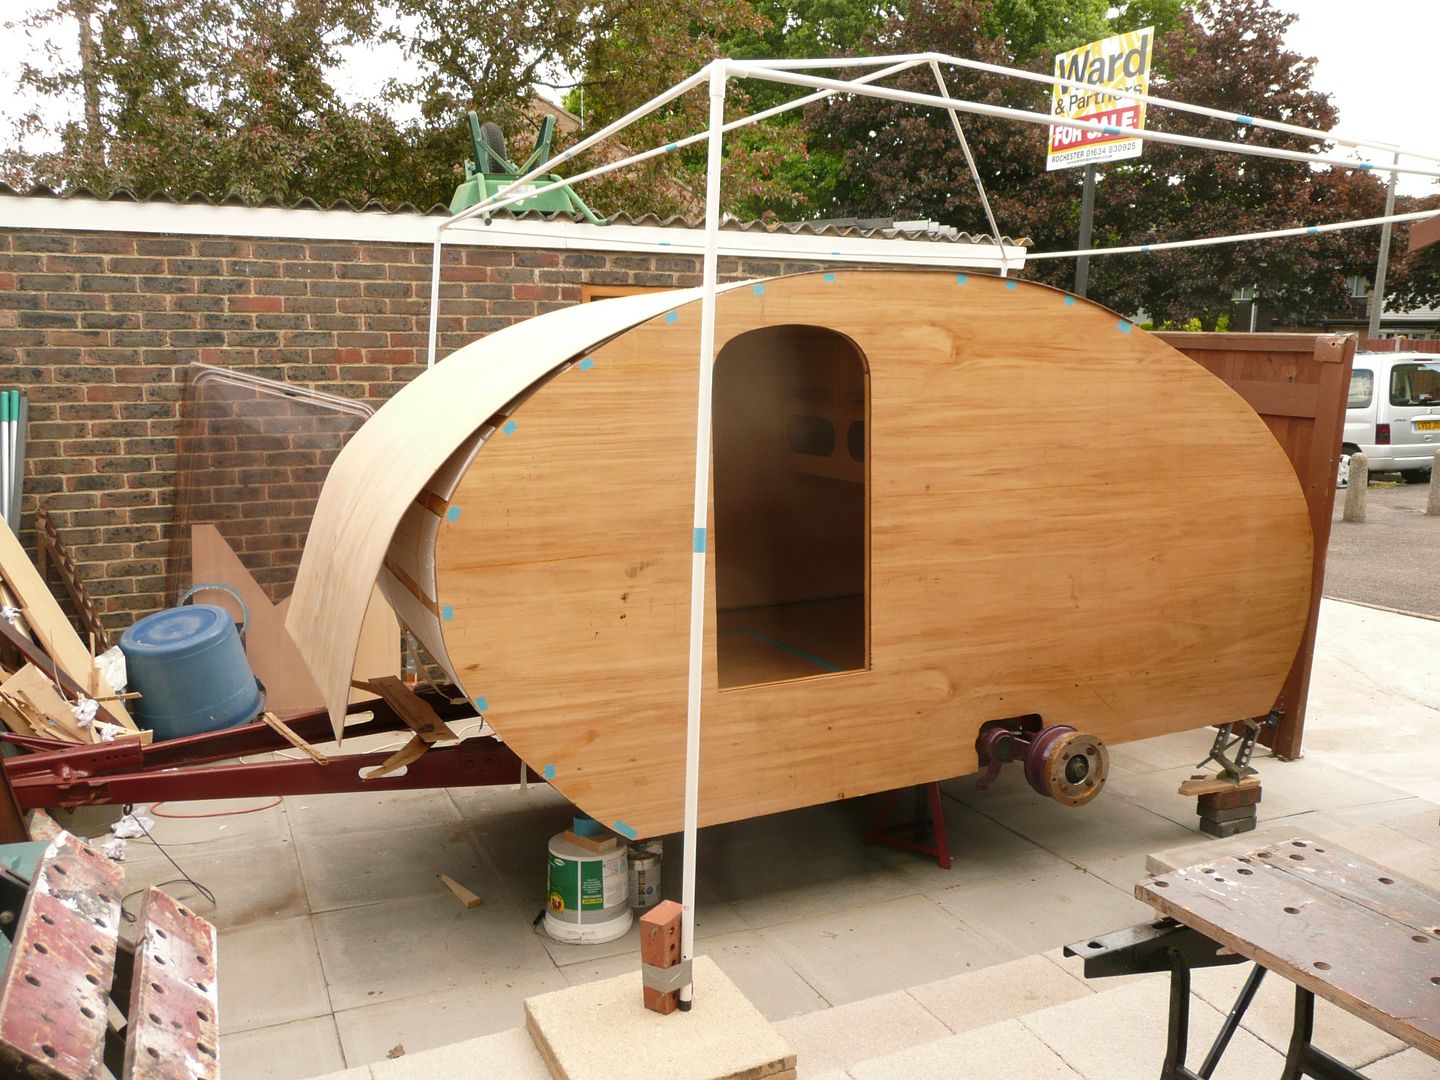
This will probably be the only pic of the trailer with hatch in place, and also the front ply, which still needs to be fixed down.

P1080050.jpg


Nicola popped over to come show me her contribution to the trailer.

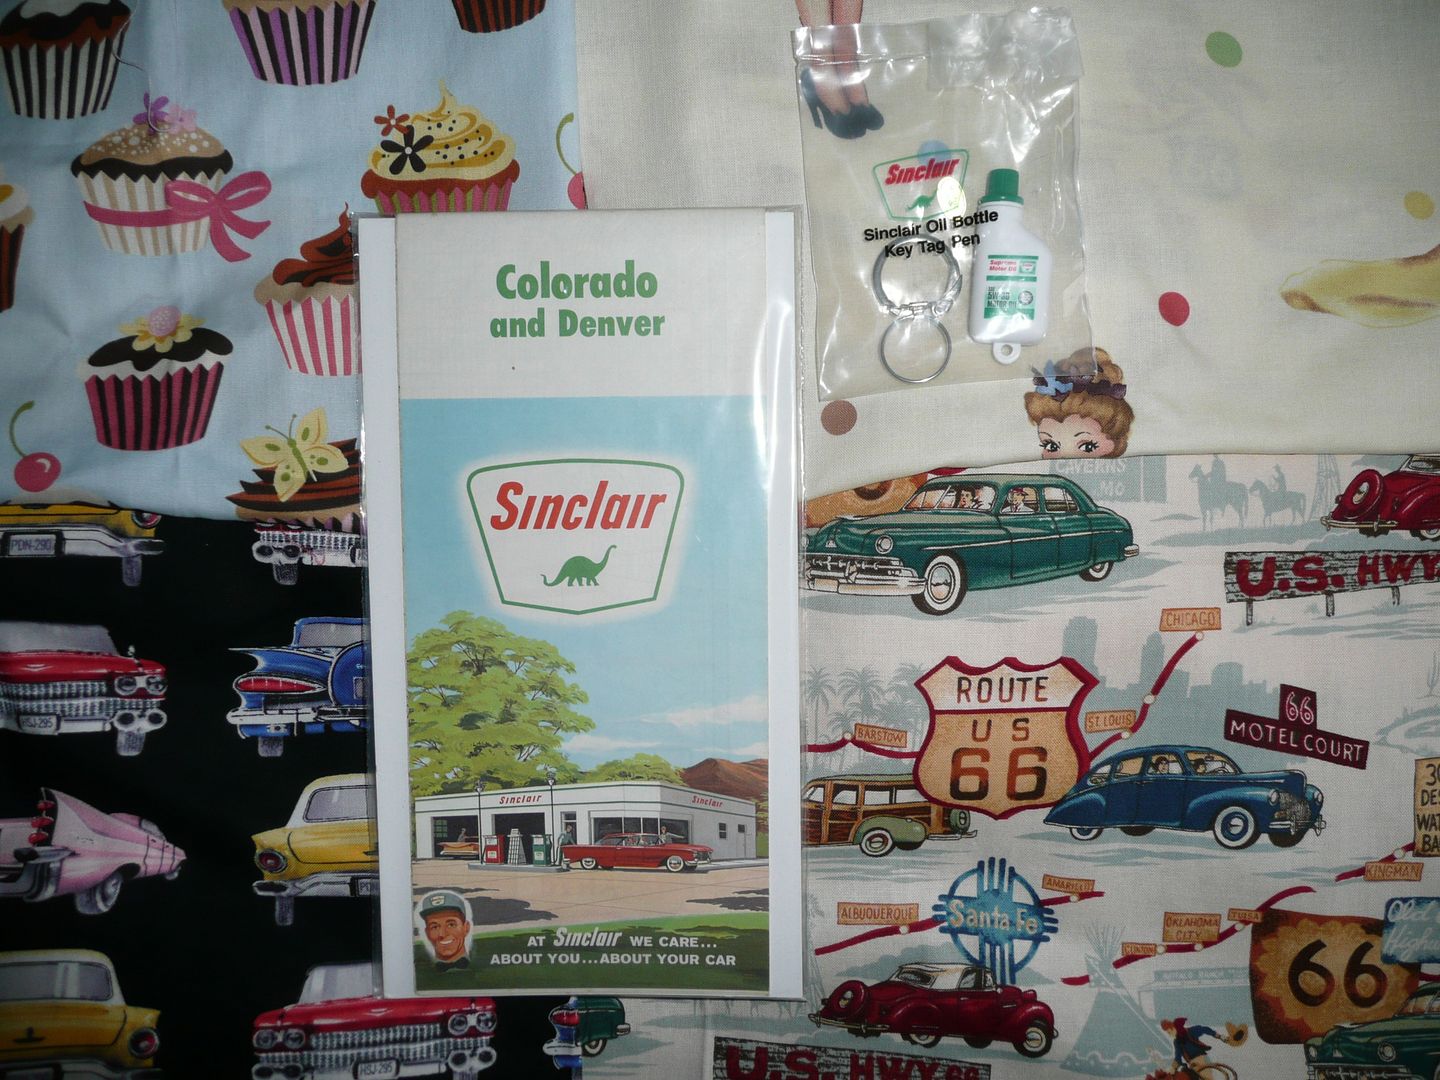
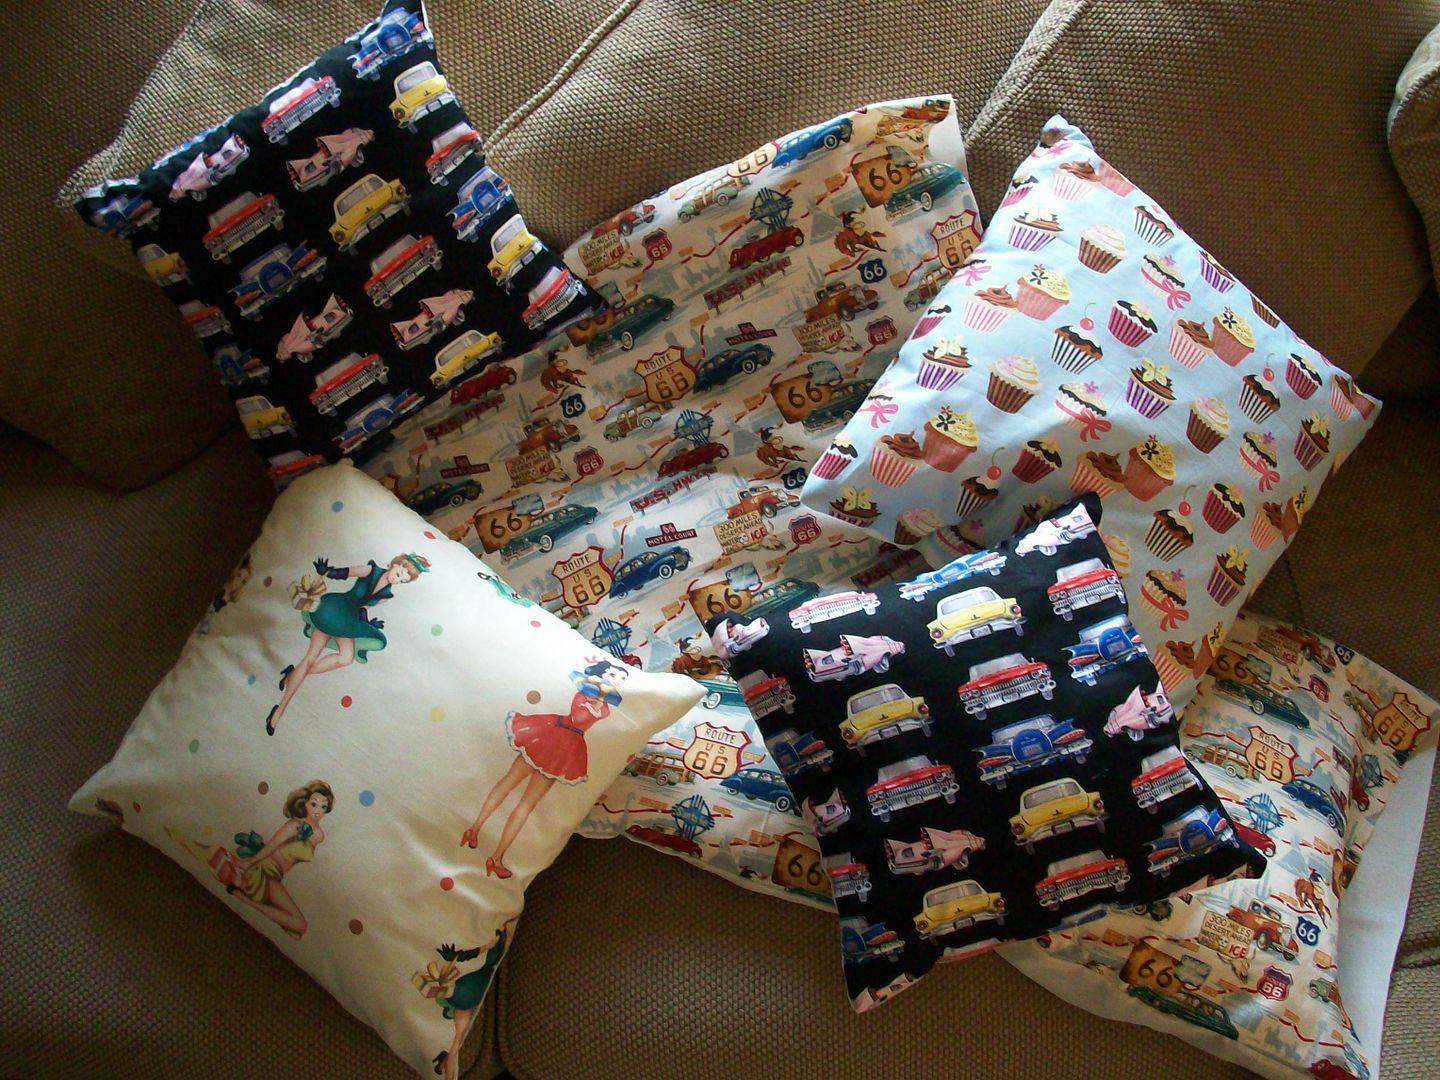
She has a thing for the 50's and 60's.... so has been on Ebay internationally, and bought a few bits of fabric which will become pillow cases, and also cushions.

Lets see if you can guess who gets which fabric for their cushion, and I will give you the pillow cases for free.... its the "Route 66" fabric.
Her sister in law is a seamstress, so tomorrow after work she is off to Whitstable to get the covers made up.

P1080055.jpg


Also in the post today was another envelope from the USA, from Zach this time, he had sourced me a 1963 road map from Sinclair Oil corporation, as well as a small oil bottle keychain. This will fit into the theme of the bus, which will be Sinclair Oil Corporation colours.

Thanks Zach !!


All of this will go together to make this little trailer a real "Retro " gem.

P1080057.jpg
 
OP
G

Grizz1963

Well-known member
Joined
Jan 7, 2010
Messages
12,040
Location
Rochester, KENT. UK
Just a quick update.

Nicola went to Whitstable to get the cushions and pillowcases made up yesterday after work.

There are also a couple of curtains being made for the portholes at night. Simple, flat, with a dowel in the top and bottom, hung onto small cup hooks.

100_3047.jpg


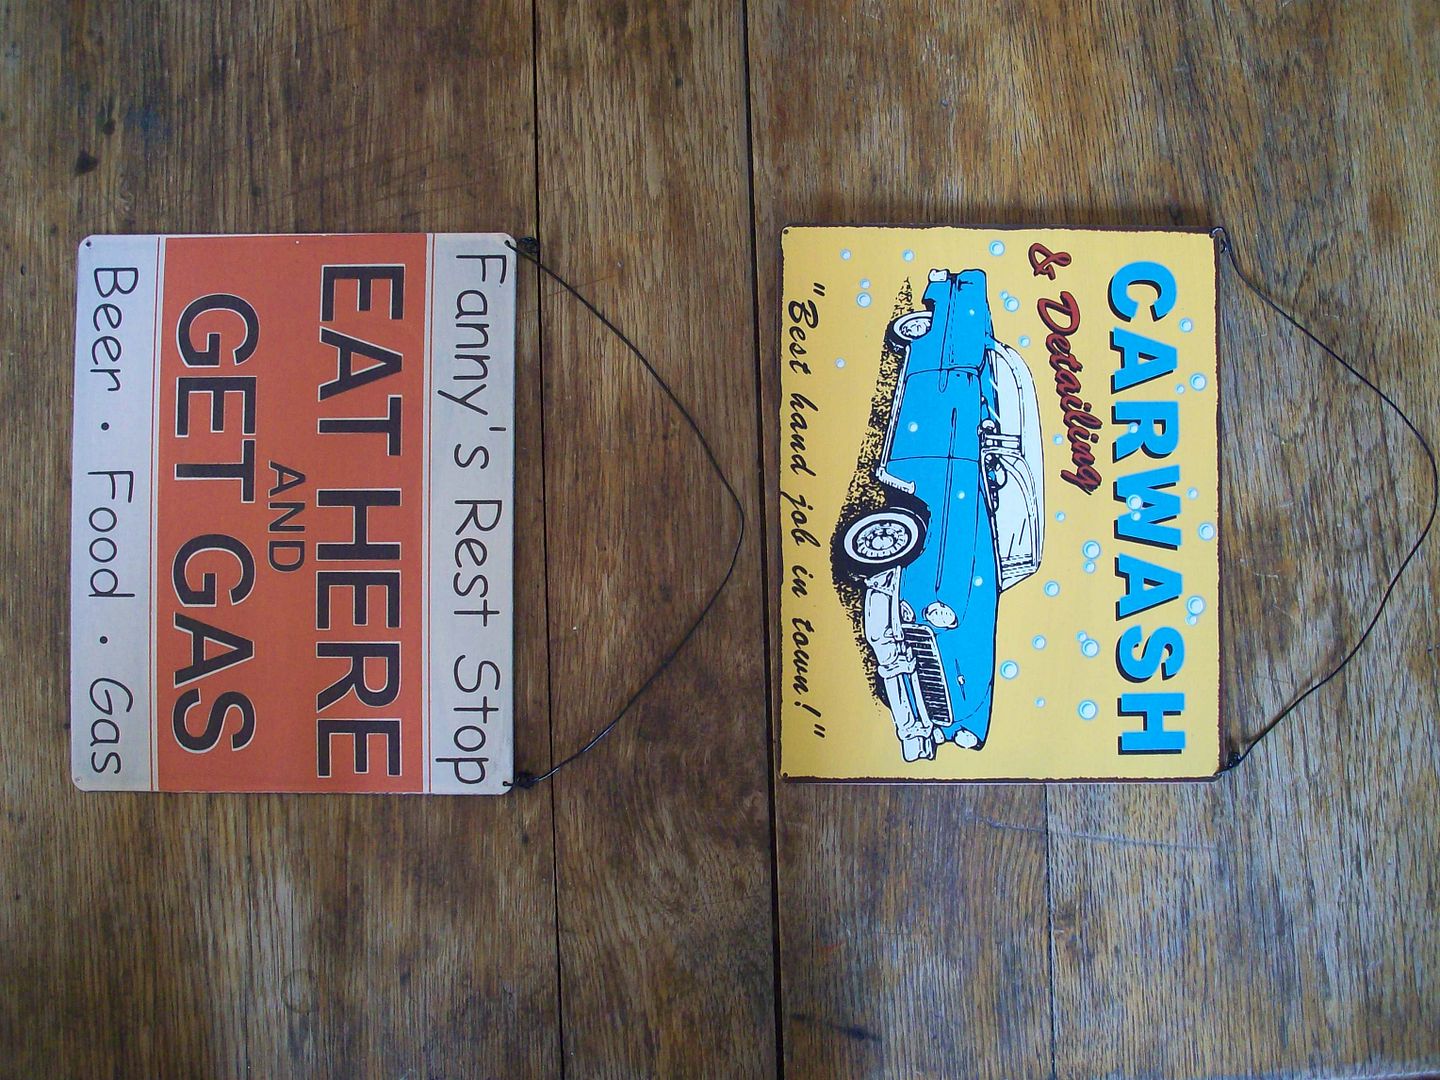
There were also a couple of metal signs for the galley that she had got off good old E-bay.

100_3045.jpg


I have taken the day off work for tomorrow, to get more work done, as this weekend is the deadline for completion, before going to Santa Pod for Classic Ford next weekend.

Fingers crossed I can get the whole thing roadworthy by Sunday afternoon.......
 
OP
G

Grizz1963

Well-known member
Joined
Jan 7, 2010
Messages
12,040
Location
Rochester, KENT. UK
Right, I had not planned any update today. But then it never goes to plan, does it.

I had taken the day off, but actually only opened the garage by 10am.

Did some bits about the trailer.

Then started screwwing the ply down from the galley side.

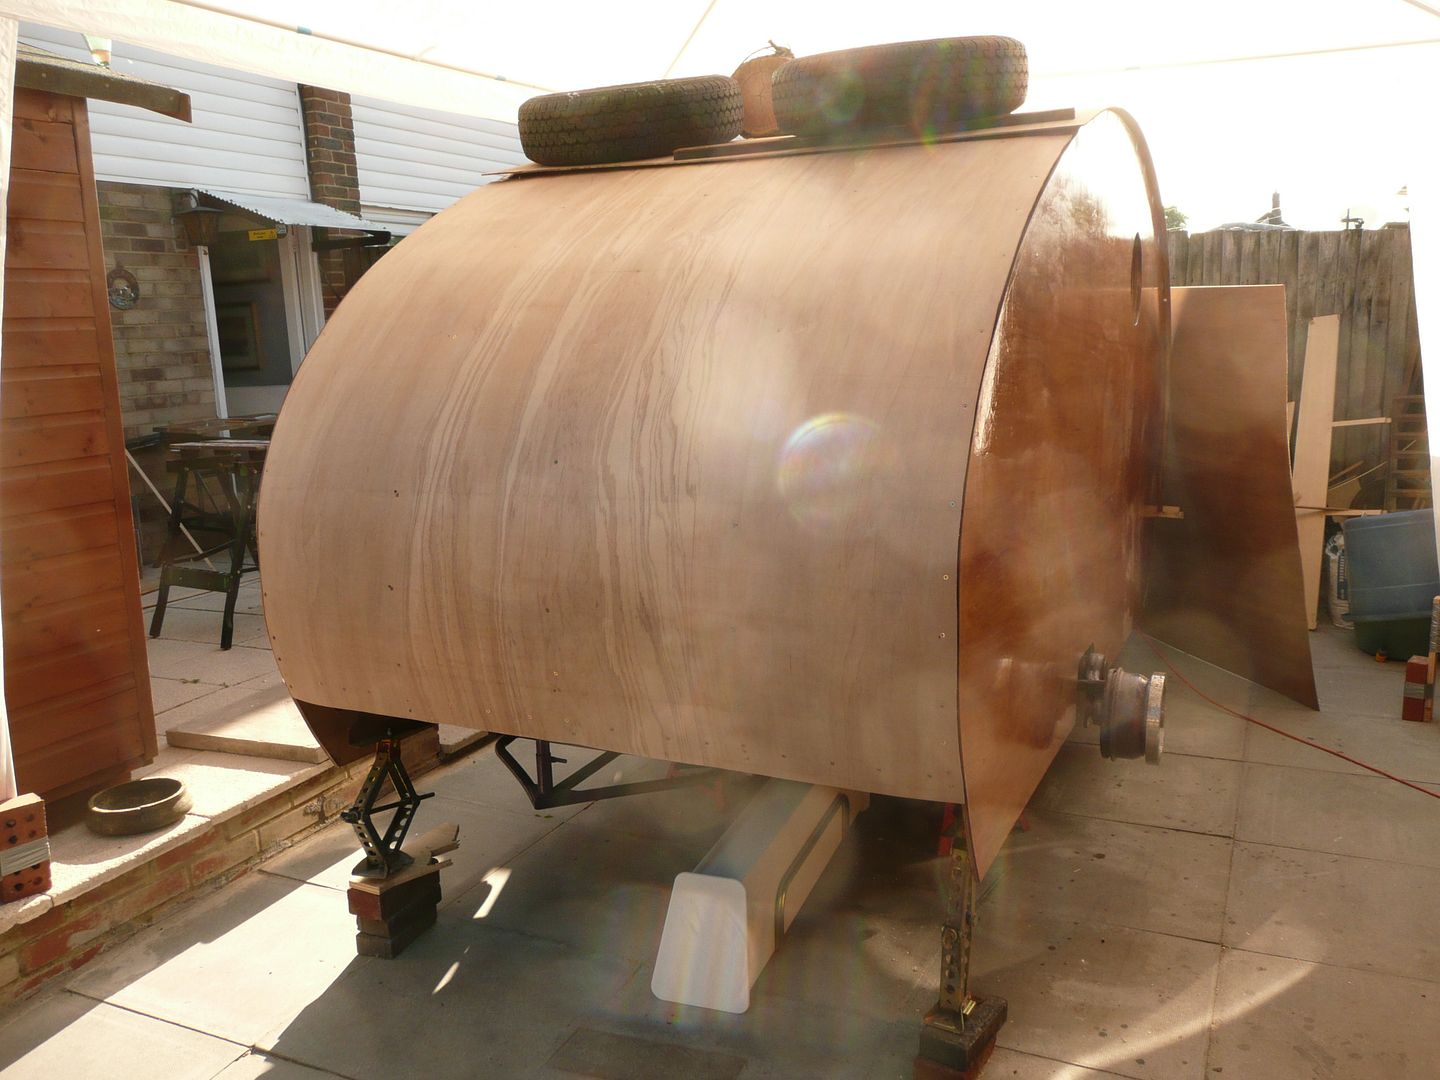
Eventually pulled my "bending tool" out of the way, and was greeted with this.... ply memory, almost gone, it took 4 days of watering twice a day, and also keeping a double winter sheet on it.

Nicola came home at about 10.30, and my mate Scott "Jabbo" popped over shortly after that.

Between the two of them, they helped me hugely with things I would normally have done myself, but having a spare set of hands makes all the difference

I ended up putting a cross brace right at the bottom of the front of the profile, recessing it for the handbrake rod. Also added o a hardwood strip behind the ply, for the ally to screw into.

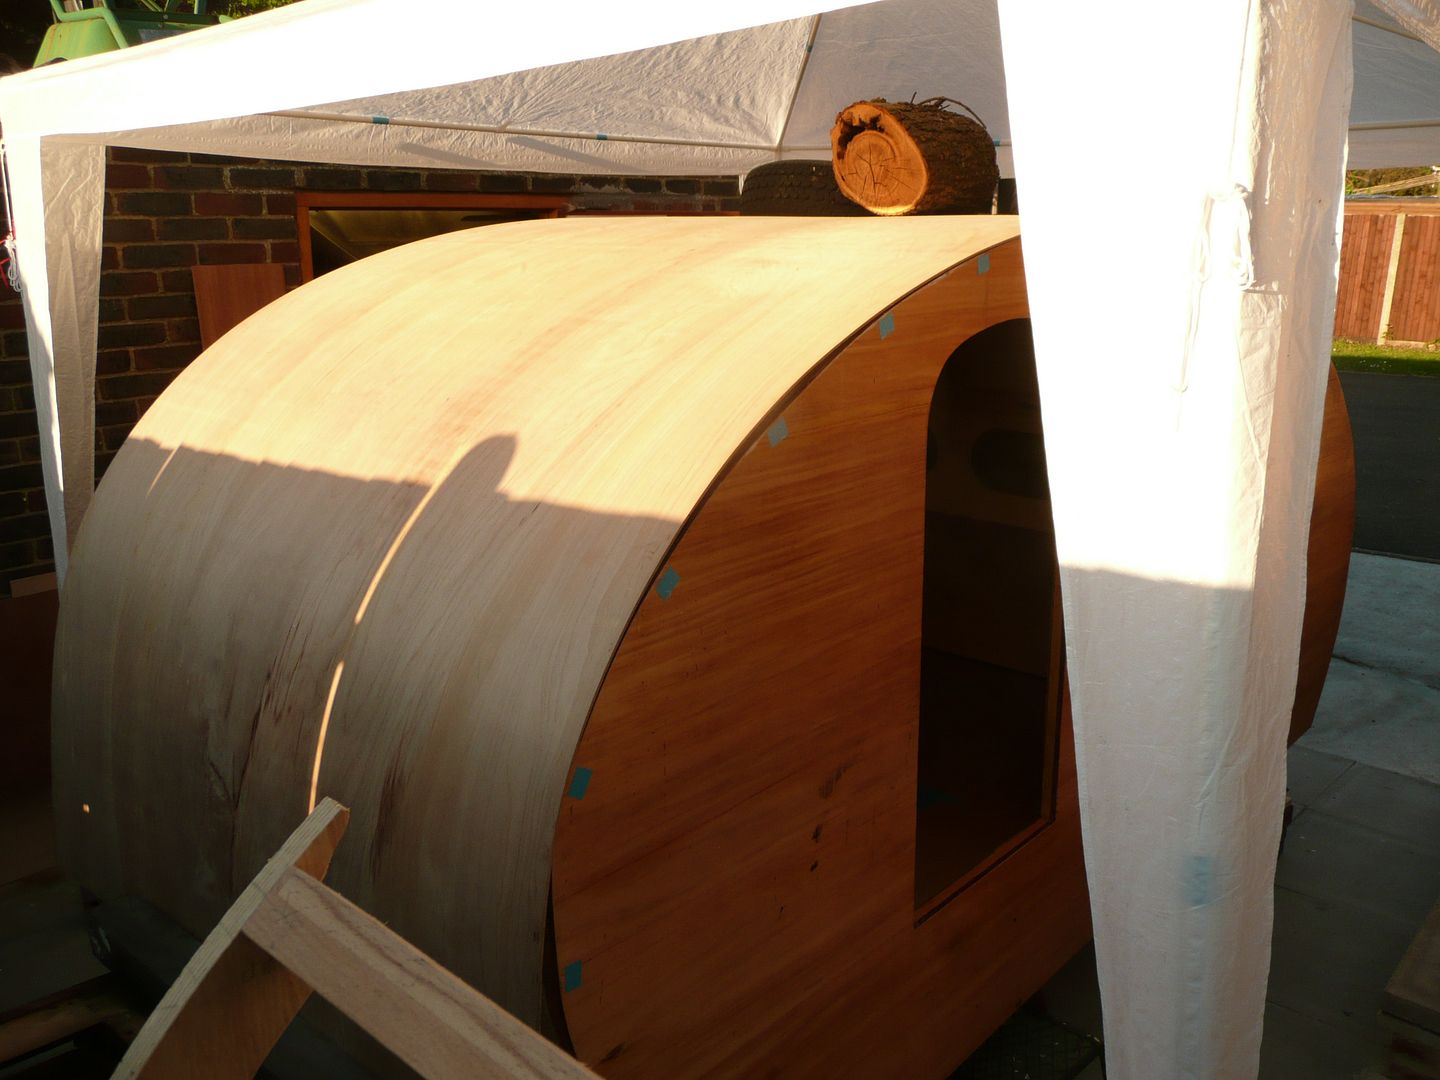
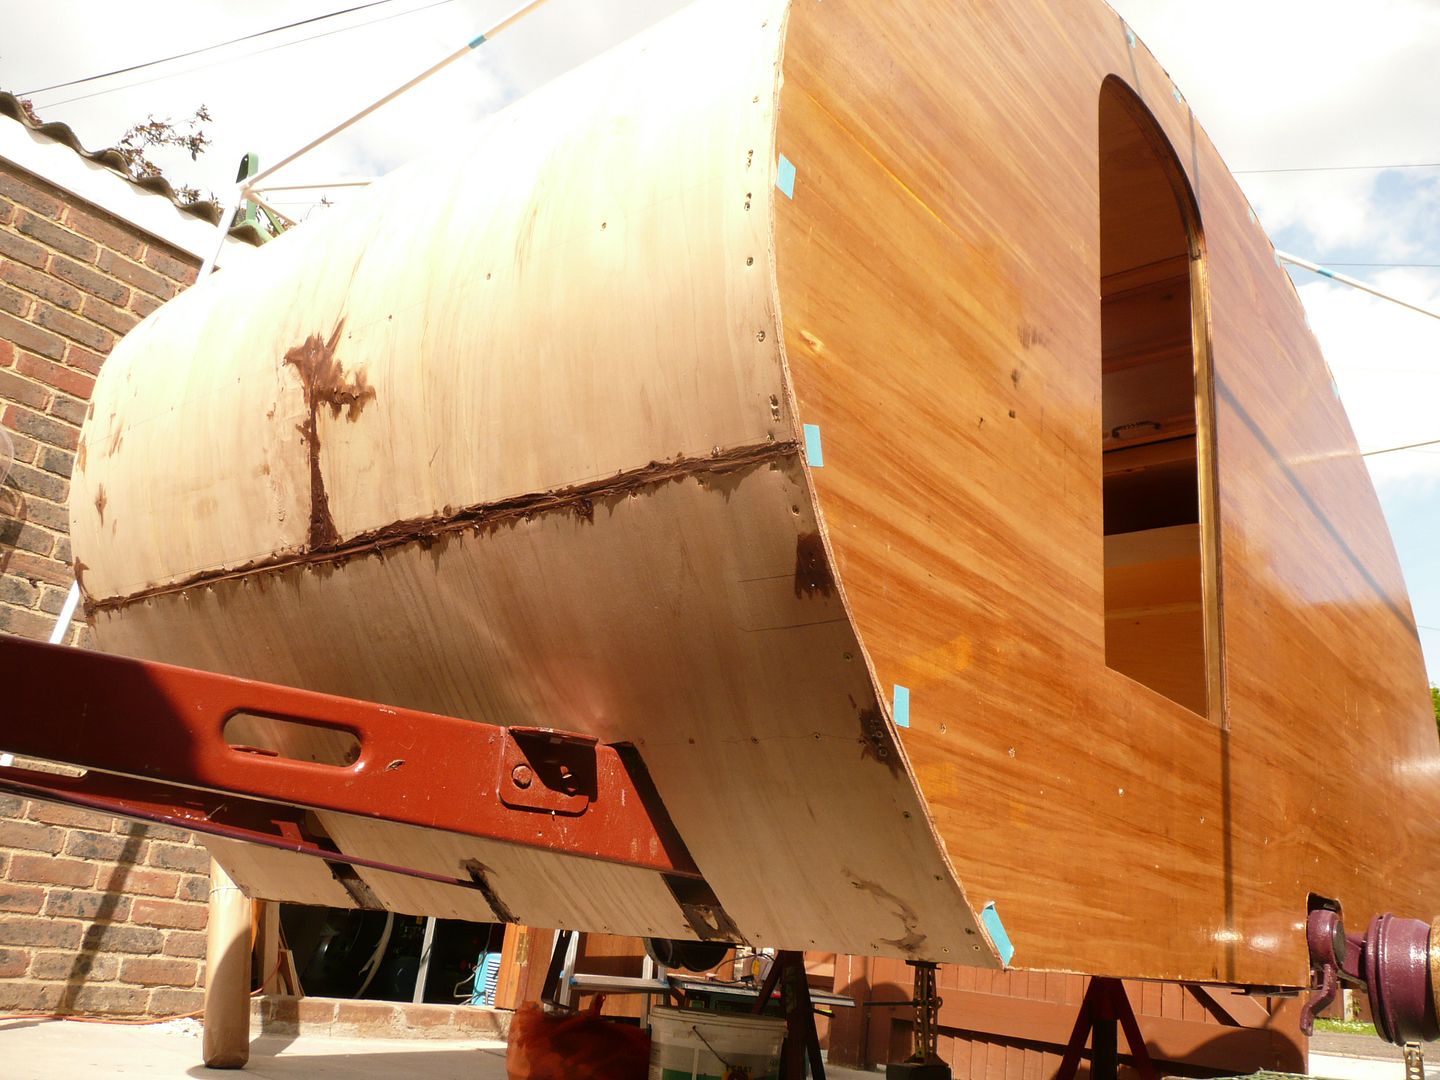
Then silconed and screwed down all the ply, and also cut and shaped the rest of the ply that passes the front of the chassis.

Ply memory.

P1080058.jpg


After all was said and done.

The curve and ply to the lower end of the profile.
Silicone smeared over the cracks from when I bent the ply.

P1080069.jpg


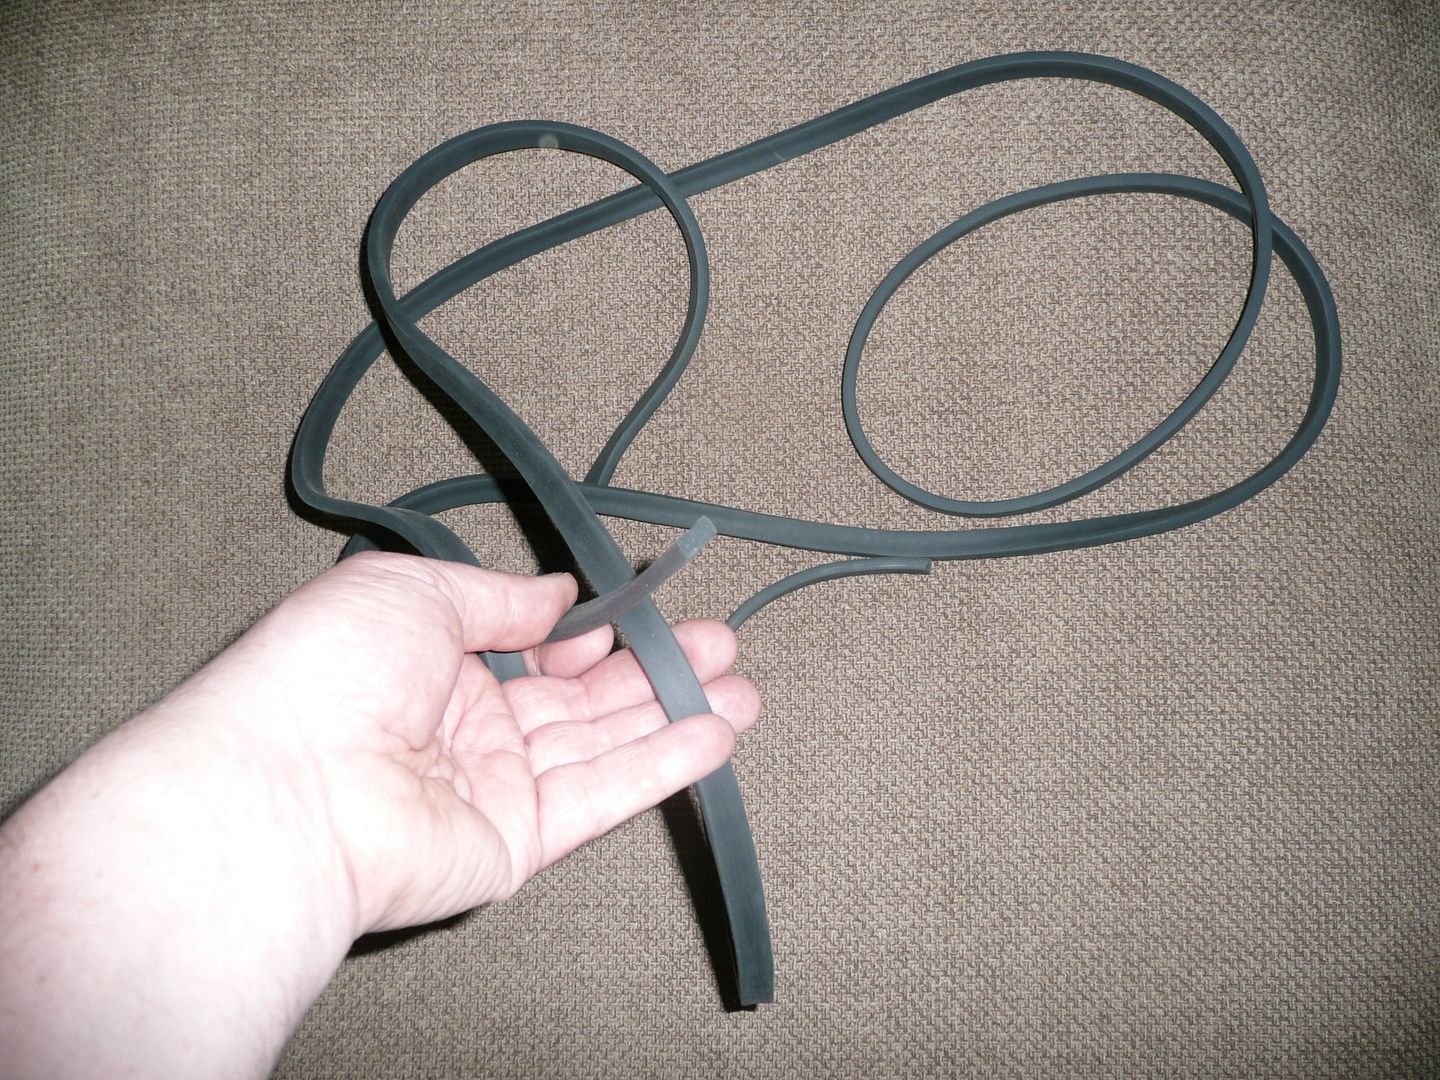
Later the afternoon the UPS guy popped in to deliver the mouldings I had ordered from Woolies.

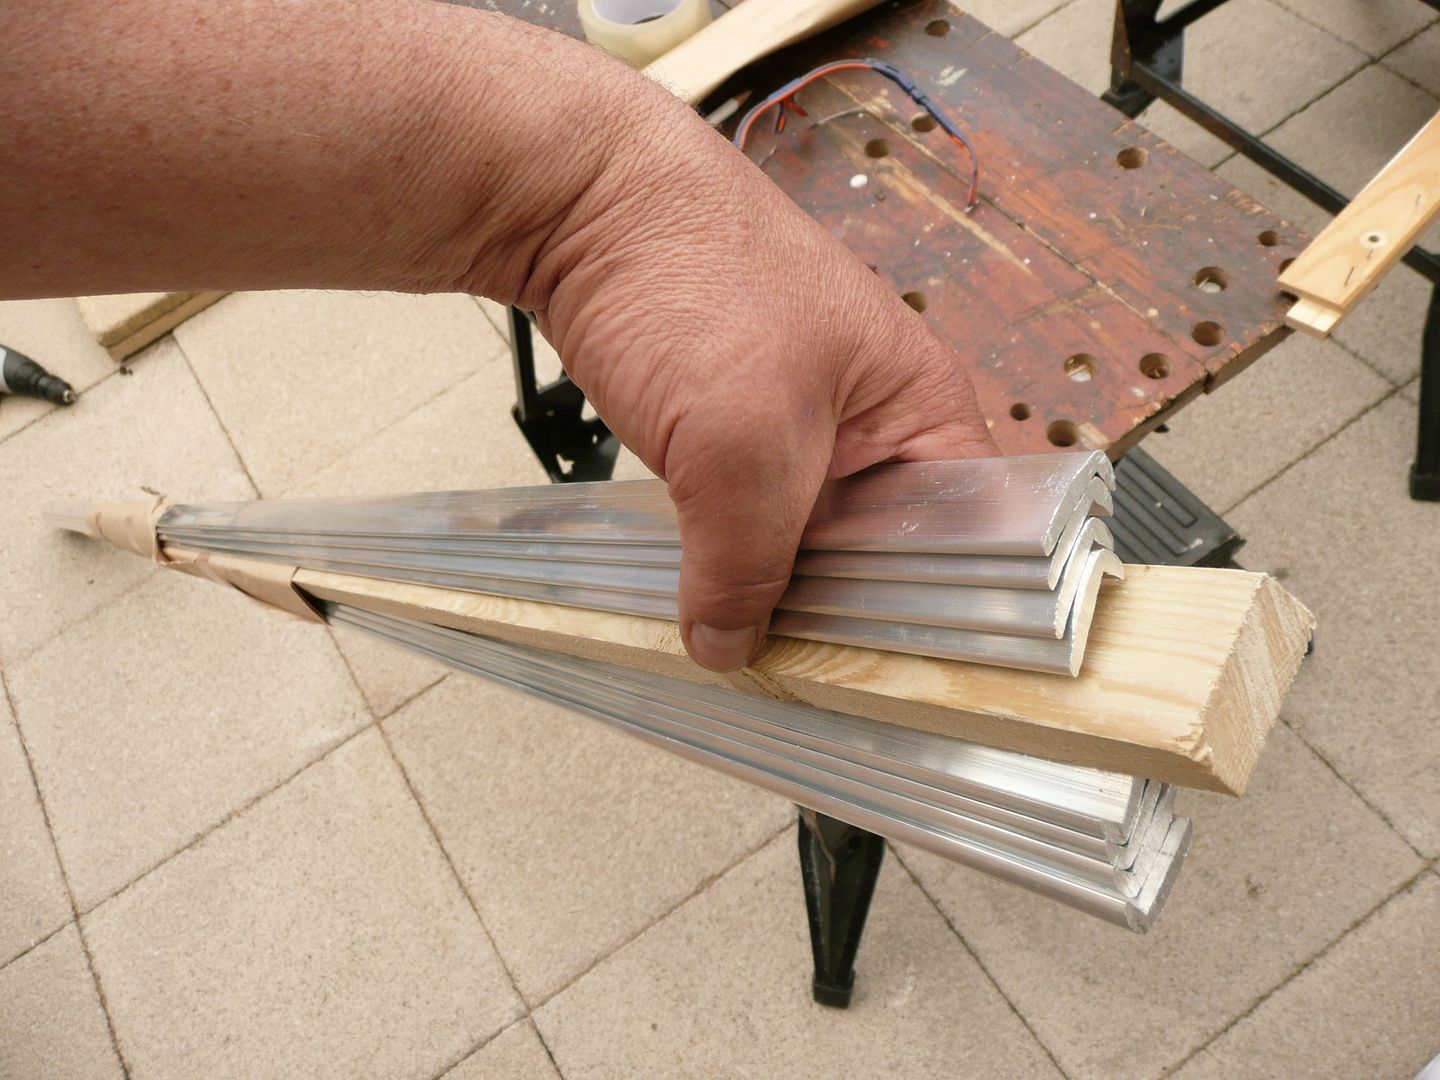
Mouldings were marked out, drilled and countersunk both sides, top to take the stainless screws I picked up on Thursday afternoon.


P1080072.jpg


Also in the delivery, some high density foam strip to add to the galley for insulation.

P1080071.jpg


Last pic shows ally out and on top of the roof....... hopefully get it down tomorrow.


P1080076.jpg


Thanks for looking in, I hope you liked what you saw.
 
To avoid these ads, REGISTER NOW!
Top Bottom