To avoid these ads, REGISTER NOW!

Between 265 & 485 SQ/FT Kwik Fab's Small Shop

Workspaces sized between 265 and 485 squarefeet.
OP
K

KwikFab

Well-known member
Joined
Jul 27, 2024
Messages
1,267
Location
Central Valley, CA
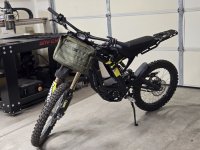
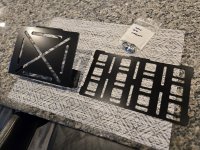
Nice thing about having a business partner is, I can get **** powder coated whenever and however. Feeling really confident in knocking this out first try, I opted to get them powder coated and picked them up today.
20260727_134408.jpg

20260727_134418.jpg

20260727_134425.jpg

20260727_134729.jpg

20260727_134748.jpg

And even though the owner of said bike lives 3hrs away, he still made it out today to pick it up and allow me to get measurements for the next two projects.

Installed on the bike.

20260727_175433.jpg

20260727_175452.jpg

20260727_182848.jpg

20260727_182908.jpg

And since I intentionally designed this as a modular setup, it allows the end user to attach any other panel of their choice (mentioned above).

20260727_183215.jpg

20260727_183205.jpg

It is 95% done and that's because I needed the assembly installed before I could get the measurements from the bolt holes on the panel (the flanges I made) to add a bracket that'll attach to the side of the fork.

This will add much more rigidity to the whole thing.

Next projects for the bike are to make a panel that attaches to one side for a rifle case, and the other side for a pelican case or two.
 
Last edited:
To avoid these ads, REGISTER NOW!
OP
K

KwikFab

Well-known member
Joined
Jul 27, 2024
Messages
1,267
Location
Central Valley, CA
I follow along, but don’t post much on your thread. You do some very impressive stuff !!

Thanks for the kind words!

Never know who's watching, and never know what their background is! Been surprised myself by many members here.

That’s a nice kit.

Thanks! I do hope for it to become a kit if I find the right market!

The e-bike Facebook group(s) I saw were full of bots/scammers and the E-Bike forum is absolutely dead.
 
OP
K

KwikFab

Well-known member
Joined
Jul 27, 2024
Messages
1,267
Location
Central Valley, CA
Since we're heading out tomorrow to NV, I thought I'd make one more little item for my friend there.

He's the one I recently made those tetris-shaped brackets for to mount to his truck. Well I remembered that he's essentially making his own bed rack and all he has are these rectangular steel tubes to lay across the bed.

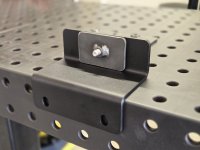
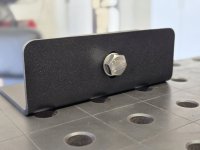
The brackets I made, bolt into the built-in accessory rail with the use of 2 t-nuts per bracket (other companies will use as few as one per bracket).

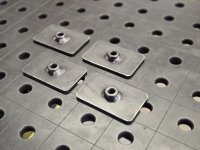
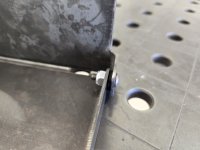
Well I decided to cut out some end caps with a nut welded on the inside for him. Unsure if it's the route he would've gone but I do recall him saying he wants to keep the bars as flat as possible, essentially laying the bars on the brackets. With this end cap getting welded on, he'll have a means of bolting the bar to the bracket it sits on.

20260728_122419.jpg

20260728_144445.jpg

I'm even providing the hardware :ROFLMAO:

20260728_144520.jpg

20260728_144526.jpg

20260728_144718.jpg

I spoil my friends a bit too much huh?

Also, while in the garage I decided to just make another one of those bike panels in case interest did occur for one of them.

20260728_110418.jpg

20260728_110423.jpg

20260728_110616.jpg

20260728_110622.jpg

20260728_110808.jpg

20260728_110821.jpg

20260728_112455.jpg

20260728_112502.jpg
 
To avoid these ads, REGISTER NOW!
OP
K

KwikFab

Well-known member
Joined
Jul 27, 2024
Messages
1,267
Location
Central Valley, CA
Friend of mine reached out yesterday and asked about making something for his truck.He's long supported what I do so whenever a request comes up, I look forward to it cause it's always something more custom.

He reached out about adding some fold-down tables to his swingout on his truck. Seeing as how he has dual swingouts, he wants to take advantage of the wasted space behind them. That and he's got an extremely long drive he'll be doing next year so he's trying to get the truck completely dialed in and finished by then.

IMG_20260805_055017.jpg

Started with drawing up the smaller table for the left side since I'll be utilizing existing bolt holes and this is what I came up with.

Screenshot 2026-08-08 134258.png

It doesn't need to be fancy, just functional. I added the logo as something to break up the plain surface and the original "rectangles" idea I had didn't look as good as I wanted.

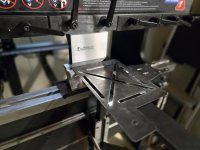
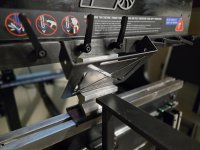
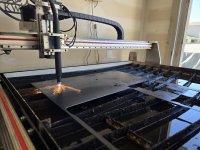
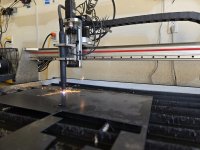
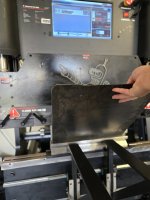
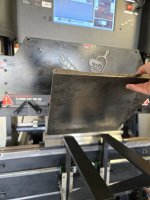
Anyway, I got right to work this morning to cut and bend everything out.
20260809_094633.jpg

20260809_094653.jpg

Everything came out square as expected.

20260809_101123.jpg

20260809_101128.jpg

20260809_101701.jpg

20260809_101712.jpg

20260809_101819.jpg

20260809_101826.jpg

Next up the table bottom. This one I thought would be a little tricky seeing as how I made the flanges smaller towards the center; I did this as an aesthetic choice.

20260809_093052.jpg

20260809_093103.jpg

20260809_093212.jpg

20260809_093217.jpg

Perfect!

20260809_093427.jpg

See next post - picture limit really makes it difficult to keep things in a single post :willy_nil
 
Last edited:
OP
K

KwikFab

Well-known member
Joined
Jul 27, 2024
Messages
1,267
Location
Central Valley, CA
Even though the table is only 14 gauge, having added those bends especially for the table bottom really stiffened the whole thing up as it is rigid as hell.

Also happy with how square everything came out as neither corner sits higher than any other when it's flipped upside down.

20260809_093501.jpg

Anyway the way I made mounting points, I opted to maintain a small gap between both panels. This is so I can create a pivot point with the use of a bolt and nylock nut to prevent from the hardware from backing out, as well as a 3D printed washer made from ASA to allow the pivoting action.

20260809_102025.jpg

20260809_111359.jpg

20260809_111420.jpg

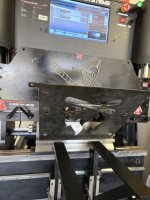
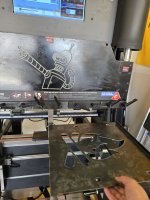
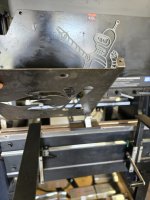
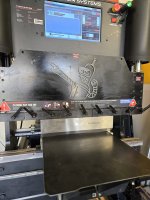
My recent maintenance to my table ensures everything was also cut correctly. A few days ago I found some odd movements so I got a needle for greasing up the zerks and went to town.

20260809_111448.jpg

The gap is an even 1" between the panels. I did this because the hardware through the swingout sticks out roughly 3/4" through the backside.

With the parts done, the last thing I want to do is create a sort of "cushion" that will sit on the bolt and get bolted down with the rest of the hardware. This cushion will be printed out of TPU and will become the "soft stop" when folding up the table.

Seeing as how I have practically no actual 3D modeling experience, it'll take me a few minutes to create and print this small cushion.

The final details of attaching the plastic coated steel wire, or the use of an eyelet, will be left for my friend as he's very resourceful and does a lot of DIY work. I also don't want to buy such small things being that this is only a one-off deal.
 
To avoid these ads, REGISTER NOW!
Top Bottom