Hello to you Mark and many thanks for your
multi year interest in the shop and this thread. Very dedicated! All I've ever tried to do here is show and explain what I've done and why and if some, such as yourself, can take something positive from that so much the better.
")
My fan was made in 1941 and is a General Electric Standard Desk Model with 16" (40.6 cm) blades.
It has three fan speeds and has a 3 position oscillator. It operates smoothly and at low speed is whisper quiet.
It's all original except for a new vintage, cloth covered power cord and the fan blades and cage have been repainted (not powder coated, surprise!
), the base and motor housing is all exceptionally nice, original finish. If your motor wires don't show any signs of cracked insulation, without seeing it, you might need only replace the power cord. Search the net, there several sources for authentic looking cloth covered power cords. Since this one was so original I'm sorry I can't really offer any other words of wisdom for what yours might need other than: clean and lubricate any moving parts, look closely for signs of cracked or broken wire insulation. If you feel the motor brushes or switch are gunky I use
Deoxit D5,
http://www.caig.com/
electrical cleaner. It's magic when it comes to cleaning anything electrical.

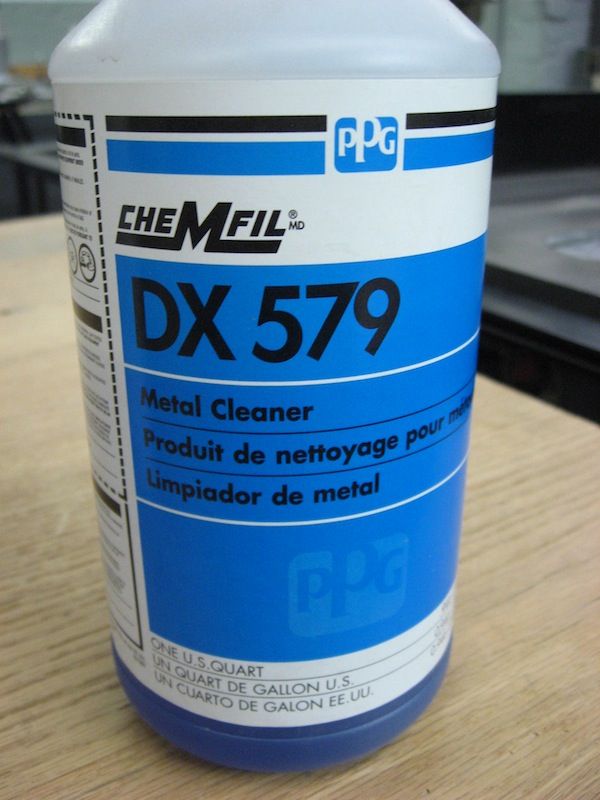
If you do paint anything...
clean it well before hand and perhaps use a Prep Sol or similar metal clener on the bare metal prior to painting. It should be a fun, rewarding project for you. Good luck and keep us posted on how it goes and thanks again for all those years of interest here.
Hello to you also Stretch. So you have a 220V powered version of that fan huh? I'd be interested in taking a look at that. Those old vintage pieces of equipment were truly rugged weren't they? They could take a licking and keep on ticking! Mine on the desk weighs in at around 18lbs (8 kg) and I expect it to continue operating flawlessly for decades to come with proper care. I'll get some more detailed pictures of mine on here.
Thomas