i think i am blind as i cant find prices anywhere on that site. whats the price for this unit?
See here. Garage Equipment Supply
Last edited:


i think i am blind as i cant find prices anywhere on that site. whats the price for this unit?

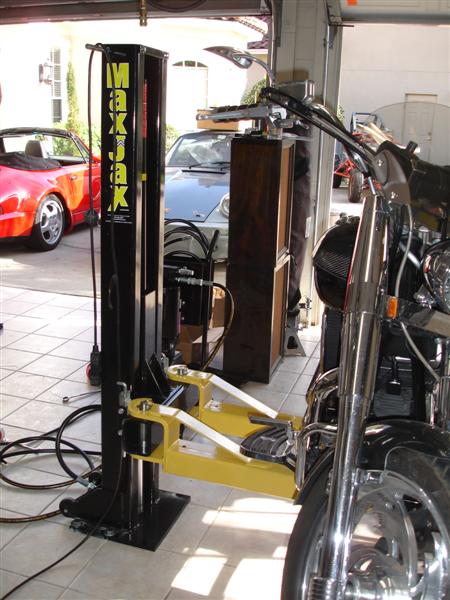
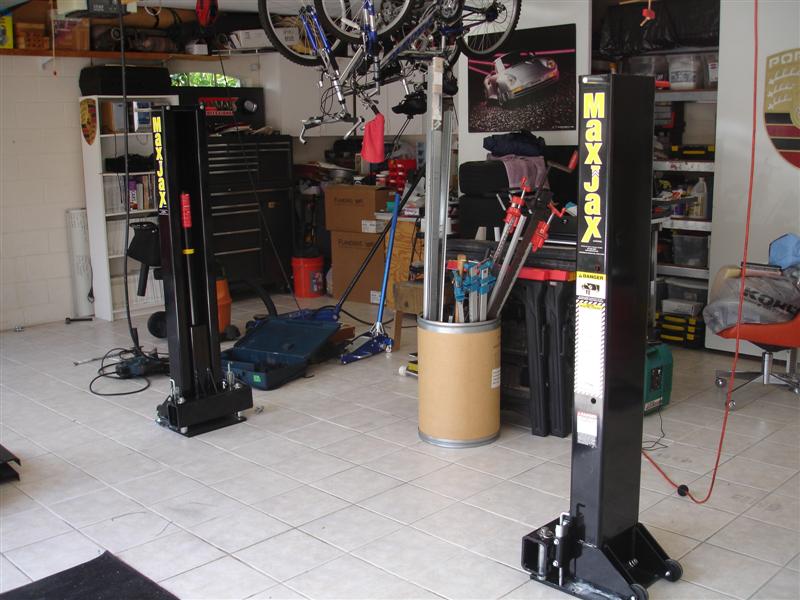
this would be perfect for me as my lift would be outside the garage...
Being I want it outside, these roll way posts are awesome. Once my job is done I just roll them inside.


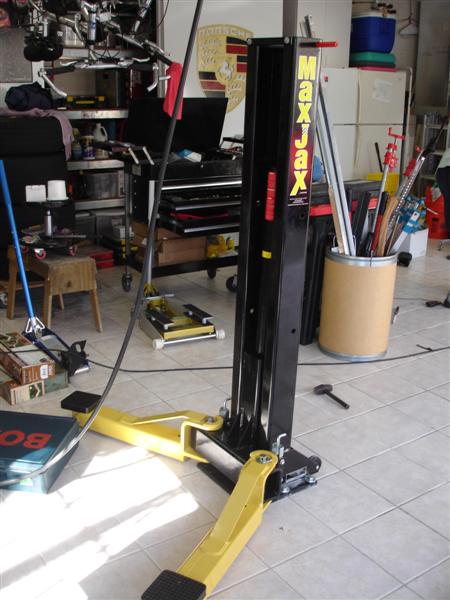
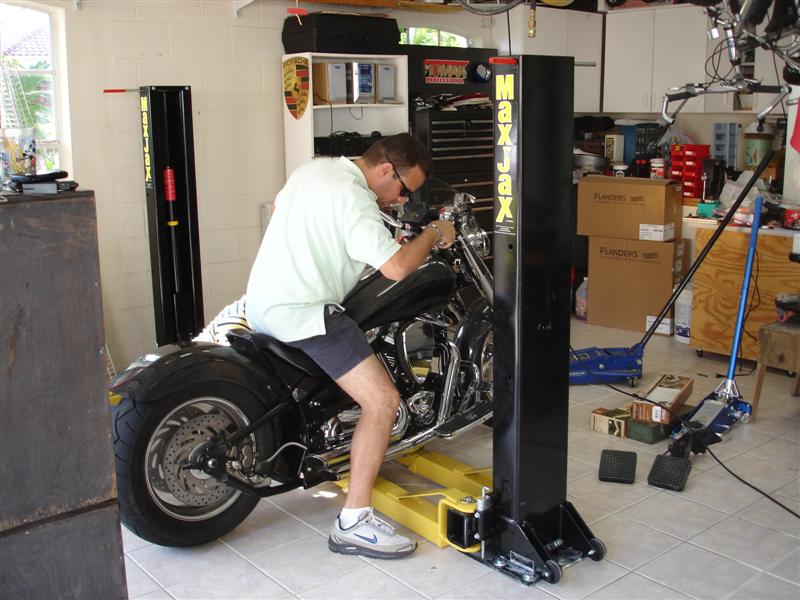
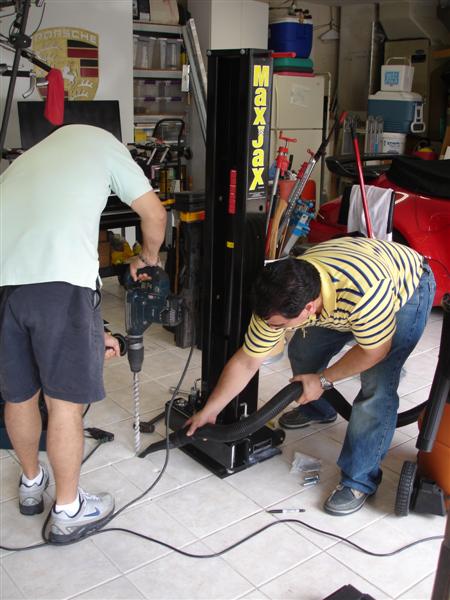
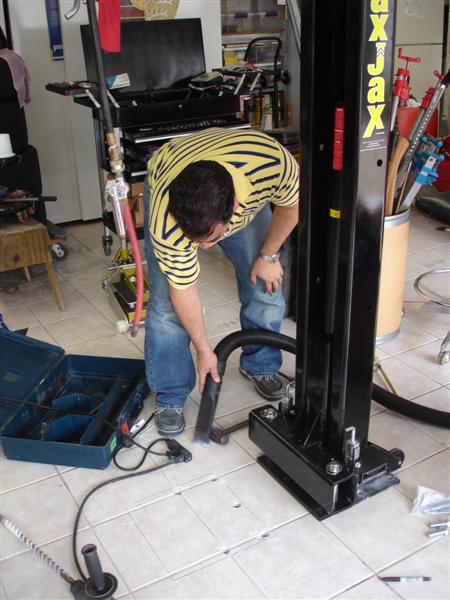
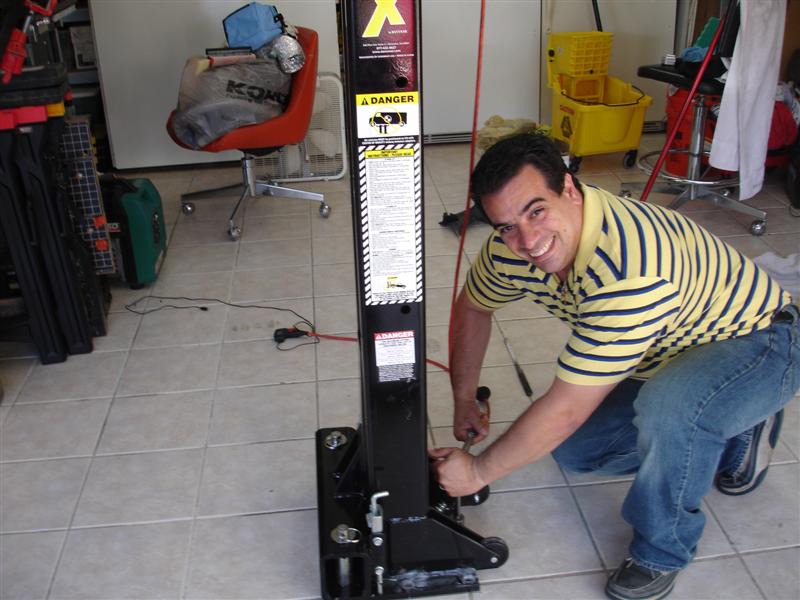
hummm... no 7/8" drill bit... out to Lowes to get one.
You should get the Bosch bit. pricey, but will finish the job with ease.
7/8 SDS Max
7/8 SDS Plus
Even on sale the SDS Max bit costs as much as my HF hammer drill...

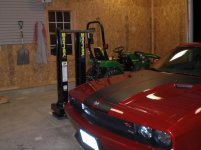
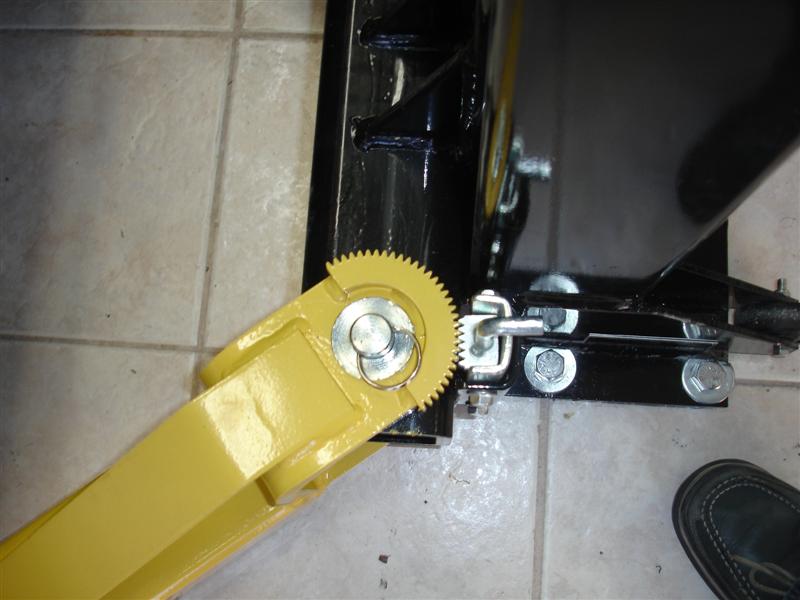
Just got it today. Plan on installing this weekend. We'll see how it goes
Nice gratuitous shot of the new R/T challenger

I missed the group buy but I sent a PM to Tyler right after it ended. I still got a great deal. Thank you MAXJAX. I was scheduled for mid April delivery.
Flameout - What's a Ranger rated for payload? I was considering trying to pick mine up in my S-10, but it's only rated for 800lbs.
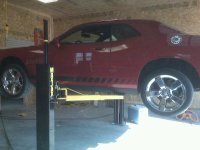
Yeah, noticed that. Very sweet looking car


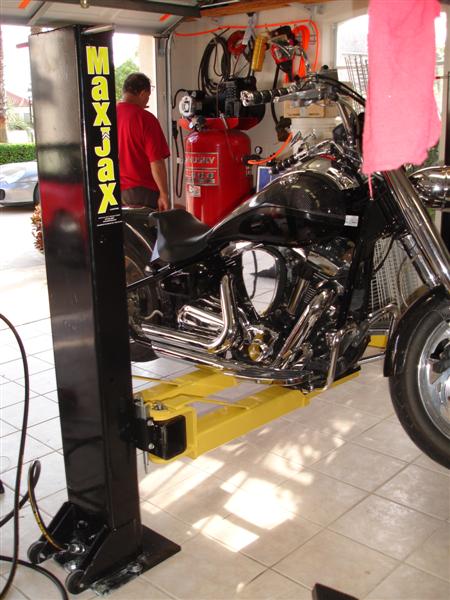
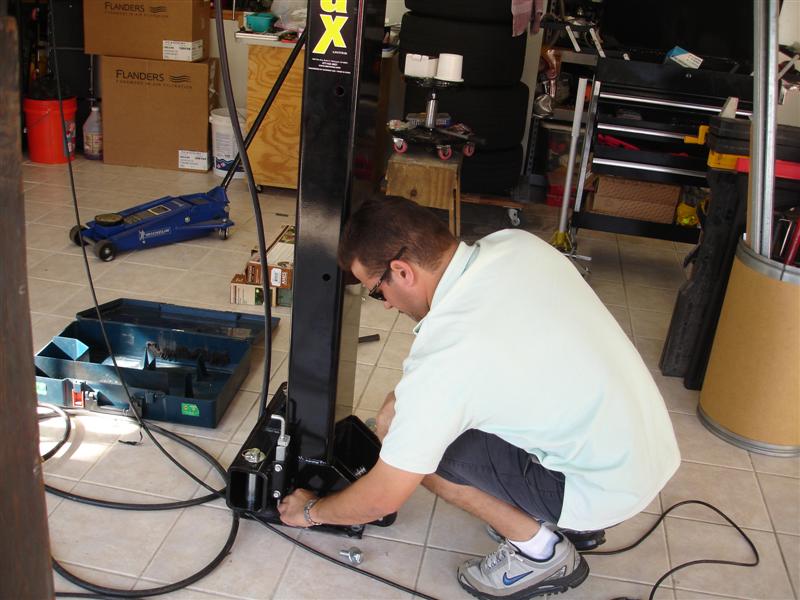
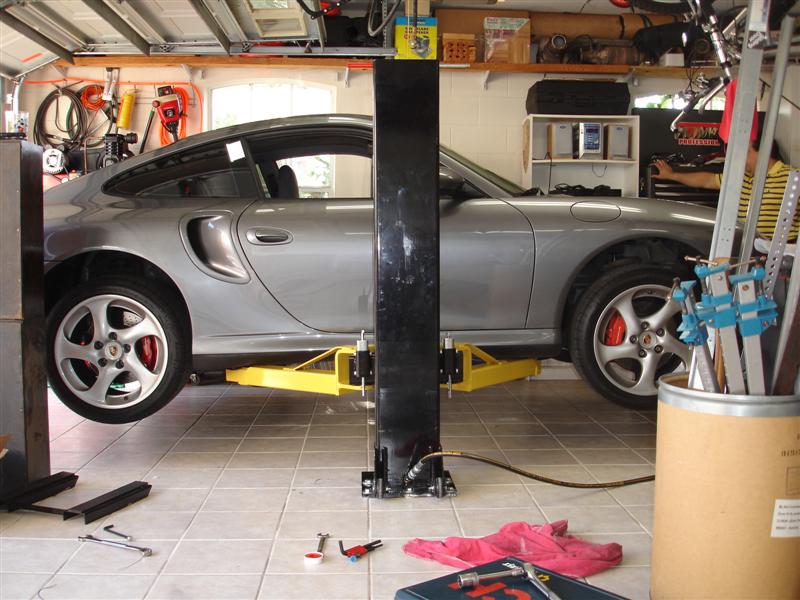
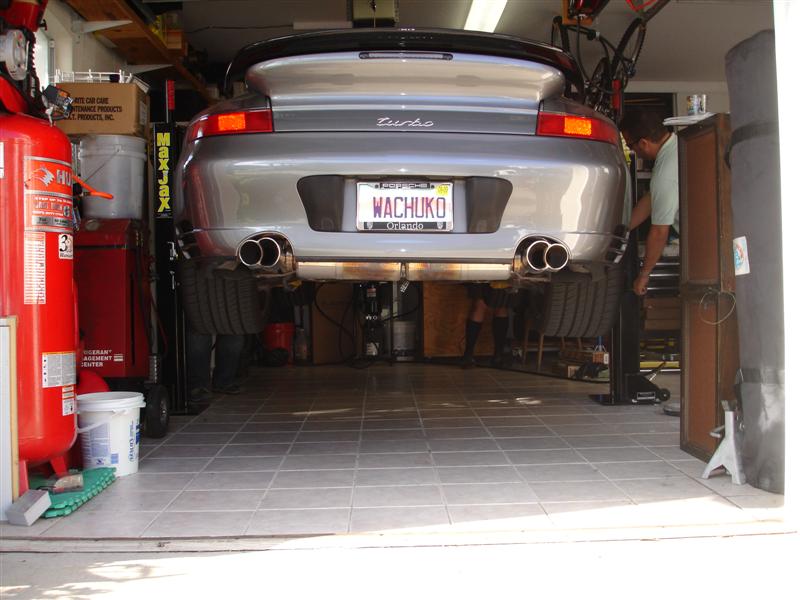
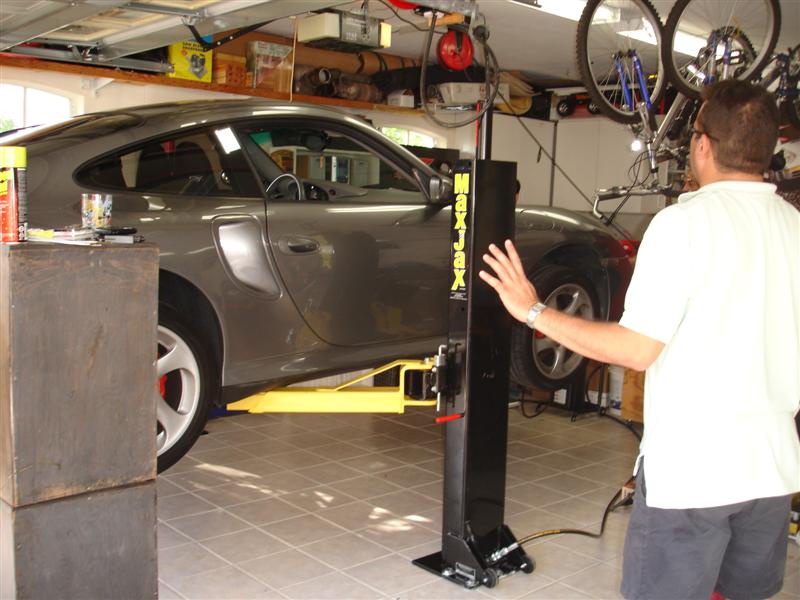
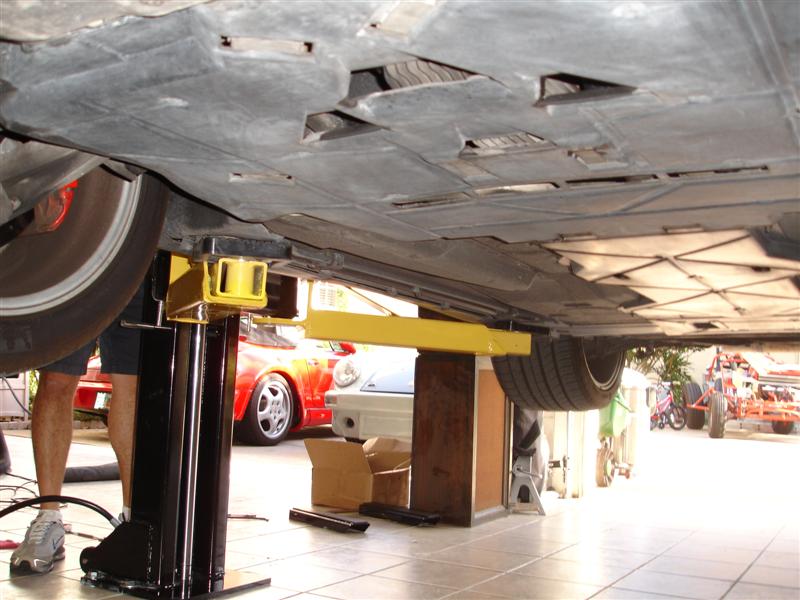
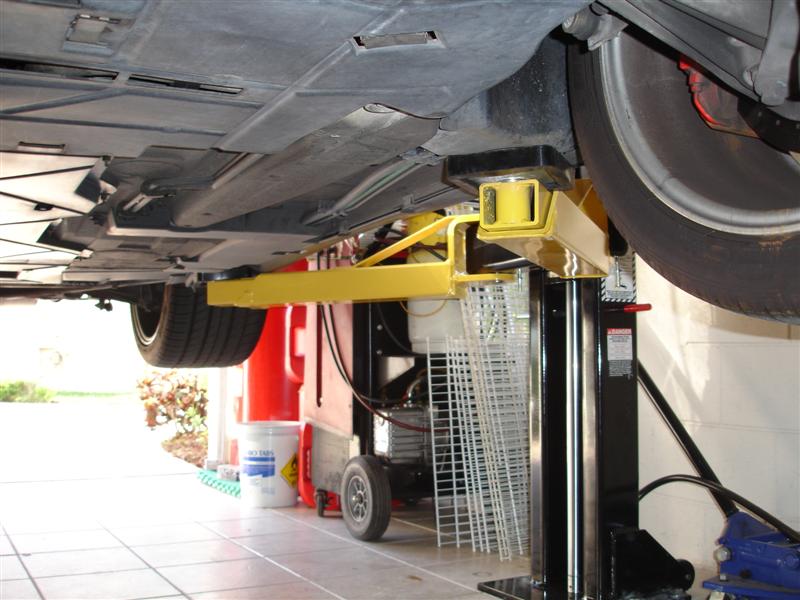
Got it installed today. Only problem I had was that it would not lift a load all the way to the top. After a few bleeds, finally figured out that it just did not have enough fluid in it. I put seven quarts in start with but it eventually took 8. Now works perfect
via phone. Way to go! After several bleeds and one column still lifting higher than the other Jeff suggested that I swap hoses to see if the problem was the flow divider... Sure enough, once the hoses were switch, the other side start to lift higher. So a new Flow Divider is on its way. Very smooth lifting, lowering... just awesome! I lifted two of my cars, pushed them while lifted... and all very stable...
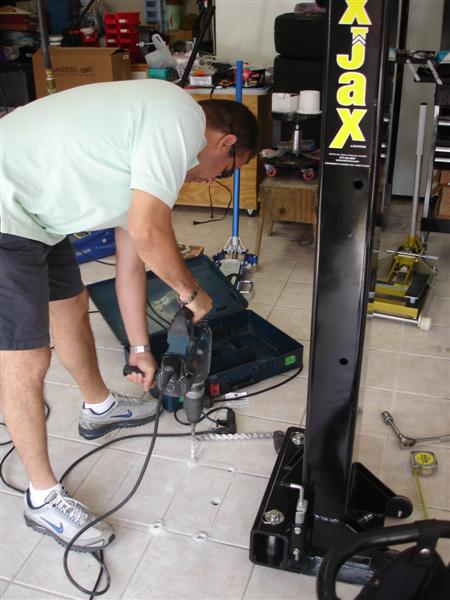
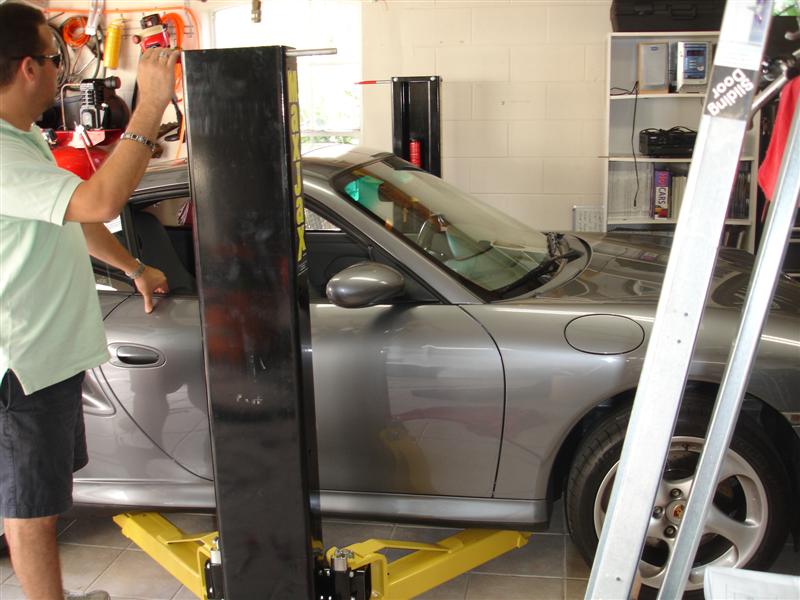

Awesome! Can't to see my car in the same position...I was wondering what you used for a distance between the columns? When I laid out my new concrete pads I took into account the size of my car and truck and the recommended widths on the site.
-Gabe
..
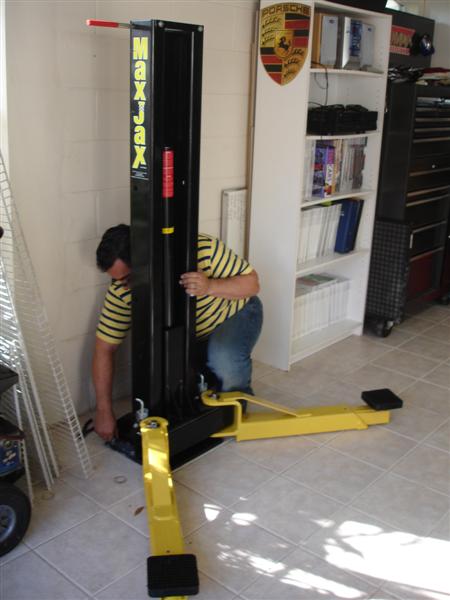
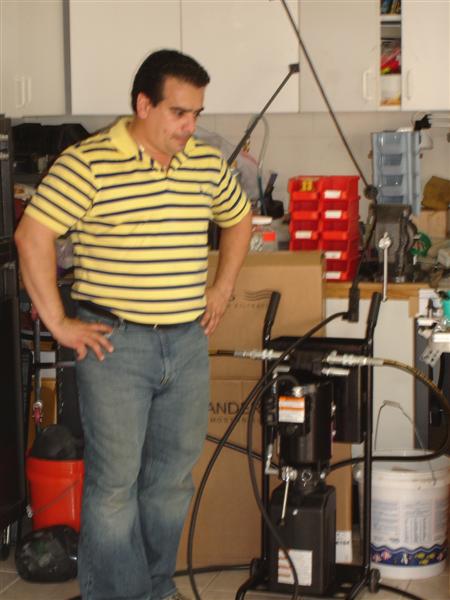
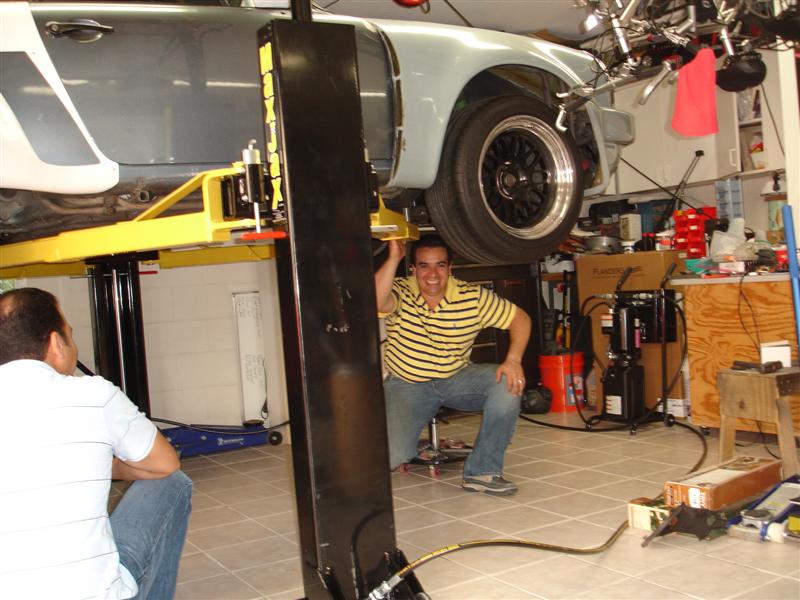
Wachuko... Was the pic with your ugly puss setting on the roll around stool at max lift height? Did it seem to have enough clearance do work comfortably under the car for you? I noticed that the safety pins were in place, Good for you and congratulations on a beautiful setup....
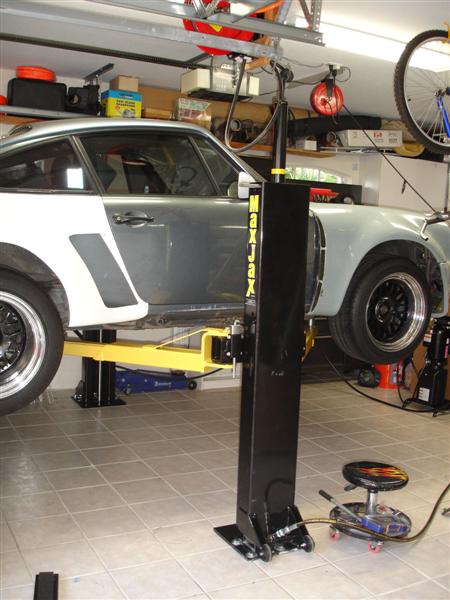
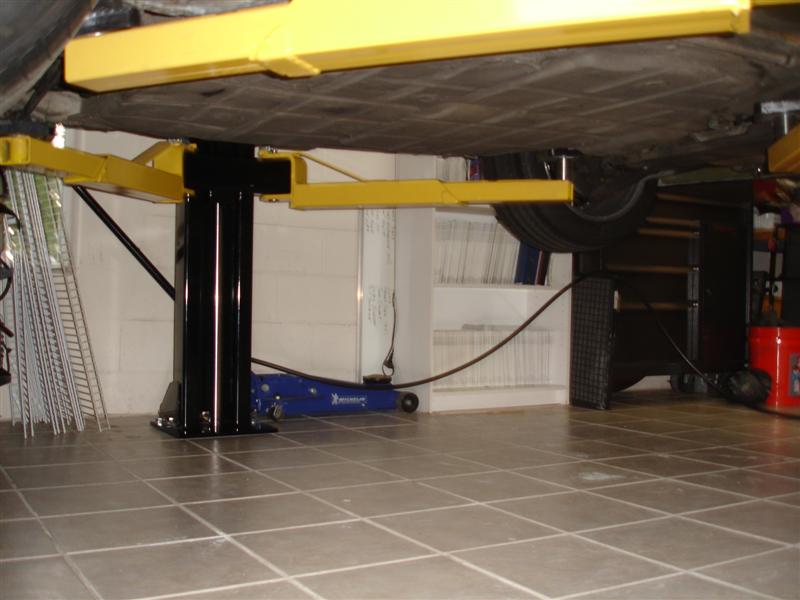
Outside dimension on the bottom plate is at 128". Space is not a problem so I want room to open doors easily. I have yet to see how that works on smaller cars. May be too far apart, just depends on where the mount points are on the car.
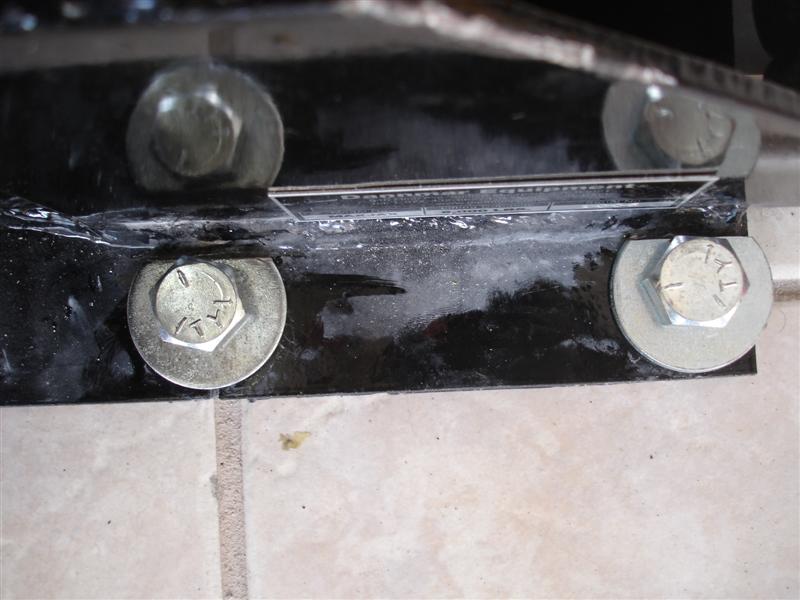
Wachuko, I am amazed that you were able to drill that big of a hole, with a hammer drill no less, into the tile without cracking it. I hope they did a REAL good job floating in your floor...thats a lot of weight for a small footprint on ceramic. You not worried about cracking a tile under load?
Wachuko,
When you drilled the second set of holes for the 2 car bay where did you get the anchors and bolts from? I have a 3 car garage also and I want to do it like your set up, but wasn't sure where to get the second set of anchors and bolts from.
Thanks
AJ