1/2 Cup
Member Emeritus
Congratulations to both of you..

Thomas, I am familiar with pinning stonework but I have not come across the use of stainless steel flashing in that way. Is this common place in the USA?
We would normally use a mineral felt type damp barrier in that location as mortar will grip to it.


"You attention to detail really does go beyond expectation.
This house really has been built to outlast generations."
Thank you as always for sharing.
Absolutely true, yet can also be the understatement of the year.
Tell me Thomas why I now have this overwhelming desire to install a permanent generator? (including brick work etc)
When since I've gotten a portable generator I've only used it once in the past five years and have lend it out several times to help out others . . .
")
Thomas,
A belated Happy Anniversary and the exterior is looking great! Quick question - would you mind posting details about the wire cable railing system you used? I'm debating using this for my project and was wondering if you could supply some information about what product you used, ease of installation and if you are happy with it, etc.
Thanks,
Brian R
Brian, your project is a perfect candidate for using cables. You don't want to block that wonderful view you have. I'll post the following just to get you started, I've got a long day in front of me.
Here's a link to Feeney, the company that made the cabling system I used:
http://www.feeneyinc.com/Architectural/CableRail
Navigate the site and take a look. Short answer but, I've been more than happy with my cabling system and I think you would be too.
I'll have more about it later.
Thomas
.........
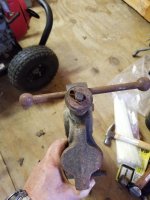
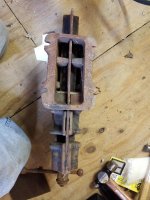
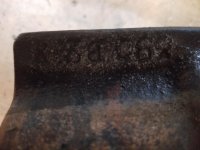
The vices and the anvil.
As it happens I have an unusual combination of the two and while I was visiting my parents I made sure to get pictures of it to share.
.......
with your permission post the pictures in your thread.....
.........
Thank you and Chris for sharing your journey thus far. I eagerly await the updates when you have the time to do them.
Take care.
Don
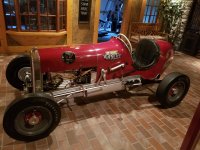
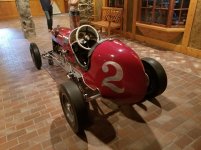
Que up the Jeopardy music


Here are a few pictures of just some of the latest projects that have been keeping me out of trouble lately...
Thomas
 . Flag pole looks great and have fun at Indy.

....
I just bought one from a KFC that closed, the owner of the building just cut it above the concrete. So its probably3 or 4 feet short. Its still about 20ft. long. I was wondering how you planted yours?, did you put it into a pvc pipe then concrete, or how would you recommend? I was thinking if I need to take it down in the future for repair, the pvc sleeve might be best. But I'm not shure about keeping water out of it? Any advice much appreciated. Thanks, BUG


Sorry I don't have any other pictures of it. I didn't think anyone would be interested in this so I didn't take any.

Love the flagpole.
Love Americans’ patriotic approach
Your tools, tables, storage etc is amazing.
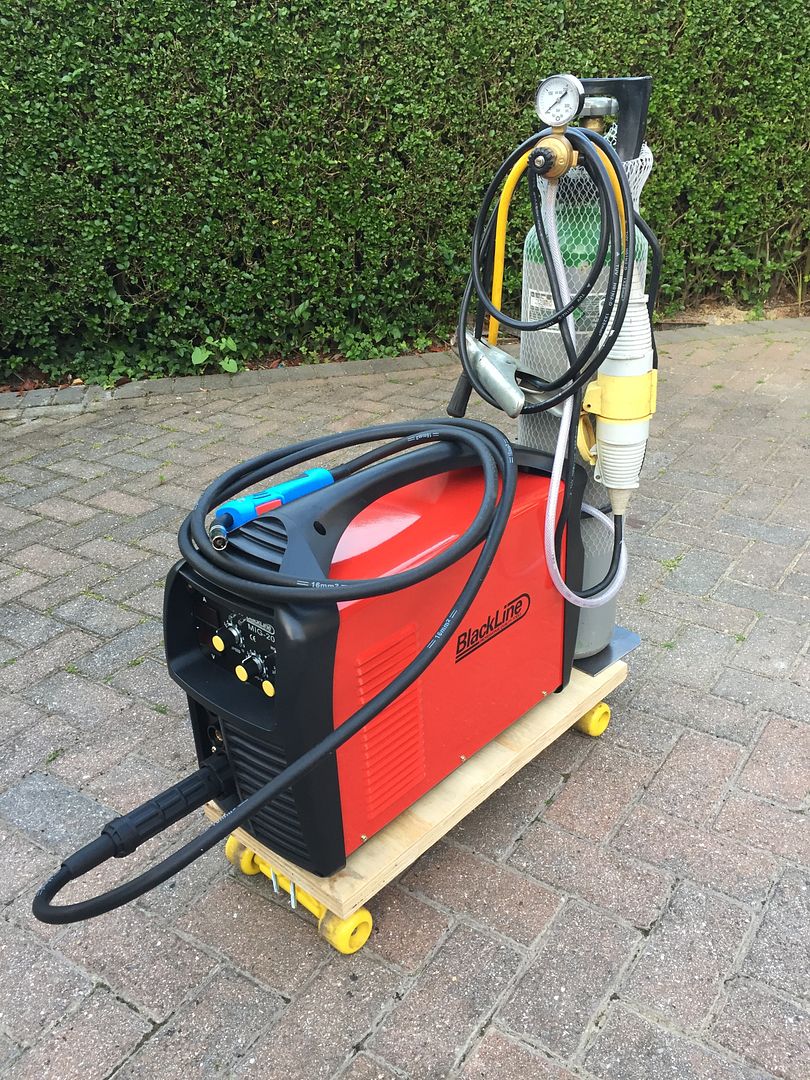
I just bought a new welder to start back on my Chevy C10 truck restoration and made a quick trolley for it last night.......
It should make you laugh or cry in despair.
I will do a decent one on castors later.
Thanks for all the inspiration
Very nice long stock cart! A word of caution on the stack-able short stock setup. The foot print isn't very large and it may end up tipsy if you go too high. I'm betting you already thought of that but wanted to mention it any way.
I did do a search on my vise/anvil and I did find one other example on this site. The general consensus of no self respecting blacksmith would be caught dead with one of those gave me a chuckle. I don't see it as a serious blacksmith tool myself but I think it would be fine for light duty jobs like I have in mind.......


devans522 your concern about the metal storage rack is well founded. It is narrow so to minimize the chance of it tipping over...


...you'll note that provision was made to bolt the stacking sections to the bottom frame. I've tried to store the heavy metals mainly on or near the bottom to keep the center of gravity low, but you're right, it is something to be aware of. It's as high as it's going to be and I don't expect it to be moved very much.
Thomas
I just bought a new welder to start back on my Chevy C10 truck restoration and made a quick trolley for it last night.......
It should make you laugh or cry in despair.
Hi Thomas
If I read devans522' message correctly I think he was referring to this
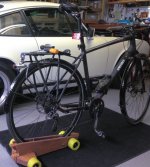
Funny, I made almost the same cart for my commuter bike.
Forgive my ignorance. I raced bicycles in my younger years, so I understand a bike may not have a kickstand and a home parking stand of some sort is great, but I don't quite get it. Why make a dolly for something that already has wheels?
Tommy
I'd have done a better job of documenting everything but I just didn't think anyone would want to see it so sorry for that.
Thomas