CwazyWabbit
Well-known member
I think I'd have left the whole undrilled as it's a bit of a quirk. My understanding for drilling cast iron is that you shouldn't use a lubricant at all.


How about clamping the 1/8 steel between two bits of thicker steel so just enough is sticking out to fit into the screw?
You can get driver bits with a 1/2" square shank, if I recall. One of those should easily be sturdy enough for the task.
The other option, (CW's method would likely do the job well too), would be to weld the steel strip to the inside, (else slit the sides of the socket with a grinder or hacksaw and drop the strip in), of a socket which is large enough to slip over the head. That should reinforce the steel strip enough to do the job.


Some pics of the brass.


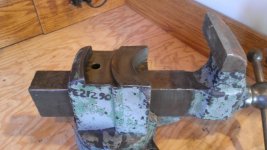
Bagged,---I use primitive tools.---First measured for the center between the V and each sharp edge.---Then a center mark between those two halves and then once again until there is about 3/16'' spacing between marks.---Then took a hacksaw and made an indention at each mark so as to hold the edge of a file in a straight line.---Then used the sharp edge of a 14 inch file and a lot of patience.---To be honest, with close inspection, they're not as symmetric as they look.---Not near what machined jaws look like.
You have to work on it a little and leave it, or you will scrap the project.---If you get half way, you will finish it.---If you try to do too much at one setting, you'll take a hammer to it.---Good luck.


Nice job Jeremy!
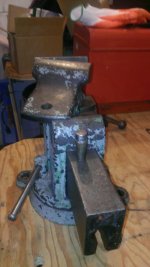
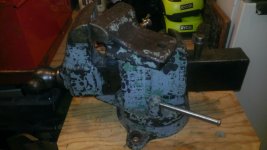
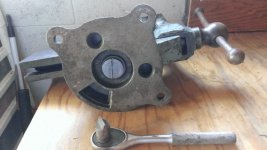
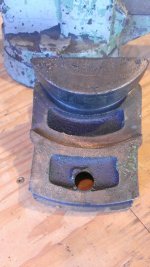
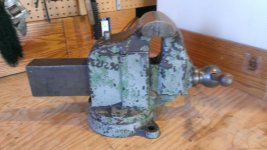
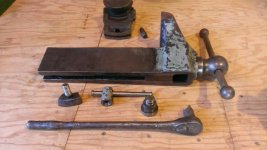
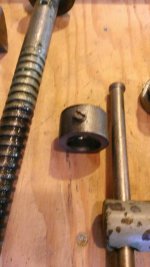
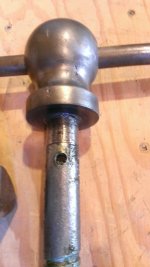
ALL: i just took apart my Reed 404.5 and it needed that large screwdriver we have been talking about. i forgot that i have some old school wrenches and that my old Craftsman set has this socket that worked like a charm. it might be a while before i get this vise cleaned up and put back together, but i'll do a before and after postings to show how it looks while i have them handy.
")