CrotalusAtrox
Well-known member
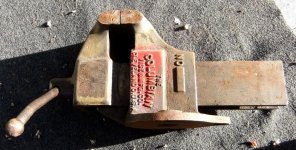
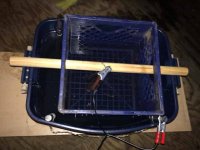
Oh, and since diesel is readily available, I think I will go that route, let it soak for a few days or a week while I'm trucking. The vinegar could be bad if I don't get home in time to clean it off.
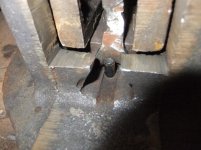
Not sure how stuck it is ,but sometimes just a bit of Kroil put in the right places does wonders.


")