NotOrganized
Well-known member
- Joined
- Sep 18, 2014
- Messages
- 223


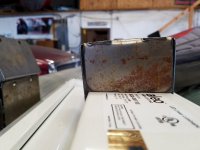
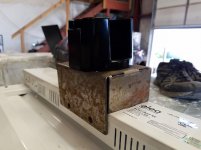


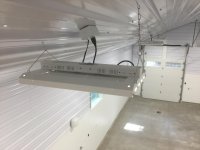
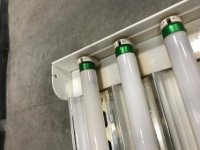
 Quick fix was to move the ballast to the center of luminaire. There was even a hole in the exact spot needed to even it out and to secure it down with one screw. The U-shaped bracket is just a 4X4 post bracket.
 Those are awesome NebrTdNice job NebrTd. I have the 95W Aleo's too. That's what I "wanted" to do but decided on this route so it will self-level and since all my wiring will be ran in conduit.
I made a mock ceiling with the pitch I have to see what adjustments needed to be made. Good thing too. Even though it self-levels to the floor, I didn't take into account that the luminaire weight was not evenly distributed front to back (long ways). The ballast is at one end, so it lifted up on the light end. [emoji38]_hitti Quick fix was to move the ballast to the center of luminaire. There was even a hole in the exact spot needed to even it out and to secure it down with one screw. The U-shaped bracket is just a 4X4 post bracket.
Are you running a dimmer and if so, which model?
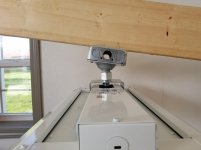
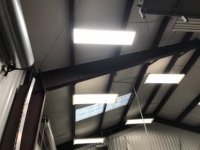
I plan on running the hooks into the trusses and not using the chains. I suspect I can put a 3/8 12/2 stranded armored cable with some snap fittings and only have about 8" for each light. I will bend the hooks to collapse them after install just in case so they cannot lift out of the hooks.


I went with cords and hung by either the wire bales directly or short chains (5/12pitch on the sides). I found that the cords, outlets were less expensive than SO assemblies and it is a heck of a lot easier to install.
Trying to work in those attached bracket boxes is about impossible overhead and around the width of the lamp and against the ceiling. And service or cleaning is a snap - unplug and Unclip. For the dimming I used the wago luminaire connectors.
Nice install Radix... Thank you for all the help with my calculations and layout. It turned out perfect!
Sent from my SM-G955U using Tapatalk
Glad to hear it. It looks like a lot of outlets are d the outside of your balcony.. what is going on there? Neon sign collection?
Looking good .
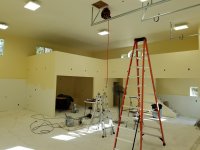
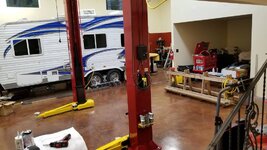
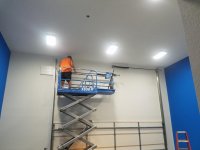
Thanks SimplyTodd. That lift is a life saver. I had scaffolding and decided to give it to a friend and just rent a lift for a month. $600 seems like a lot but man does that lift make short work of high conduit runs. Note the ladder in the corner. I can only get about 8ft up before I get spooked. I was actually thinking I would use my RV to move lights or hang any new ones. i am putting a few more outlets up high in case I want more light.

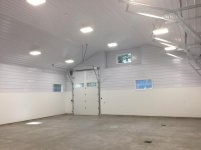
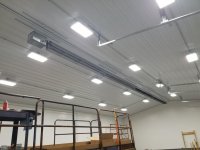
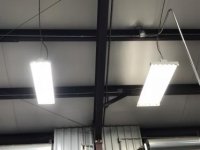
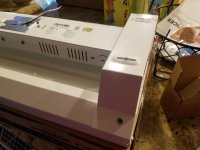
Finally got the majority of the electric done and all the lights hung. I couldn't be happier with the light output of the 95W Aleos (X 16). Good thing I put them on the dimmer Radix2 recommended a few posts back (Cooper SF-10-W). The combo works great! They dim down next to nothing and a full tilt I have daylight inside.


Thanks platonic i posted to that thread.
If one does go with vhooks, can revamped or anyone else show a picture of how they attach to the ceiling? Just eye bolts or ...? Then you need the wire protectors and I guess a box to attach those to? Right now I just have the 110 and lv coming thru the ceiling so I know the surface mount would be an easy finish. I'm not sure how to finish it out with the vhooks?
Digging this back up. Question. I am about to mount 15 12k lumen high bays in my shop, 30x60x14, in a 3x5 pattern. The lights in question are 2ftx1ft LED high bays similar to many in this thread. Is there a "correct" orientation? By that I mean should the long end of the lamp be parallel or perpendicular to the wall? From what I can tell it wont matter since there is no reflector but I wasnt sure. The lights I bought have a frosted lens as well.