I got the core stripped out and laid in the base insulation today.
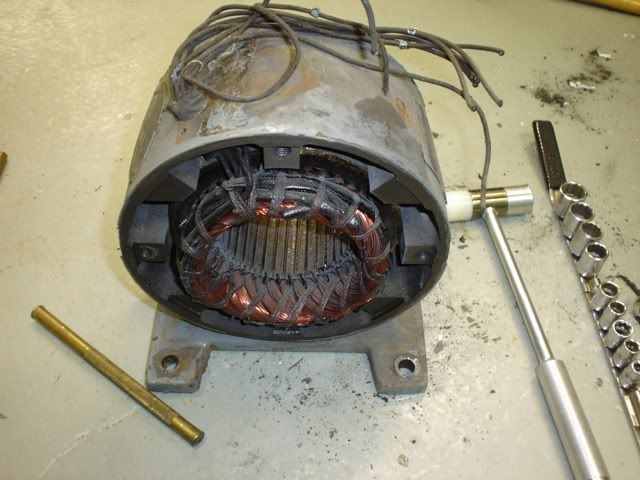
To begin, here's the core after stripping the varnish with my special concoction of caustics and pulling the first few coils. I decided to strip the core chemically rather than the traditional method of burning out the core as it is the least likely to damage the core lamination insulation, which increases core loss:
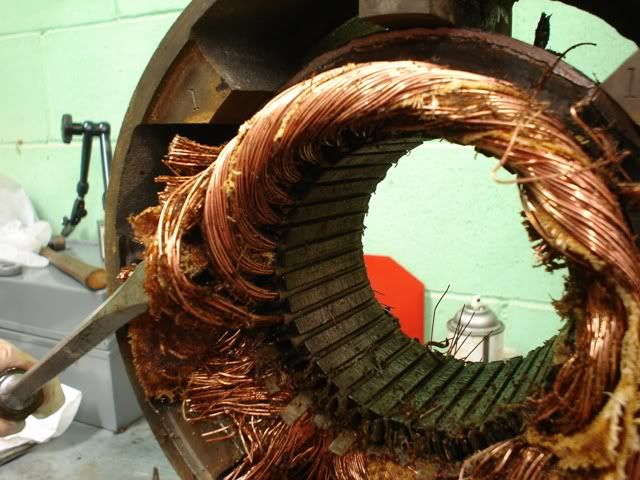
Coil pulling proceeds by using a long screwdriver to start the coil moving:
Once the coil is broken loose it can be pulled clear of the slot with water pump pliers leveraged off the motor frame:
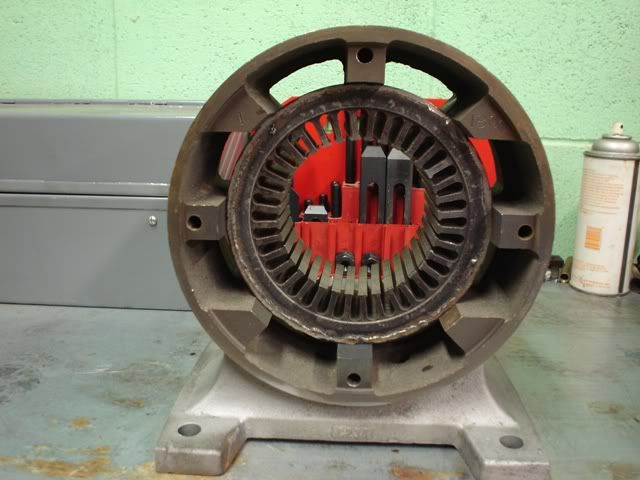
After pulling all the coils and the base insulation it's time for blasting. Walnut shells are used for this process as it they are not hard enough to peen the iron core laminations together, causing a core short and increasing core loss just like an insulation failure:
Here it is after blasting with walnut shells:
While pulling the coils I retained samples of the coil and base insulation for measuring. The wire count on the back side of the frame is 46, which equals 45 full turns per coil:
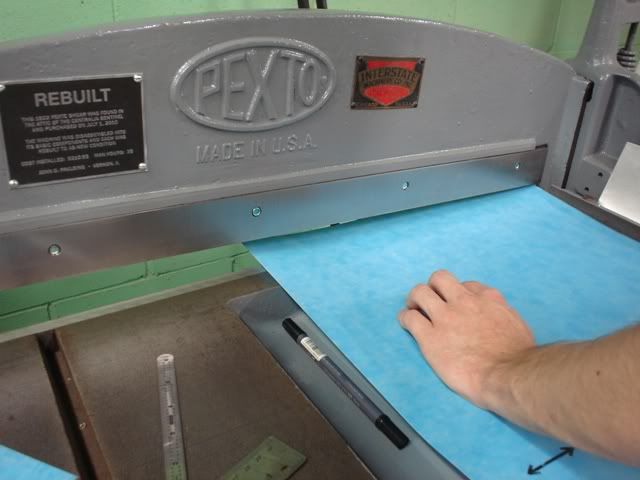
Next, I straightened a few of the core laminations that were bent during the pulling operation. Some bending of the outer few laminations is unavoidable due to the amount of force required to pull the coils free. That task complete I cut strips of DMD on the shear. The advantage to keeping your sheet metal shear sharp and in good order is you can cut more than just sheet metal with it!
The strips got cut into rectangles on a paper cutter. Motor shops use a shear that looks just like a paper cutter but has a 3' long blade honed to a razor edge:
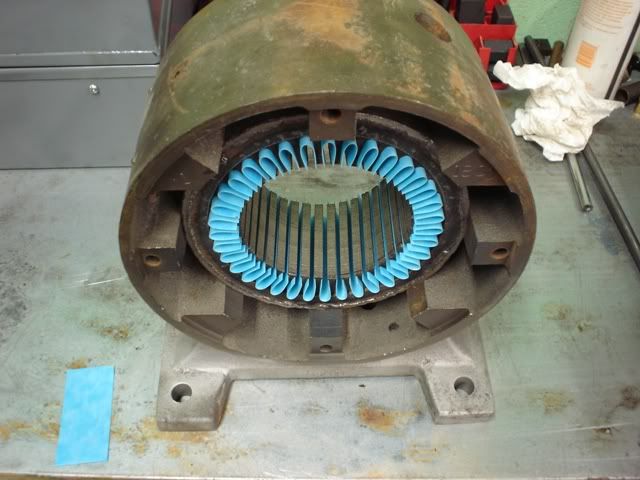
Finally, the rectangles were pre-formed on a mandrel and inserted into the slots. This is the first layer of coil insulation:
Once my magnet wire and varnish arrives I can begin winding coils. In the meantime I'll put together my coil winding mandrel.