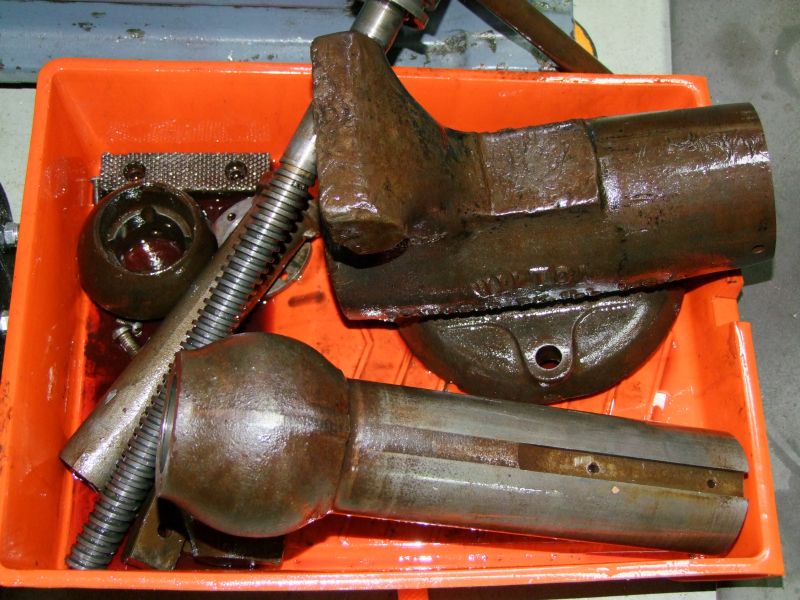
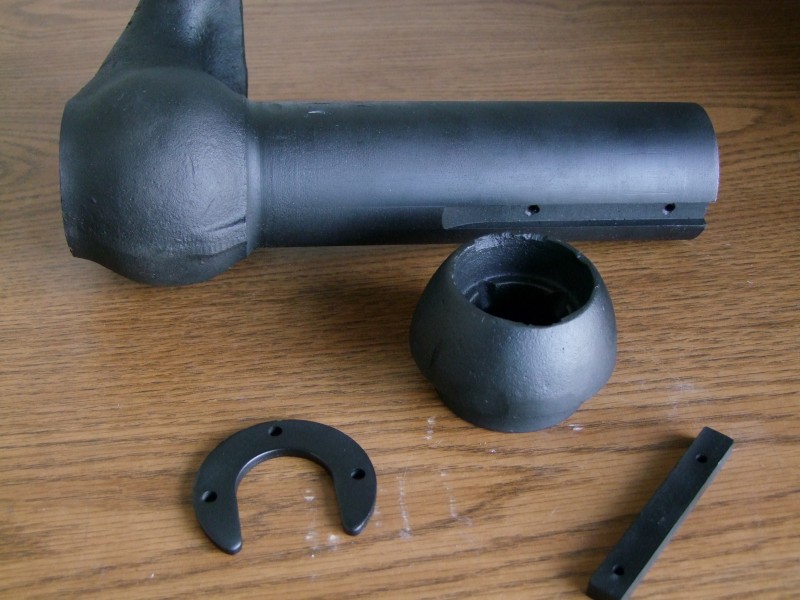
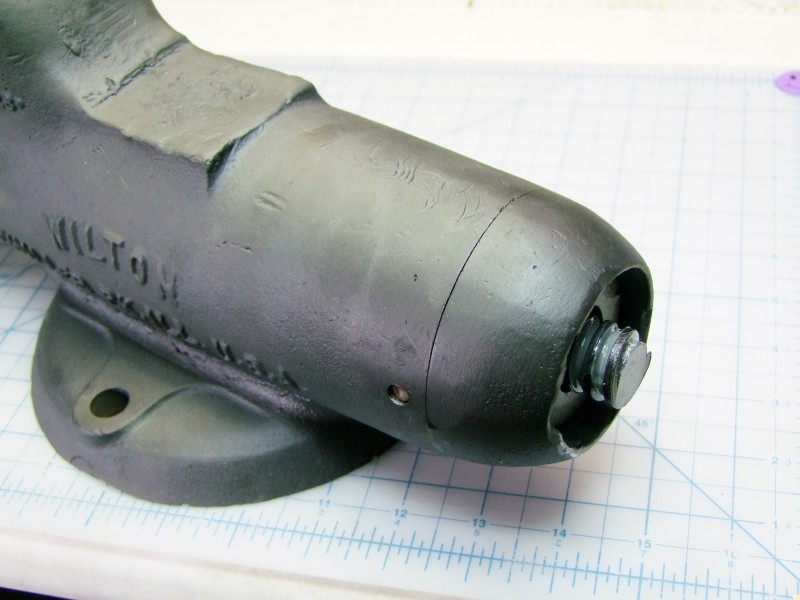
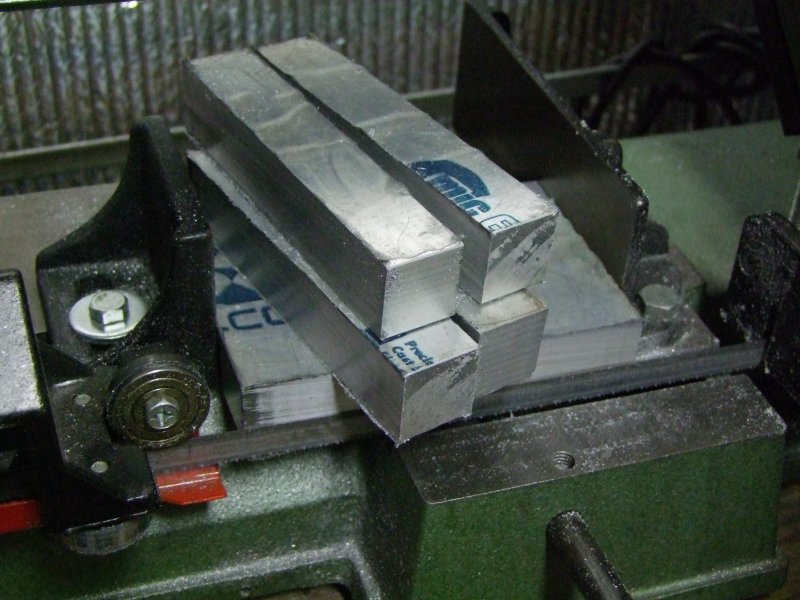
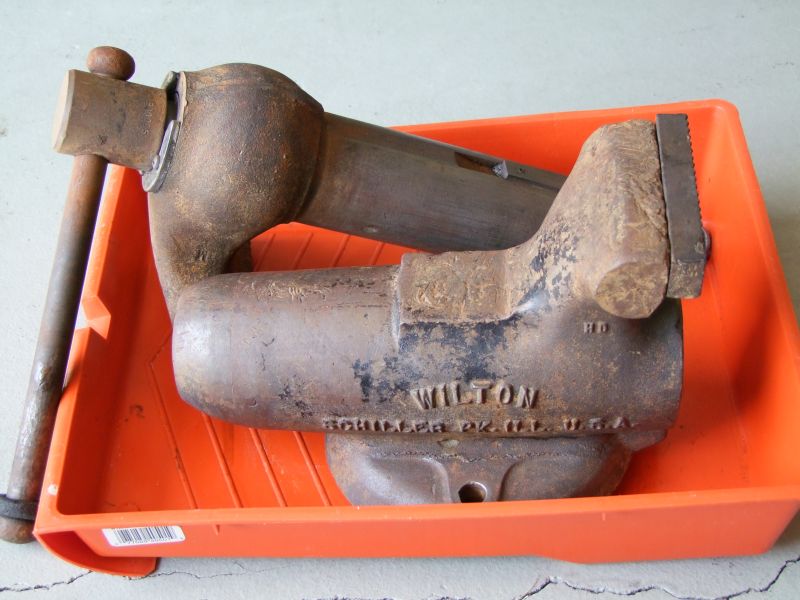
Just picket up this yesterday from an older and retired man in city (via Craig's List) for $60. Moves fairly smoothly, but it has been severely beat-up. I have not seen a "tool" so poorly taken care off.
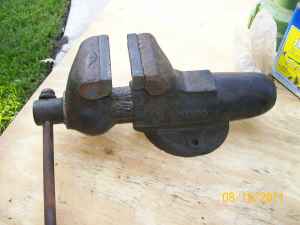
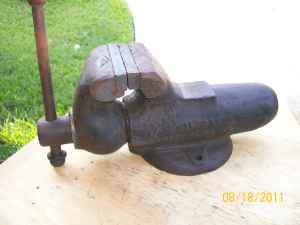
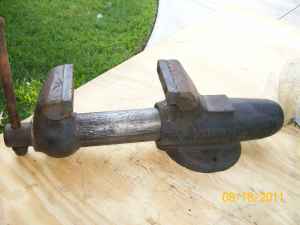
Here are the photos posted in Craig's list:
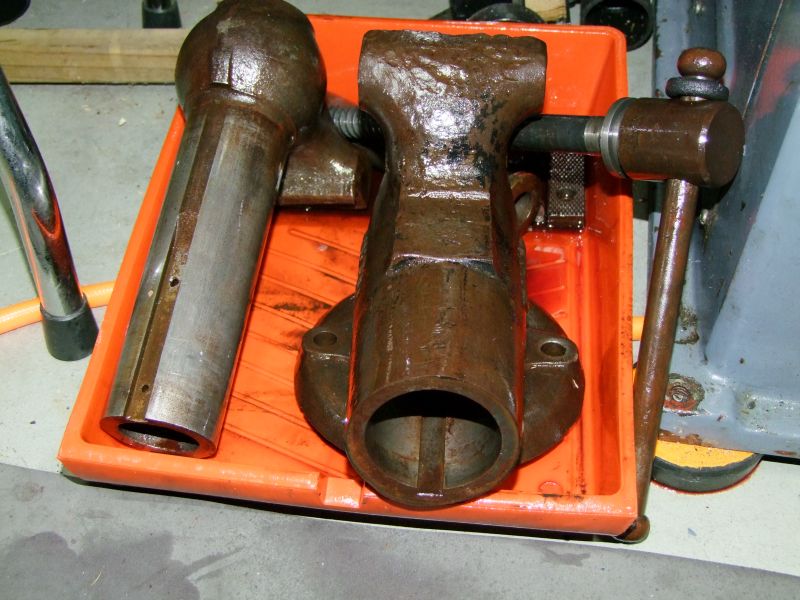
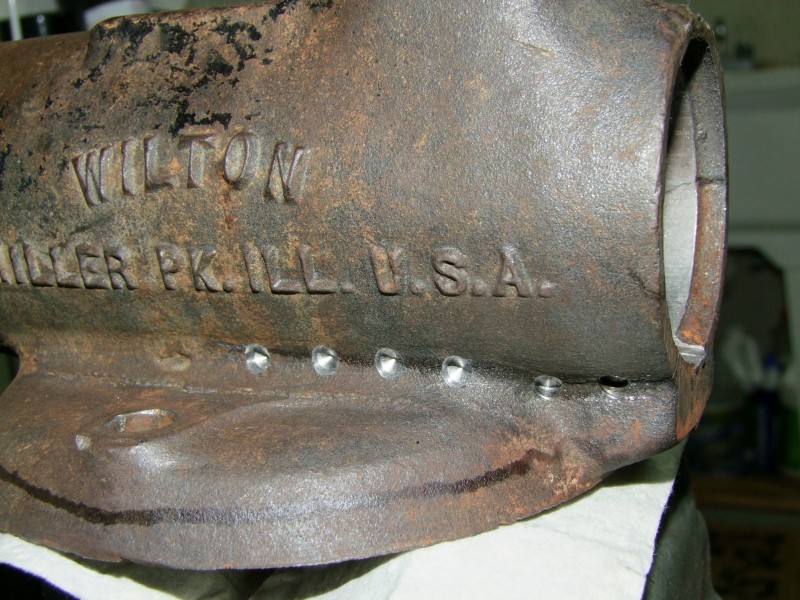
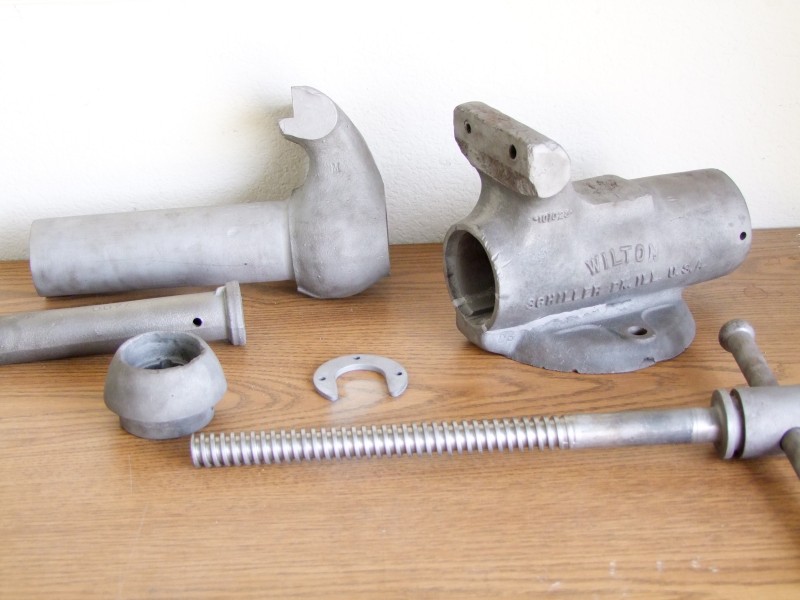
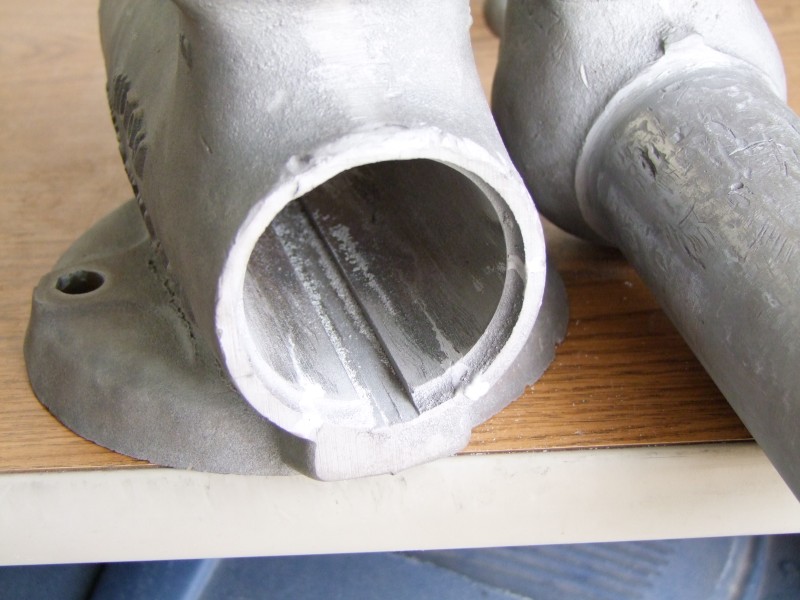
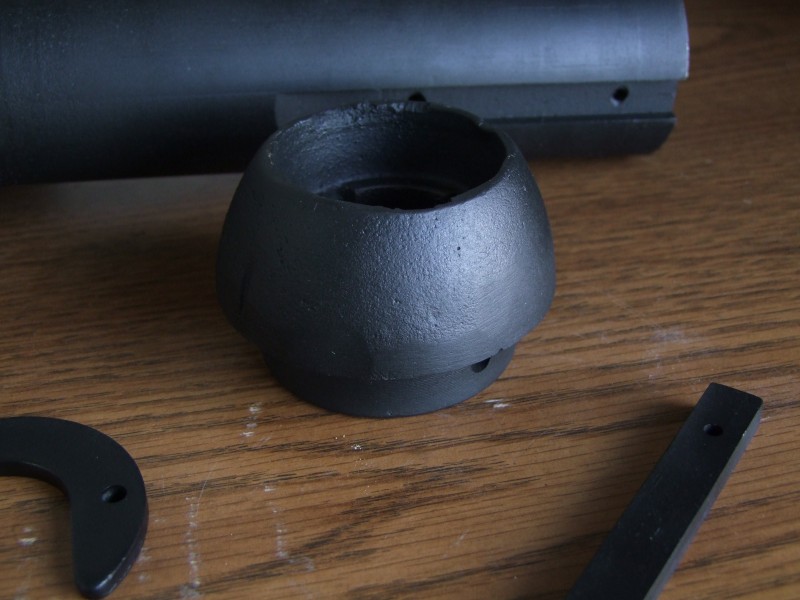
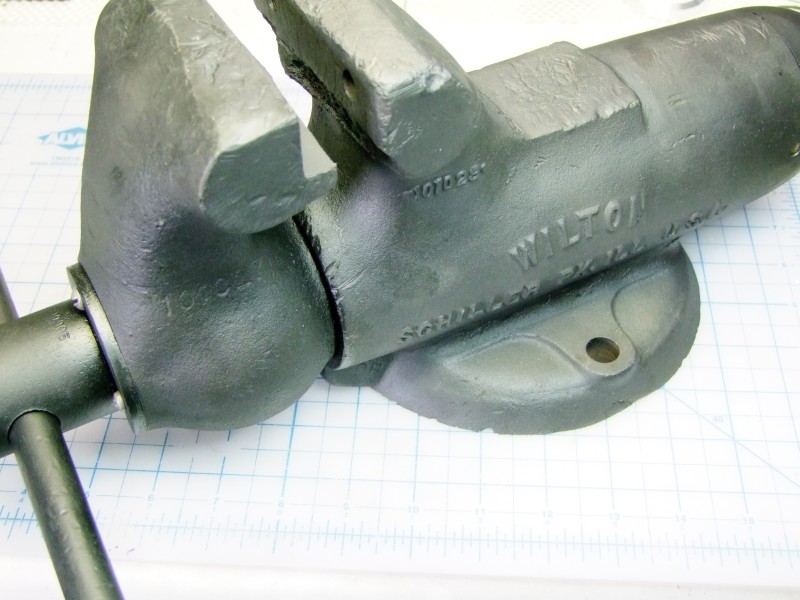
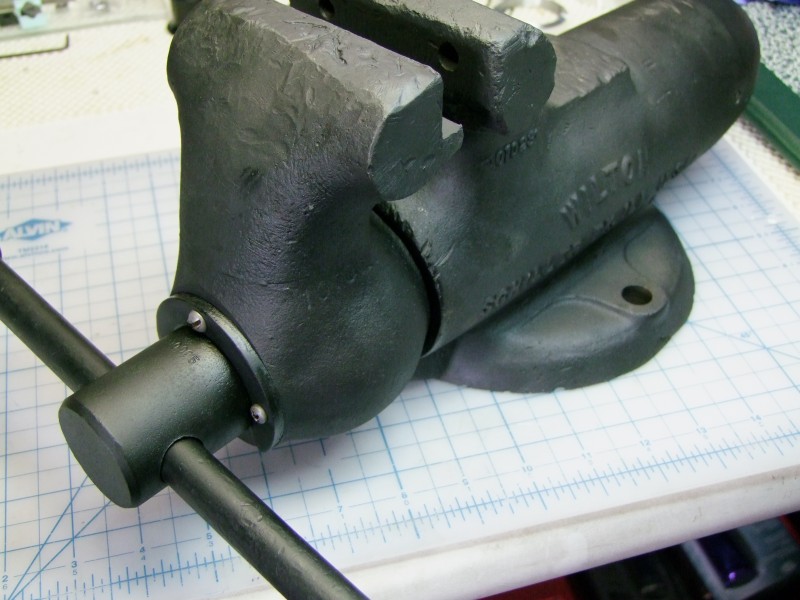
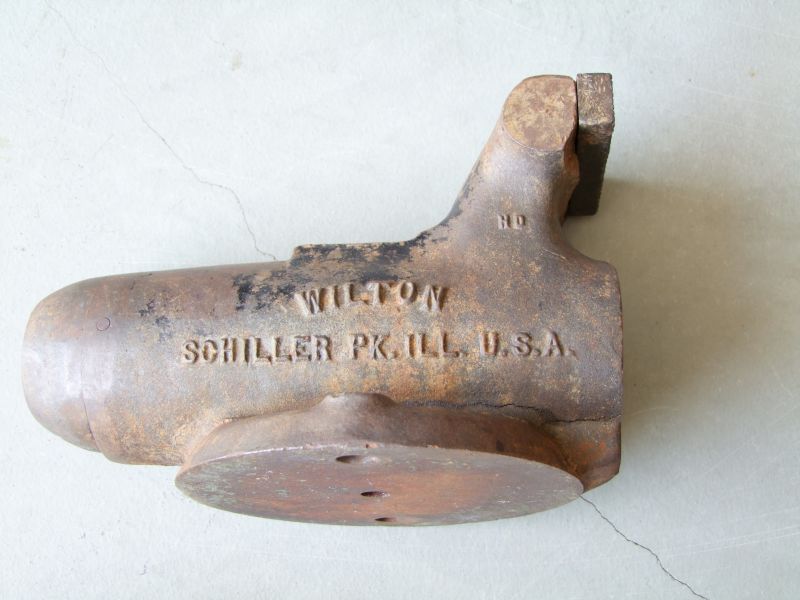
And after a little bit of cleaning, you can see how bad it really is, including a couple of cracks on the fixed jaw/base side:
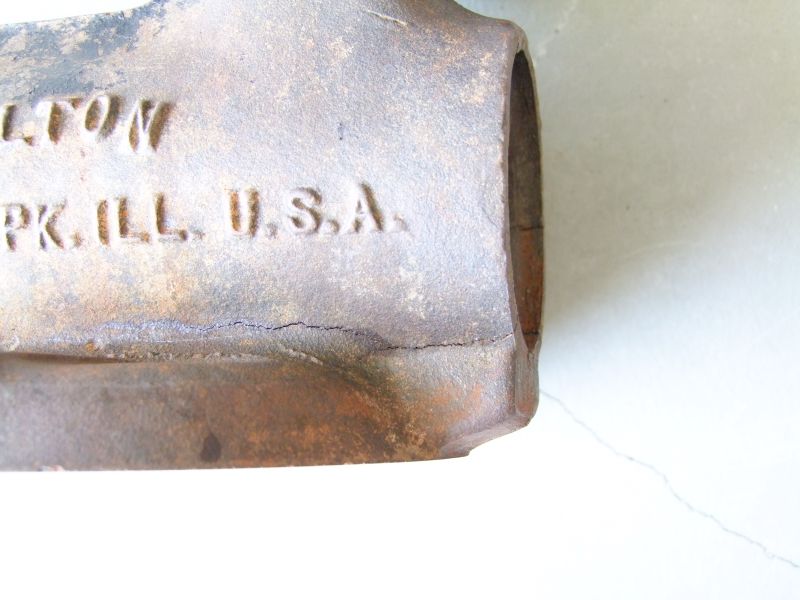
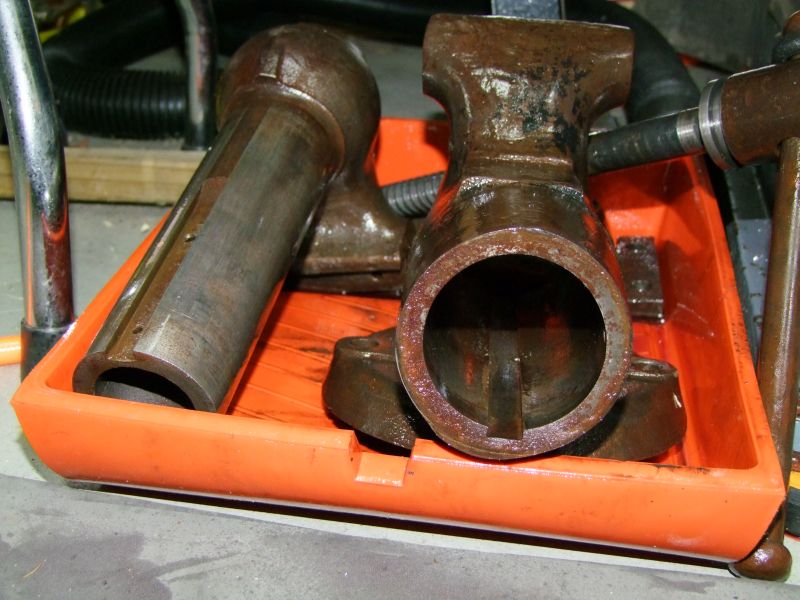
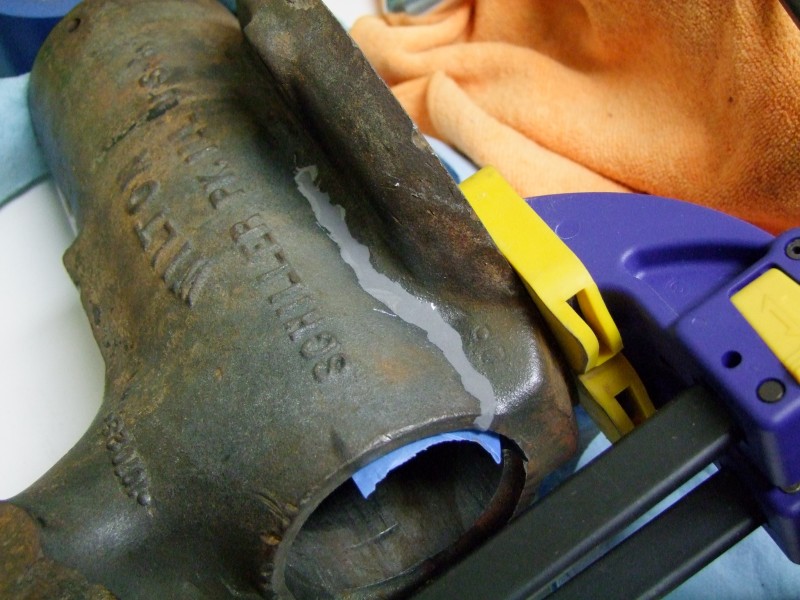
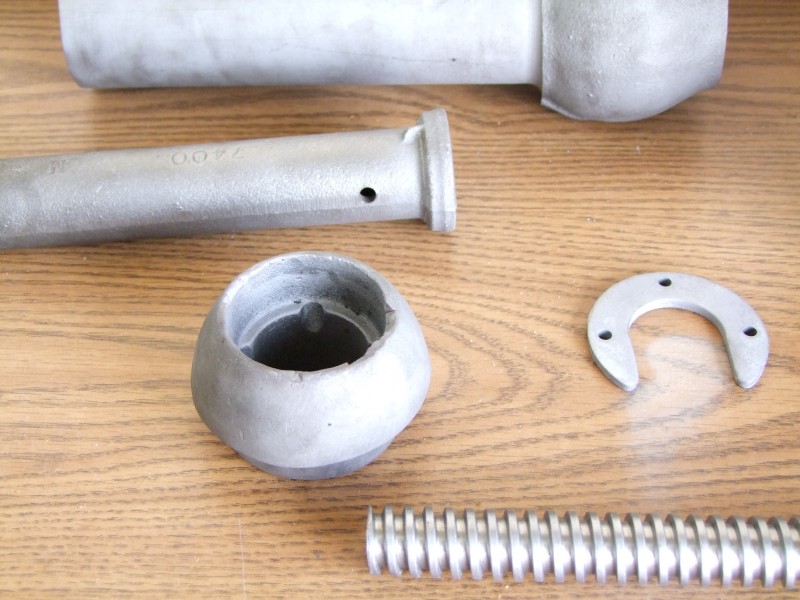
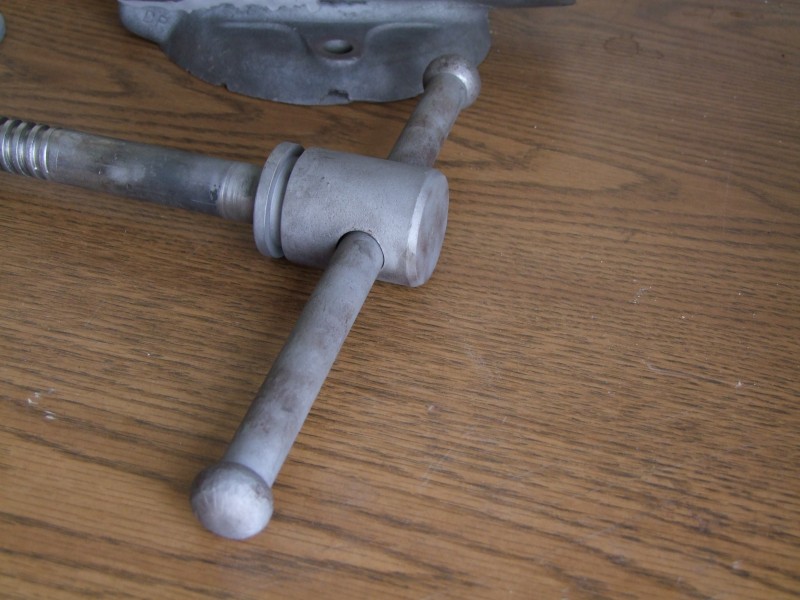
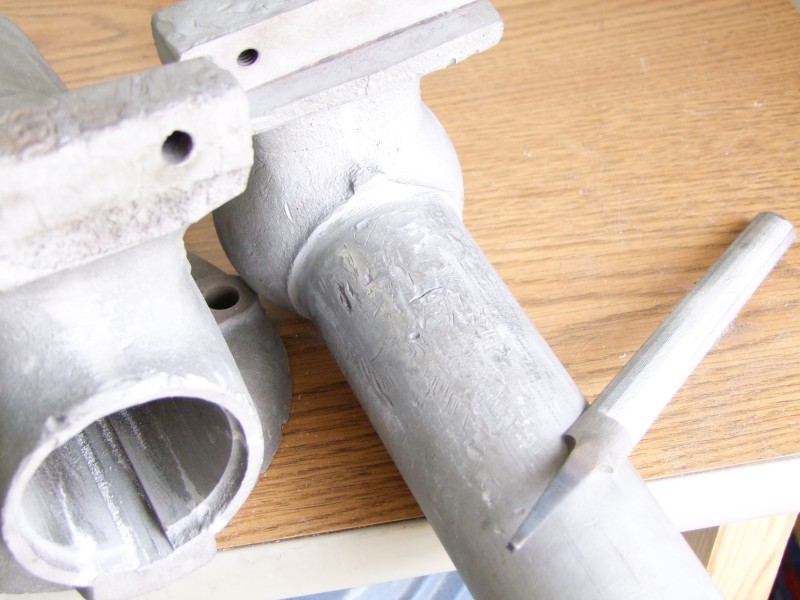
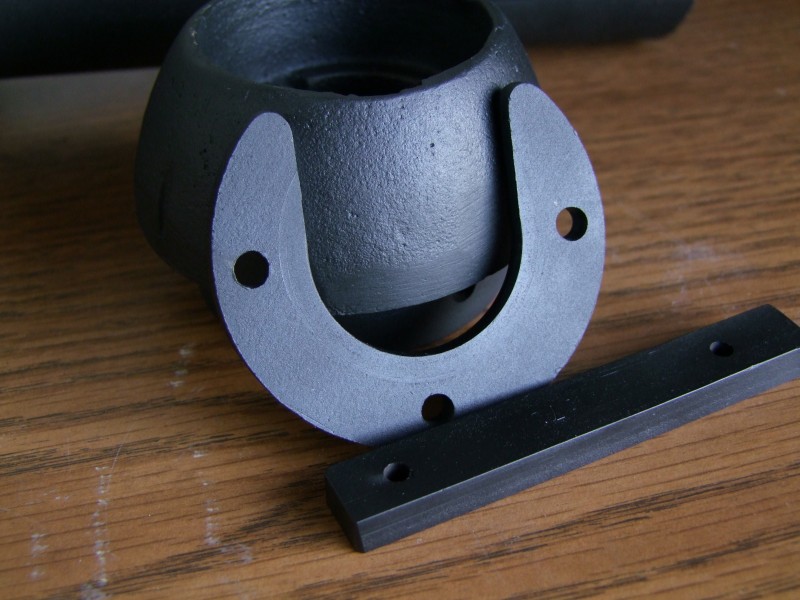
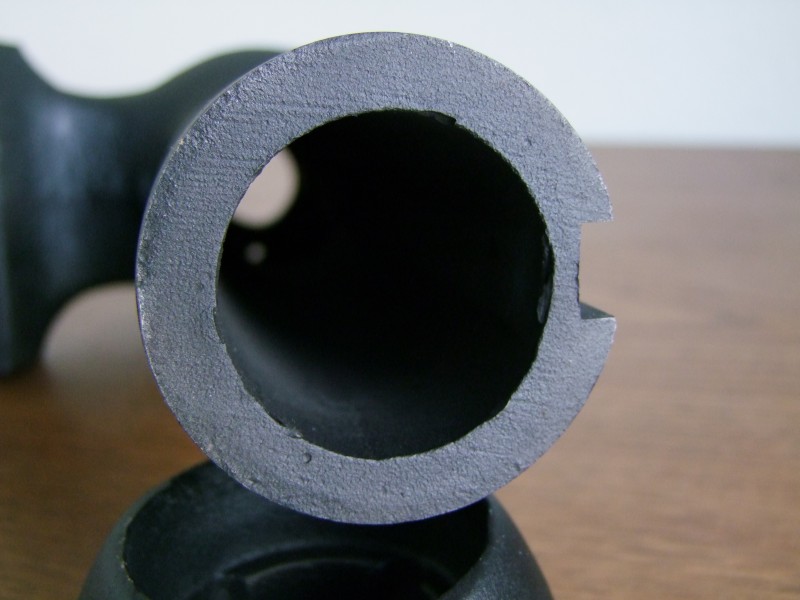
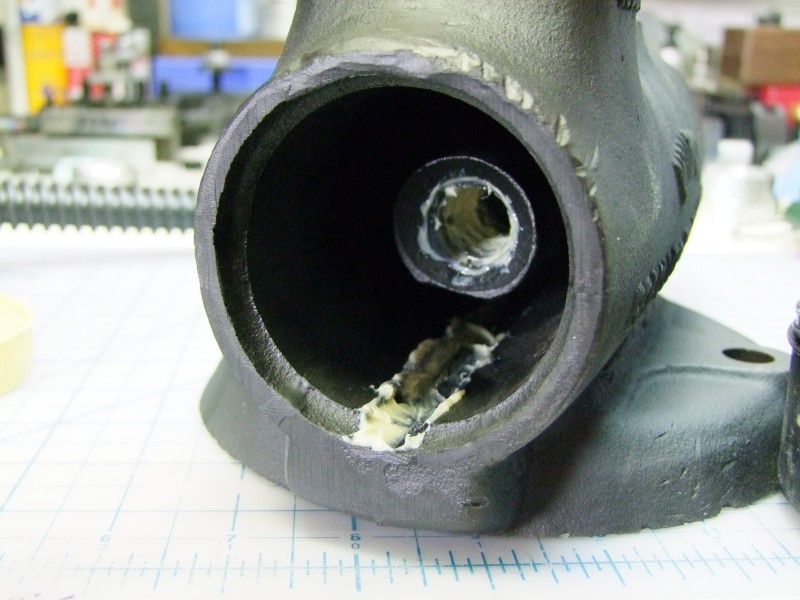
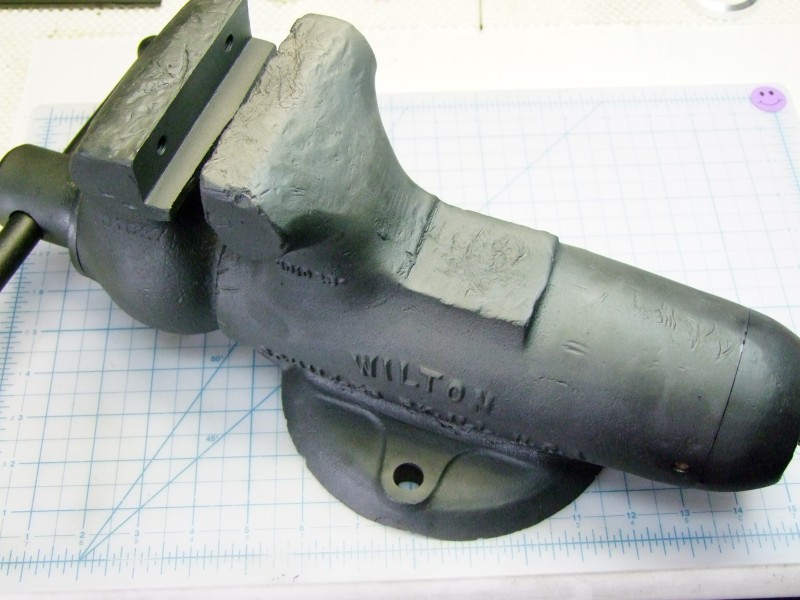
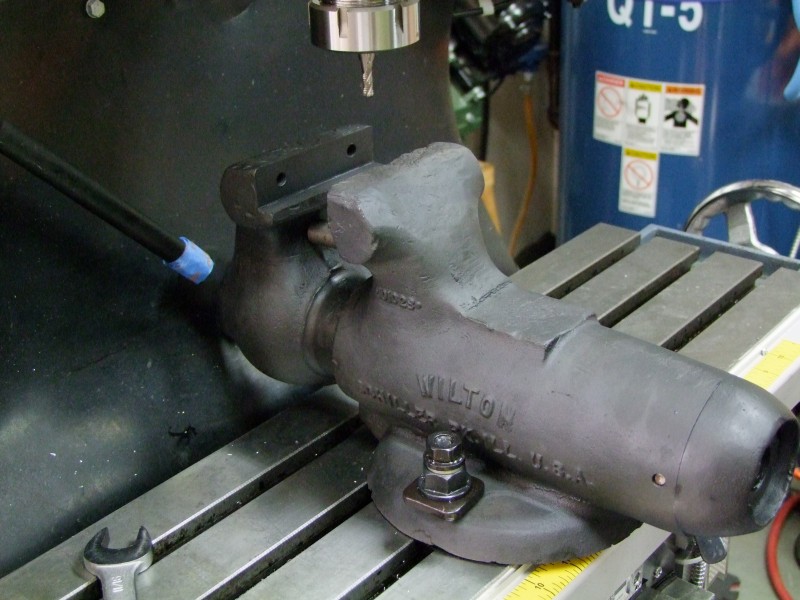
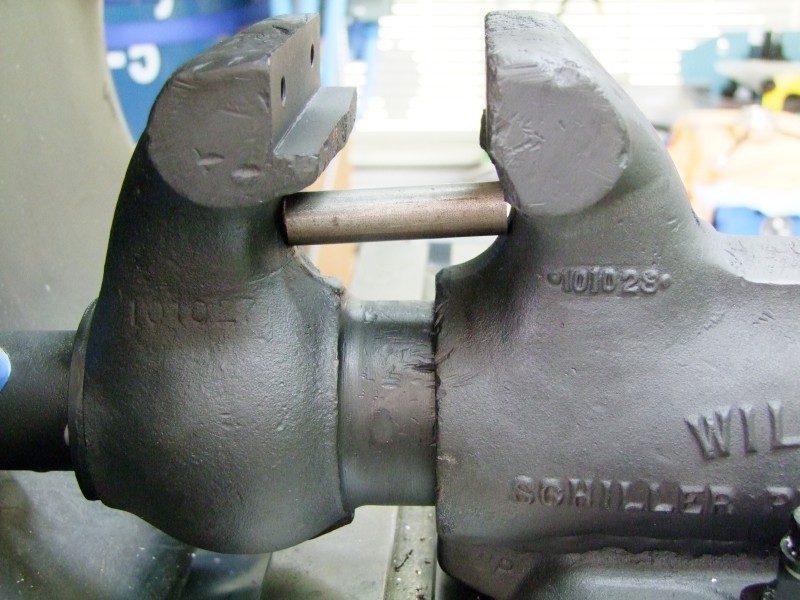
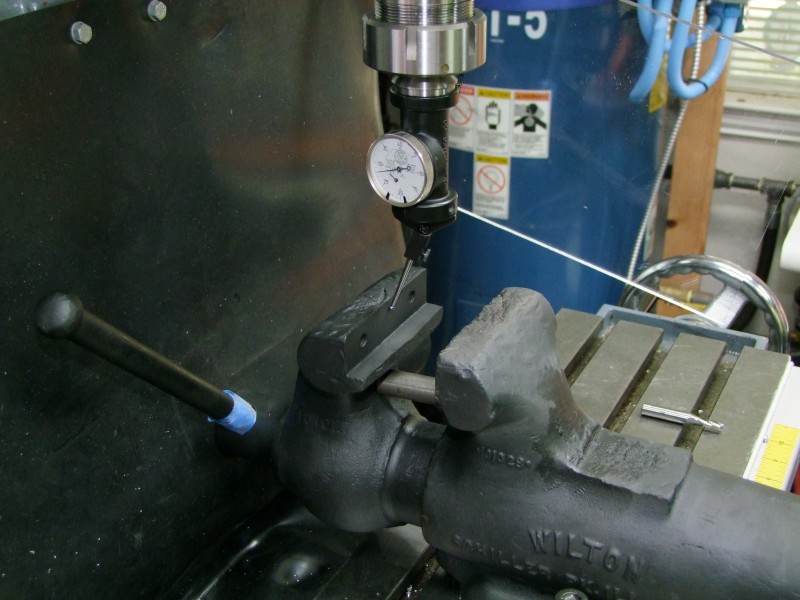
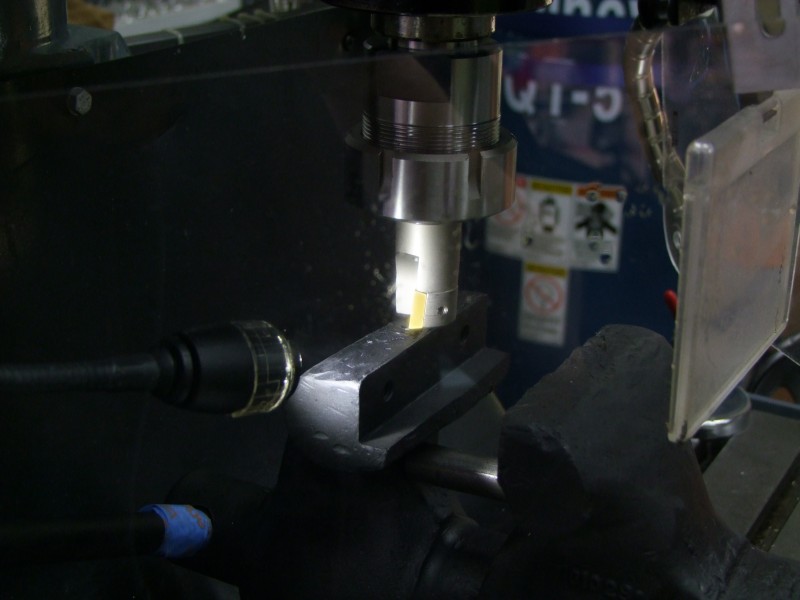
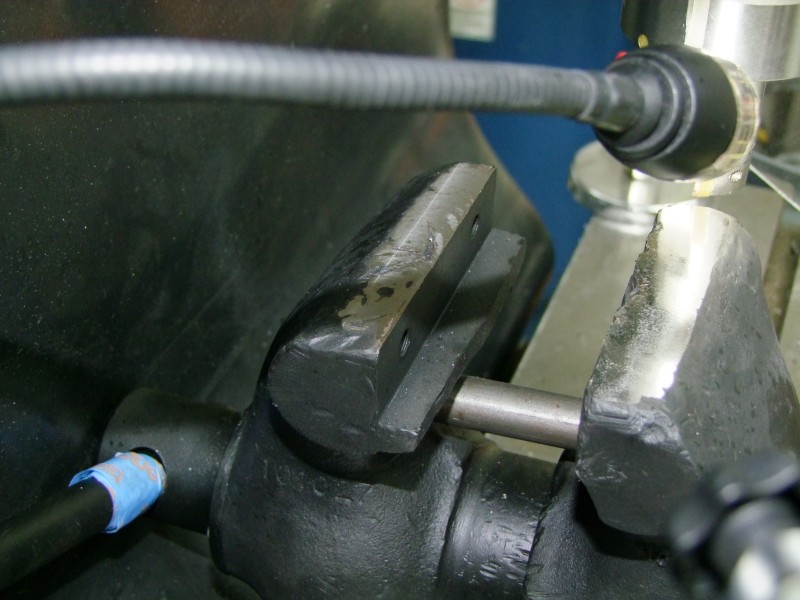
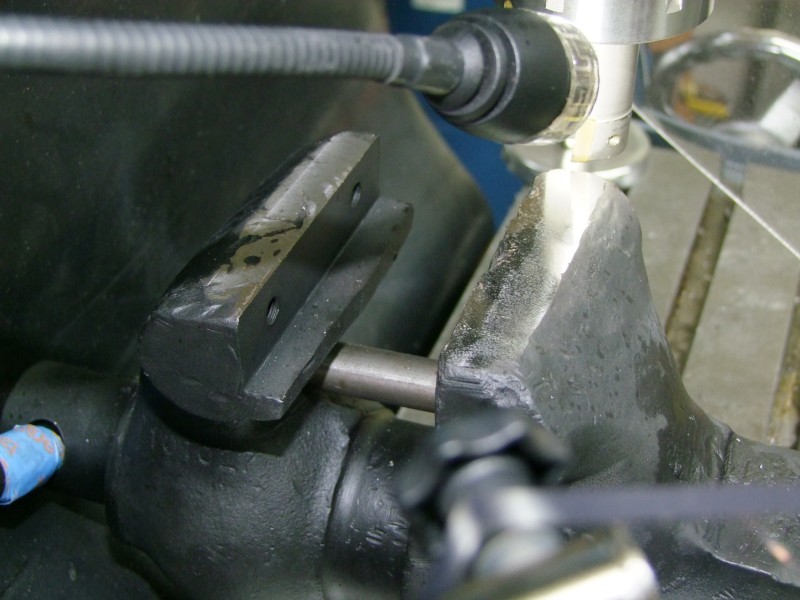
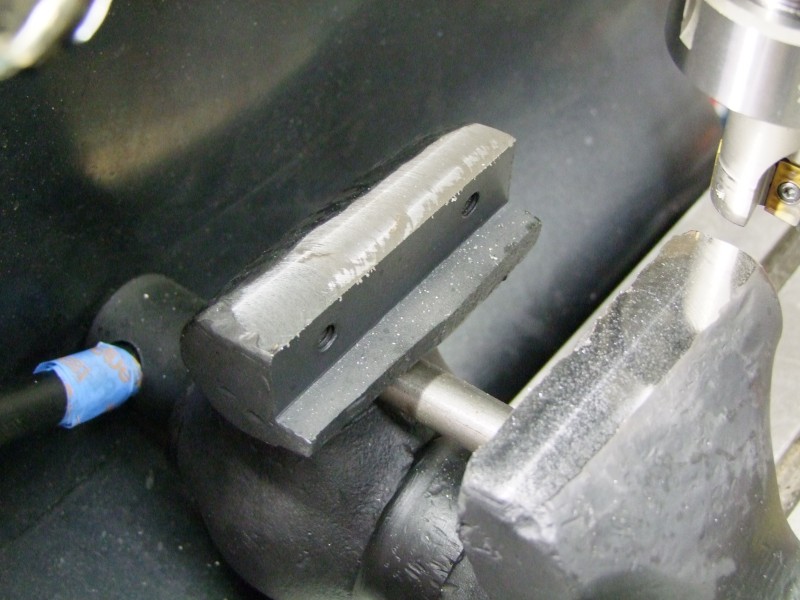
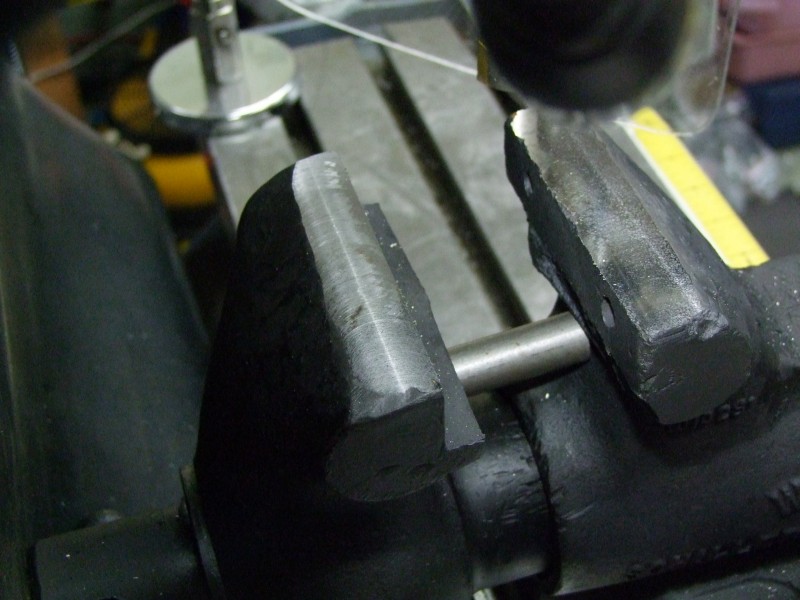
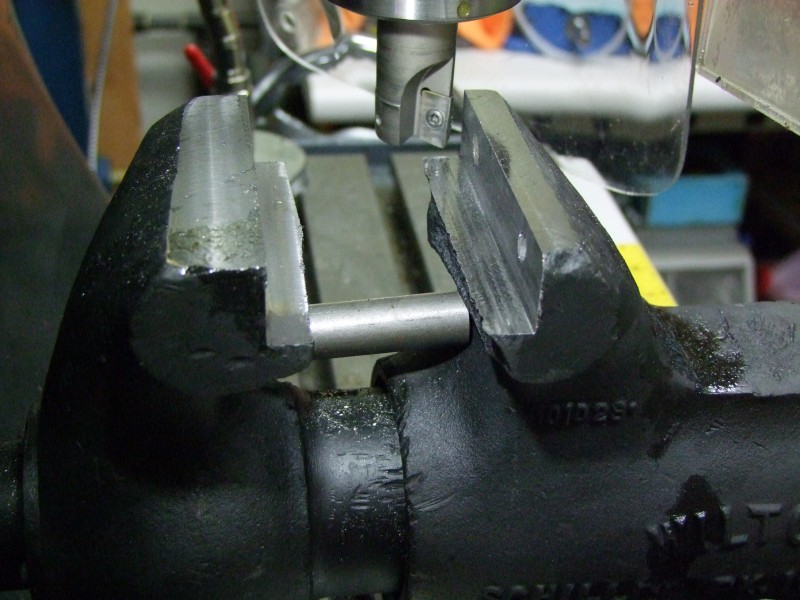
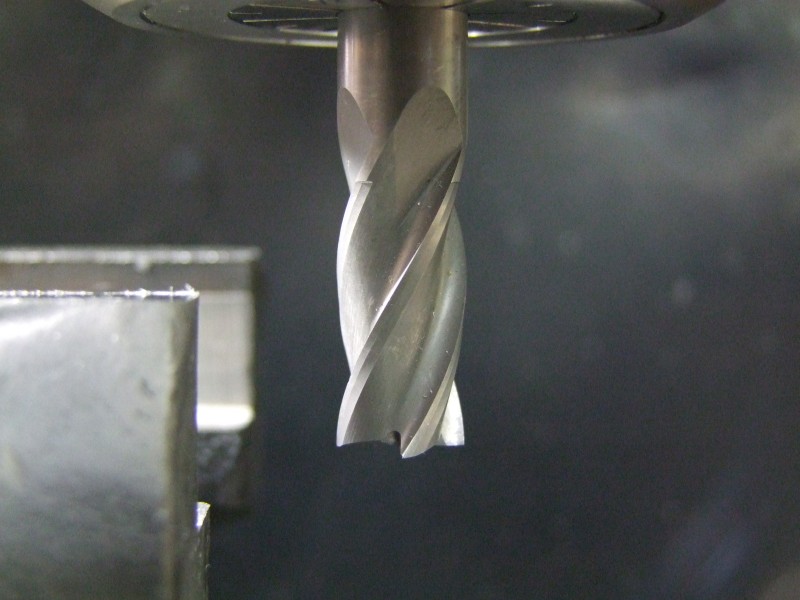
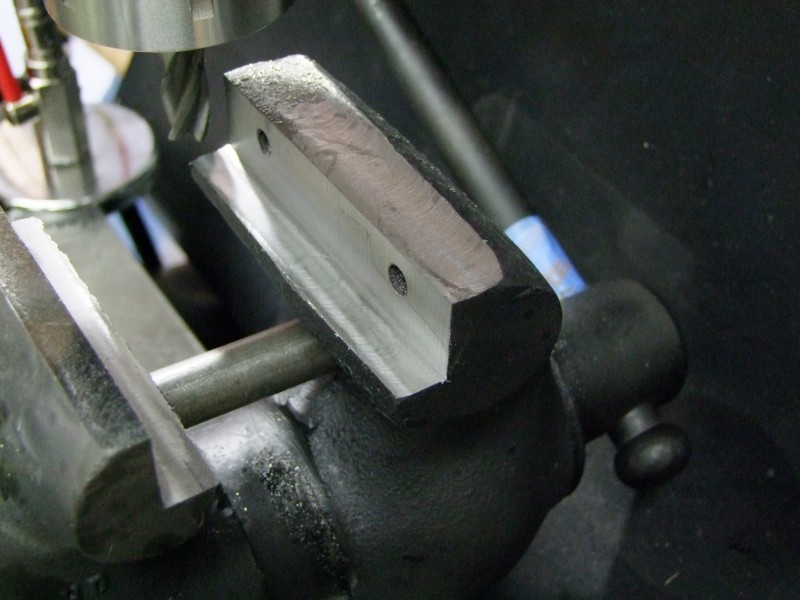
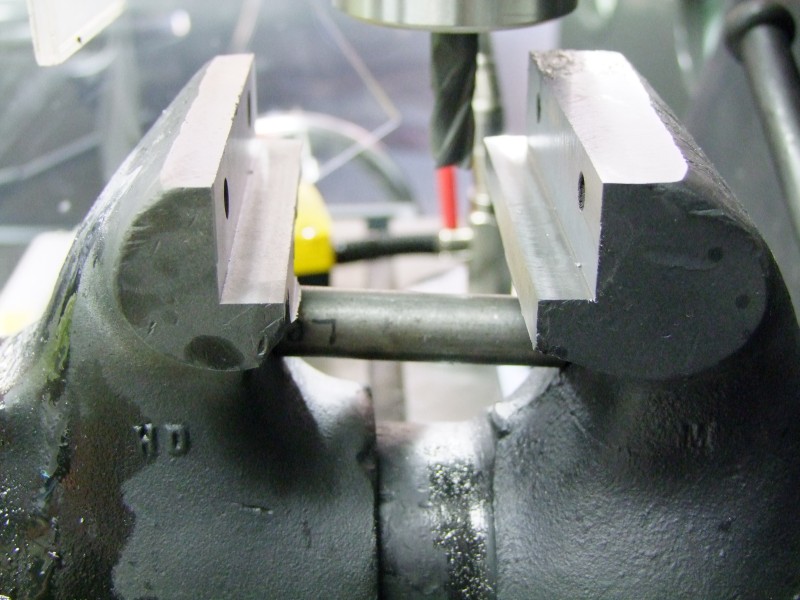
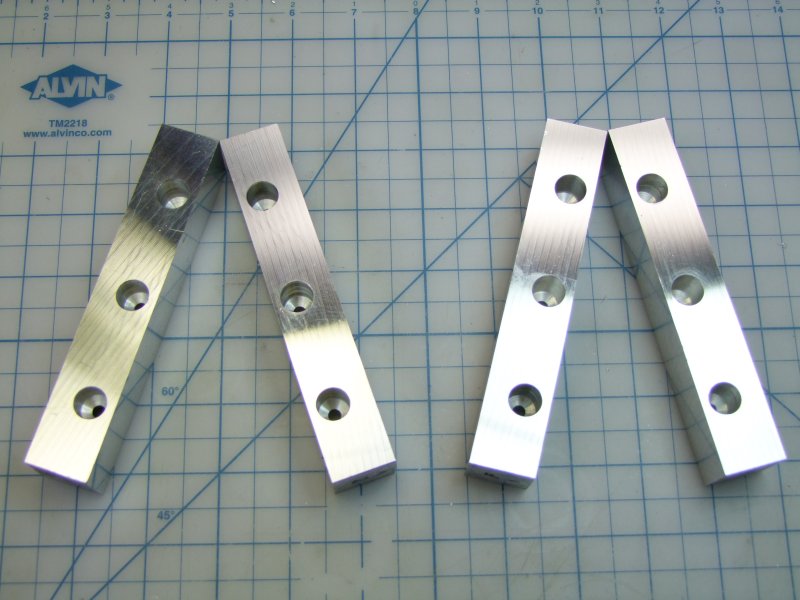
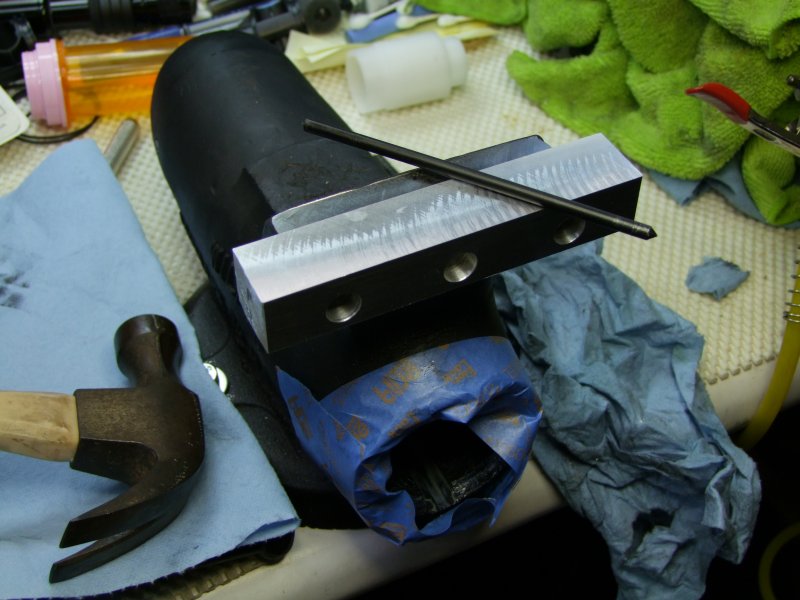
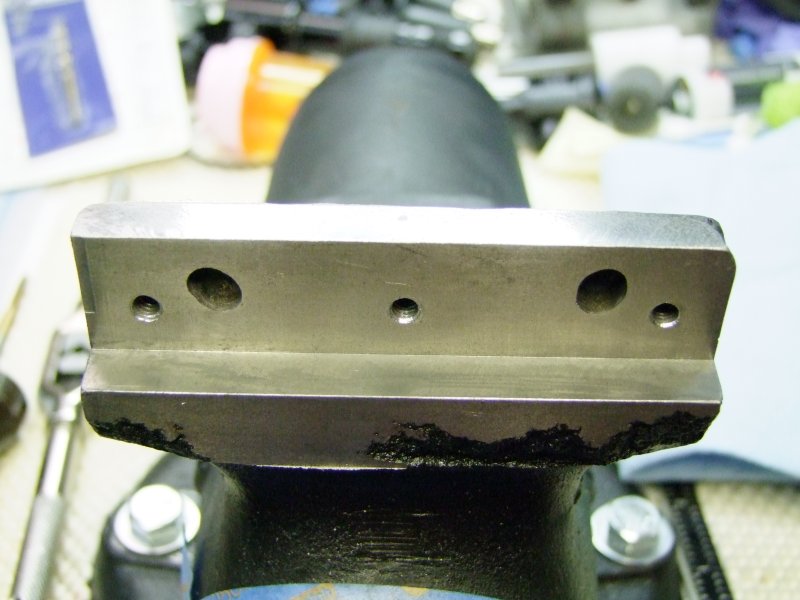
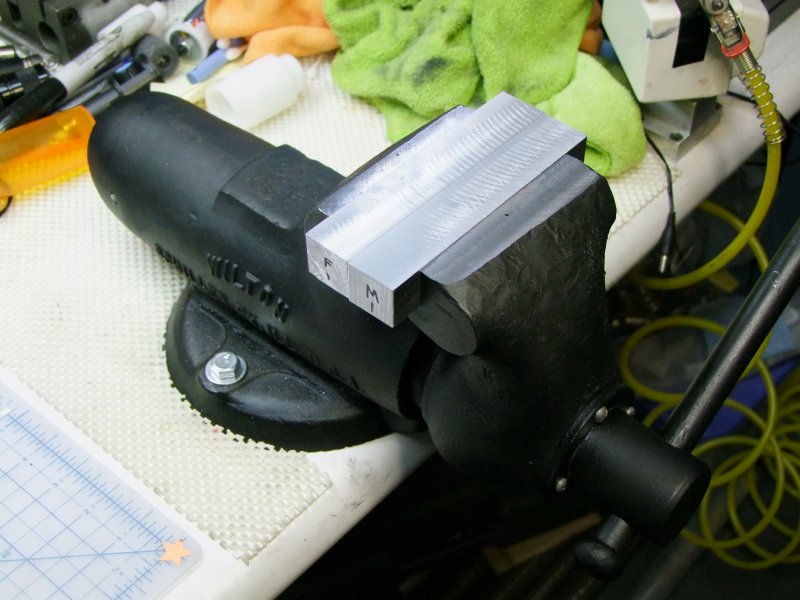
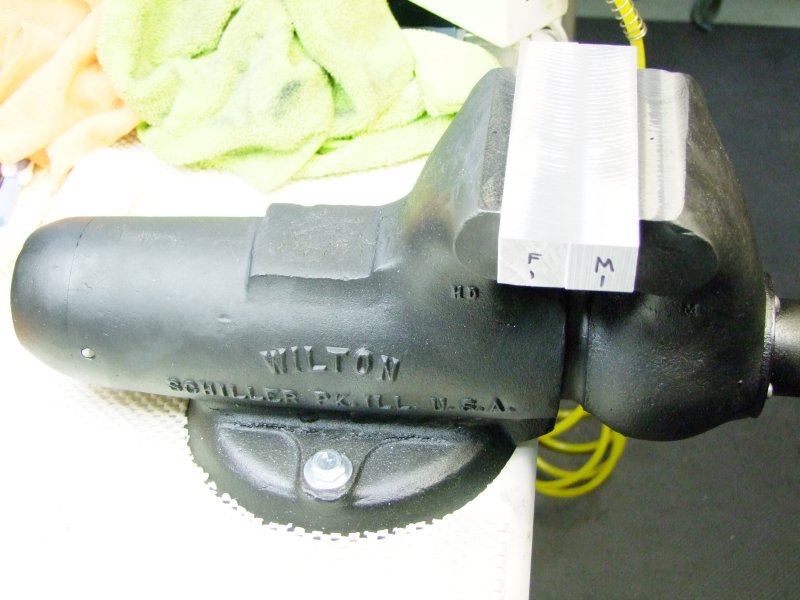
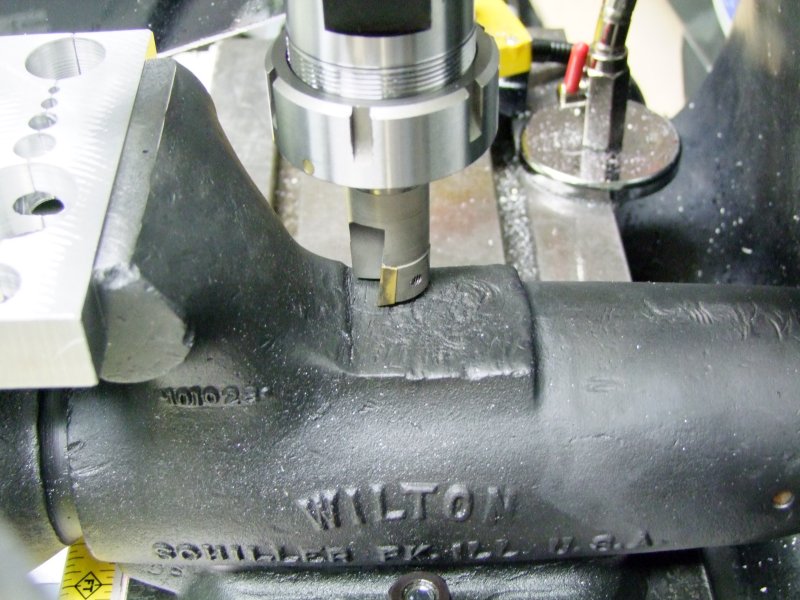
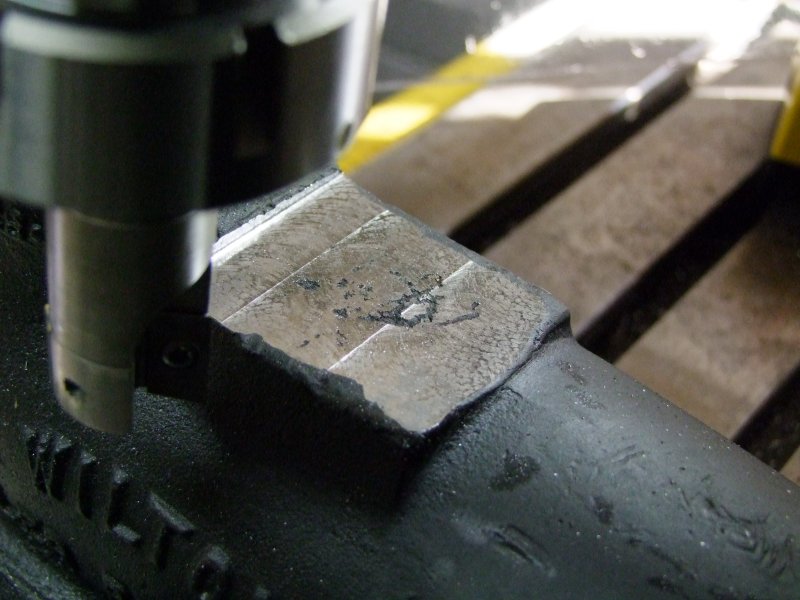
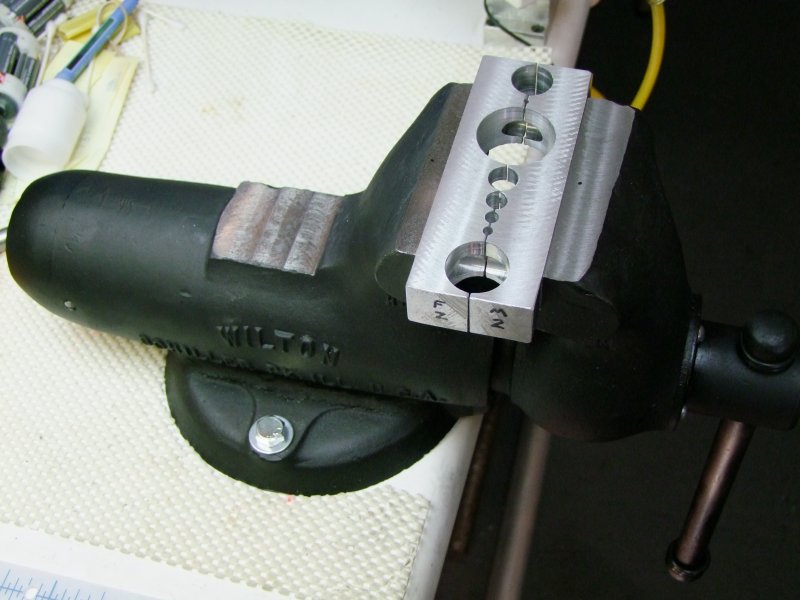
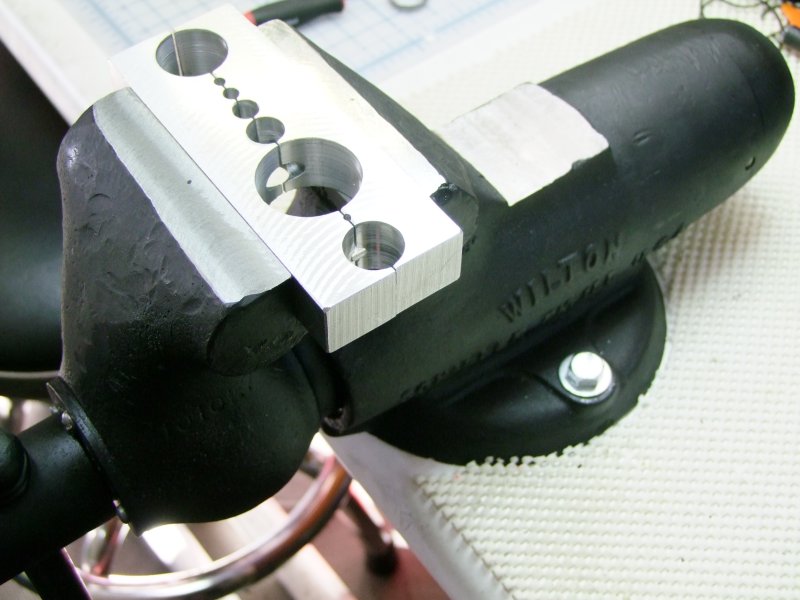
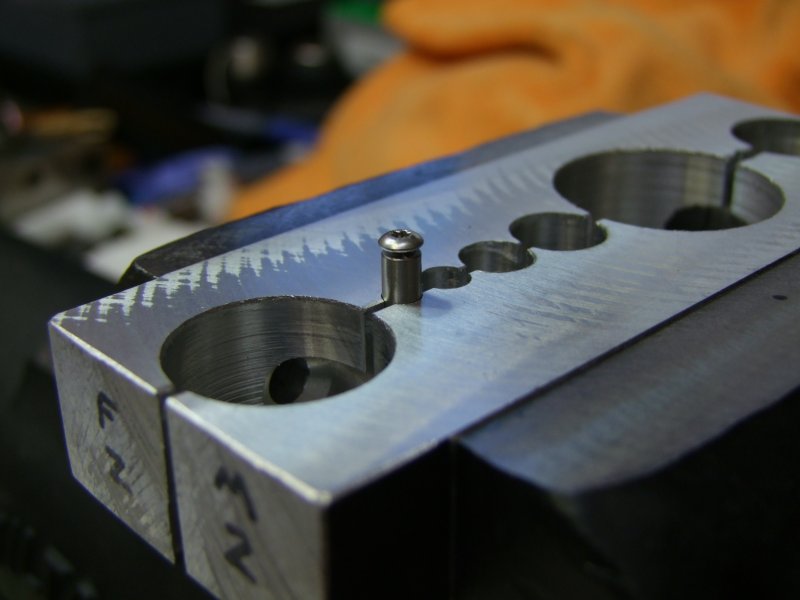
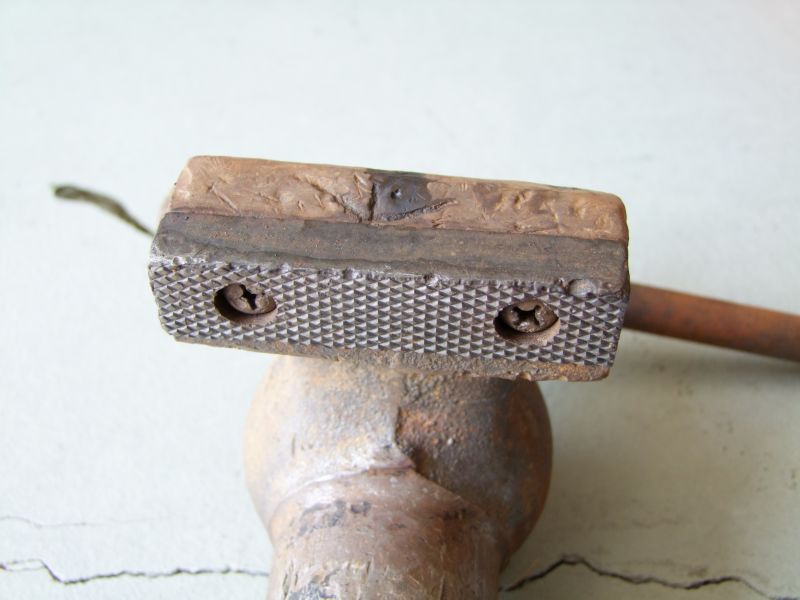
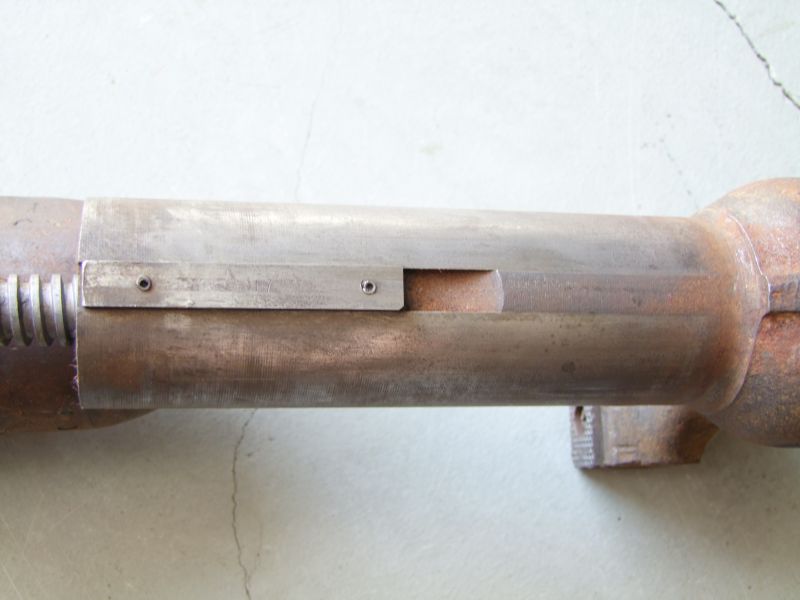
The hard jaws are exactly 4" wide. Both jaws are miss-aligned, and all 4x bolts holding the jaws were bent. The lower portion of the fixed jaw has broken/shear off:
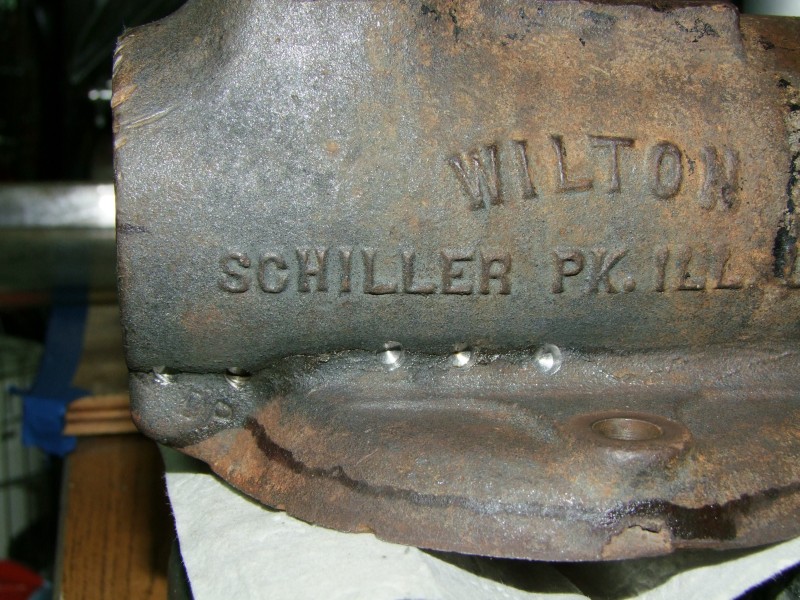
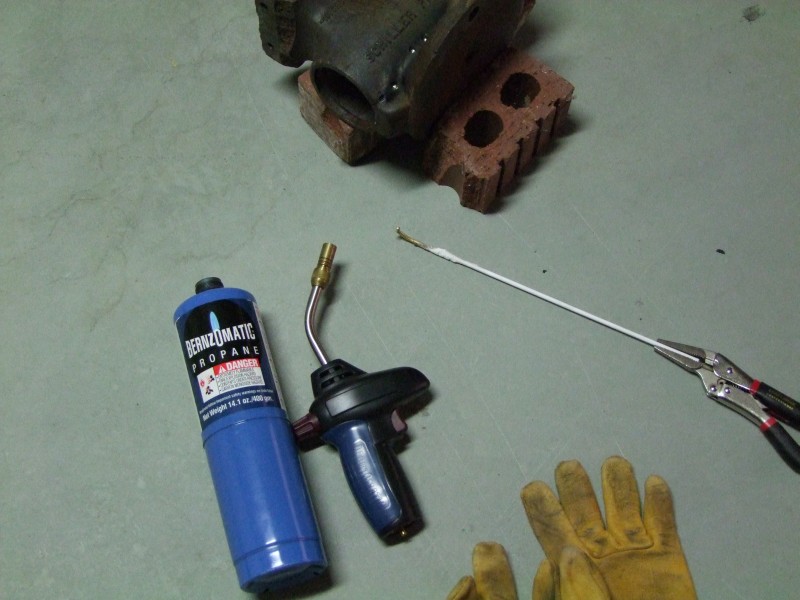
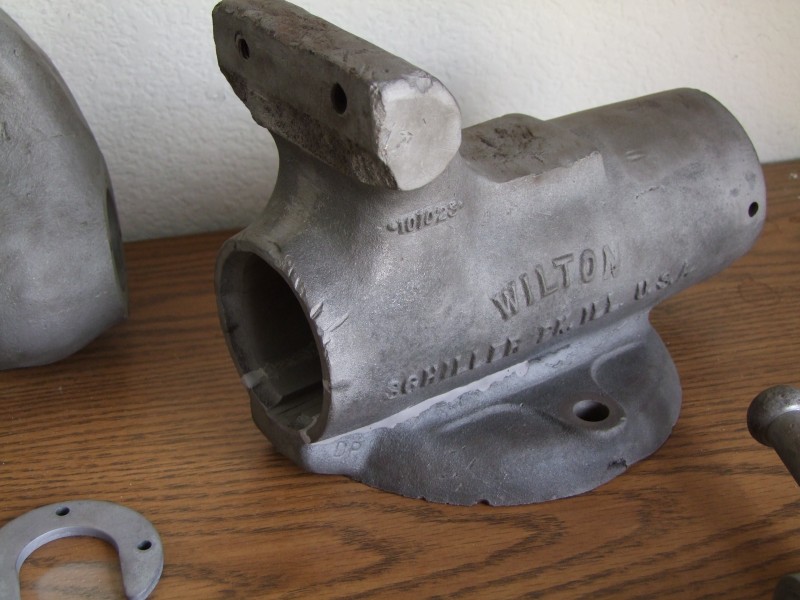
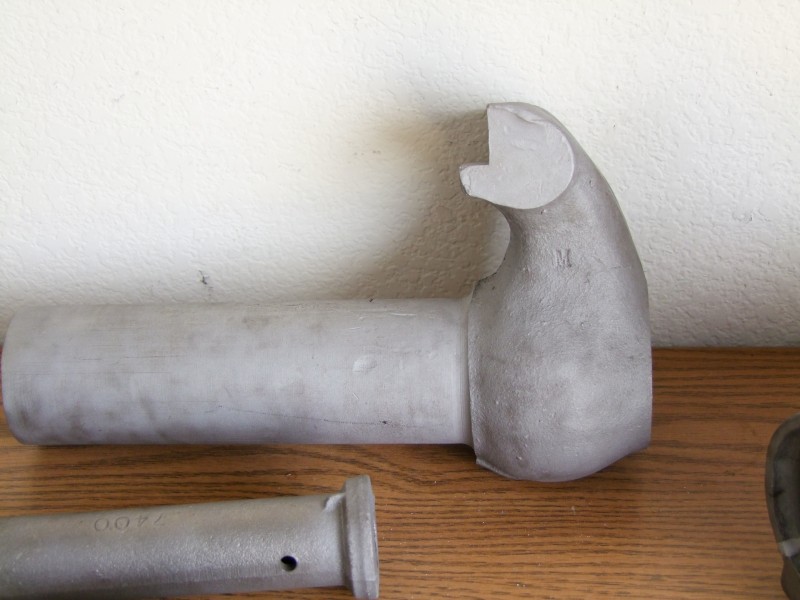
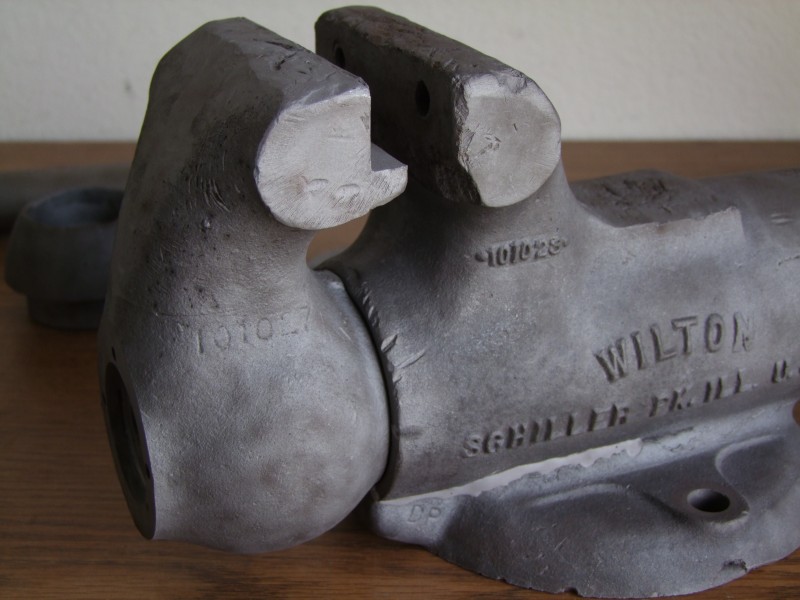
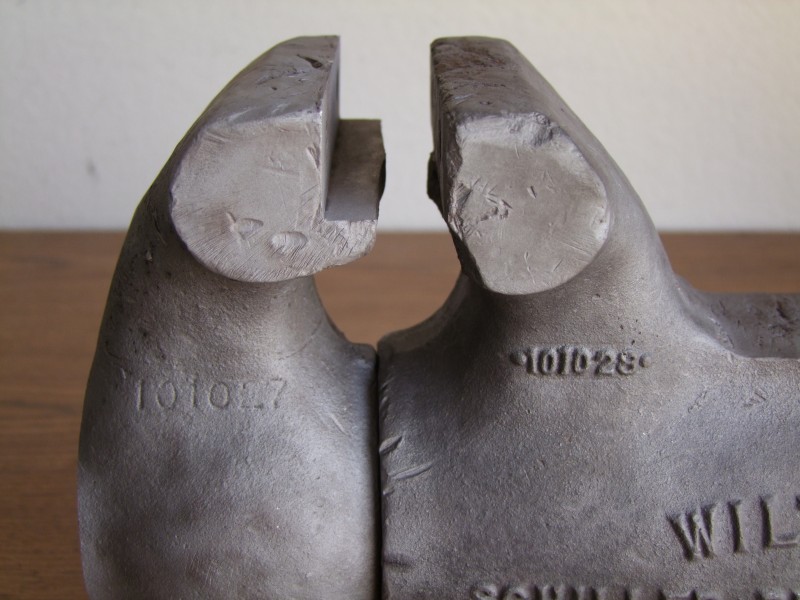
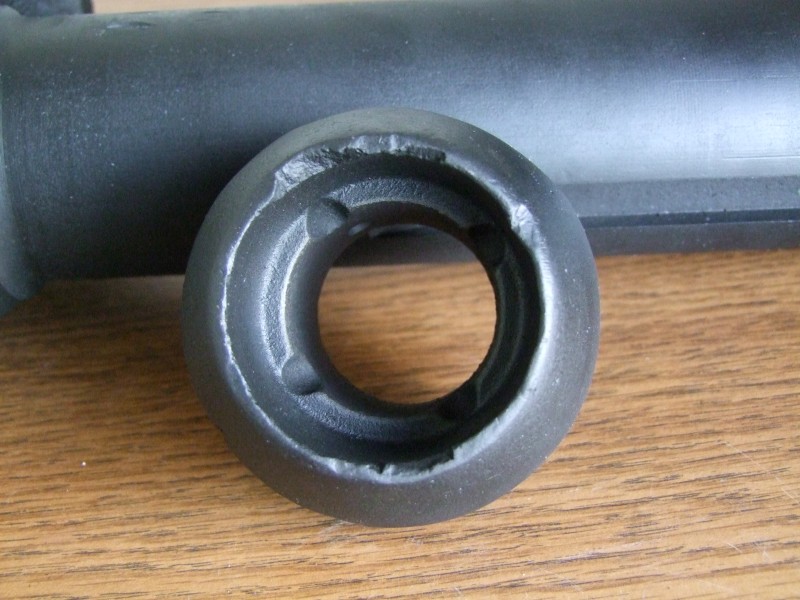
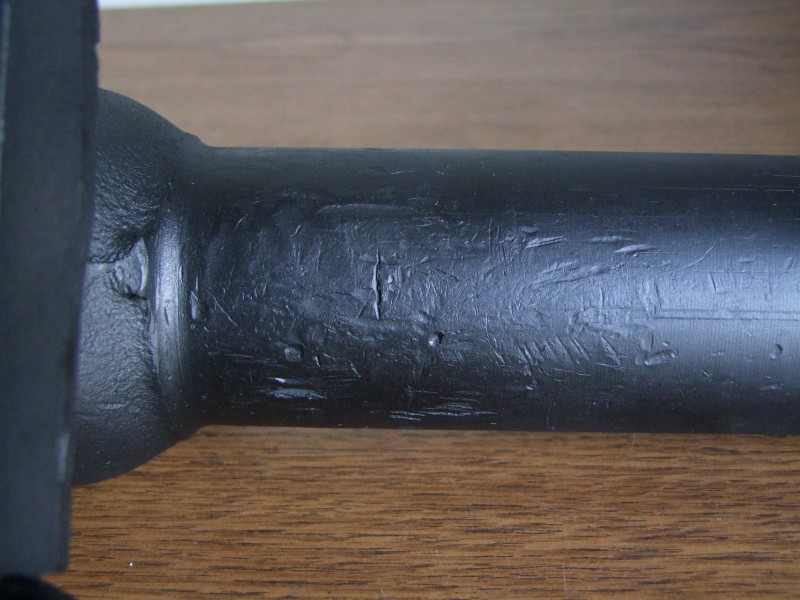
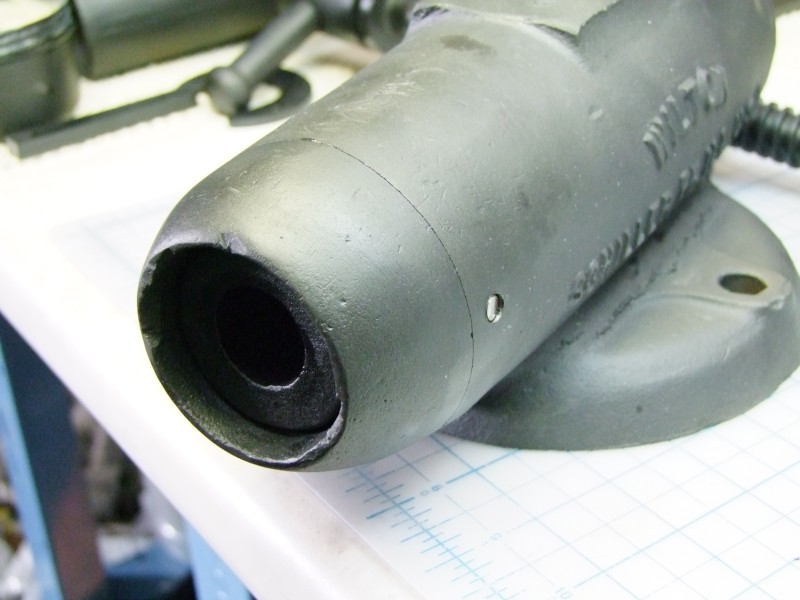
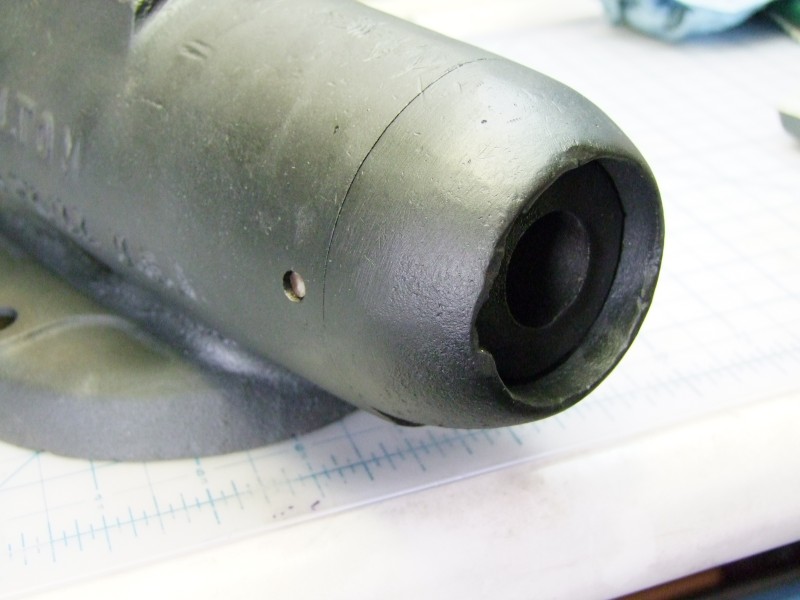
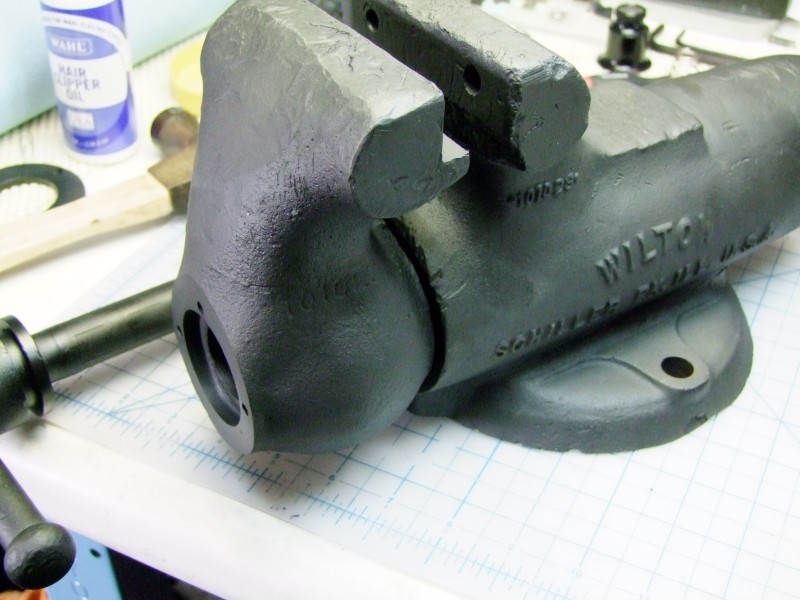
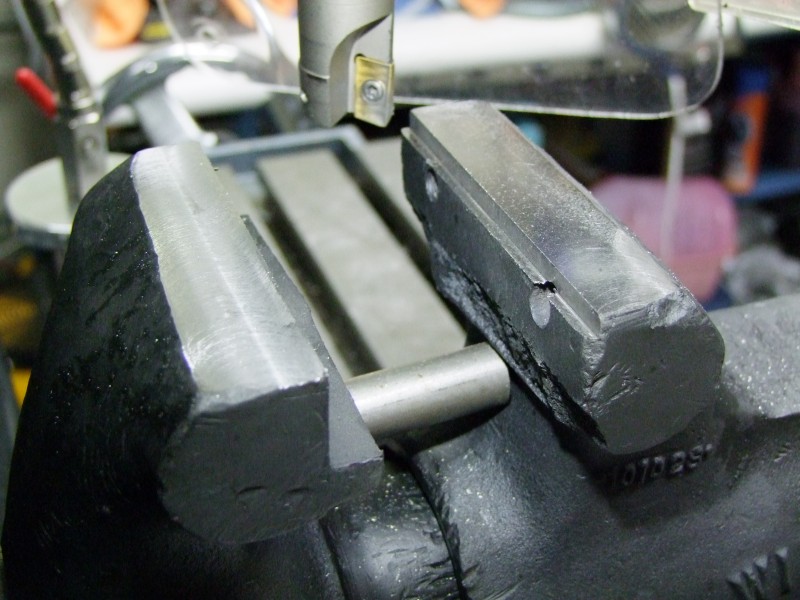
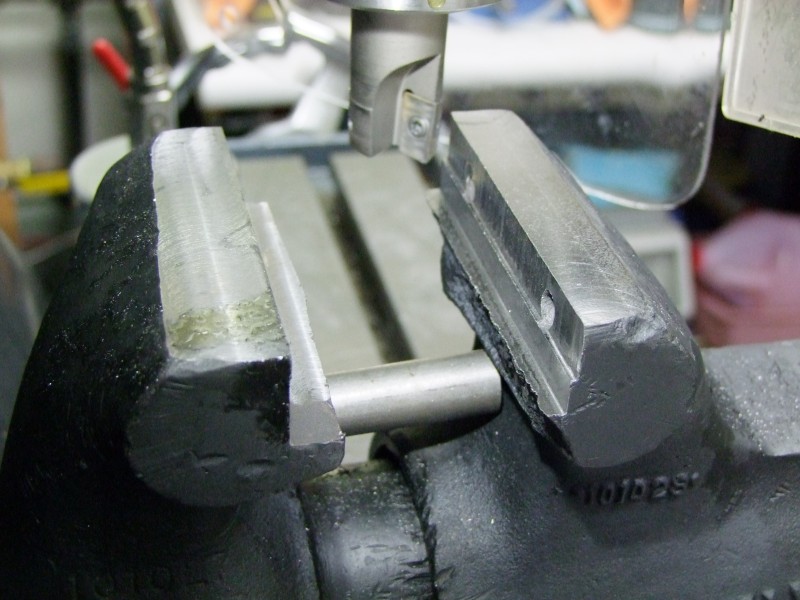
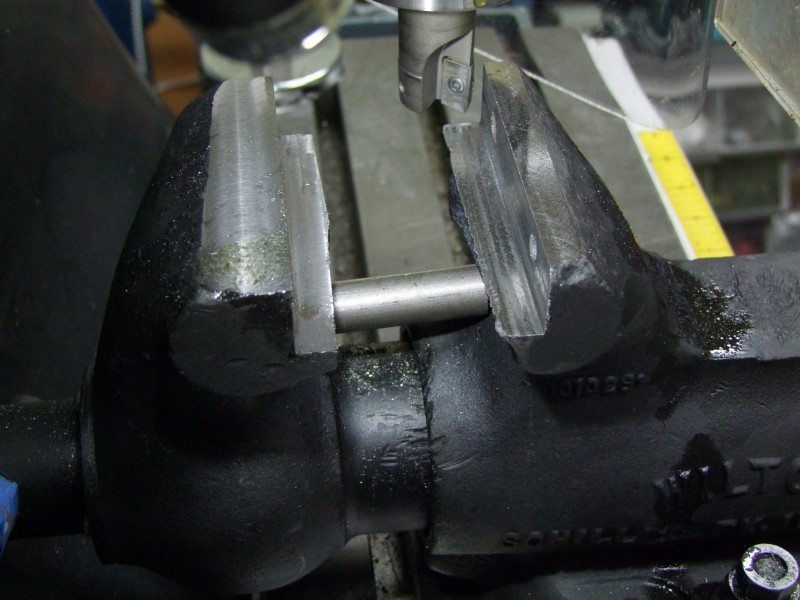
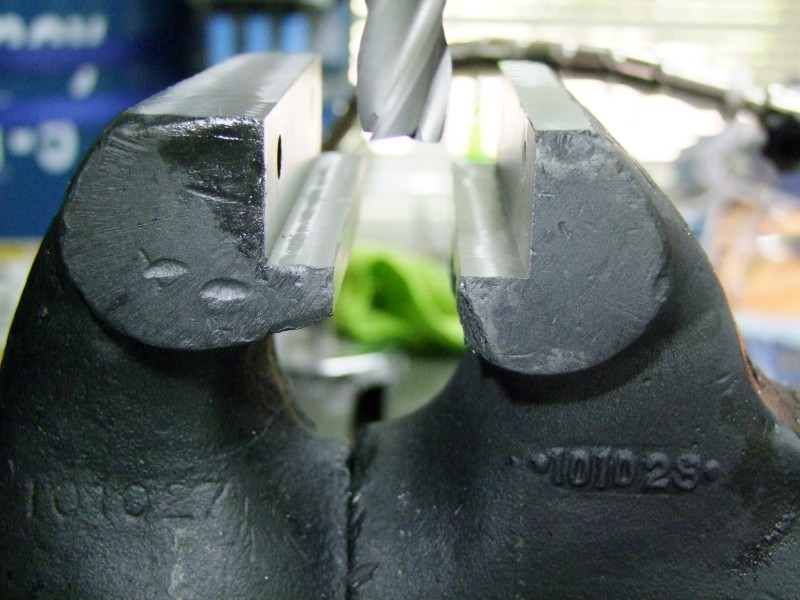
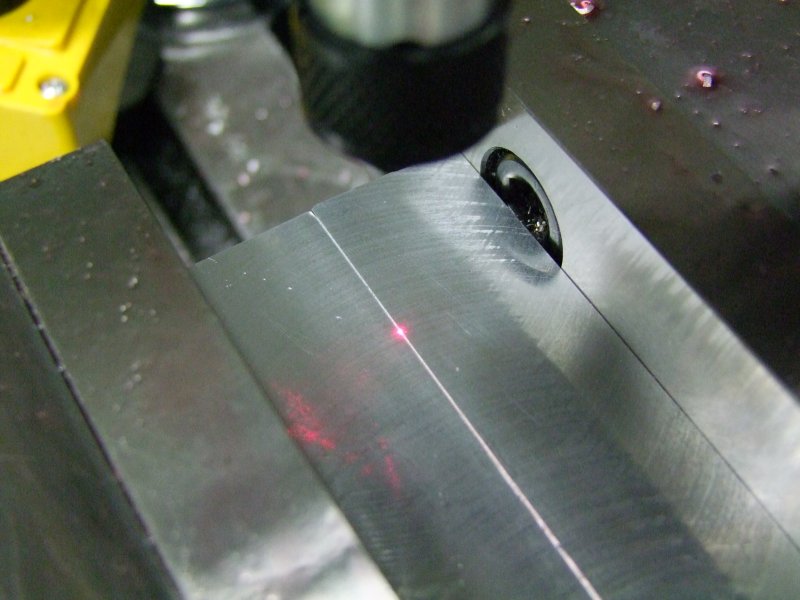
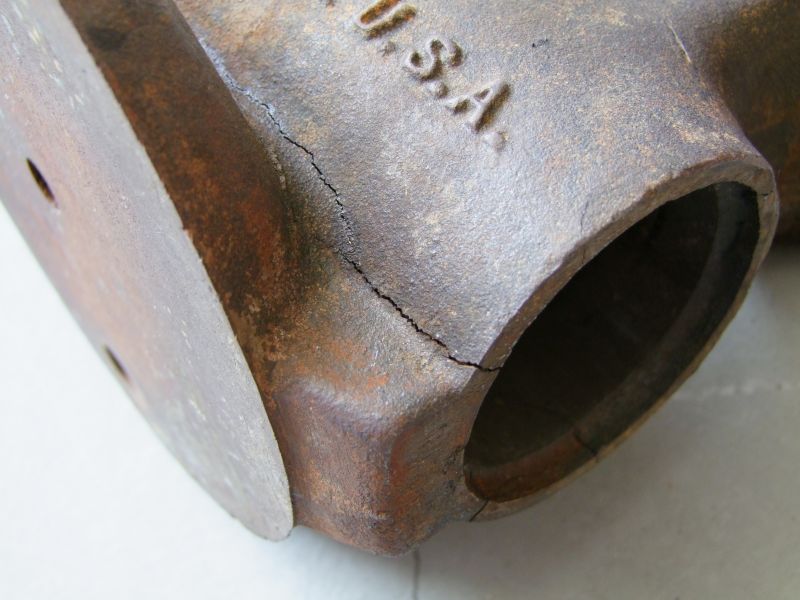
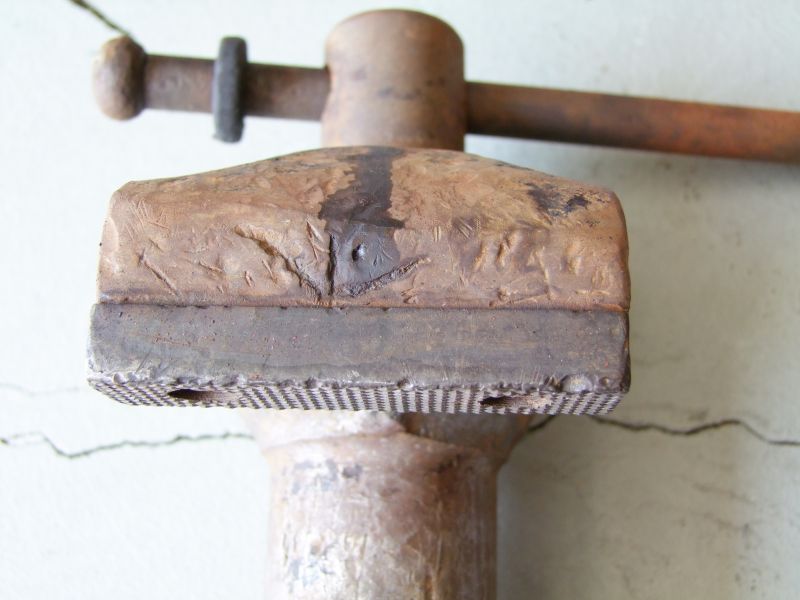
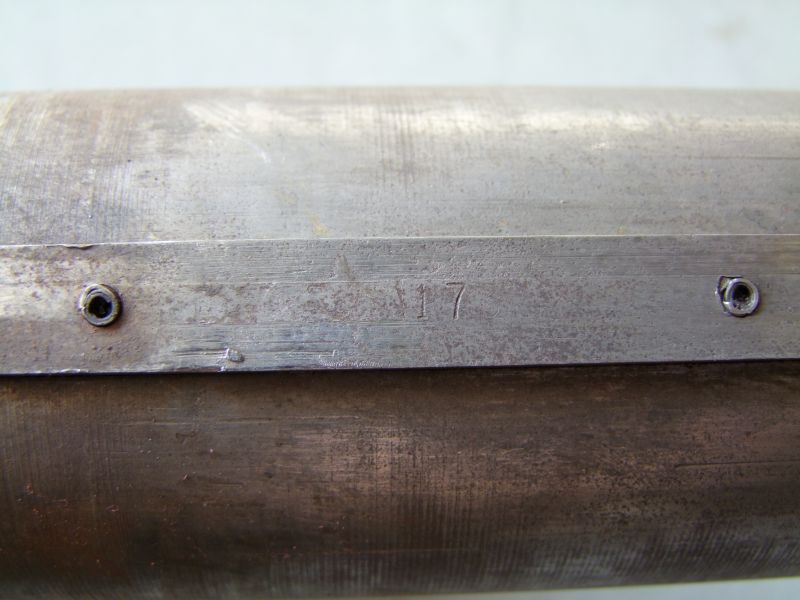
The stamping reads 1173, so this was manufactured on November 1973 (model on base is 101028, and I think it reads 101027 on the movable jaw), so it is almost 40 years old. It seems that the poor thing has been abused all along - almost as if it was abused on purpose. It appears it was hit on every surface, from every possible angle:

Will
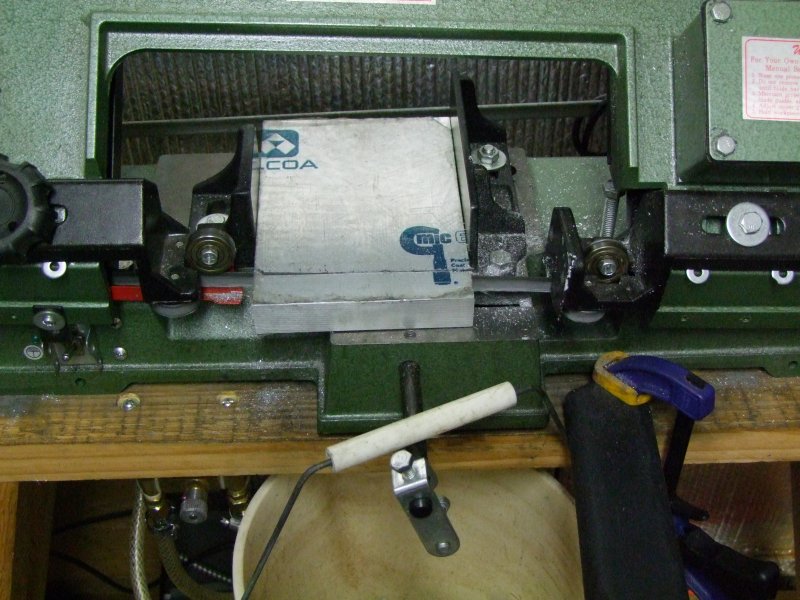
Here are the photos posted in Craig's list:
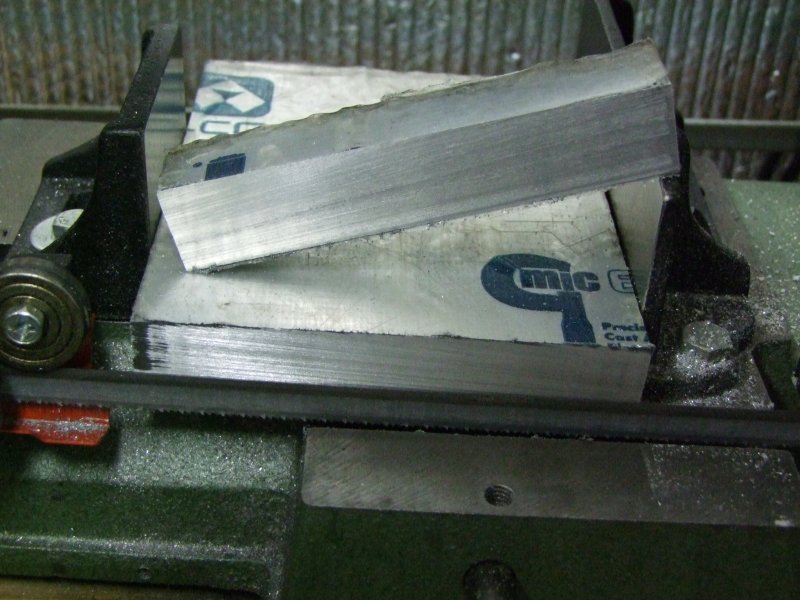
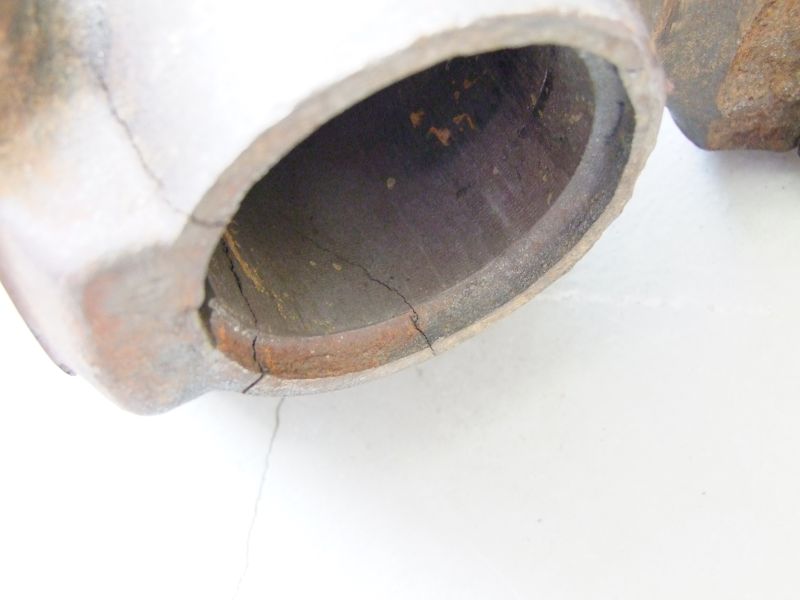
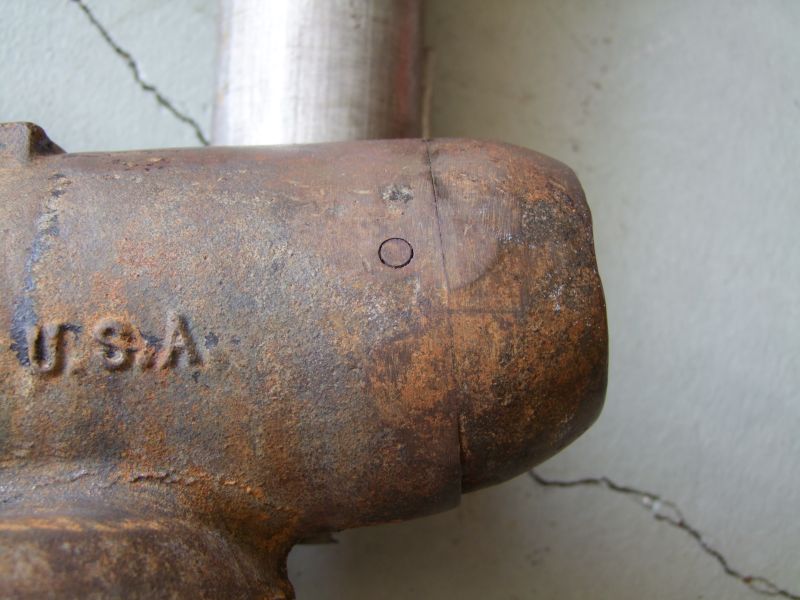
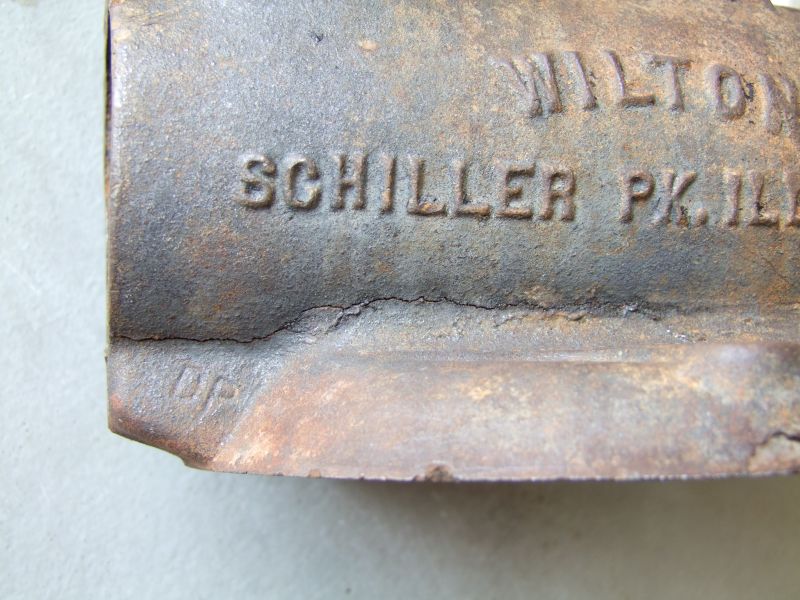
And after a little bit of cleaning, you can see how bad it really is, including a couple of cracks on the fixed jaw/base side:
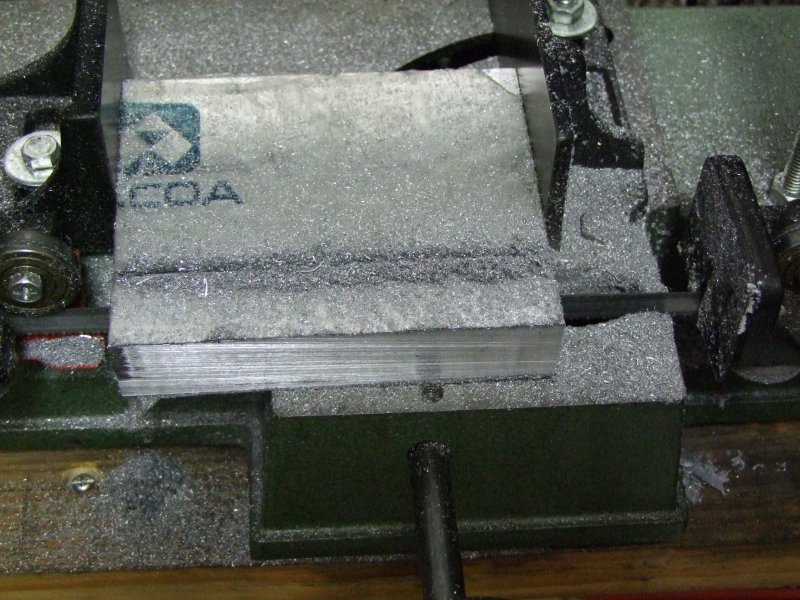
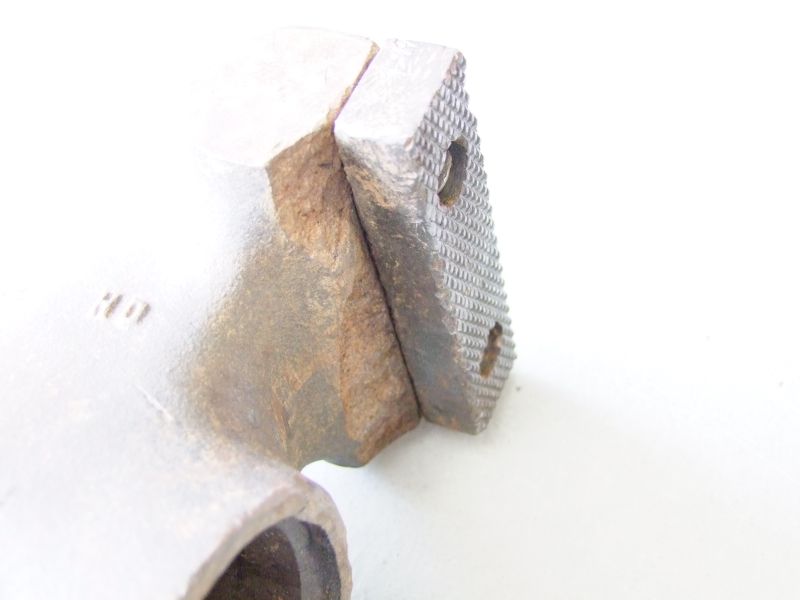
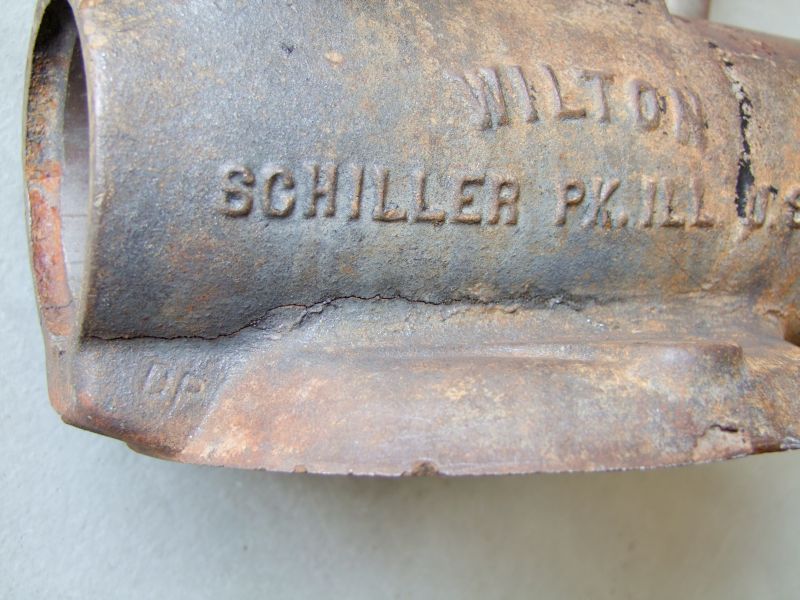
The hard jaws are exactly 4" wide. Both jaws are miss-aligned, and all 4x bolts holding the jaws were bent. The lower portion of the fixed jaw has broken/shear off:
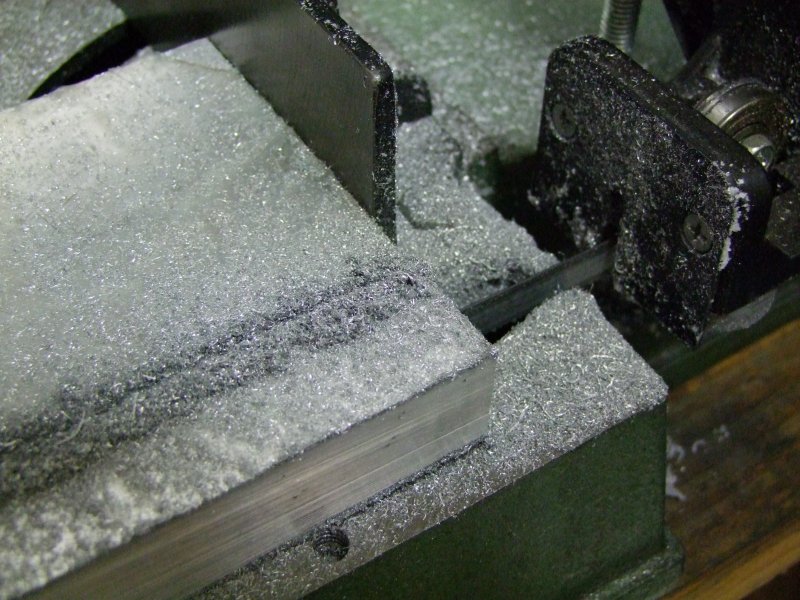
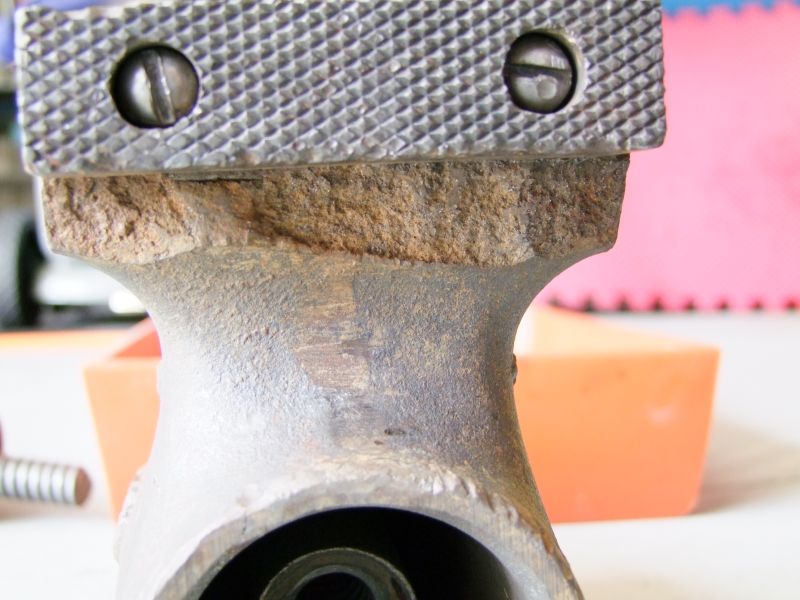
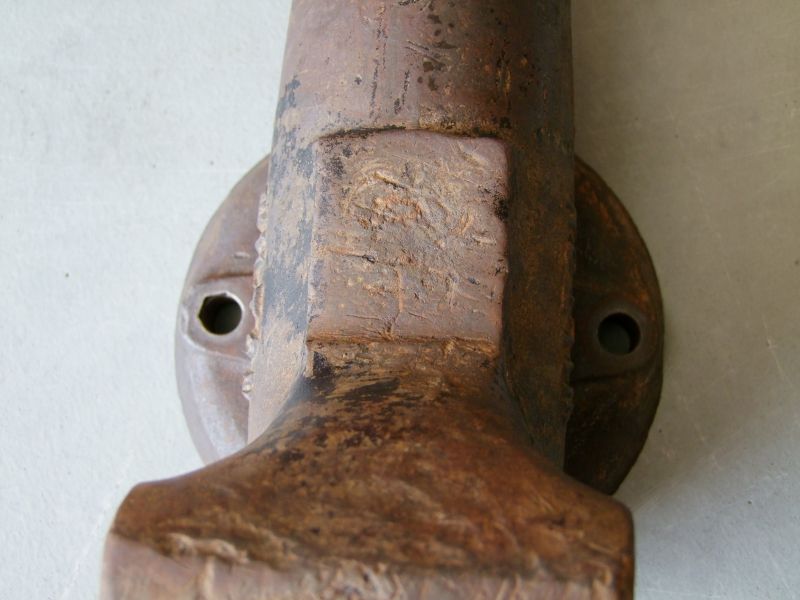
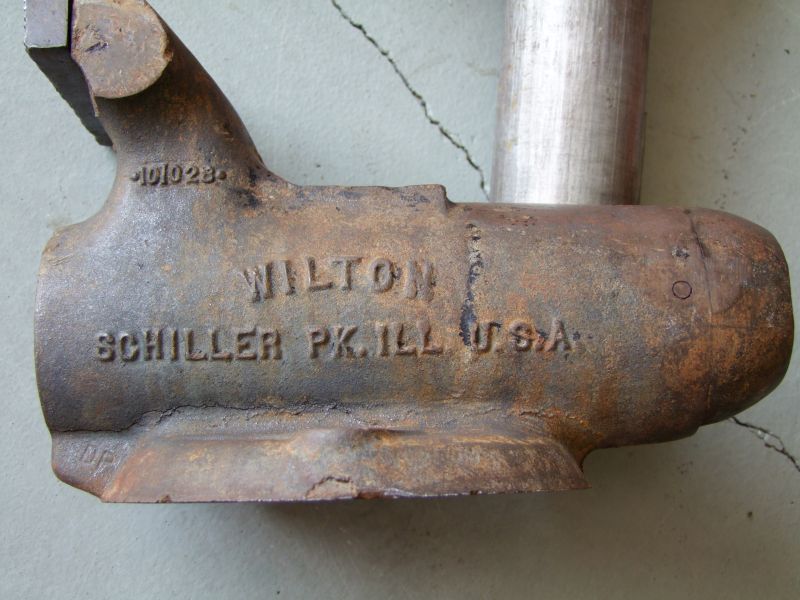
The stamping reads 1173, so this was manufactured on November 1973 (model on base is 101028, and I think it reads 101027 on the movable jaw), so it is almost 40 years old. It seems that the poor thing has been abused all along - almost as if it was abused on purpose. It appears it was hit on every surface, from every possible angle:
Will


")