TheBeeHive
Well-known member
My setback variance was granted last week! 
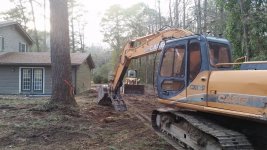
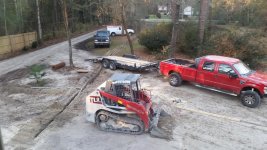
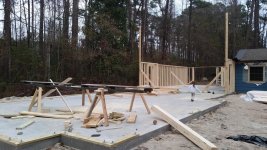
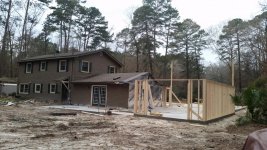
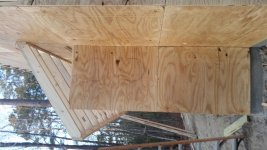
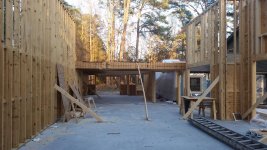
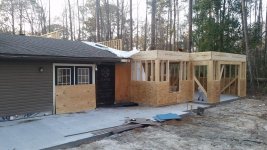
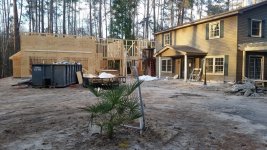
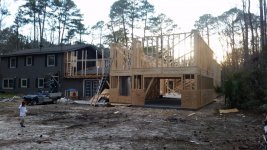
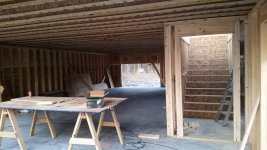
And so the journey begins... After an interesting battle with the county over poorly written zoning laws, special preservation districts, and setback regulations I finally made it to the "it's real and finally going to happen" stage!
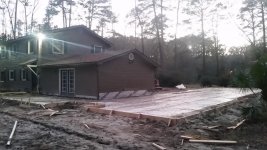
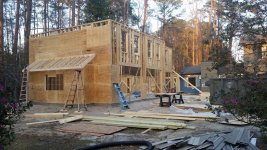
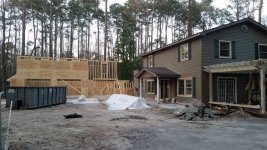
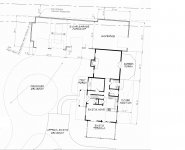
With some staggering of the walls and a bump out the footprint works out to about 80 x 25
Features:
Activities:
I have another 16*30 building on the property that I can use for dirty work and yard tool storage.
TO DO:
Question(s):
1) In high school auto shop we had a floor drain, basically a channel with removable grate that ran the length of the garage, so we could hose the floor off and squeegee water into the drain. Thoughts on floor drains?
2) Which bay should I put the lift in? Left, Middle or Right?
Considerations:
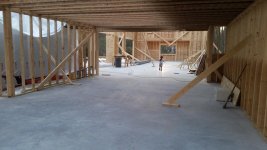
a) I plan on being able to drive a vehicle into the workshop area from the garage
b) Tools will likely be stored in the Workshop space (proximity to lift)
Reasons for garage:
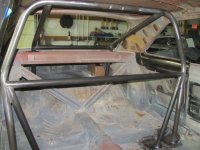
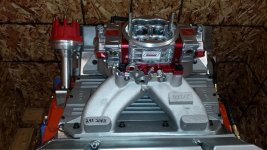
1970 Dodge Super Bee (440 4spd)
1968 Dart GTS (340 4 spd) - Now (440+ 4 Speed)
1987 Dodge Power Ram (318 4spd)
2006 Dodge Magnum RT (Sold)
2007 VS Jetta (2.5 5 speed)
And so the journey begins... After an interesting battle with the county over poorly written zoning laws, special preservation districts, and setback regulations I finally made it to the "it's real and finally going to happen" stage!
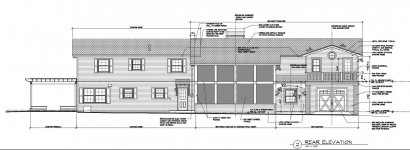
With some staggering of the walls and a bump out the footprint works out to about 80 x 25
Features:
- Lift
- Temp Controlled
- Plumbed Compressed Air
- Dust Management System
- Inlaw Suite over the workshop area. The Garage bays will have vaulted ceilings two stories high
Activities:
- Auto restoration / Maintenance
- Bee Keeping Honey Processing
- Beer/Mead Making
- Wood Working
- Metal Working
- Storage
I have another 16*30 building on the property that I can use for dirty work and yard tool storage.
TO DO:
- Lighting Plan
- Electrical Plan
- Lift Bay Selection
- Stair Location
Question(s):
1) In high school auto shop we had a floor drain, basically a channel with removable grate that ran the length of the garage, so we could hose the floor off and squeegee water into the drain. Thoughts on floor drains?
2) Which bay should I put the lift in? Left, Middle or Right?
Considerations:
a) I plan on being able to drive a vehicle into the workshop area from the garage
b) Tools will likely be stored in the Workshop space (proximity to lift)
Reasons for garage:
1970 Dodge Super Bee (440 4spd)
1968 Dart GTS (340 4 spd) - Now (440+ 4 Speed)
1987 Dodge Power Ram (318 4spd)
2006 Dodge Magnum RT (Sold)
2007 VS Jetta (2.5 5 speed)
Attachments


Last edited: