

dusterbd13
Well-known member
so I use my shop for a little bit of everything. from building hot rods/customs, fabrication, maintenance, woodworking, peace and quiet, etc. you name it, I probably do it in here. (within reason...)
anyway, for years ive needed to do something about it. space was not being utilized properly, couldn't find things due to disorganization, no way to get organization, dim, dirty, etc. just really an unpleasant hole in the ground.
when I started collecting and restoring vintage power tools to hopefully get back into woodworking, it really became apparent that something needed to be done. so I spent the last year assessing my needs/wants, and looking for ideas. ive got a general plan now.
anyway, here's a before picture or seven.
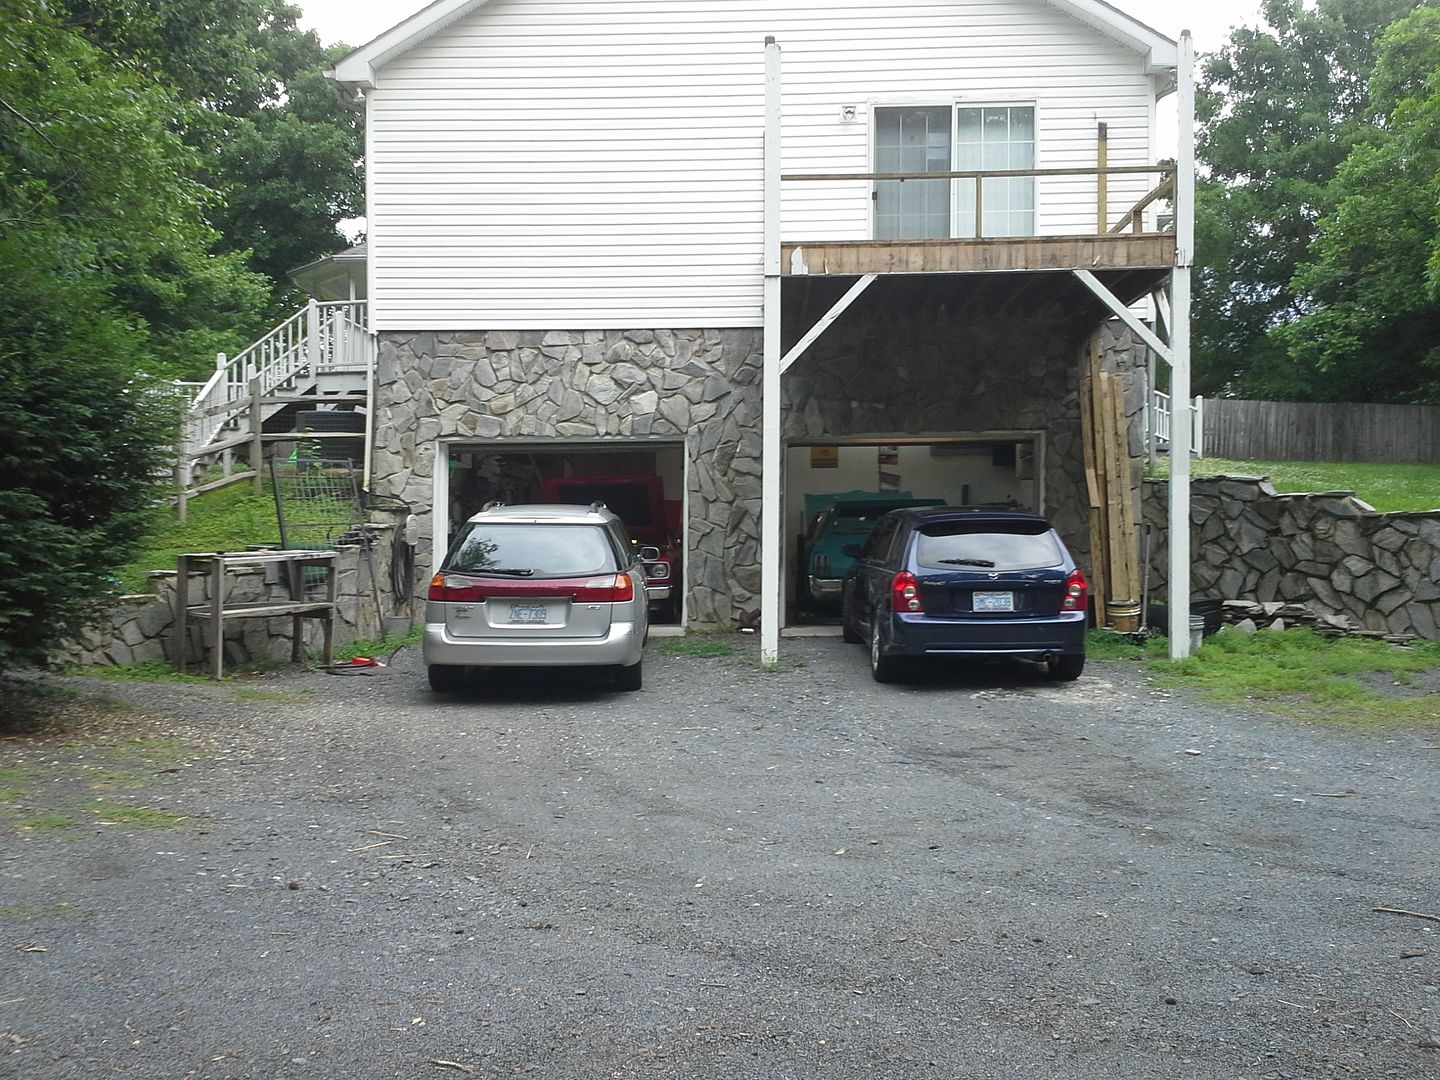
from outside: dimensions are 27 wide, 17.5 deep, 14 foot ceilings)
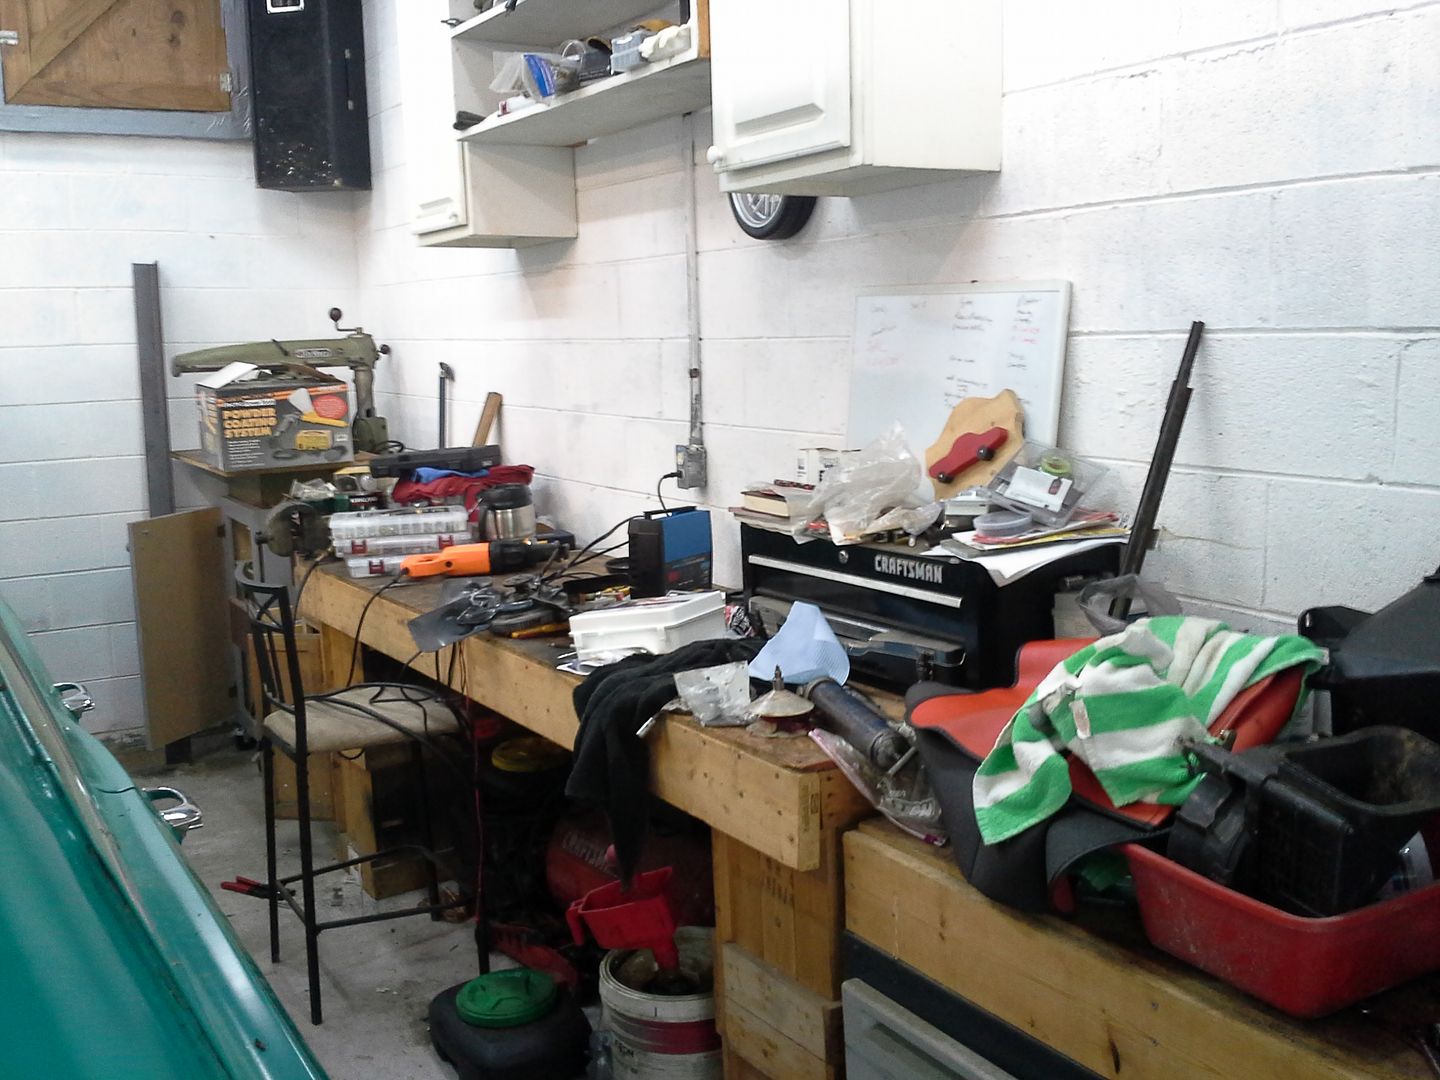
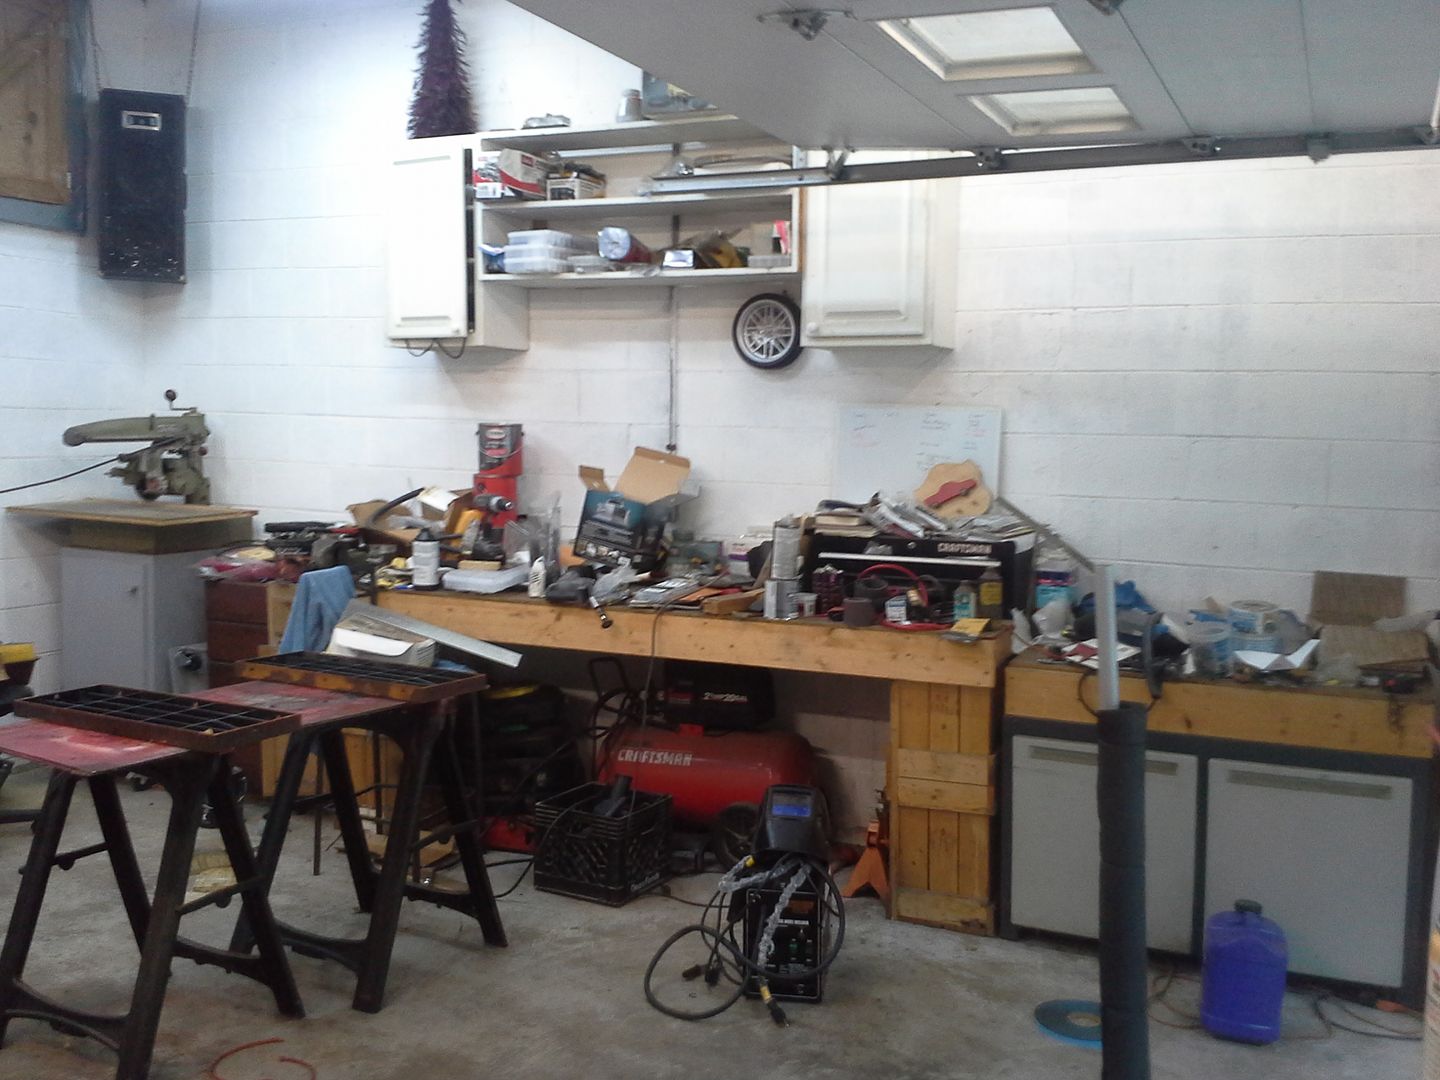
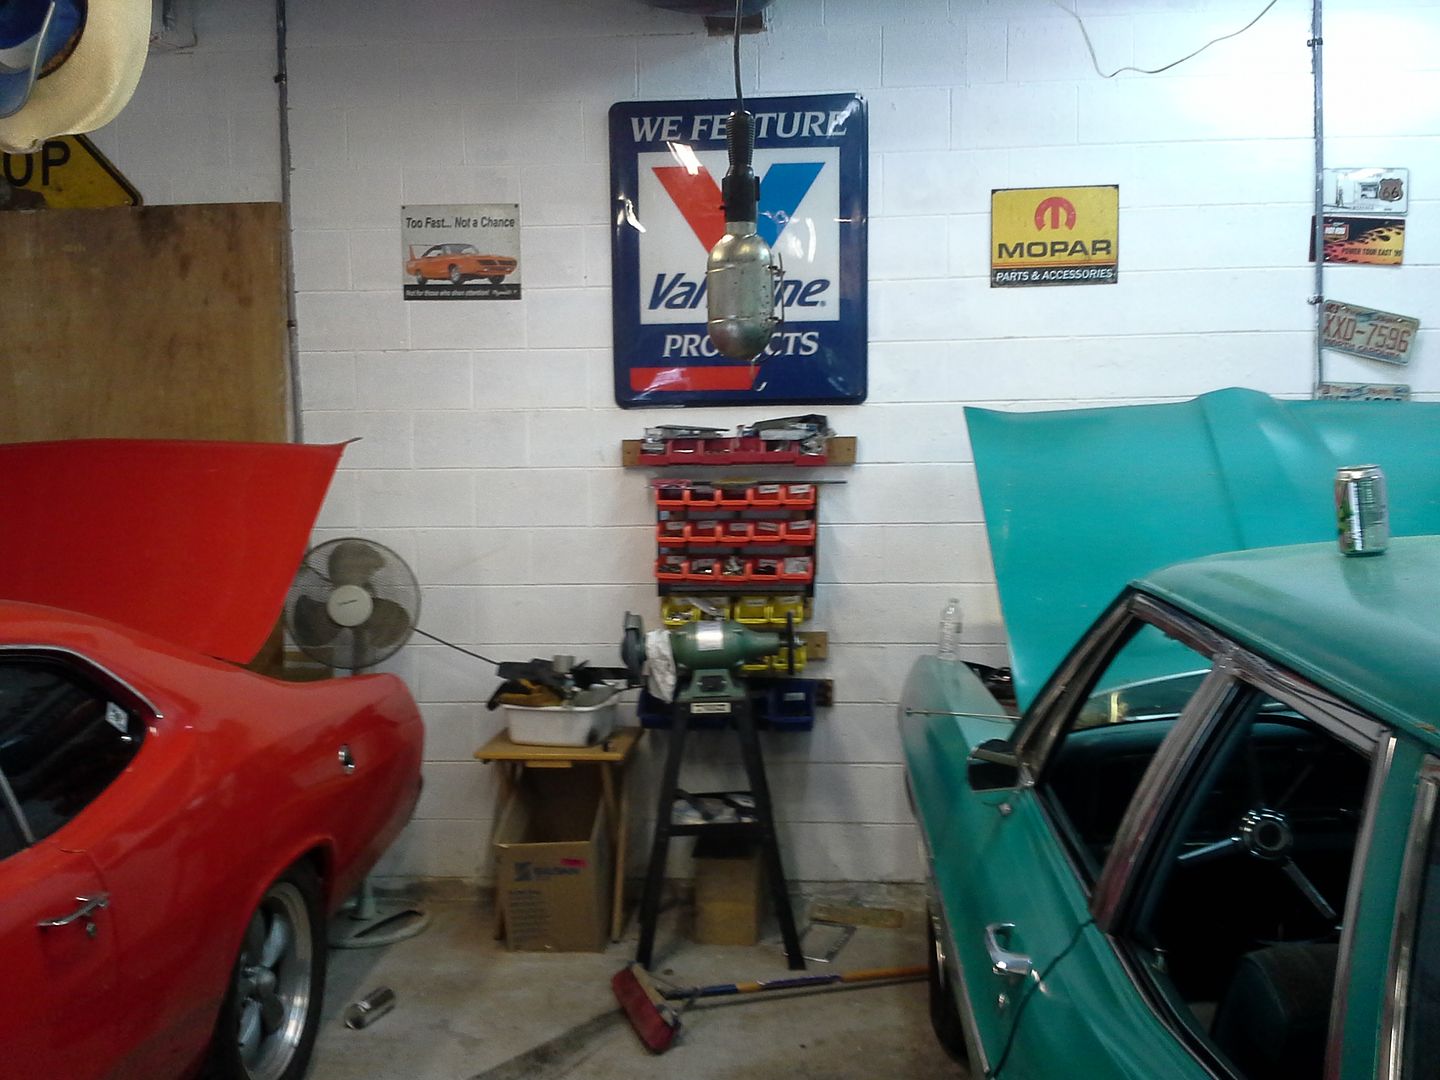
right side wall:
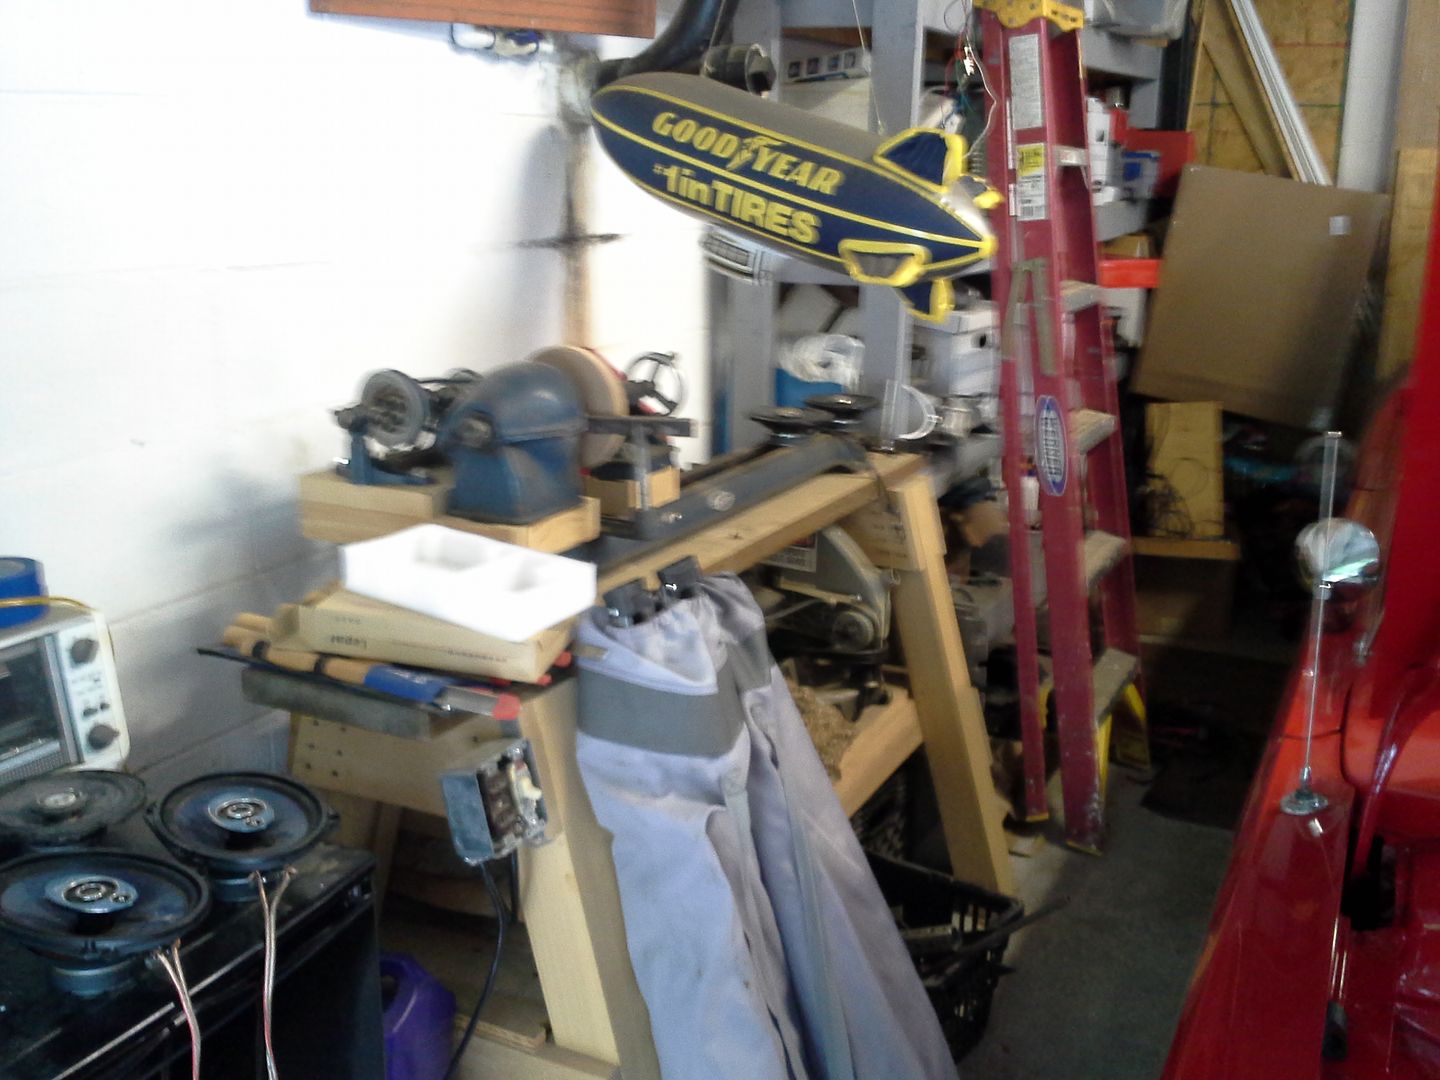
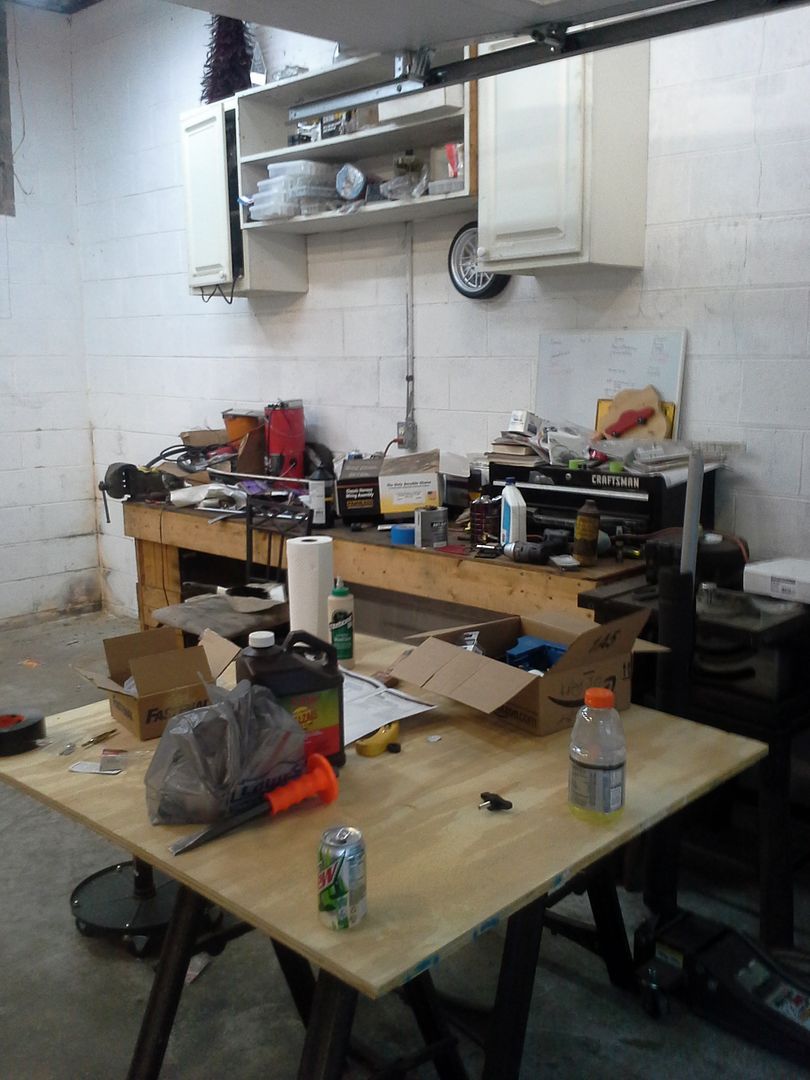
back wall:
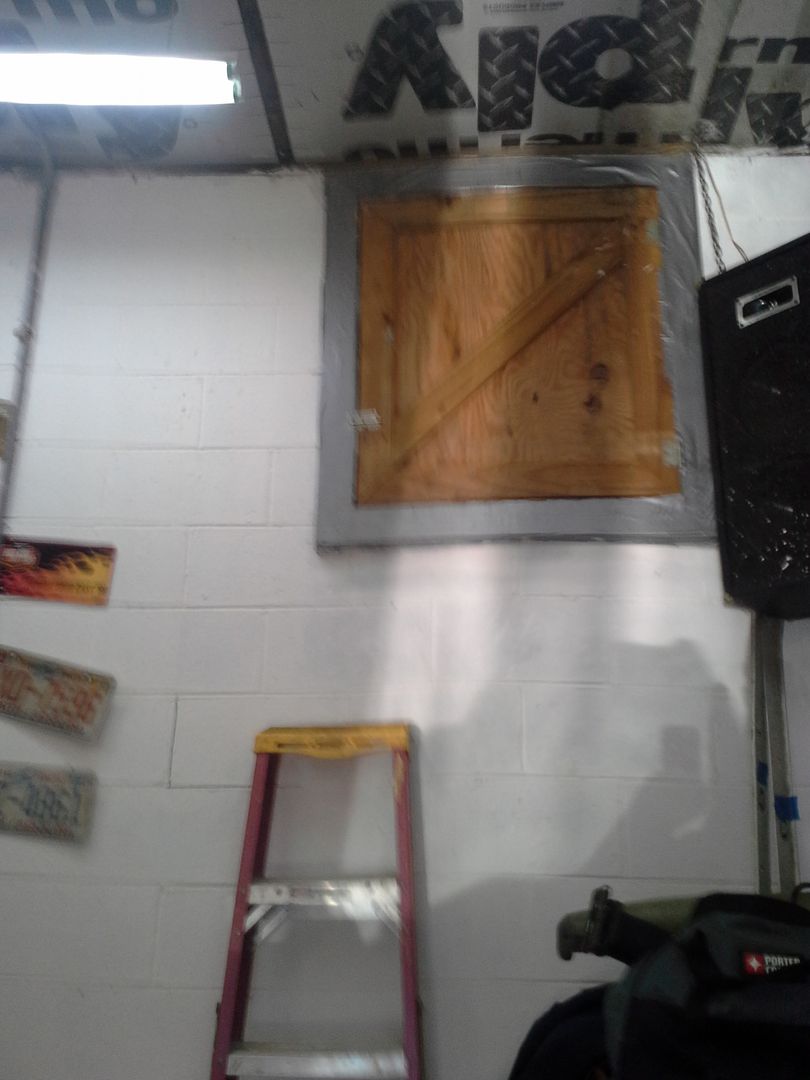
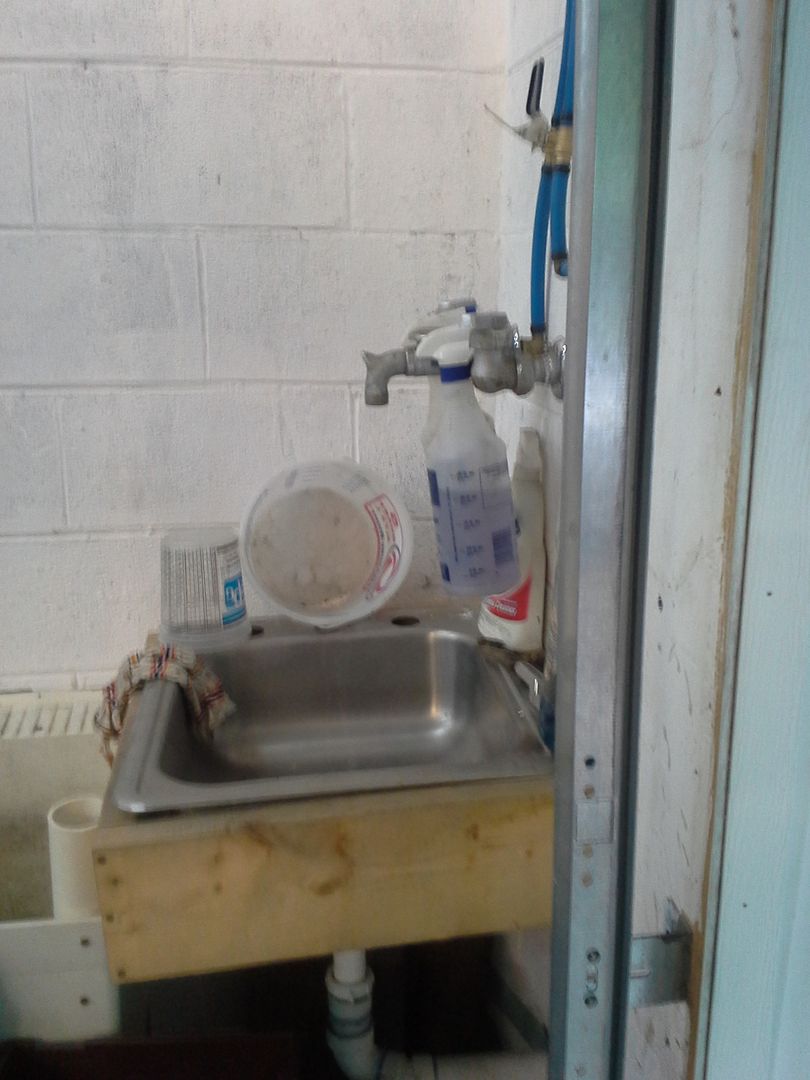
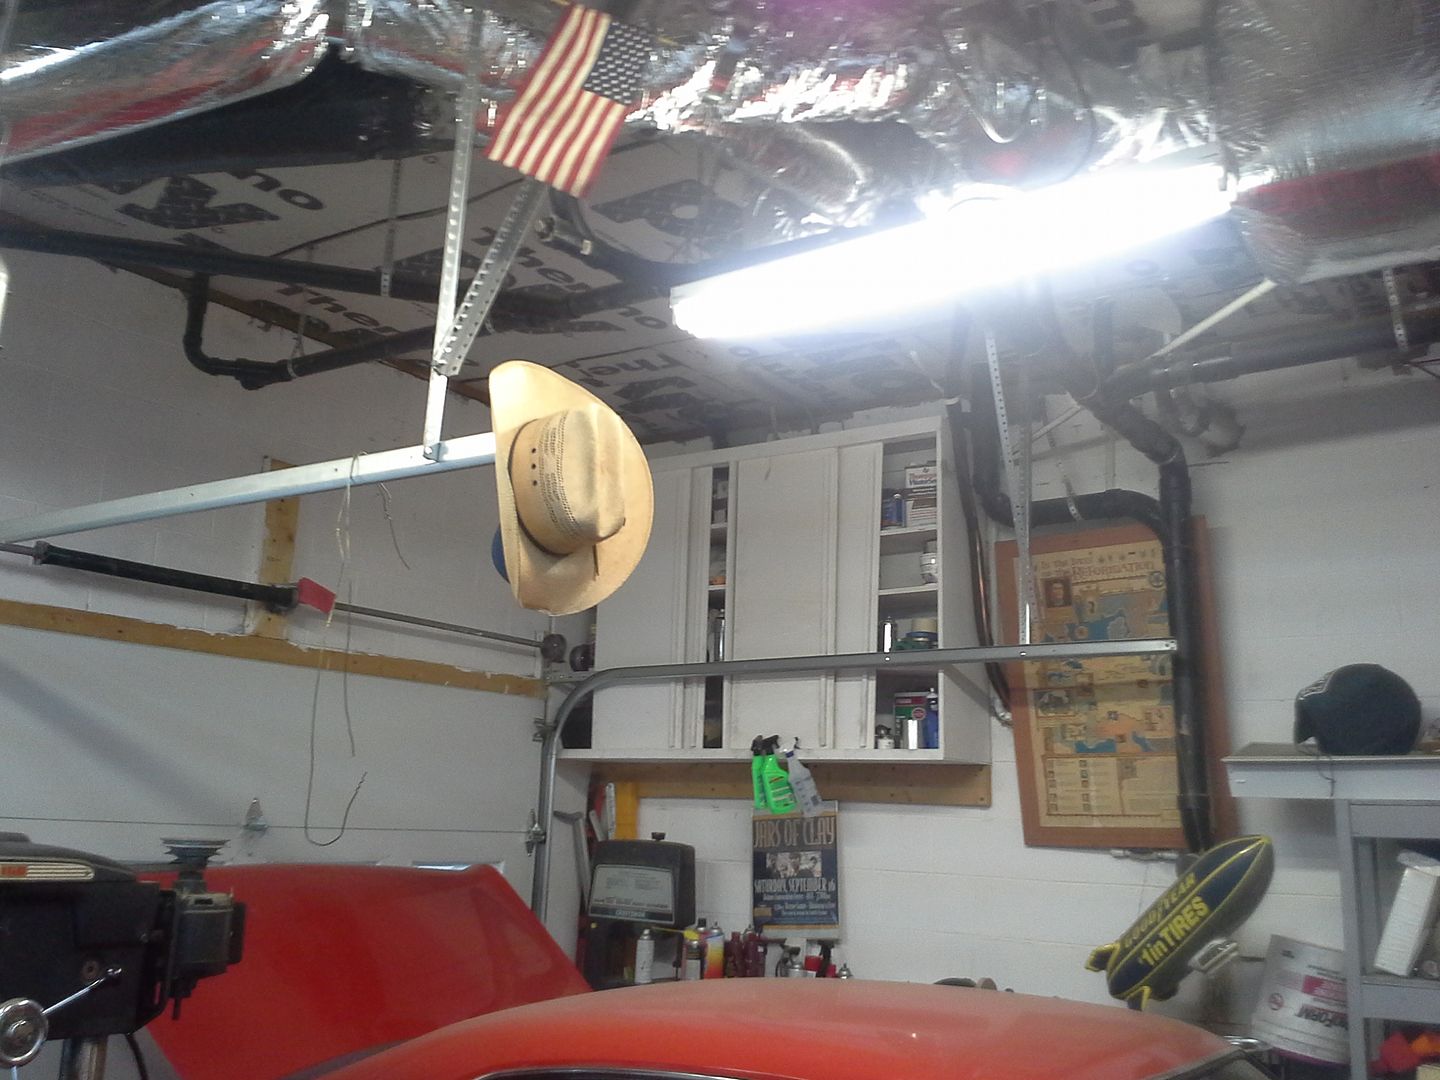
left wall:
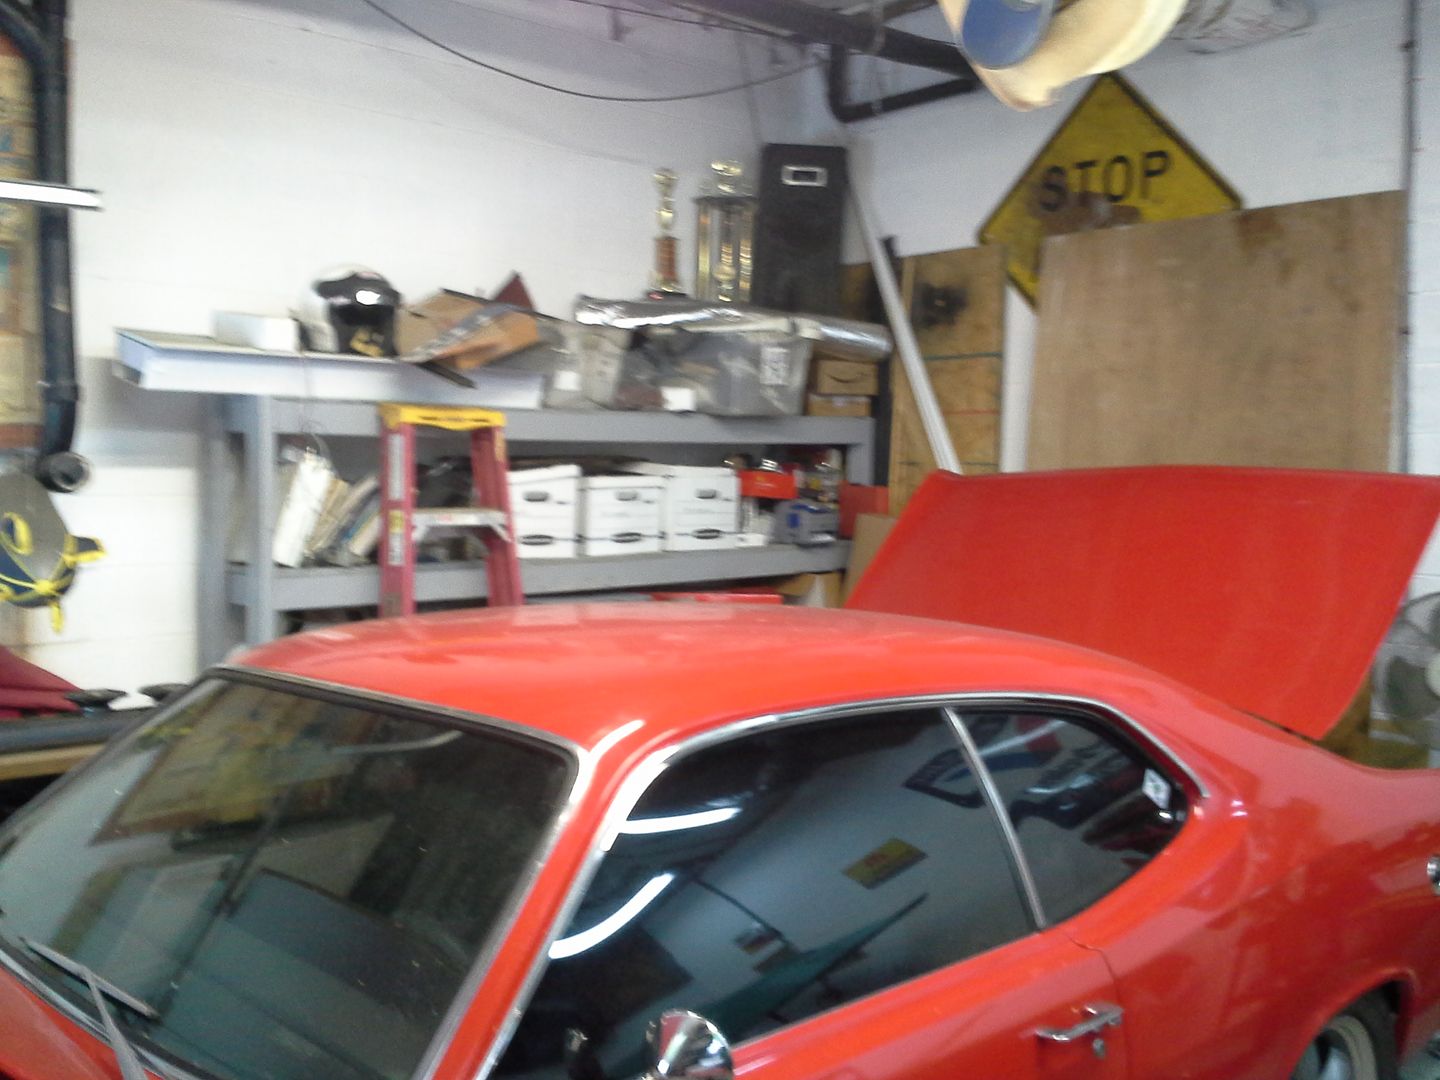

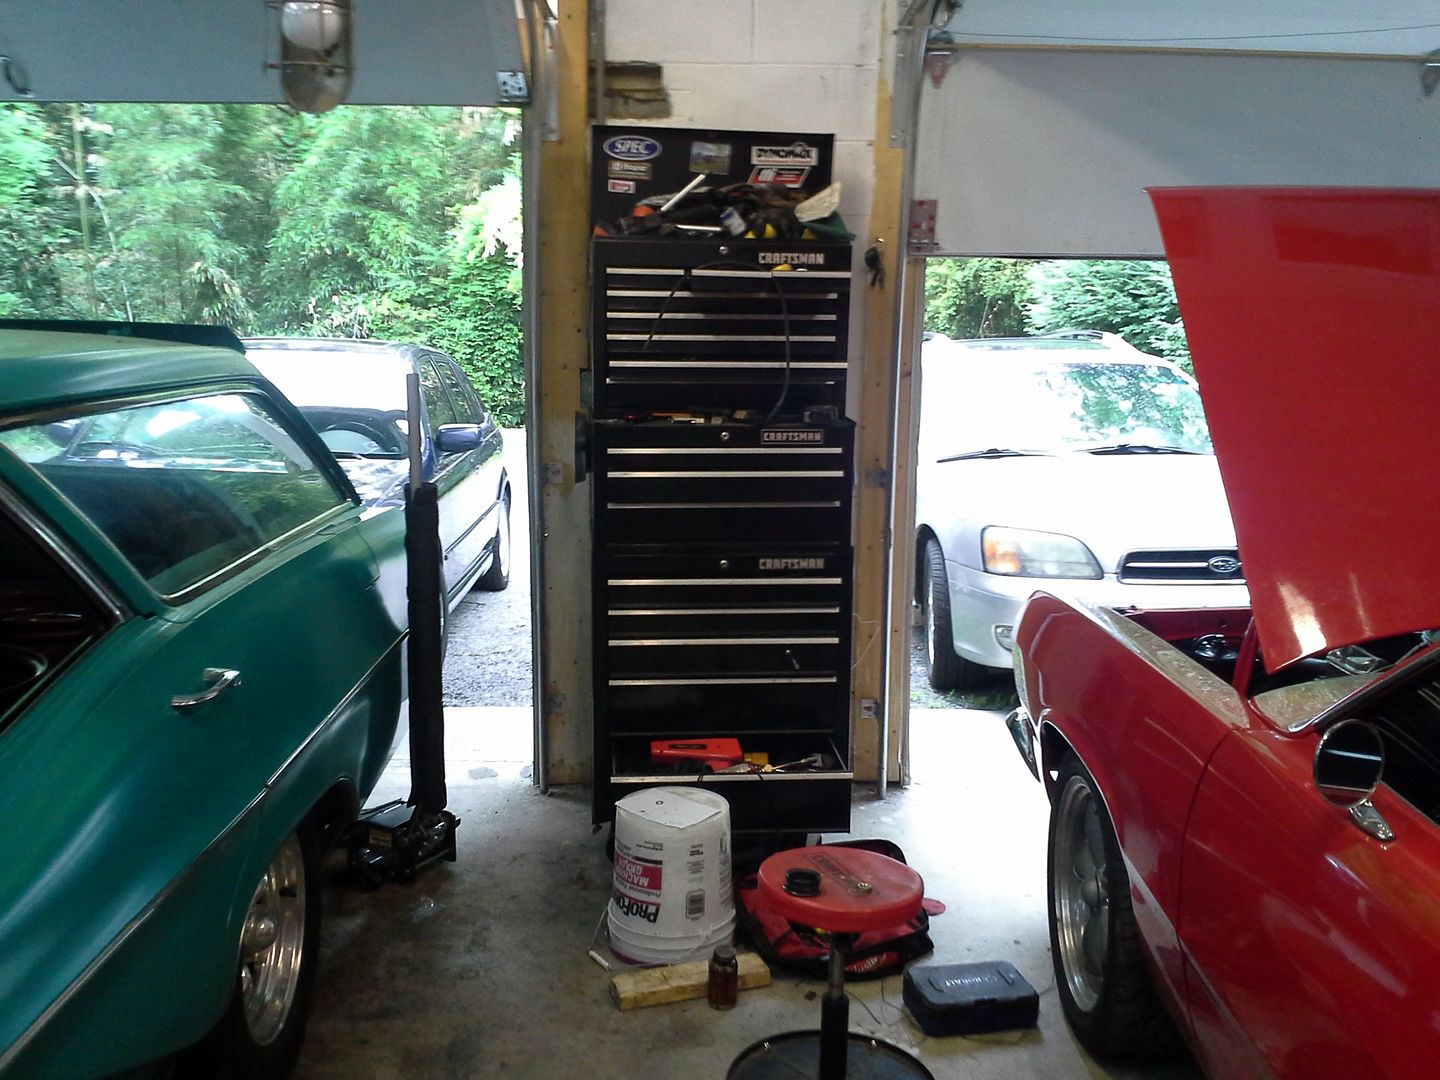
front wall:
so, pretty bad, right? well, even if you don't think so, I think it is. I want it much, much better.
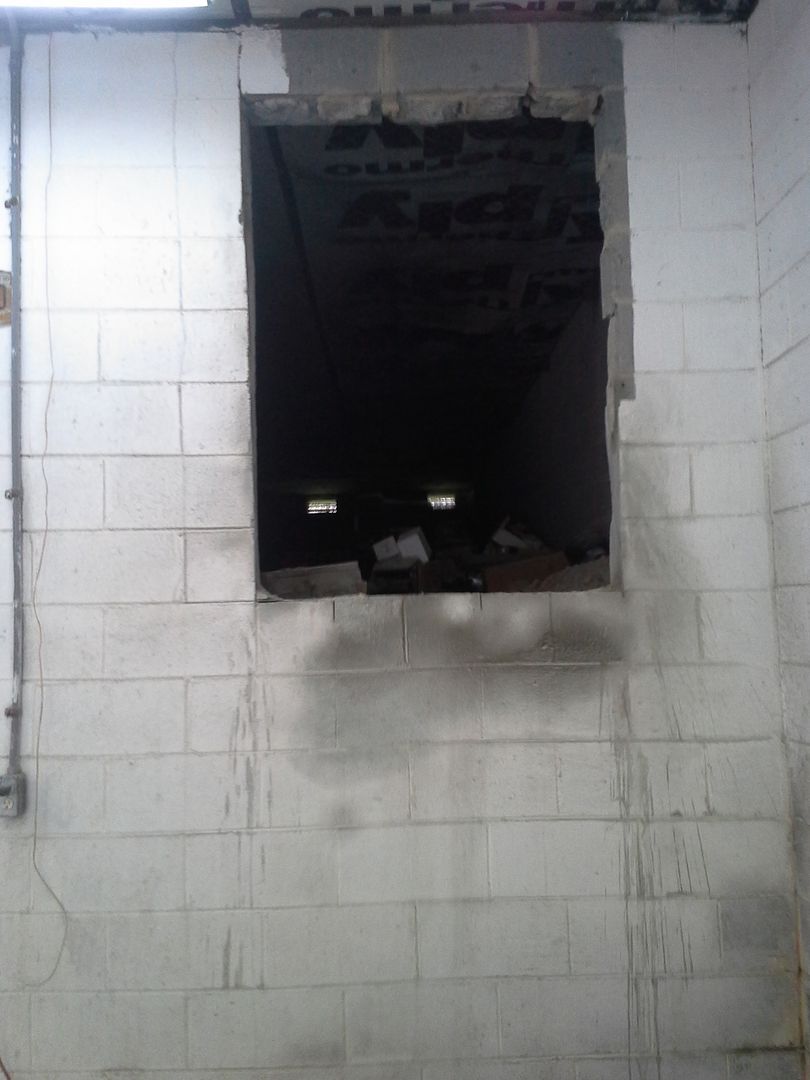
so I started in this week. step one was starting to get everything out of the right bay so I could enlarge the hole to the crawl space. see, the crawl is almost six foot tall, and I store a lot of parts and stuff up there. but the hole, and the way I've been accessing it, just aren't safe. after my father had a ladder accident that damn near killed him a few weeks ago, safety is job #1.
anyway, here's where we started this morning.
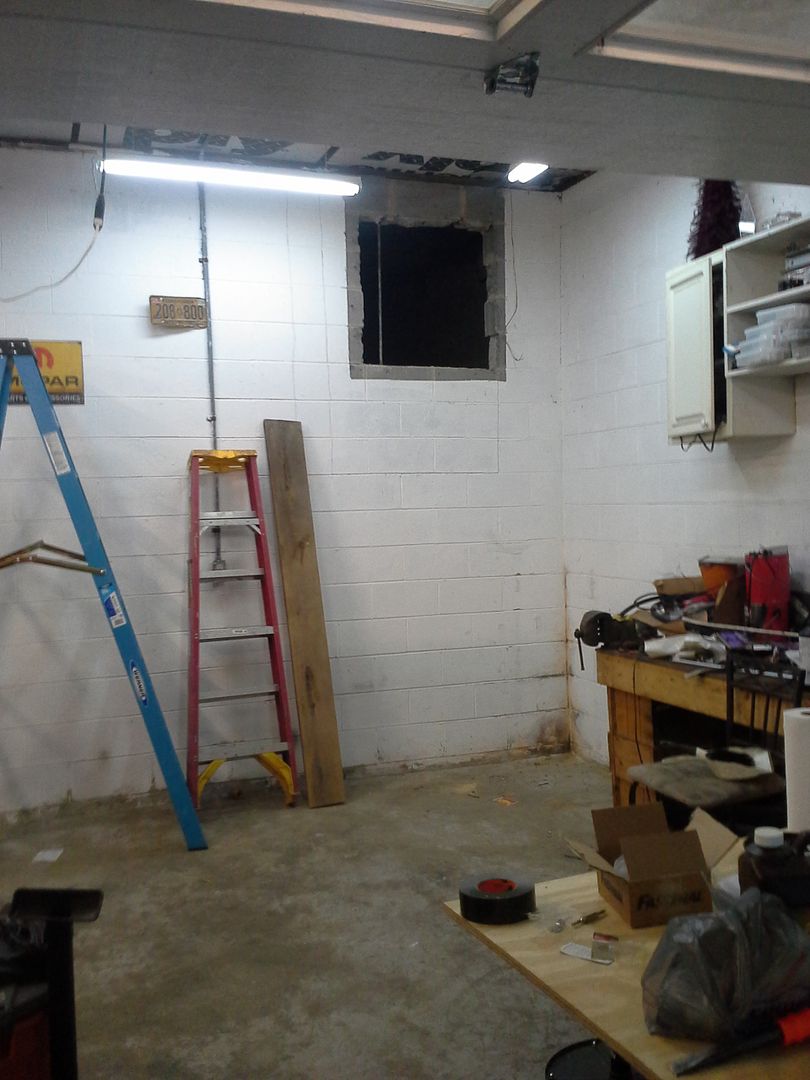
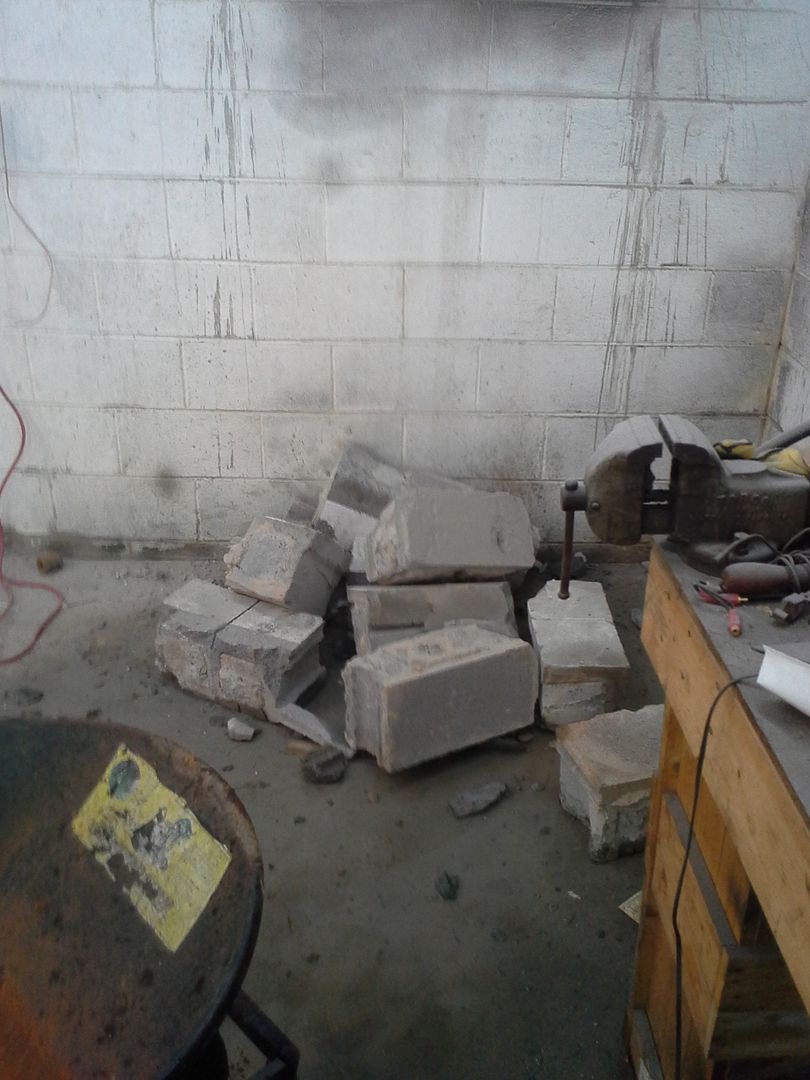
I rented an electric jackhammer and concrete saw to enlarge the hole. and no, that wall is not load bearing.
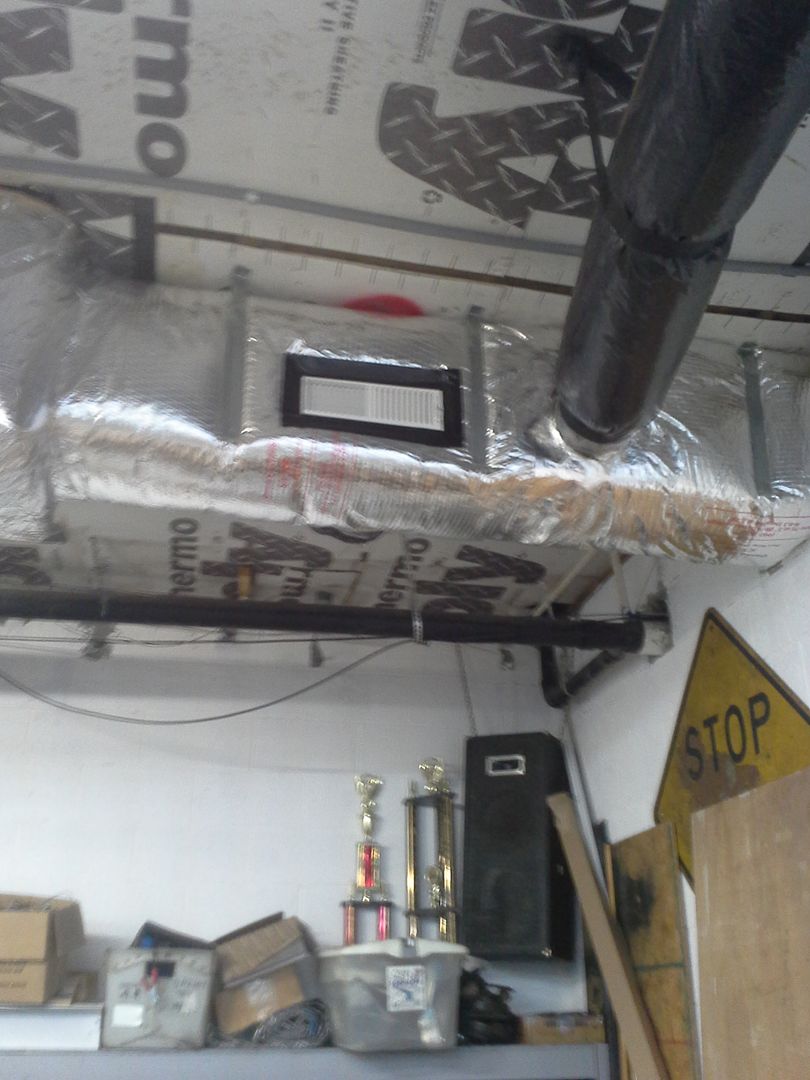
I also got an AC vent added to the ductwork. still need to make a rod to turn it off and on without having to get out the 8 foot ladder.
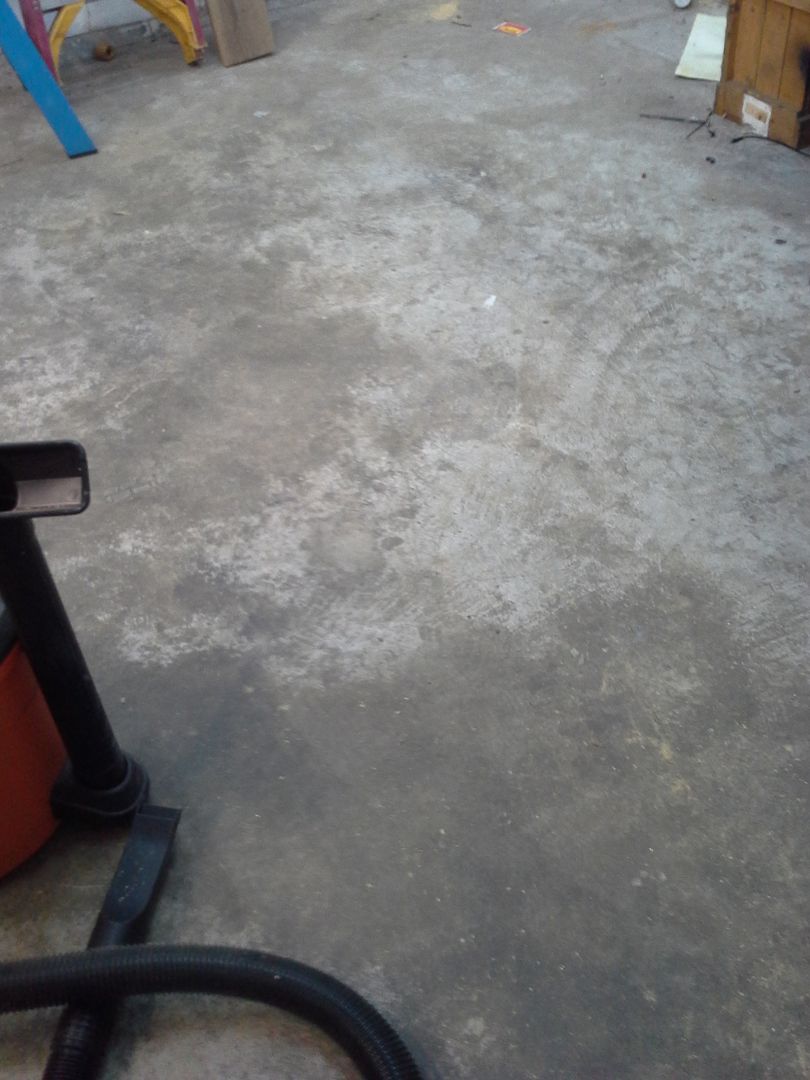
next up is moving more stuff out of the way, scrapping the old workbench, and pressure washing the floor.
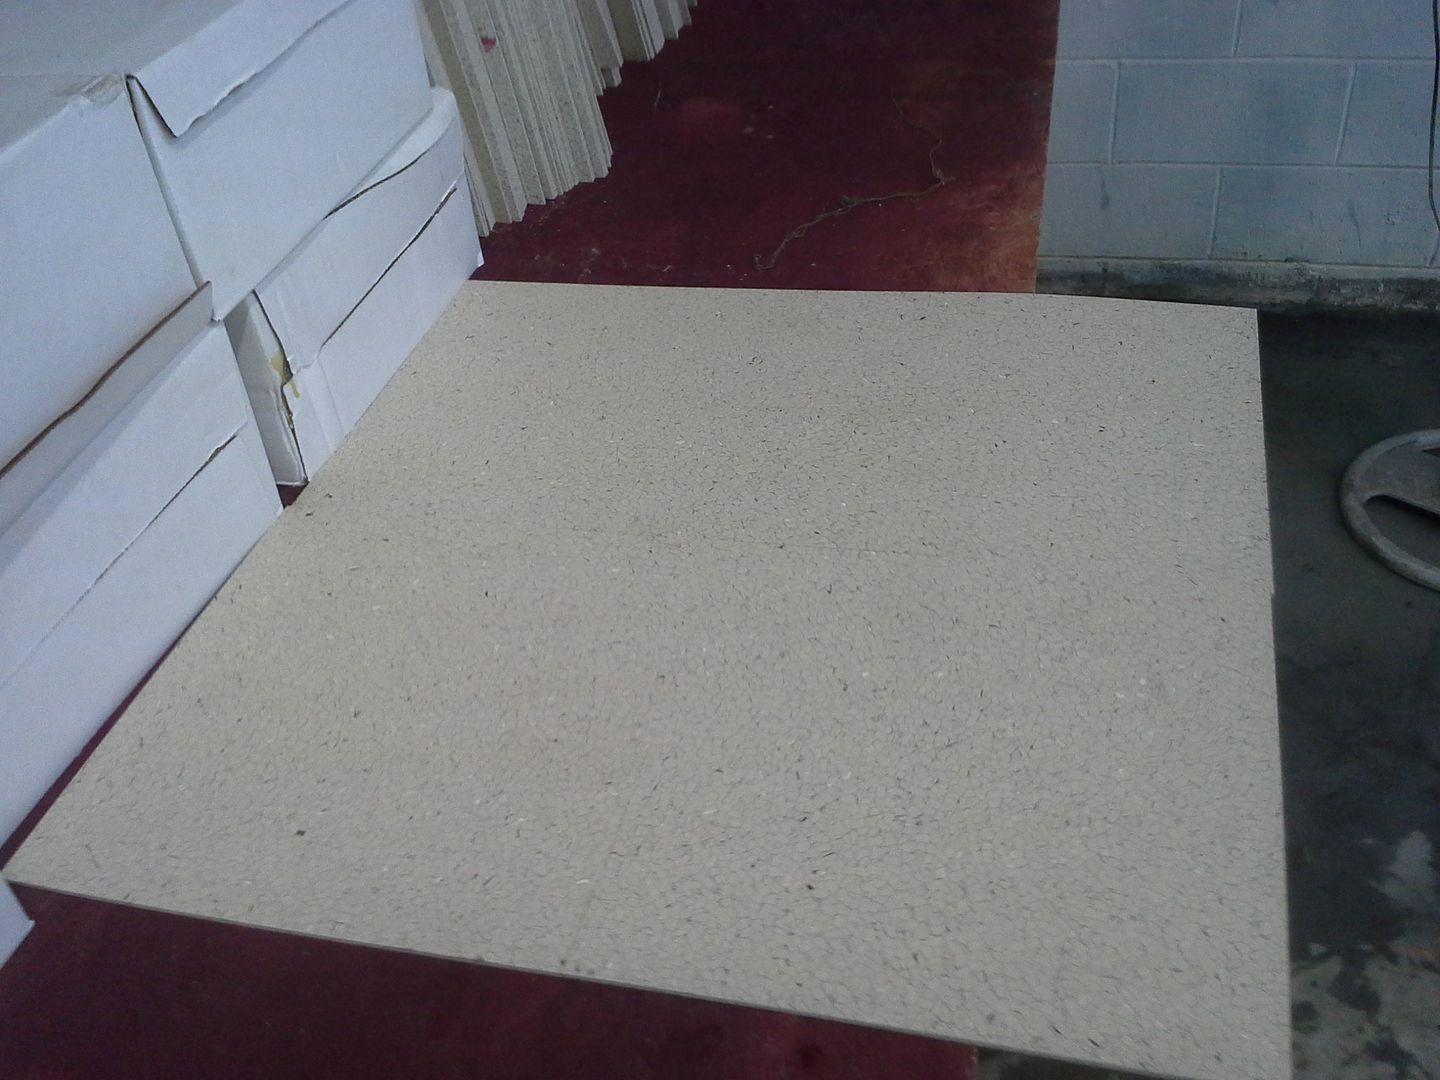
reason being, I scored 550sq foot of Armstrong VCT and 5 gallons of adhesive for $120. the blue lines in it are almost a dead ringer for the 50's craftsman blue/gray on my table saw and lathe.

after the floor is done, ill get my load of galvalume and do the ceiling on this side, install more outlets, and start building all the cabinetry/workbenches. then, on to the other side!
at the moment, with tool rentals and the floor, budget spent is $190 (I keep running budget tallies on most of my projects. this one will be rounded to the nearest whole dollar throughout)
anyway, for years ive needed to do something about it. space was not being utilized properly, couldn't find things due to disorganization, no way to get organization, dim, dirty, etc. just really an unpleasant hole in the ground.
when I started collecting and restoring vintage power tools to hopefully get back into woodworking, it really became apparent that something needed to be done. so I spent the last year assessing my needs/wants, and looking for ideas. ive got a general plan now.
anyway, here's a before picture or seven.
from outside: dimensions are 27 wide, 17.5 deep, 14 foot ceilings)

right side wall:


back wall:


left wall:


front wall:

so, pretty bad, right? well, even if you don't think so, I think it is. I want it much, much better.
so I started in this week. step one was starting to get everything out of the right bay so I could enlarge the hole to the crawl space. see, the crawl is almost six foot tall, and I store a lot of parts and stuff up there. but the hole, and the way I've been accessing it, just aren't safe. after my father had a ladder accident that damn near killed him a few weeks ago, safety is job #1.
anyway, here's where we started this morning.


I rented an electric jackhammer and concrete saw to enlarge the hole. and no, that wall is not load bearing.


I also got an AC vent added to the ductwork. still need to make a rod to turn it off and on without having to get out the 8 foot ladder.

next up is moving more stuff out of the way, scrapping the old workbench, and pressure washing the floor.

reason being, I scored 550sq foot of Armstrong VCT and 5 gallons of adhesive for $120. the blue lines in it are almost a dead ringer for the 50's craftsman blue/gray on my table saw and lathe.


after the floor is done, ill get my load of galvalume and do the ceiling on this side, install more outlets, and start building all the cabinetry/workbenches. then, on to the other side!
at the moment, with tool rentals and the floor, budget spent is $190 (I keep running budget tallies on most of my projects. this one will be rounded to the nearest whole dollar throughout)
")


