Hi, been lurking on here for many years now and thought it was time to start my own thread.
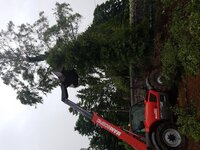
Where I lived I only had a single garage and so had to rent unit space nearby. Unfortunately where my units are is on a flood plane and a couple of years ago the river burst its banks and pretty much destroyed everything I've spent years building or collecting.
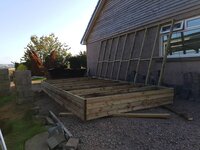
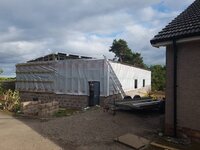
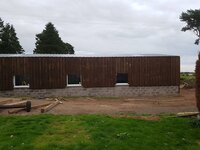
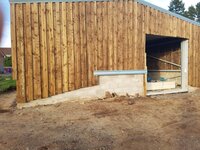
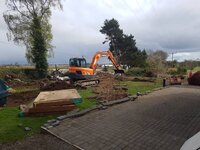
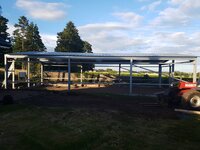
This prompted me to find a new house with enough space to build a garage suitable for what I needed. At the end of January I moved into my new house and by May I'd had all the approval through to start construction of my new garage. With a lot of help from friends I've been building what will hopefully be a garage worthy of these pages.


Where I lived I only had a single garage and so had to rent unit space nearby. Unfortunately where my units are is on a flood plane and a couple of years ago the river burst its banks and pretty much destroyed everything I've spent years building or collecting.
This prompted me to find a new house with enough space to build a garage suitable for what I needed. At the end of January I moved into my new house and by May I'd had all the approval through to start construction of my new garage. With a lot of help from friends I've been building what will hopefully be a garage worthy of these pages.
Attachments


Last edited:


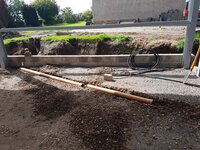
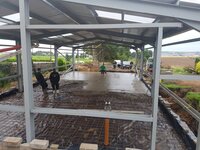
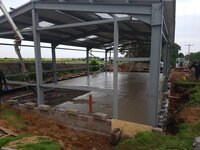
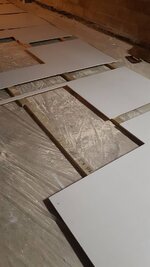
") . I don't have any finished pictures of the floor as we sheeted it as soon as it was safe to do so but theres a few in progress shots.
. I don't have any finished pictures of the floor as we sheeted it as soon as it was safe to do so but theres a few in progress shots.