RSr
Well-known member
"If you give me a million years, I can move a mountain" - Anonymous Glacier
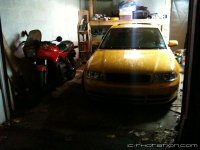
If you hoped this would be a thread about some epic garage constructed near a glacier, I'll apologize now because it isn't. Instead this is simply a documentation thread about the construction of an oversize 3 car attached garage on a 2500ft² house in the suburbs of Pittsburgh. Over the last few years I've really enjoyed reading other members build threads so I felt compelled to give back to the forum and it's members.
Whats with the name The Glacier Garage? It's based a running joke between my wife and I about the pace at which I complete tasks. She says that I work very slowly but I tell her I'm working deliberately. Some things just really bother me and rushing a project and producing inferior results is one of them. I don't by any means think of myself as a craftsman (I'm a computer scientist and have no training in the trades) but I feel if I put full and thorough effort into a project it will turn out sufficiently well. If it turns out worse than that, at least it wasn't because I rushed it. So that's pretty much it, I tend to work at a near glacial pace, and I'm OK with that. If your reading this thread, please be patient, geological timescale is in effect.
So now that I've broken the ice, lets get into it.
Table of Contents - Click to Jump (never to early to plan for the future)
[Background]
[The House]
[The Plan]
[Fill and Driveway]
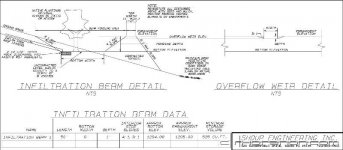
[Permits and SWM]
[Site Prep]
[Excavation Start]
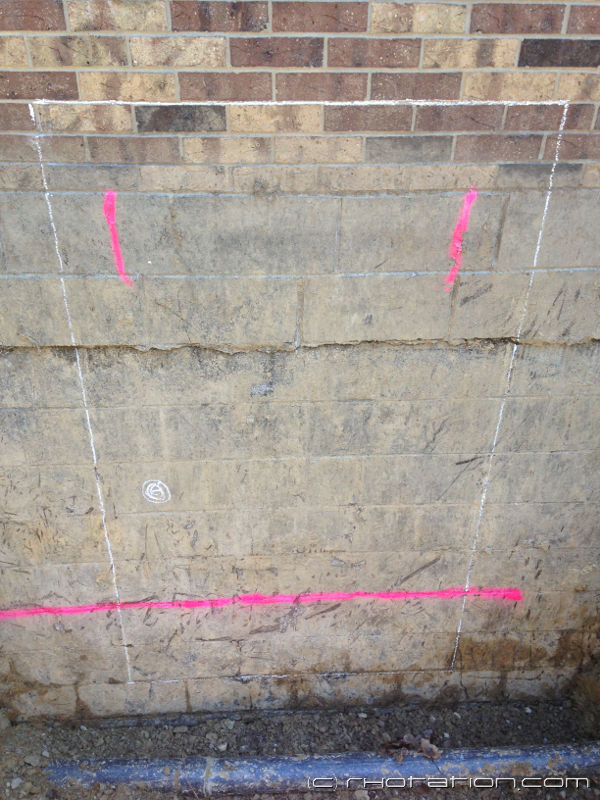
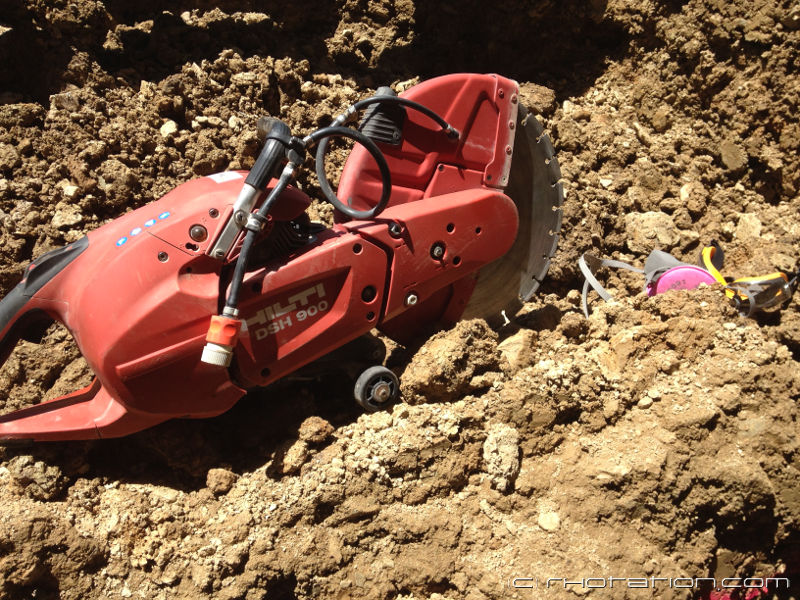
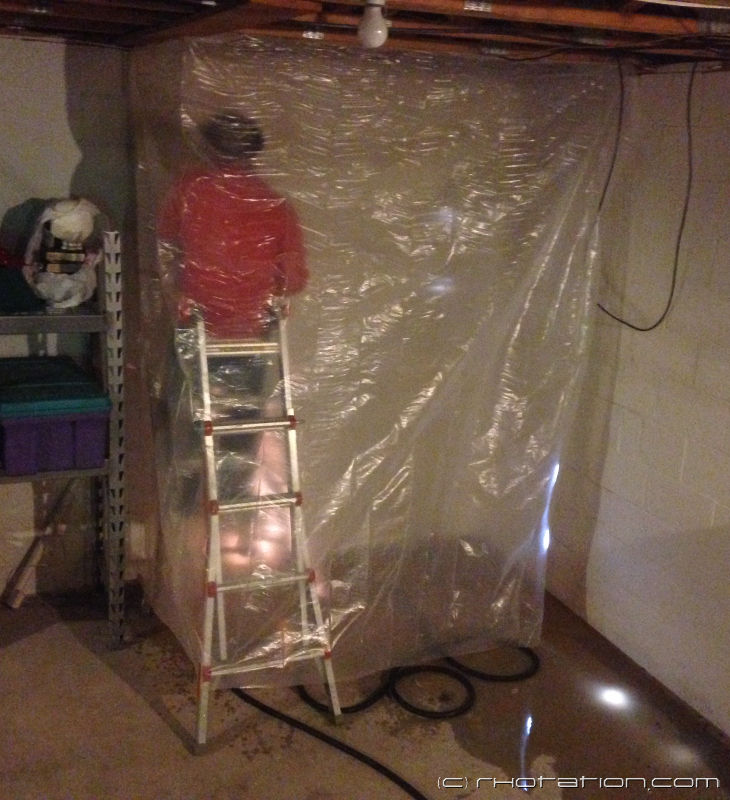
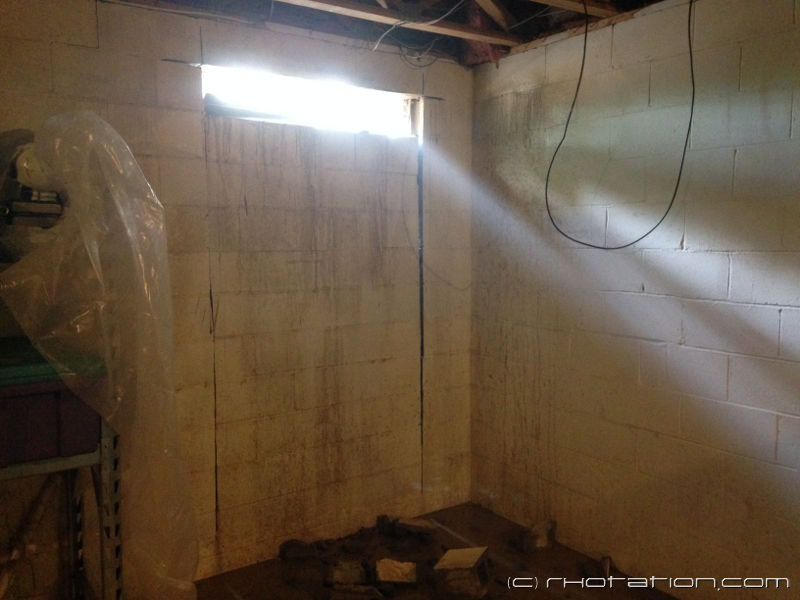
[Basement Cutout]
[Excavation Finish]
[Footer]
[Block I]
[Block II]
[Grout I]
[Block III]
[Block IV]
[Grout II]
[Foundation Costs]
[Wall Framing I]
[Wall Framing II]
[Wall Framing III]
[Wall Framing IV]
[Truss Delivery]
[Truss I]
[Truss II]
[Truss III]
[Truss IV]
...
If you hoped this would be a thread about some epic garage constructed near a glacier, I'll apologize now because it isn't. Instead this is simply a documentation thread about the construction of an oversize 3 car attached garage on a 2500ft² house in the suburbs of Pittsburgh. Over the last few years I've really enjoyed reading other members build threads so I felt compelled to give back to the forum and it's members.
Whats with the name The Glacier Garage? It's based a running joke between my wife and I about the pace at which I complete tasks. She says that I work very slowly but I tell her I'm working deliberately. Some things just really bother me and rushing a project and producing inferior results is one of them. I don't by any means think of myself as a craftsman (I'm a computer scientist and have no training in the trades) but I feel if I put full and thorough effort into a project it will turn out sufficiently well. If it turns out worse than that, at least it wasn't because I rushed it. So that's pretty much it, I tend to work at a near glacial pace, and I'm OK with that. If your reading this thread, please be patient, geological timescale is in effect.
So now that I've broken the ice, lets get into it.
Table of Contents - Click to Jump (never to early to plan for the future)
[Background]
[The House]
[The Plan]
[Fill and Driveway]
[Permits and SWM]
[Site Prep]
[Excavation Start]
[Basement Cutout]
[Excavation Finish]
[Footer]
[Block I]
[Block II]
[Grout I]
[Block III]
[Block IV]
[Grout II]
[Foundation Costs]
[Wall Framing I]
[Wall Framing II]
[Wall Framing III]
[Wall Framing IV]
[Truss Delivery]
[Truss I]
[Truss II]
[Truss III]
[Truss IV]
...
Attachments


Last edited:


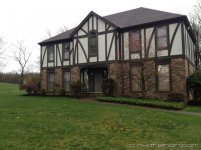
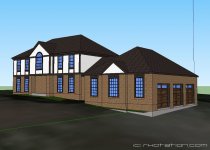
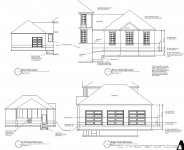
 ). For a while I was thinking of exactly this size with two 18'x8' garage doors, that would make an excellent 4 car garage. But when I sketched it out, it looked like a giant wide behemoth and my wife also didn't like how far it went into the back yard. Lopping off 6 ft and switching to 3 individual doors definitely made it look more traditional and I could add a 4 post lift later for more storage.


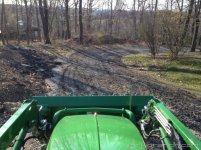


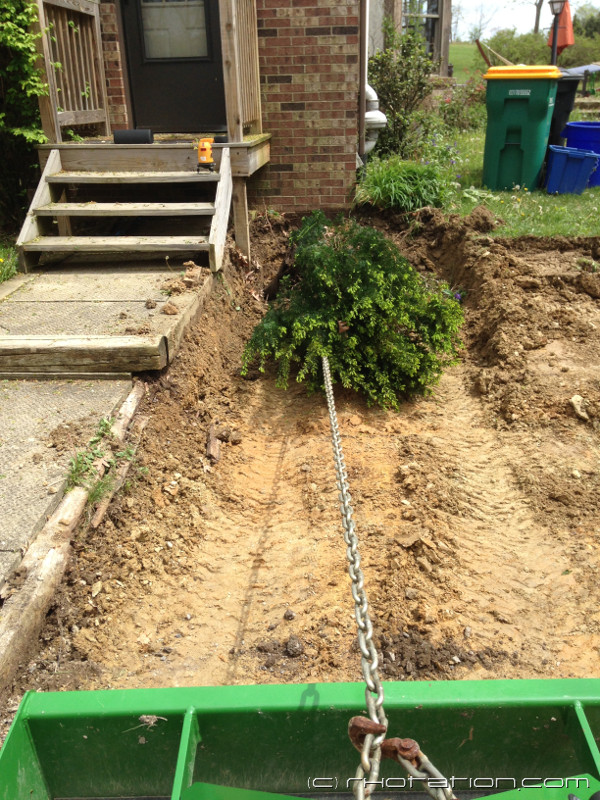
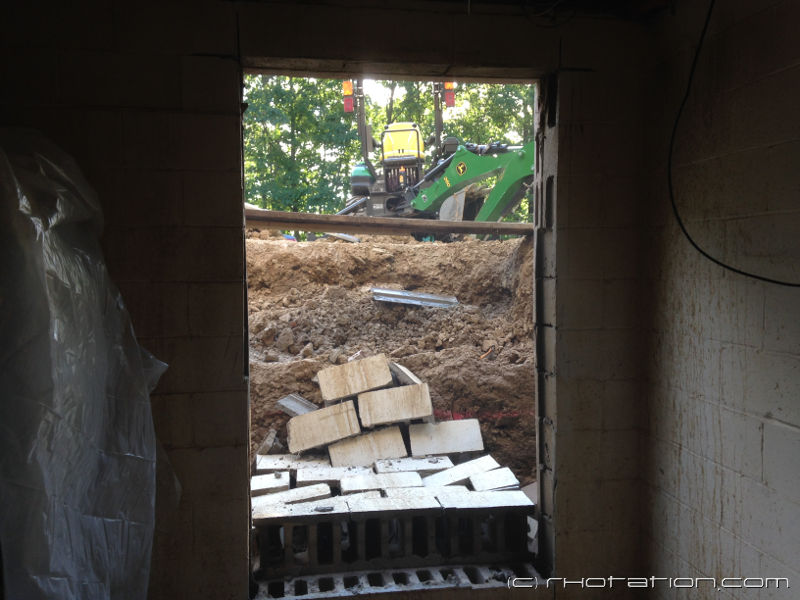
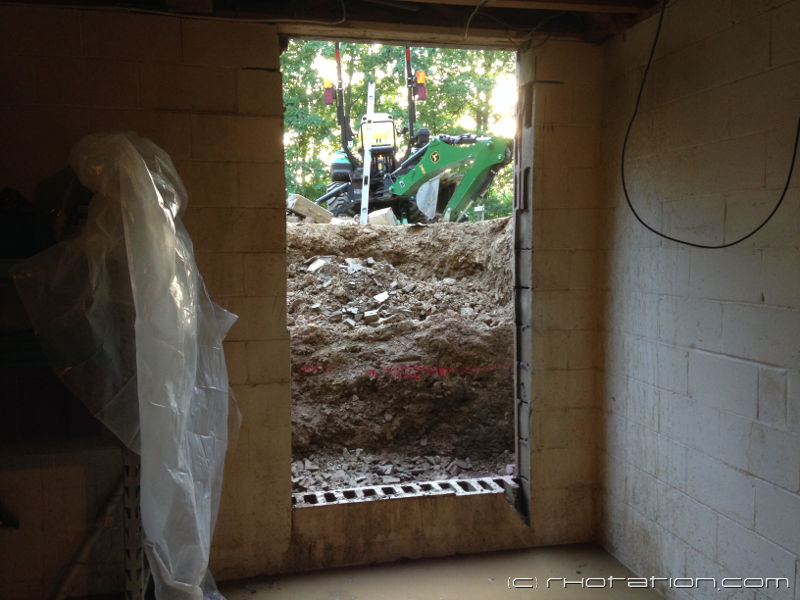
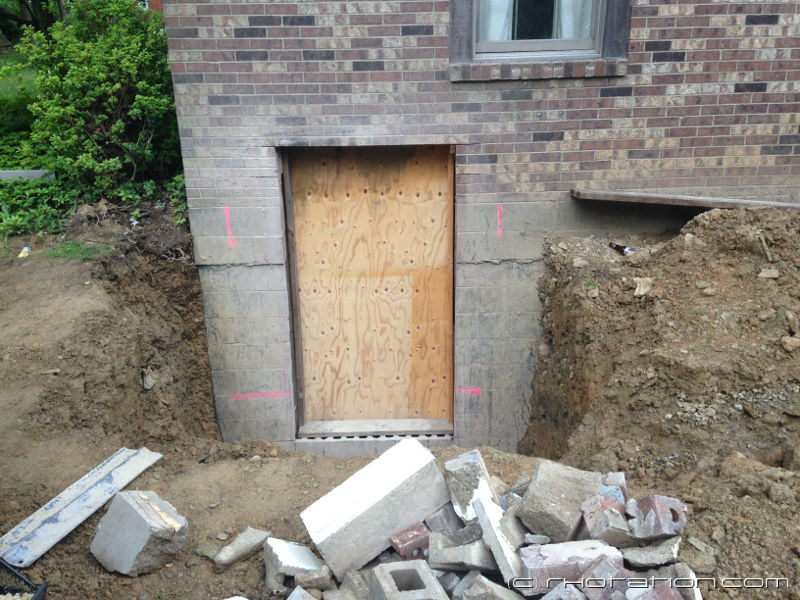
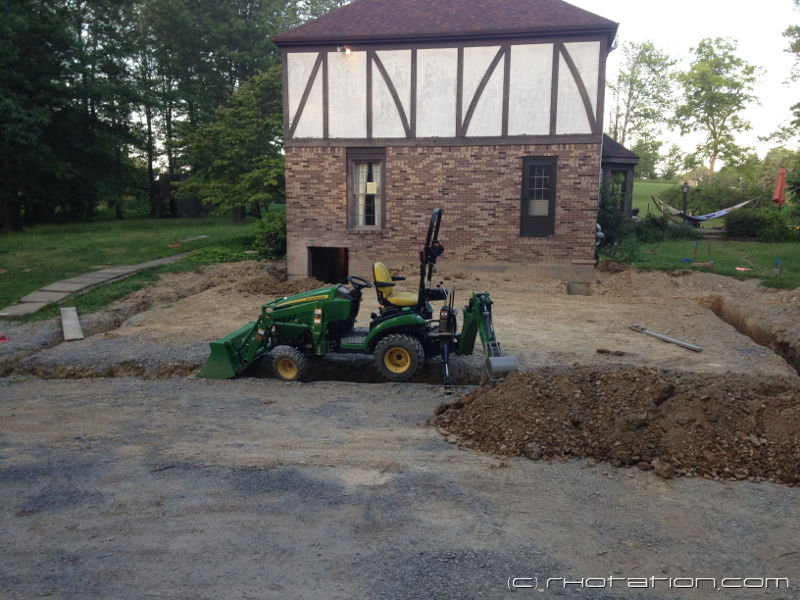
 . Stairs were held on by a few lag bolts into the brick and 4x4's just set in the dirt. We cut off the bolts and the tractor pulled the stairs out nice and easy.
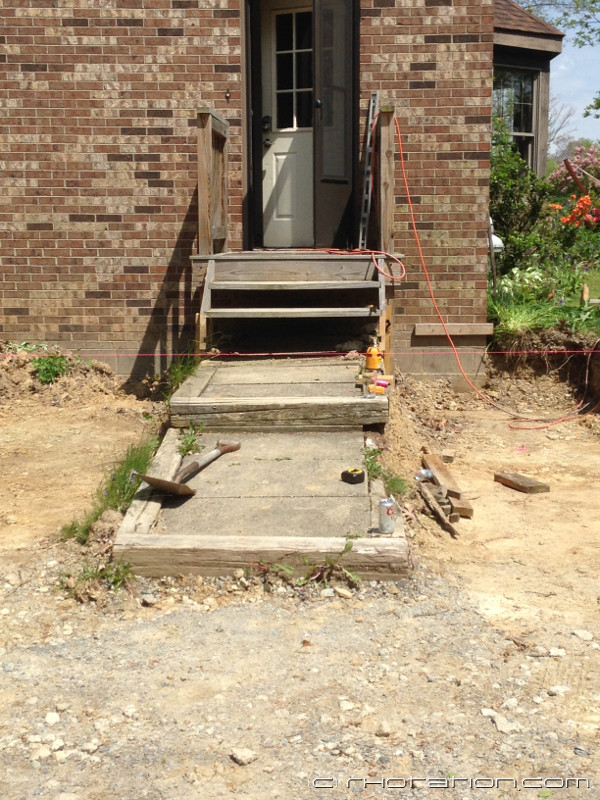


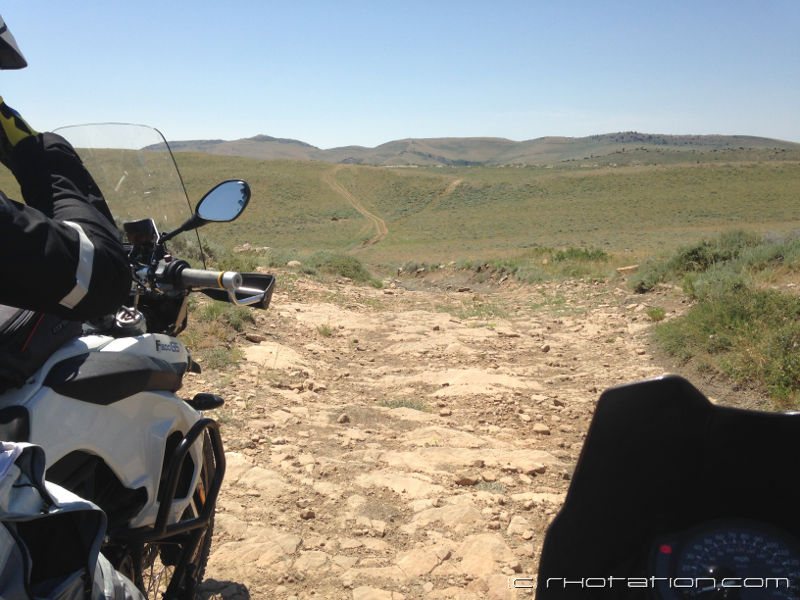

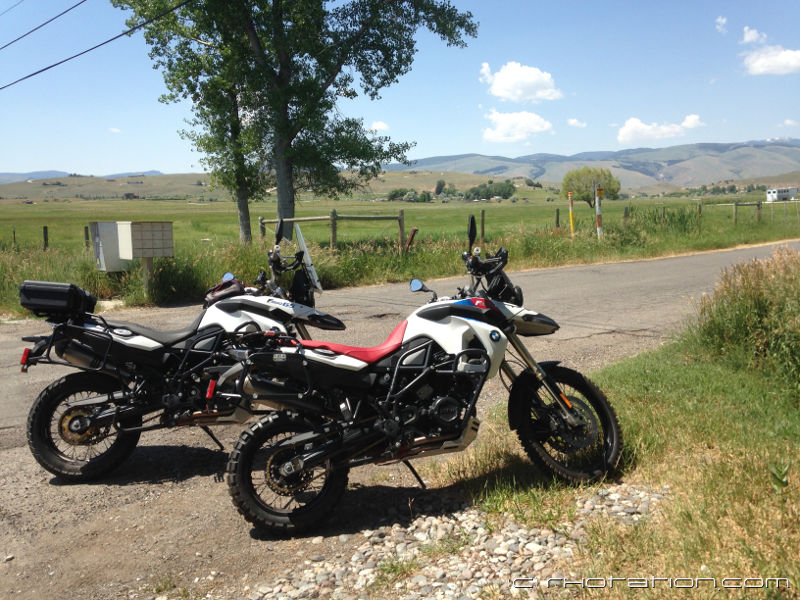

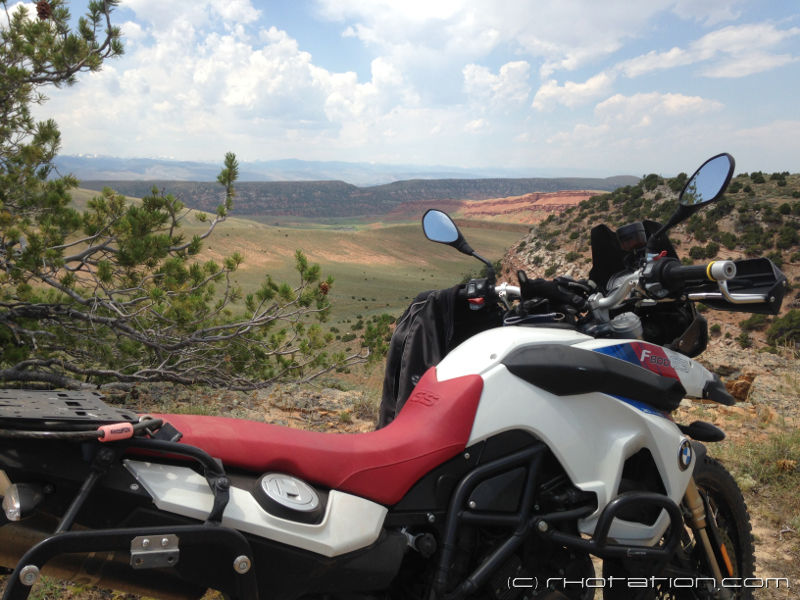
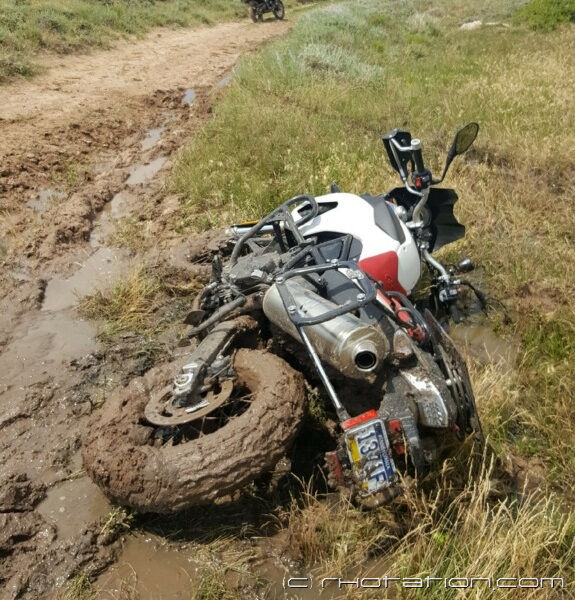
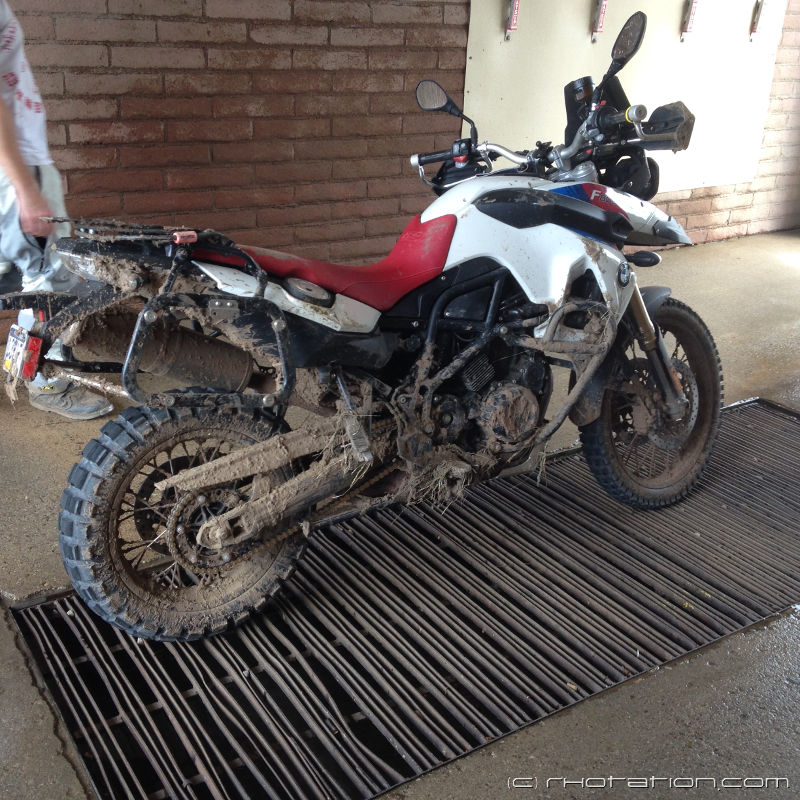

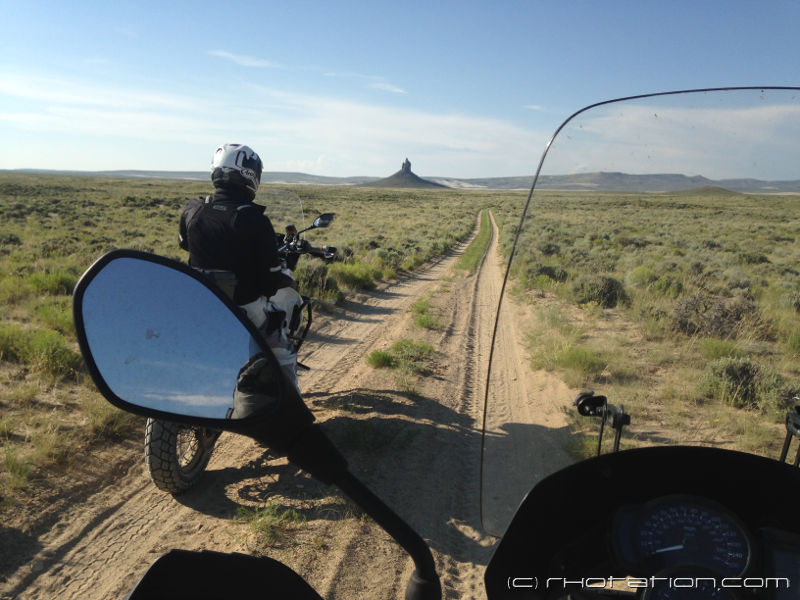

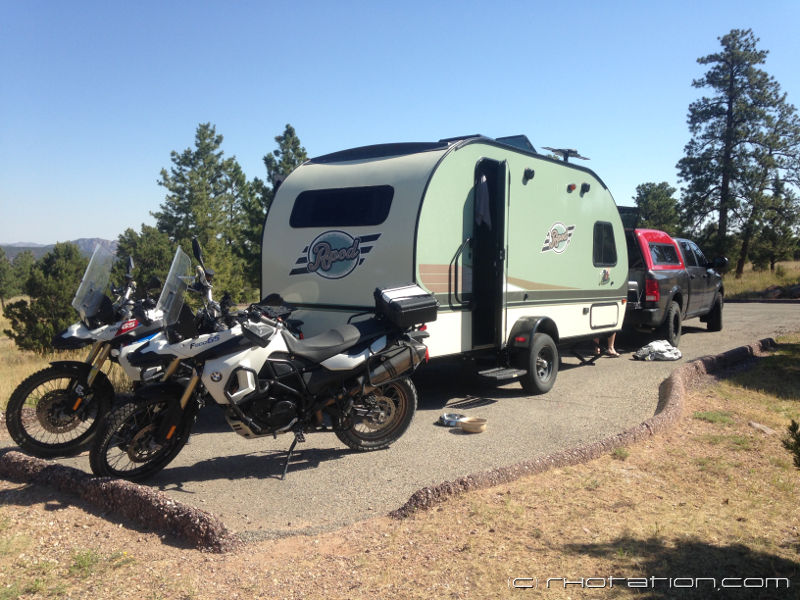
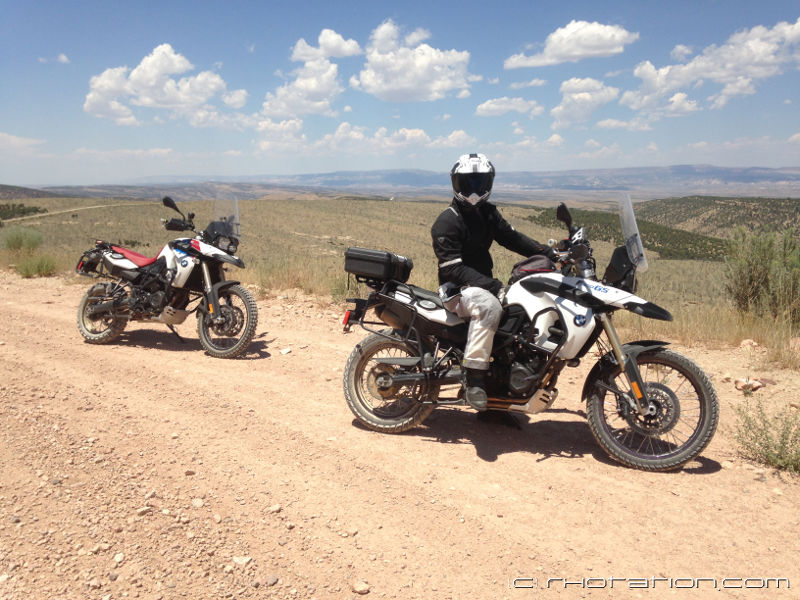
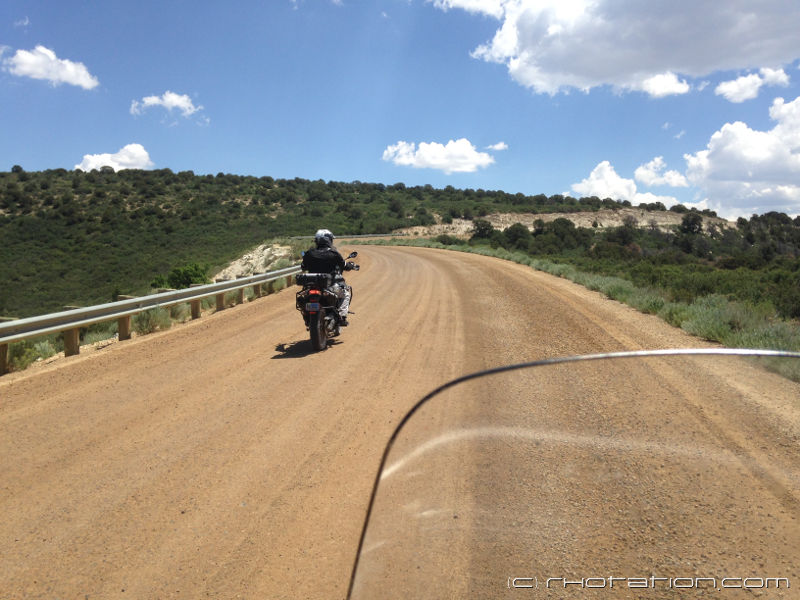
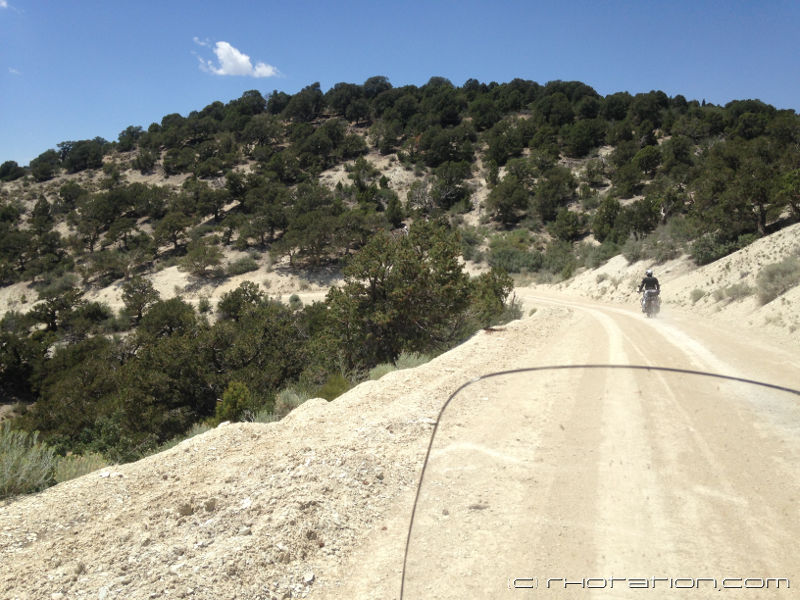

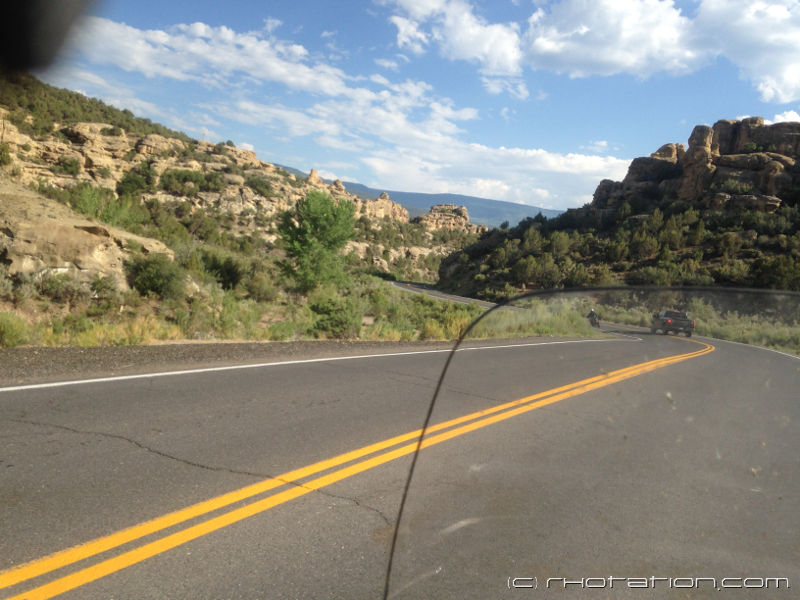
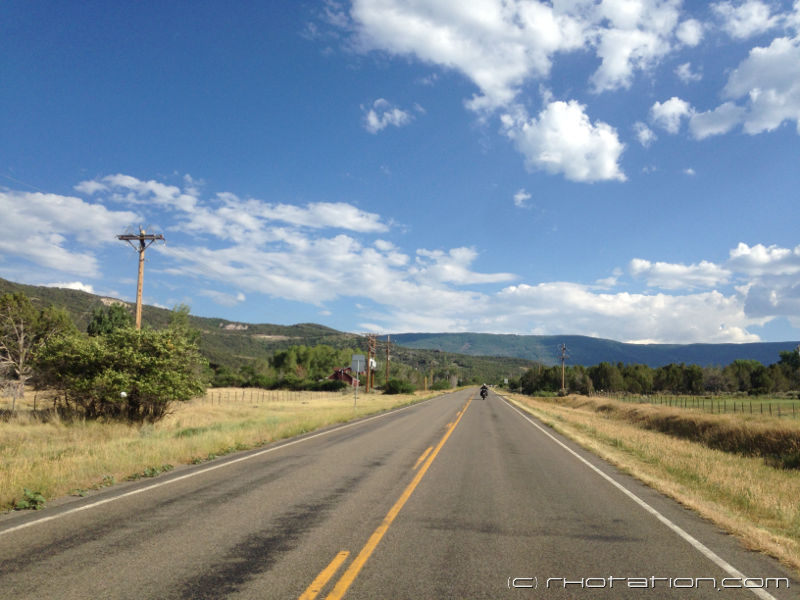
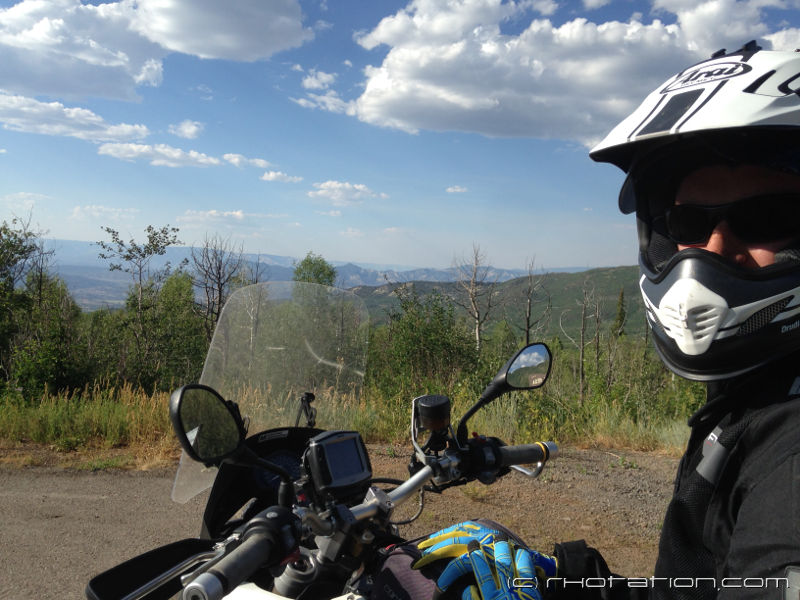
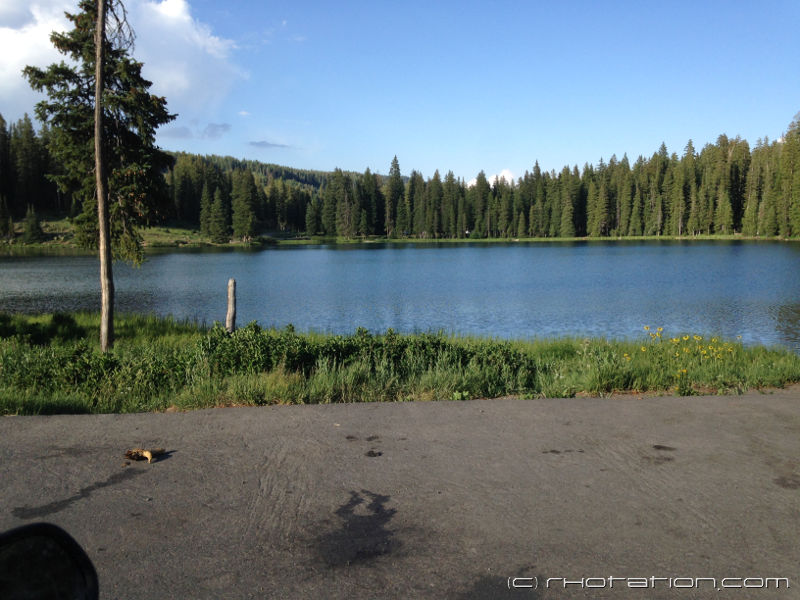
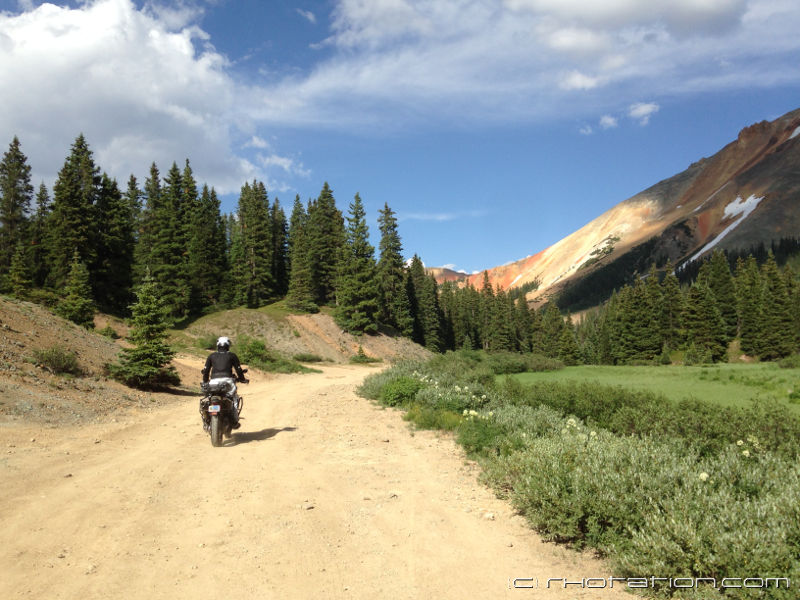
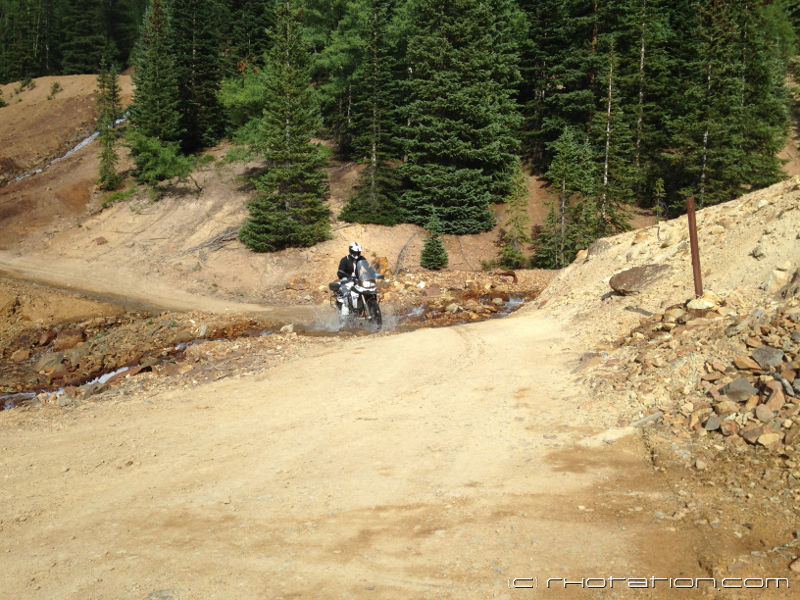
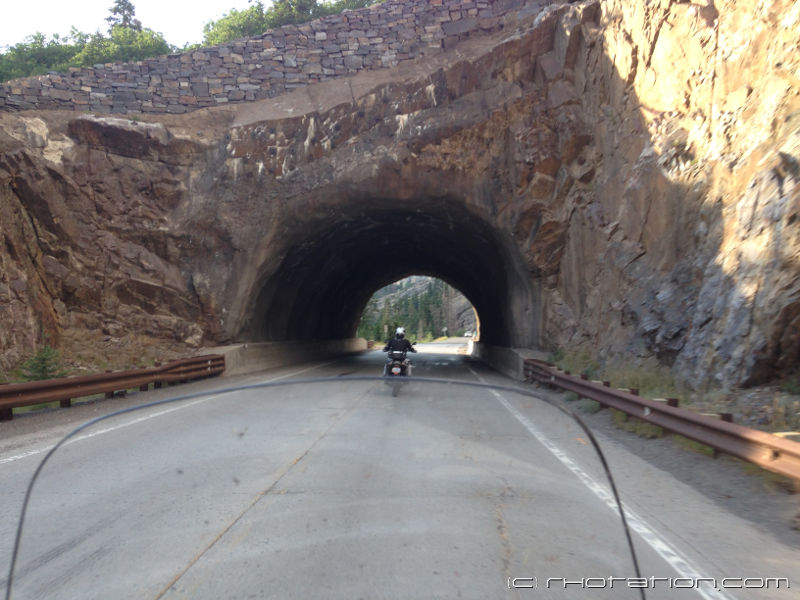
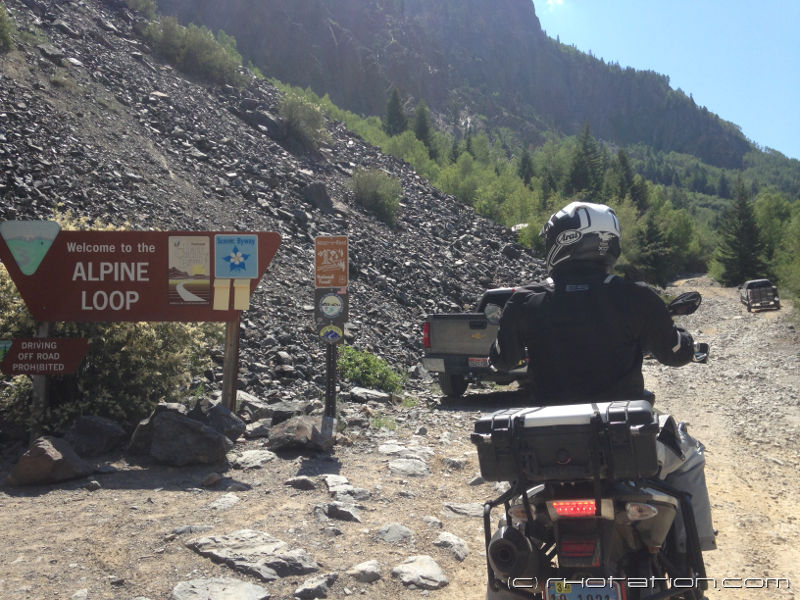
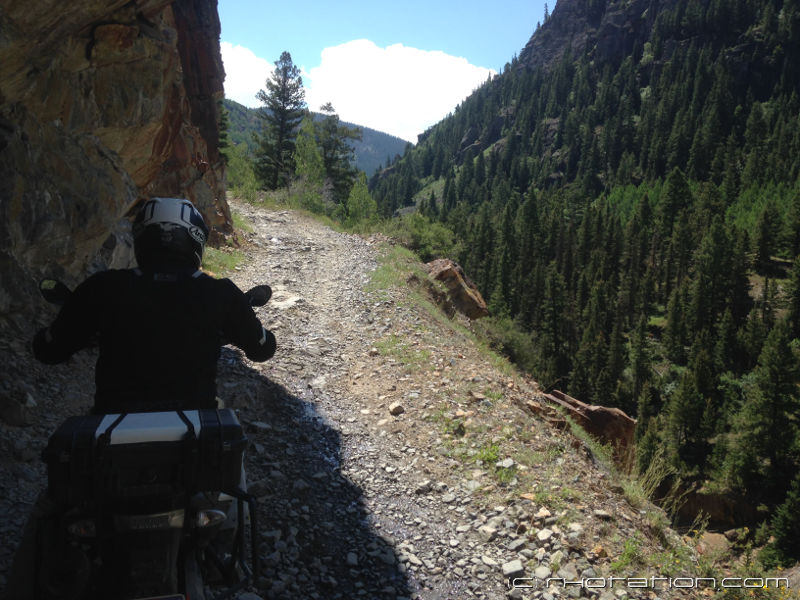

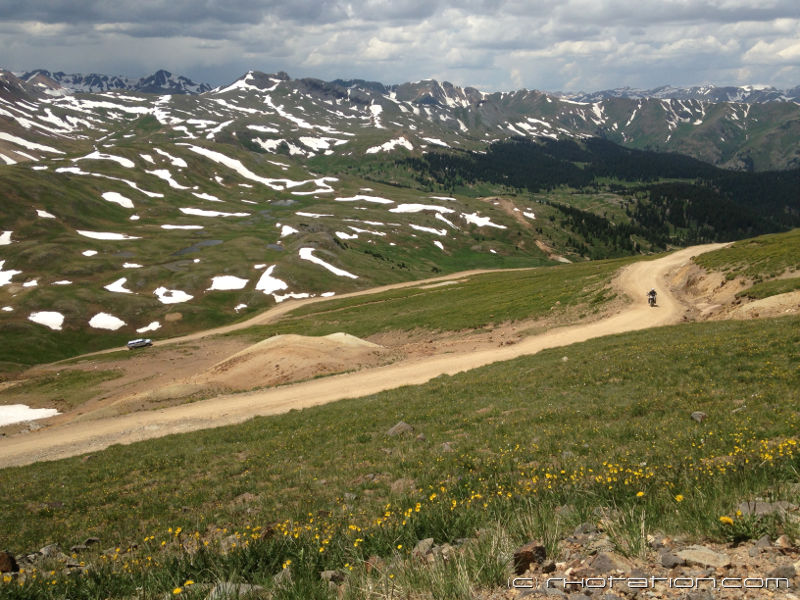
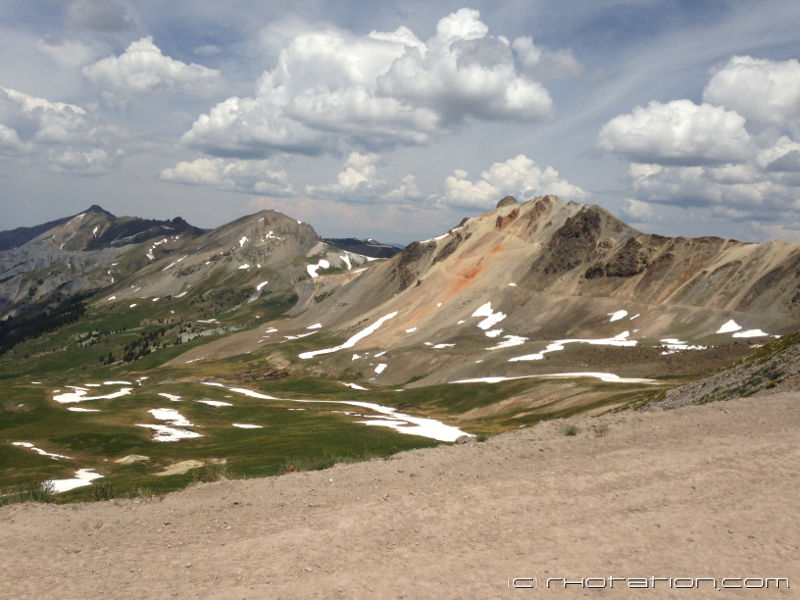
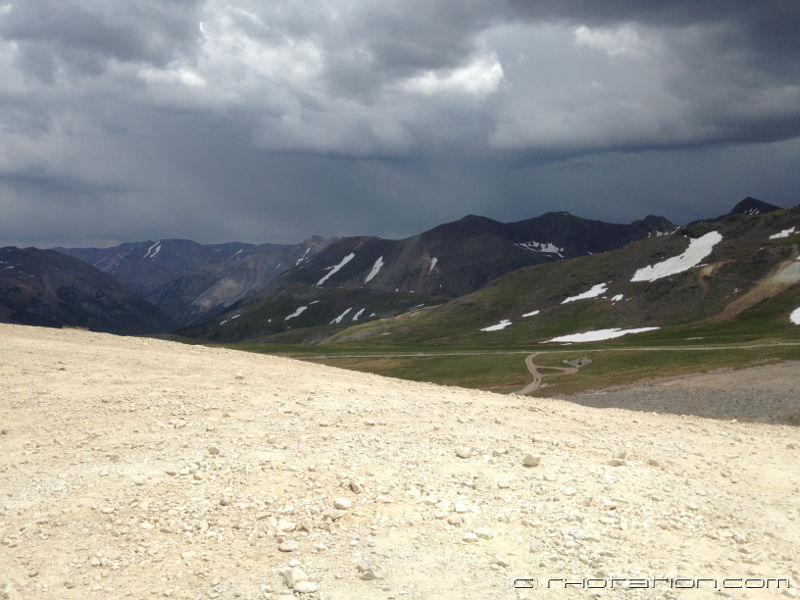

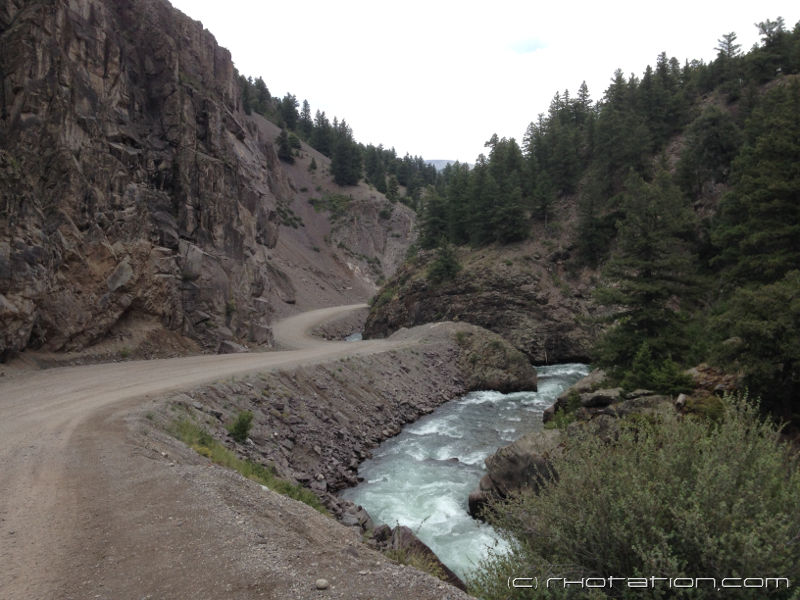
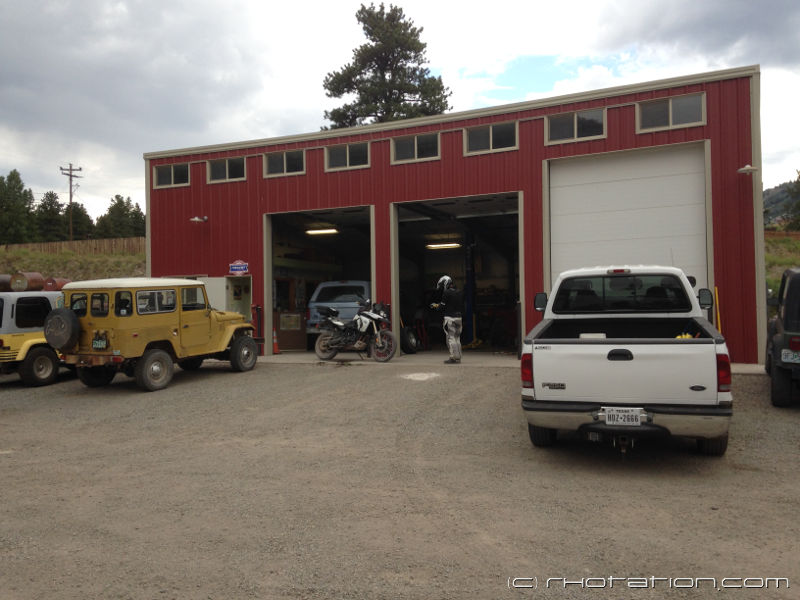
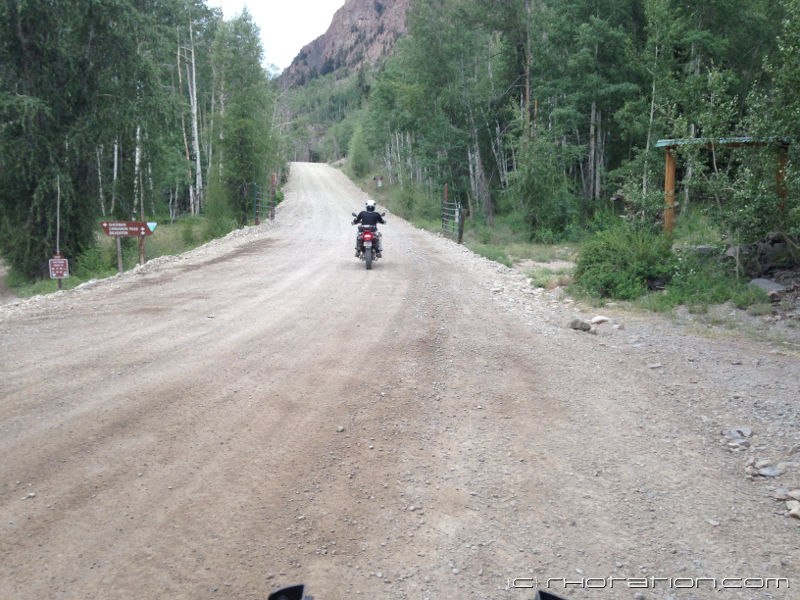

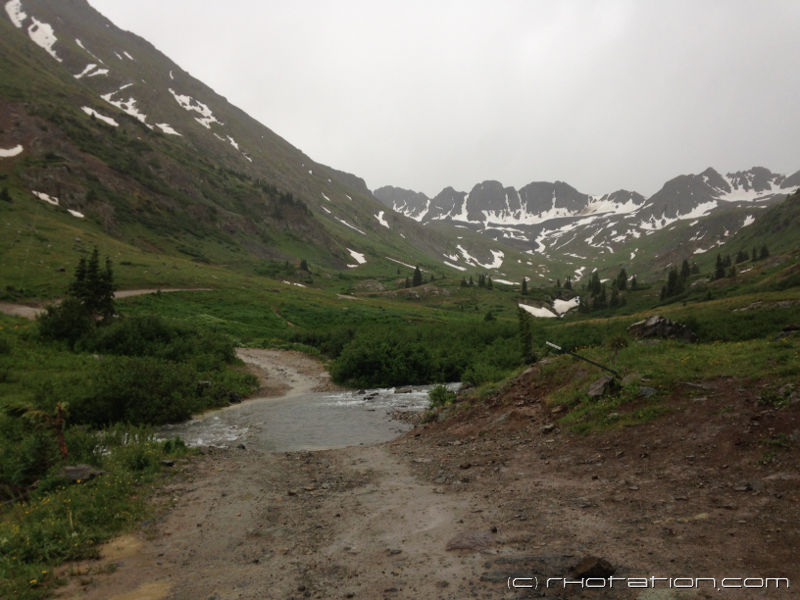
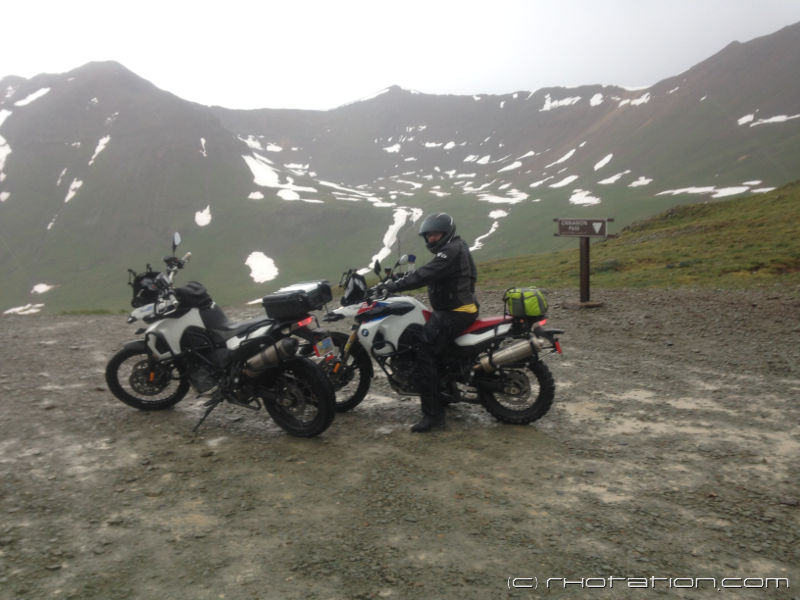
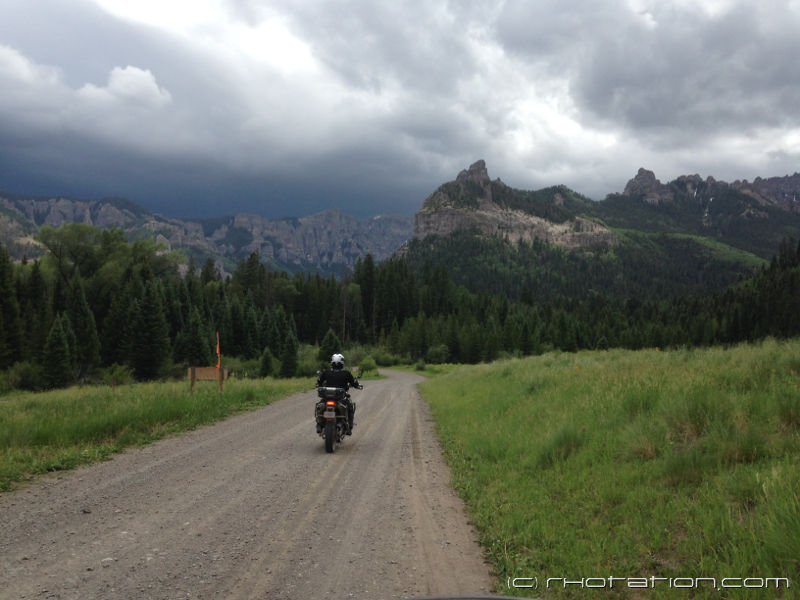
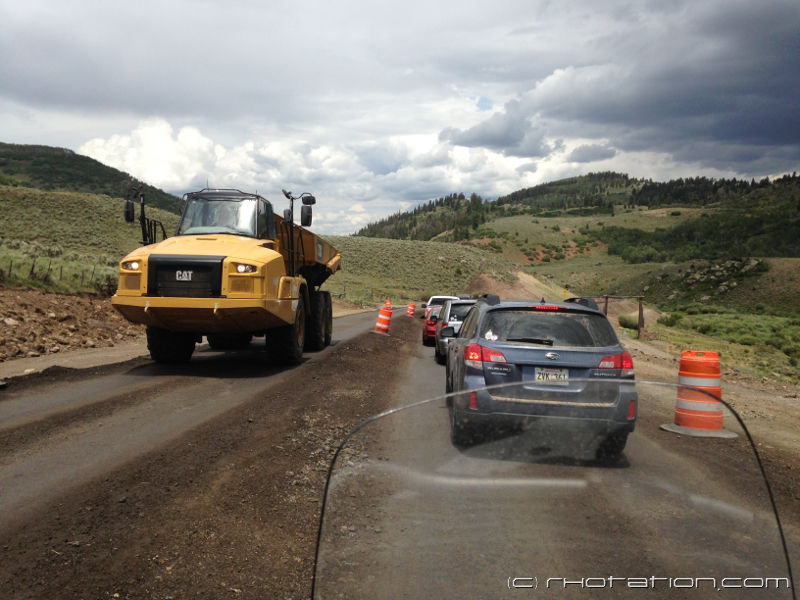
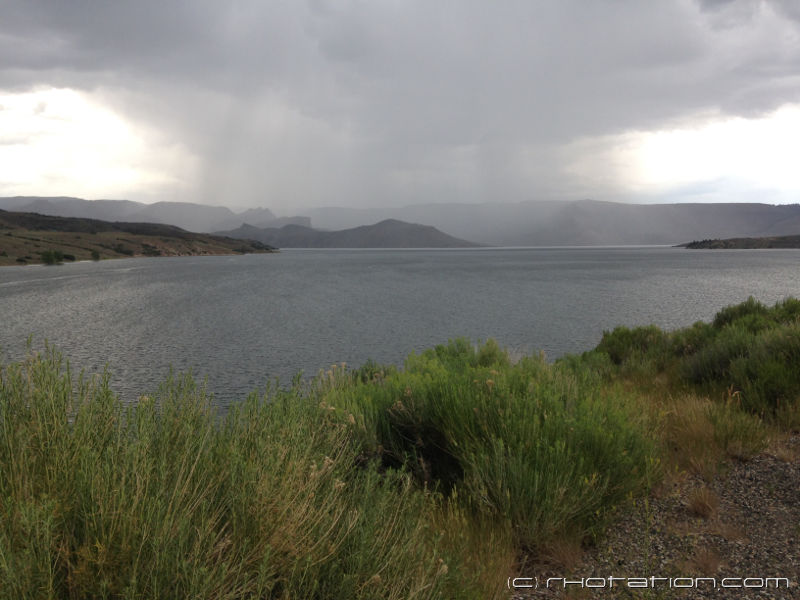
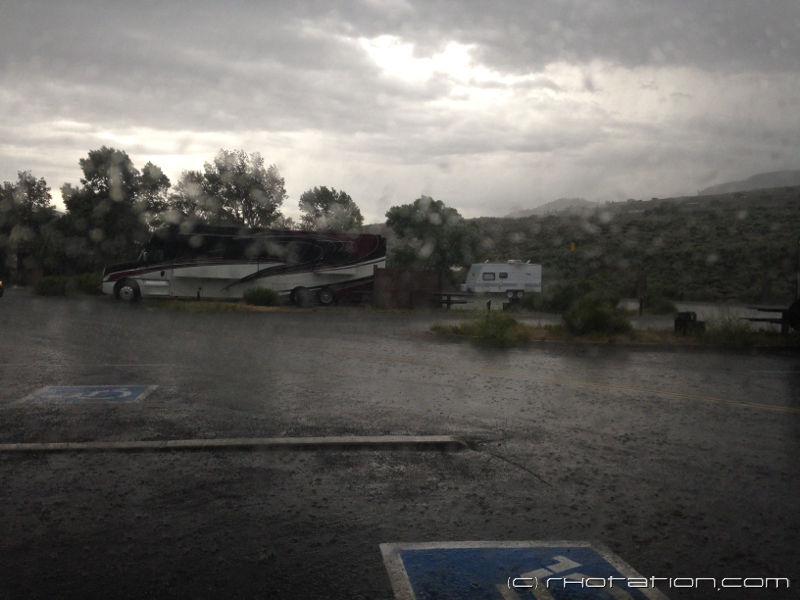
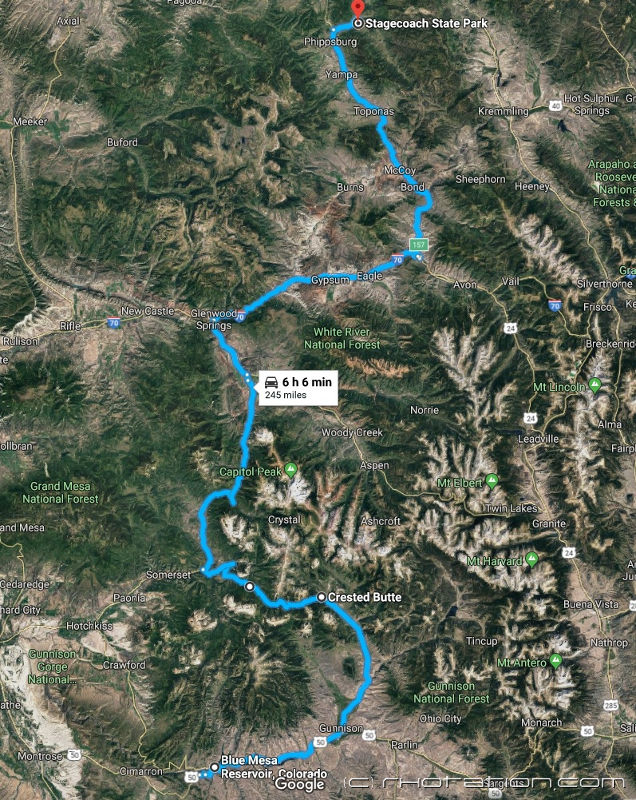
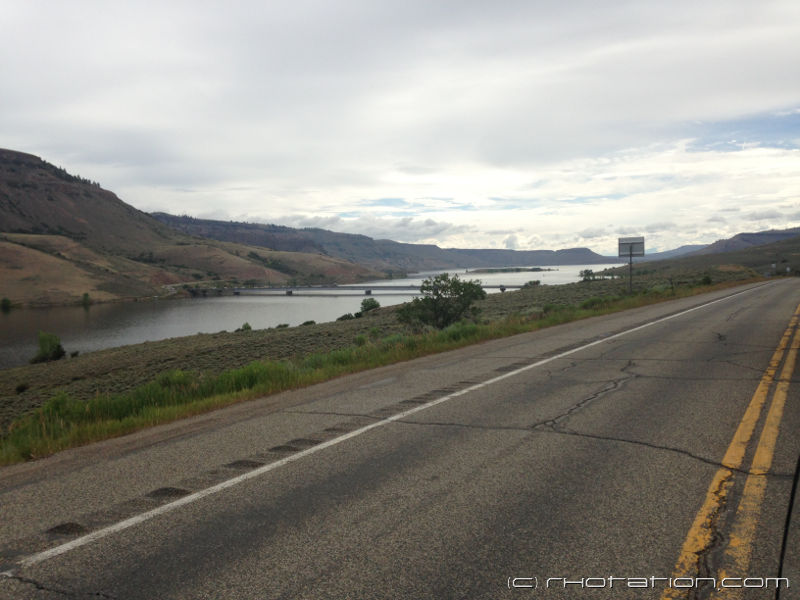
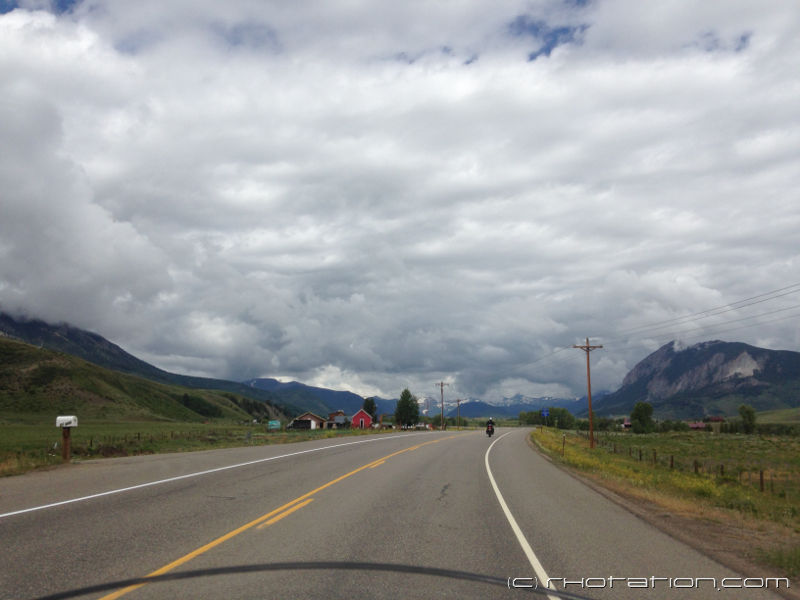
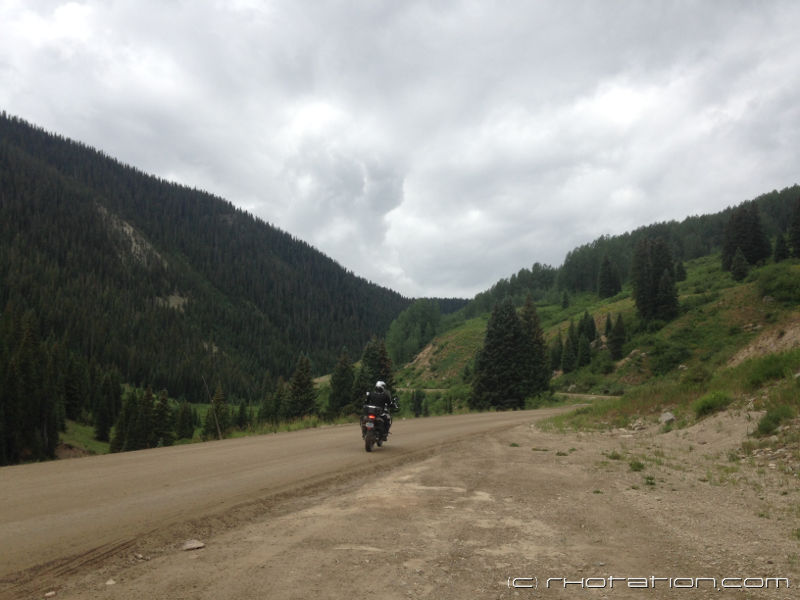
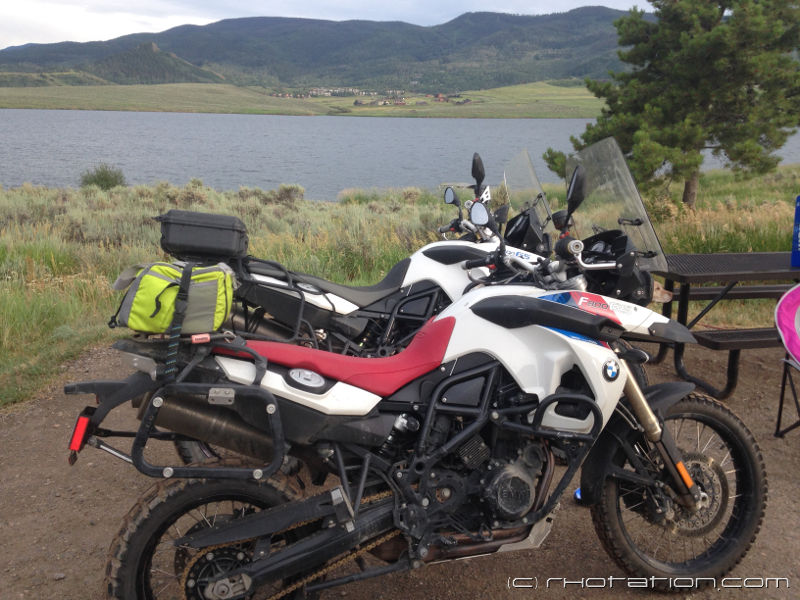
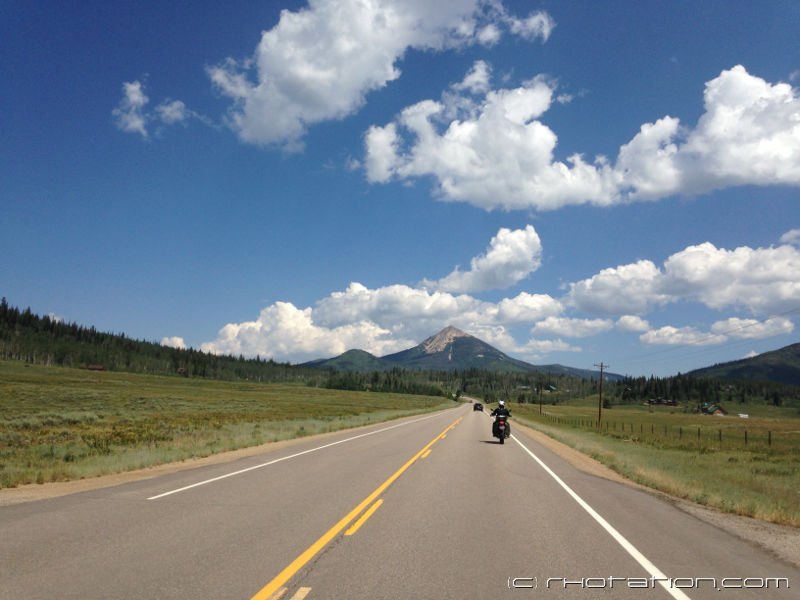
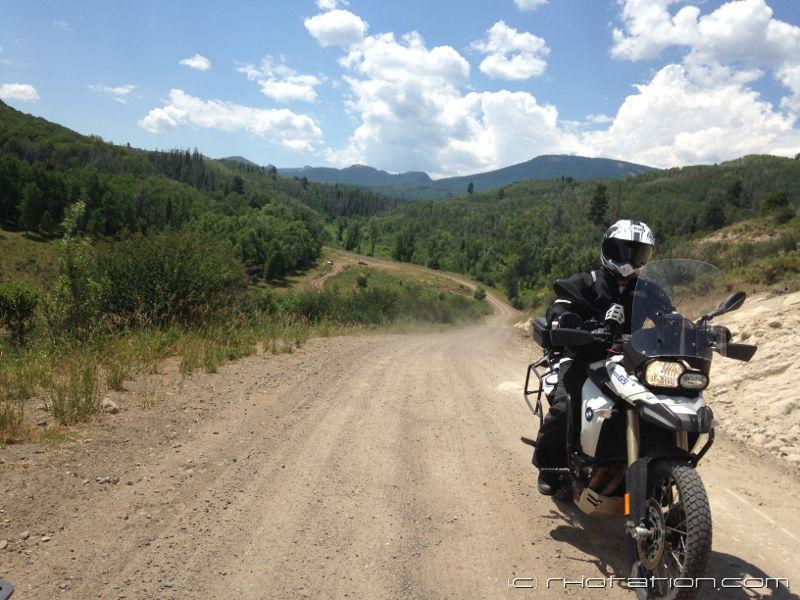
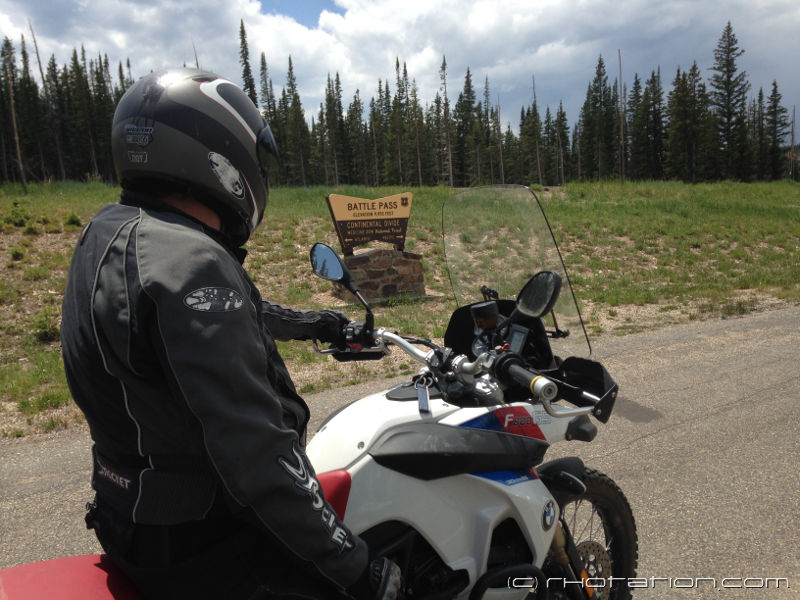
 F*CK F*CK F*CK. We turned around and looked at the water crossing we again had to ford. The good news was neither of us crashed, the bad news was any dry nook ANYWHERE on me was now wet. One thing, and one thing only got us back to Ouray, heated grips running on high for the next 2.5 hours. The temperature kept dropping and the top of Cinnamon Pass was 40F