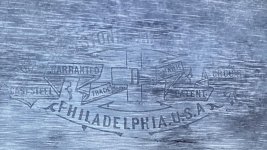
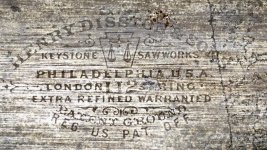
EDIT - it came to my attention that I hadn’t linked to the DisstonianInstitute site, which I find an excellent resource, providing model identification and production dating for major models of Disston handsaws. It’s not my intention (nor within my ability) to recreate that site, so please check it out.
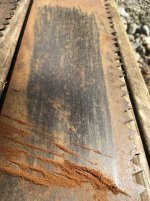
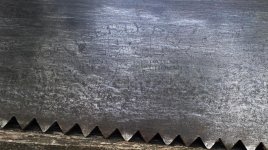
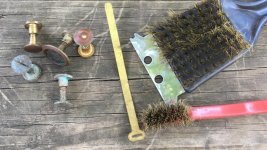
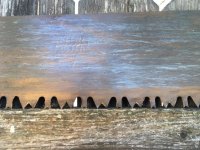
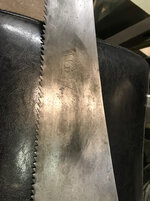
Here's what I do with old saws. Other people do things different, with different goals, and that's okay. I've tried multiple means of removing rust, but since electrolysis, chemicals, and abrasives leave a bright steel with no character, I've sort of settled into manual scraping and wire brushing. This removes the hematite, which is the crusty, red rust we all hate, but can leave a film of magnetite, which is the dark "blued" sheen which, since it is inevitable and natural, seems to me to be the proper stopping point when cleaning up old steel.
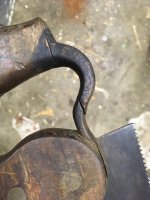
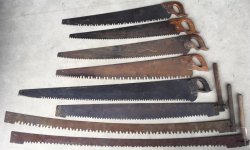
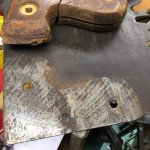
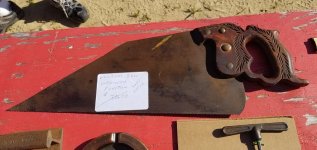
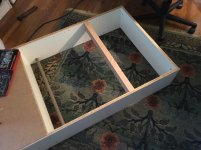
These old saws came into my care yesterday in the rain, and when I saw the clouds clearing today, I could not wait to get home and get started on them. I will focus on the four shorter bucker's saws, because the two-man saws are deeply pitted. One of the four has had major surgery on the handle. The sheet metal repair and reinforcement is so interesting, I plan to leave it entirely alone, and probably won't try removing it from the saw. The other three are in various states.
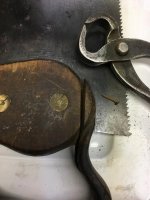
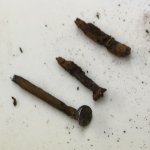
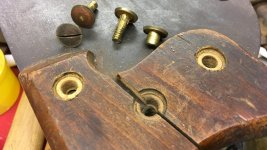
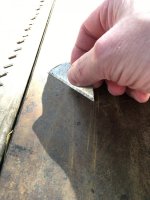
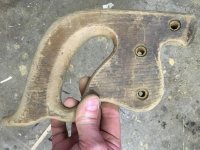
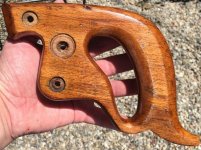
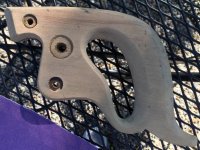
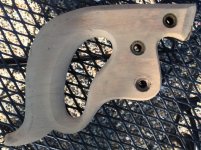
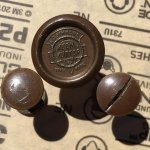
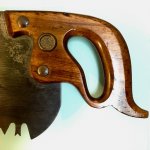
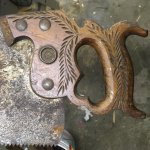
First things first: remove the wood handles or totes. These saws are not all the same age, and appear to have been exposed to moisture to different degrees. One of the handles has a significant split. It was held on with two brass saw nuts, but the middle one is long gone. After removing it from the blade, I will let it acclimate and see how much of a gap remains. It will probably need to be filled. You can see where moisture got to the steel under the handle where the split was. It amazes me how the wood protects the steel and the brass from corrosion. Compare the heads of the sawdust to the shafts. I think I see, from the pattern on the steel, that the slots in the handles were cut on a circular saw. (Think about how thin that saw blade had to have been, to cut only the width of these saw blades - a saw blade can't cut its own handle slot, because the set of the teeth make it cut too wide.)
Interestingly, the one on the rustiest saw has no splits, and the three saw nuts come out pretty easily. But the handle won't budge. I clamped the blade in a vise and tapped the handle off with a block of wood and a hammer.
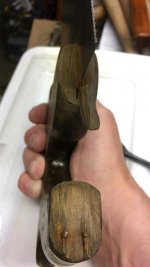
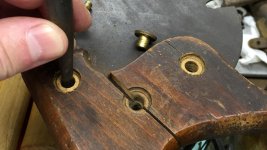
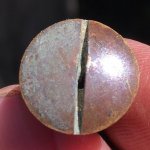
The third handle is held with only two saw nuts. It has a narrow split on one side only. It doesn't gap on its own, so it is a prime candidate for superglue. I wedged the crack open a tad with a tapered punch and put some glue in. I clamped it gently, and wiped off the excess glue with a paper towel. That's important, because the glue cures harder than wood, making it difficult to remove afterward.
Here's what I do with old saws. Other people do things different, with different goals, and that's okay. I've tried multiple means of removing rust, but since electrolysis, chemicals, and abrasives leave a bright steel with no character, I've sort of settled into manual scraping and wire brushing. This removes the hematite, which is the crusty, red rust we all hate, but can leave a film of magnetite, which is the dark "blued" sheen which, since it is inevitable and natural, seems to me to be the proper stopping point when cleaning up old steel.
These old saws came into my care yesterday in the rain, and when I saw the clouds clearing today, I could not wait to get home and get started on them. I will focus on the four shorter bucker's saws, because the two-man saws are deeply pitted. One of the four has had major surgery on the handle. The sheet metal repair and reinforcement is so interesting, I plan to leave it entirely alone, and probably won't try removing it from the saw. The other three are in various states.
First things first: remove the wood handles or totes. These saws are not all the same age, and appear to have been exposed to moisture to different degrees. One of the handles has a significant split. It was held on with two brass saw nuts, but the middle one is long gone. After removing it from the blade, I will let it acclimate and see how much of a gap remains. It will probably need to be filled. You can see where moisture got to the steel under the handle where the split was. It amazes me how the wood protects the steel and the brass from corrosion. Compare the heads of the sawdust to the shafts. I think I see, from the pattern on the steel, that the slots in the handles were cut on a circular saw. (Think about how thin that saw blade had to have been, to cut only the width of these saw blades - a saw blade can't cut its own handle slot, because the set of the teeth make it cut too wide.)
Interestingly, the one on the rustiest saw has no splits, and the three saw nuts come out pretty easily. But the handle won't budge. I clamped the blade in a vise and tapped the handle off with a block of wood and a hammer.
The third handle is held with only two saw nuts. It has a narrow split on one side only. It doesn't gap on its own, so it is a prime candidate for superglue. I wedged the crack open a tad with a tapered punch and put some glue in. I clamped it gently, and wiped off the excess glue with a paper towel. That's important, because the glue cures harder than wood, making it difficult to remove afterward.
Attachments


Last edited:


")