To avoid these ads, REGISTER NOW!

Restoring a Snap-on body hammer

afazz

Well-known member
Joined
Nov 25, 2007
Messages
860
Location
Pittsburgh, PA
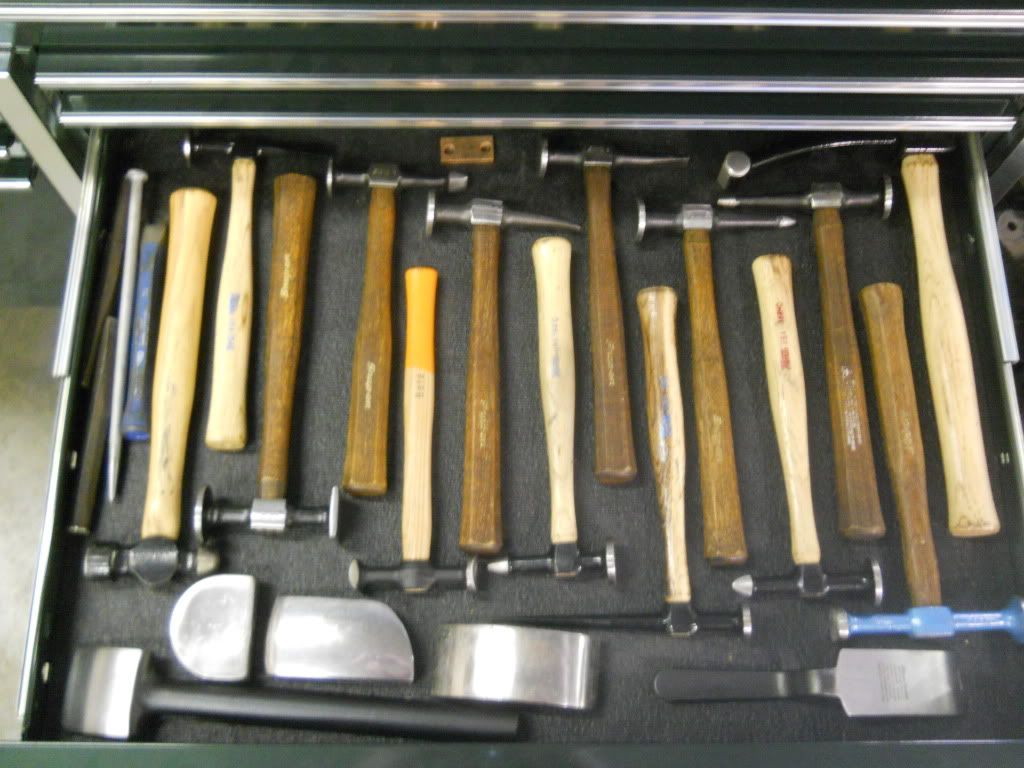
Edit: I'm just going to turn this into my hammer restoration thread :)

I took my first shot at hammer restoration today. I bought this BF603 pick hammer on Ebay for $20 shipped. I wasn't expecting much, but the price wasn't bad.

auctionpic.jpg


I cut off the ugly handle that was on it. It's a 1993 vintage with all kinds of paint on it, and the pick end had been sharpened into something you would find in a horror flick! I started dressing it, and realized the face was in pretty bad shape. It was lopsided, it was dressed with a big low side at some point.
DSCN0395.jpg


I decided I wanted a flat face on it, no crown, so I loaded it on the surface grinder at my friend's shop. They don't really use this, it had some old bonded CBN wheel that needed dressed really bad! It worked well enough for a hammer.
DSCN0396.jpg


After some paint
DSCN0397.jpg


New handle, $15.70 from Snap-on
DSCN0401.jpg

DSCN0409.jpg


Some comparison shots with a BF630B (blunt pick) hammer I bought last week brand new.

DSCN0403.jpg

DSCN0404.jpg

DSCN0402.jpg


Comparison of the wedges. Mine on the left, OEM on the right.
DSCN0408.jpg


600 grit finish
DSCN0407.jpg
 
Last edited:
To avoid these ads, REGISTER NOW!

reinhardt

Well-known member
Joined
Jun 2, 2010
Messages
384
nice work. i count $35 spent and a couple man hours invested. just how much does a brand new one cost?

ben
 

Bull

Super Moderator
Joined
Dec 12, 2005
Messages
16,189
Location
MA
It never ceases to amaze me what folks on here decide to restore, and how nice of a job they do in the process.

Never seen a hammer resto before. This one turned out balls-out awesome!
 

contactme_11

Well-known member
Joined
Dec 27, 2010
Messages
106
When you install a wood handle you need to soak the head in water for a few hours- a day and then when you drive the wedges it won't split.
 

buick64203

Well-known member
Joined
Jan 25, 2010
Messages
184
Impressive.


Looks like your restored hammer is from 1993 and your new one is from 2009
 

BJ42LX

Well-known member
Joined
Dec 29, 2010
Messages
2,811
Location
WNY
Work some epoxy into the splits. After it cures, sand it smooth.
 

Joe B.

Well-known member
Joined
Jan 2, 2007
Messages
2,752
$65.85 on snapon.com

Now I have a reason to buy one of those surface grinders I always see on Craigslist!
 
OP
A

afazz

Well-known member
Joined
Nov 25, 2007
Messages
860
Location
Pittsburgh, PA
Thanks for the compliments :)

I didn't soak the handle, I thought about it but didn't get a chance to do any research. I did drip some thin varnish down into the splits after the pics were taken, at least to seal it up. It's nice and tight for now, hopefully it lasts but I can always buy another handle.

I was doing other things all day, but I probably have about 2-3 hours total into it. Not a spectacular cash savings, but I enjoyed the process.
 

toolman1967

Well-known member
Joined
Jan 8, 2008
Messages
426
Location
Benton Illinois
When you install a wood handle you need to soak the head in water for a few hours- a day and then when you drive the wedges it won't split.

Great advise, didnt ever think of that:thumbup:

Nice hammer resto. I buy them all the time and I can tell you, that one would fetch a nice price!
 

Scuderia-F1

Well-known member
Joined
Feb 9, 2011
Messages
1,195
Location
Stockholm, Sweden
Nice job on that hammer!
I like these kind of threads, just shows how skilled people here are.
A lot of people would just have put it in the bin, but with a little tlc and a small amount of money, it´s in new condition.
 

remileblanc

Well-known member
Joined
Oct 4, 2008
Messages
110
Location
NB, Canada
you should have used step down blocks on that surface grinder setup. with a setup that tall and skinny if it would have tipped over the results would have been catastrophic.
 
OP
A

afazz

Well-known member
Joined
Nov 25, 2007
Messages
860
Location
Pittsburgh, PA
Yeah I wasn't too excited about that setup, I was only taking .0001" per pass just in case. I'm not sure I know what you mean by "step-down" blocks, do you have a picture?
 
To avoid these ads, REGISTER NOW!

remileblanc

Well-known member
Joined
Oct 4, 2008
Messages
110
Location
NB, Canada
you basicly just put a couple blocks a little shorter than the surface to be ground on either side up againt the part and they will stop it from tipping over.
 

stricht8

Well-known member
Joined
Apr 20, 2008
Messages
1,714
Nice job but shouldn't SO have given you the handle for free or does their lifetime warranty not apply to hammers?
 

Hammer1963

Well-known member
Joined
Jan 2, 2011
Messages
2,048
Location
Kentucky
Nice restoration on the hammer. I've done several them myself. I'm sure people tell you the same thing they tell me, " it's just a hammer "..........not to me
 
OP
A

afazz

Well-known member
Joined
Nov 25, 2007
Messages
860
Location
Pittsburgh, PA
I did another one today!

This guy is a BF606 with a 1981 date code. I picked it up on Ebay for $36 shipped, this hammer is discontinued but I'm guessing it would be ~$85 new at todays prices.

The faces were in decent shape but rusted, and there were engravings all over the thing! It said "FURN" on both sides, and "134" in 2 spots on the head and 4 spots on the handle. I'm not sure where it was used, possibly in aviation in a FOD controlled environment?

Here is the "before" shot, along with a new handle from Snap-on ($16) and the rest of today's haul.
DSCN0986.jpg


DSCN0988.jpg


DSCN0989.jpg


DSCN0990.jpg


DSCN0991.jpg


I cut off the handle and hit it with wire wheels and scotch-brite
DSCN0994.jpg


DSCN0992.jpg


hit it with some primer and paint
DSCN1004.jpg


the pieces
DSCN1007.jpg


finished!
DSCN1010.jpg


DSCN1011.jpg


It ended up a little crooked :( The handle is tapered so I assumed it went on straight, I didn't notice this until the wedges were in. I might have to get a new handle.
DSCN1015.jpg


Here is the drawer with the new hammers.
DSCN1019.jpg
 
Last edited:

xfrk

Member
Joined
Feb 23, 2011
Messages
24
Think about this. When you soak wood in water, it swells, then when it dries, it shrinks. You should always keep a wooden handle dry. It should even be sealed when you're done with the wedges. If the splits bother you, fill them with epoxy, as someone else has already suggested.
 

Brad54

Well-known member
Joined
Jun 13, 2006
Messages
4,646
Damn you do nice work.
I TOTALLY get the whole concept of wanting nice, new-looking hammers.

I'm not a huge snap-on fan... I just can't see spending 8 times the price on a ratchet, breaker bar or sockets, or ball-pien hammers, etc.

But Snap-on's body hammers are my favorite. The heads are light but have sufficient mass, they're well-balanced, and the finish is excellent. I've put together a small collection of Snap-on hammers--two I bought new years ago, and I've recently begun collecting several more on Ebay.

Now I'm thinking I need to go back and restore all my used ones!

I also got one with the head on not-straight. It probably doesn't affect the actual use, but it bugs me every time I pick the thing up.

I didn't realize you could buy new handles from them, let alone that cheap. That' a bit of a game-changer for my hammer collection!

-Brad
 

DocsMachine

Well-known member
Joined
Sep 16, 2006
Messages
1,844
When you install a wood handle you need to soak the head in water for a few hours- a day and then when you drive the wedges it won't split.

-Absolutely not!

Wood swells and shrinks depending on moisture content. If you wet the handle before installation, it'll dry and shrink afterward, and the head will be loose. If you dry the wood (like bake it in an oven or even just leave it on the hot dash of your car for the day) then it'll absorb moisture afterward and swell.

That sounds good- it'll make the head tighter, right? Nope- as the wood swells and shrinks as the local humidity varies from day to day (or even morning to evening) if the fit is too tight, as it swells it crushes the grain. You lose the natural elasticity of the wood, and it loosens again.

You want the handle to be "normalized"- meaning the same moisture content as it's environment. That's why woodworkers leave their woods in the same room where they're going to be machined and worked, stacked openly for air circulation.

If you buy a new handle, your best bet is to open whatever packaging it came in, and leave the handle in the same workshop or area where it'll be stored and used. A few days at least, a week would be better.

Then install the head according to the instructions, including both sets of wedges, and saw or file the stub end off flush. Assuming you've already let the handle normalize by this point, I like to "seal" the end grain of the handle with super glue. This won't stop the absorption or release of moisture, but it does slow it down considerably.

If the handle splits as you're installing the wedges, you got a bad piece of wood. Replace it.

Doc.
 
OP
A

afazz

Well-known member
Joined
Nov 25, 2007
Messages
860
Location
Pittsburgh, PA
Thanks everyone for he compliments!

I didn't soak this one, I agree with the idea that soaking will swell the wood and then it will shrink and get loose once it dries out. That's interesting info Docsmachine about the wood temperature, I'm not much of a woodworker so that's helpful. Just by chance I did have this handle in the environment to normalize. I do worry about my hammers in general, since my shop doesn't have A/C and is only heated to ~50º in the winter. Although I could buy 6 new Snap-on handles for less than the cost of A/C for one month!

I also got one with the head on not-straight. It probably doesn't affect the actual use, but it bugs me every time I pick the thing up.

On most hammers it doesn't really matter, this one bugs me because of the square face. With pick hammers it's not a problem at all!
 

Hammer1963

Well-known member
Joined
Jan 2, 2011
Messages
2,048
Location
Kentucky
The BF 606 forgings are notorious for having the eye in the head not parallel with the square end of the head. I have replaced handles or restored several 606 and 610 hammers over the past few years and have yet to find one that runs parallel, so save the handle replacement for another candidate.
 
OP
A

afazz

Well-known member
Joined
Nov 25, 2007
Messages
860
Location
Pittsburgh, PA
I did another one. This hammer is a Fairmount, I bought it as a partially finished forging from Hammer1963's collection :)

The finish work that had been done was a little rough
DSCN1032.jpg

DSCN1033.jpg

DSCN1034.jpg


The round face was not really round!
DSCN1036.jpg


Here is a comparison of the eye size. Snap-on on the bottom, Martin in the center, Fairmount on top.
DSCN1043.jpg


I did most of the shaping with an 80grit flap disc on the 4-1/2" angle grinder.
DSCN1052.jpg

DSCN1053.jpg


I got the face round within .025", I'm pretty happy with that considering I didn't use a lathe
DSCN1054.jpg


primer and paint
DSCN1056.jpg

DSCN1059.jpg

DSCN1066.jpg


I blunted the pick down quite a bit
DSCN1061.jpg


Here is a comparison with my Snap-on BF630, the Snap-on has a flatted blunt point and this one is a rounded blunt.
DSCN1068.jpg


Another comparison of all my pick hammers (some of which are FS in the classifieds... I have too many!)
DSCN1069.jpg


I bought a Martin handle from McMaster.com for $8 and installed it. It is now a medium crown, blunt pick hammer; freshly restored and ready for work!
DSCN1124.jpg

DSCN1126.jpg
 

Hammer1963

Well-known member
Joined
Jan 2, 2011
Messages
2,048
Location
Kentucky
That head was a bit unfinished to say the least. I'm really impressed with the detail work you have put into the Fairmont hammer. No doubt this is a far cry from how they were from the factory. Very nice work indeed !
 
To avoid these ads, REGISTER NOW!
Top Bottom