
You are using an out of date browser. It may not display this or other websites correctly.
You should upgrade or use an alternative browser.
You should upgrade or use an alternative browser.
1890 shear
- Thread starter why worry
- Start date

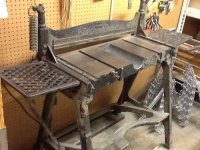
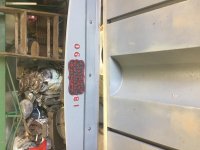
Started disassembly. Used PB Blaster on all the bolts and ended up only having to cut one off. Also broke off two heads but was able to get the bolts out with a pair of visegrips.
Now off to the sand blaster
Now off to the sand blaster
Attachments


Musicinabottle
Banned
- Joined
- Jul 24, 2016
- Messages
- 3,371
cool
ndnchf
Well-known member
That is neat. Are you able to sharpen the cutting edge?
mkat1951
Well-known member
Nice!! I have a 1920's Peck, Stow and Wilcox shear, they definitely share some similarities.
Richard Cranium
Well-known member
please keep posting pictures.
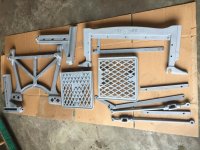
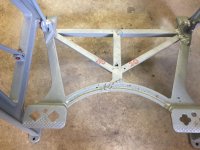
Every thing is blasted and primed except for the blades and shims. The blades went to Messenger Knifes for sharpening. Only one edge due to the design of the knife.Did find a serial number (I think) stamped into one of the arms 2884. Kinda cool depending on how they numbered the shears. The bad news after blasting is a hole in the treadle casting. Not sure if I should repair it or just build a new one. I realize that it has lasted this long without breaking at that location but there is a couple of other repairs so the integrity of the part is marginal at best. I do plan on using it and it wouldn't be that difficult to build a new one and then I could put an air cylinder on it.  Anyway on to cleaning up the hardware next.
Anyway on to cleaning up the hardware next.Attachments


rsanter
Well-known member
I would fill that hole with brass or epoxy and move on. If it ever breaks then you can make a new one
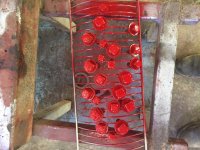
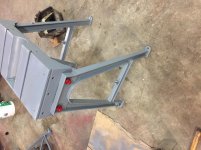
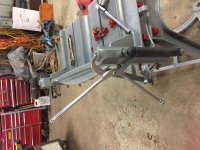
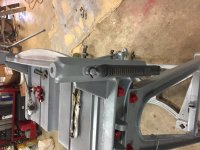
So had a pretty good day cleaning and repairing parts first up cleaned the hardware with a wire wheel. Opted not to replace as there is different thread pitches then what is available today. Most of it cleaned up quite well. Have to replace one 1/4" pivot bolt and brazed on a couple of 1/2" nuts on two others.
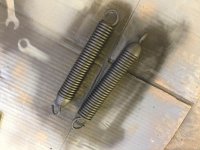
Then started painting the bolts opted to go with gray for major castings, black for the springs with red hardware.
Then started painting the bolts opted to go with gray for major castings, black for the springs with red hardware.
Attachments

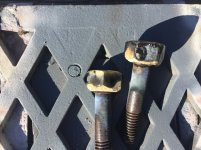
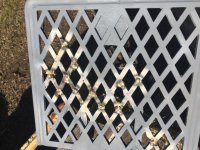
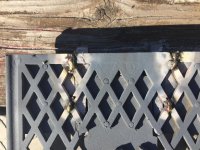
so there ended up being another issue with a broken casting pieceSo time to get creative as it is on the shear arm off side pivot. A piece of flat bar formed over the end and a couple of 1/4 20 SS bolts an I think it will be better then new.
So time to get creative as it is on the shear arm off side pivot. A piece of flat bar formed over the end and a couple of 1/4 20 SS bolts an I think it will be better then new.Attachments




twertsy
Well-known member
Started reassembly of the major pieces. The red hardware looks pretty good even if I do say so myself.
I agree, the red accents are a nice touch. I've been looking for a shear but they're few and far between around here, unless I want a 2nd mortgage.
OccupantRJ
Well-known member
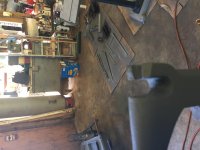
Nice. I had to sell my stomp shear due to having bad knees, so I bought a powered unit. On your sideways pictures, I found out that if I turned my phone and took pics in landscape mode that they will post to websites in the correct orientation.
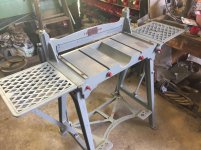
Well it's all done and boy does it shear nicely! Took about 3 hours with the help of my cousin to get the blades aligned. For anybody who does this in the future a good straight edge the length of the shear is VERY important. used a combination of brass and paper for the shims.
Took about 3 hours with the help of my cousin to get the blades aligned. For anybody who does this in the future a good straight edge the length of the shear is VERY important. used a combination of brass and paper for the shims. Attachments

ndnchf
Well-known member
Looks great!