It's comin'. But good grief this is alot of work.
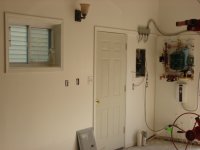
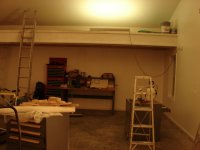
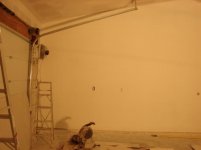
Tonight, if I've got any energy left.....the south wall needs a little tape, the east wall needs a whole lot of mud....
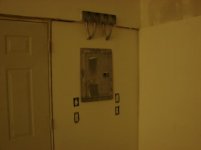
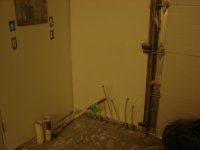
....and I still need to plan out the boiler and integrator panel locations and make sure the wiring matches up. May have to move things around a little bit, not sure.
Was up until midnight last night, got up at 5:30am today and was something of a zombie until 4:00....either the caffeinated drink from lunch kicked in, or I got my second wind. Not sure which.
One really dumb but pleasant side effect: I'm going through some really nasty fall allergies right now. Sinuses are like a faucet, it's making me cough all the time and so on. It's really nasty. Well, when I put the dust mask on to sand the mud....no more allergies! Clears right up. Take the mask off, and it starts right back up again.
So I guess I need to hurry up and get back to sanding mud to make my allergies go away
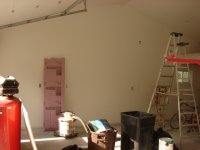
Tonight, if I've got any energy left.....the south wall needs a little tape, the east wall needs a whole lot of mud....
....and I still need to plan out the boiler and integrator panel locations and make sure the wiring matches up. May have to move things around a little bit, not sure.
Was up until midnight last night, got up at 5:30am today and was something of a zombie until 4:00....either the caffeinated drink from lunch kicked in, or I got my second wind. Not sure which.
One really dumb but pleasant side effect: I'm going through some really nasty fall allergies right now. Sinuses are like a faucet, it's making me cough all the time and so on. It's really nasty. Well, when I put the dust mask on to sand the mud....no more allergies! Clears right up. Take the mask off, and it starts right back up again.
So I guess I need to hurry up and get back to sanding mud to make my allergies go away


")
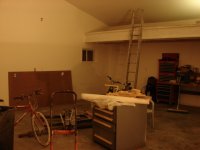
 That's a big truss!