tek18b_jimmy
Well-known member
Mid 2013 I bought/inherited my great uncles estate that was full of tools and garage/shop space that came with the property. I am VERY thankful for the stuff I have that he left behind and will cherish it forever!
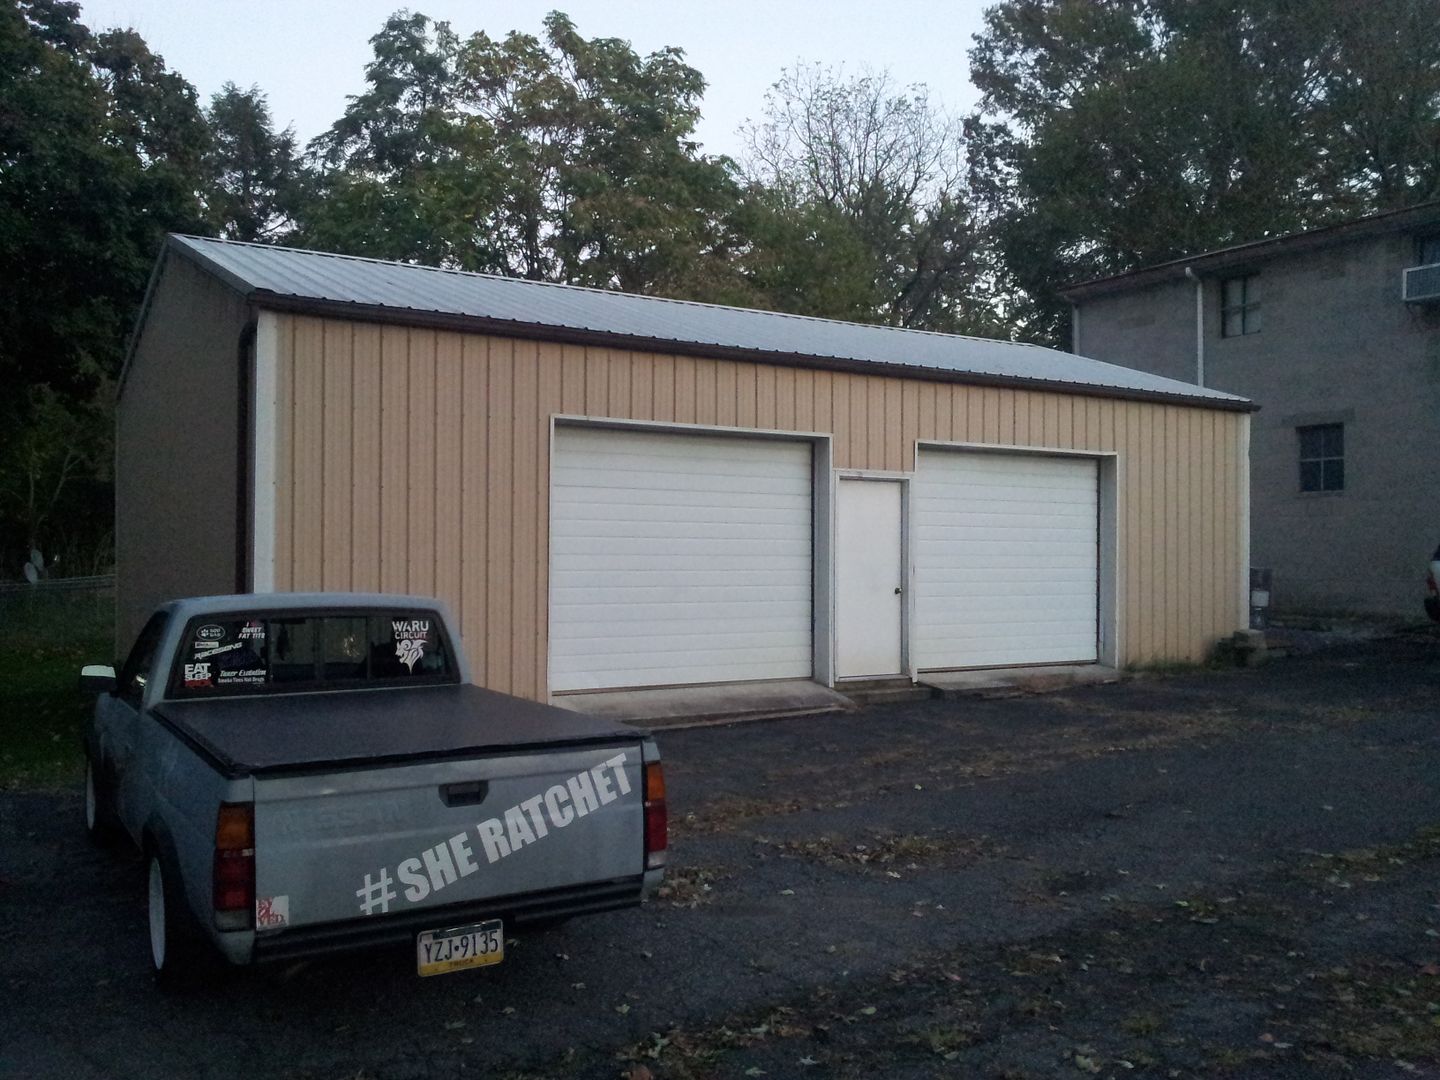
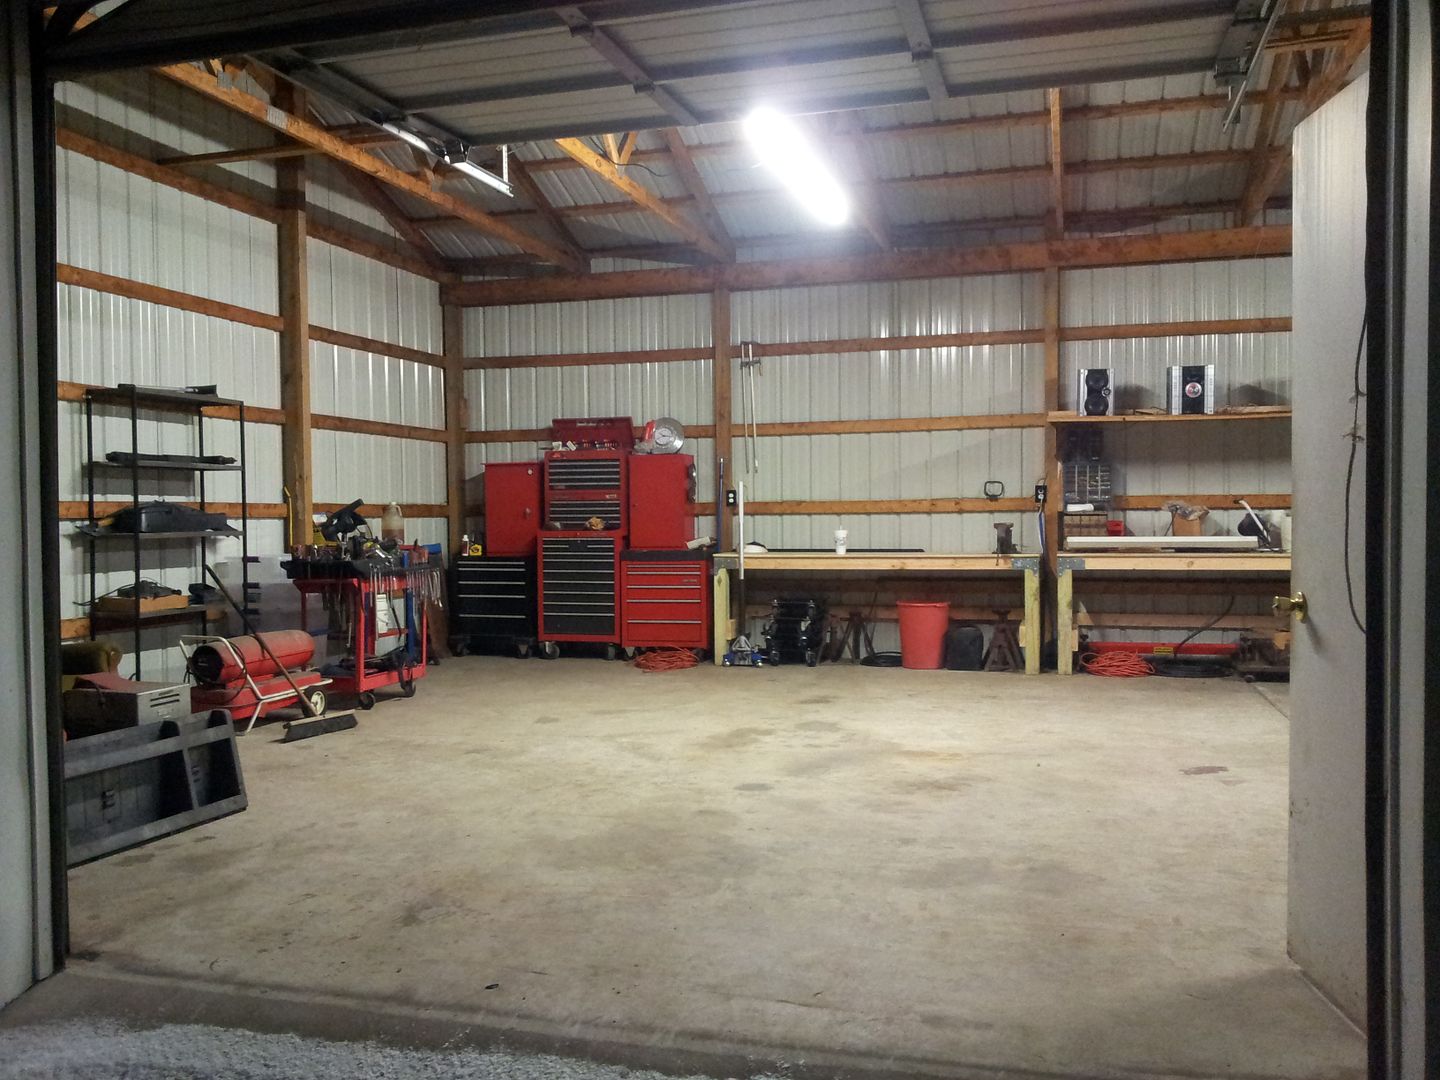
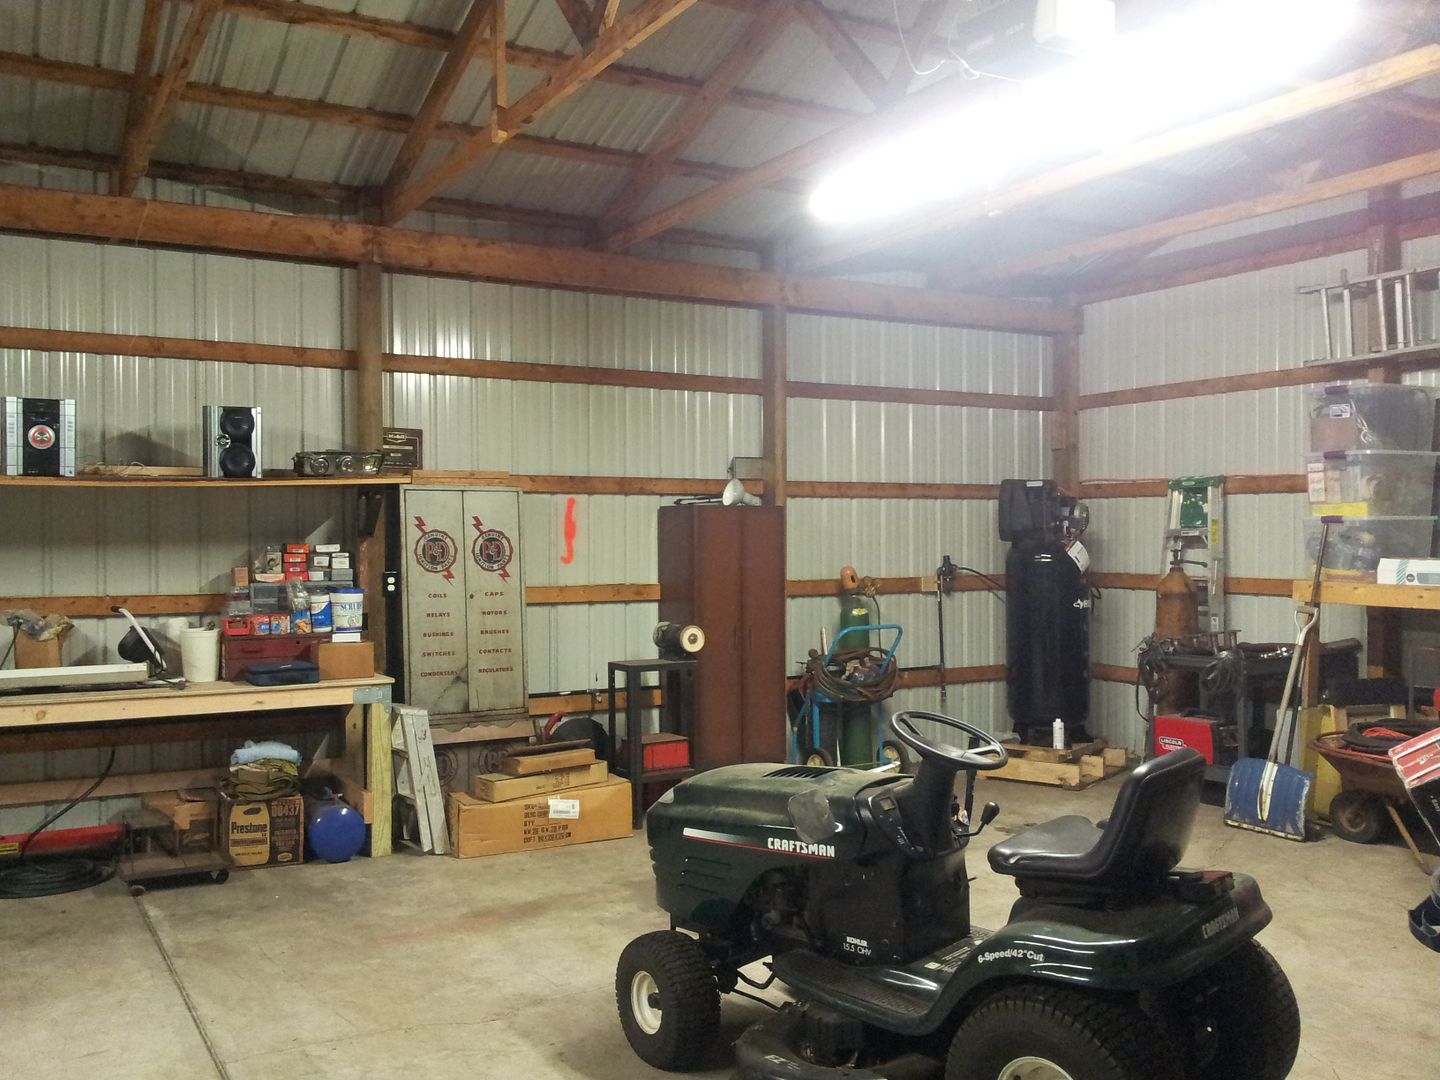
Here's the garage..
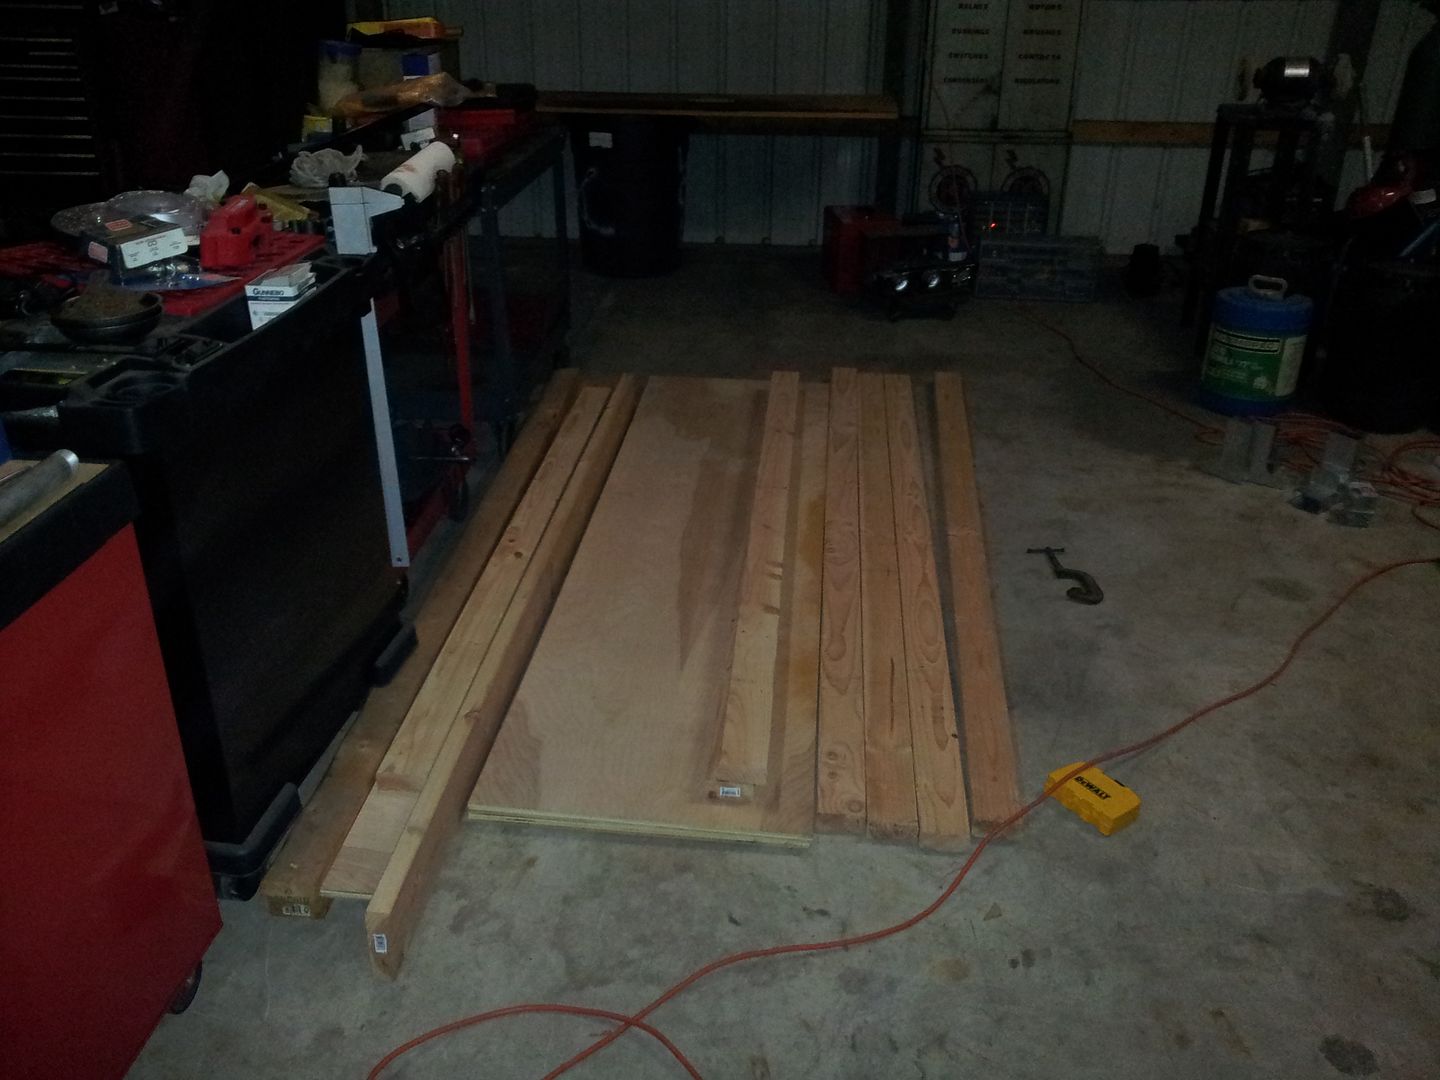
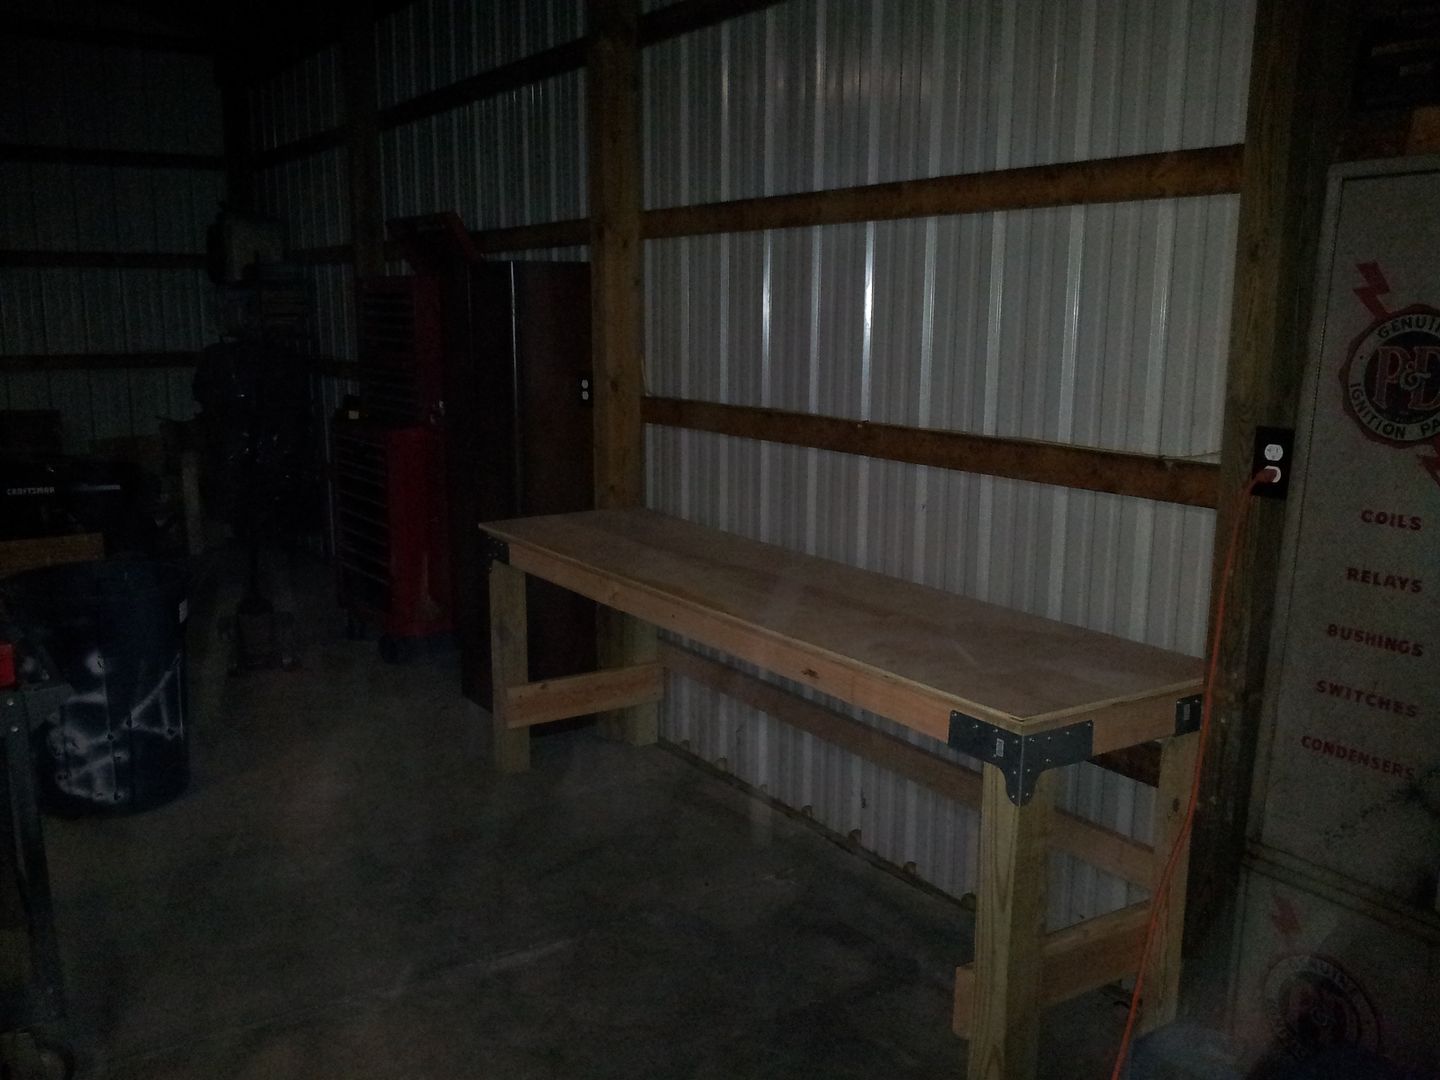
started with a couple workbenches.
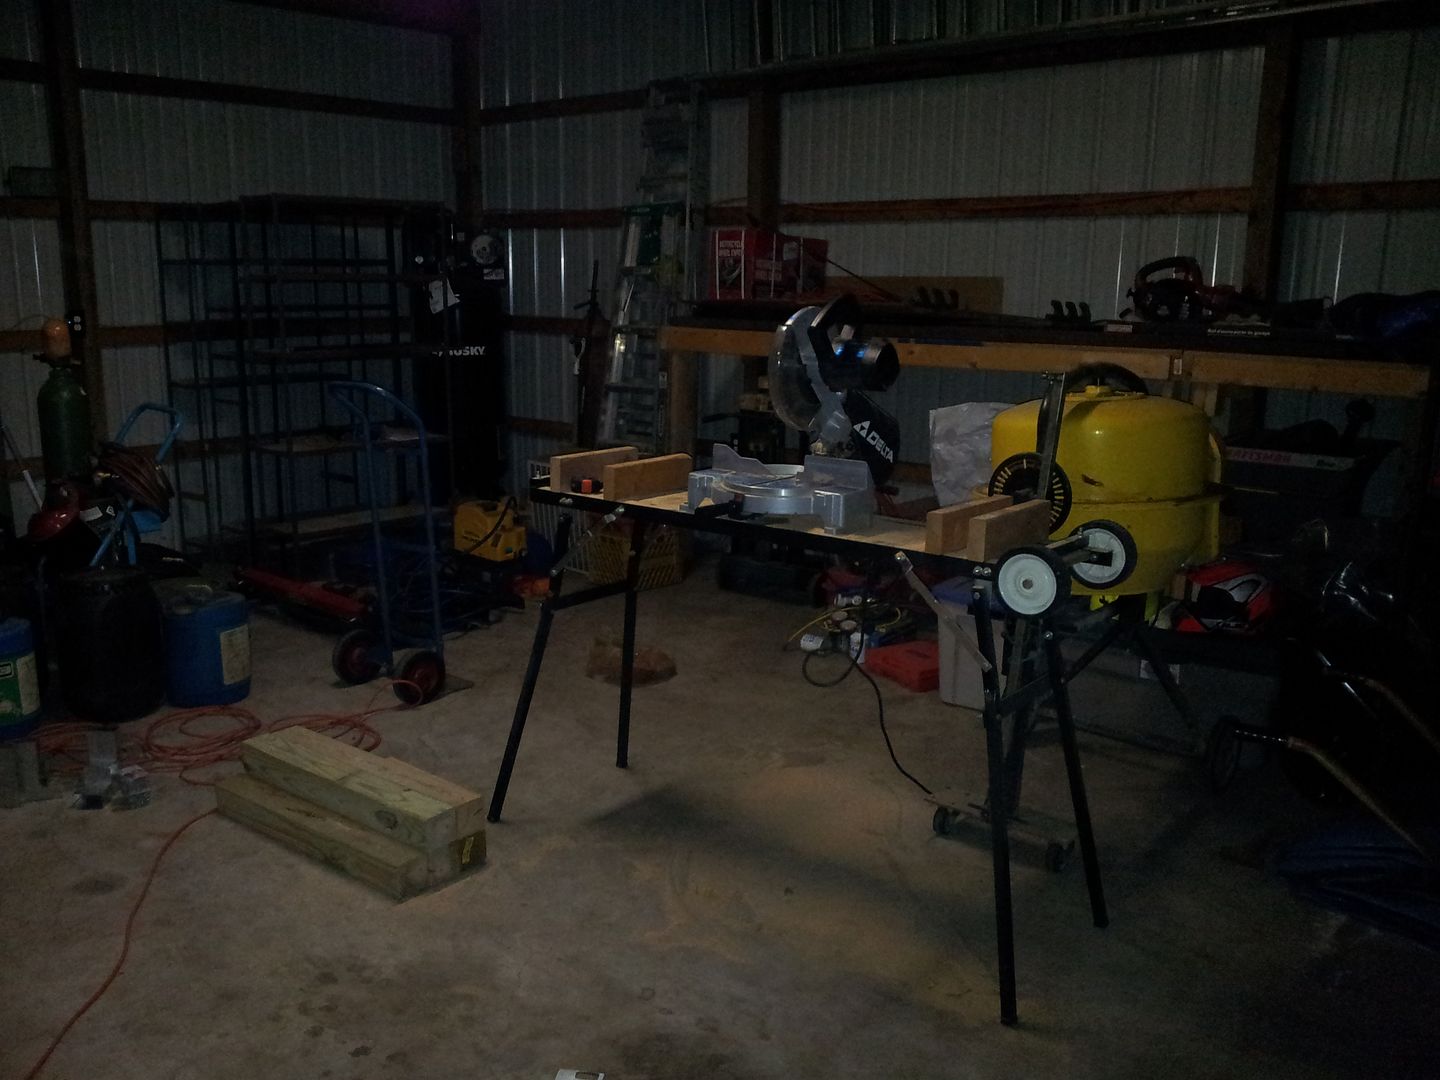
After a week I decided the 3, 4ft t12 fixtures wasn't enough light so I bought 2 t5 High Output 8ft tandem fixtures. on the left is the t5, the middle and right are the t12. and as you can see its still a little messy.
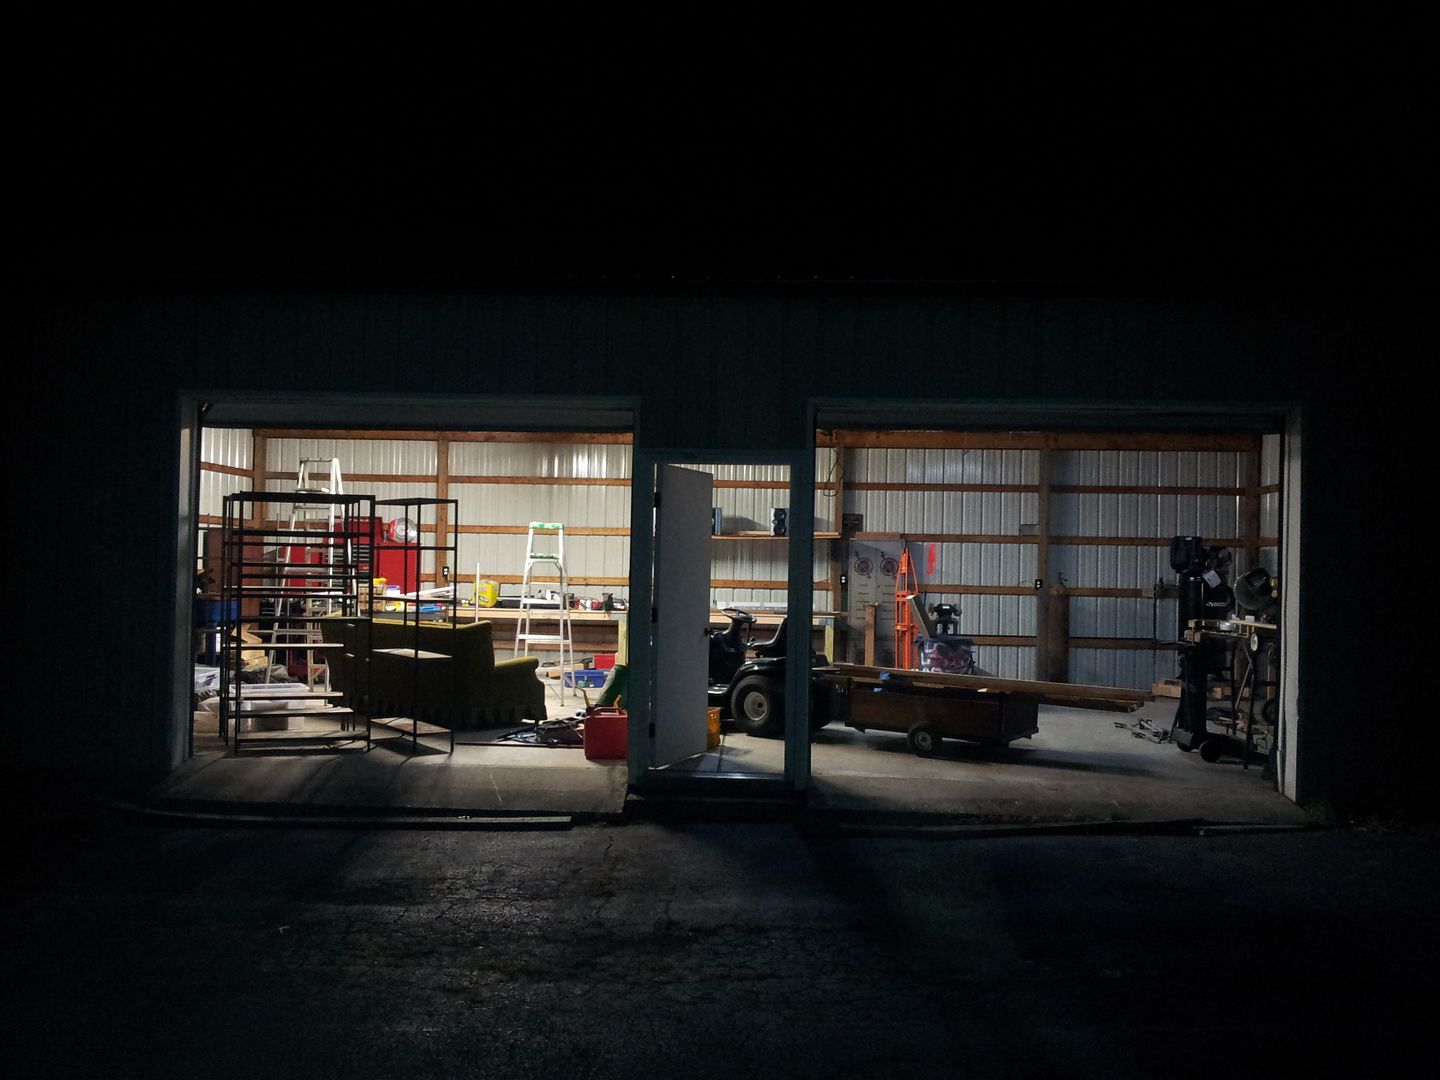
Since I finally had enough light in there, I spent the next week or so cleaning up and organizing my tools/stuff I wanted to keep in the garage. some stuff I still have to bring down from the other building (6ft tall harbor freight drill press and an 8 inch bench grinder).
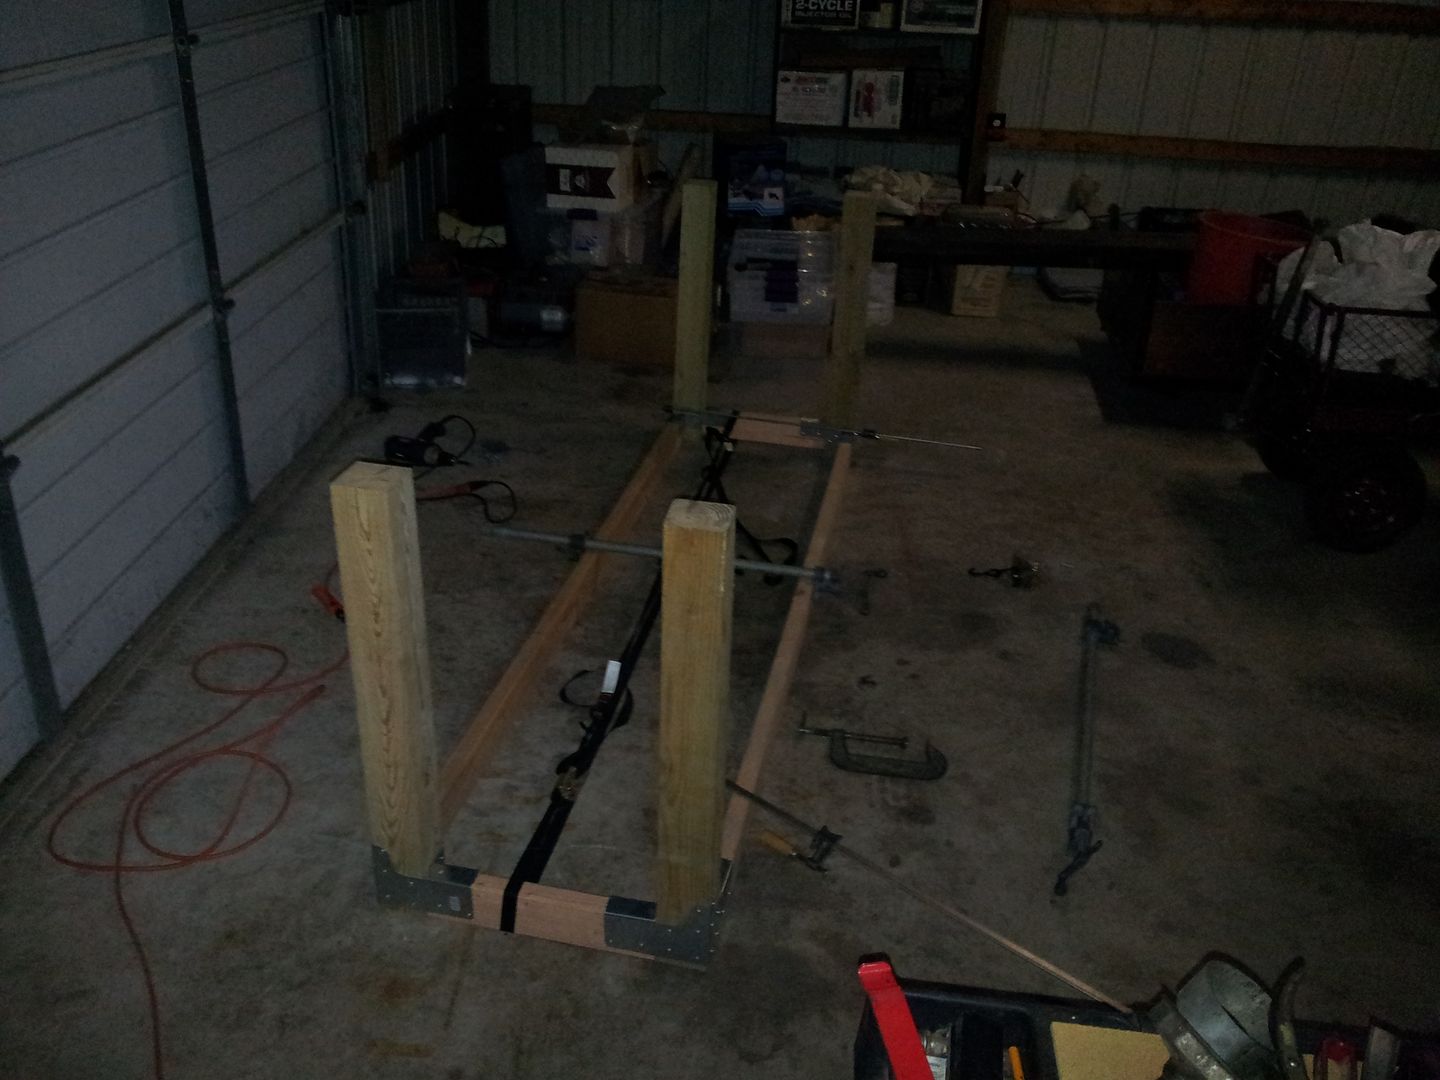
Last night I was in the garage late and finally have it 85% organized.
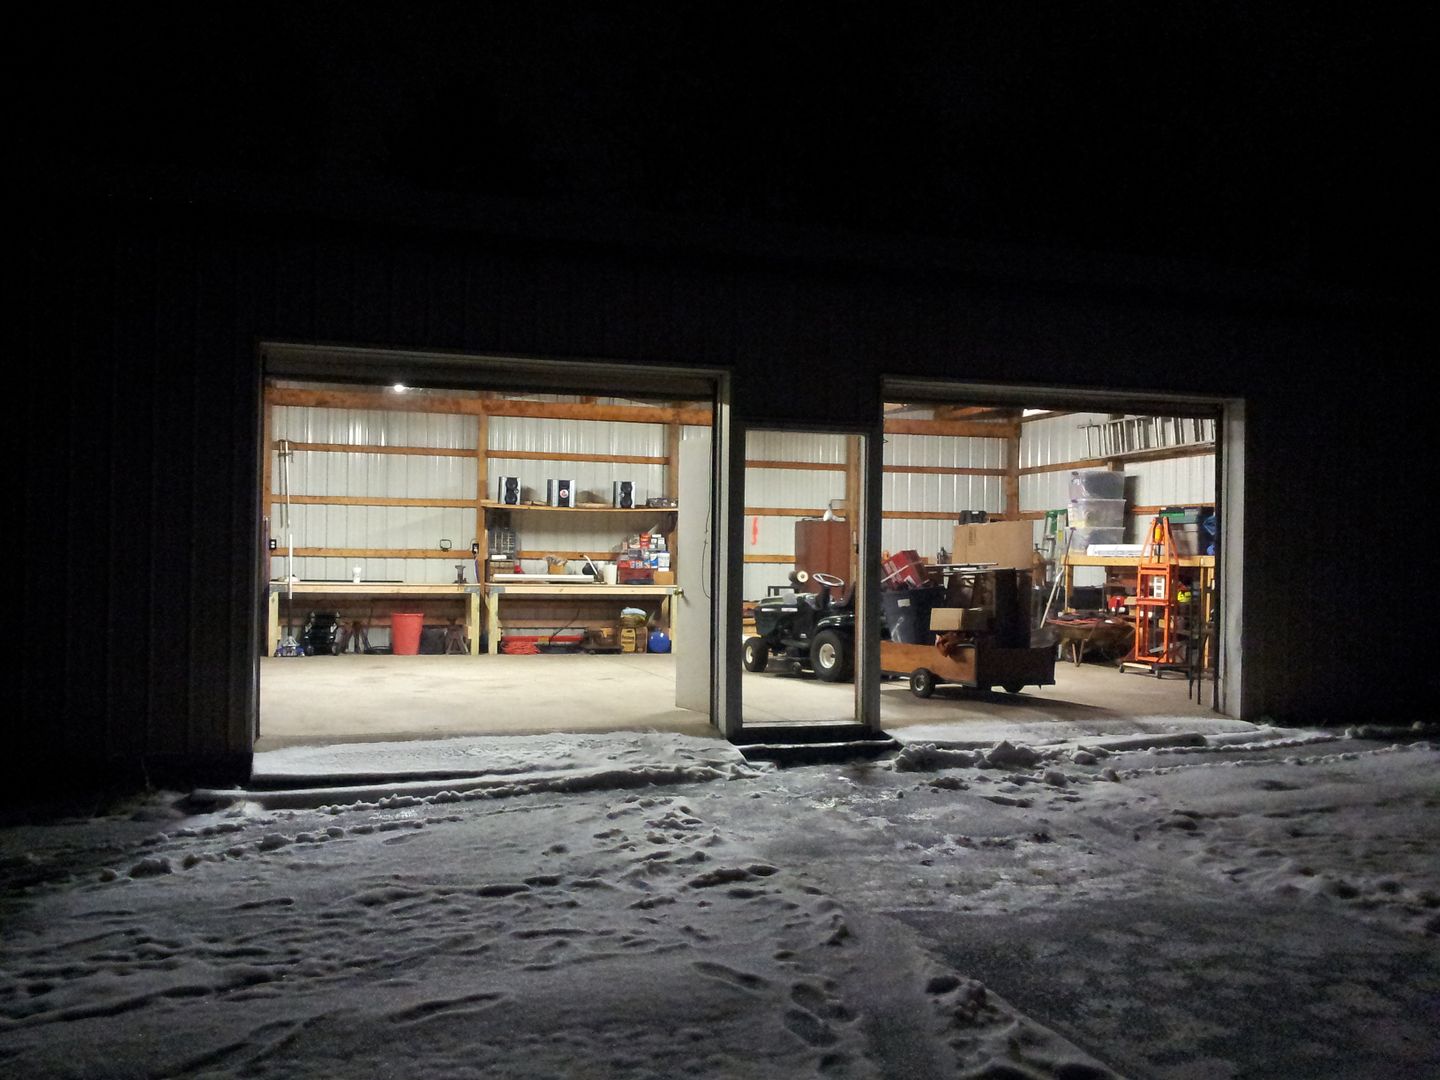
left door.
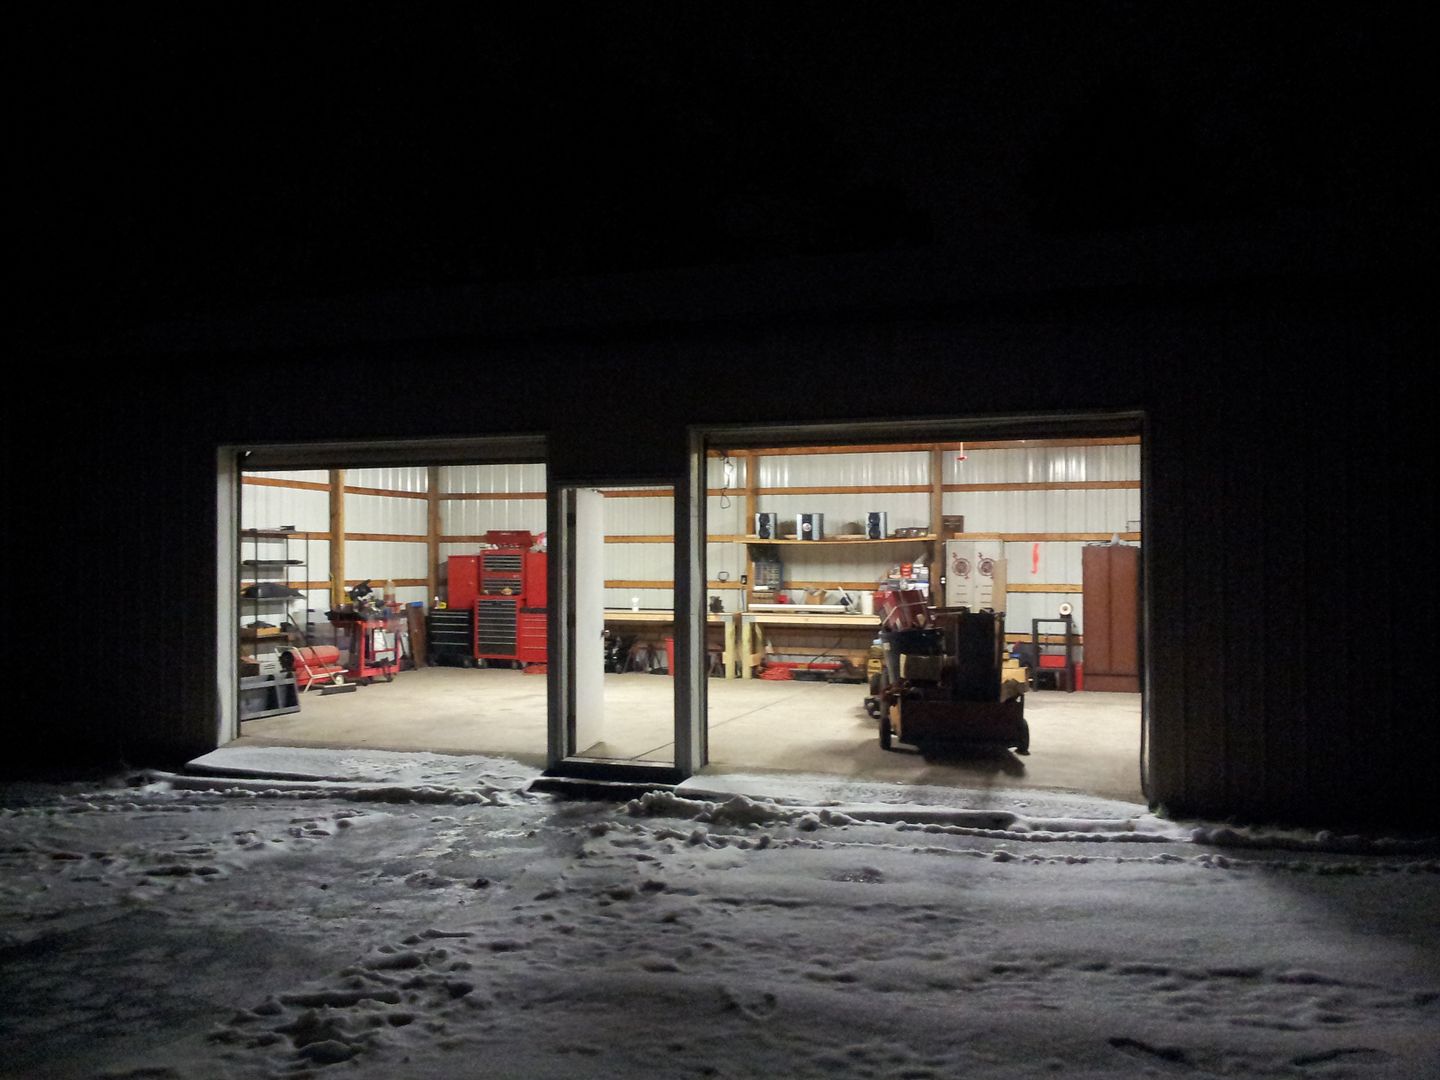
right door.
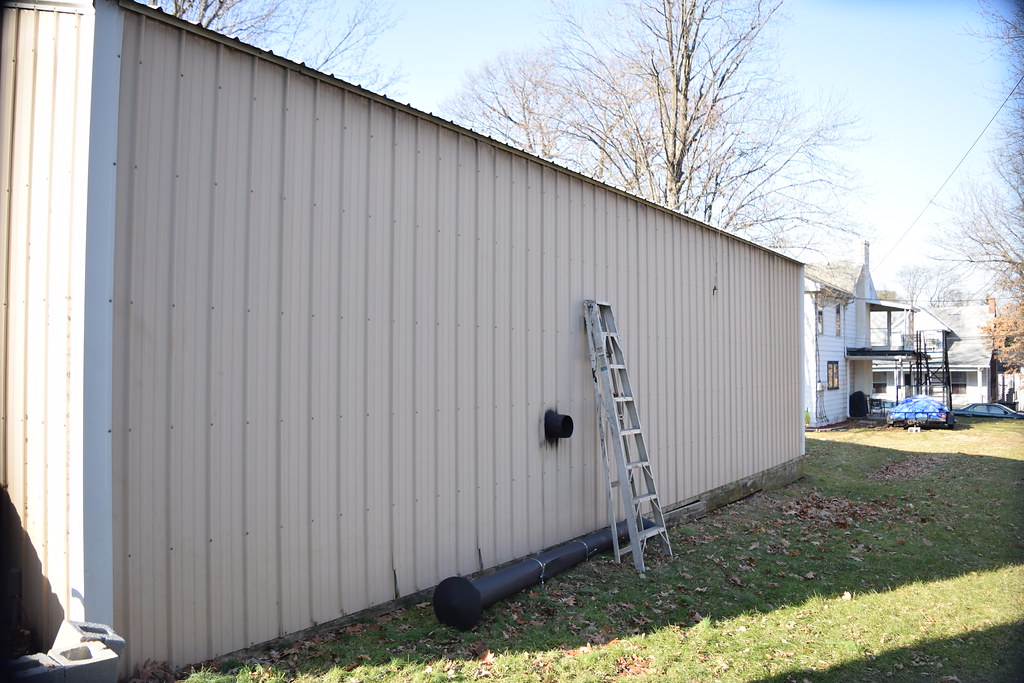
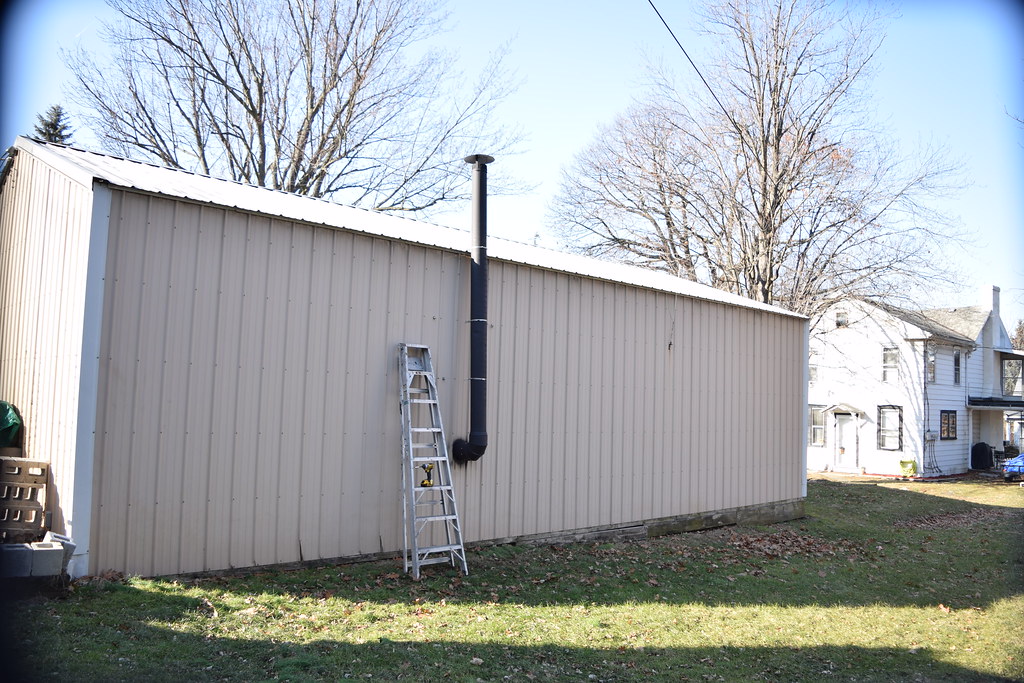
left wall. "where my car is going to be parked" (will be building another workbench where the shelves/torpedo heater are)

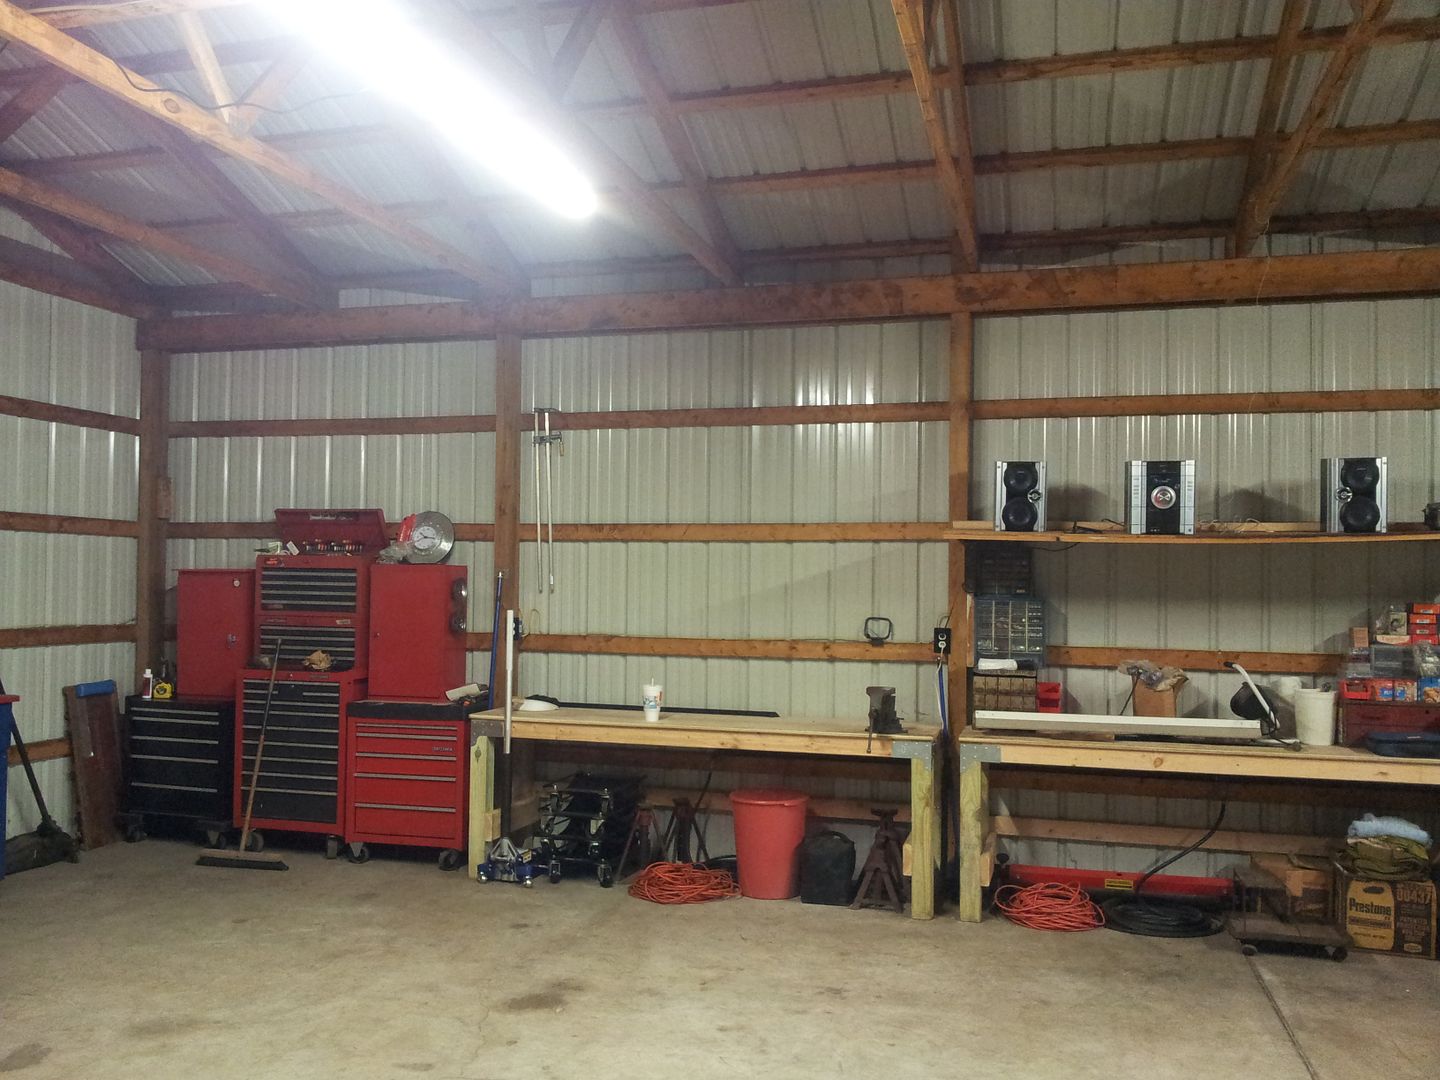
right wall. "welding side of the garage" (will be adding 4x8 sheets of plywood to cover the mess of random junk under the shelves)
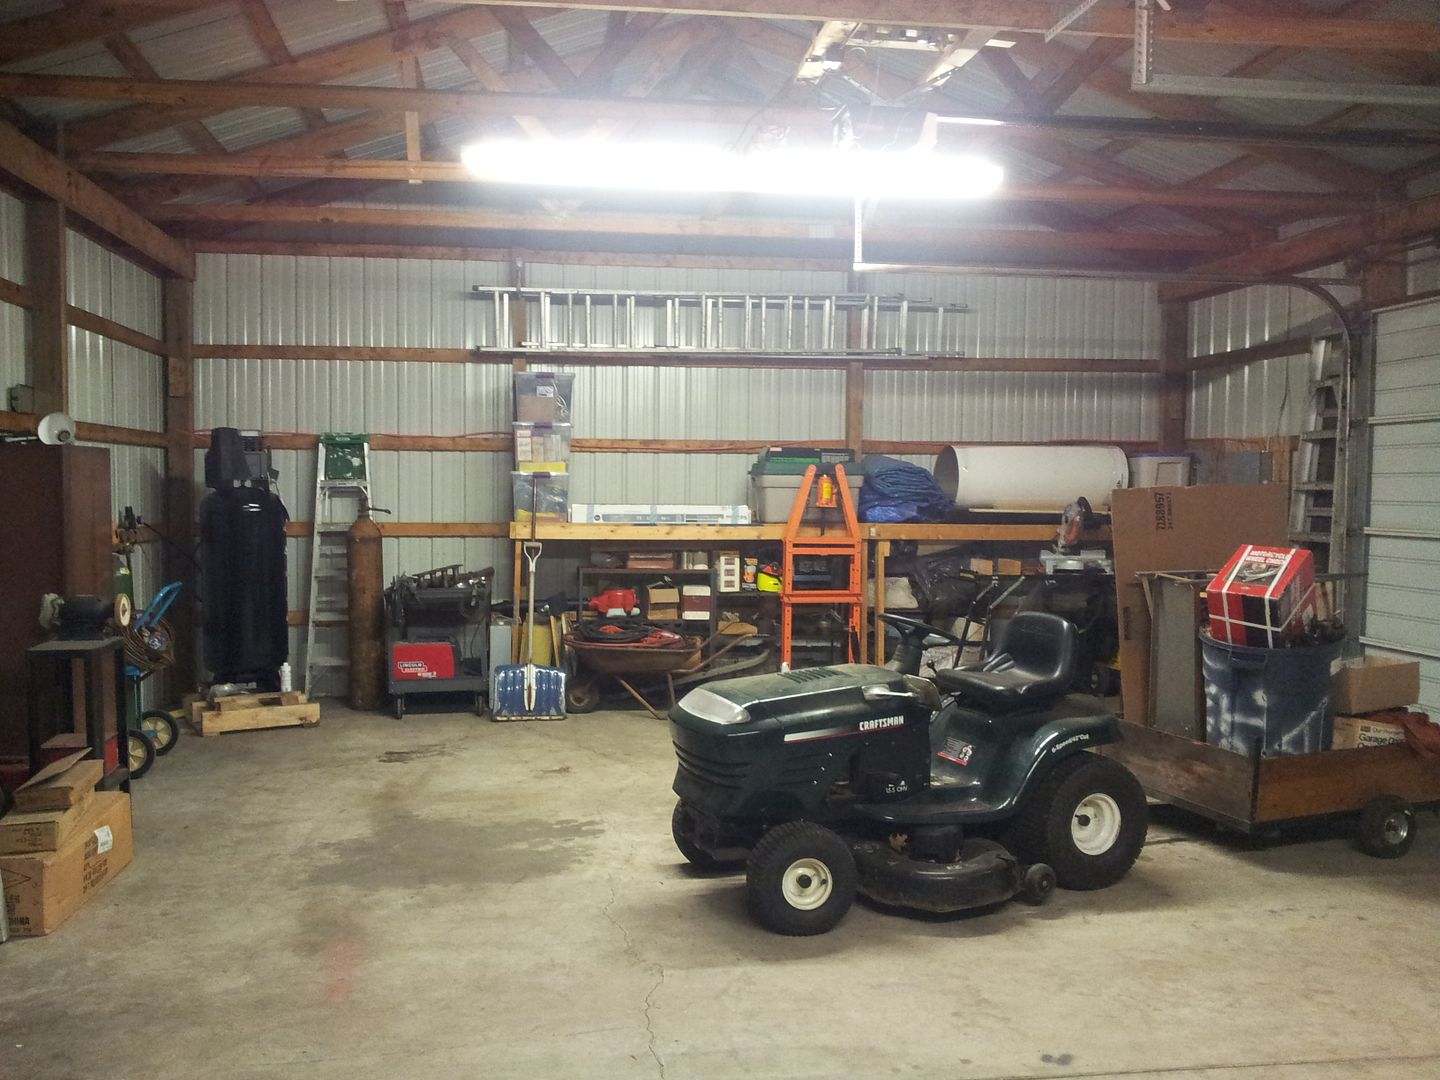
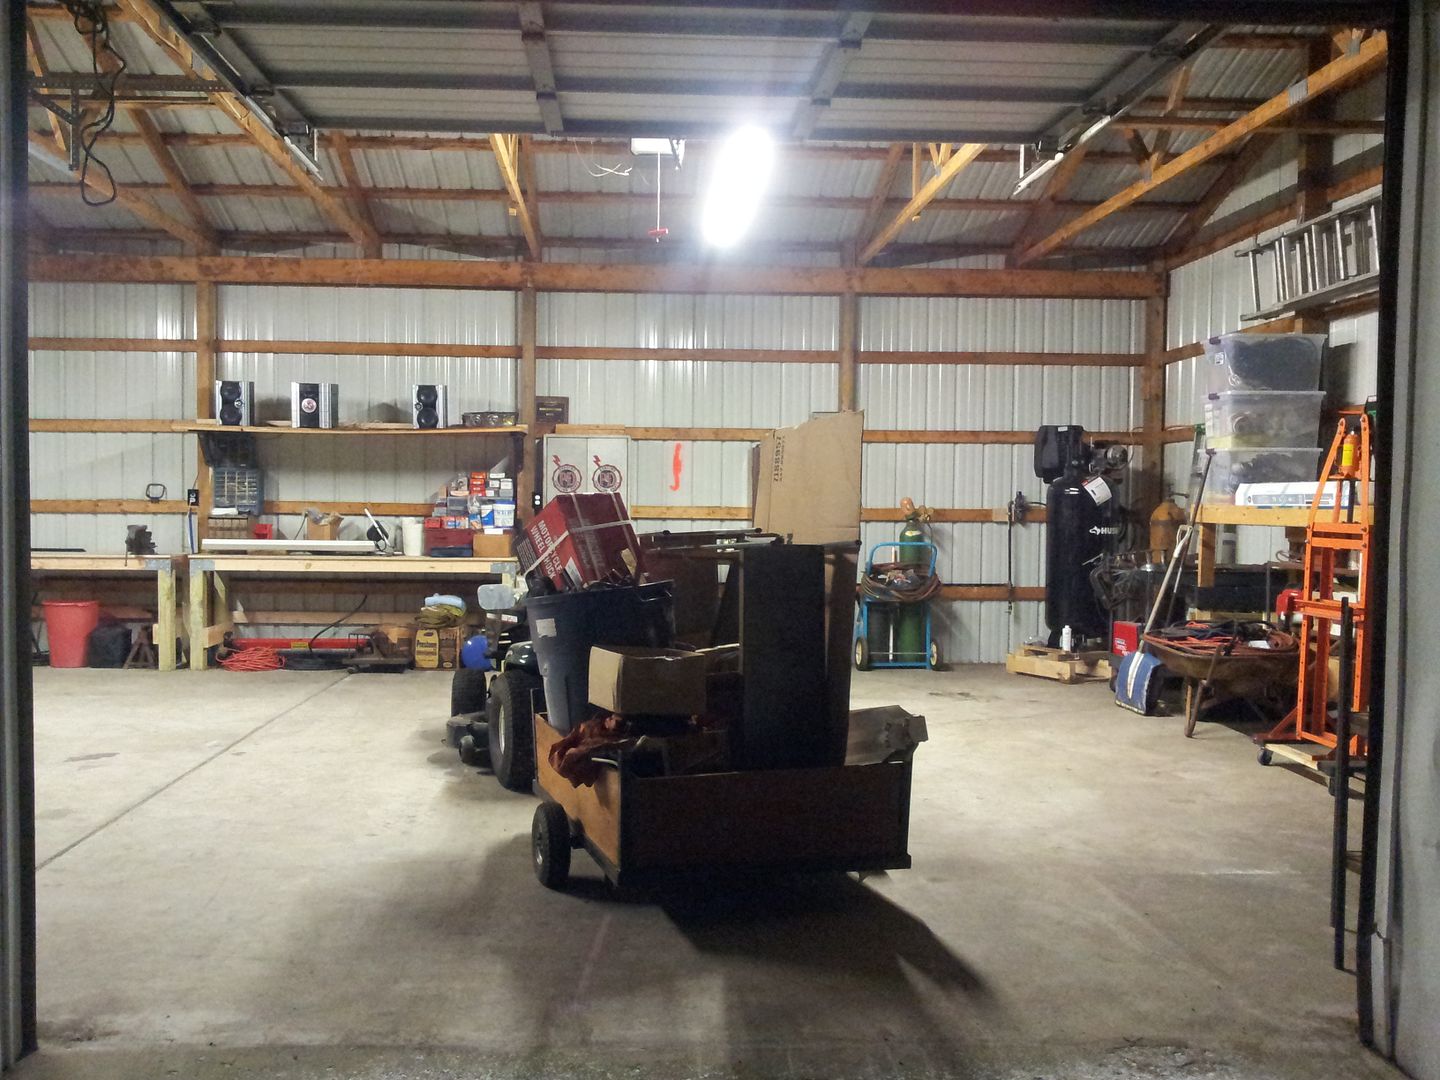
back wall. (left corner)
back wall. (right corner) compressor not anchored yet in that corner.
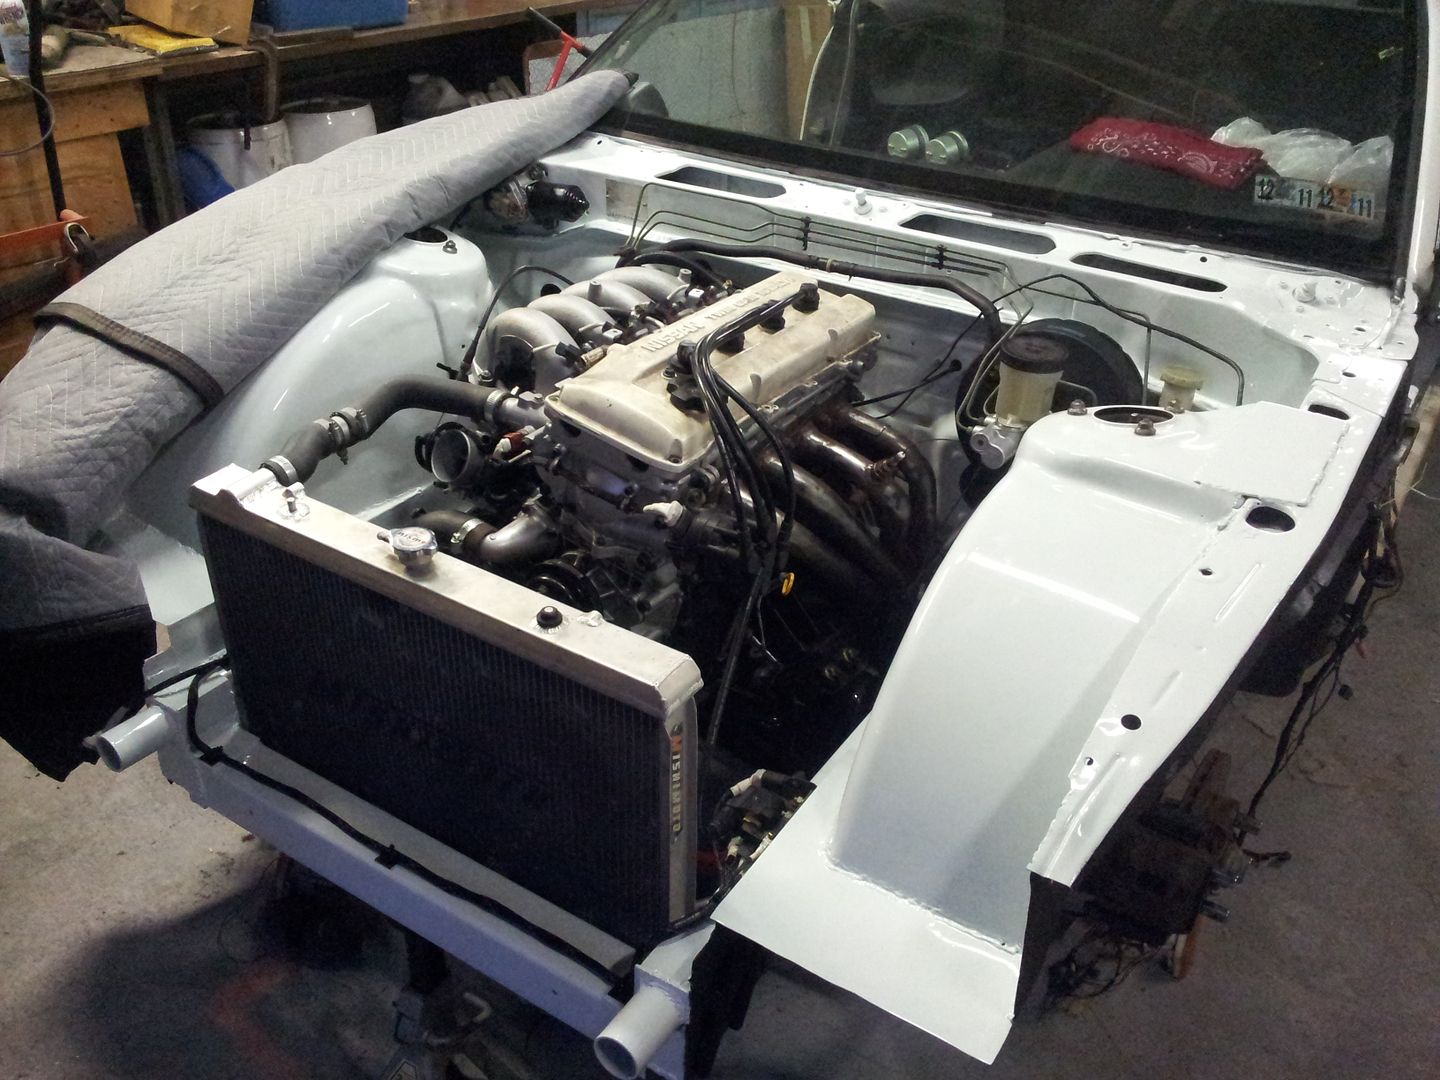
Can't wait to bring my project car over and work on it in MY garage as its been a little over 2 years (91 Nissan 240sx)... But I have a couple more things to do to before I can start the car and bring it over from my in-laws garage. I'll post more on the car later.. Here's a recent picture to hold everyone off...
The ONLY thing I did not do is spray the white paint. I had a body shop/paint friend do that.
Here's the garage..

started with a couple workbenches.


After a week I decided the 3, 4ft t12 fixtures wasn't enough light so I bought 2 t5 High Output 8ft tandem fixtures. on the left is the t5, the middle and right are the t12. and as you can see its still a little messy.

Since I finally had enough light in there, I spent the next week or so cleaning up and organizing my tools/stuff I wanted to keep in the garage. some stuff I still have to bring down from the other building (6ft tall harbor freight drill press and an 8 inch bench grinder).
Last night I was in the garage late and finally have it 85% organized.


left door.

right door.

left wall. "where my car is going to be parked" (will be building another workbench where the shelves/torpedo heater are)

right wall. "welding side of the garage" (will be adding 4x8 sheets of plywood to cover the mess of random junk under the shelves)

back wall. (left corner)

back wall. (right corner) compressor not anchored yet in that corner.

Can't wait to bring my project car over and work on it in MY garage as its been a little over 2 years (91 Nissan 240sx)... But I have a couple more things to do to before I can start the car and bring it over from my in-laws garage. I'll post more on the car later..
Here's a recent picture to hold everyone off...The ONLY thing I did not do is spray the white paint. I had a body shop/paint friend do that.

Last edited: