R.Anderson
Well-known member
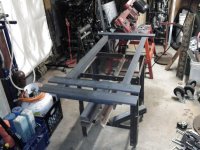
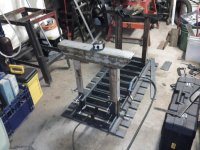
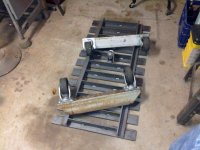
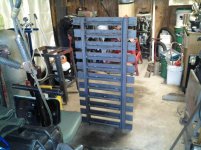
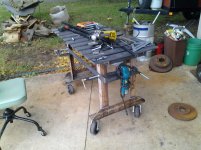
2'x4' Welding Fabrication Table build
The top is made up of:
11-24" 3"x1/2" hot roll flat, was going to go with cold roll and bolt it down but the metal supplier was out.
2-48" 2"x2" 3/8" hot roll angle
The material for the legs I had gotten for free several years ago, casters I picked up for 20 bucks for all 4 . For the new metal and casters was 130 total metal supplier cut me a deal")
The top is made up of:
11-24" 3"x1/2" hot roll flat, was going to go with cold roll and bolt it down but the metal supplier was out.
2-48" 2"x2" 3/8" hot roll angle
The material for the legs I had gotten for free several years ago, casters I picked up for 20 bucks for all 4 . For the new metal and casters was 130 total metal supplier cut me a deal