MacTexas
Well-known member
Seems like there is more than one swamp that needs to be drained!
Last edited:


Mike,
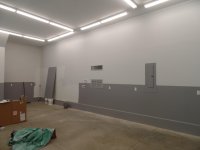
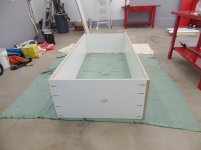
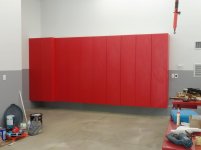
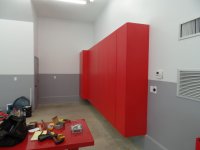
Thanks for your comment. It has been a long process but starting the outfitting is going to be fun. I want to get it finished asap but a friend with a beautiful garage of his own wisely advised that this stage is the most rewarding and that I shoud be patient and take my time. I'll try but patience is not one of my virtues.
I read over your garage build and your coach thread....very interesting. You are one talented guy!
Glen
Brad,
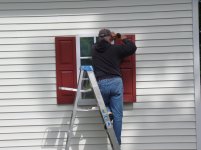
Regarding how the unit is mounted to the wall, the Bard web site has good installation manuals you can download to construct proper support for the unit. It is fairly straightforward with minimal carpentry knowledge required.
As far as electric hookup goes, the installation manuals will help for the high voltage side. The low voltage thermostat hookup is a little more tricky and depends on the configuration of your unit. Is it straight cooling or a heat pump? Does it have auxilary electric heat? Economizer or ventilation package? Humidity controller? Dehumidification sequencer? Outdoor sensor? And, do you have a programmable or non-programmable thermostat?
I have a three ton heat pump with 10kw auxillary electric heat and a programmable thermostat. I can take a photo of that hookup if it would help you. Let me know. Give me some input on what installation information you have after looking at the Bard site, if you have any prior experience with thermostat wiring, which of the above features you have and what brand and model thermostat you have and we should be able to figure out a proper low voltage hookup. If you are uncomfortable with wiring it up, any local hvac service guy should be able to do it at a reasonable cost. That might be a better course of action since you have a used unit that might need some testing of the refrigerant circuit to determine proper charge and how much current the compressor and fans are drawing once the unit is fired up.
Glen
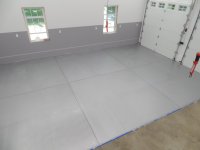
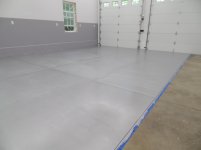
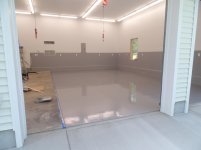
This is a photo of the garage taken from the plan. It will be 30 x 38 with a 13 ft ceiling. Interior stairs up to second floor for storage now and possible living quarters in the future.
Glen
")