Thanks hpw, your the only person who voted so metal siding it is. Thanks for the reply.")
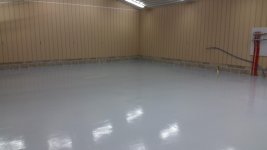
So glad you didn't listen to me, turned out awesome


Thanks hpw, your the only person who voted so metal siding it is. Thanks for the reply.
It's been a couple of months with no progress, due to no cash flow. This past week had seamless gutters installed. I also bought some insulation and started putting that up.
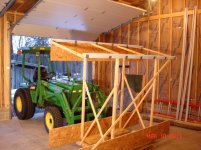
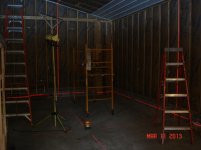
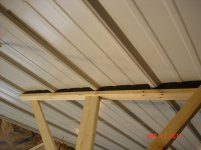
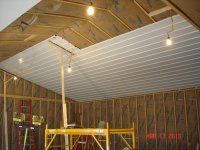
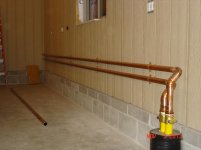
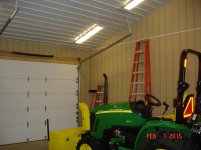
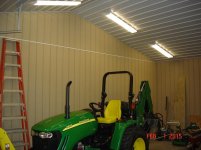
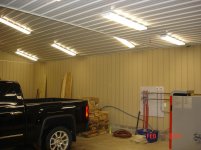
 I have a steel ceiling in my shop too. It really makes it bright in there. . Piping from garage to house needs to be replaced for a much larger one, this was due to not really knowing what I wanted to do for heat. Original plan was to heat garage floor as a zone from the house or smaller type boiler, this new wood boiler puts out way to much heat for the small lines. . Live and learn !! plan your garages out better. Also started putting up some wall panels so boiler pipes can be mounted to the walls.
where did you get the door track that follows your vault? Did you make them?
Nice looking shop!