OP
Chris4x4Gill2
Well-known member
Good point.

Man, I'm gearing up to do a lot of the same work on my 6.0 PSD. Nice work!
Good call on pulling cat5 out there.
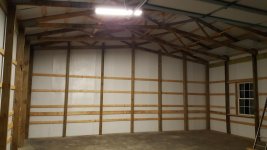
 The AP has 3 more ports to run additional if needed too. Of the three lines already ran, we sized them to run 1 to the AP, one to the future office, and one to the workbench on the far side.
 What was the rough cost on your slab?
That was the BIL's call on the three runs. We had the cable, so it didn't cost any more or take any longer to do the three. I honestly don't know what he has planned.
I'm not sure off the top of my head. The builder I ended up using didn't give a line item quote. He quoted a total price for the job off of my specs.
I'll see if I still have quotes from the others with it broken out.
...
And on the speed test I was getting over 50Mbps download speeds on wireless at the far end of the shop last night.
 . 50Mbps is pretty much all you need for youtube and most anything else you would do in shop. Sounds like your BIL is getting it all right for you.
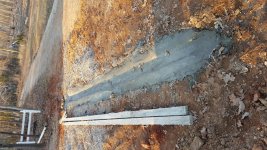
Here is the site April 1st, 2016 after an F2 came through.


4/12 pitch on the garage and then 1/12 on the lean to. The door is 16x10.