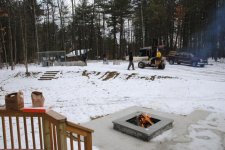
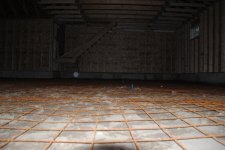
It has been about three years since the project started. Cleared the lot with a neighbors chainsaw, rented equipment to clear the stumps and dig for the foundation, highered a friend to help forma and pour the frost walls and this is what I started with. The foundation has actually been sitting there settling for a few years which can only be a good thing for less slab issues.
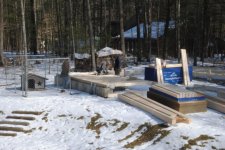
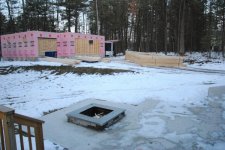
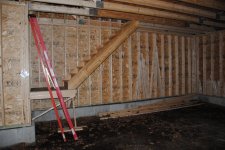
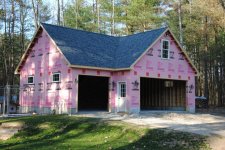
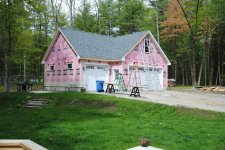
I hired a local guy that was able to order the materials through our local Curtis Lumber store save me some money and get it all framed in.
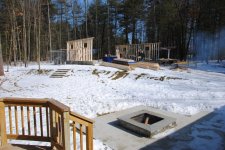
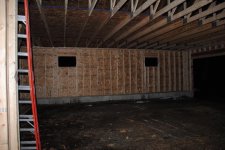
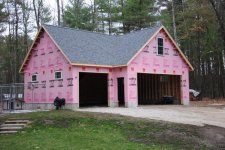
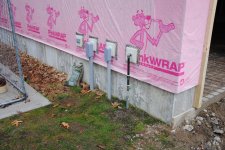
These guys work quick! THey had the walls up in 4 hours. By the end of the day they were all leveled, sheeted and house wrapped.
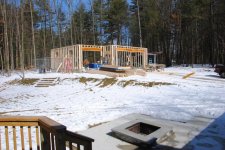
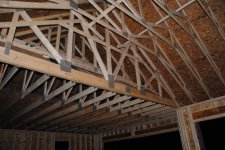
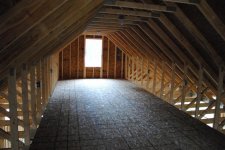
Today they are working on hangning the trussed and sheeting the roof.
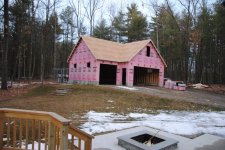
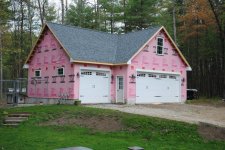
THe roofer should be here Thursday to button that up. Can't believe in one week it will all be done!
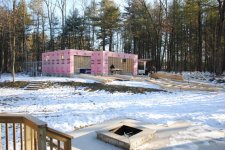
I hired a local guy that was able to order the materials through our local Curtis Lumber store save me some money and get it all framed in.
These guys work quick! THey had the walls up in 4 hours. By the end of the day they were all leveled, sheeted and house wrapped.
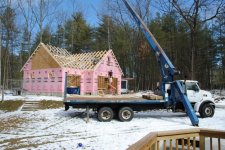
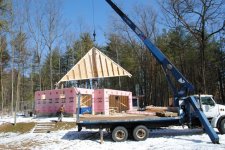
Today they are working on hangning the trussed and sheeting the roof.
THe roofer should be here Thursday to button that up. Can't believe in one week it will all be done!