rocket1420
Well-known member
- Joined
- Jul 25, 2014
- Messages
- 90
....
Last edited:

Better off cnc machining polyethylene


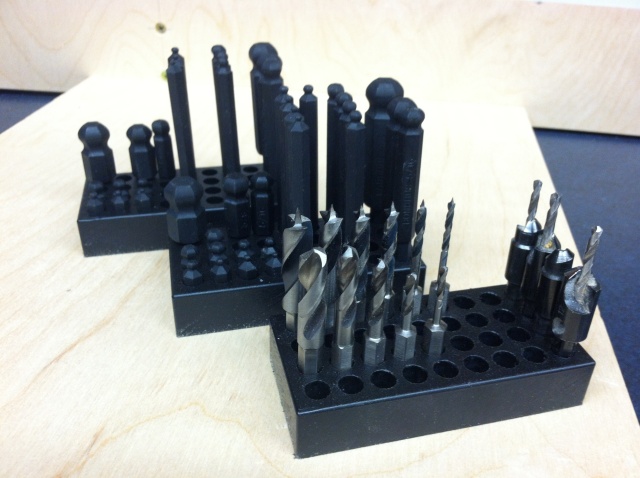

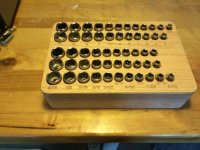
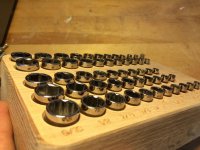
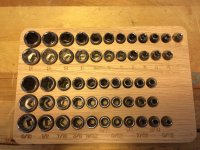
Lilscorpion, you are the king of storage trays!
Starboard or kingboard is not readily available downunder but as soon as I find some im copying your other thread!!!
Could be done with a manual router and a fixture if you didn't care about the numbers and lettering.
For a CNC setup you could really machine them with just about anything that holds a router and had a reasonably small amount of backlash in the drive setup. If you're cool with long run times you'd need nothing more than a small end mill (1/8-inch to 1/4-inch). If you want to hammer down (single pass with a 2-inch ball mill) you'll want a more rigid setup with some balls behind it.
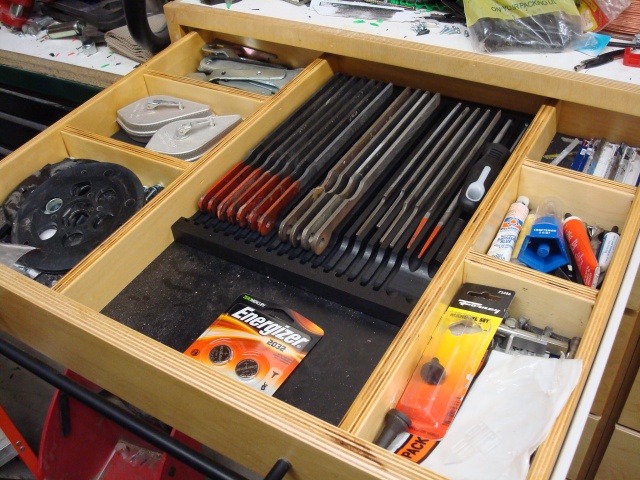
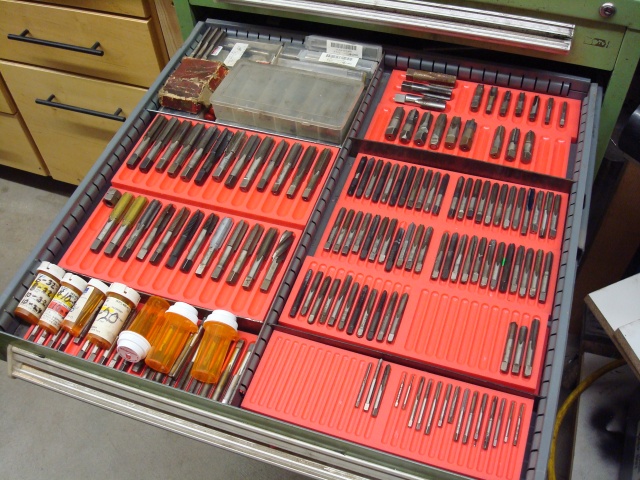
I have a 2hp knee with a centroid retrofit on it and have made many different organizational trays out of HDPE like paranoid56. Great way to get organized and as configurable as you want them to be because the design possibilities are only limited by your imagination.
Sky's the limit. Simple trays are totally doable with a manual mill. CNC is a necessity for the more complicated stuff if you struggle with patience like me. I know some old-timers who could do things with a manual mill that makes me with a CNC look like a noob.
Back on track though - I've thought about CNC Printing the trays. In some cases I think you could actually do more with a printer because you'd not be confined by the tooling you have. Things like square corners is impossible with an end mill but a snap for a printer. You would need a fairly large one to compete with the capacity of a mill though. May not matter unless you have bigger tools like my longer torque wrenches.

Seems like online 3d printing is out. I didn't expect it to be cheap, but damn. Mocked up a 1"x7"x.6" 1/4" holder with ten socket holes and that's $35. And I can only get it in black or white. That's from www.shapeways.com . I hope there's cheaper places, or I will be either buying a 3d printer or a mini mill. Or doing it by hand with a router (this seems most likely once I learn how to make templates. And find the router...)

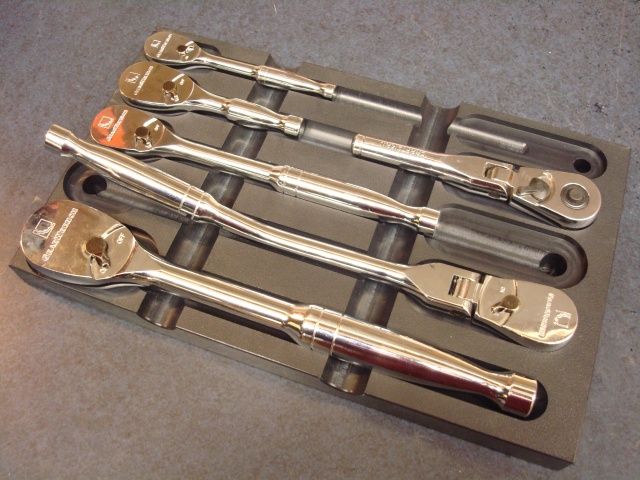
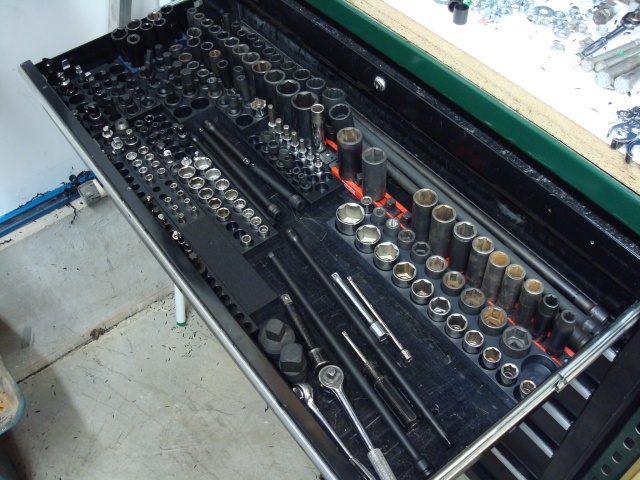
Wow that looks really nice. Are the smaller sockets hard to grab since they're so deep?
Red oak is a really bad material choice. You'd be better off putting them in a shallow pan of salt water. Oak attacks ferrous metals.