To avoid these ads, REGISTER NOW!

58' GMC Pick-Up Restoration - Original Paint

Wills.WindowsAndWheels

Well-known member
Joined
Sep 29, 2011
Messages
348
Location
Gilbert,Az
This is a write up I've been meaning to do for quite some time. This was as fun of a detail as it was filled with constant anxiety. U believe it was 2 years ago that this was completed.

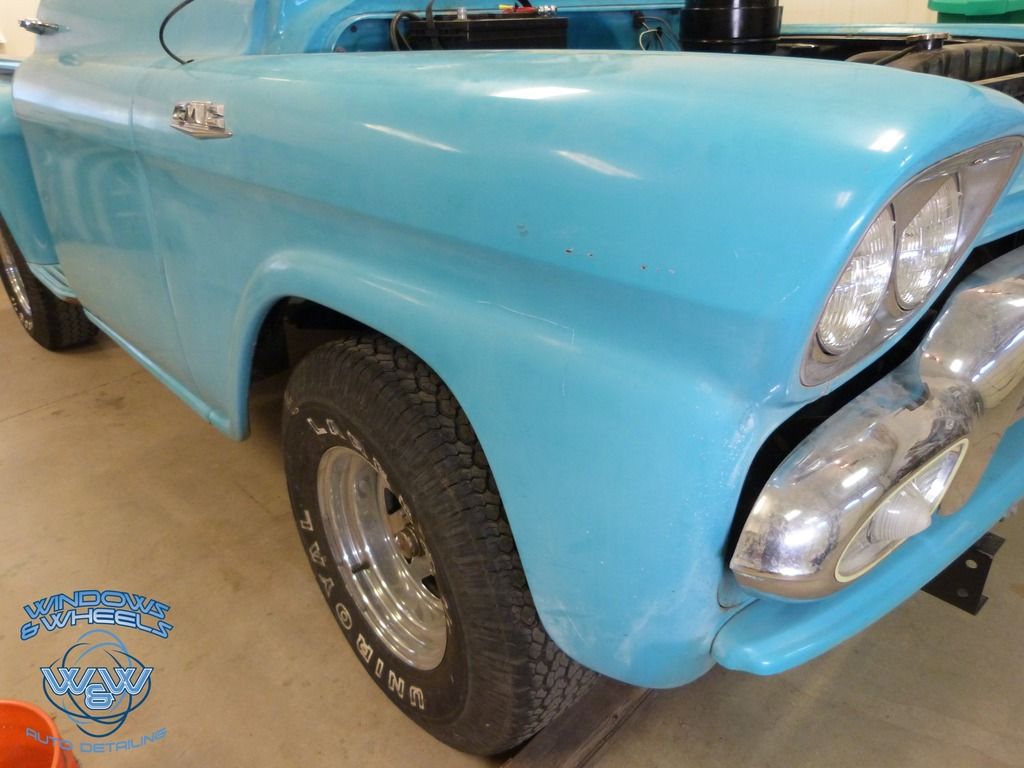
The title says it....original paint on this almost 60 year old GMC pick-up. Here she is:
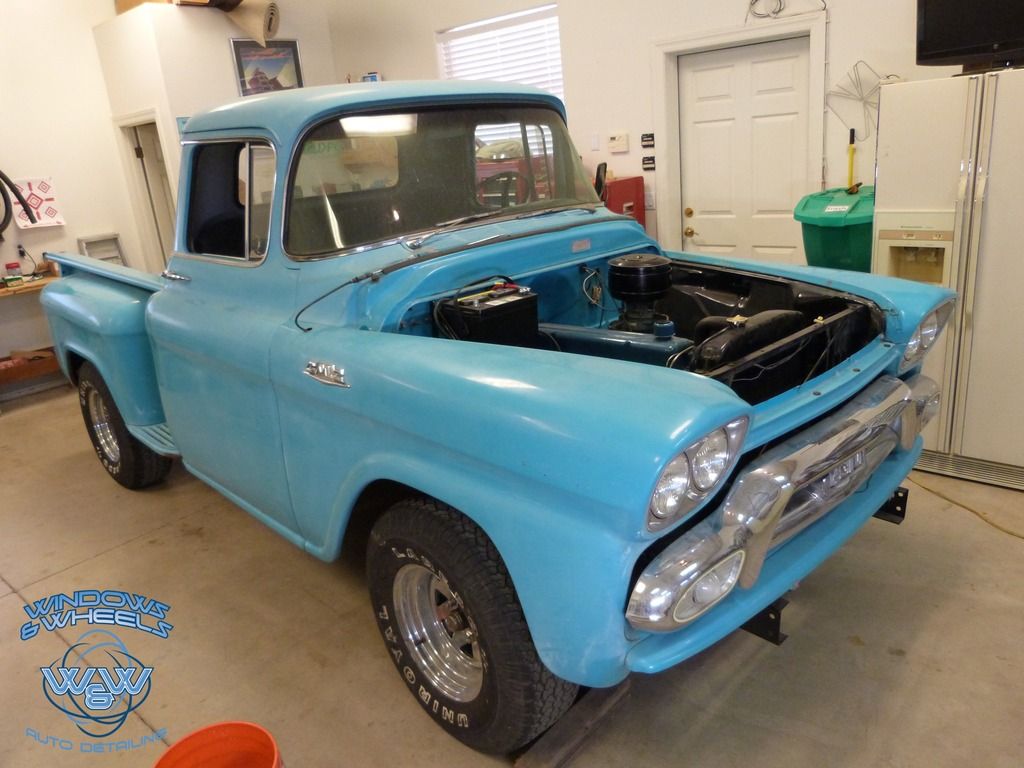


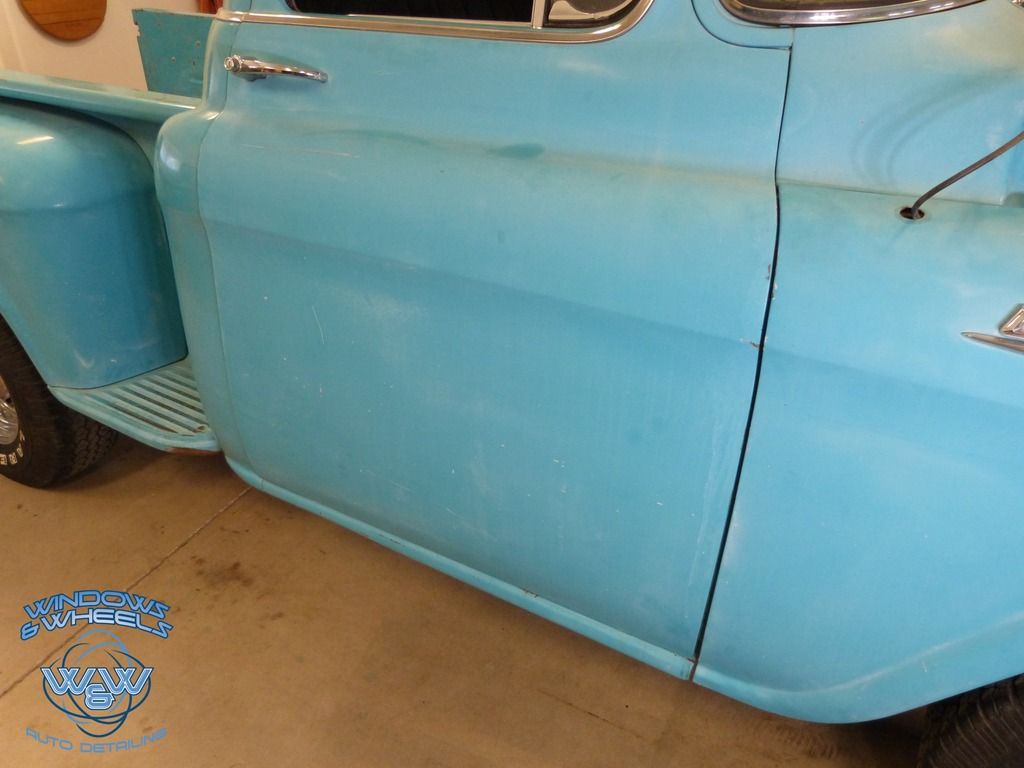
Oh yeah, forgot to mention this isn't a show truck, garage queen, pampered baby. No no, this truck had been in their family since it's origin.....and it was used as a farm truck! Yeahhhh, we're talking super thin spots, rust, oxidation...this truck had lived a true truck life!

The owner had called and spoken with several different detailers (including us) regarding what (if anything) could be done to restore his and his wifes classic 58' GMC. One said there was nothing that could be done, another said he would do it but was charging a pretty low ball price, which made the owner a bit skeptical...and then there was us. Our price was higher than any of the other quotes, but he opted to choose us because he felt we knew what we were talking about...and that we were passionate about what we do. Well...he was right....now lets begin :)

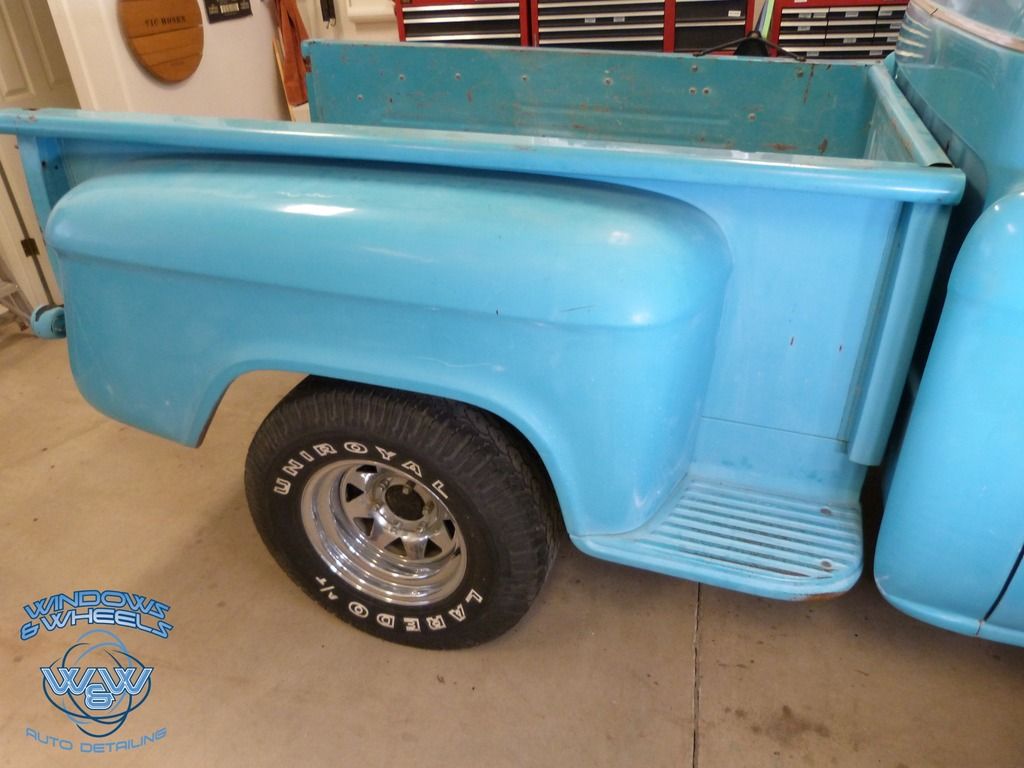
Lets take a closer look:


Shiny like a chalk board lol.
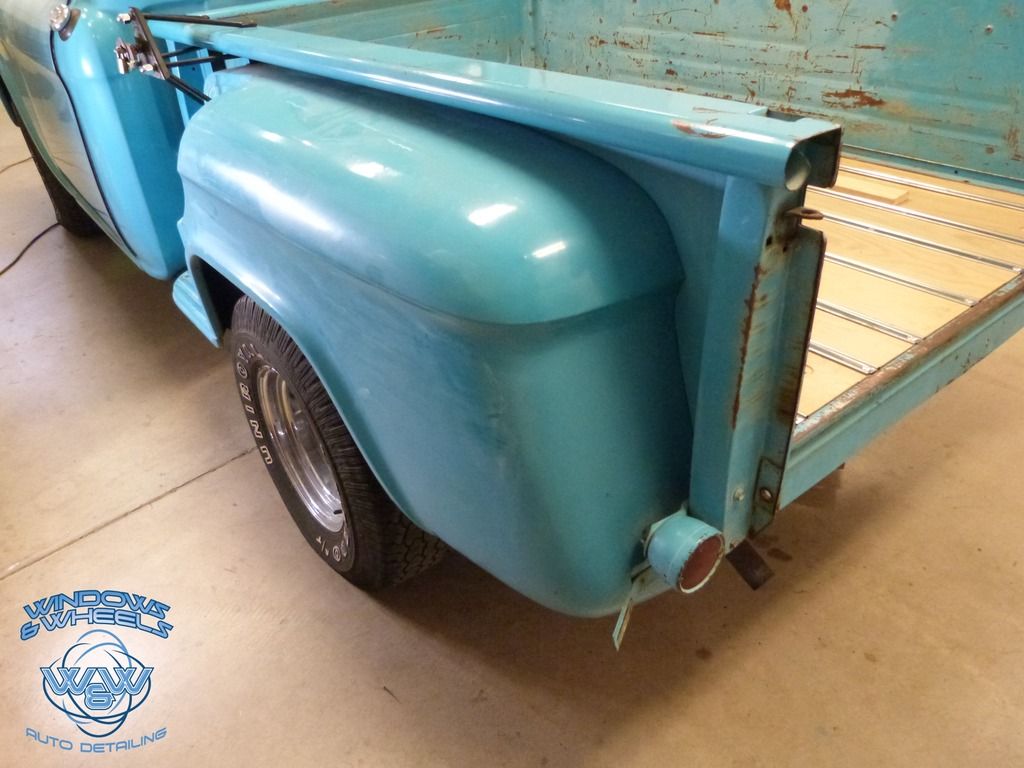


Now you may notice something here...a lot of these areas on the sides of the bed especially - are not "buffer accessible" ...that means a lot of by hand polishing, which we'll get to shortly.
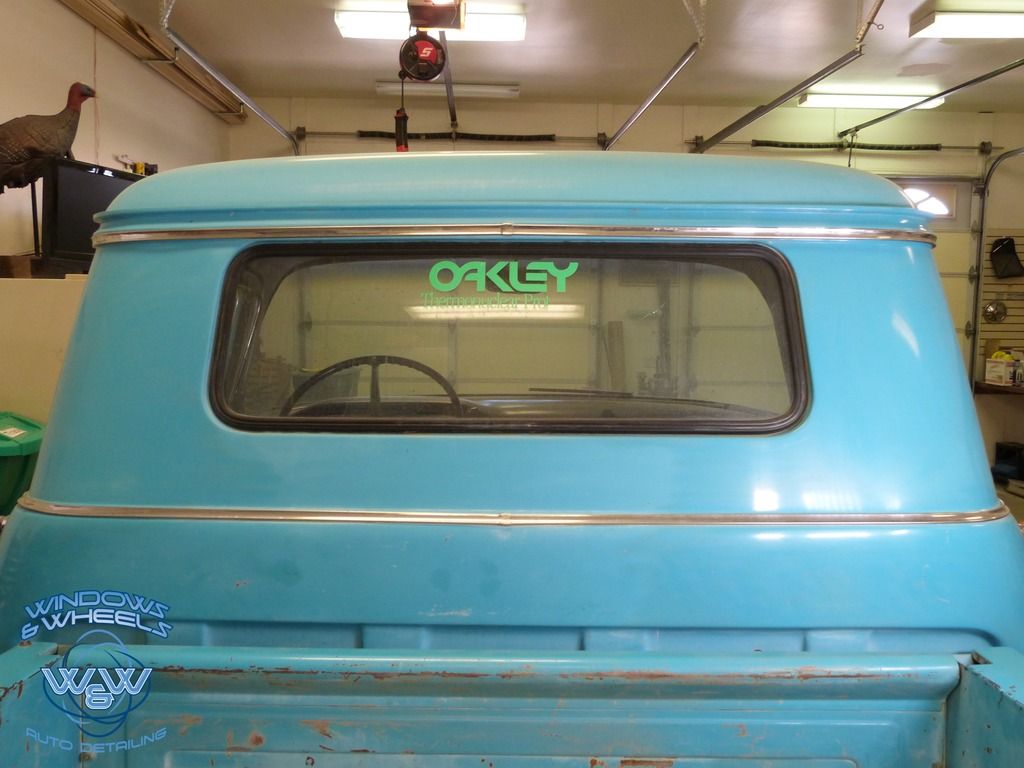
Lets continue the walk around!
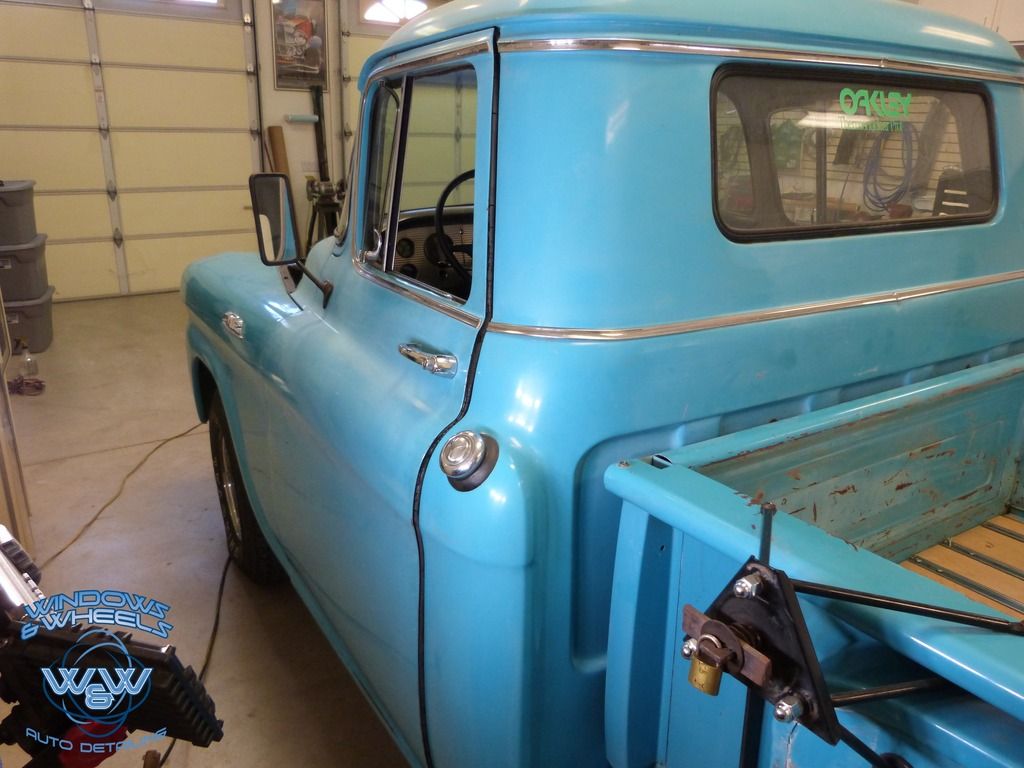
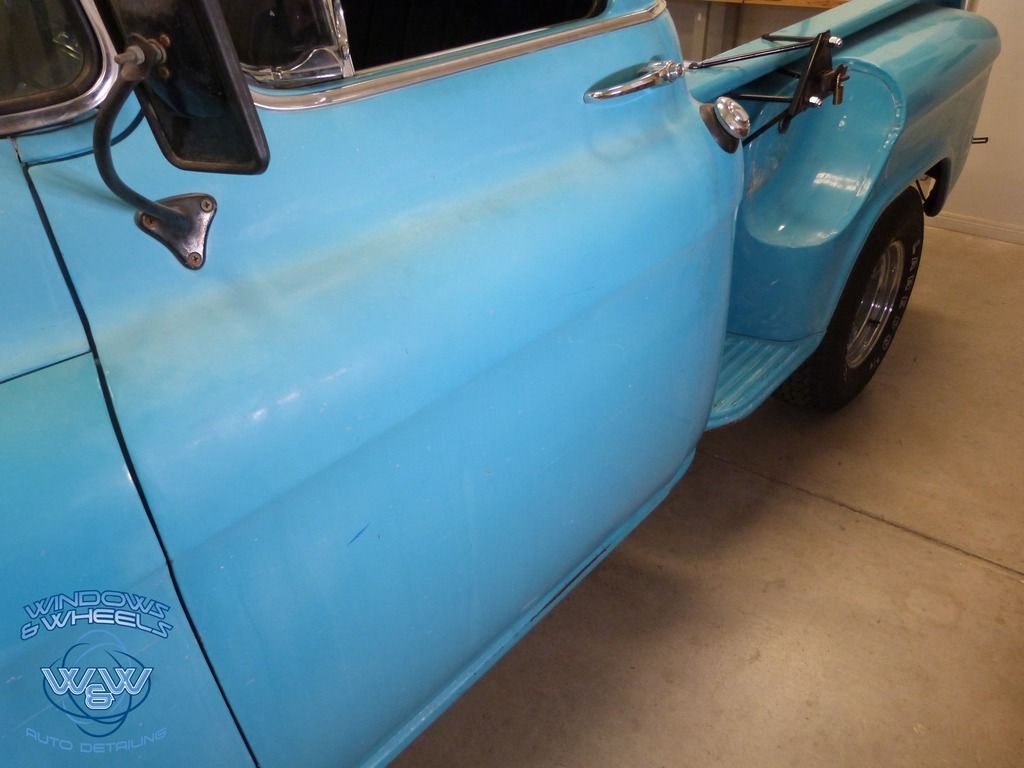
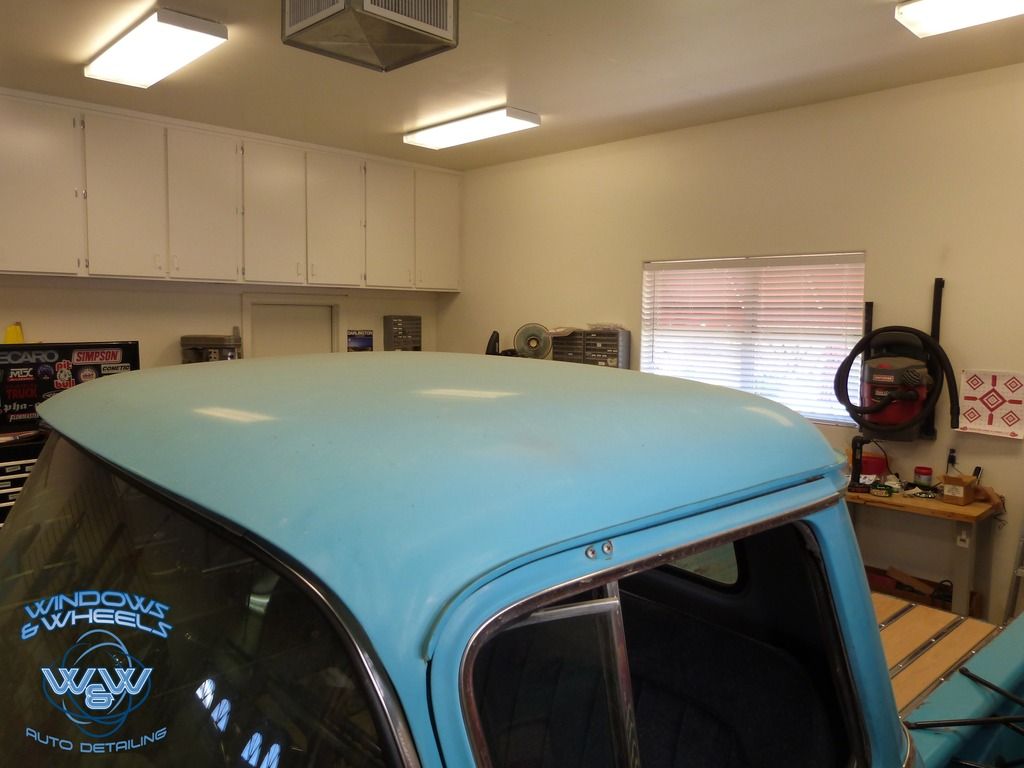
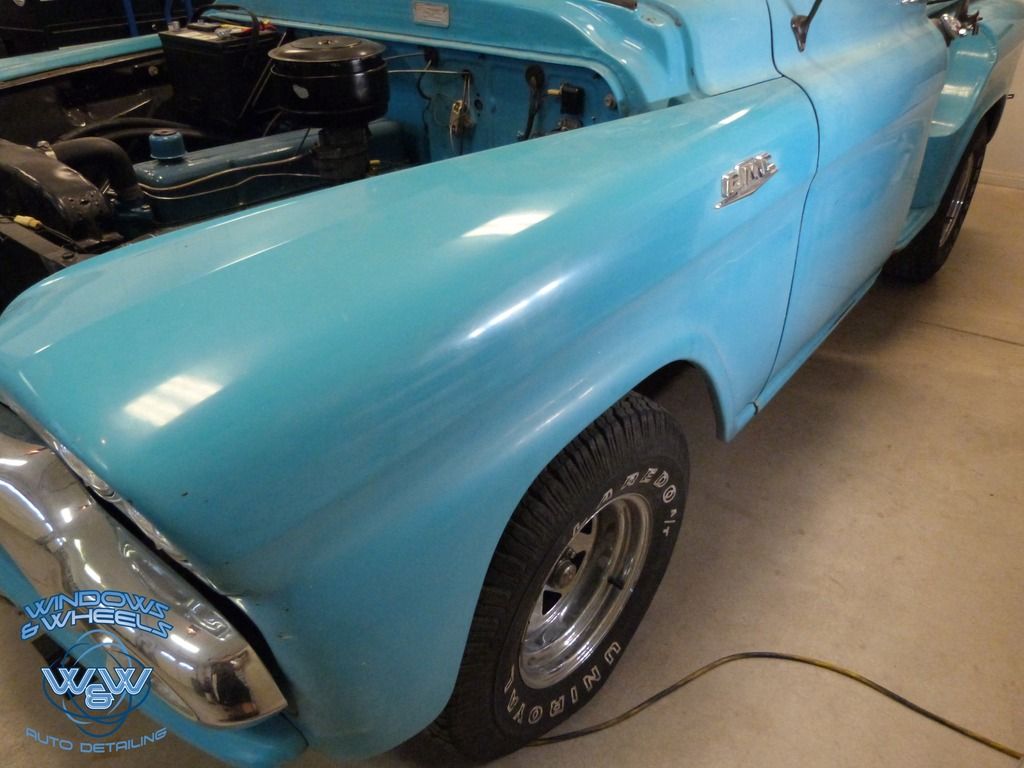
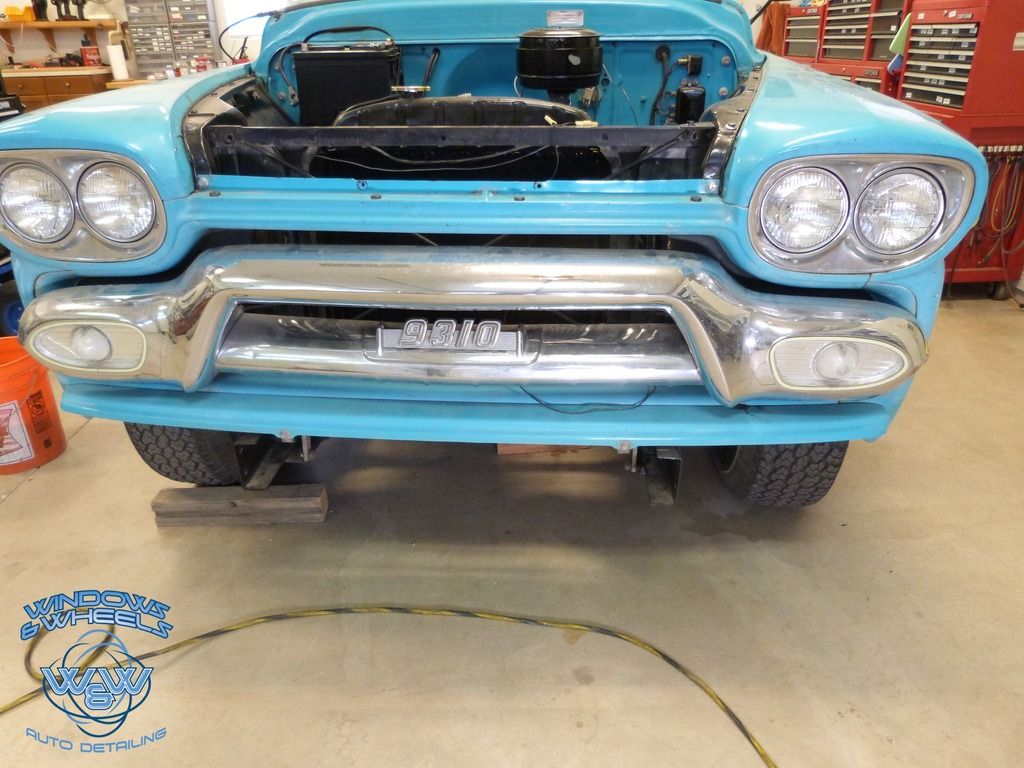


Oh yeah, theres lots of chrome too..yup, lots and lots of chrome!

The owner had just completed some serious mechanical reconditioning (thus the hood being removed) and now it was time to make her shine again. First thing we were to deal with was...it wasn't yet running lol. So it was time for a rinseless wash.
Lets get at it!
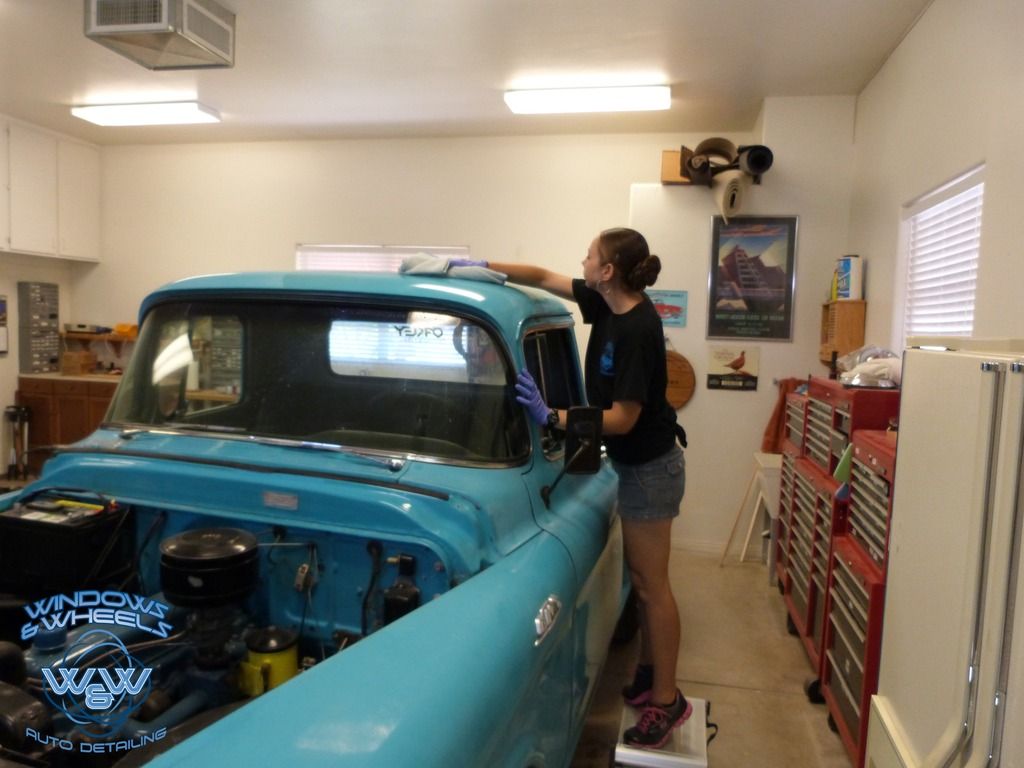


After a thorough rinseless wash (and a LOT of towels) it was time to clay it because it didn't just look like a chalkboard, it felt like one as well.
After decontaminating the paint it definitely felt much smoother....kinda like a chalk board with lotion on it? Being that the decontamination process thinned some of the oxidation, the truck now also looked like it had chicken pox.
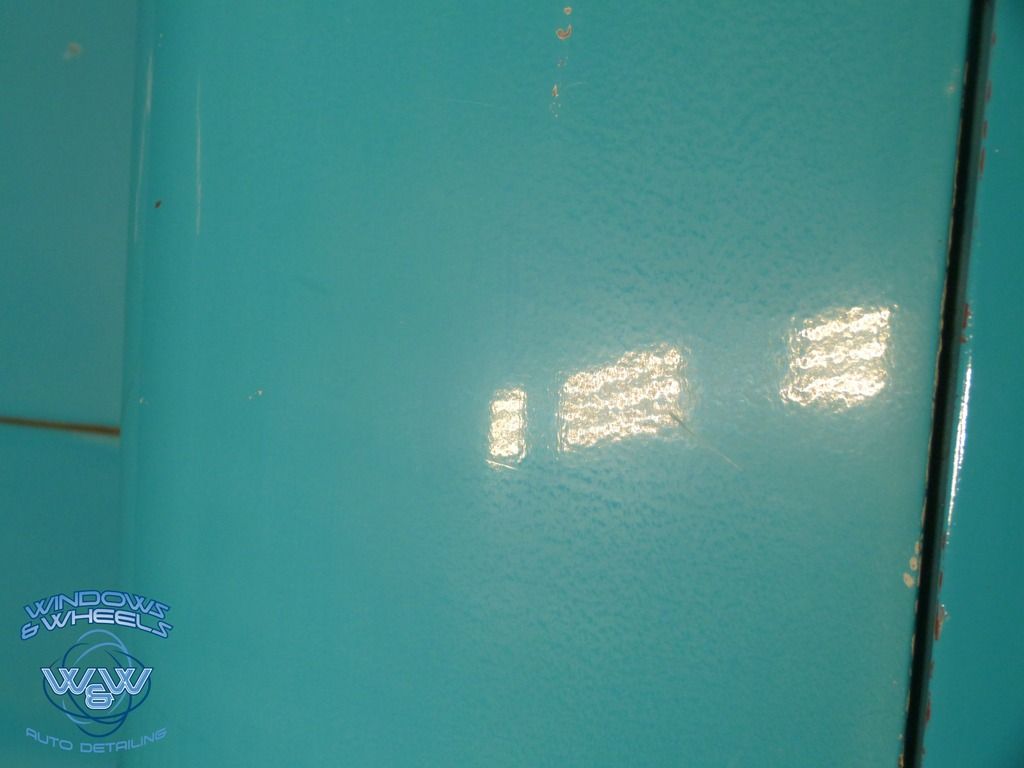


Now for the fun part, working on paint that was measuring UNDER 1 mil in thickness (for a comparison, most modern cars measure between 4-6 mils...this paint was THIN).

Our task, to squeeze as much oxidation removal and shine out of this beautiful classic as possible, with out compromising the extremely thin paint. This was a tricky one for sure.

My first step was to try Meguiars #7 Show Car Glaze. "Correction" was not what i was aiming for here...preservation was. While #7 did a decent job, it took several passes and was still leaving some "blotchy" spots in areas where it did not remove all of the oxidation. It looked 100x better - but i personally wasn't satisfied.

When in doubt - get some advice from someone who knows more than you do about the subject. Time to call Mr. Jason Kilmer - famous for his insane sanding skills and "If you're not burnin' you're not learnin'" mentality. Here's a guy who has more time with just sanding alone than i likely have in detailing in any aspect.

After a 10 min conversation about what we were dealing with, what we had tried and what we felt comfortable with proceeding, we decided to go with one of our most favorite stand by's...Meguiars M205 and a more aggressive polishing pad.
Per our conversation, Jason recommended 205 to help give a LITTLE bite to our process and thought a medium polishing pad would help pull some of the oxidation off without thinning out the paint too much. This made sense to me since 205 is a fairly "wet" polish but does in fact have abrasives.

I tested out an area using a medium cut pad and 205 - and the results were definitely better. But, being that the oxidation was so heavy..i decided to take it a step further and bump it up to a Meguiars 3" foam cutting pad for our small work and a Lake Country Orange cutting pad for the larger areas.

I felt the stiffer and porous pads would do a better job at collecting the oxidation and not cake up so quickly and that as long as i kept the pressure and speed low and did fairly quick arm passes, i'd get away with my surgical goals lol.

My intuition was right...and this old girl started coming back to life.
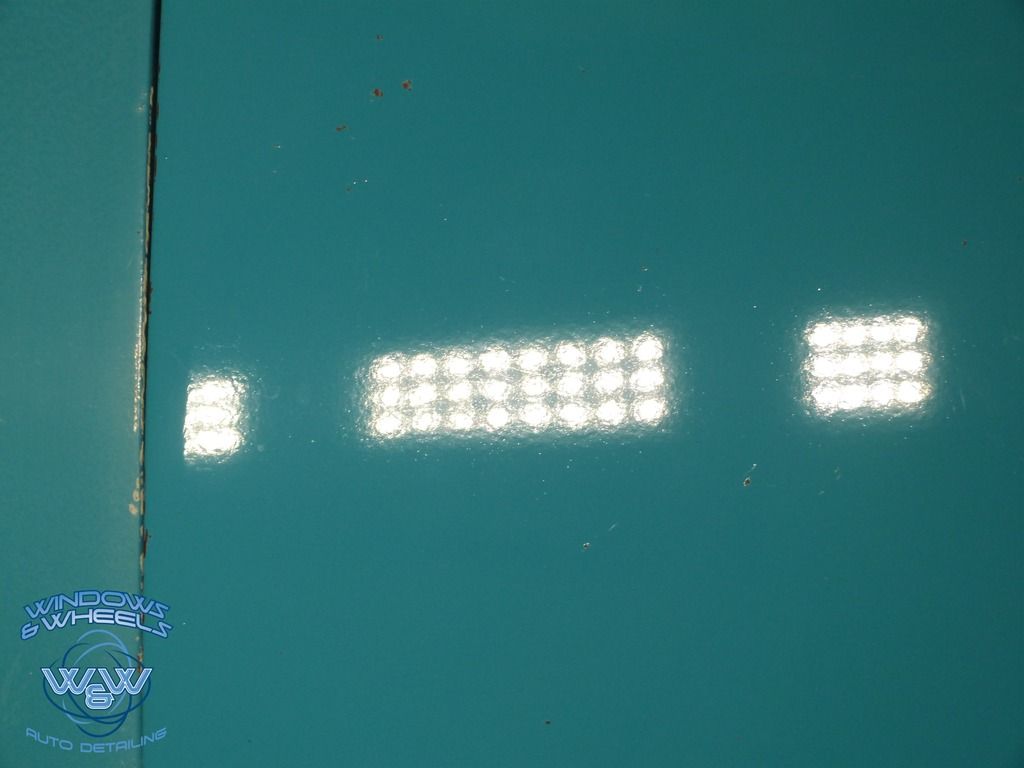


Now the challenge was on. If you've ever polished single stage paint, specifically oxidized single stage paint, you'll know one of the biggest issues is having your pad get caked up.
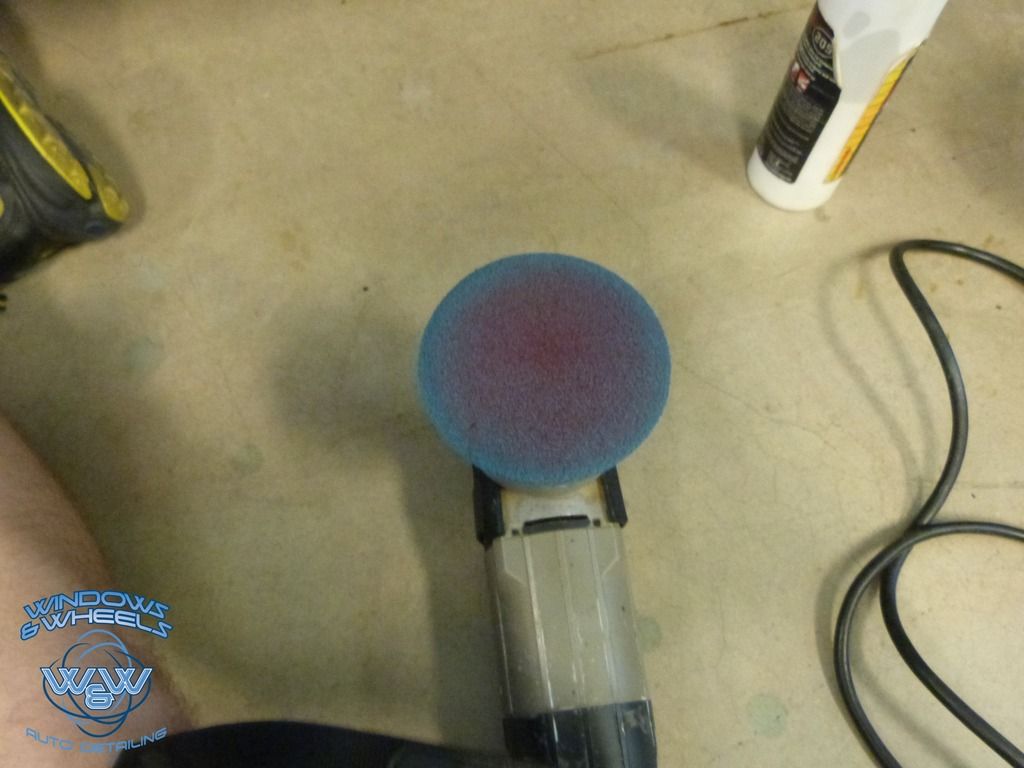
Fortunately the owner had a compressor (we had to do this job mobile for obvious reasons) for us to hook up our Tornador to and let me tell you, it is the BEST pad cleaning tool ive ever used (foam or microfiber)
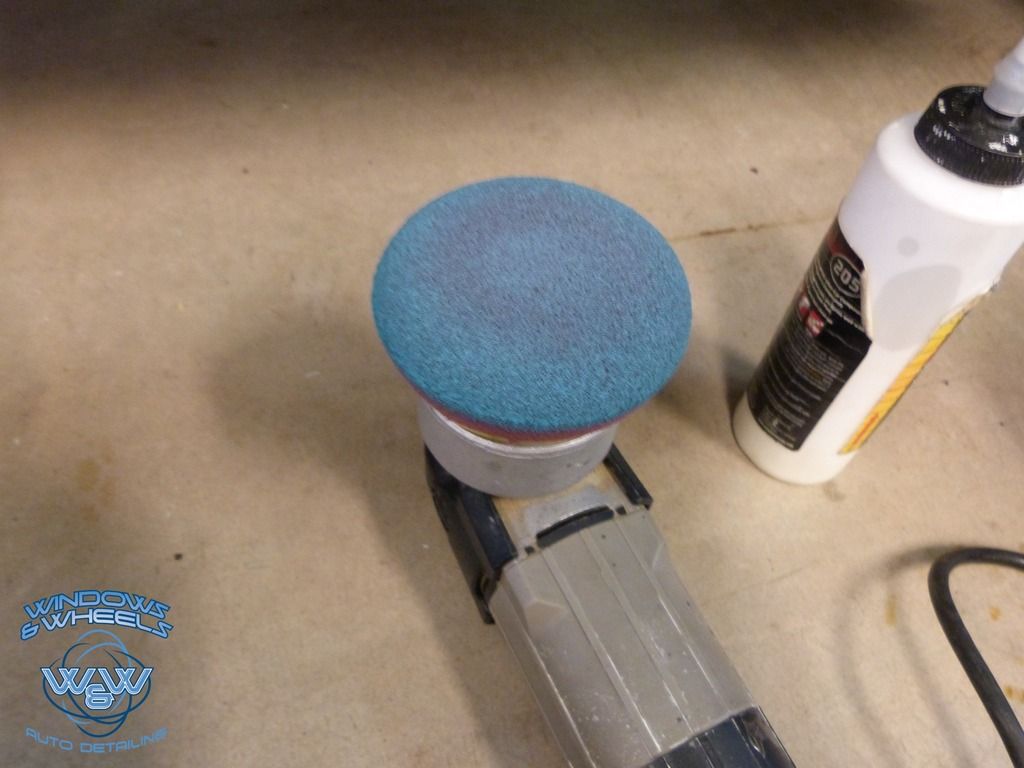


I know it looks like a blue pad, but its actually maroon! Just blue from paint.
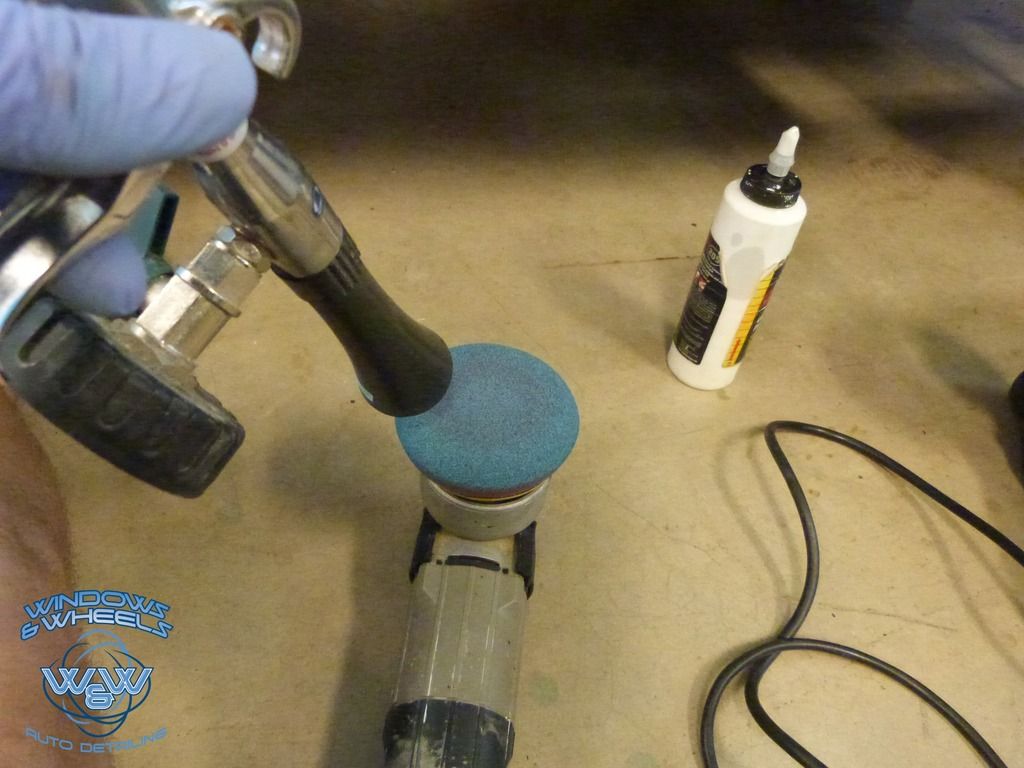


Bam...ready to go. This was something we were having to do after each section to maintain consistent results section by section...but hey, thats what we do.
 
To avoid these ads, REGISTER NOW!
OP
W

Wills.WindowsAndWheels

Well-known member
Joined
Sep 29, 2011
Messages
348
Location
Gilbert,Az


Shiny! Well except the rust...just ignore that part....


Panel by panel we CAREFULLY worked every section of this truck.


Oh yeah!

Another interesting point. They eye catcher is the big glowing door...however, note the thin strips of paint going up along the a-pillar and along the edge of the door. This was before we had an iBrid Rupes polisher...so once again, this was mostly done by hand. And who better to do that than...well...sure as hell not me! Daniela! *Que super hero music*


We thought out our process and decided I'd hit each tight area (such as this) as close as i could and get into as many deep pockets as i could. Then, whatever was left, Dani would attack by hand. This way she wasn't having to guess how far into those pockets i could get (and potentially missing spots) - also, she wasn't having to do any EXTRA work by hand by polishing these areas by hand and covering too large of a section that i could have hit with a machine. Makes sense right!


Hard to believe 2 years prior to this i was bald...lol. Our trusty dusty Porter Cable 7424 was a beast in the small areas. First machine we ever bought and still going strong today (well, it needs a new cord, but she still runs)


As you can tell from the above photo, we'd been working hard and making a lot of progress. This truck was coming back to life in a way we weren't even expecting.

Going from a chalky mess:


To as shiny as a blue M&M!


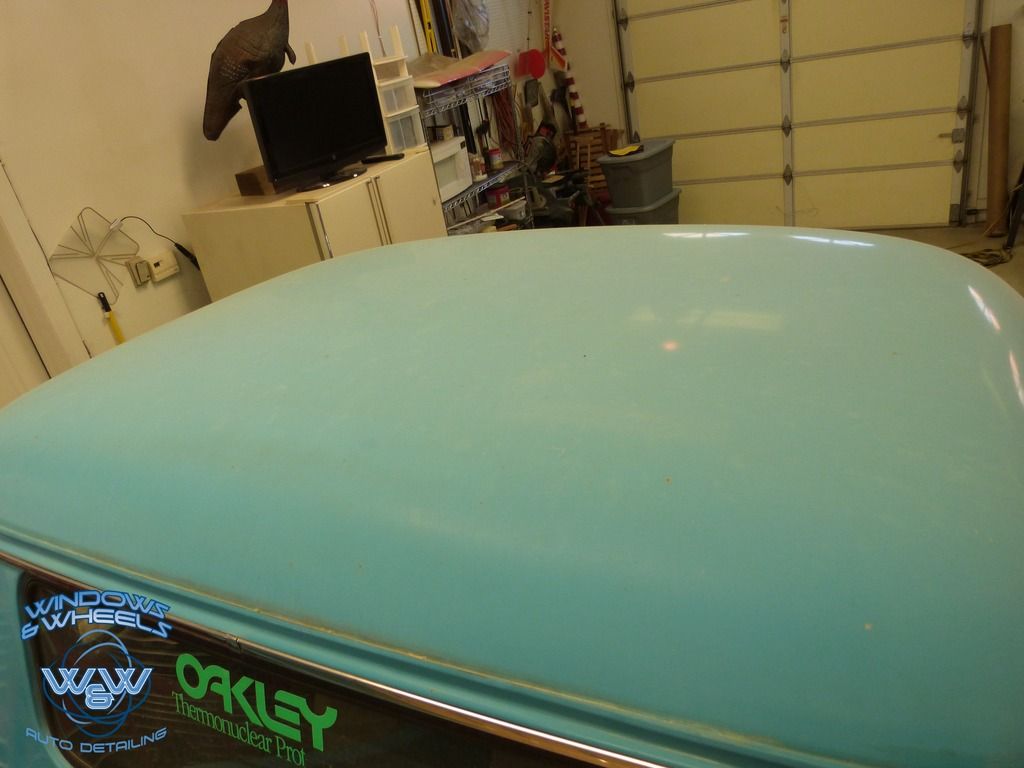
Again, attention to detail ....the bulk of the roof I was able to get, but around the trim and in the small concave below the lip of the roof, was not accessible by machine. Let me note i got ALMOST all of it by machine, but if you looked closely, you could see about a 1/2"-1/4" of a dull ring around areas like this...and Dani wasn't havin' it!


While the sides were progressing nicely - we all know top panels get beat on way worse than the sides and thats what I'd be squaring up against next.


See the brownish parts on the curved part? Yeah thats primer starting to peek through. Again, SERIOUS attention to every section had to be a key point in our minds to avoid completely going through an area.


Well, lets do it and see what happens :)


A little tape action so we can see a good before and after:


I think that qualifies as a win right there!


The really sweet part was, not only were we killing the oxidation, but there really were not a lot of swirls left either (and if there were, we did NOT go after them, just isn't worth the risk on a truck like this). Even under direct LED lighting...we were only finding
a deep scratch here n' there for the most part.


Dani was busy playing Peek-a-boo.

Actually...she was tackling an equally (if not more so) difficult task. Oxidized painted vents....


I personally said we should just plasti-dip them or just take them off and throw em' away and no one would notice, but Daniela insisted that i'd be killed so...to for my own well being she tackled this mess.

I thought her approach was pretty genius. Just hand rubbing wasn't cutting it...and machine polishing was out of the question. What did she do? She used a soft bristled tooth brush....yeah...a tooth brush. It, paired with just a bit of polish...and she went slat by slat...vent by vent...and essentially "broke down" the oxidation. THEN, after going through all that, she hand polished each slat. If you thought the roof before and after was impressive...you'll love this:
 
OP
W

Wills.WindowsAndWheels

Well-known member
Joined
Sep 29, 2011
Messages
348
Location
Gilbert,Az


[/QUOTE]

Thats some dedication right there. I still dont think plasti-dip on a 58' GMC would have been that noticeable...but what do i know.


All finished:


The rest of the truck still needed to be completed...I was doing a pass with the 3" pad along the edges of the bed and then using the larger pad to tackle the larger areas (kinda like cutting before painting).
You can see my "cut" edge here:


Now that the body had been completed, we still had the hood and tailgate and some chrome badges/trim left to polish.


As you can see, i made Dani hand polish the whole hood since she was enjoying it so much!

I kid, i kid:


Our orange pad had bitten the dust by now...our yellow Rupes pads were the closest thing we had to it...and it worked great:


Look, a shiny spot! We can go home now....


sigh...no we cant...


Bling!


A bit more to go...


Yeah the GMC emblem...Dani did her toothbrush trick to it again too...came out pretty nice.


All the front grill chrome, headlight areas, edges of the engine bay etc....yeah...all that...done by hand as well:


Door handles...and around them...yup...you guessed it lol:


We came...


We saw....


We polished...


I dont believe in perfection, but you can bet we put everything we had into getting this thing as close to perfect as it was able to come....here are a few finished photos:
 
OP
W

Wills.WindowsAndWheels

Well-known member
Joined
Sep 29, 2011
Messages
348
Location
Gilbert,Az


Love this shot:


DONT ask me how she did it...but all up under that fender well...Dani managed to polish...yeah...props.


More detail work all around the windows:


It took us about 1 1/2 days to complete everything. The owners loved the outcome - so much so that a little over a year later they brought it back for us to do a little touch up to some spots as well as apply some fresh protection (she was up and running now!)

Gotta say the photos in our shop came out pretty nice as well...especially remembering back to how it looked when we first laid eyes on it:


Not too shabby for an old farm truck huh?


Thanks everyone for checking this write up out....it was a fun detail...exhausting, but worth it. Again a special thanks to Mr Kilmar for his advice on the spot....and thanks to everyone who's continued to support us through our detailing journey[/QUOTE]

Thats some dedication right there. I still dont think plasti-dip on a 58' GMC would have been that noticeable...but what do i know.


All finished:


The rest of the truck still needed to be completed...I was doing a pass with the 3" pad along the edges of the bed and then using the larger pad to tackle the larger areas (kinda like cutting before painting).
You can see my "cut" edge here:


Now that the body had been completed, we still had the hood and tailgate and some chrome badges/trim left to polish.


As you can see, i made Dani hand polish the whole hood since she was enjoying it so much!

I kid, i kid:


Our orange pad had bitten the dust by now...our yellow Rupes pads were the closest thing we had to it...and it worked great:


Look, a shiny spot! We can go home now....


sigh...no we cant...


Bling!
 
OP
W

Wills.WindowsAndWheels

Well-known member
Joined
Sep 29, 2011
Messages
348
Location
Gilbert,Az


A bit more to go...


Yeah the GMC emblem...Dani did her toothbrush trick to it again too...came out pretty nice.


All the front grill chrome, headlight areas, edges of the engine bay etc....yeah...all that...done by hand as well:


Door handles...and around them...yup...you guessed it lol:


We came...


We saw....


We polished...


I dont believe in perfection, but you can bet we put everything we had into getting this thing as close to perfect as it was able to come....here are a few finished photos:


Love this shot:


DONT ask me how she did it...but all up under that fender well...Dani managed to polish...yeah...props.


More detail work all around the windows:


It took us about 1 1/2 days to complete everything. The owners loved the outcome - so much so that a little over a year later they brought it back for us to do a little touch up to some spots as well as apply some fresh protection (she was up and running now!)

Gotta say the photos in our shop came out pretty nice as well...especially remembering back to how it looked when we first laid eyes on it:


Not too shabby for an old farm truck huh?


Thanks everyone for checking this write up out....it was a fun detail...exhausting, but worth it. Again a special thanks to Mr Kilmar for his advice on the spot....and thanks to everyone who's continued to support us through our detailing journey[/QUOTE]
 

countryroad82

Well-known member
Joined
Mar 18, 2011
Messages
3,447
Location
Kentucky
That's a beautiful truck! If the owner ever gets it in their mind to paint it tell them they would be committing an automotive sin! That thing is awesome the way it sits!
 

matt_i

Well-known member
Joined
Mar 14, 2008
Messages
10,752
Location
SE Michigan
Quite an effort with great results! Its amazing that one in that shape was still running around. Arizona of course, but cconsidering the age it must have spent a lot of time indoors during those years and not outside...
 

txlch

Well-known member
Joined
Jan 6, 2016
Messages
103
Great work, I would be too nervous to burn through to even get near that paint.
 
To avoid these ads, REGISTER NOW!

eastbaysubaru

Well-known member
Joined
Dec 6, 2009
Messages
340
Location
NorCal
Absolutely amazing! The attention to detail is fantastic. I can't imagine what you guys have to charge with all of the man (woman) hours you put into these jobs. For something like this it seems well well well worth it though.

-Brian
 
OP
W

Wills.WindowsAndWheels

Well-known member
Joined
Sep 29, 2011
Messages
348
Location
Gilbert,Az
That's a beautiful truck! If the owner ever gets it in their mind to paint it tell them they would be committing an automotive sin! That thing is awesome the way it sits!

Hahaha, i couldn't agree more. I dont think they've gone this many years preserving the original paint to go and have it re-painted anytime soon, so I'm pretty sure she's safe the way she is :)

Quite an effort with great results! Its amazing that one in that shape was still running around. Arizona of course, but cconsidering the age it must have spent a lot of time indoors during those years and not outside...

Thank you! Yes it being in Arizona helps - but they do still drive it quite a bit. After we did our work on it they took it 3 hours north to Flagstaff to a show in the rain even. He does have a very nice garage (as im sure you saw) that it now stays in, but something tells me its earlier years were not so pampering :)

absolutely amazing! Awesome job on resurrecting whats left of the original paint!

Thank you so much! Thanks for taking the time to check it ou ;)


Thanks bro!

Beautiful work! That should be in your avatar not a cts! Haha

Hahaha, coming from someone with a Vette in his avatar, that's really saying something!

Great work, I would be too nervous to burn through to even get near that paint.

Oh yes i was nervous too - i guess that's what kept us from screwing up though lol.

Awesome transformation guys, Just beautiful. I would love to find a truck that could be cleaned up like that and driven.

That would be nice wouldn't it? I see a decent amount of old classics like this around here - like you, i would love to have one to cruise around in one day

Unbelievable job you did

Thank you so much

Absolutely amazing! The attention to detail is fantastic. I can't imagine what you guys have to charge with all of the man (woman) hours you put into these jobs. For something like this it seems well well well worth it though.

-Brian

It wasn't our most expensive job but it surely wasn't "cheap" either. Price for them was a concern but not more so than the quality of the job. It always seems jobs like this come in the summer where it's hotter than hell - but at least he had AC in the garage which kept it under 100 in there :)
I think we put a total of 25 hours or so into it between the two of us.
 

Richie Rich

Well-known member
Joined
May 2, 2009
Messages
190
Amazing!

Gives me the inspiration to give this a shot on my original paint 67 Buick (family owned since new). It looks slightly worse then your before pics but 95% of the paint is intact and shows no real signs of thinning except on a few of the sharp creases in the body where the paint is pretty much gone.
 

C_F

ALLIANCE MEMBER
Joined
Jan 21, 2005
Messages
9,675
Location
Utah...SNOW BLOWS!
Very impressive work you two have done to that truck! Dani's work polishing up those louvers made my fingers hurt just looking at the pics!. :lol:

Thanks for sharing the transformation with us.:rocker:
 

johnyg

Well-known member
Joined
Nov 11, 2015
Messages
319
Location
boca raton fl
really nice job you kids did!!!!!but i think the best part is you and your girl did it together.she is a keeper. best of luck....john.
 

mrolds88

Well-known member
Joined
Feb 17, 2010
Messages
117
Location
WV
Nice work!! Here's something else that you may want to try for the chalk issue. Dollar Tree stores (and maybe others) carry a product called Awesome. I tried some on an old GMC that I had and it stripped the chalk off like right now. Even left a rather clean, shiny spot of paint.
 

AnthonyJ124

Well-known member
Joined
Nov 28, 2010
Messages
674
Location
Southeast
Incredible work. First thread in a while where I looked at every picture. Very cool truck and again, incredible work.

And here I am with a brand new truck and struggling to get the ambition to clay bar and wax it...
 
OP
W

Wills.WindowsAndWheels

Well-known member
Joined
Sep 29, 2011
Messages
348
Location
Gilbert,Az
Nice work!! Here's something else that you may want to try for the chalk issue. Dollar Tree stores (and maybe others) carry a product called Awesome. I tried some on an old GMC that I had and it stripped the chalk off like right now. Even left a rather clean, shiny spot of paint.

Thank you! If it was a boat or an RV with super thick gel coat - then i would be comfortable using a chemical cleaner to remove the oxidation. But with this paint being the age it was and the history behind it, i did not want to chance using a harsh chemical on it. Rather safe than sorry with this old baby!

Outstanding work on your part!! Also credit the owners with keeping it original rather than cutting it up into someone's misguided idea of a "rest-mod".

Tom B.

Thank you Tom - and very well put lol

Incredible work. First thread in a while where I looked at every picture. Very cool truck and again, incredible work.

And here I am with a brand new truck and struggling to get the ambition to clay bar and wax it...

Thank you Anthony - thats quite a compliment especially considering how many pictures i put up on this thread!

If you do want to save a little time on your truck get a decontamination towel (does the same thing as a clay bar) and then wax it with something like Carpro's Hydro2 or Reload.

Heres a couple links for you:

http://www.carpro-us.com/coatings-sealants-spray-wax/carpro-reload-100ml-new-formula/

http://www.carpro-us.com/coatings-sealants-spray-wax/carpro-hydro2-lite-1-liter/

http://www.carpro-us.com/paint-decontamination/carpro-polyshave-decon-towel/


I was honestly a bit skeptical of a "spray" type of sealant being of good quality and longevity - but i've done quite a bit of testing with both of them and they do what they claim. If you go that route and need any help when it comes time to use the products let me know and i'll help anyway i can if needed :thumbup:
 

csp

Well-known member
Joined
Mar 23, 2010
Messages
5,720
Location
Franktown, CO
I grew up with vehicles with louvered vents and lots of chrome emblems like this pickup had. My dad always saved the old toothbrushes and kept them in the car wash/polish cabinets for these areas. It's a trick that's been around for a while!

Nice work making the most out of not much to work with.
 
To avoid these ads, REGISTER NOW!
Top Bottom