NitroShark
Well-known member
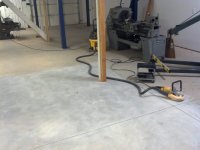
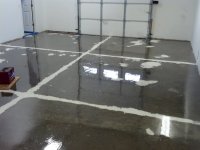
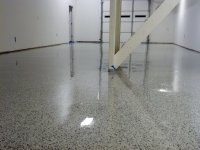
Starting my epoxy install and need to prepare the floor (good condition with no stains, 850 sq ft and 750 sq ft) , will do the floor in 2 separate installs/sections.
I’m going to use a industrial Tnemec coating system. 28-30 Mils, primer, base coat, flakes, clear and Poly top coat.
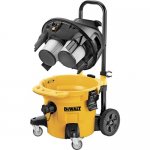
I bought a Dewalt 4597 grinder with their matching dust system including the HEPA concrete vacuum model DWV012. Any advice on using this combination? Will I still need to use an Edco grinder to do the main area? Or is it feasible to use the Dewalt.
I figure the edges will have to be done with a hand grinder but not sure if I can also do the main area. Maybe I will have more control over a floor model is what I’m thinking.
It does grind fast from my initial testing. I bought the Dewalt concrete diamond 4775 dual row cup wheel.
Any advice before I get started will be much appreciated….
Shawn

I’m going to use a industrial Tnemec coating system. 28-30 Mils, primer, base coat, flakes, clear and Poly top coat.
I bought a Dewalt 4597 grinder with their matching dust system including the HEPA concrete vacuum model DWV012. Any advice on using this combination? Will I still need to use an Edco grinder to do the main area? Or is it feasible to use the Dewalt.
I figure the edges will have to be done with a hand grinder but not sure if I can also do the main area. Maybe I will have more control over a floor model is what I’m thinking.
It does grind fast from my initial testing. I bought the Dewalt concrete diamond 4775 dual row cup wheel.
Any advice before I get started will be much appreciated….
Shawn