royce
Well-known member
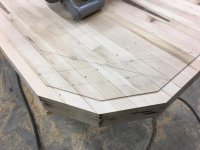
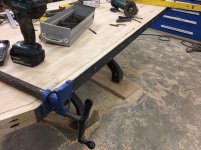
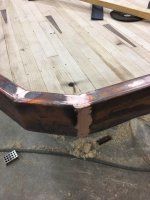
Got started today with a side grinder trying to even up the underside of this bowling lane.
It plugged up 4 discs before I gave in and used a router to get through the tar on it.
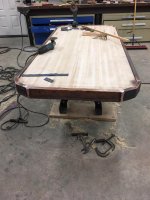
I think I'll set up some rails to run the router on to get bottom the plumb flat and reduce the thickness some.
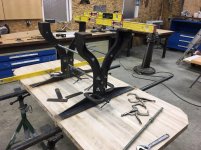
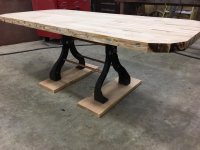
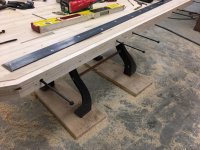
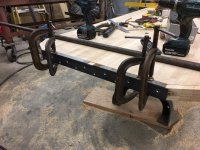
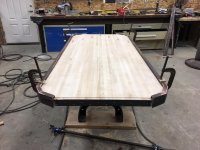
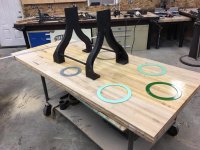
Also set the legs up and some mock plates to help gauge how big to make it.
Looks like 38"x84" may work.
Royce
It plugged up 4 discs before I gave in and used a router to get through the tar on it.
I think I'll set up some rails to run the router on to get bottom the plumb flat and reduce the thickness some.
Also set the legs up and some mock plates to help gauge how big to make it.
Looks like 38"x84" may work.
Royce


")