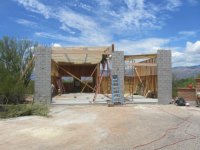
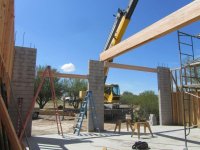
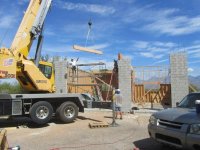
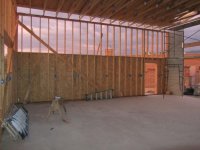
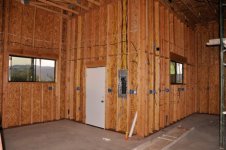
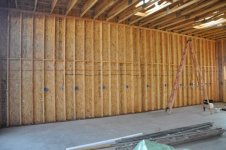
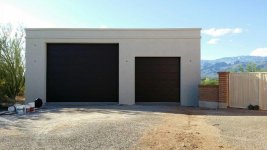
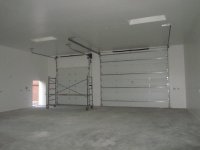
After getting the wife to sign off on the plans we are finally starting on my new workshop next to the house. It will be 1425 sq ft, 2x6 construction, with a 14’ ceiling inside. I am contracting it all out, as much as I would love to do it myself, I just don’t have that kind of time. I am sure I will find things that I will wish I had done differently, but I think my Garage Journal reading has helped avoid some of those. Hopefully these pictures are interesting at the least and maybe informative for others.
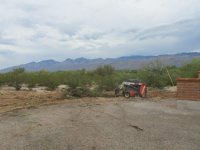
Here is the first day where they cleared the land:
Digging the footers:
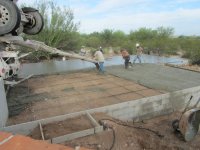
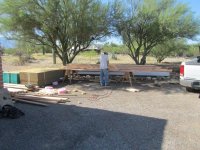
Rebar ready for concrete:
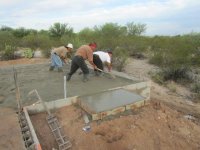
Concrete footers:
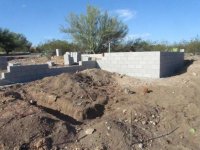
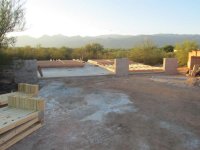
Stem Walls:
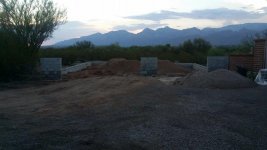
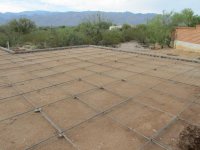
Dirt starting to be filled in:
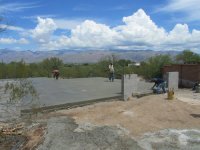
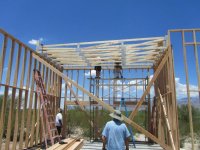
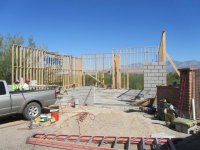
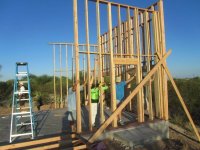
4wheeling in the garage:
Here is the first day where they cleared the land:
Digging the footers:
Rebar ready for concrete:
Concrete footers:
Stem Walls:
Dirt starting to be filled in:
4wheeling in the garage:
Attachments


Last edited:


")